Hemstitch Appliqué with Clear Foot #34/34C
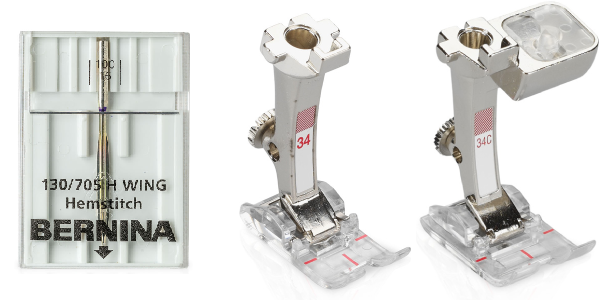
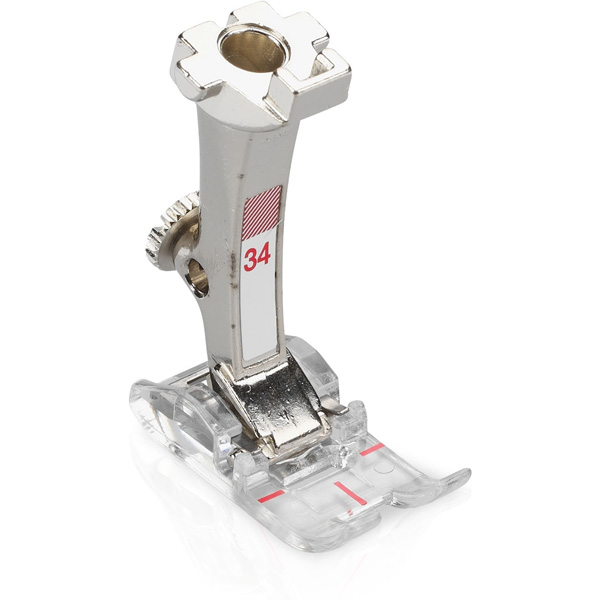
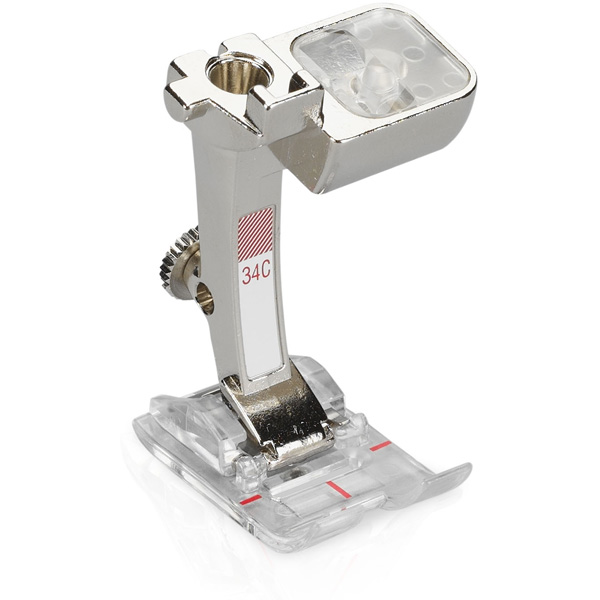
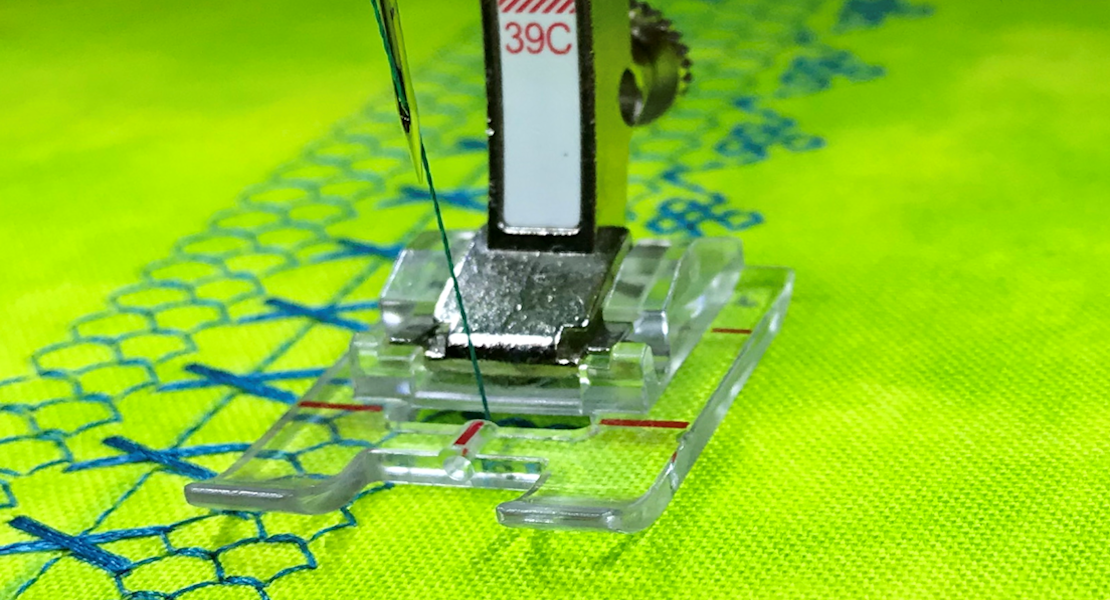
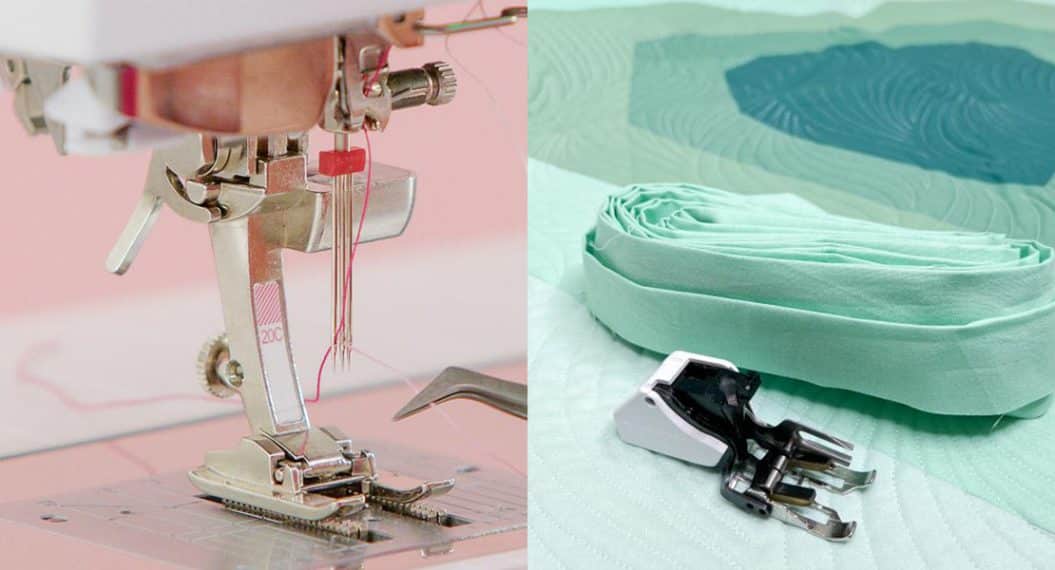
Hemstitching is a beautiful embellishment created by making decorative holes in fabric using a wing needle. This post is about hemstitch applique with Clear Foot #34/34C. The needles are flat and wide compared to a regular needle. Wing needles make holes in the fabric, but they do so without cutting the fibers of the fabric. Even though the wing needle is the star of this technique, the presser foot is still important. Clear Foot #34 is for stitches that go back and forth to form the pattern, the type of stitches used for hemstitching. Foot #34 is for 5.5 mm models and #34C for 9 mm models. Foot #34D is not used for hemstitching because it is worked on a single layer of fabric. The dual feed function is for evenly feeding layers of fabric. Click here for more information on Dual Feed.
Which Stitch?
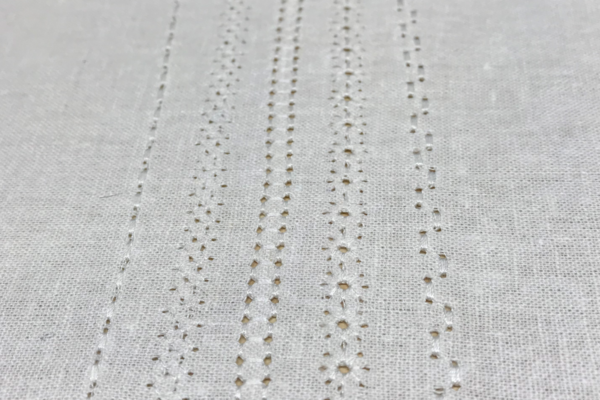
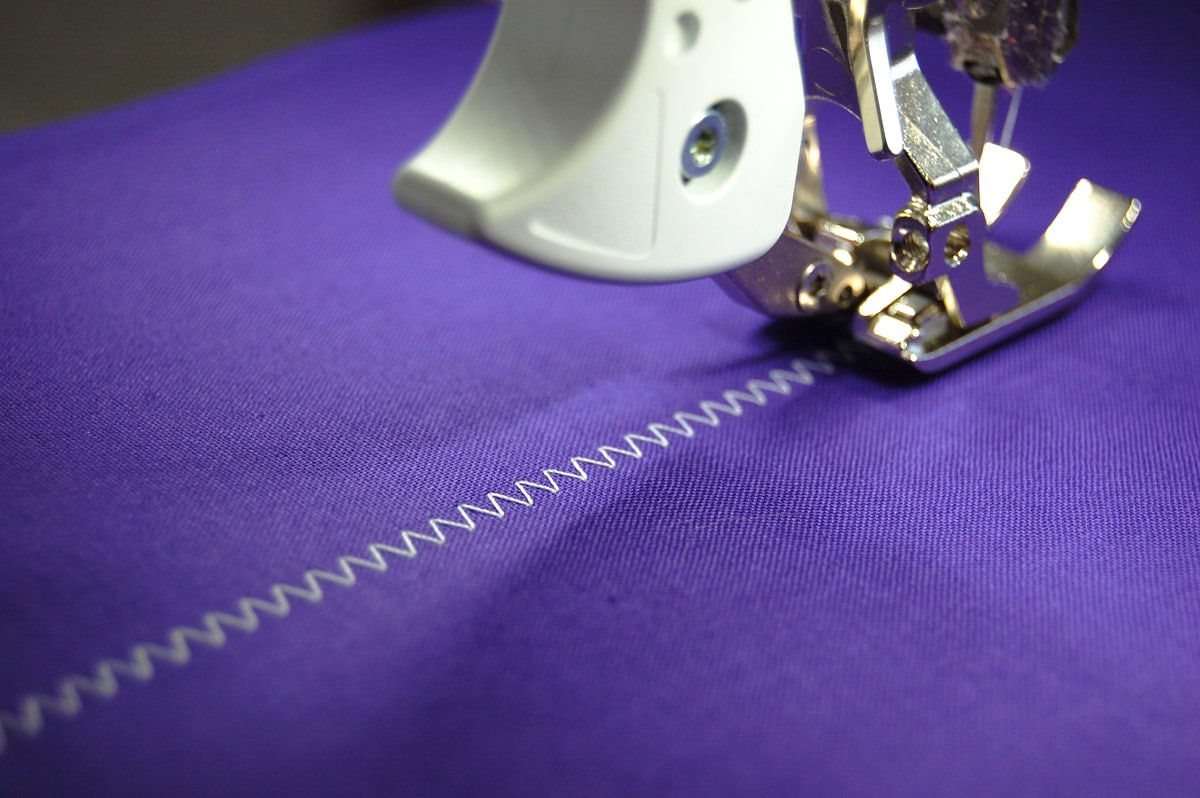
When selecting a stitch for this technique, look for one that goes in and out of the same holes several times. Something as simple as a triple straight stitch creates a delicate line of hemstitching. As the needle creates the stitch, it makes the holes and embroiders them. Typically, you use a thread color that matches the fabric because the want the emphasis to be on the holes and the texture you are creating and not the thread. Use a fine thread – 60-80 weight for delicate look. If you use heavier threads , the holes will not be as visible. The stitches used here are #6, #8, #702, 711, and 709. These are just few that work with for hemstitching so feel free to explore and stitch until you find what you like.
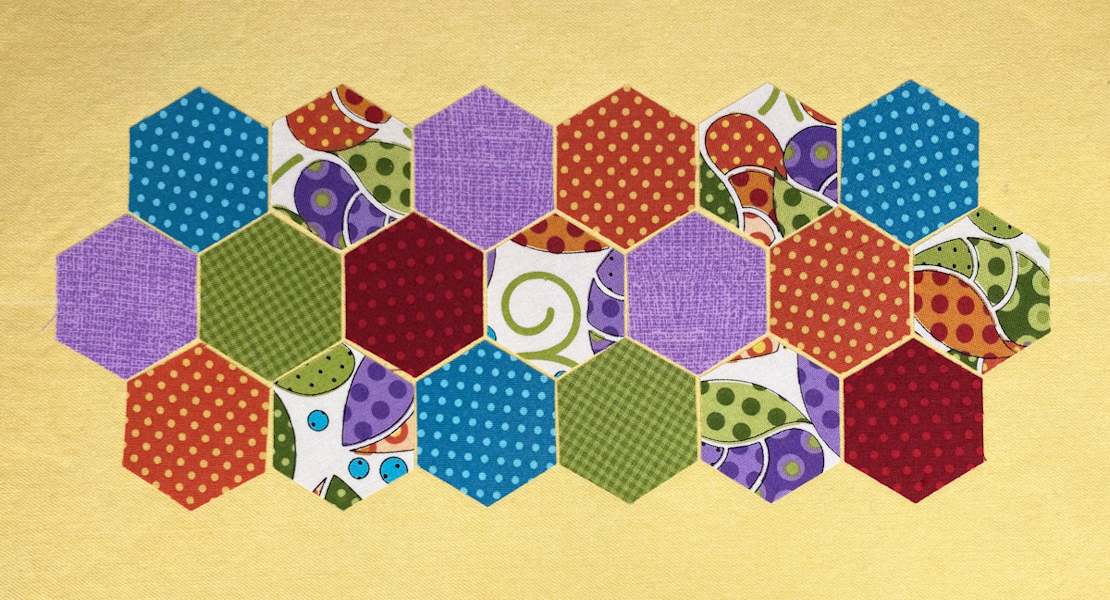
A delicate embellishment, hemstitching is beautiful on blouses, table linens, and other natural fiber projects made of fabric such as cotton and linen. The holes in synthetic fabrics will not stay open and you’ll lose the effect of the decorative holes. Combining hemstitching with appliqué starts with making a unique textured fabric to use for your appliqué shapes.
Textured Fabric
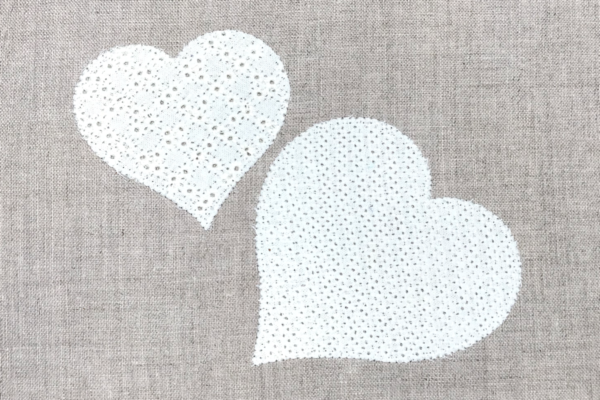
First, you create the textured fabric for your appliqué. Start with one layer of linen or cotton. This techniques requires no stabilizer but it does help to spray starch the fabric. The two appliquéd hearts shown here use Honeycomb stitch #8 in an all-over pattern and Star stitch #711 in a grid pattern. Again, it’s fun to experiment with stitches and patterns to create your own unique appliqué. Insert the wing needle into your machine (if applicable, select the wing needle on the needle indicator screen). Select your stitch of choice and start sewing, covering the fabric with texture.
Hemstitch Appliqué
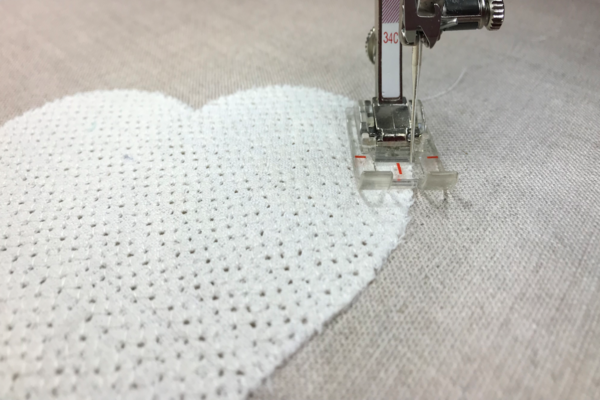
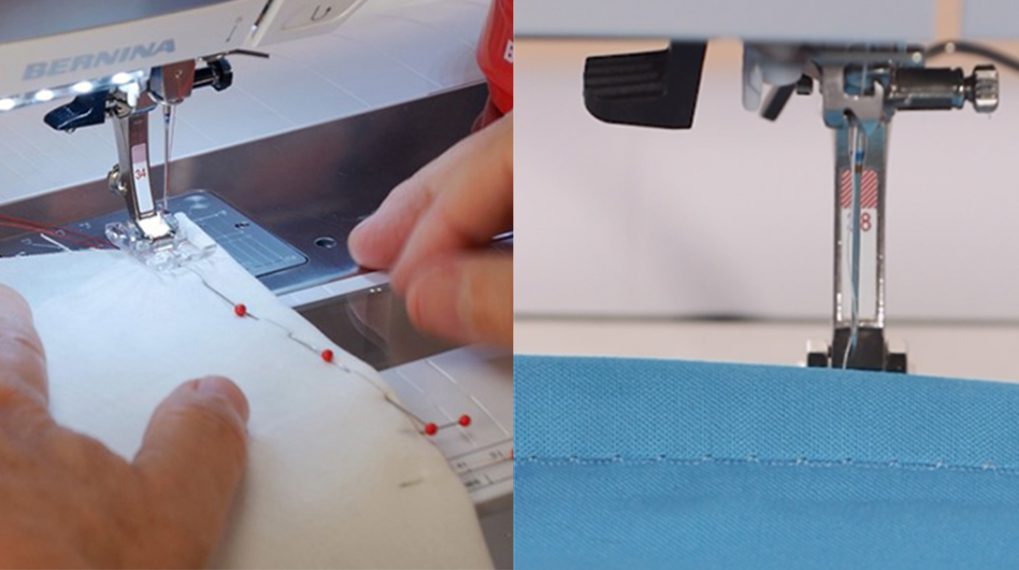
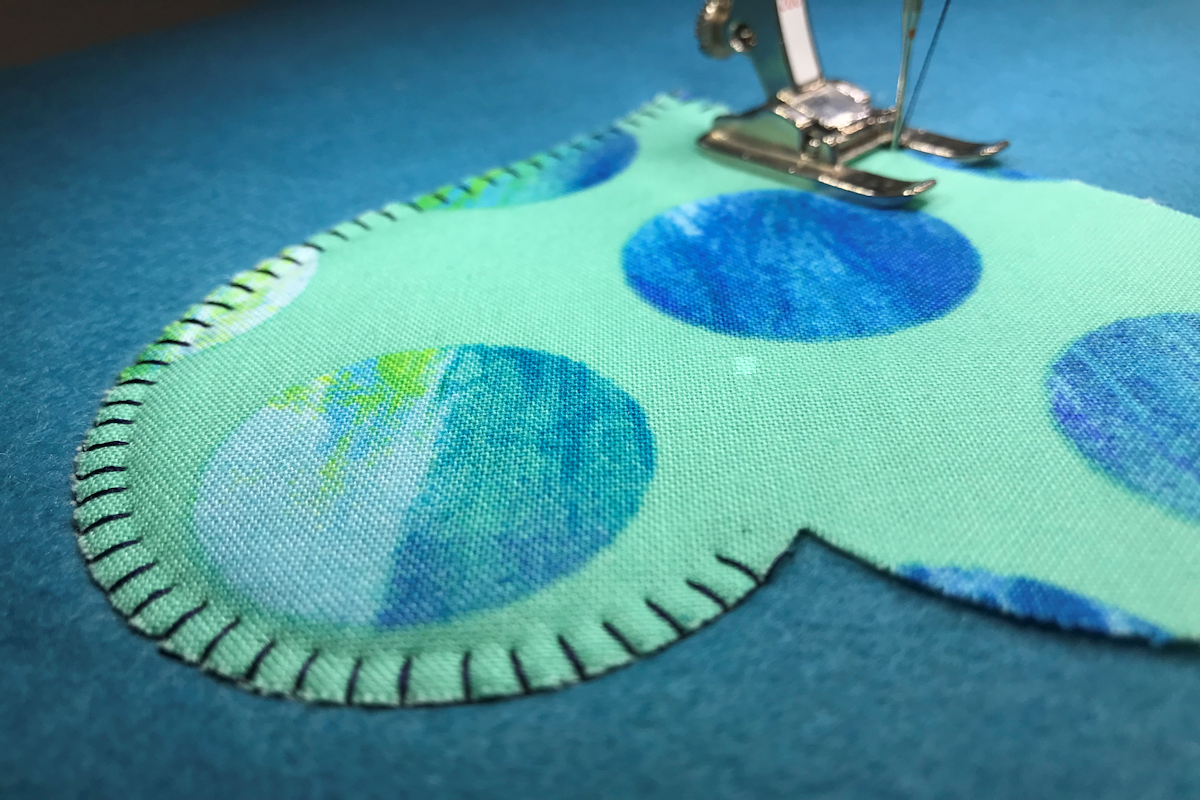
Next, you cut out the appliqué shape and place it on a stabilized background fabric. Use temporary adhesive spray and not a fusible web to adhere it as the web may come though the holes and interfere with the beauty of the technique. Insert a single needle into your machine and select the Blanket stitch #1329. Using the same thread as the hemstitching makes the appliqué stitching blend in and become inconspicuous. Adjust the needle to the far-right position. Place the appliqué shape under foot #34 with the edge of the shape aligned with the inside right toe. Because the foot has a clear sole, you can easily see the stitches as you sew. The vertical part of the stitch will fall on the background fabric and the horizontal will be on the appliqué shape. Click here for more information on blanket stitch appliqué.
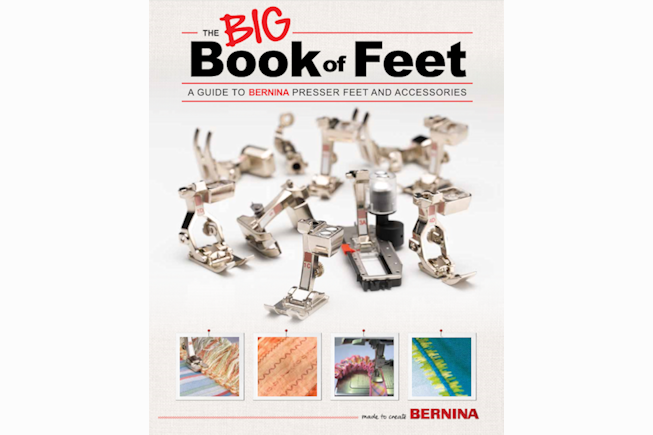
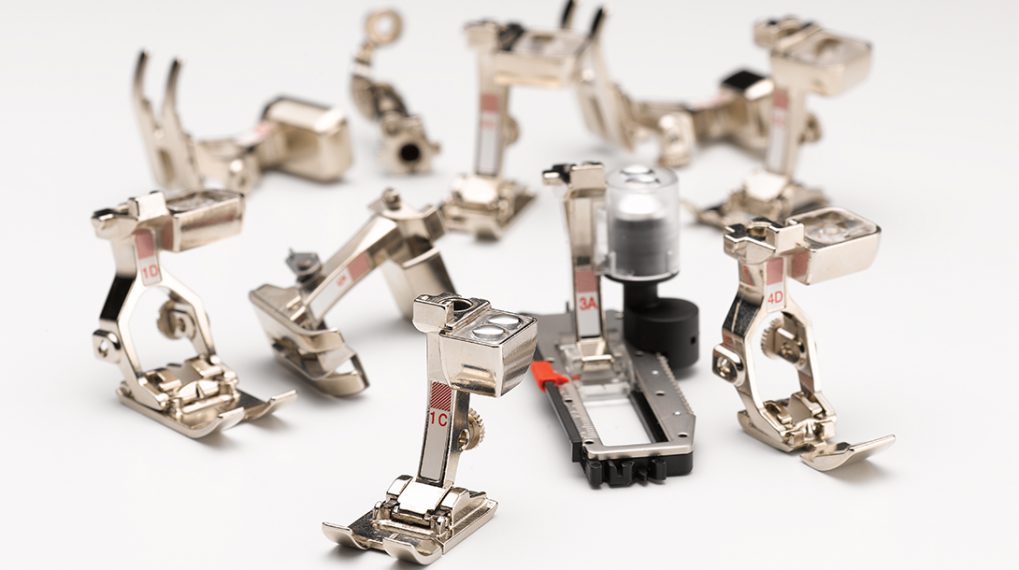
For more information about BERNINA presser feet and accessories, see The Big book of Feet at your local BERNINA store.
What you might also like
2 comments on “Hemstitch Appliqué with Clear Foot #34/34C”
-
-
I LOVE this idea! I am going to try this and put some hearts onto some jeans. Then add texture by hemstitching hearts directly onto some jeans in denim colored thread!!! Off to my machine now to try it on denim scraps first. Susan, you’re the best! Thanks for the idea!!
Leave a Reply
You must be logged in to post a comment.


Is there a reason 39C could not be used for this technique?