Matching Fabric Design on Seams
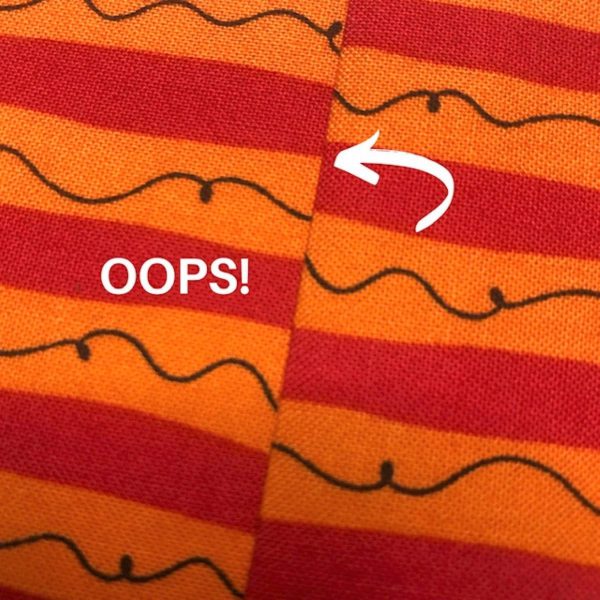
When you have a low-key project, such as in my “Reversible Baby Bloomer” tutorial, matching the print is certainly optional. Many store-purchased items, even from high-end stores, may not always be matched up perfectly. BUT, what a great opportunity to practice! In more visible garments, it is one easy way to tell the difference between a high-quality garment and an off-the-rack mass-produced one. Believe me, when I shop at TJ Maxx and Target, you’d better believe I’m comparing the seams to find the best match-up possible! Nothing better than a matched-up bargain. And when you’re sewing, there is nothing better than a beginner who recognizes the importance of matched-up seams! The best part? It’s not that hard. It just takes a little more time and, depending on the pattern repeat, only a little more fabric.
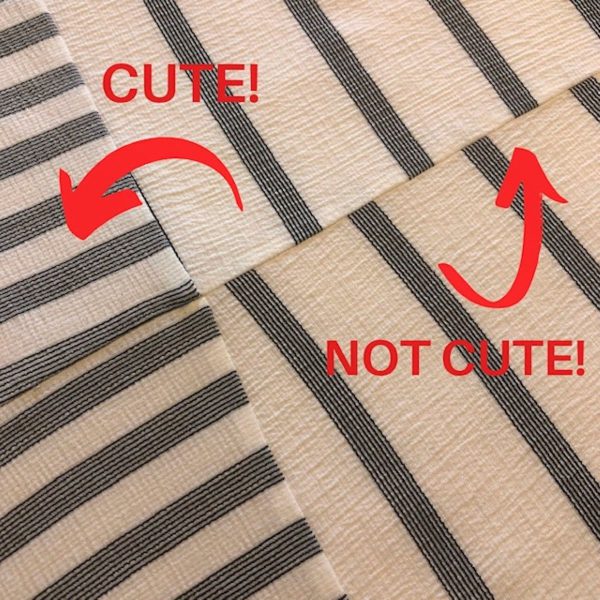
The black and white stripes below are from one of my favorite discount store tops. I loved the perpendicular striped detail on the bottom and since I planned to wear it with a cardigan, I made an exception for the mismatched side seams.
In this bonus tip for matching the fabric design in your seams, I will show you my tried and true pinning method because I love a good old-school technique. Basting tape is perfectly wonderful too. You can use this method for any project where matched seams would be noticed and you can prepare to impress your friends!
INSTRUCTIONS TO MATCH FABRIC DESIGN
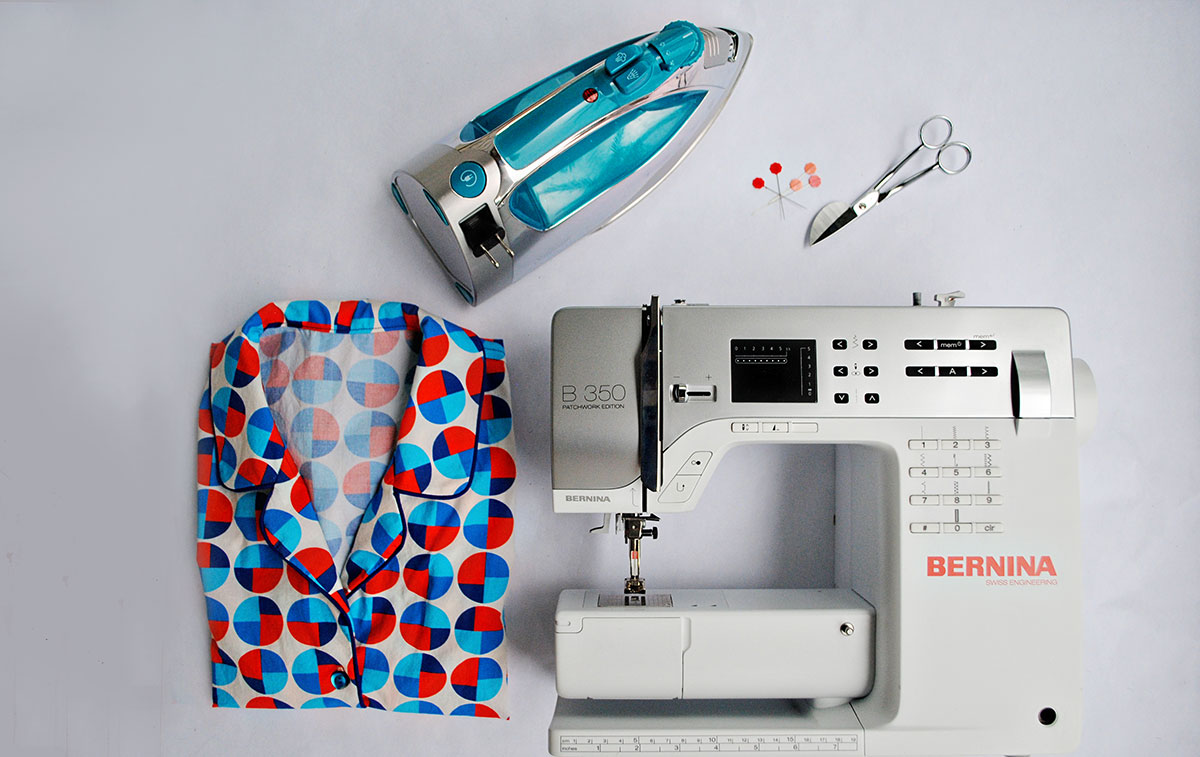
TOOLS USED FOR FABRIC MATCHING TECHNIQUE
- Project of choice (I am using the Reversible Baby Bloomer as my example.)
- Fabric pen
- Ruler
- Straight Pins
- Iron
- Fabric Scissors
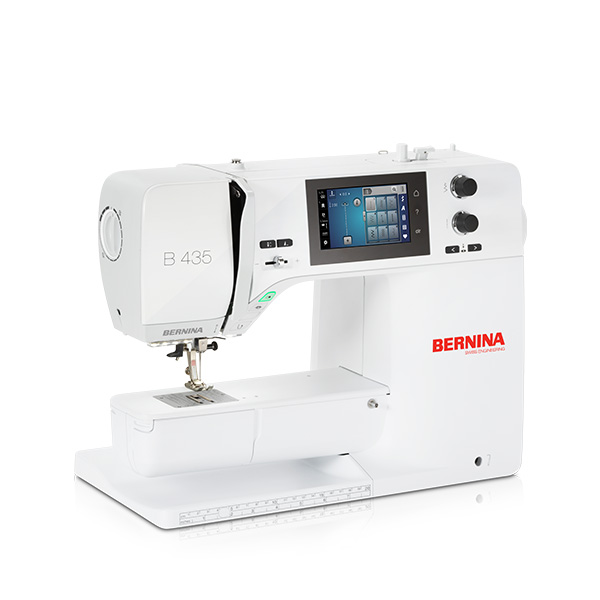
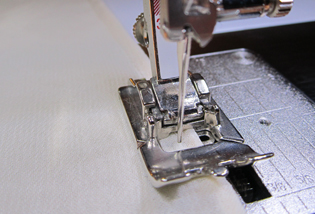
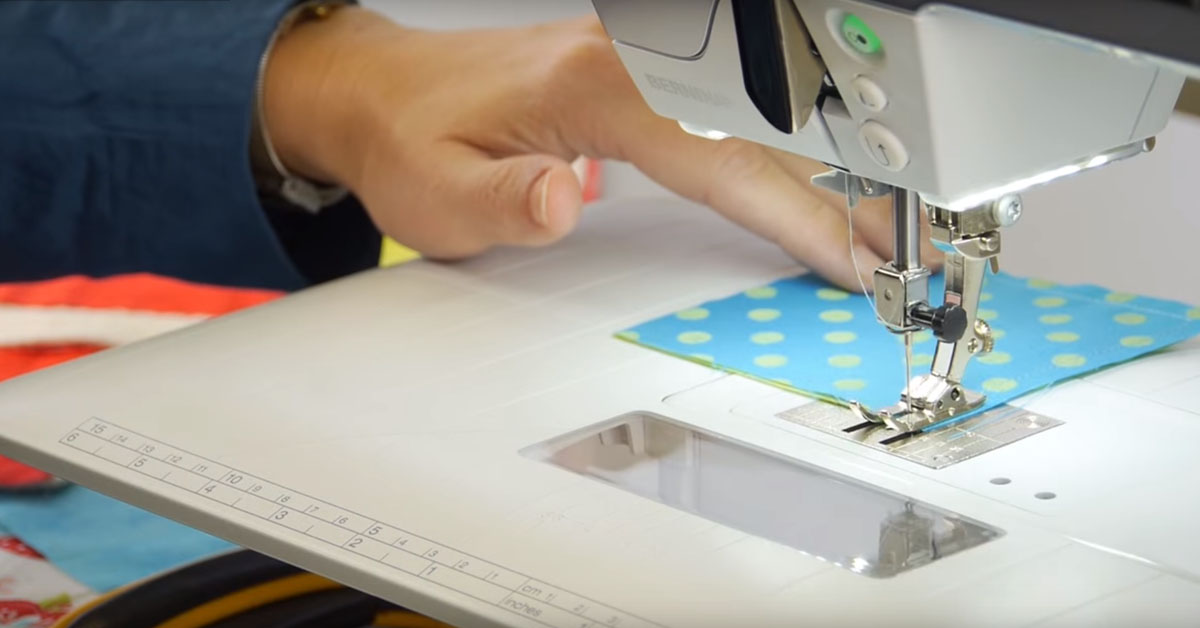
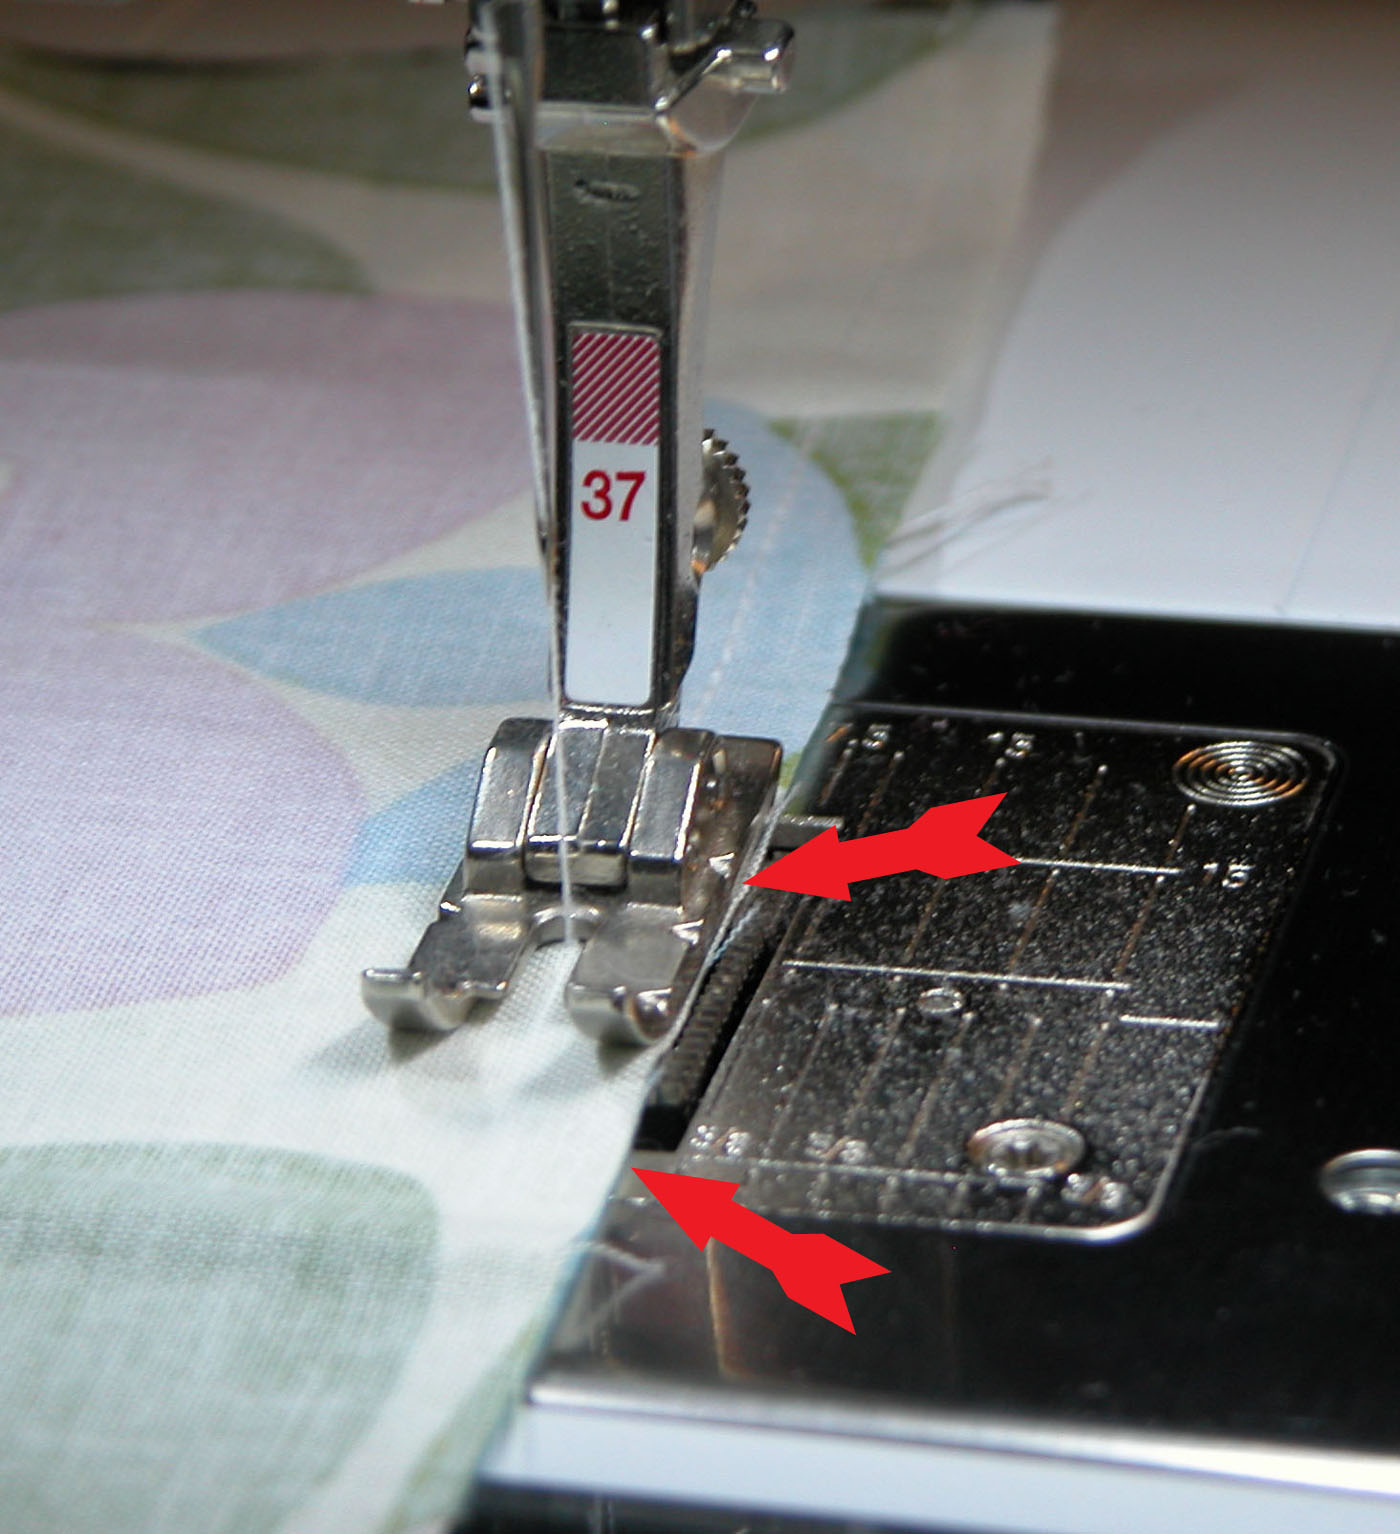
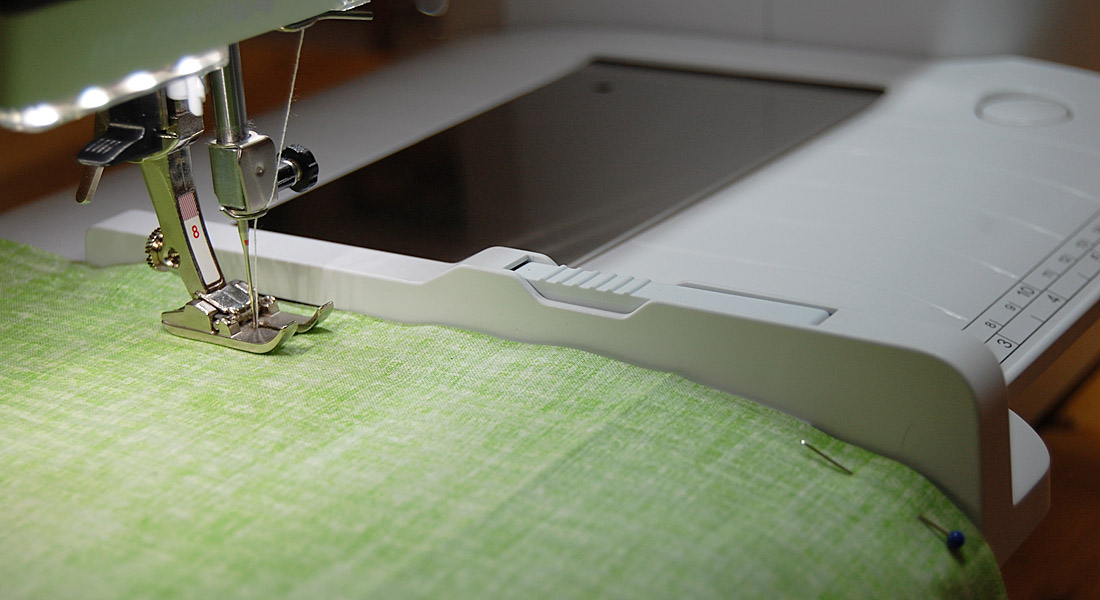
- Sewing Machine: I am using the BERNINA 435 with Presser Foot #1
STEP 1: CENTER FABRIC DESIGN (IF APPLICABLE)
For a small repeat, this step is not a big deal. If you have a larger repeat (i.e. a motif of some sort) which you would like to center on your project, this step is helpful. Simply fold your fabric horizontally so the fabric design is centered at the fold line. This way, your project will have a centered design.
STEP 2: LINE UP FABRIC DESIGN AND FOLD
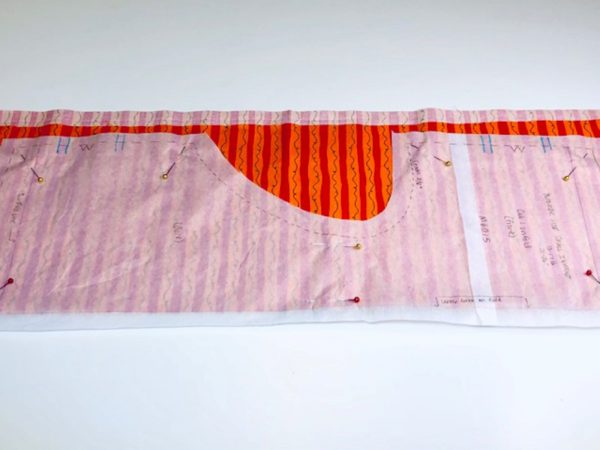
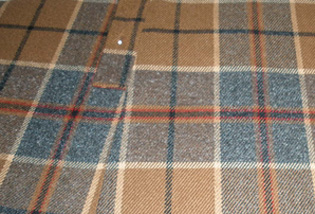
As you fold the fabric, be sure to line up the fabric design as shown below.
STEP 3: LAY OUT, MARK AND PIN PATTERN
Place the fold line of your pattern along the fold of the fabric. Next, use your fabric pen to make matching marks in a few places along the pattern piece(s) on the side seam line so they will match up nicely when stitching the seams. Make sure your markings are lined up on the same section of the design when you pin your pattern pieces. After pinning, cut out your fabric and transfer any pattern markings.
STEP 4: PIN SIDE SEAMS USING THIS FABRIC MATCHING TECHNIQUE
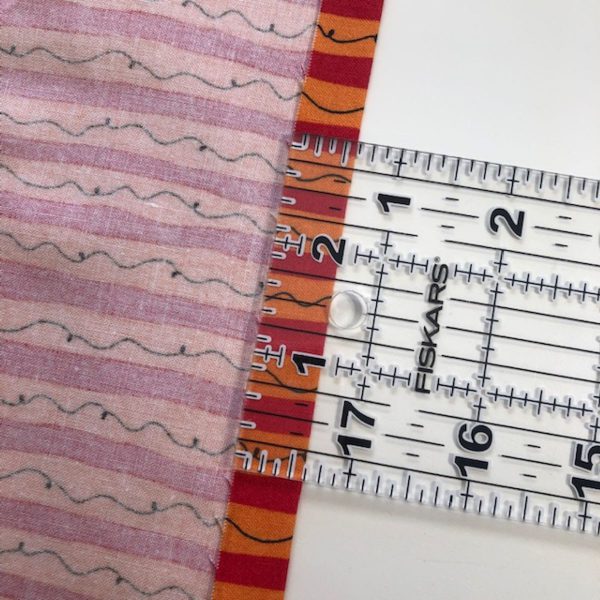
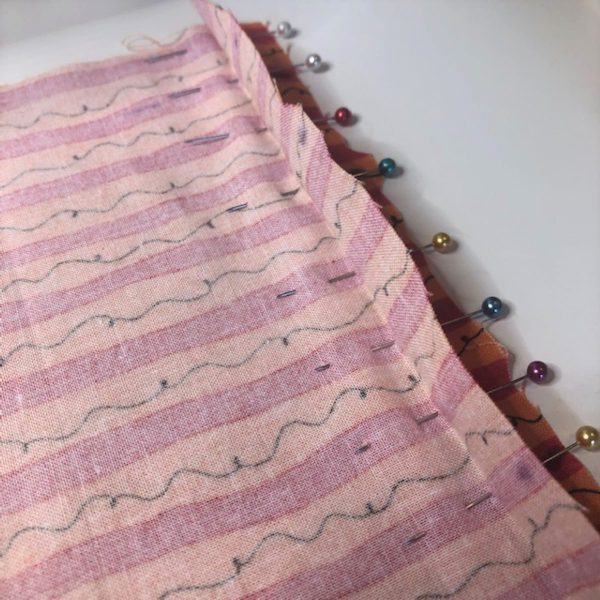
Because you will need a stitching guide, press a fold on the stitching line of each front side seam. This will also guide your pinning when lining up the fabric design.
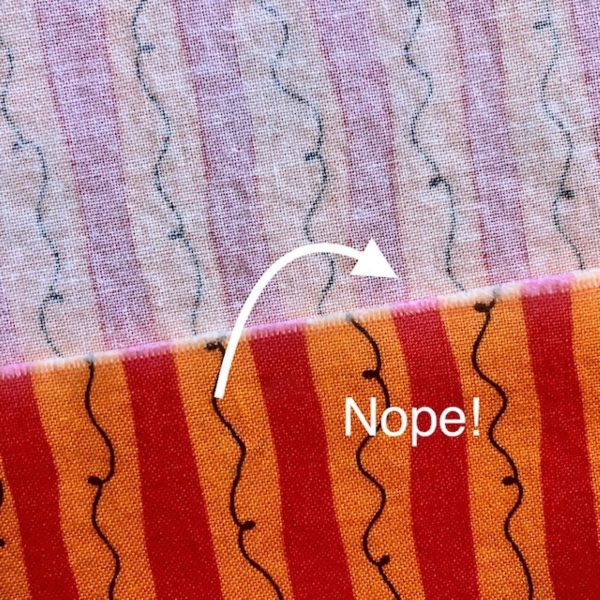
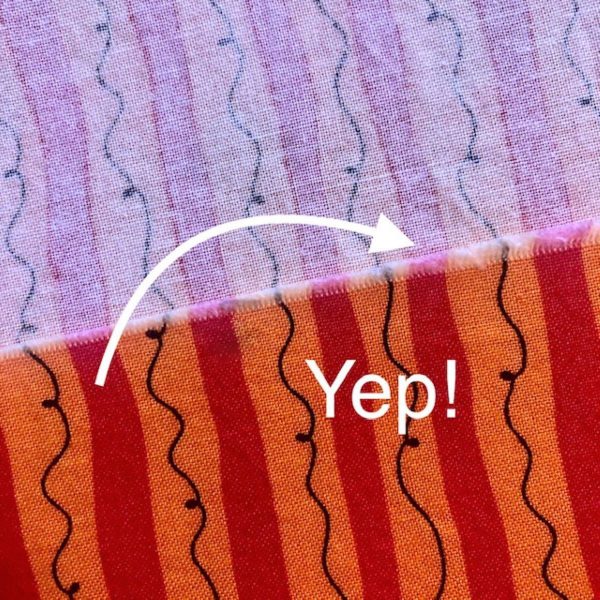
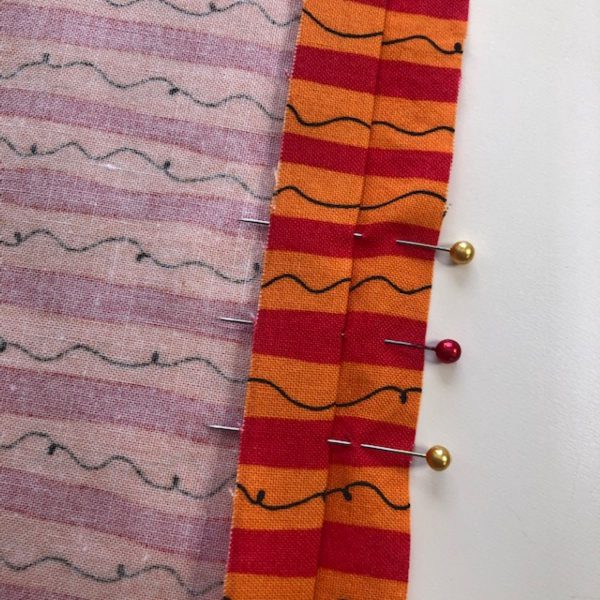
With right sides together, place fold from front on top of unfolded side of back as shown, matching fabric design. You will have THREE layers of fabric on this step. When you see that the design is matched, insert a pin as follows:
(A) down and up through the bottom layer
(B) directly into the fold line of the top layer
(C) down through the bottom two layers of fabric
(D) then back up through those same layers, but not through the top layer.
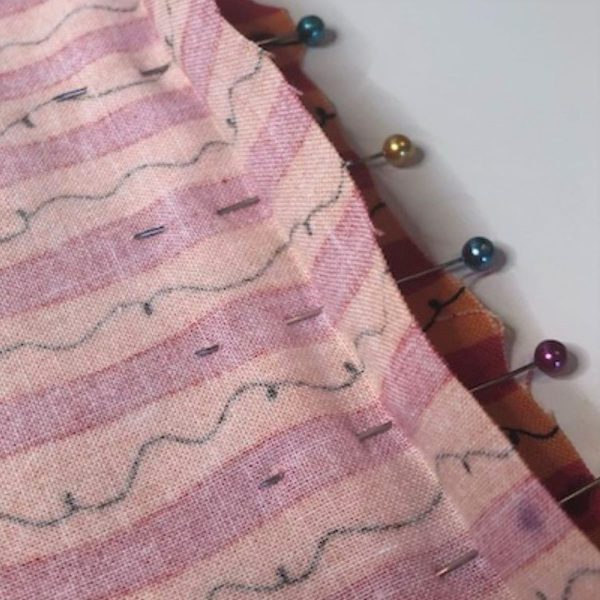
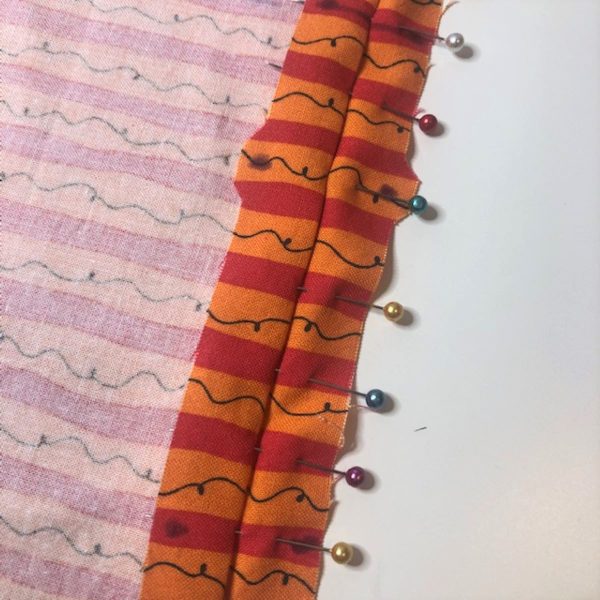
Repeat these steps to pin the entire side. More pins are better here to help keep the fabric in place for a good match-up. Press lightly. In the second example below, you can see that the pins will secure the fabric for stitching, but except for the fold, they never goes through the top layer of fabric.
STEP 5: STITCH SEAMS
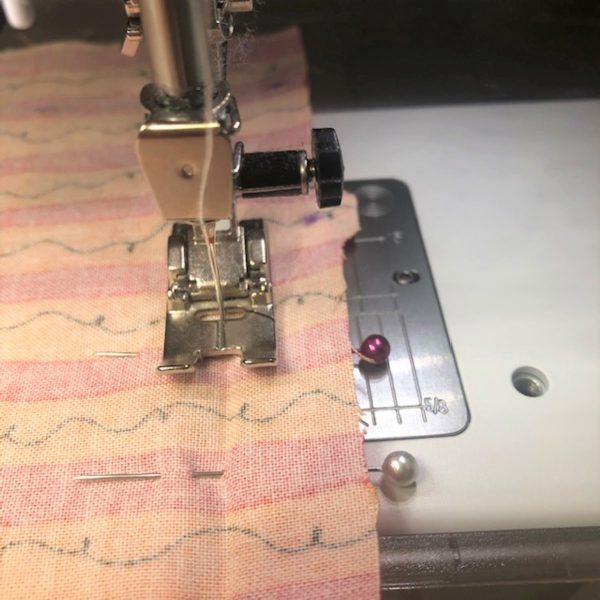
Next, unfold the top layer over so you now have two right sides together. The pressed fold line is your stitching line. Stitch the seam directly on the fold line, removing the pins as you go, if desired. (No judging here, but I have to wonder what the risky business of sewing over pins says about one’s Enneagram type? I digress.) Lastly, repeat for the other side seam.
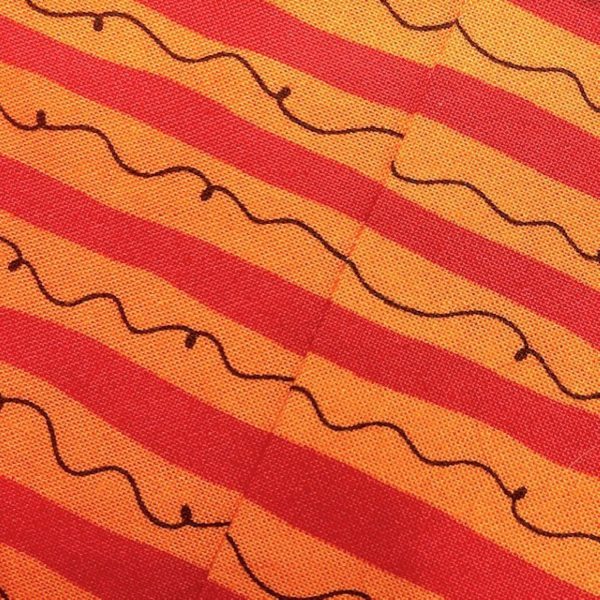
STEP 6: CHECK IT OUT!
Great work! This project is a fun way to practice matching up fabric designs. If you’re like me, you’ll find yourself looking for print-matching projects in order to show off your new skill!
