A Flutter of CutWork Butterflies
My 17-year-old granddaughter was introduced to crafting at a very young age. This has been our way of connecting over the years and has provided a great opportunity to spend quality time together. This summer she has spent a number of hours perusing websites finding projects that she was interested in making. She is a “Do It Yourself” kind of gal, much like her grammie.
One of the projects that she found was a heart-shaped picture on canvas. The heart was made up of many small butterflies in different shades of pink. When she learned that she could quickly and easily recreate the picture using the BERNINA CutWork Tool, she was intrigued.
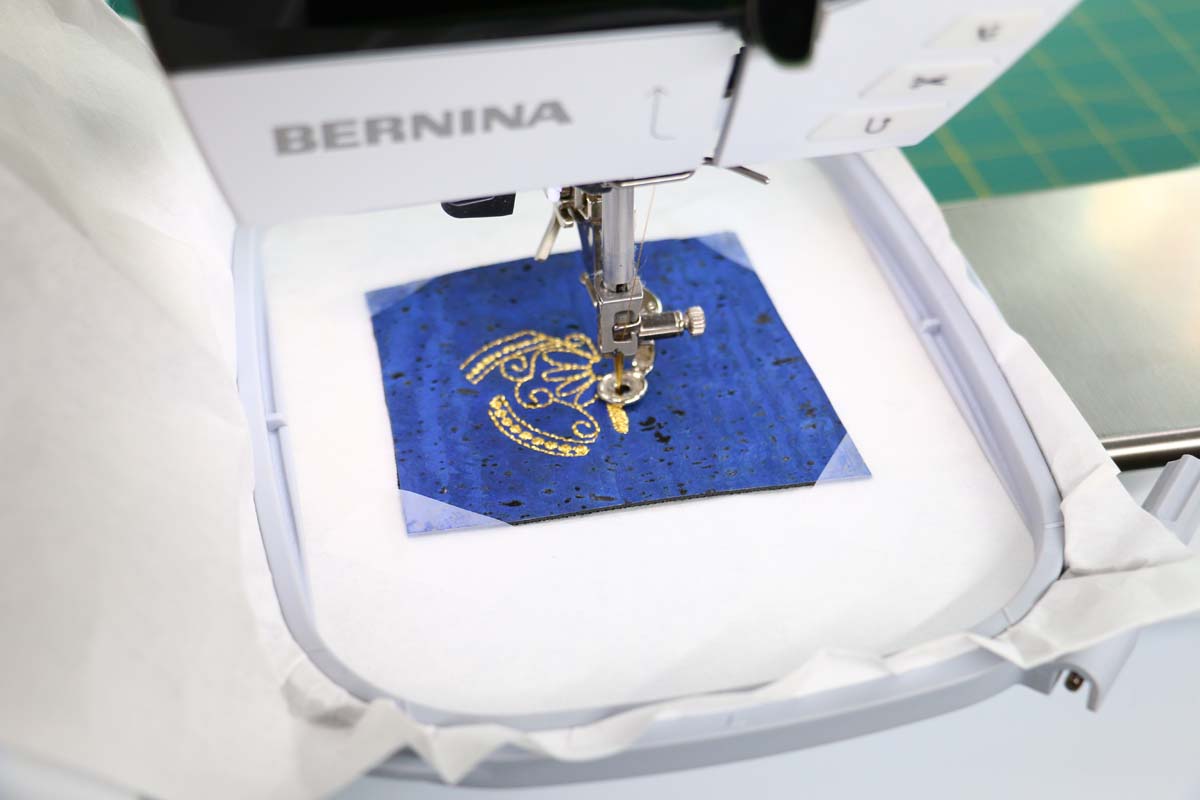
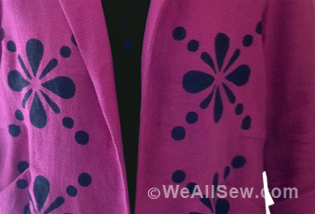
I drew a simple butterfly and scanned it into the BERNINA CutWork Software to quickly create a cutwork file. Once the image was digitized to a CutWork design, I duplicated the design until it completely filled the BERNINA Jumbo Hoop to use on the BERNINA 830 E. After the butterfly file was created, the file was downloaded to a BERNINA USB stick to transfer the design to the machine.

The Jumbo Hoop was hooped with a layer of OESD HeavyWeight Tear-Away stabilizer, three sheets of 12”-square scrapbooking cardstock paper purchased at the local crafting store, and topped with another layer of the tear-away stabilizer. The purchased cardstock paper was a medium weight with a texture. Since cardstock paper is not as supple as fabric, the Jumbo Hoop’s ratcheting system made the hooping process much easier than it might have been with a different hoop.
After hooping, my granddaughter took it from there and was mesmerized by the cutting being done on a sewing/embroidery machine. She was also very thankful that she wasn’t having to cut out all of those little butterflies to complete her project. She was able to easily cut out 250 butterflies within two hours.

Once the butterflies were cut out, the fun began. Her younger sister joined in on the fun of removing the butterflies from the hoop and separating them into their respective color groups.

She then penciled a heart shape on the canvas and began a loose layout of the butterflies. When the butterflies were placed to her satisfaction, she placed a bead of hot glue in the center of each butterfly and returned it to the canvas.

The entire project was completed within about three hours. She now has a delightful picture to hang on her wall at home and can proudly tell her friends that she made it!

We still have a swarm of butterflies to use for additional projects, decorating gift packages, and filling birthday cards as an added bonus.


What you might also like


2 comments on “A Flutter of CutWork Butterflies”
-
-
Sounds like a lot of fun. I think I will try this with my daughter
Leave a Reply
You must be logged in to post a comment.

Great idea for a hanging canvas. I really need that CW tool. Thanks for sharing.