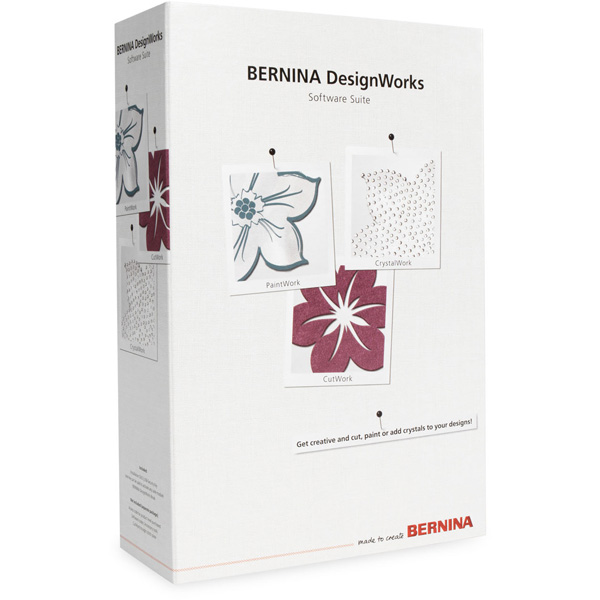
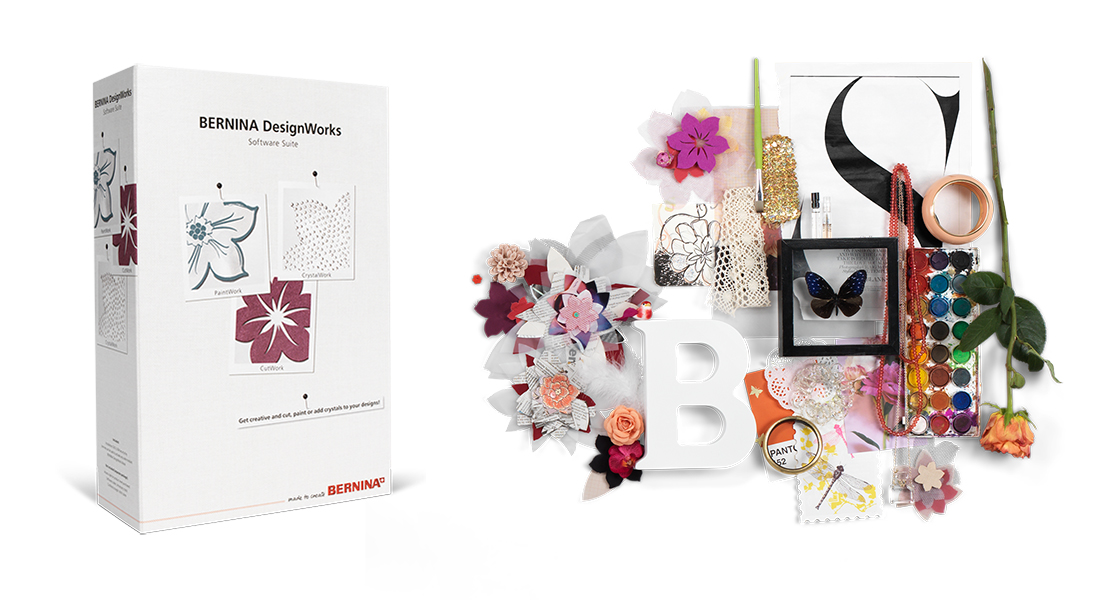
BERNINA DesignWorks Software Suite
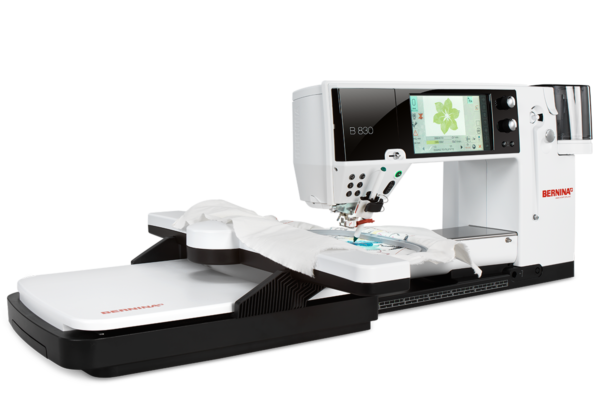
In 2009, BERNINA launched a new top-of-the-line machine, the world’s largest and fastest sewing and embroidery system for home users. For this machine alone, fifteen new patent applications were filed. Some of the best features included 1100 stitches per minute sewing speed, 1000 stitches per minute embroidery speed, an extra-large bobbin, a fully automatic needle threader, 360° multi-directional sewing, a 7-inch touch screen, built-in adjustable BERNINA Dual Feed, an especially bright working area (30 LED lamps), with more than 1000 stitch patterns and 150 pre-installed embroidery motifs by international designers. It was years ahead of its time!
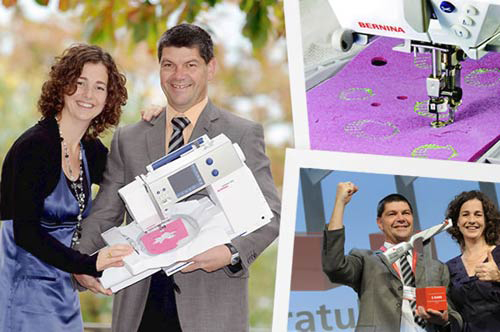
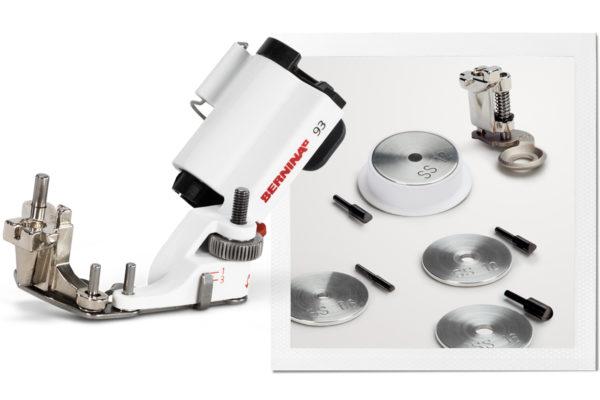
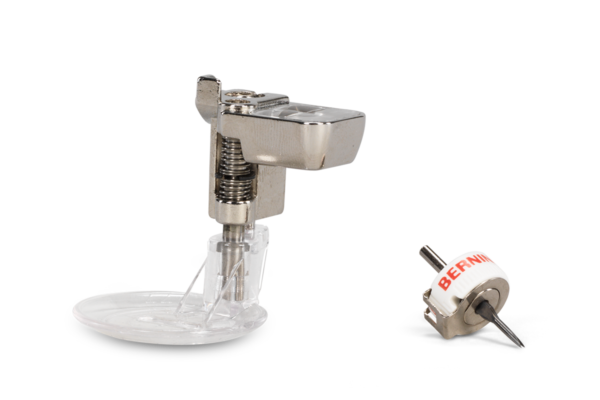
On the heels of this fantastic innovation came a second innovative product and a first in the home sewing industry, an attachment that could cut through layers of fabric! The BERNINA CutWork Tool was introduced in late 2009, and once again proved that BERNINA was a leader in product innovation. In fact, BERNINA International received second place for the CutWork Tool for the most prestigious Swiss Technology Award.
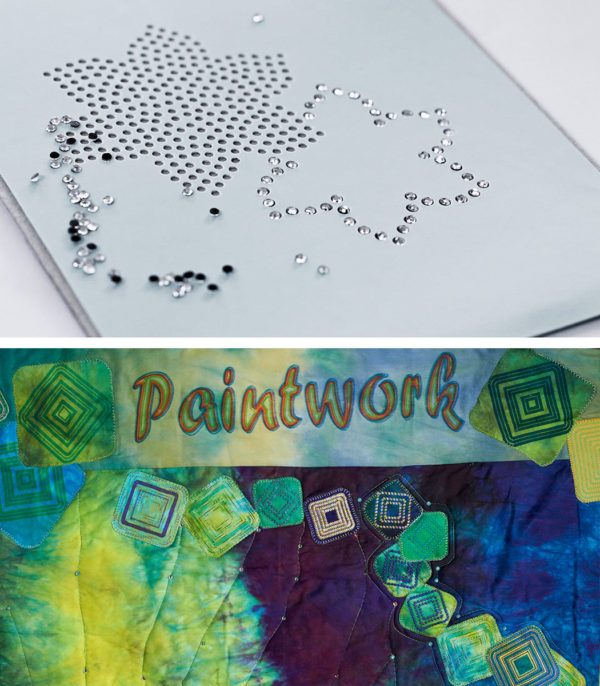
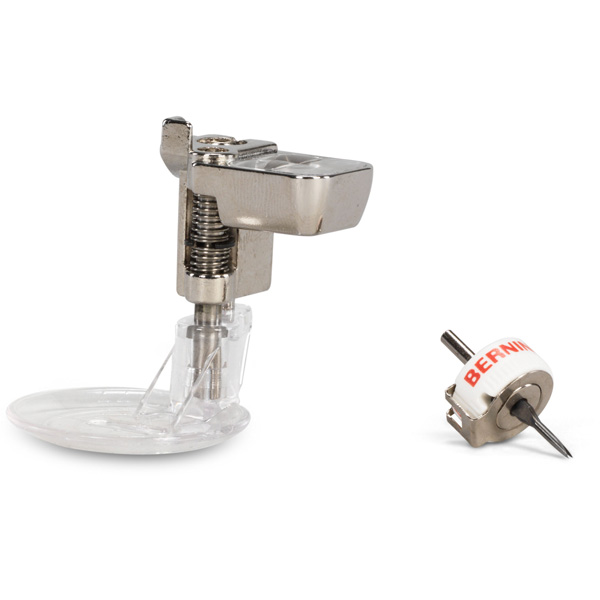
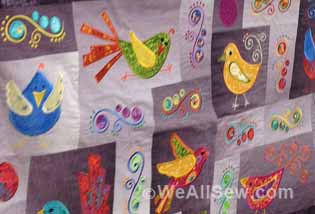
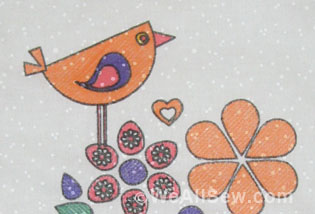
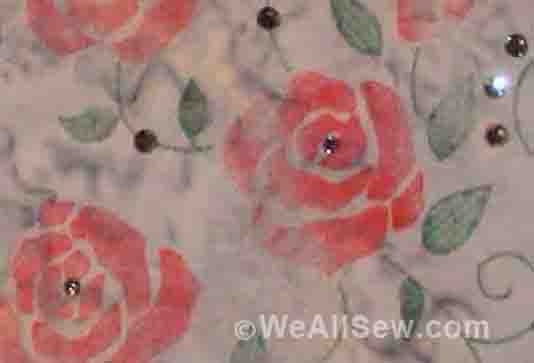
In 2012, BERNINA expanded the capabilities for BERNINA embroidery machines with the introduction of two more creative tools, the BERNINA PaintWork Tool and the CrystalWork Tool. These BERNINA developments once again illustrated why the company is an industry leader by becoming the first and only sewing machine to ever paint with fabric markers and create crystal appliqués.
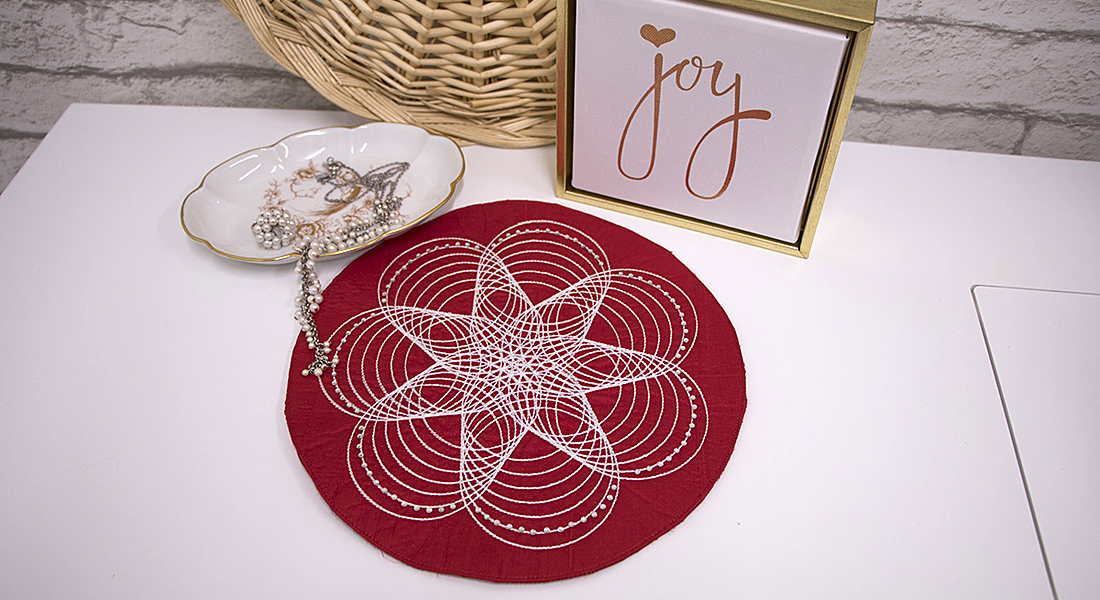
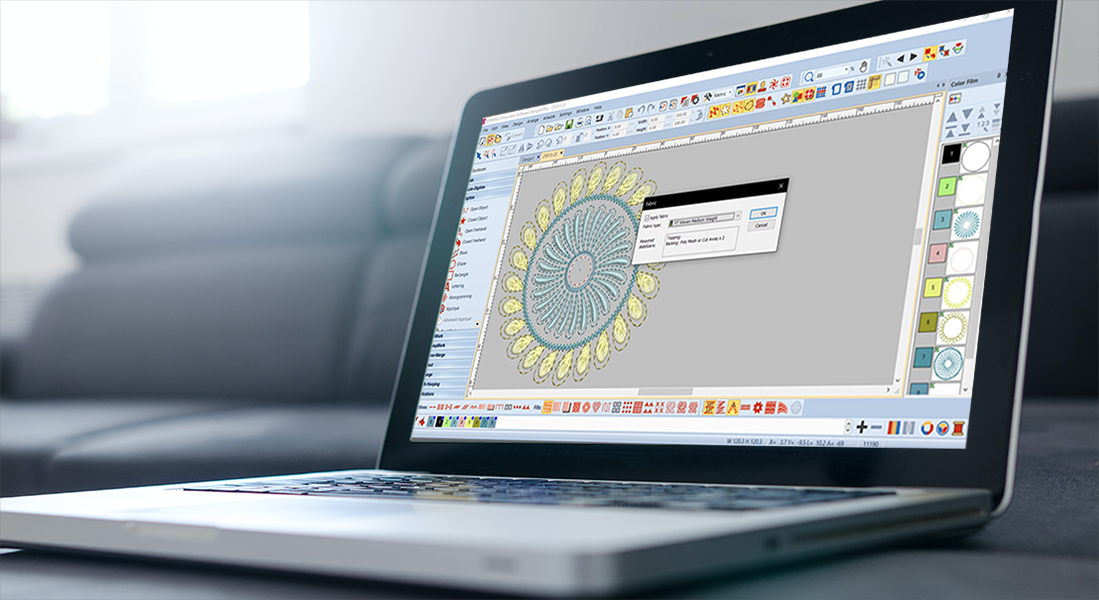
Those who use the CutWork tool have found many uses for the tool; including cutting precise appliqué pieces, cutting quilt shapes for piecing, cutting free-standing shapes, and creating traditional cutwork embroidery designs, to mention a few. BERNINA DesignWorks Suite software adds additional capabilities for creating your own designs for CutWork, CrystalWork, and PaintWork.
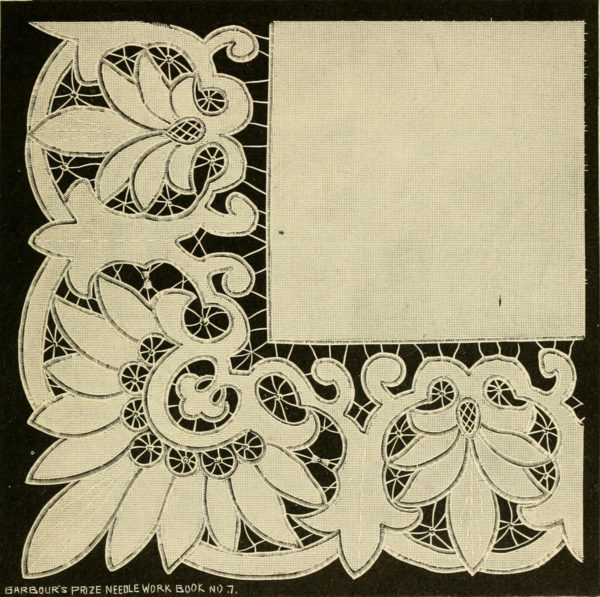
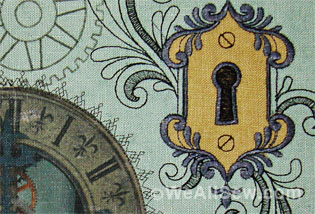
To acknowledge these developments in BERNINA’s history, I chose to do a cutwork project. Cutwork embroidery is a needlework technique that involves removing certain areas of fabric and finishing the edges with buttonhole stitches or satin stitches. Traditionally, this 14th century technique was accomplished by hand. With a pair of scissors and needle and thread, the intricate design was painstakingly created.
Note: Image courtesy of Wikimedia Commons
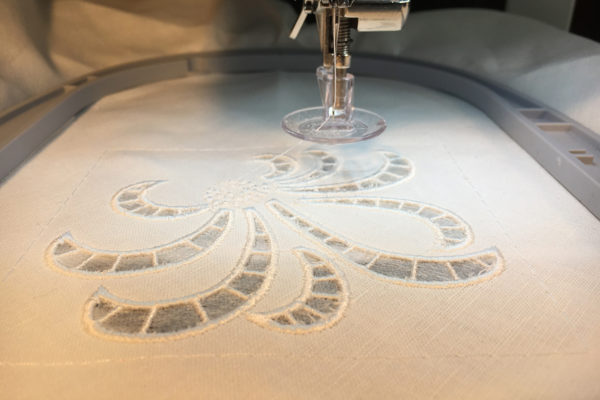
Today’s BERNINA CutWork Tool adds ease and accuracy to this historical technique. The CutWork Tool is inserted where a needle is typically placed in the machine. The CutWork embroidery designs include commands for setting the angle of the blade of the tool and the machine prompts you when to change the angle. There are four different knife positions used to cut through the fabric as the design is completed.
Materials for Sewing CutWork Napkin
- Linen Napkin
- Cutwork works best on a firm, tightly woven fabric that doesn’t fray easily. For this quick and easy project, I chose a ready-made linen napkin. I sprayed a light coating of spray starch to stiffen the fabric since the CutWork Tool works best with stiff fabrics.
- Stabilizers
- I placed OESD Heavy Weight TearAway Stabilizer behind the napkin to support the fabric as it was cut with the tool. I also used OESD Aquamesh WashAway Stabilizer after the napkin was cut to add support for the Richelieu bars in the design.
- Threads
- I wound a bobbin of matching Isacord Polyester Embroidery Thread since it is important for the back of the embroidery to also look nice.
- Needle
- I used an 80/12 embroidery needle.
- CutWork Design
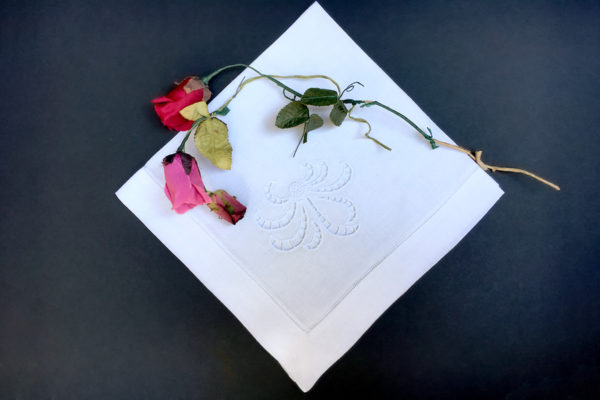
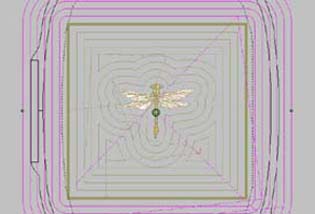
- I used a design that is part of BERNINA DesignWorks Software. It is BERNINA_025_chrisanteme.draw.
How to Sew CutWork Napkin
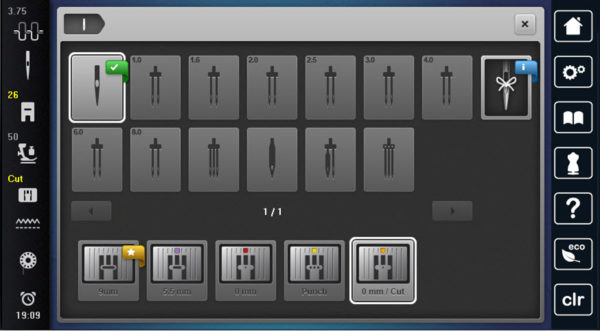
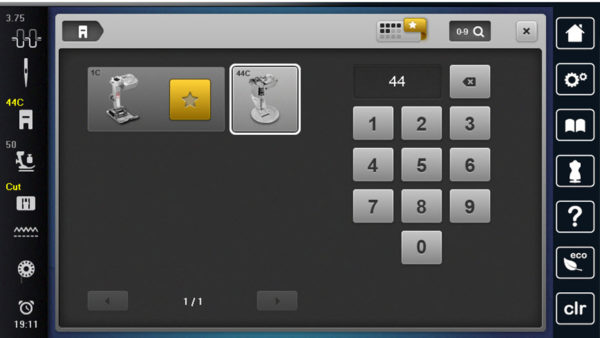
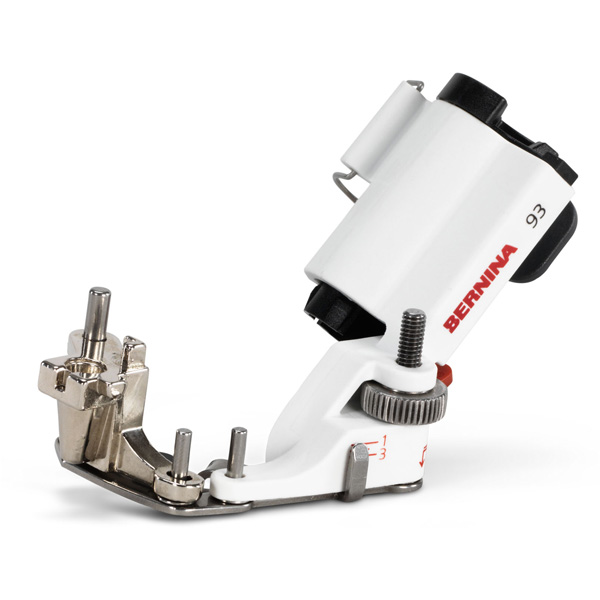
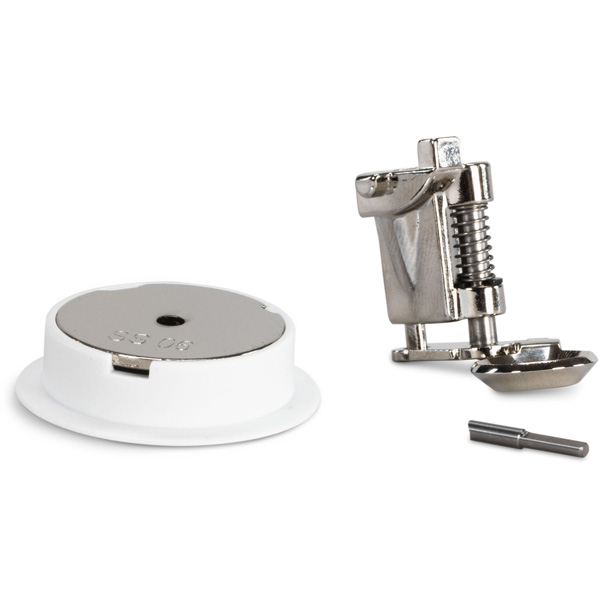
Step 1. Begin by winding a bobbin with the same thread that you use in the needle. Place the CutWork needle plate and the Echo Quilting & CutWork Foot #44C on the machine. If your machine has a Needle Security program, choose the CutWork needle plate and select Cutwork Foot #44C.
If your machine has Presser Foot Recognition, select Foot #44C in the Presser Foot Indicator/Presser Foot Selection display.
Step 2. Mark the diagonal vertical center of the linen napkin and back the napkin with the Heavy Weight TearAway stabilizer so that the marked center is in the center of the hoop. Use the hoop’s plastic template to help align the napkin in the hoop.
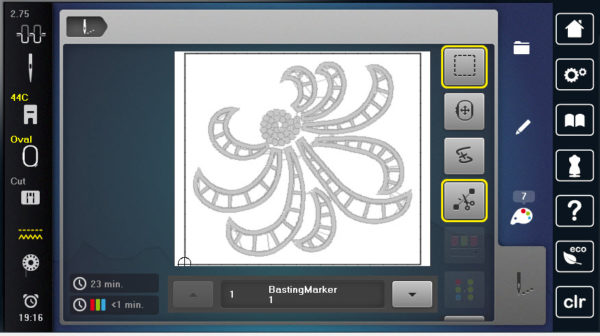
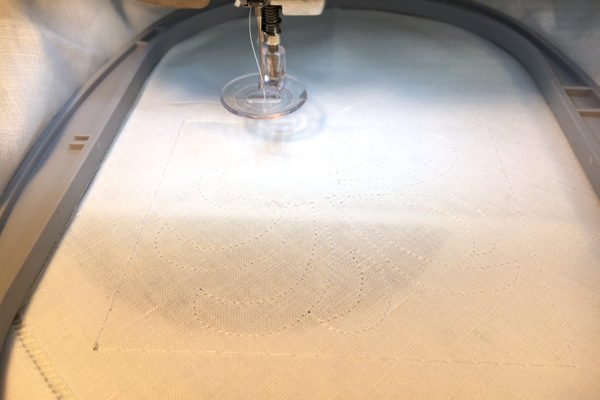
Select the design and position the design as desired. Add a basting box around the design and stitch the basting box.
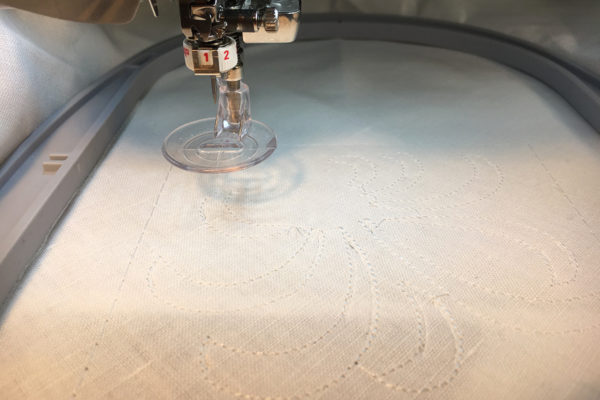
Step 3. Stitch the running before stitches. Running before stitches are added to a design to stabilize the fabric around the cut-out areas prior to using the CutWork tool.
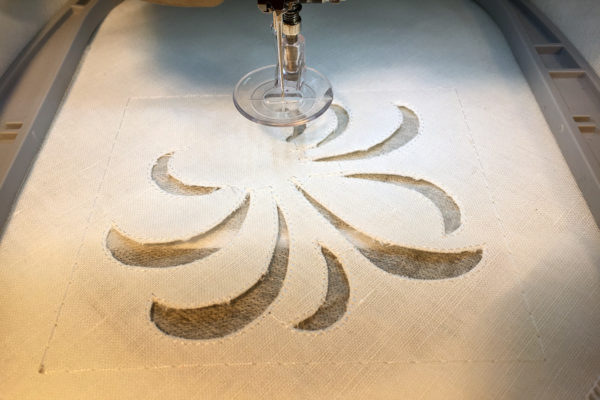
Step 4. Remove the needle and the upper thread. Place the CutWork Tool in the machine with the flat side toward the back and make sure it is set for Position 1. Restart the machine and complete Cut 1. When the machine stops, turn the dial to Cut 2 position and work your way through the design until Cut 3 and 4 are completed.
Step 5. Remove the hoop from the machine, but leave the napkin in the hoop. Remove the cut pieces from the towel and float a piece of water soluble stabilizer under the cut areas. Place the hoop back on the machine.
Step 6. Reset your machine for regular embroidery by replacing the CutWork Tool with the needle and rethreading the upper thread. Complete the design.
Cut away the excess stabilizer from the back; then rinse the towel in warm water to remove the water soluble stabilizer. Be sure to rinse thoroughly. Let the towel dry. Press and enjoy!
BERNINA’s current line of embroidery machines are compatible with the CutWork Tool, plus many of our retired machines are also compatible. For more information about CutWork embroidery, be sure and visit your local BERNINA store!
What you might also like
One comment on “BERNINA DesignWorks Software Suite”
Leave a Reply
You must be logged in to post a comment.


Hi, I have too many color changes in my PaintWorks project. Is there a way to combine colors? Thank you.