DYI Personalized Can Wrap
Keep your cool.
No sweaty palms.
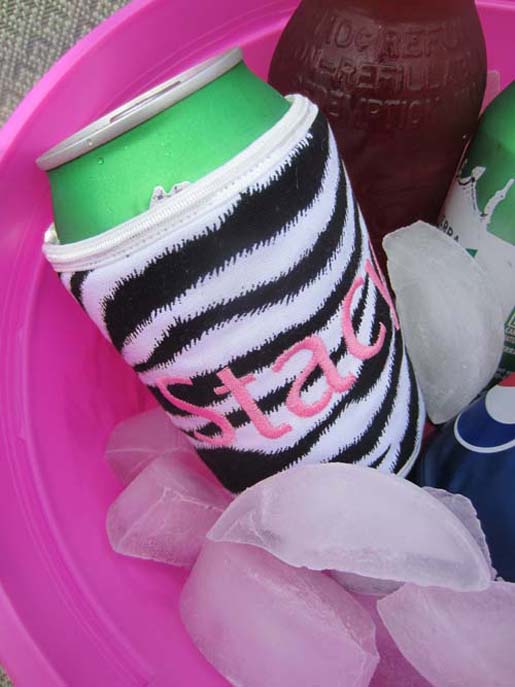
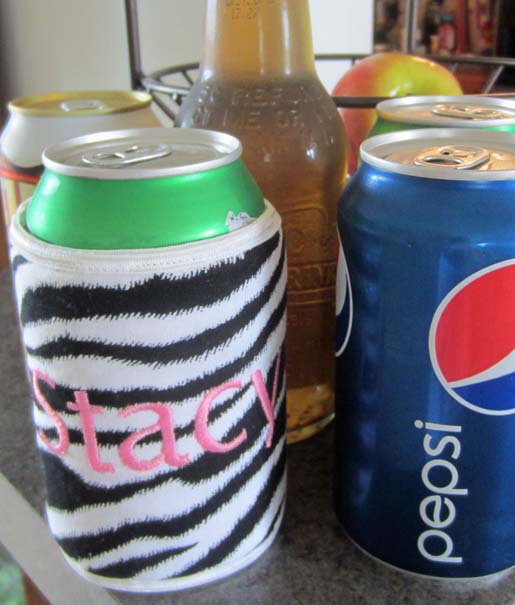
It’s as simple as putting a wrap on a cold can of soda. It is easier to hold and there’s no condensation to wet your hands. Jazz them up with fun summery colors or prints and personalize them with the names of your pals. A perfect party favor for your next barbeque with friends.
Supplies
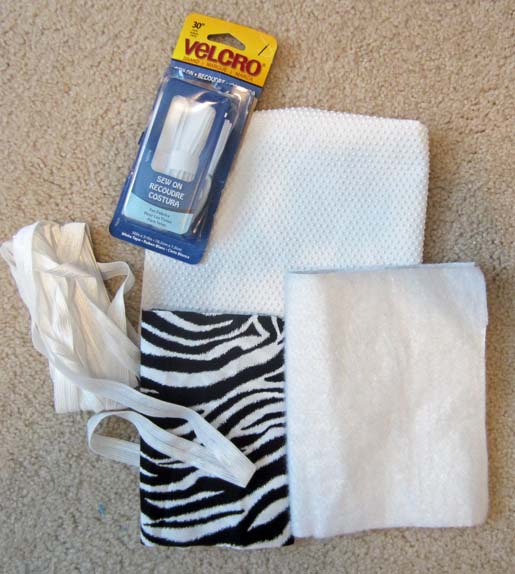
- 6ʺ x 12ʺ rectangle of print fabric
- 6ʺ x 12ʺ rectangle of Jiffy Grip or Grip Stop*
- 6ʺ x 12ʺ rectangle Insul-Bright® (needle-punched insulating material)
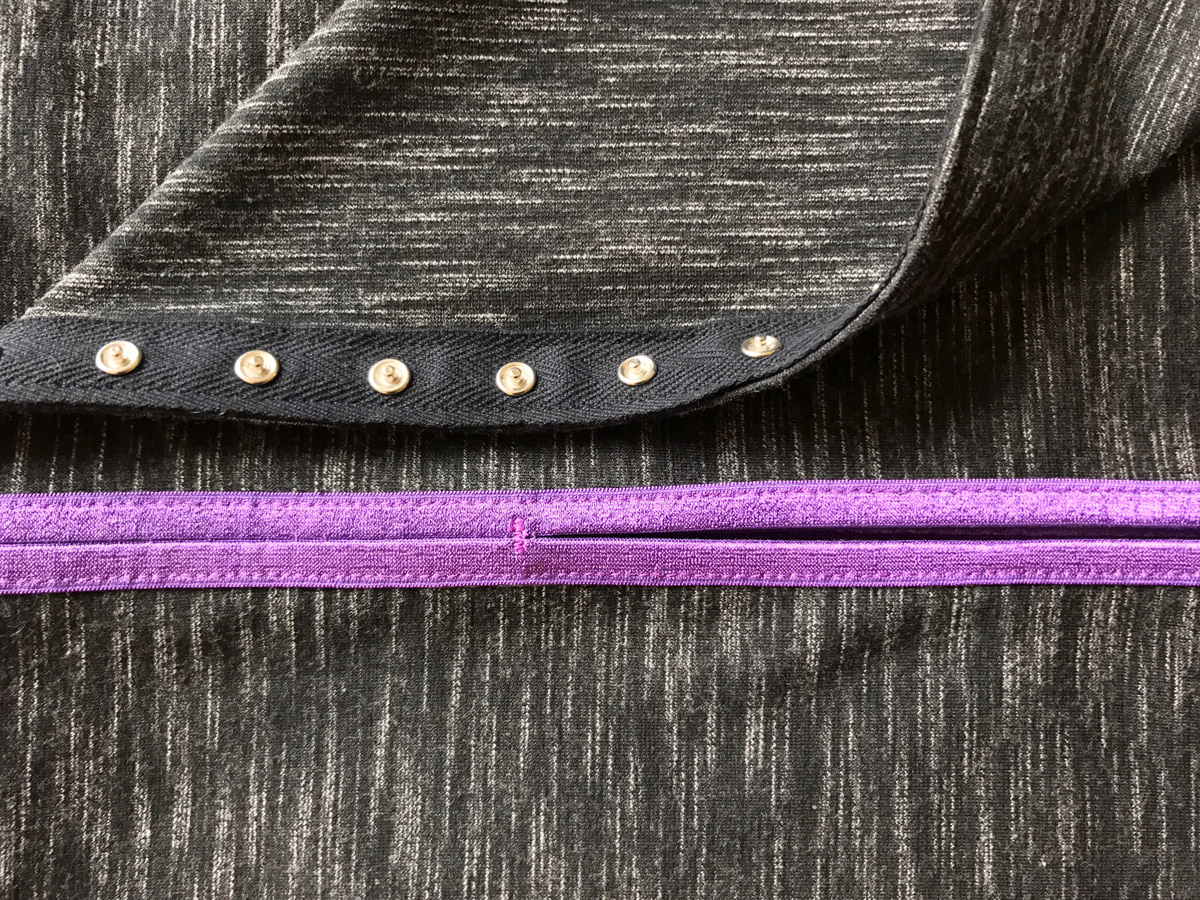
- 1 yard of fold-over elastic (preferred) or bias binding
- 4-1/2ʺ-long strip of sew-on hook-and-loop tape
- Matching thread
- Size 80/12 Universal (all-purpose) sewing machine needle
*Grip Stop is found in the utility section of many fabric stores; Jiffy Grip is found in the notions aisle. These materials are designed to keep your wrap from slipping out of place.
supplies for optional embroidery
- Embroidery machine
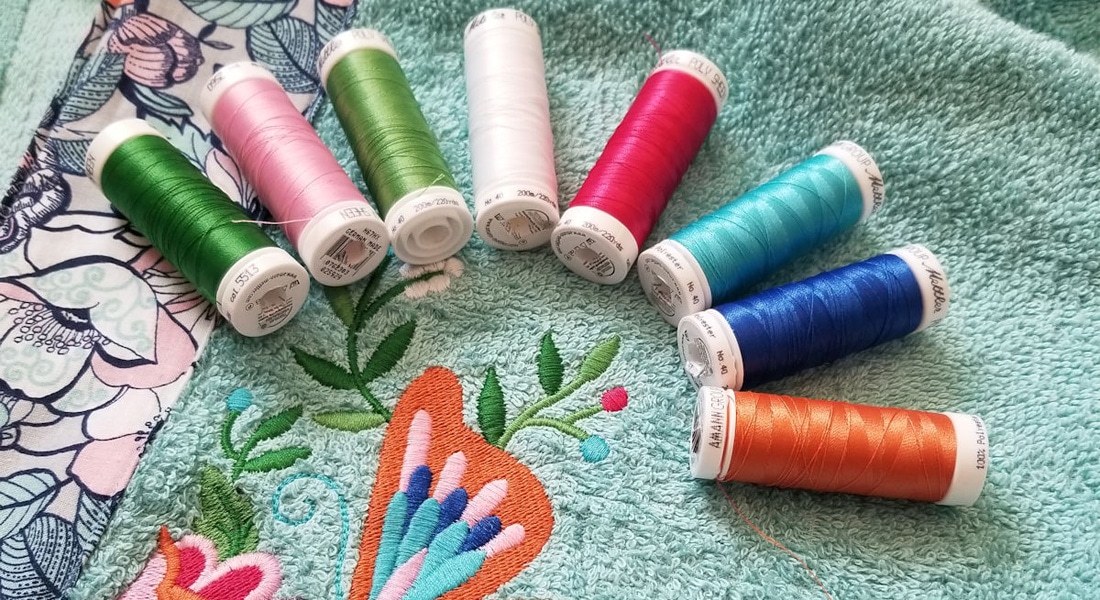
- Embroidery thread
- OESD LightWeight Cut-Away Stabilizer
- Temporary fabric adhesive
- Size 80/12 Embroidery needle
Step 1) Cut the fabric.
Download and print the template: Can_Wrap_Pattern_Piece_-_WeAllSew.pdf
Using the template
- Cut one piece from exterior fabric
- Cut one piece from InsulBrite
- Cut one piece from Jiffy Grip or Grip Stop
Step 2) Embroider a name. (Optional)
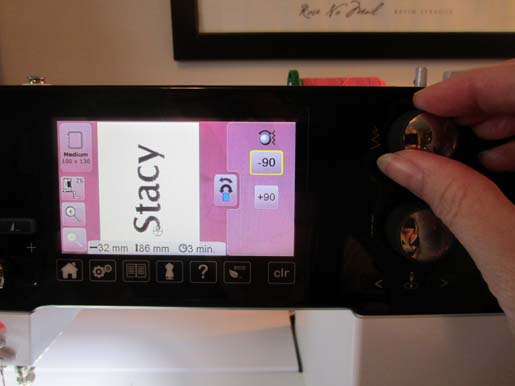
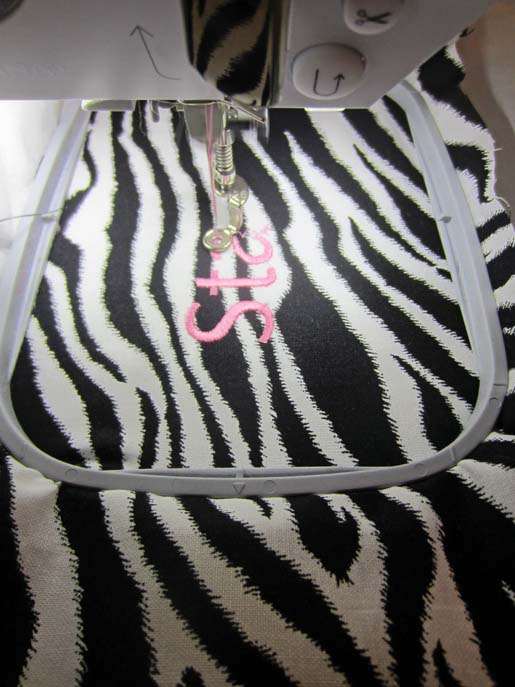
Embroider a name, design, or saying on the exterior fabric piece, making sure the name runs lengthwise across the fabric.
Step 3) Construct the can wrap.
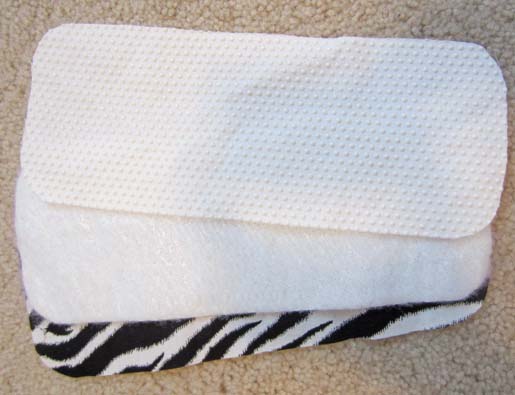
Make a fabric “sandwich” as follows, matching raw edges:
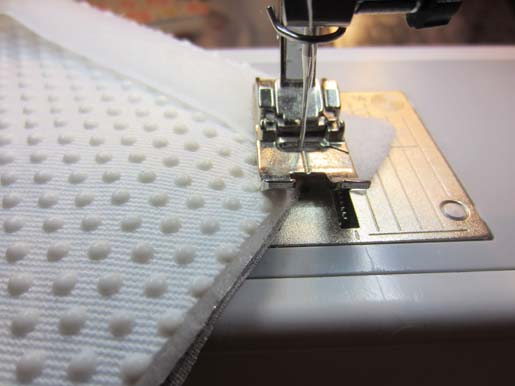
- Jiffy Grip or Grip Stop wrong side up
- InsulBrite next
- Exterior fabric right side up
Baste layers together or use temporary fabric adhesive to hold the layers together.
Attach hook-and-loop tape to the wrap ends:
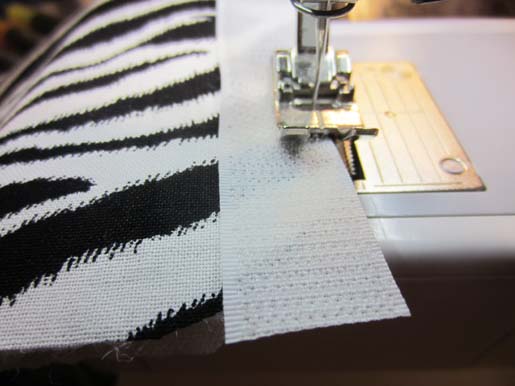
- Sew the scratchy hook tape to the exterior fabric.
- Sew the soft loop tape to the Jiffy Grip/Grip Stop fabric.
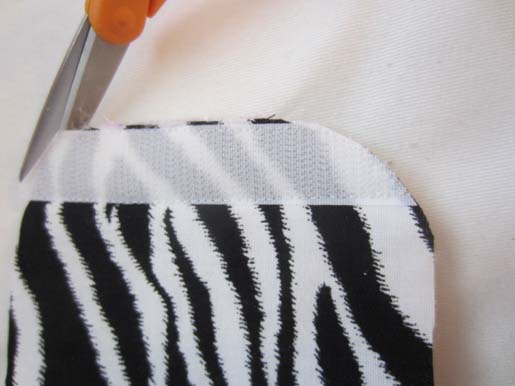
Trim the excess hook-and-loop tape from the wrap, rounding the edges as needed.
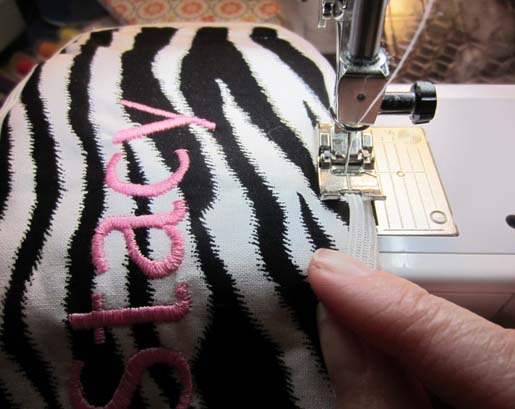
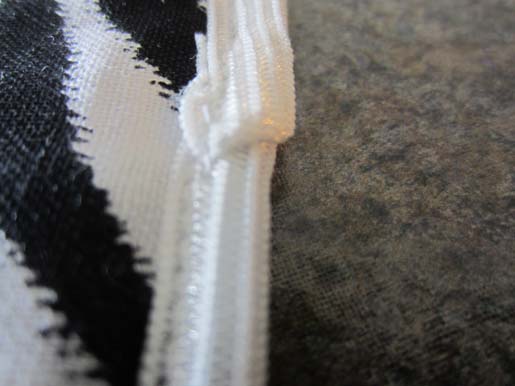
Apply fold-over elastic (or bias binding) to the edges of the can wrap, folding under 1/4ʺ to 3/8ʺ at the end to create a finished edge.
Place the wrap around your favorite beverage, overlapping the hook-and-loop edges to secure the ends.





One comment on “DYI Personalized Can Wrap”