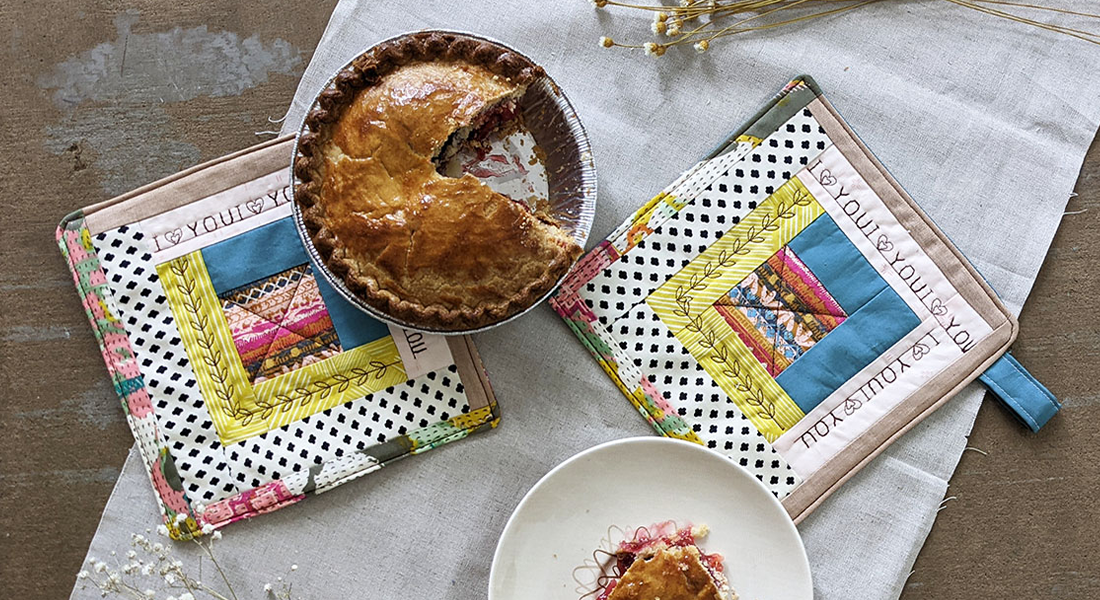
Circle Pot Holder
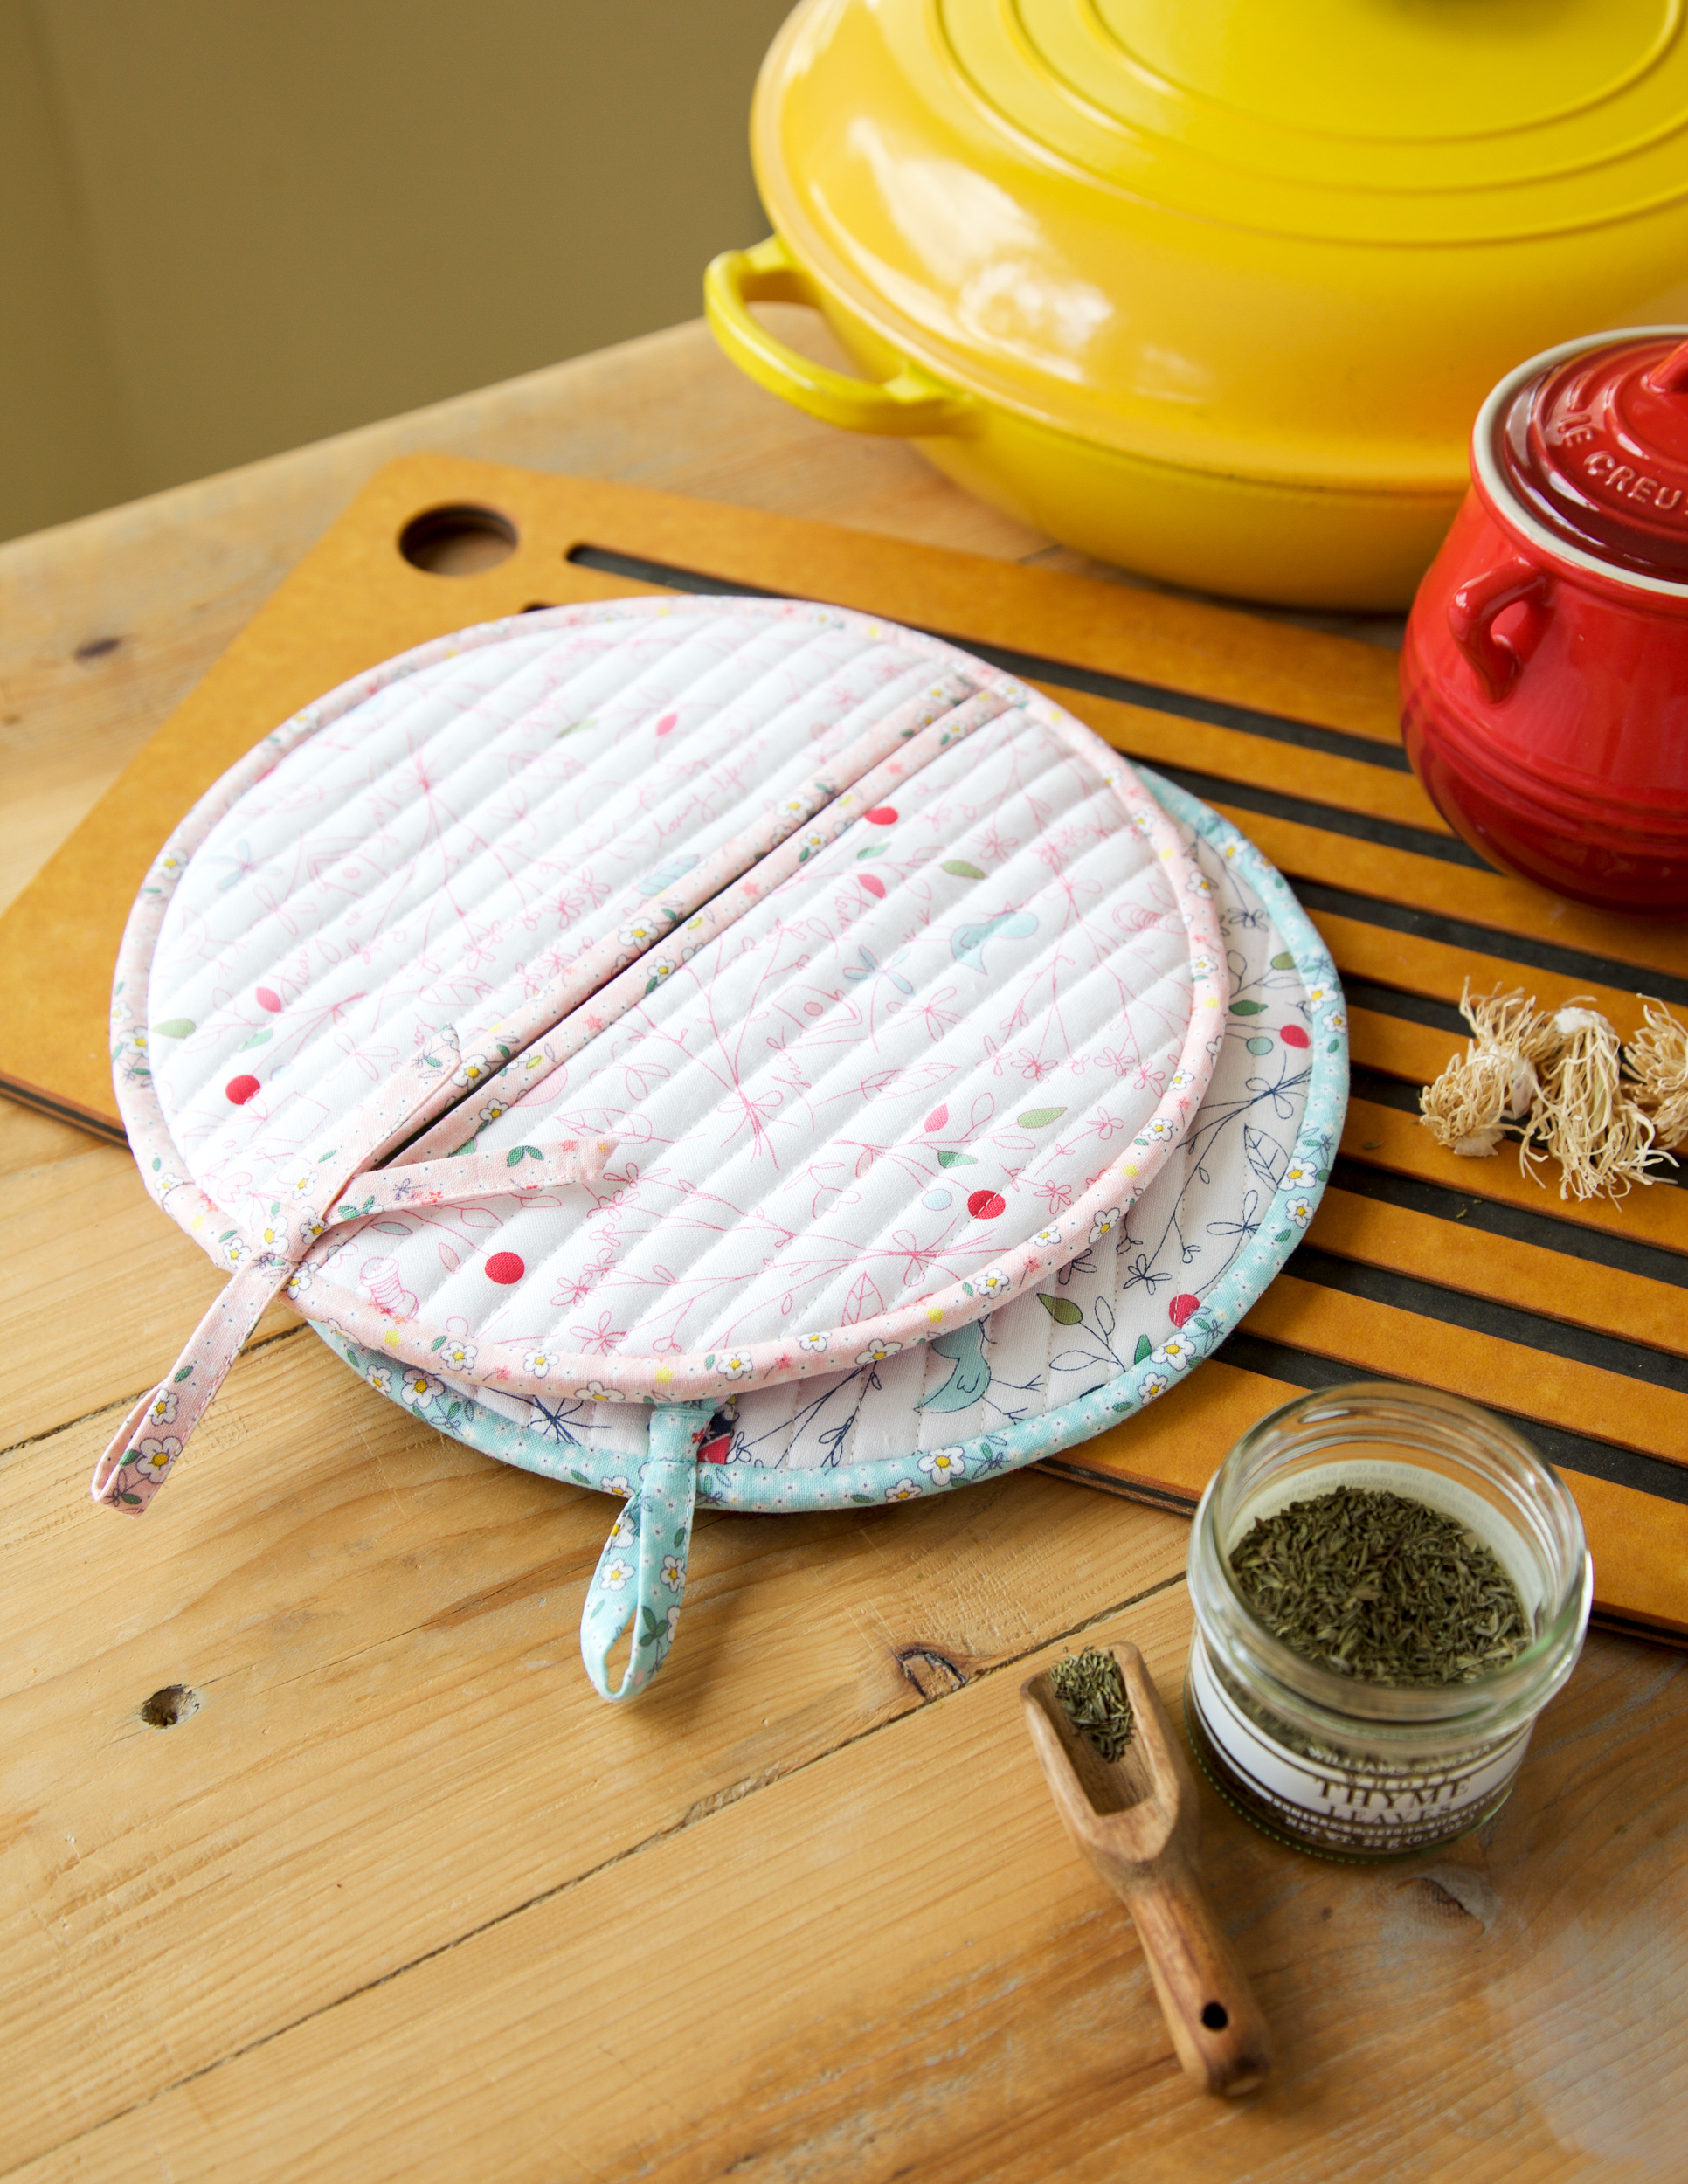
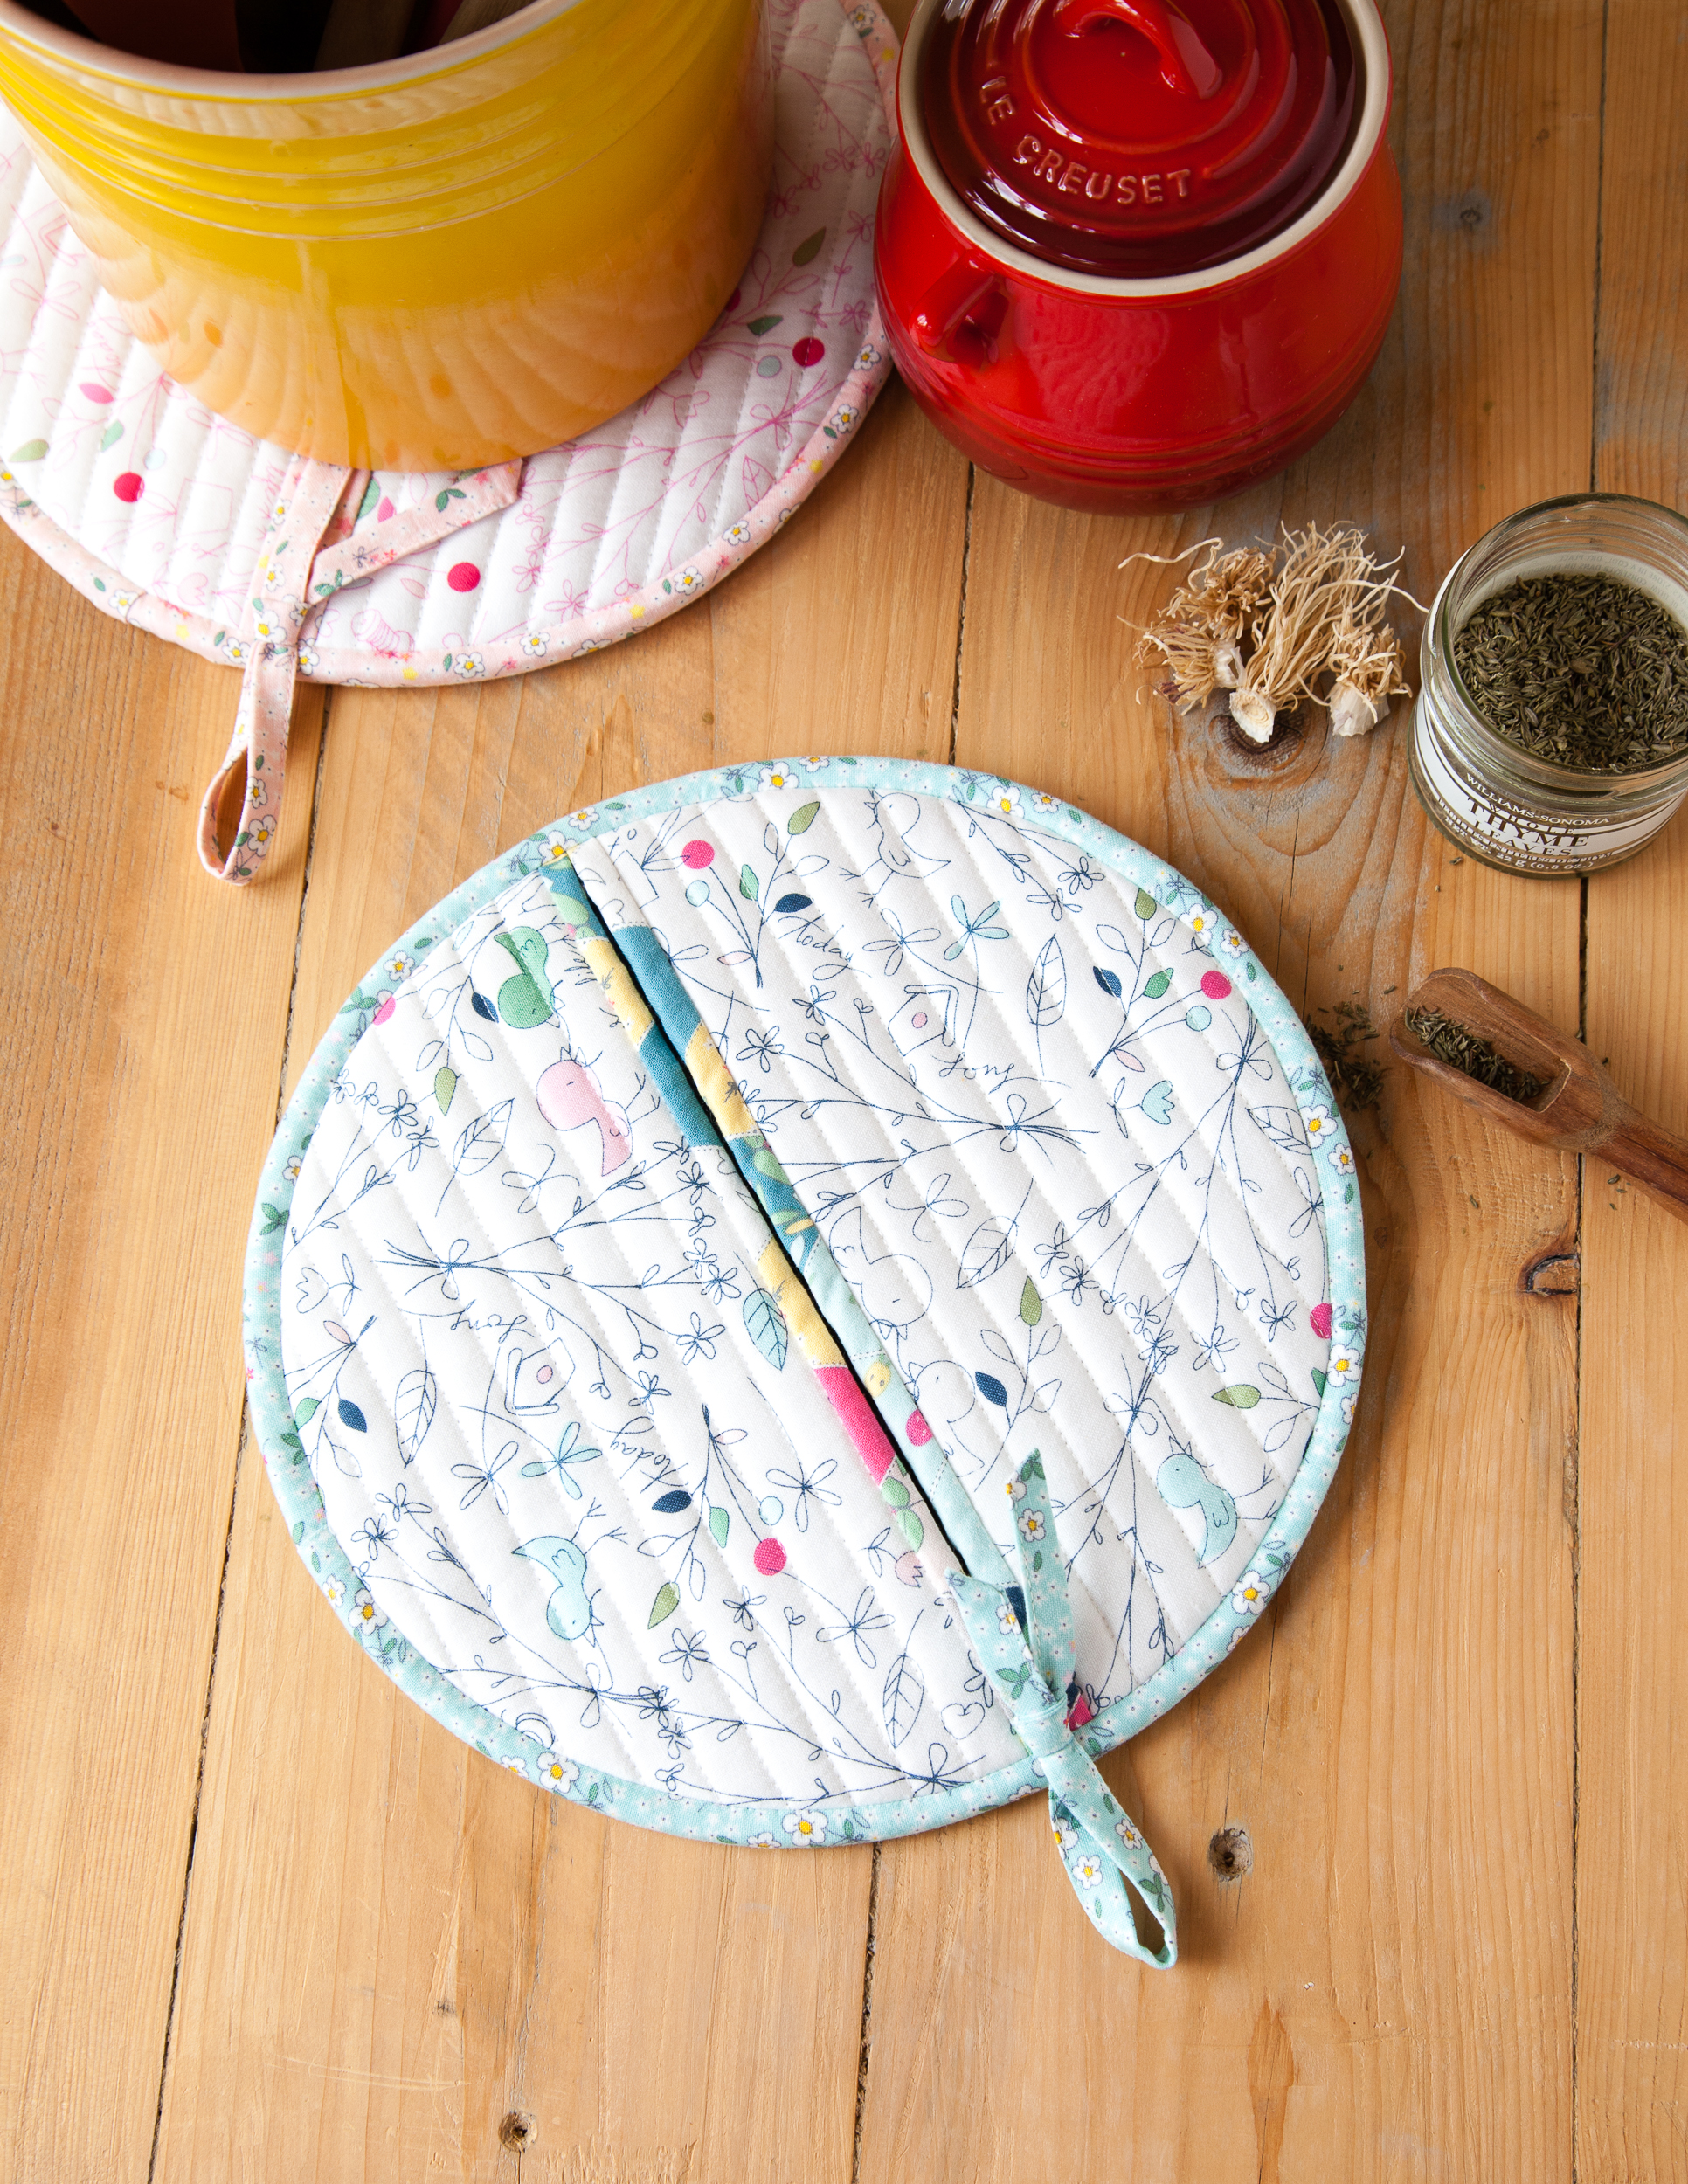
Hello, it’s Minki from MinkiKim.com. Are you tired of making square or rectangle pot holders? How about a circle pot holder this time? I have made a pair and have kept using them as trivets, pot holders, and mostly for my kitchen decor. It’s a very simple and fast project so you can finish in an evening and it’s a perfect gift too!
Finished size: 8” circle
Materials to Make a Circle Pot Holder
- 9″ x 9″ square print fabric for pot holder pocket
- Fat quarter print fabric for lining
- 9″ x 9″ square print fabric for pot holder backing
- One (1) 2 1/2″ x 31″ fabric strip for double-fold binding
- One (1) 1 1/2″ x 31″ strip for single-fold binding
- Insul Bright lining for inside pot holder, a fat quarter sized square about 18″ x 24″
Cutting Instructions to Make a Circle Pot Holder
- Download the Circle Pot Holder template
- Pot Holder lining: two (2) 9” x 9”
- Insul Batting : three (3) 9” x 9”
Instructions to Sew a Circle Pot Holder
Seam allowances 1/4” unless otherwise noted.
Quilting
1. Layer pot Holder front, 1 layer Insul Bright batting with wrong side facing and pin in place. Draw a centerline on a pocket piece and quilt as desired. I quilted straight lines 1/2″ apart from the centerline. In the same manner, quilt pot Holder backing piece except for use 2 layers of Insul Bright batting.
Trace the pattern, matching the center line, and cut out 8” circles.

Pockets
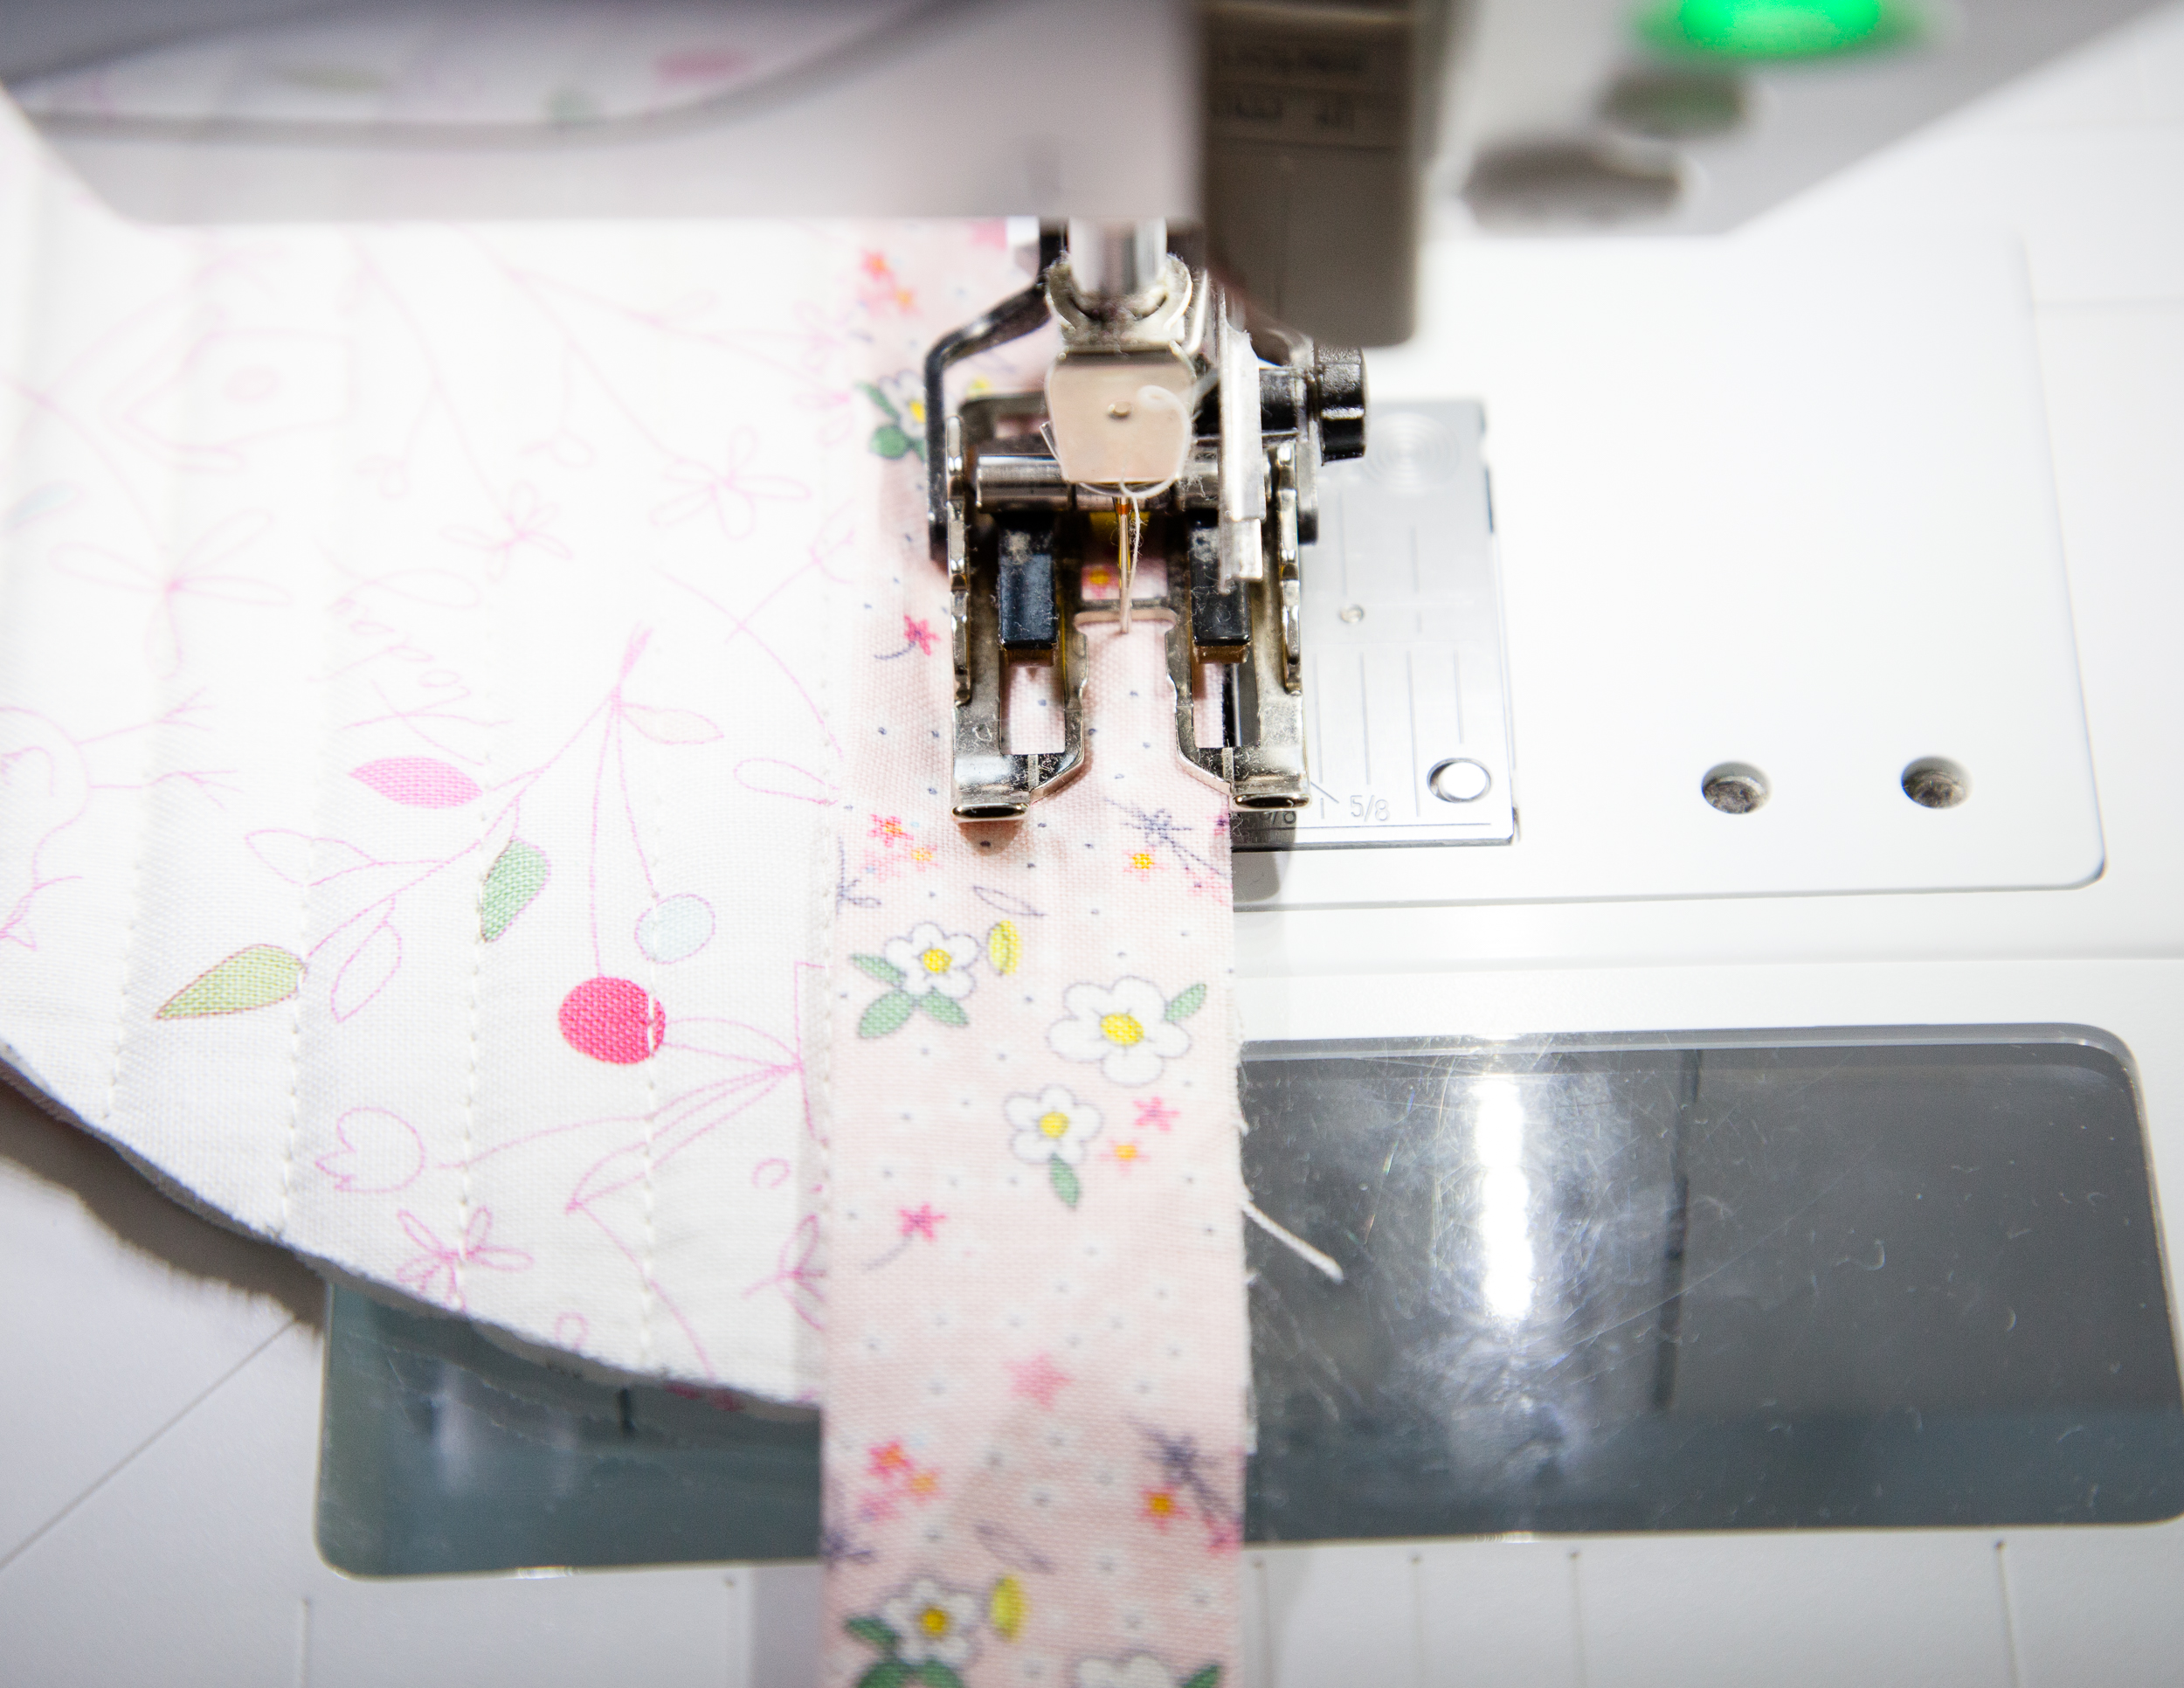
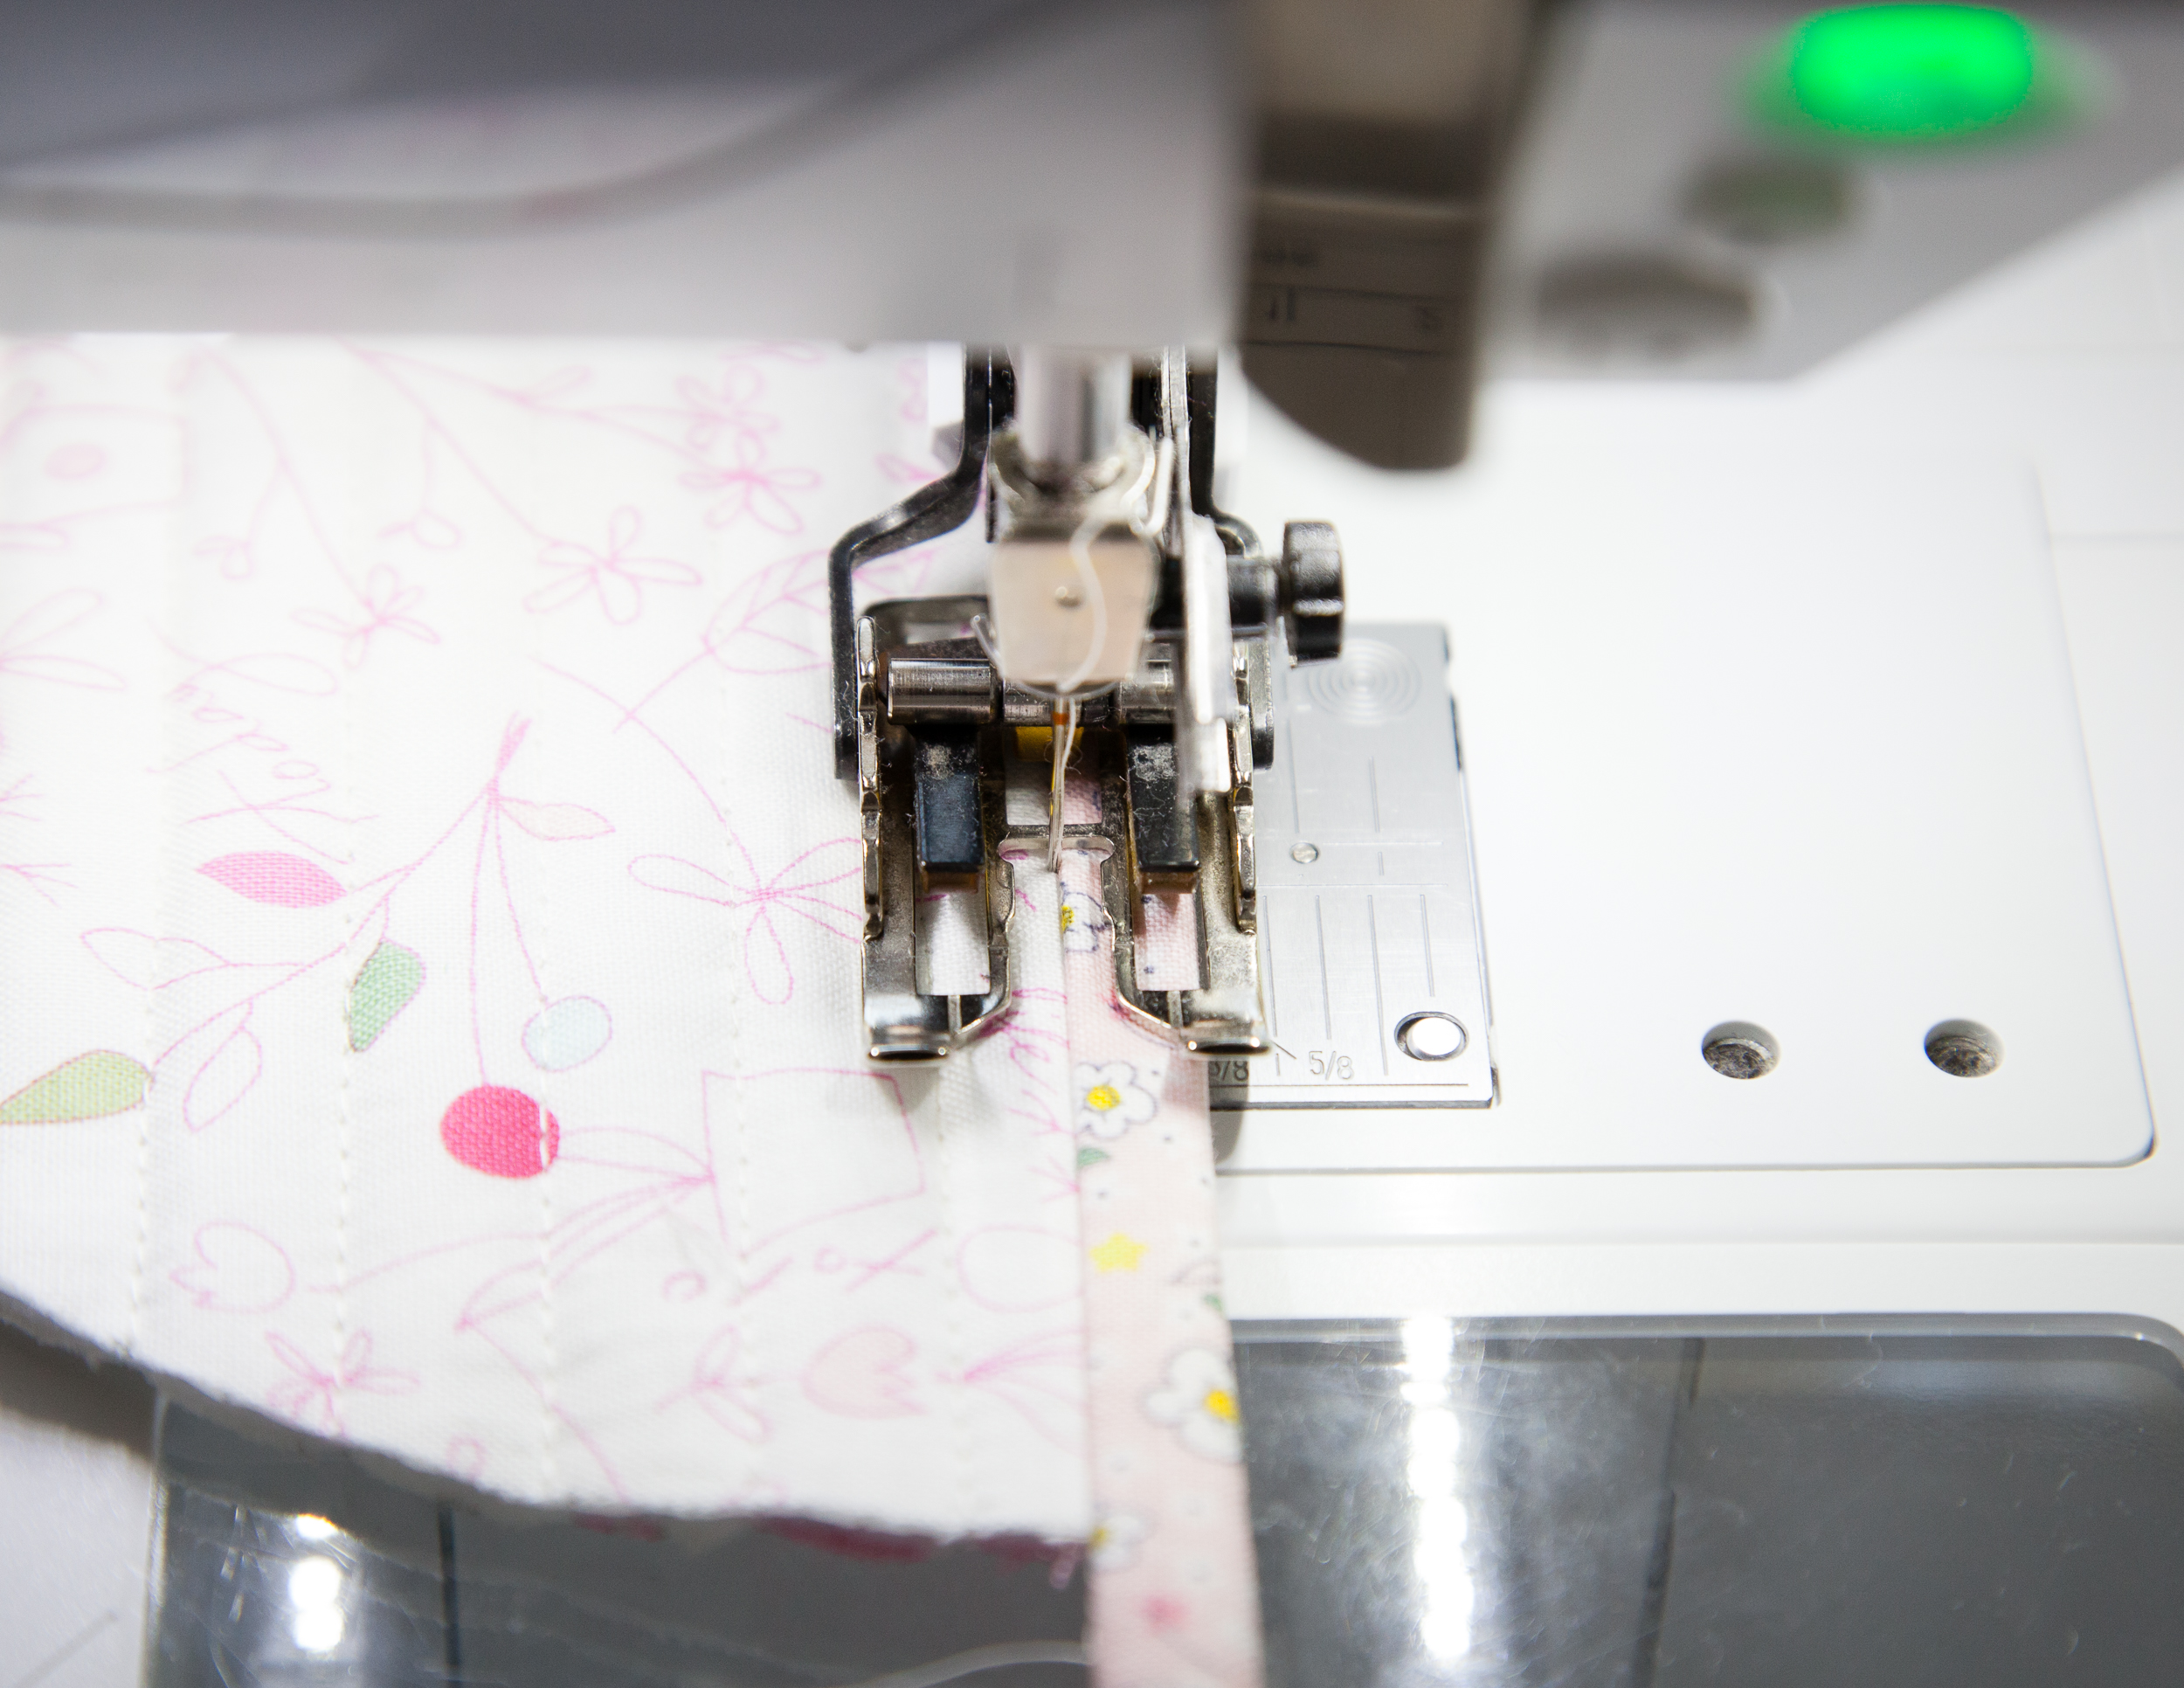
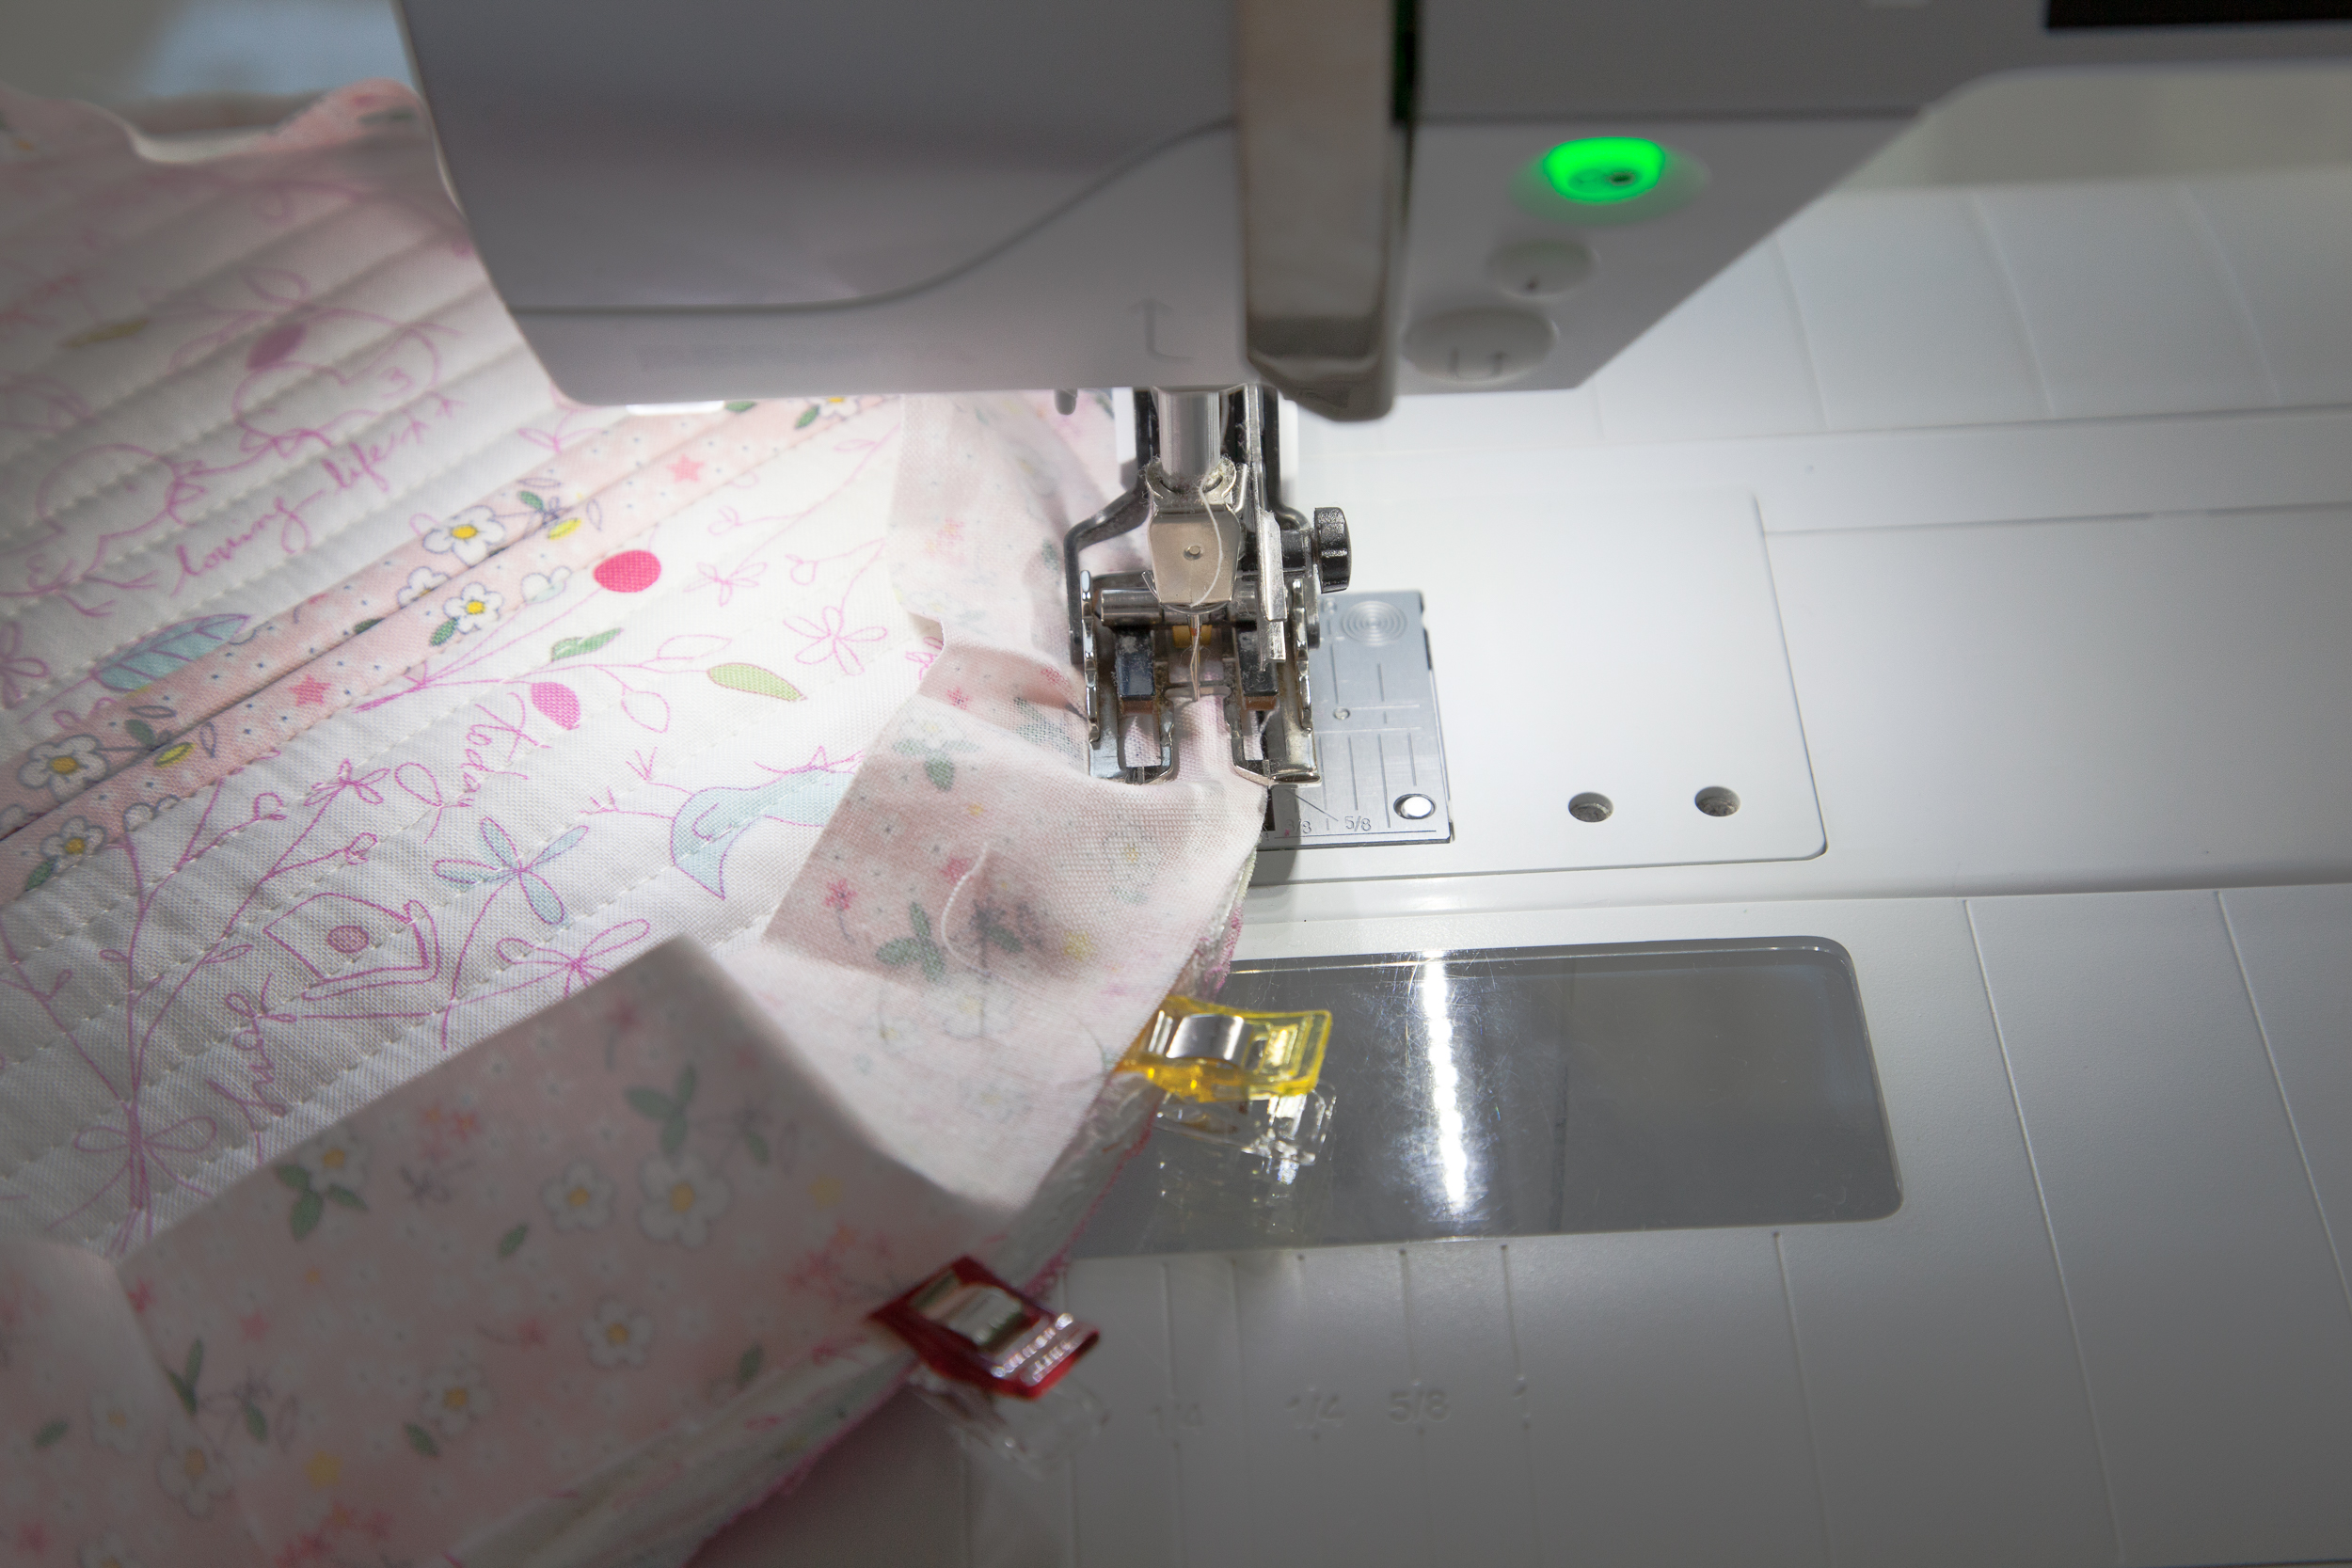
1. Using a rotary cutter, cut along the center line of the pocket piece. Place a double-fold binding strip along the straight edge. Sew with 3/8″ seam using a walking foot.
2. Fold the binding over to the back of the pot holder pocket and press. Stitch-in-the-ditch. Repeat and bind the remaining pocket piece.
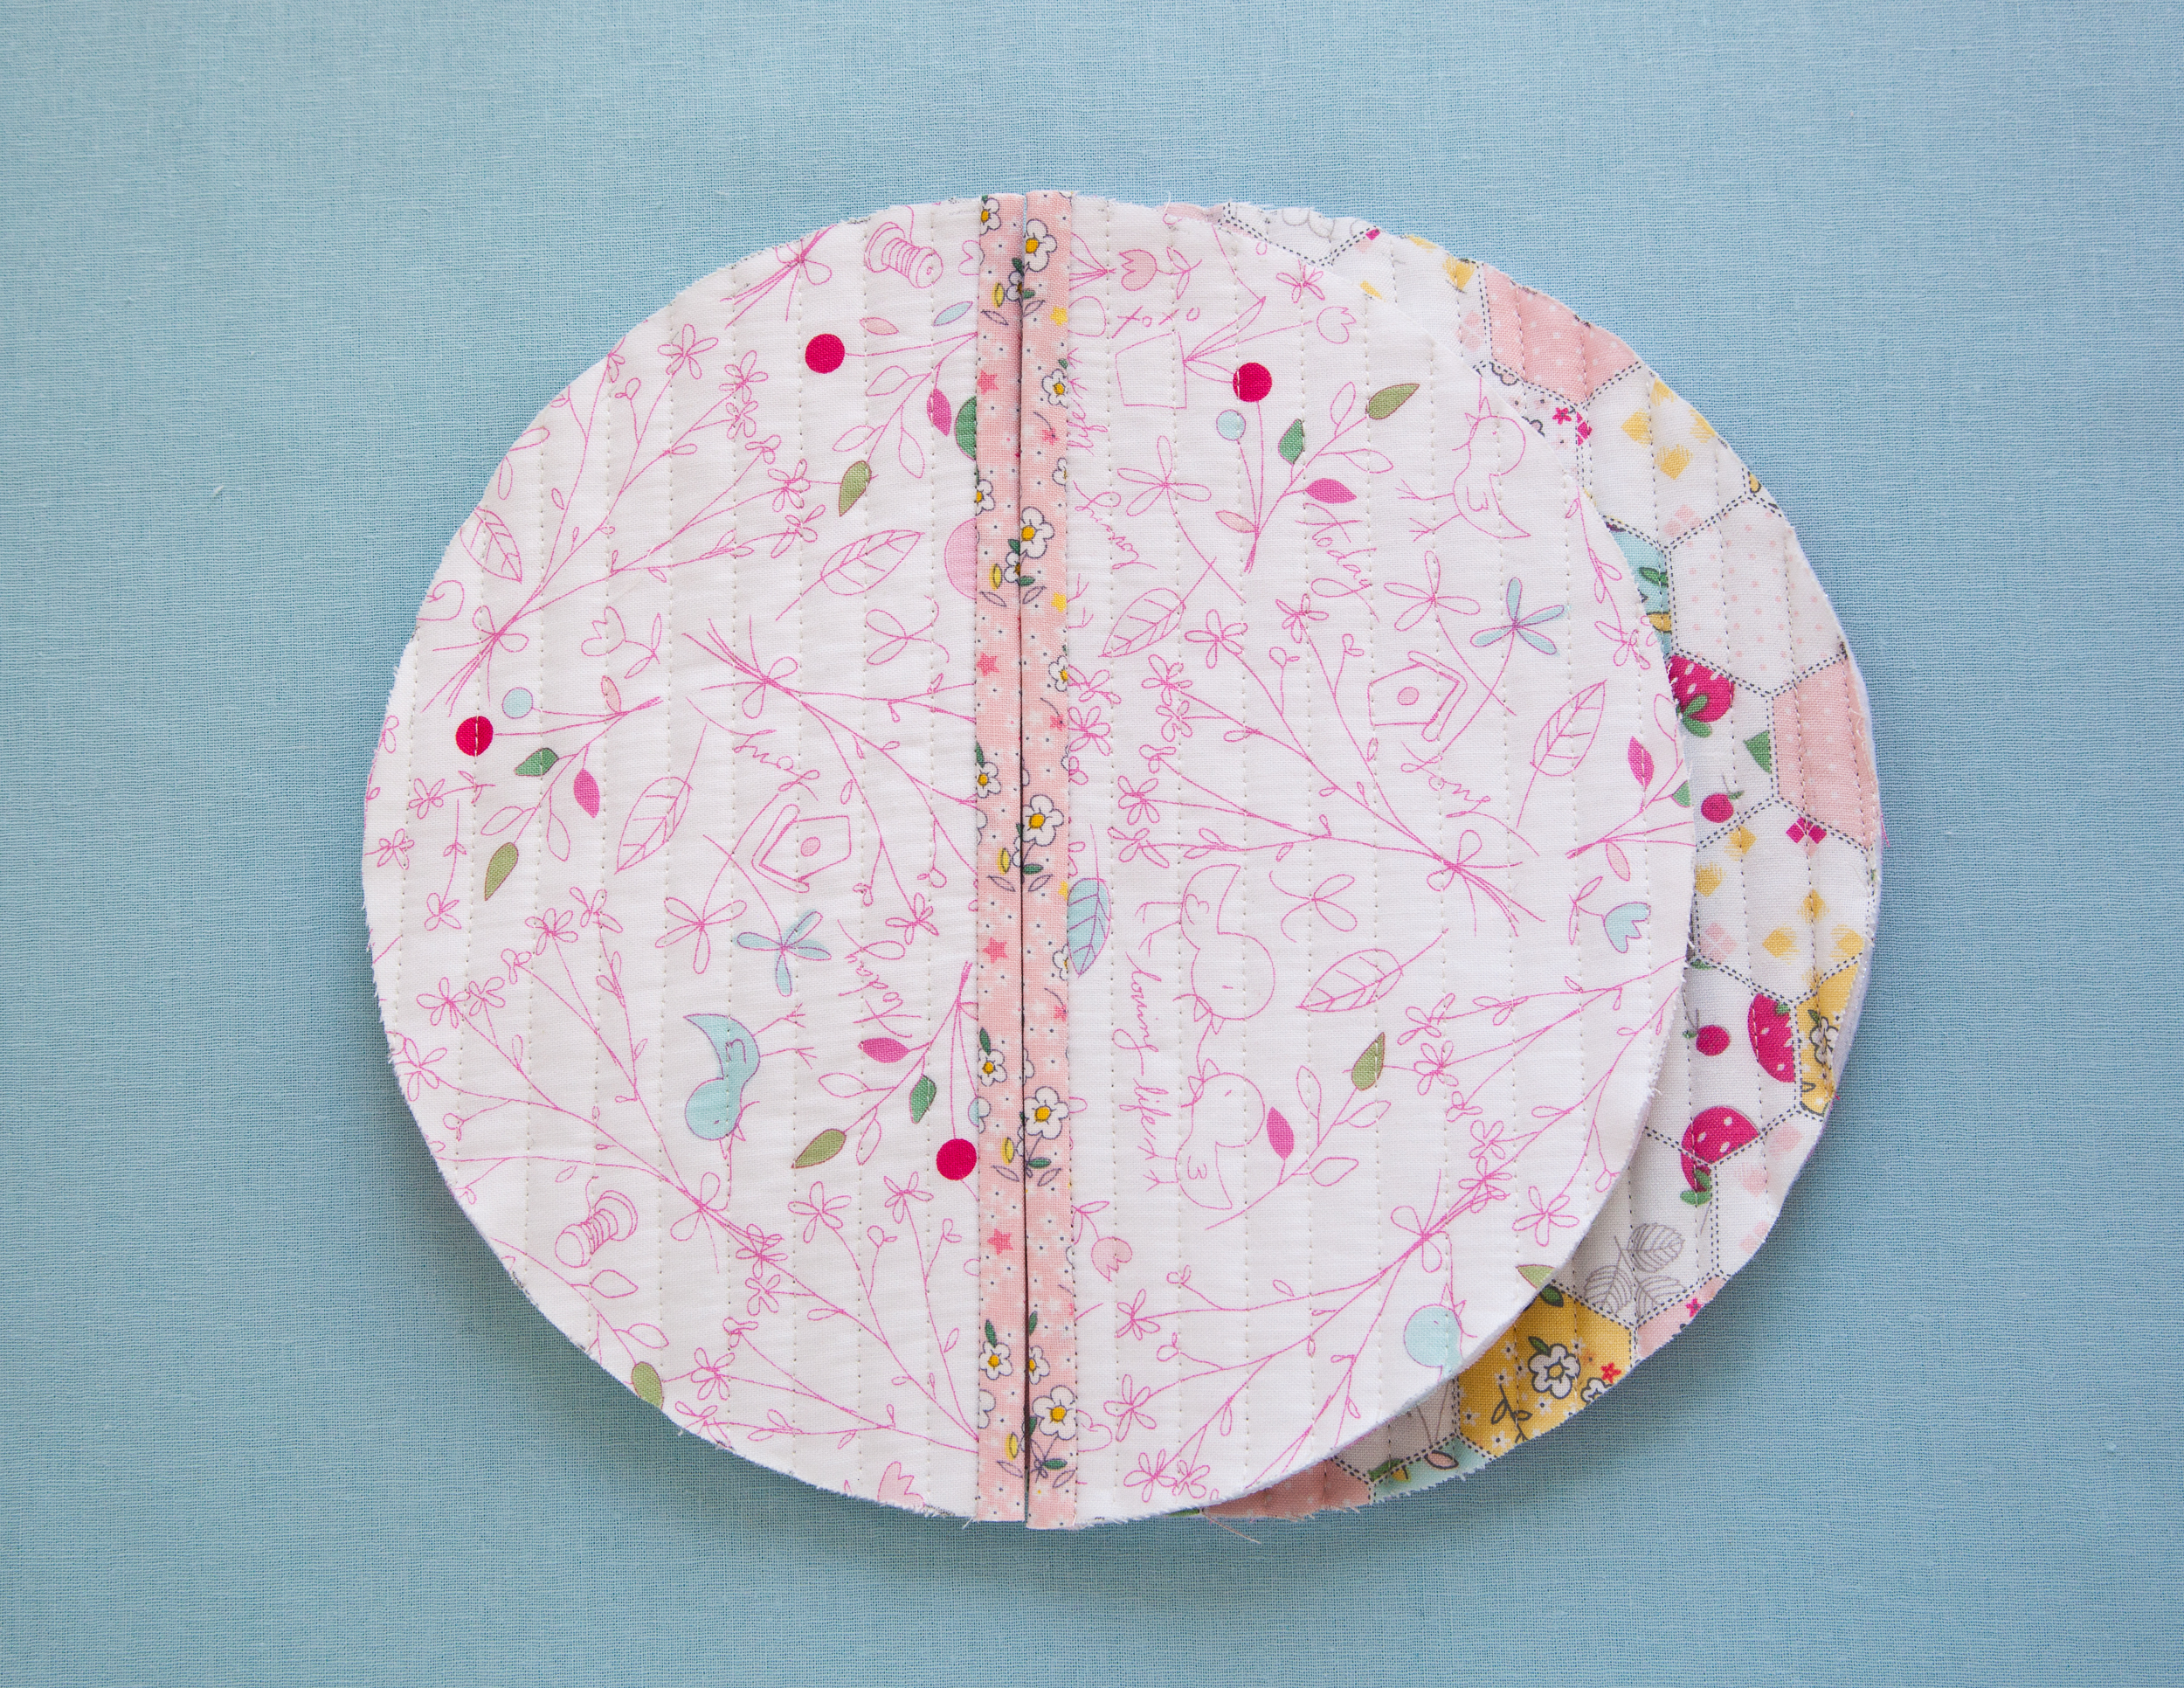
Assemble
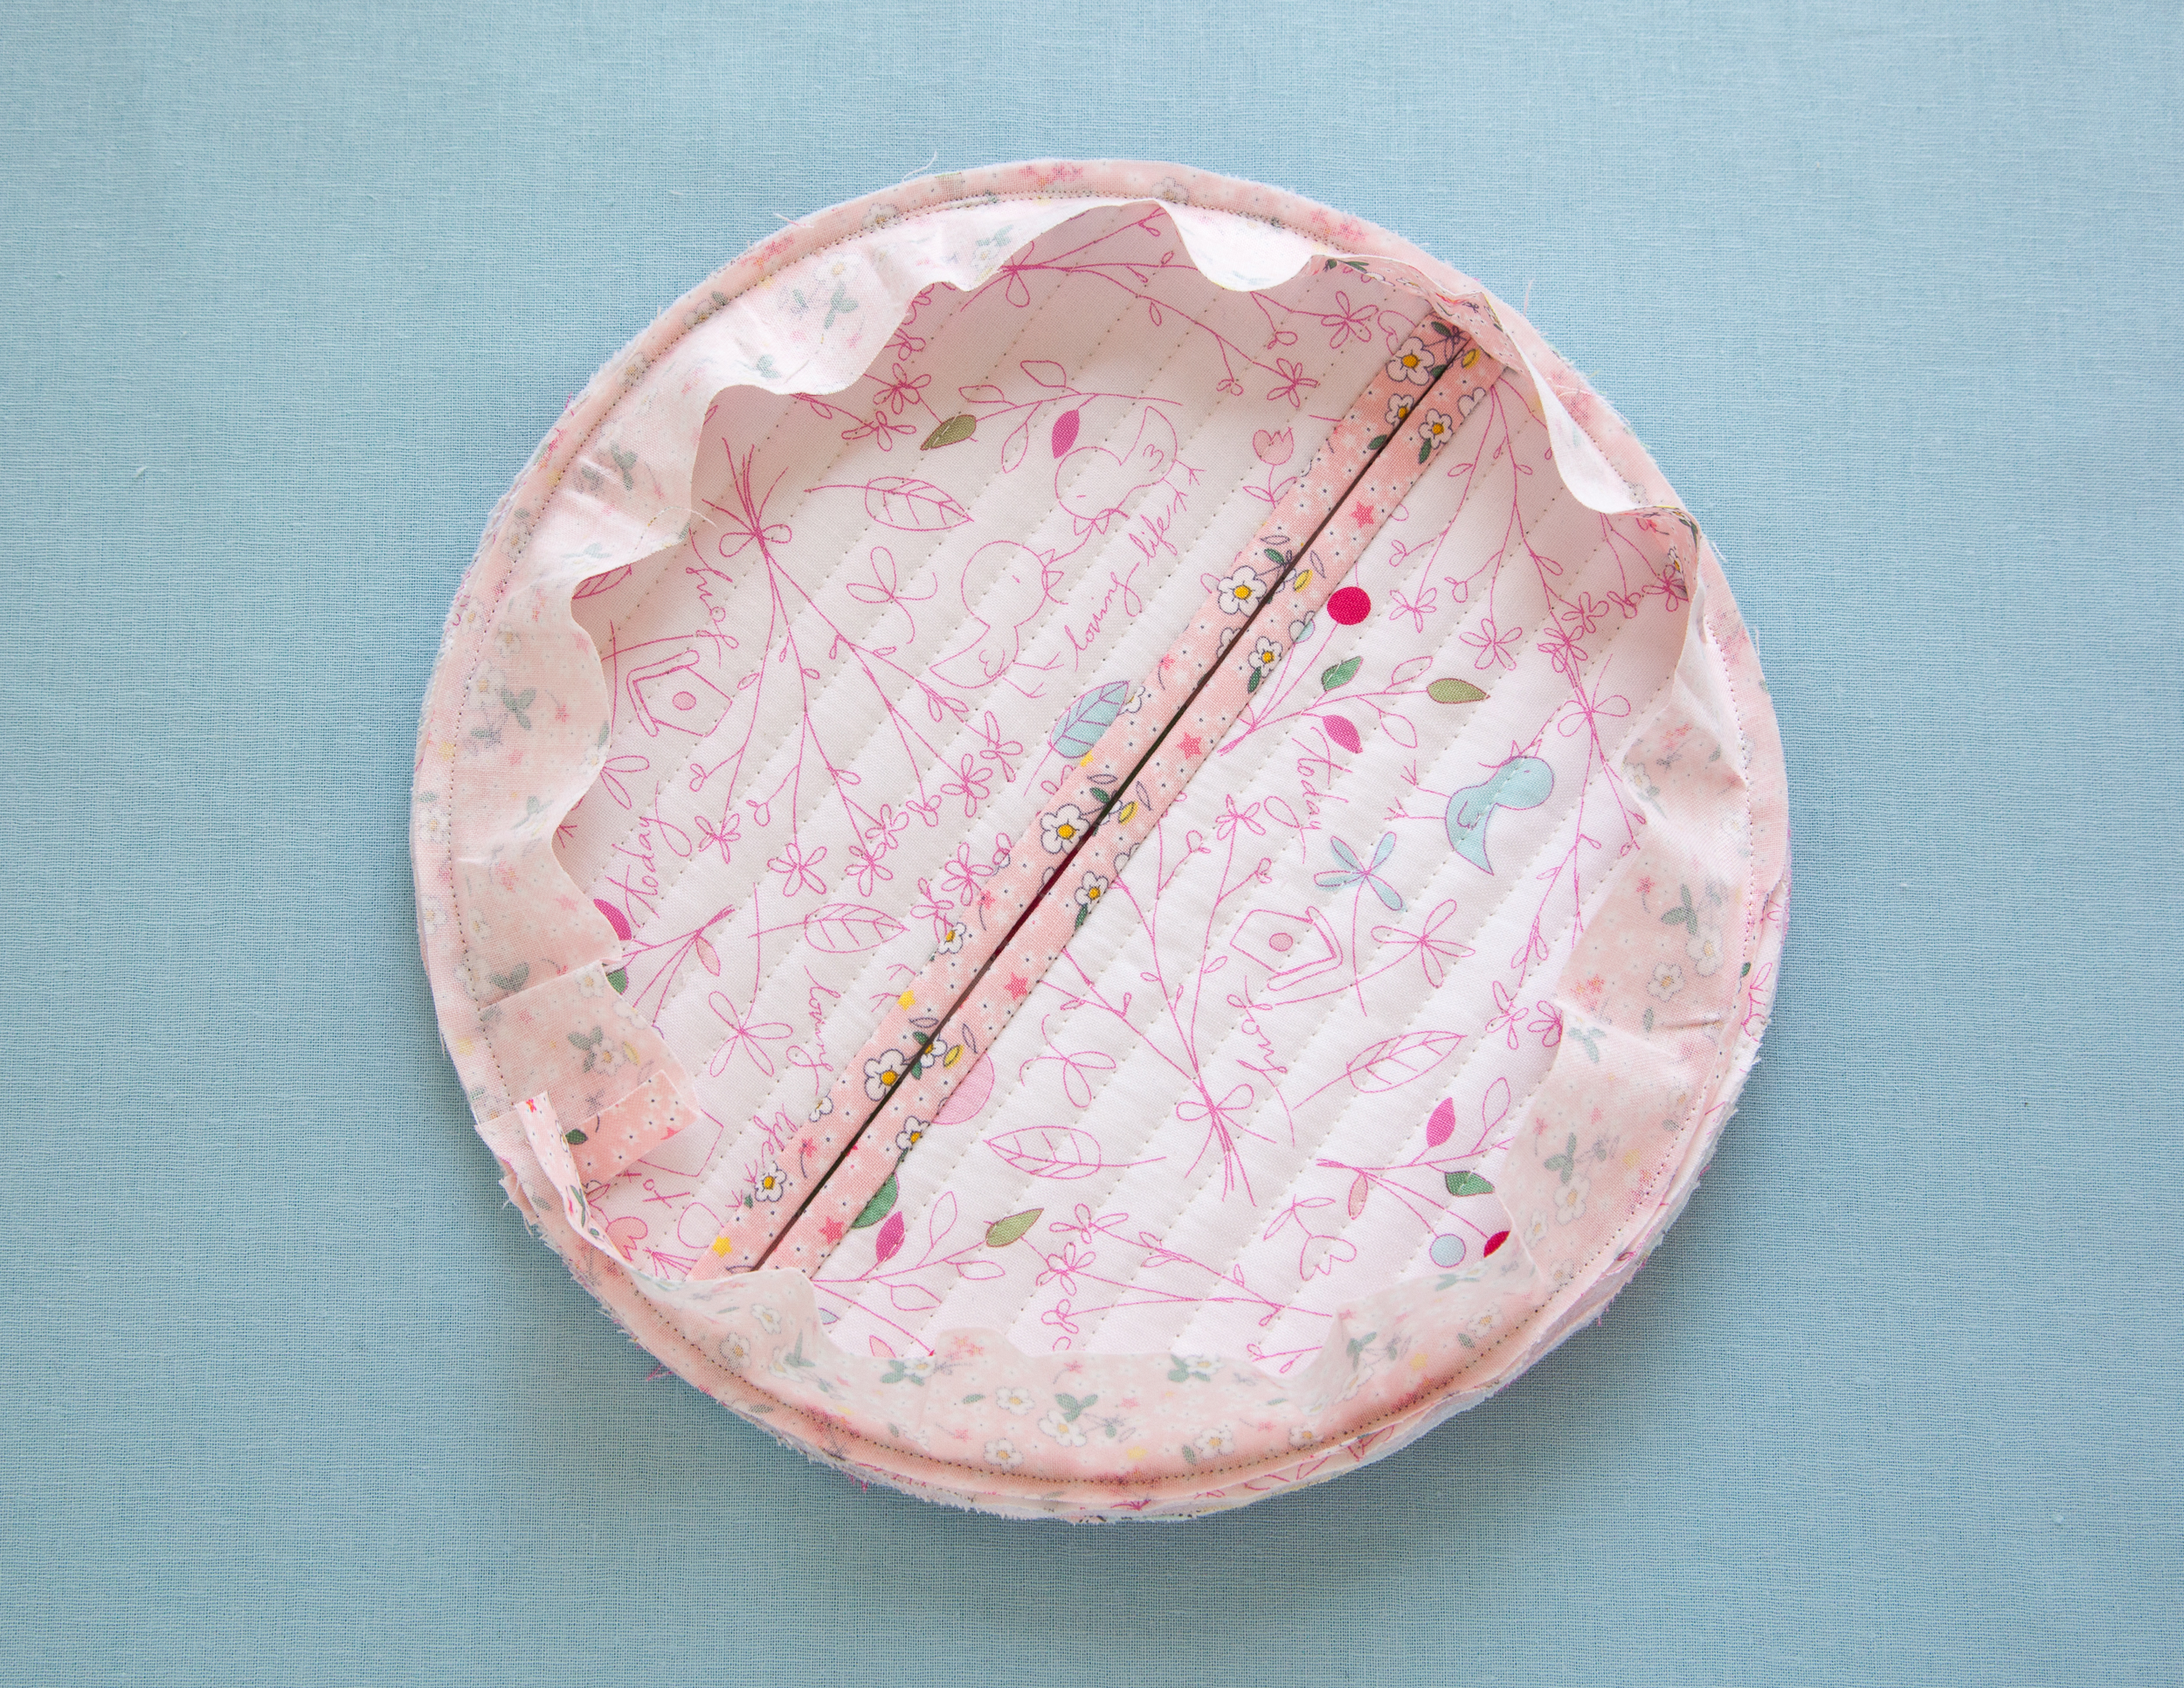
1. Layer 2 pot holder pockets on top of the pot holder backing with wrong side facing and pin in place.
2. Take 1 1/2″ x 31″ single-fold binding strip and fold 1/2″ over at one end. Re-pin the binding around the pot holder edge. Sew the binding, overlapping the ends to finish.
Finishing
1. Fold the edge of the binding to the other side of the pot holder and blind-stitch it in place by hand. Attach the binding strip on the pot holder pocket for hanging (optional).
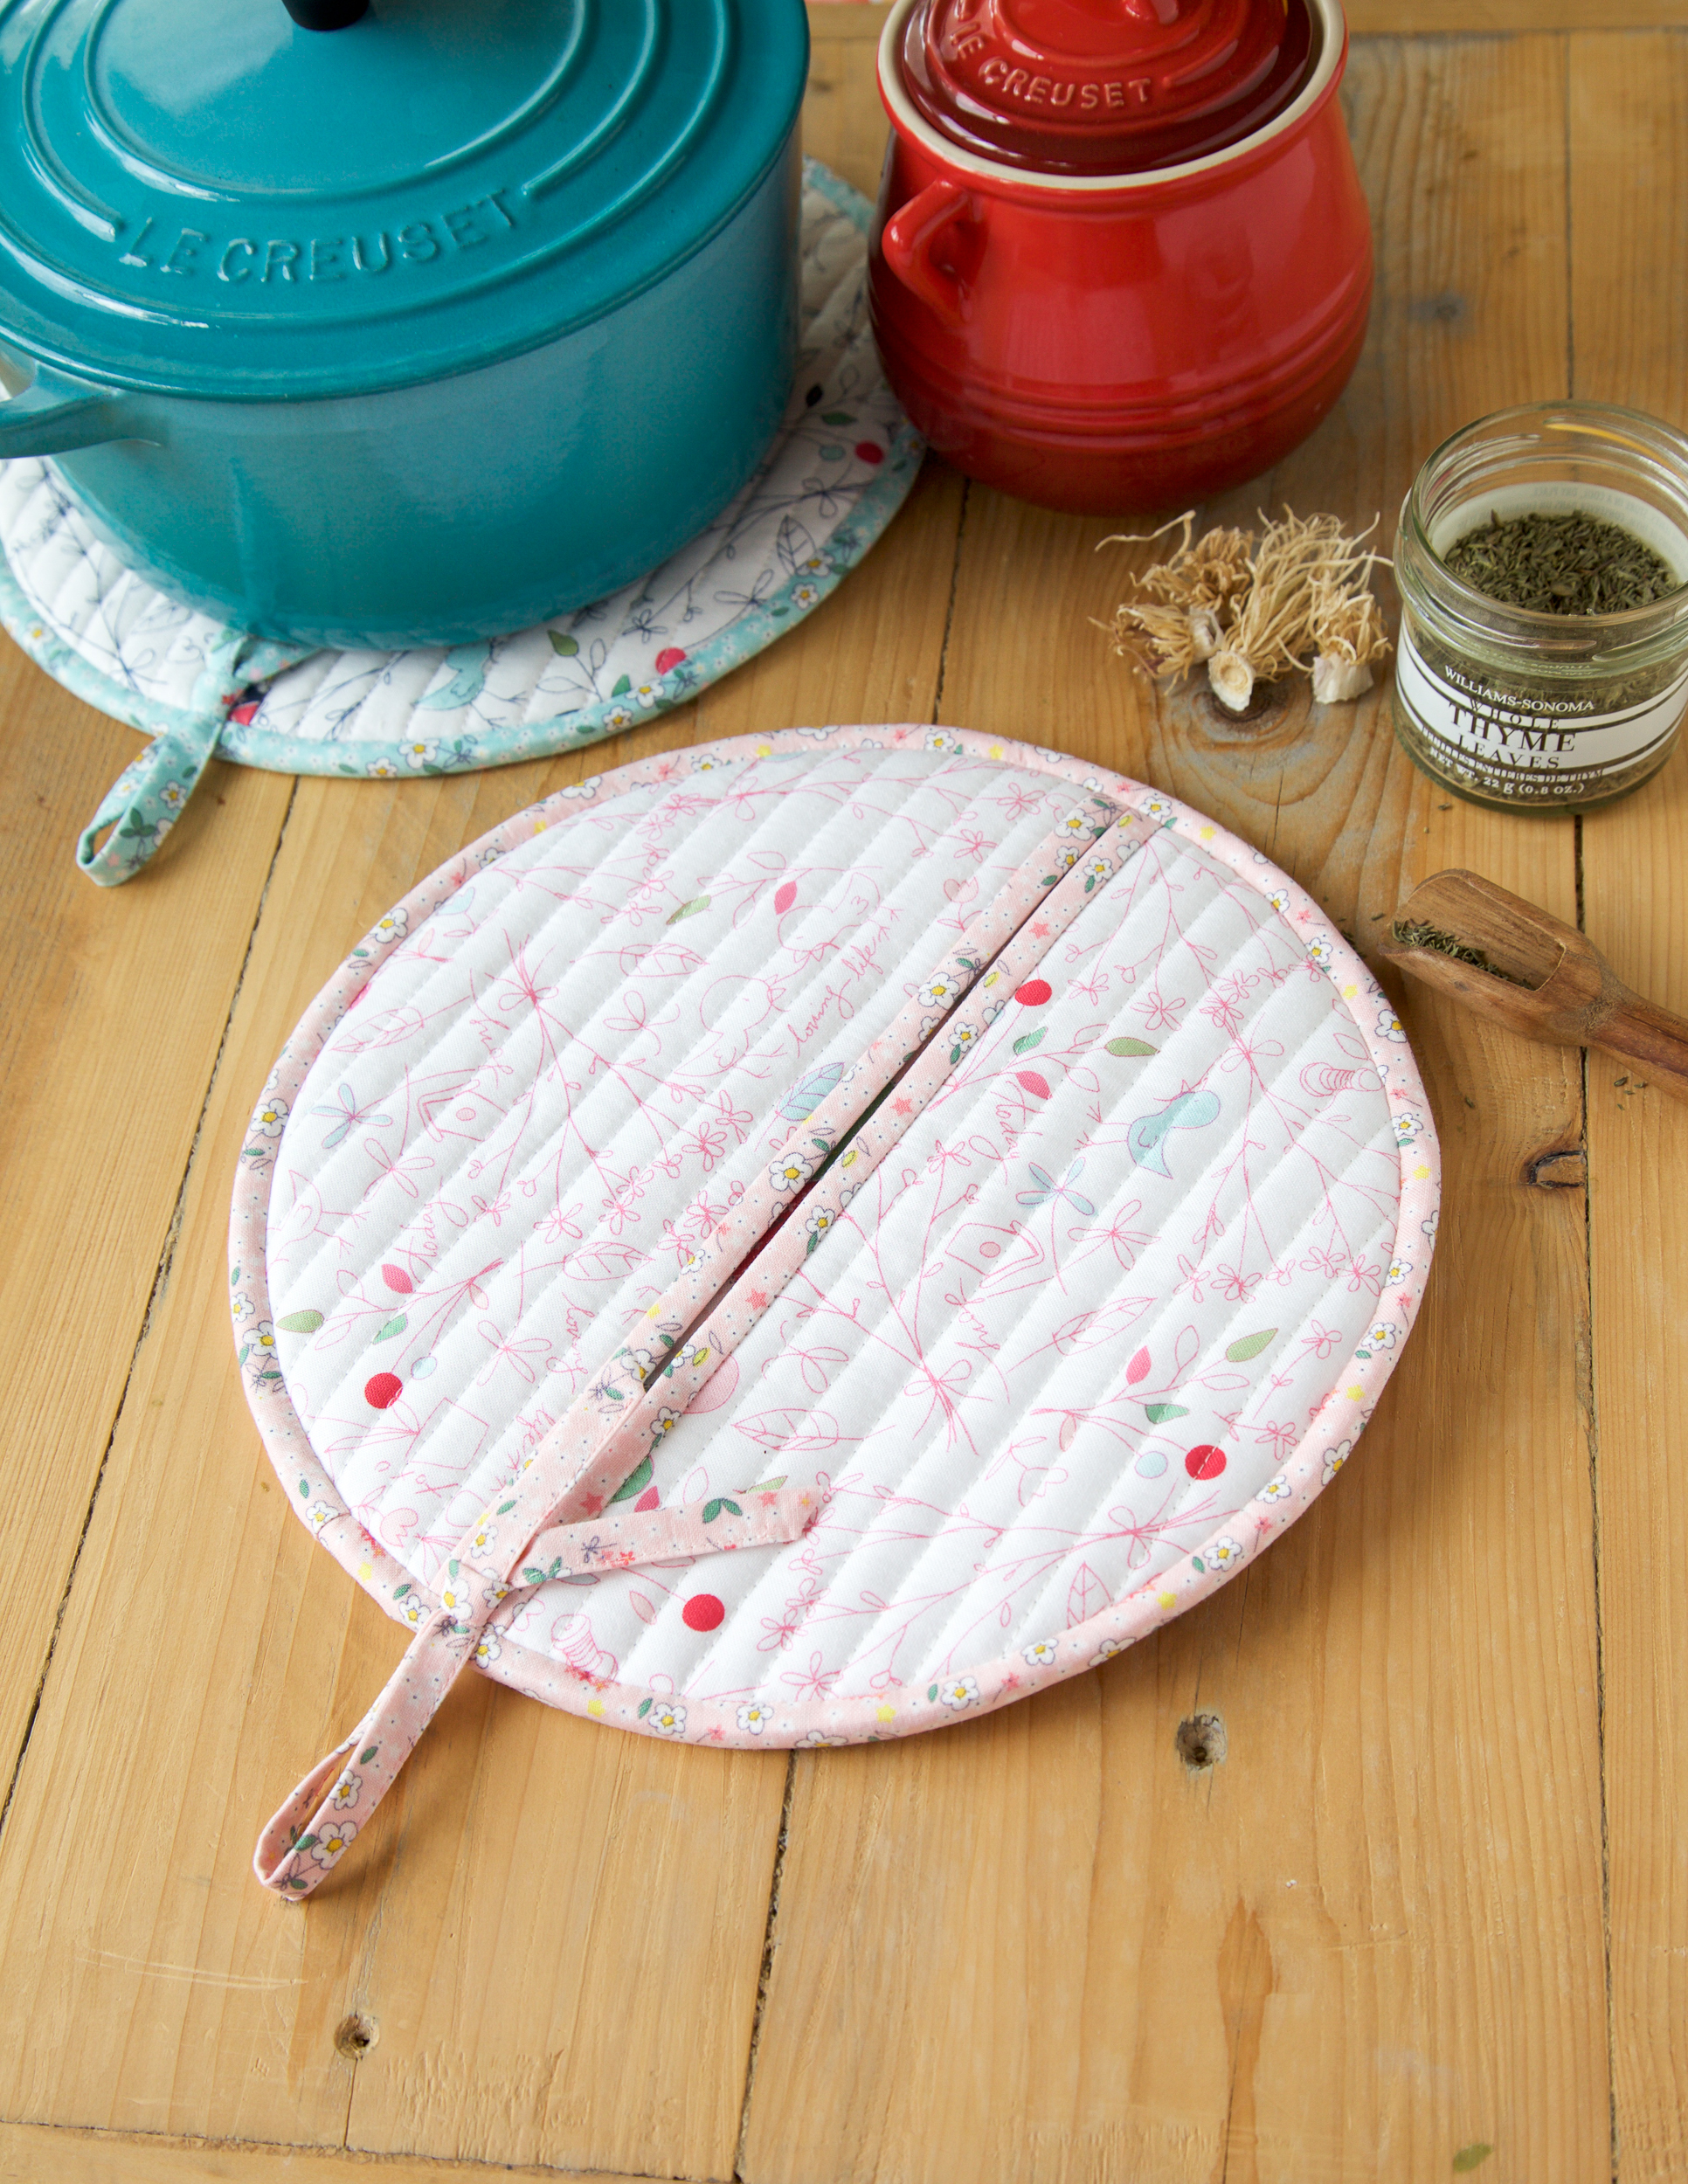
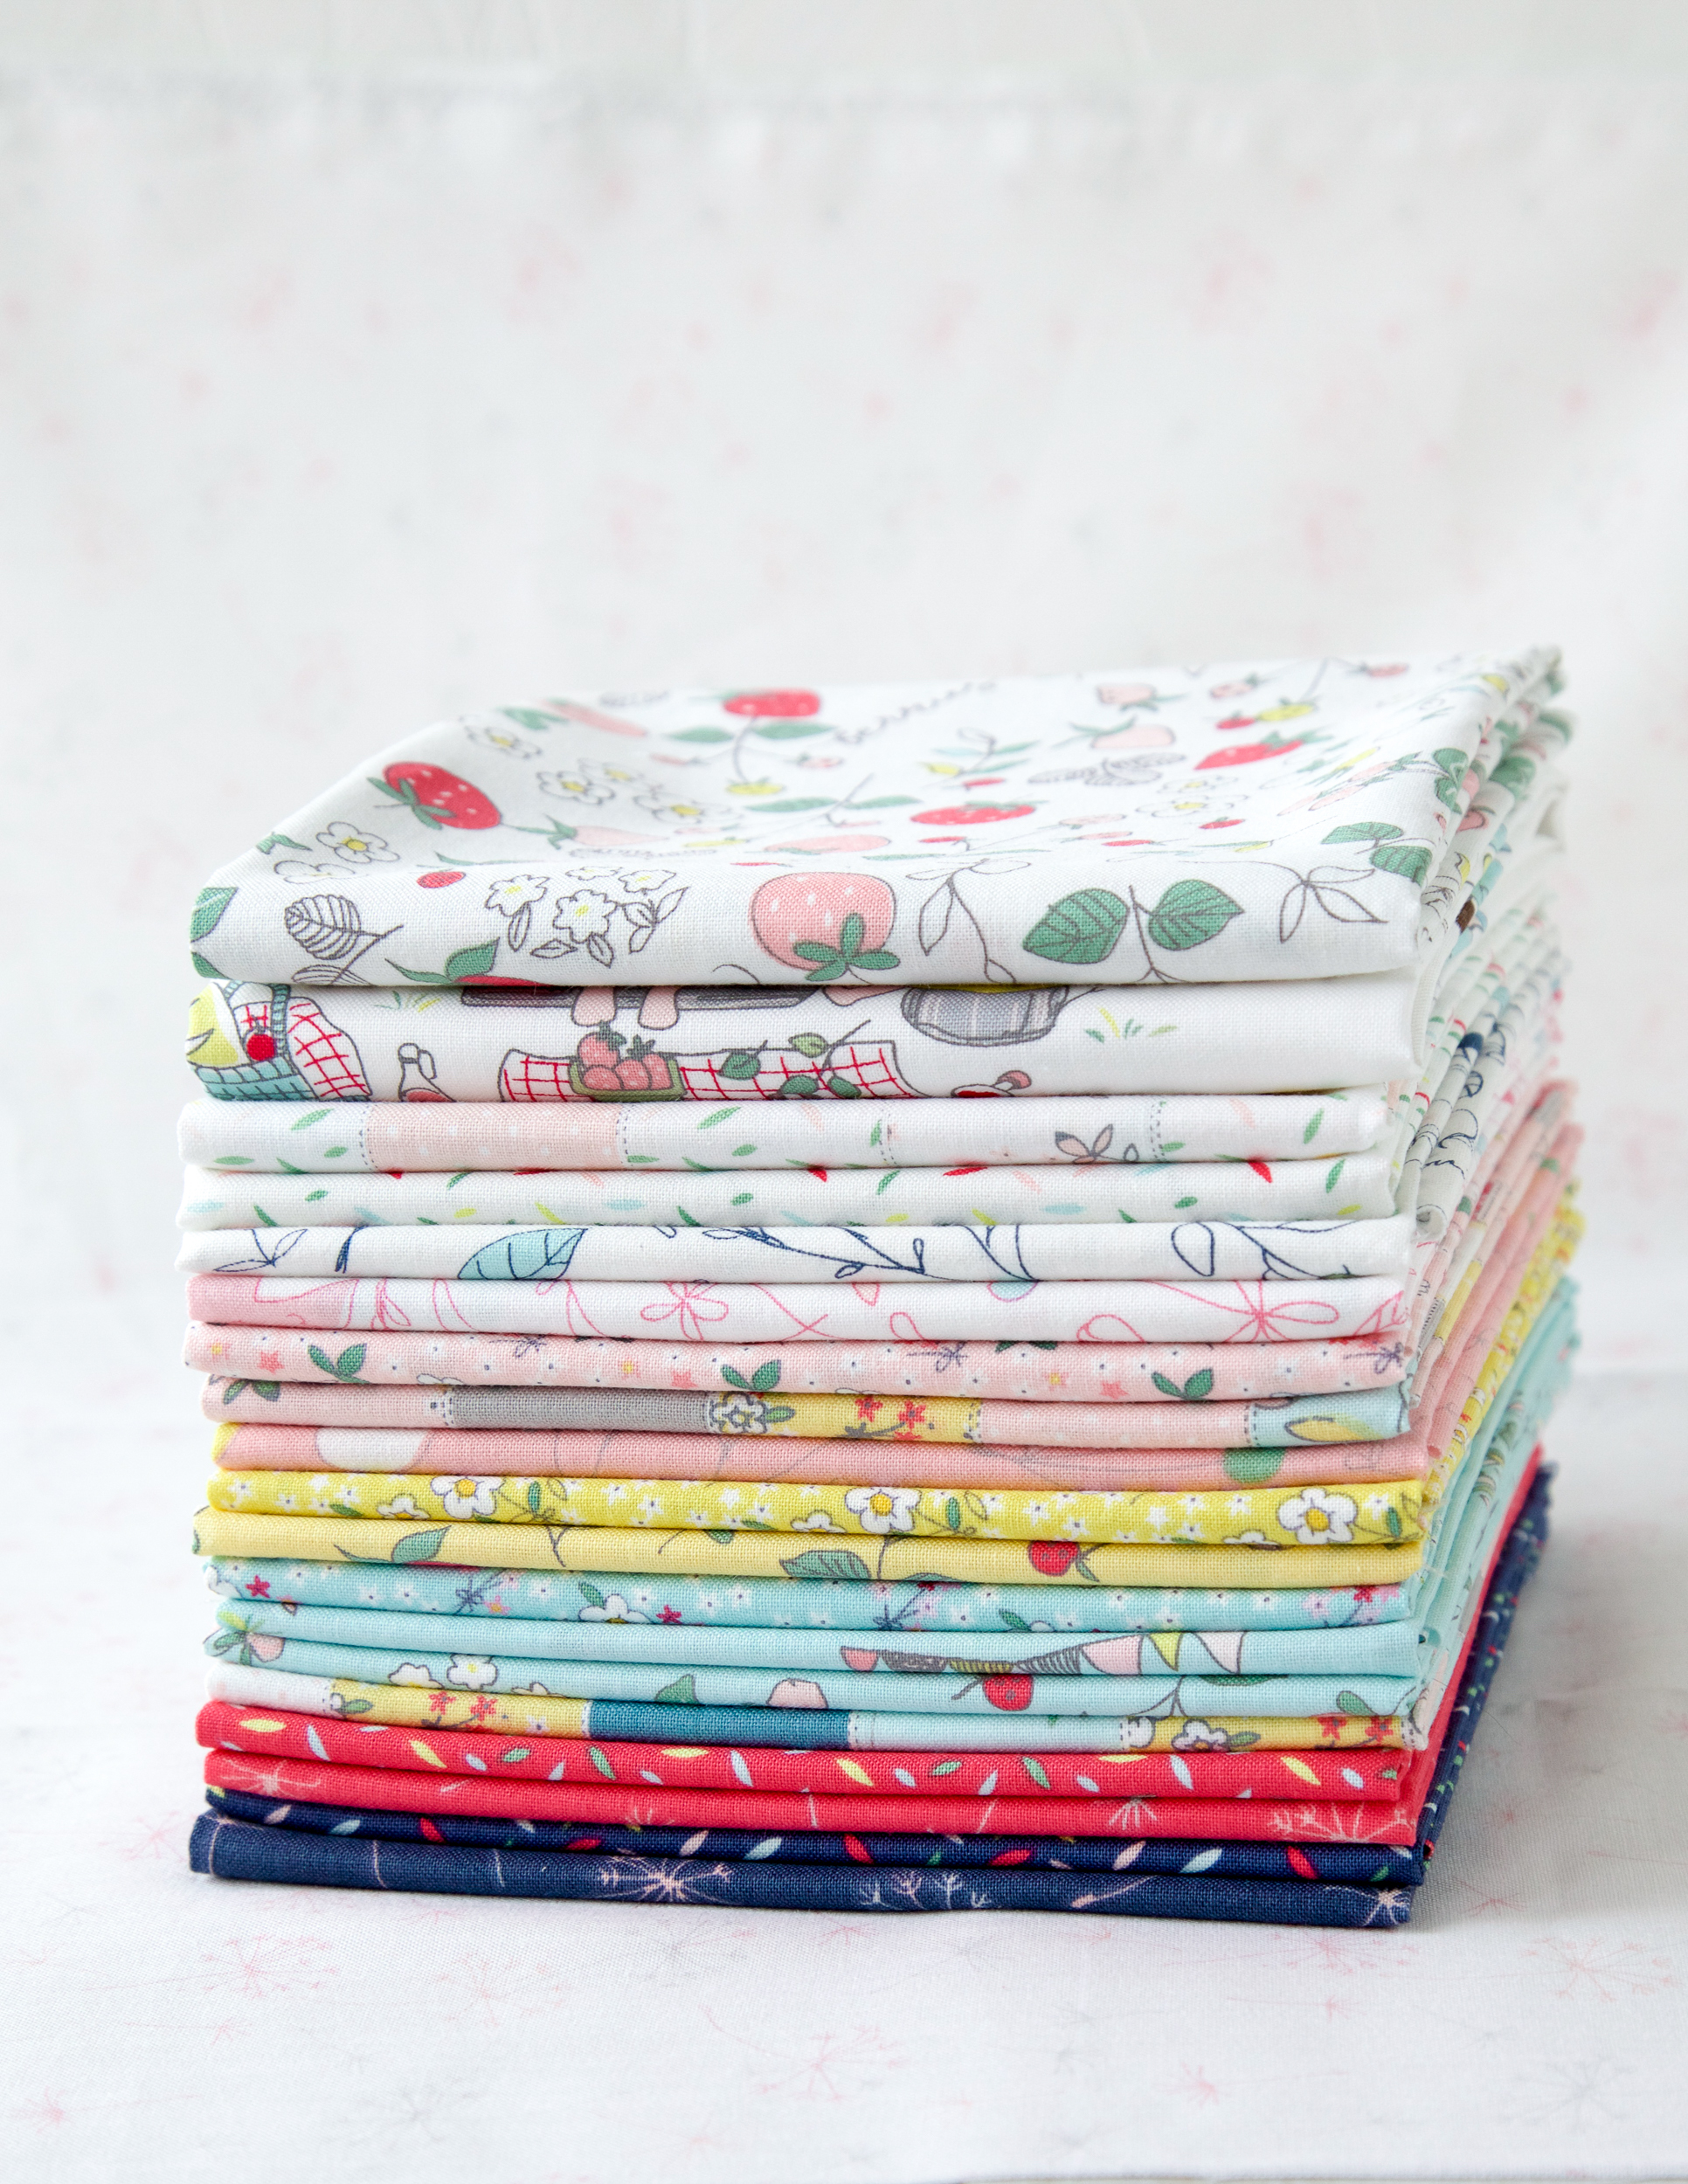
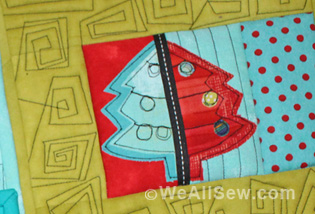
The fabrics used are from my Serendipity collection for Riley Blake Designs.
I hope you enjoyed this tutorial and are ready to make a pot holder. Beware, they can be addicting!
You can find more project ideas on my Instagram @zeriano.
Used Products

What you might also like


15 comments on “Circle Pot Holder”
-
-
So you can put your hand inside the potholder.
-
The potholder has two sides – one is a solid circle, and the other side is open in the middle creating two pockets for your hands. You can see the creation of the two pockets in step 1 of the tutorial.
-
-
“1. Layer potholder front, 1 layer Insul Bright batting with wrong side facing and pin in place.” — what side is the “wrong side” of Insul Bright? Thanks!
-
I meant fabric wrong side faces Insul Bright batting. thanks!
-
-
The lining fabric is never mentioned in the instructions. Was I suppose to layer a piece of lining before I quilted in step 1?
-
Yes, layer the lining before you quilt. thanks!
-
-
This is a cute & practical project. I’m all about presents that folks can actually use & be functional. These fit both of those task. Plus they are darn cute with the fabric line you chose to use. I will likely try my hand at making a few for gifts. @MinkiKim great job! Thanks for sharing
-
Your finishing instructions –
“Fold the edge of the binding to the inside of the potholder and blind-stitch it in place by hand”
Do I fold the binding to the inside and sandwich it between the top and bottom rounds and then blind stitch the outside of the top and bottom pieces together? -
Are you using Insul lining and Insul Bright batting?
It seems there is fabric layered with batting, Insul lining, and fabric lining. -
I am also confused on the finishing instructions of: Fold the edge of the binding to the inside of the potholder and blind-stitch it in place by hand.
Are wrong sides together, and then sew binding on side with pockets and then hand stitch to back? When are raw edges of binding turned under to finish the look on the backside of potholder? Thank you !!
-
Why not use insulbrite I thought this was heat protected
-
This is really cute & fast! Thanks for the great instructions. What a useful project! Fun!
Leave a Reply
You must be logged in to post a comment.

Soooo cute! I want to make a dozen of them!
But I don’t understand the reason for the center seam? Can you please explain?
Thank you!