Classic Button Up Shirt Sew-Along – Part 1
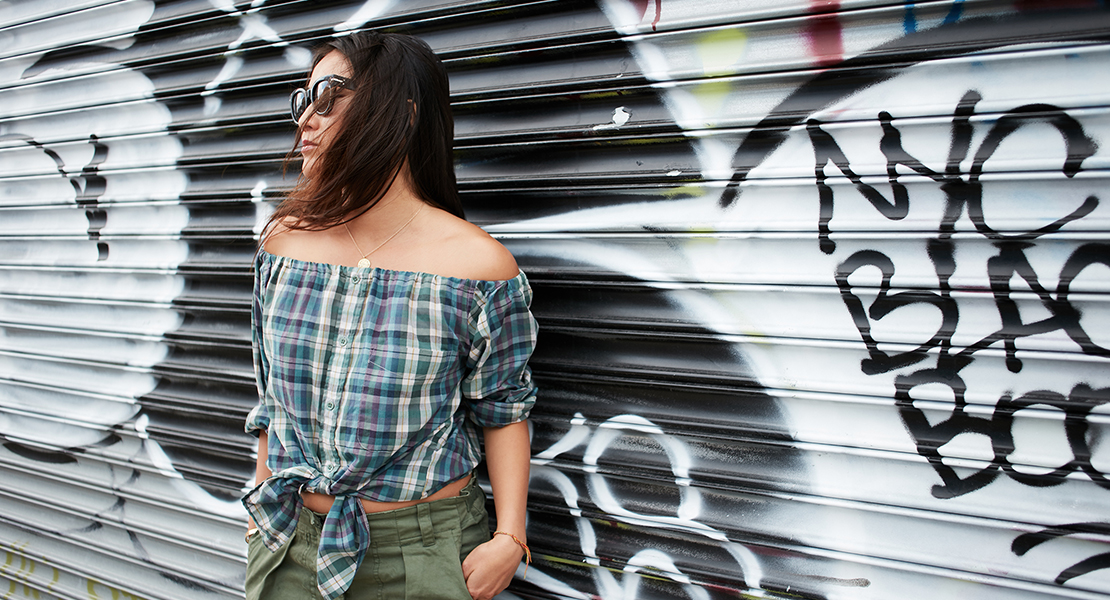
For this sew-along, I will be showing you my tried-and-true method for constructing a tailored classic button front shirt. A tailored shirt, especially a solid white one is an essential wardrobe staple. It practically goes with everything. It’s one of those pieces in your closet that you’ll never regret owing. And it’s so rewarding to sew your own.
In this sew-along, you will learn to sew:
- a collar
- a collar band
- a non-darted front (generally, because you can always make adjustments)
- a topstitched pocket
- separate sleeves
- cuffs with a continuous plackets
- a double yoke
- front bands with buttonholes
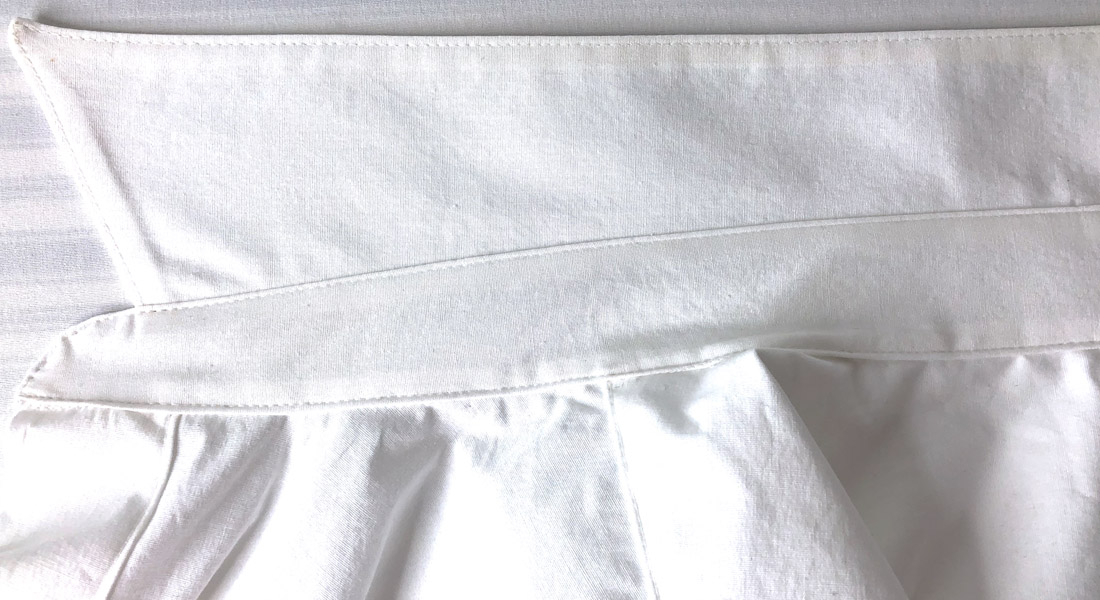
- shaped hemlines
Picking a pattern:
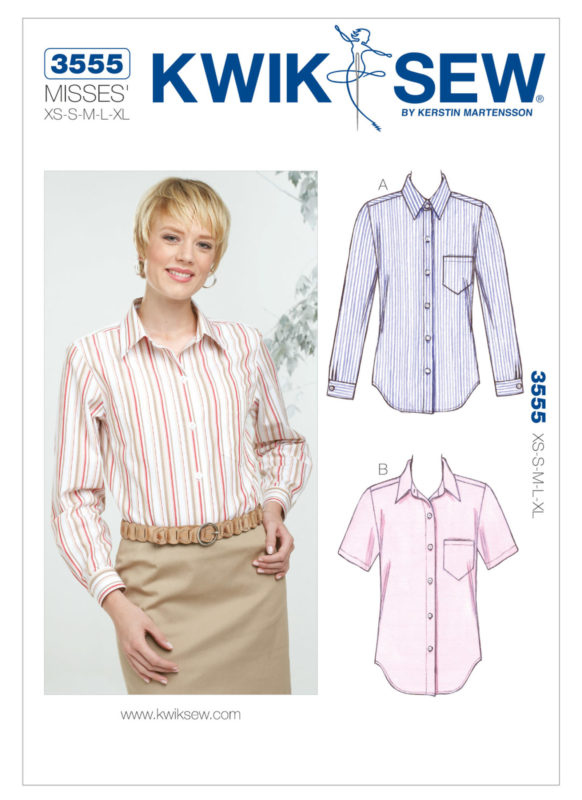 I’m using Kwik Sew Pattern #3555, view A. If you require a larger size, use Kwik Sew Pattern #3586, view A for plus size. I selected this pattern because it’s beautifully drafted and uses industry suggested seam allowances, so that there are no seam allowances that will require trimming.
Selecting a Size:
In order to pick a size, use the measurements for the fullest point of your bust that is printed on the front pattern piece. Based on your own measurements, you may have to modify the pattern. I lengthened my front and back pieces by one inch.
Selecting Fabric:
To make a shirt, I would suggest shirting, cotton or a cotton-blend if you are a beginner. It’s a lot easier to work with. For my fabric, I’m using a white stretch cotton poplin. I like for my shirt fabric to have a small amount of “give” for comfort. You can also use other fabrics such as silk or silk-like fabrics, rayon & blends, chambray or broadcloth.
Sewing Tip: Always prewash your fabric to eliminate shrinkage of your finished garment. Overlock the cut edge of your fabric prior to prewashing to prevent fraying.
Collecting materials needed:
Materials to Sew a Classic Button Up Shirt
- Sewing Pattern: Kwik Sew #3555
- Size 12 Universal or Sharp Sewing Machine Needles
- Fabric
- Interfacing
- Buttons
- Matching thread
- Sewing Shears or Rotary Cutter and Cutting Mat
- Pins
- Seam ripper
- Small, sharp-point scissors for trimming seams
- Point turner
- Tailor’s chalk or erasable marker
- Pressing cloth
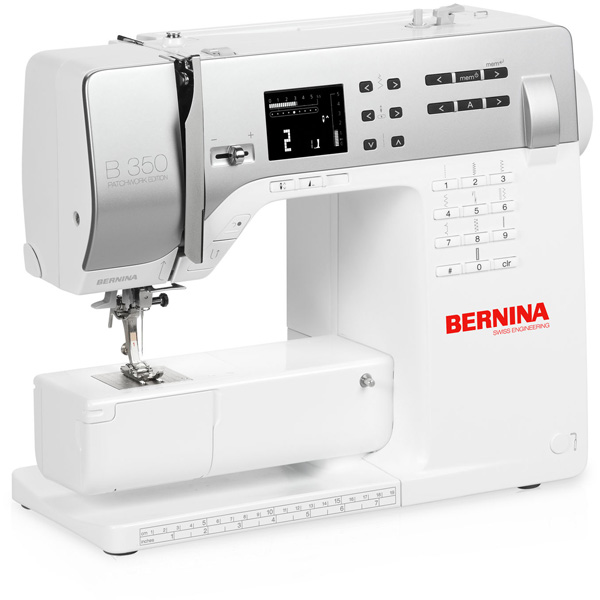
- Sewing machine (I’m using BERNINA 350 PE)
- BERNINA Reverse Pattern Foot #1
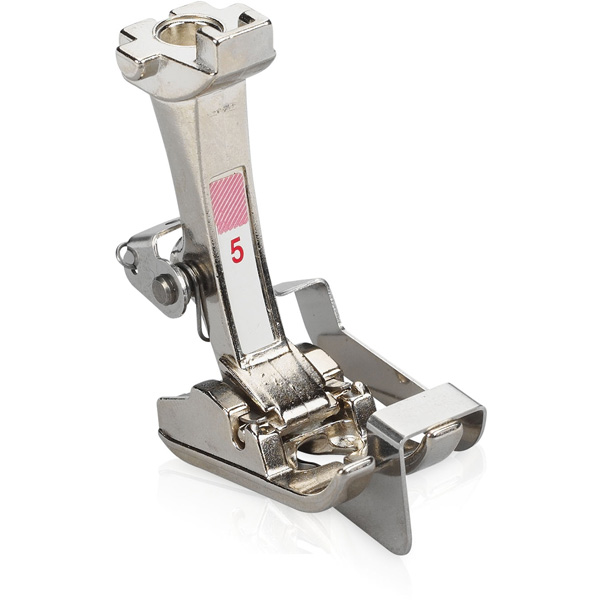
- BERNINA Blindstitch Foot #5
- BERNINA Buttonhole Foot
- Serger (I’m using BERNINA 1300 MDC)
Optional Supplies:
- Sleeve board
- Pressing ham
- Seam roll
- Point presser/Clapper
- Simflex Expanding Buttonhole Gauge
- Button hole cutter
Selecting Interfacing:
When choosing interfacing, ALWAYS test your interfacing with the fabric you will be using for the feel that you want. My fabric is a cotton poplin with stretch. I am using a weft fusible interfacing because it is lightweight and has enough stretch to match my fabric, but also gives enough firmness in areas like the collar and cuffs.
After you’ve cut out your pattern pieces, made any necessary adjustments or modifications, you’re ready to layout and cut your fabric.
Sewing Tip: For fabric that is almost identical on the right and wrong sides, use your tailor’s chalk or erasable marker to mark the wrong sides.
After cutting out all of your pattern pieces and transferring markings and clipping your notches, interface all necessary pieces.
Sewing the Fronts:
Construction Note: This pattern uses ¼” seam allowances throughout.
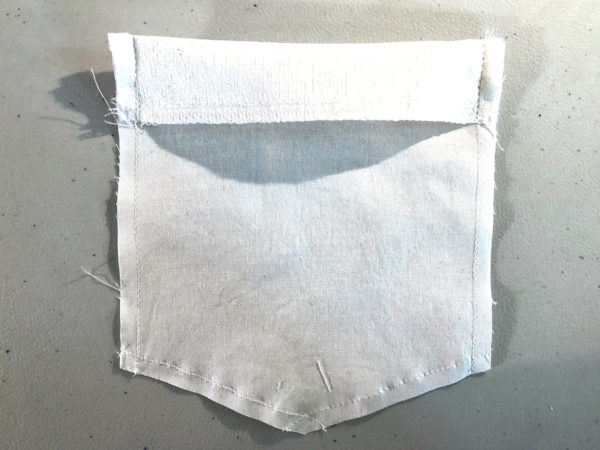
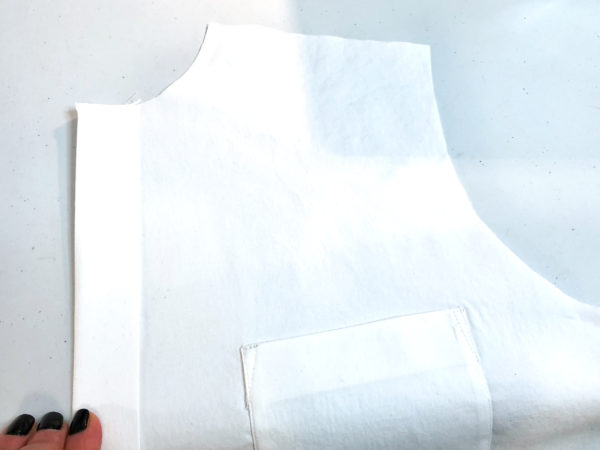
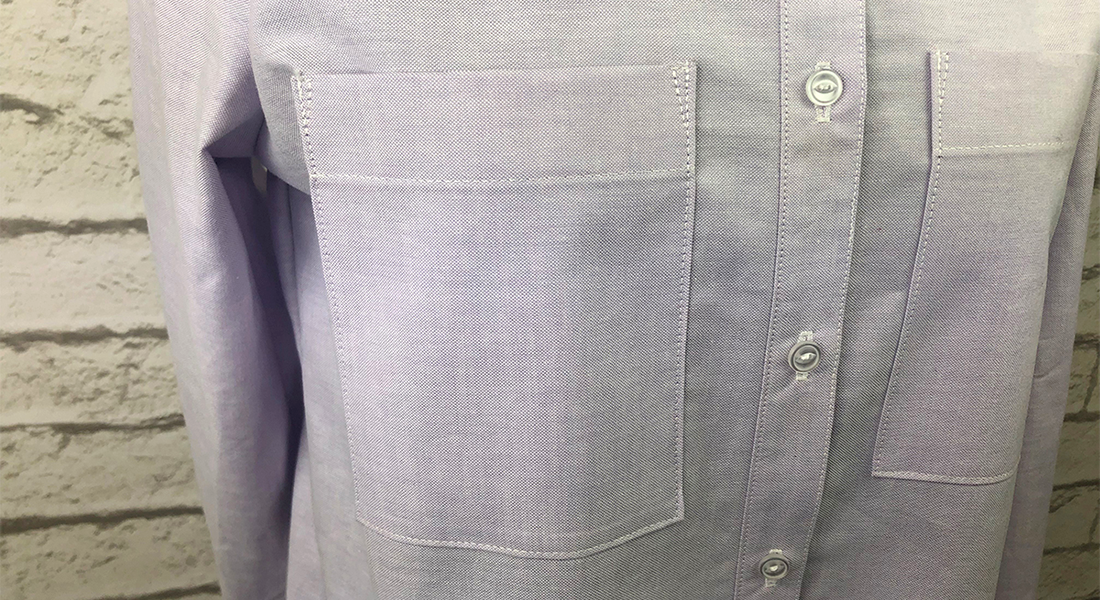
The pocket for this pattern is optional. I’m using mine and sewing it on the left side of the shirt front. Interface the top edge of the pocket on the wrong side. This creates the pocket facing. Overcast the top edge. Using the fold line, fold the pocket facing to the right side and stitch the side seams using a ¼” seam allowance.
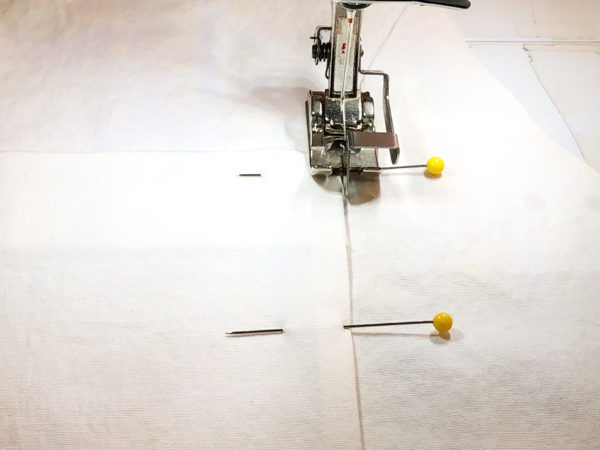
Sewing Tip: I use a straight stitch as a guide line for hemming.
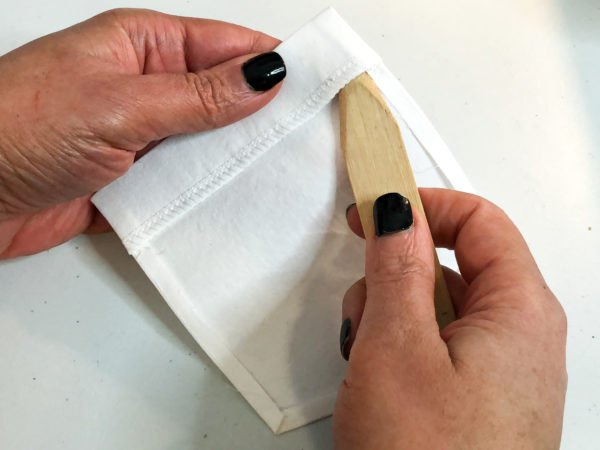
Fold facing to the wrong side, poke out the corners. Fold under seam allowances and press.
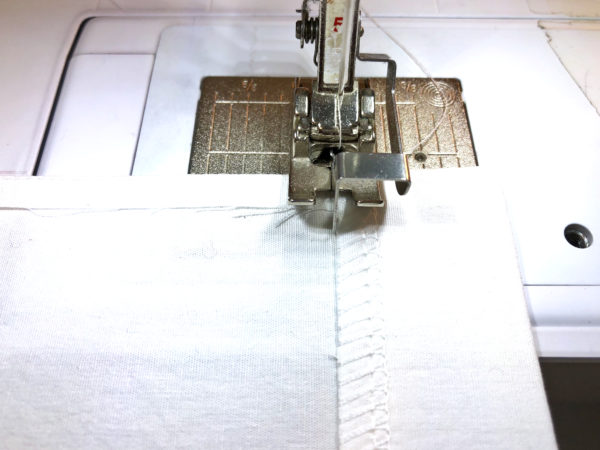
Stitch close to edge of the facing. I’m using my BERNINA Blindstitch #5 foot for edgestitching and a 3mm stitch length.
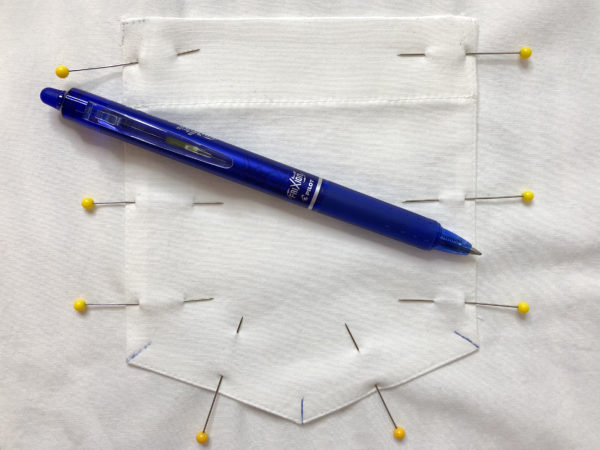
Pin the pocket to the front of the left side at the placement mark. I always make marks in corners so that I will know exactly where to pivot.
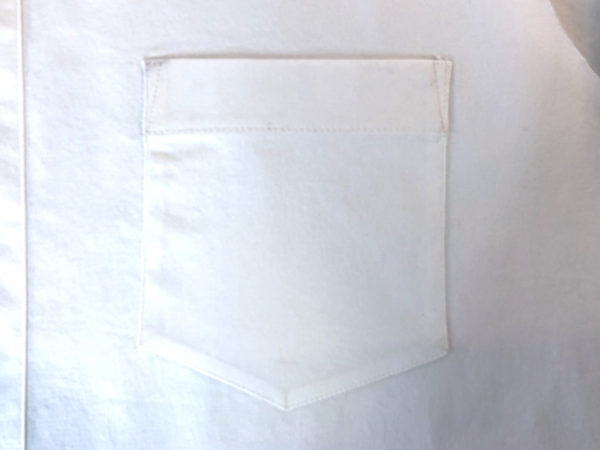
Using Blindstitch foot #5, edgestitch close to the edge to sew on pocket. For tips on topstitching, click to find Six Tips for Perfect Topstitching here at WeAllSew.
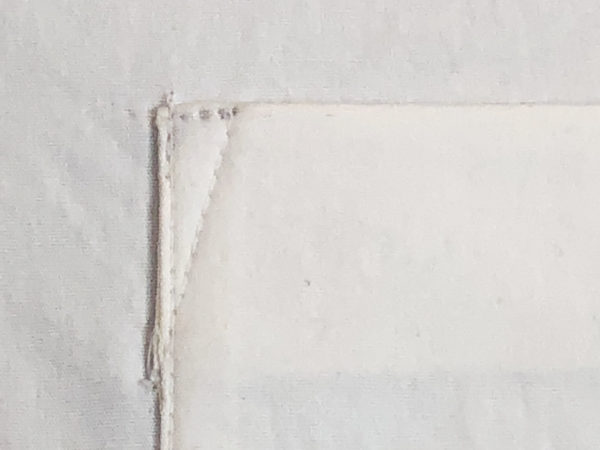
To reinforce the corners, stitch a triangle starting 1/4″ from the edge.
For the fronts, use small notches to indicate the foldline at top and bottom.
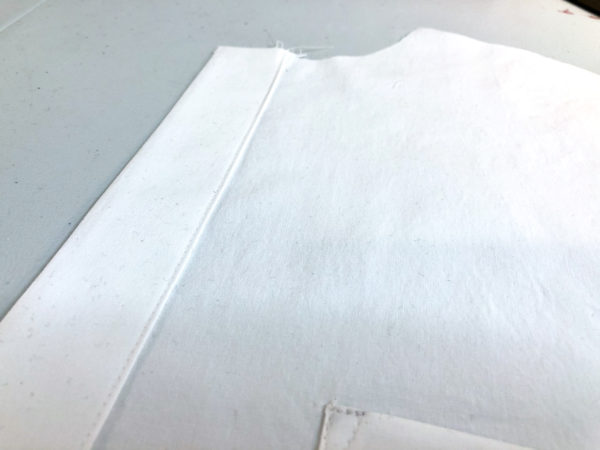
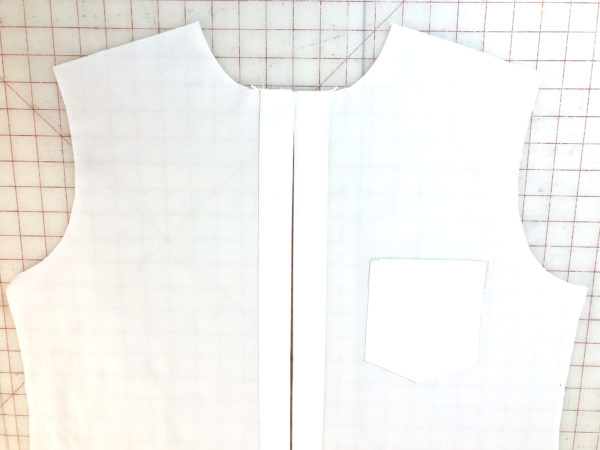
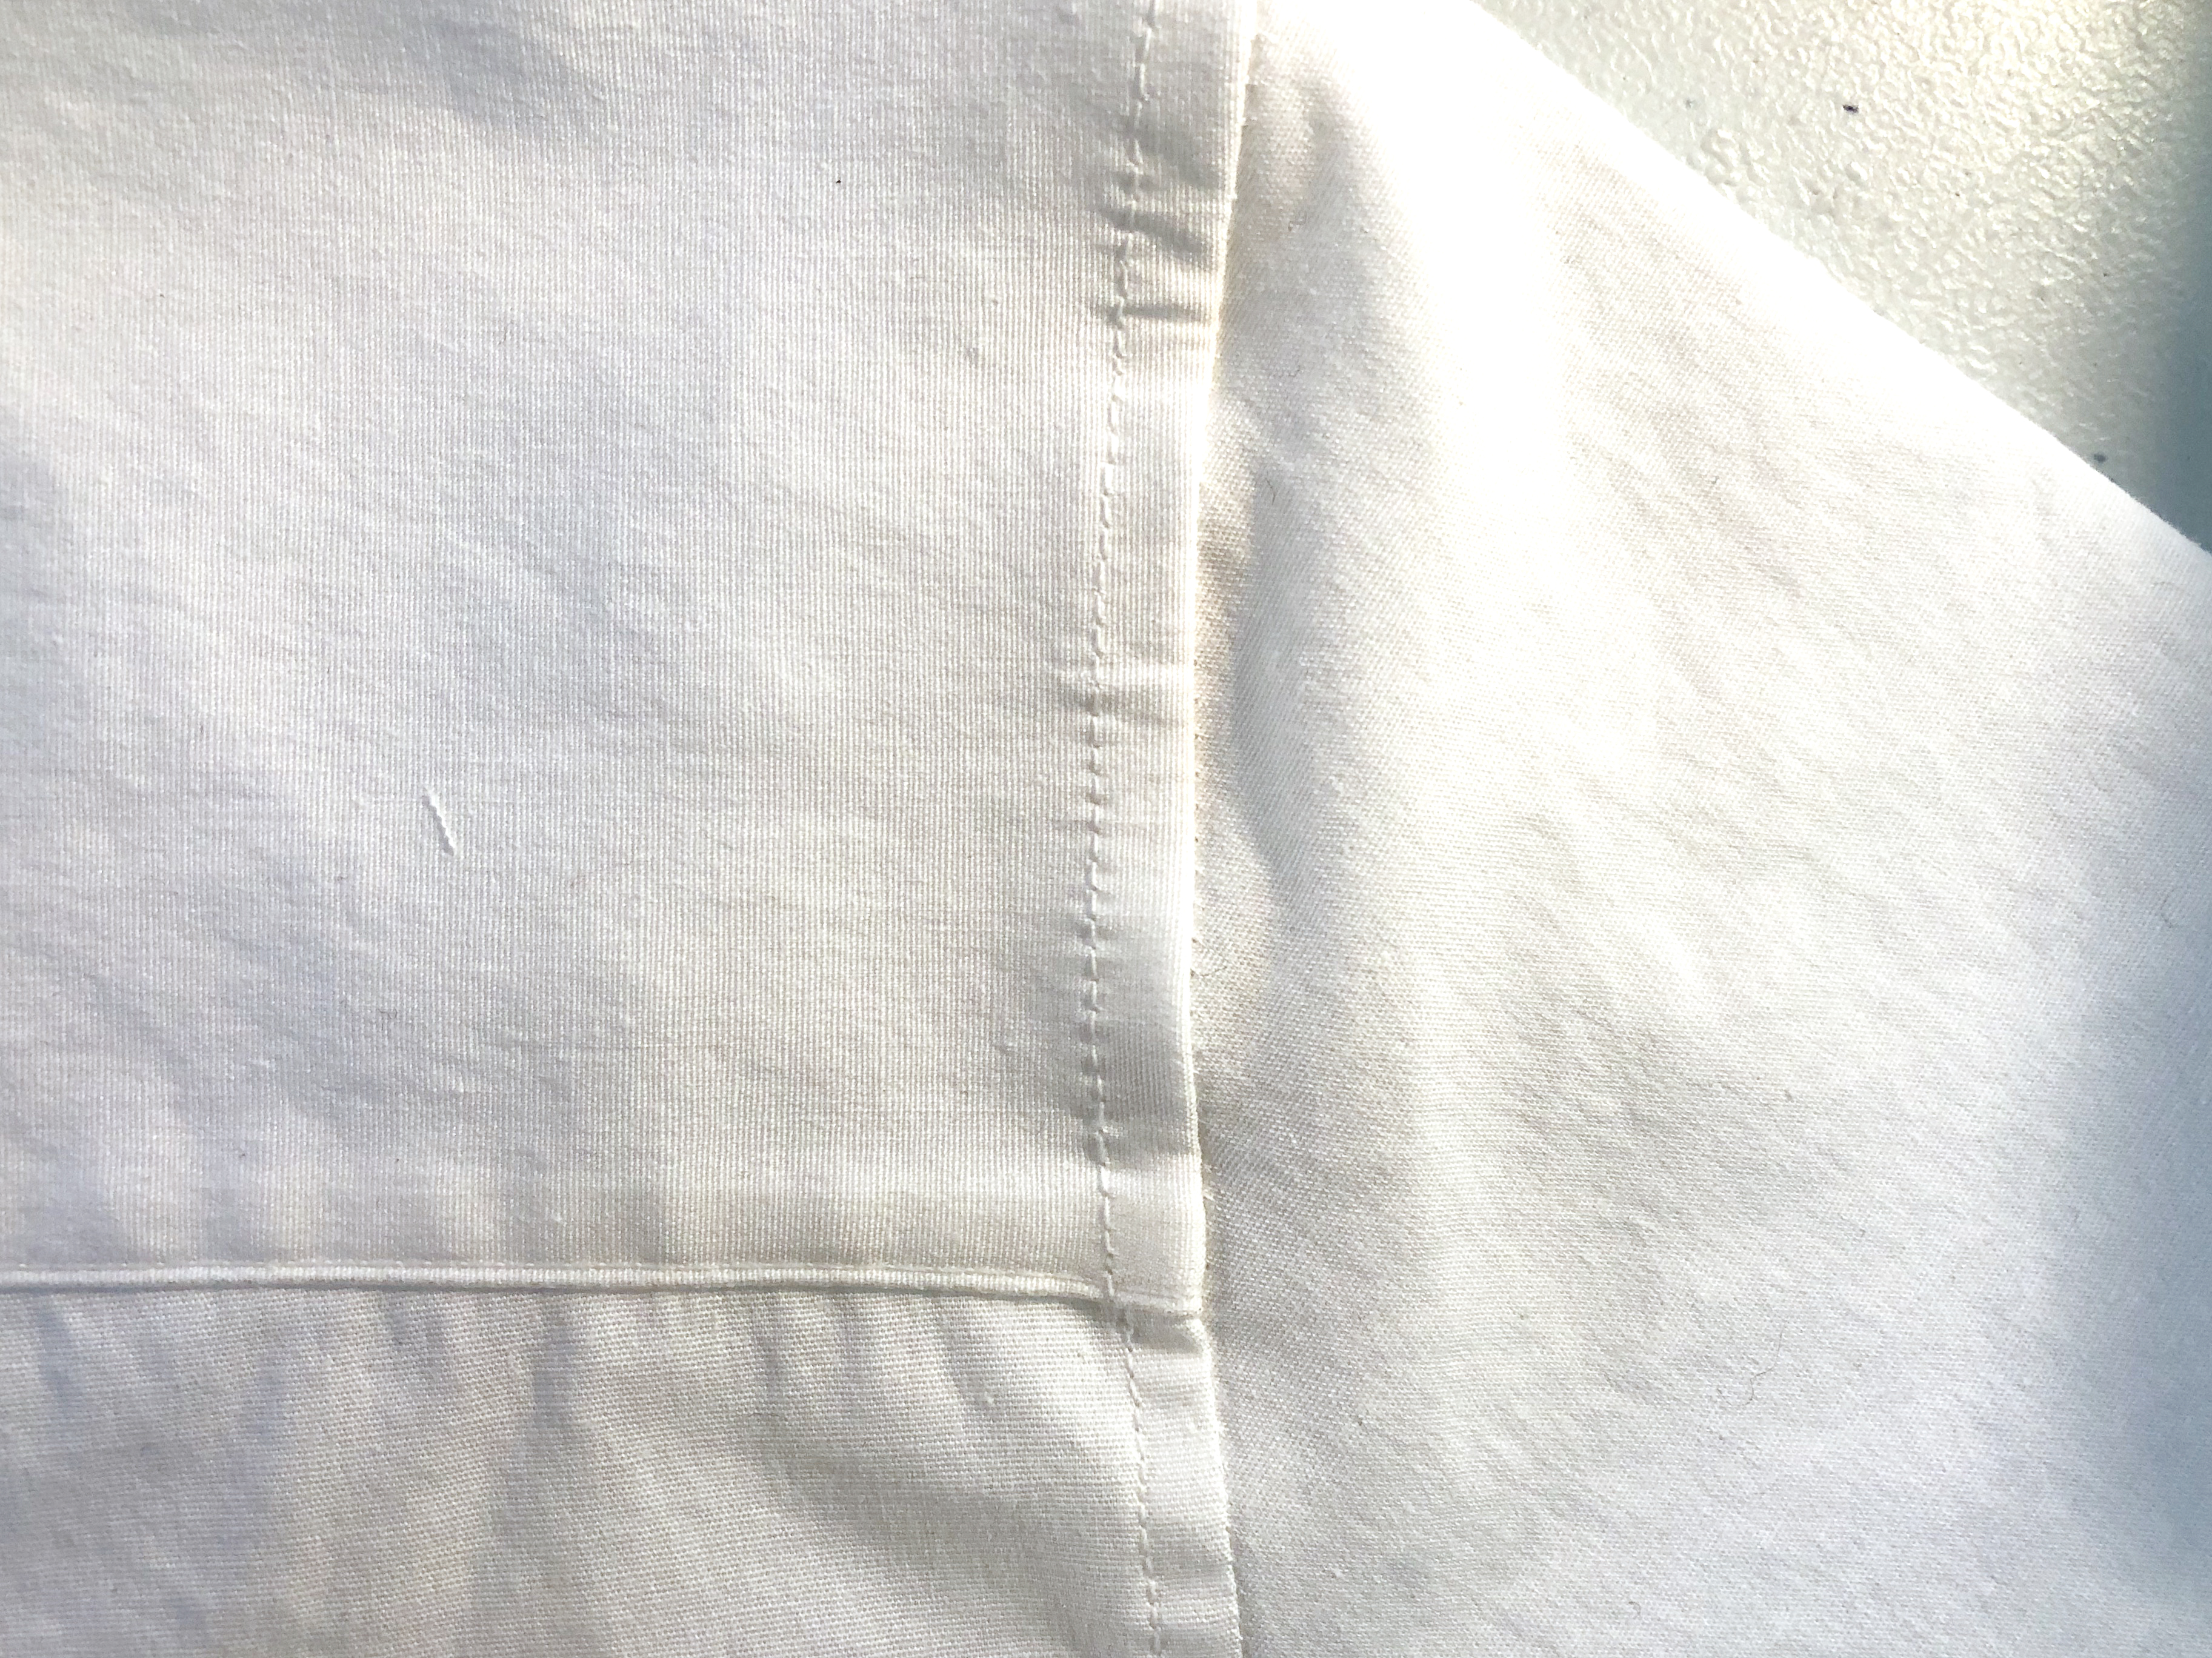
On the fronts, fold the facing on the fold line to the RIGHT SIDE. This is a preference for me. I like for my facing to be sewn this way to give it the illusion that it’s a separate pattern piece sewn on.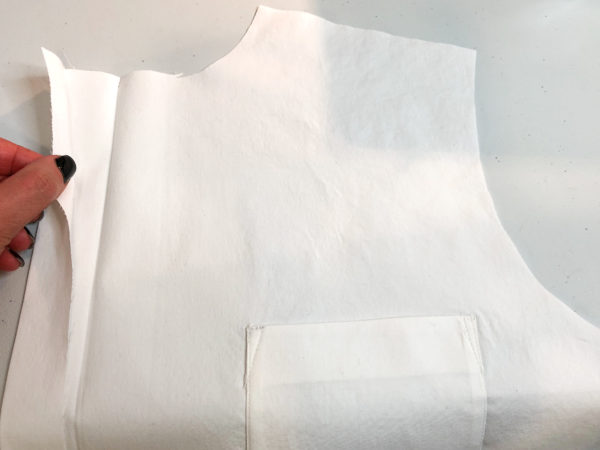
Using the blindstitch foot, edgestitch close to the edge of the facing.
Repeat on the other side.
What you might also like
11 comments on “Classic Button Up Shirt Sew-Along – Part 1”
-
-
Anything is possible! Thanks so much!
-
-
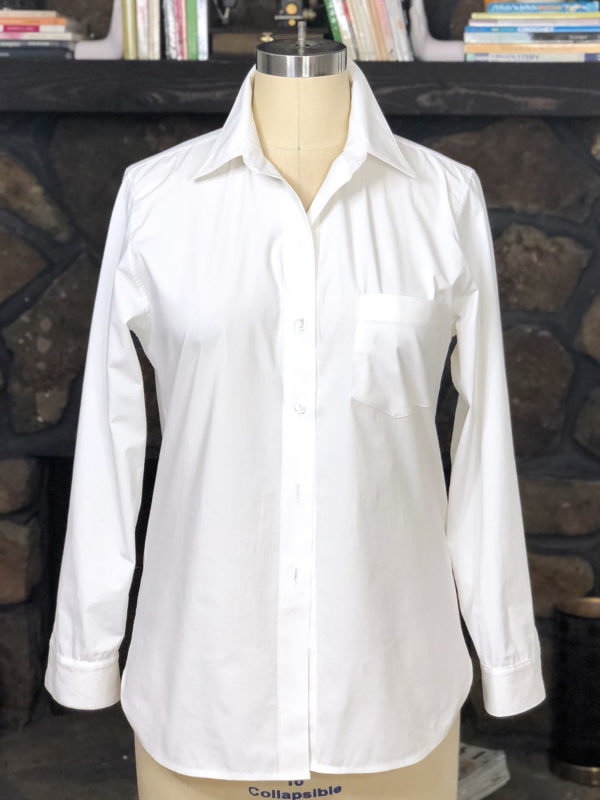
Do you have any recommendations on purchasing dress forms? I notice the word collapsible in your photo. Nice but not imperative for my use. I would love to have a dress form to fit patterns like this shirt. So often I’m unhappy with my sewn garments due to poor fit. Love this sewalong topic!!
-
I only have experience using this one and it’s a PGM Pro. Thank you!
-
My shape doesn’t fit any of the ready made patterns. After watching Sewing with Nancy’s pattern fitting, my problems with fit are no longer an issue. Here is the link to the video. She has a part one and two.
https://wpt4.org/wpt-video/sewing-nancy/sewing-nancy-solving-pattern-fitting-puzzle-part-one/
https://wptschedule.org/detail.php?epid=46208367
-
-
This is exactly what I needed! Thank you so much for sharing this! I’ll review again for my next make. ?
-
Awesome! So happy that you like it!
-
-
I’m excited to try my hand at this shirt. But I have a question about the red & white skirt you’re wearing in you’re introduction. The waistband specifically?
-
This is great! I’ve been looking for something just like this! I will follow along and wait for the next lesson
-
I have another question. It looks like the hem is one of those that has a very high curve on the sides…..will you be addressing how to hem these types of shirttail hems? Is there a gusset? I’ve had a terrible time with these types of hems….thanks
-
Hi! I have a pattern for a white button down shirt that I started several years ago. I marked it and cut out the pattern, V7903. It’s a Vogue, Today’s Fit by Sandra Betzina. It has sat in the drawer, like I said, for a long time. Now I would like to finish it but I find that I am too small for the pattern. This is a D-F and my measurements match the A-C, or a C. Do you have any suggestions for me? I just checked and the pattern is out of print, it is not listed on the Vogue website.
Leave a Reply
You must be logged in to post a comment.


I love this – any future classes on altering a pattern?