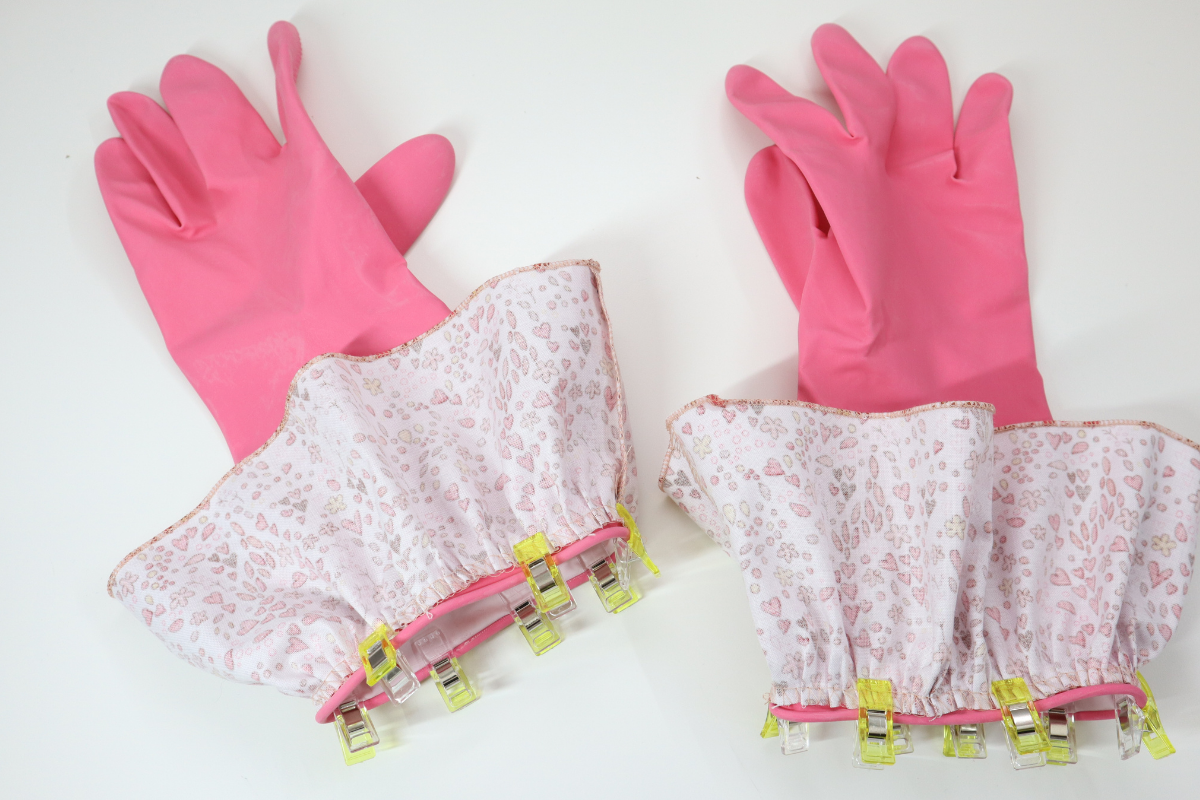
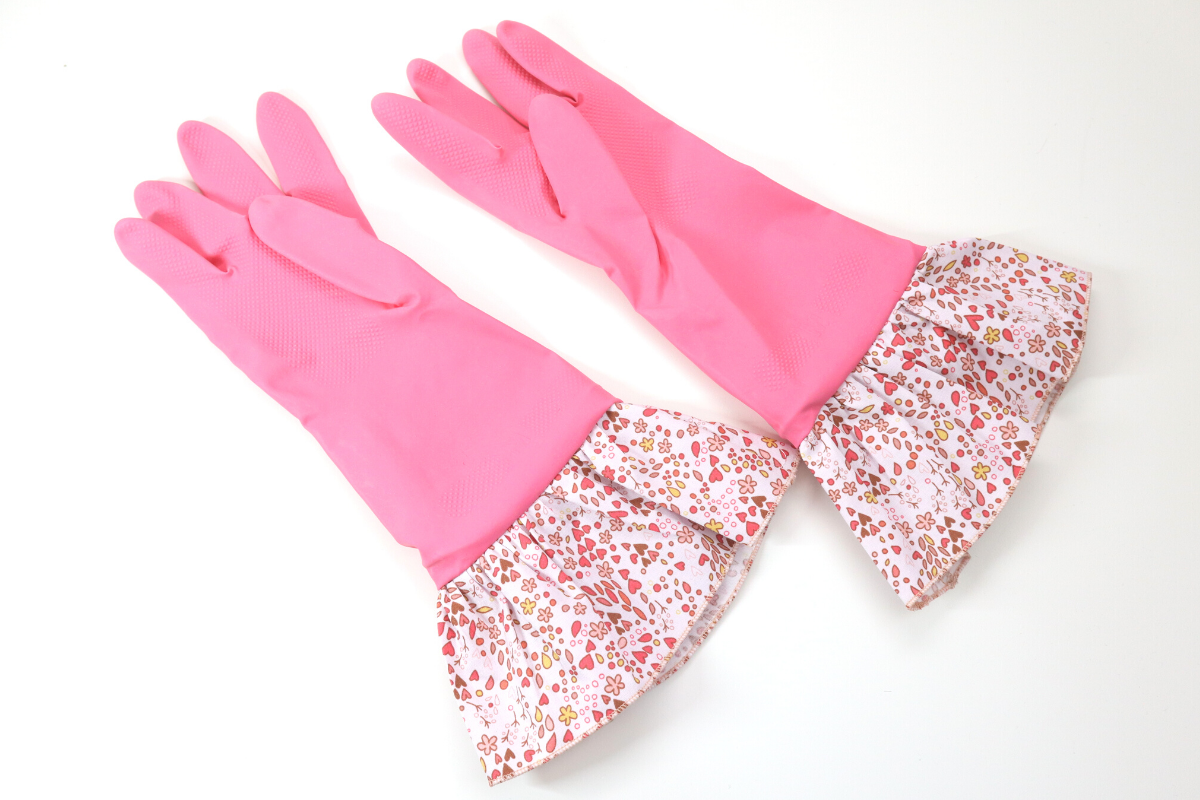
Decorative Cleaning Gloves
Have you ever heard the saying, “A clean house is a sign of a broken sewing machine”? I always laugh when I see it, even though no mater what I still have to clean, how about you? However, what if you could clean in style? In today’s blog post I’m going to teach you how to make these adorable cleaning gloves with your serger and a touch of your sewing machine.

Hello my Sewing Bees, my name is Sue O’Very owner of Sookie Sews and BERNINA Expert. You can find me on Instagram at @SookieSews, my website SookieSews.com, and on my YouTube Channel SookieSewsTV.com where I have hundreds of sewing projects, machine sewing patterns, embroidery designs and In-the-hoop projects. Ok, let’s get stitching!

Materials and Supplies for the Decorative Cleaning Gloves
Measurements are Width by Height
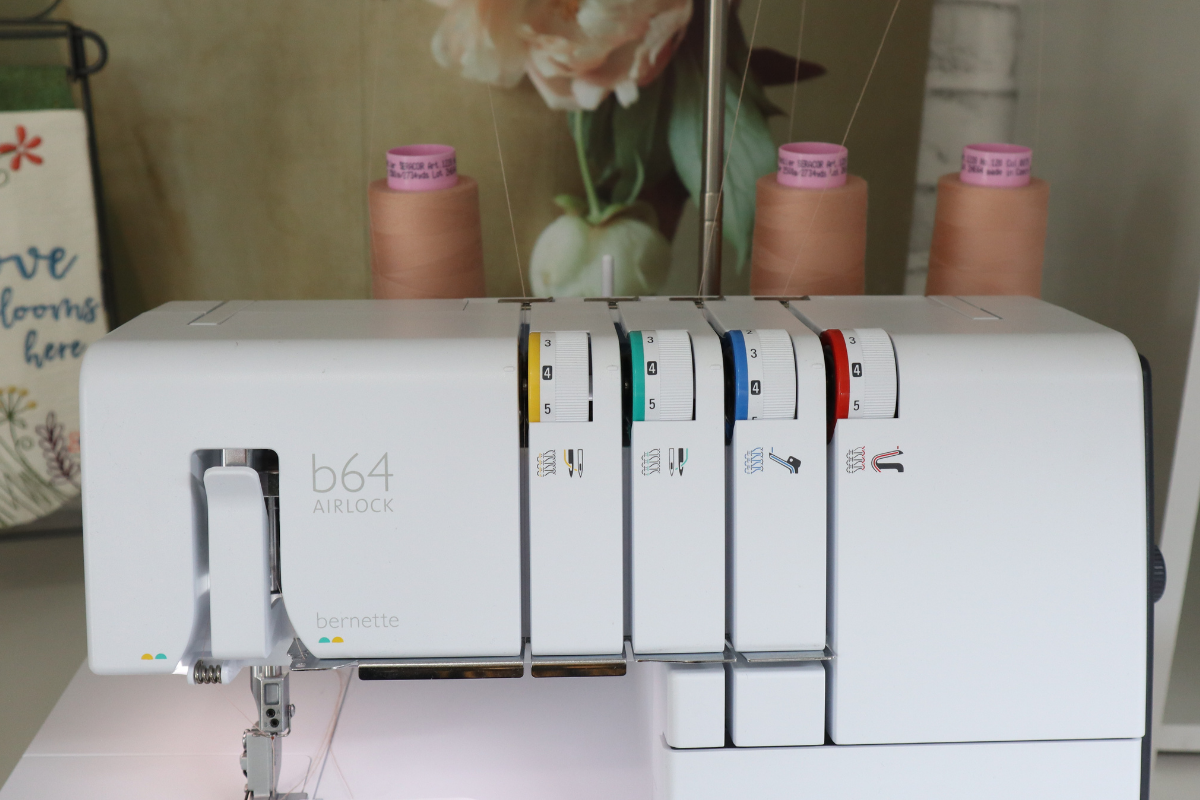
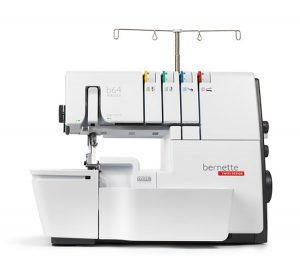
- Serger (I used my bernette 64 AIRLOCK) with standard needle that comes with it
- (3) spools standard serger thread
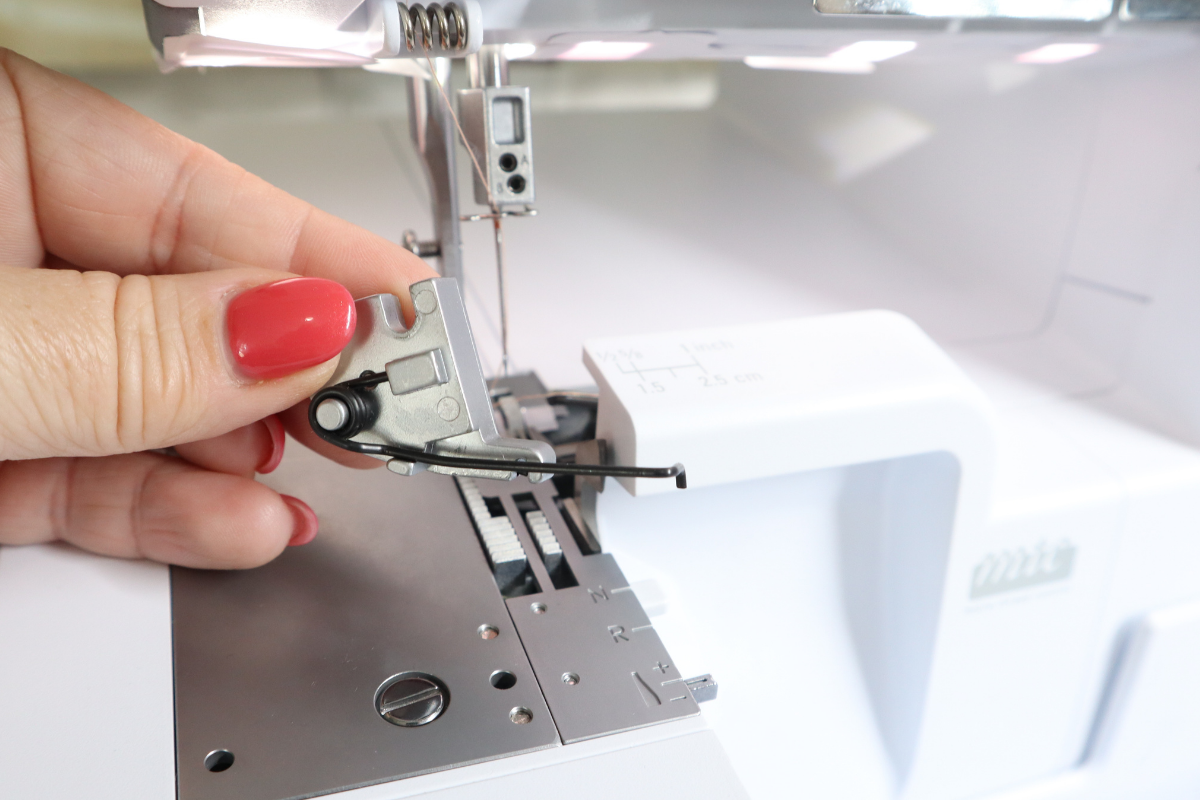
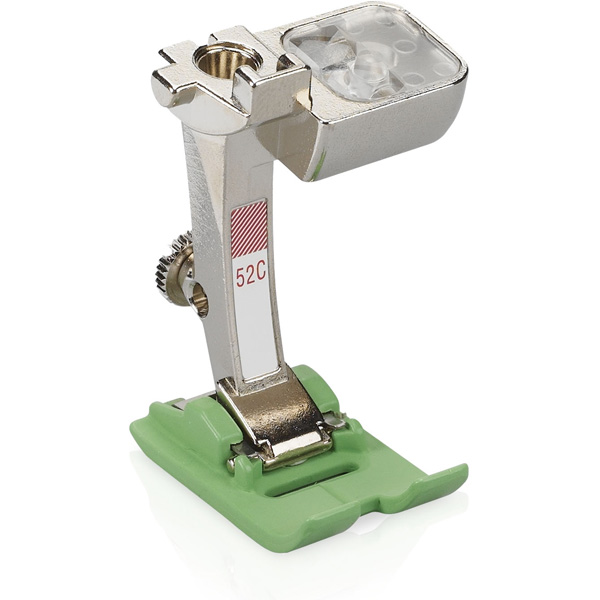
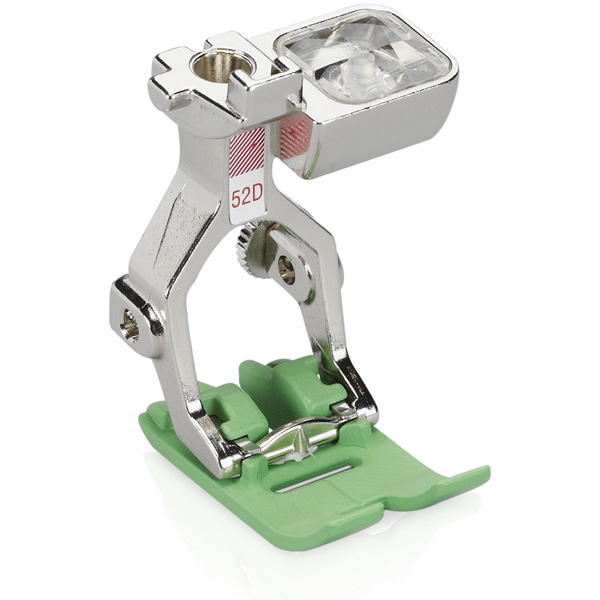
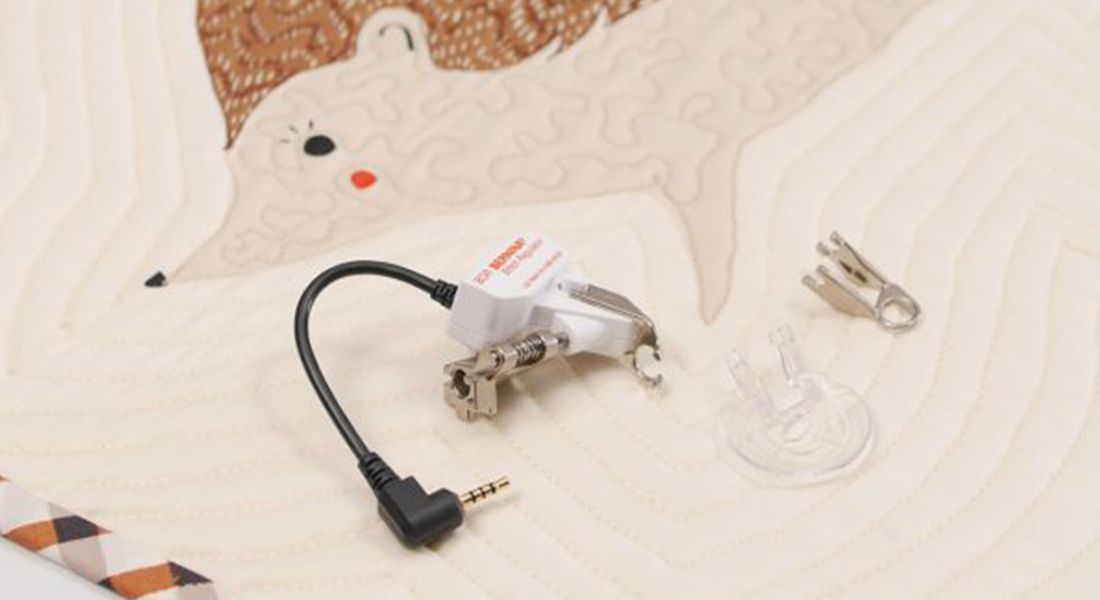
- Serger Gathering foot
- Optional Presser foot spring (for bernette 64 Airlock) Ask your local dealer
- Sewing machine with Zigzag foot with non-stick sole (I used my bernette b79)
- (1) spool of standard sewing thread and bobbin to match
- Vinyl Needles size 12 or 14 for sewing machine
- (1) pack of reusable gloves – Size Medium
- (2) 23″x4″ Cuff (I used Birdsong Benartex Fabric)
- Wonder Clips
- Rotary Cutter, ruler, and mat
- Thread snips (Sookie Sews EZ Hook n Snip)
- Seam sealant (I used Fray Block because it leaves a nice soft finish)
- Iron and pressing station
Steps to Make the Decorative Cleaning Gloves
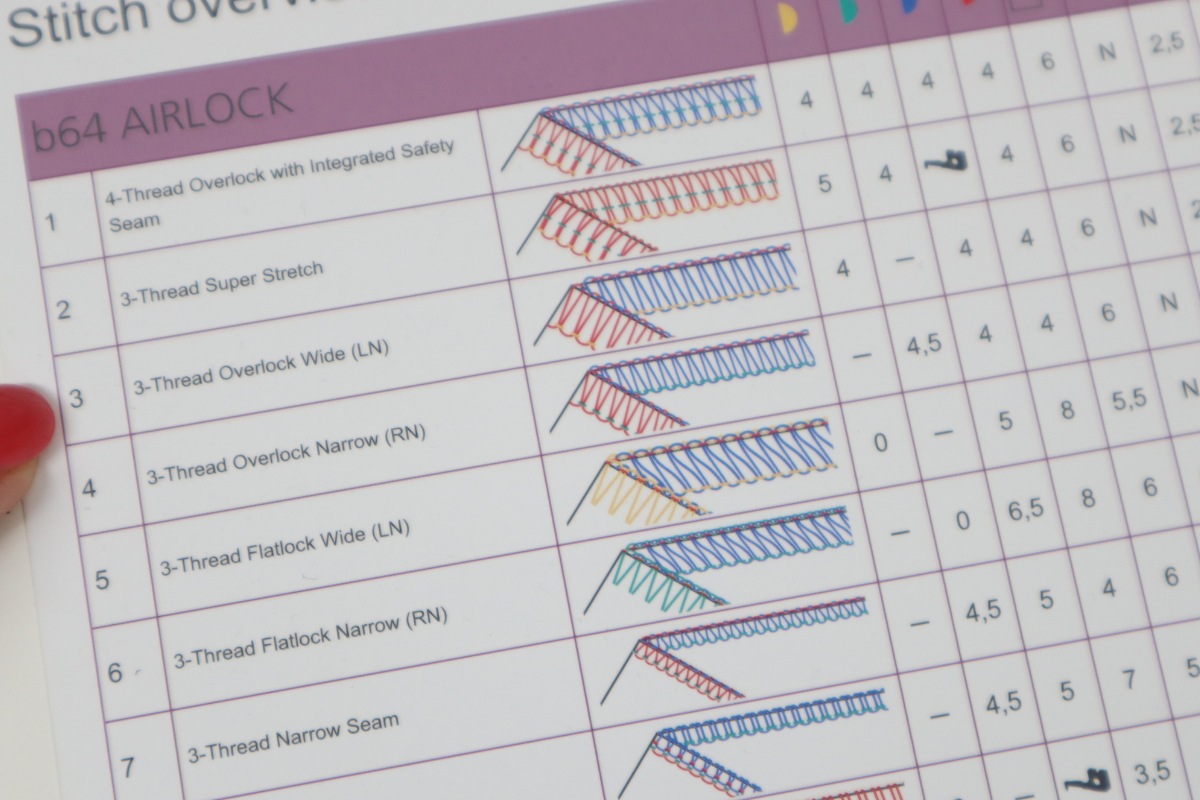
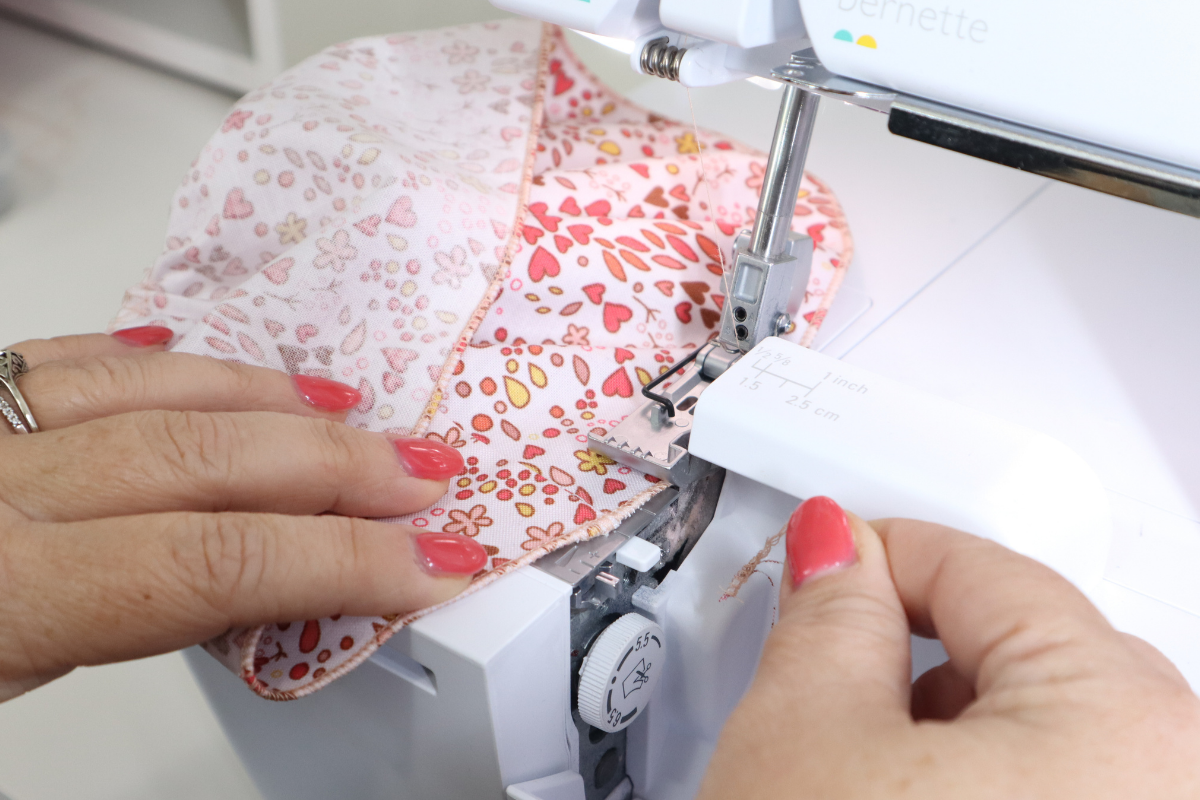
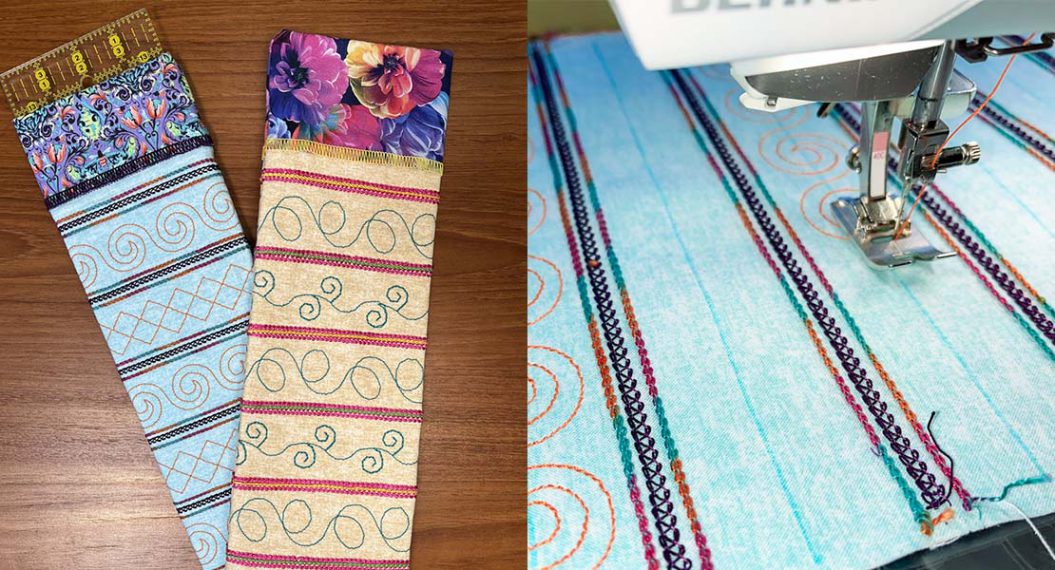
Set up the serger with a 3-Thread Overlock wide. My tensions were set to 4 for my needle and two loopers.
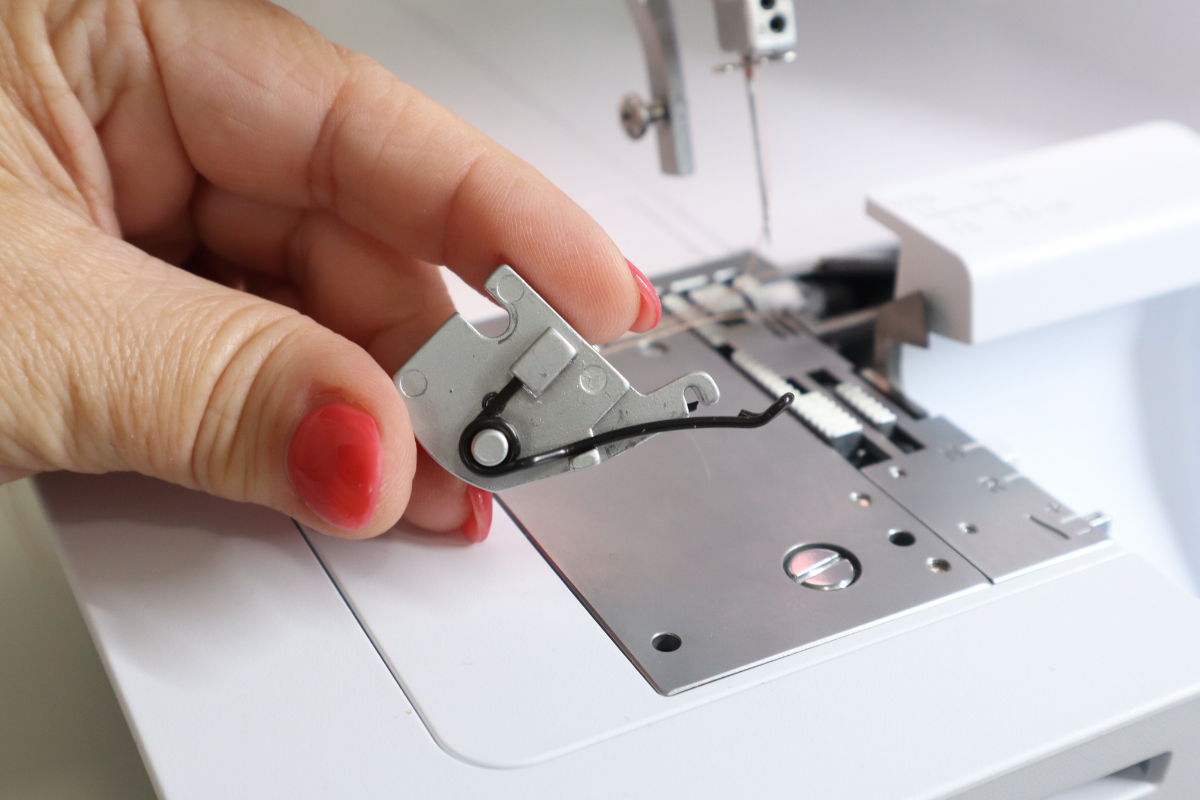
Attach the Gathering foot along with the optional presser foot spring (there is a video you can watch here). Not all makes and models need this, but the bernette b64 does. Not sure, ask your local dealer or refer to your user manual.
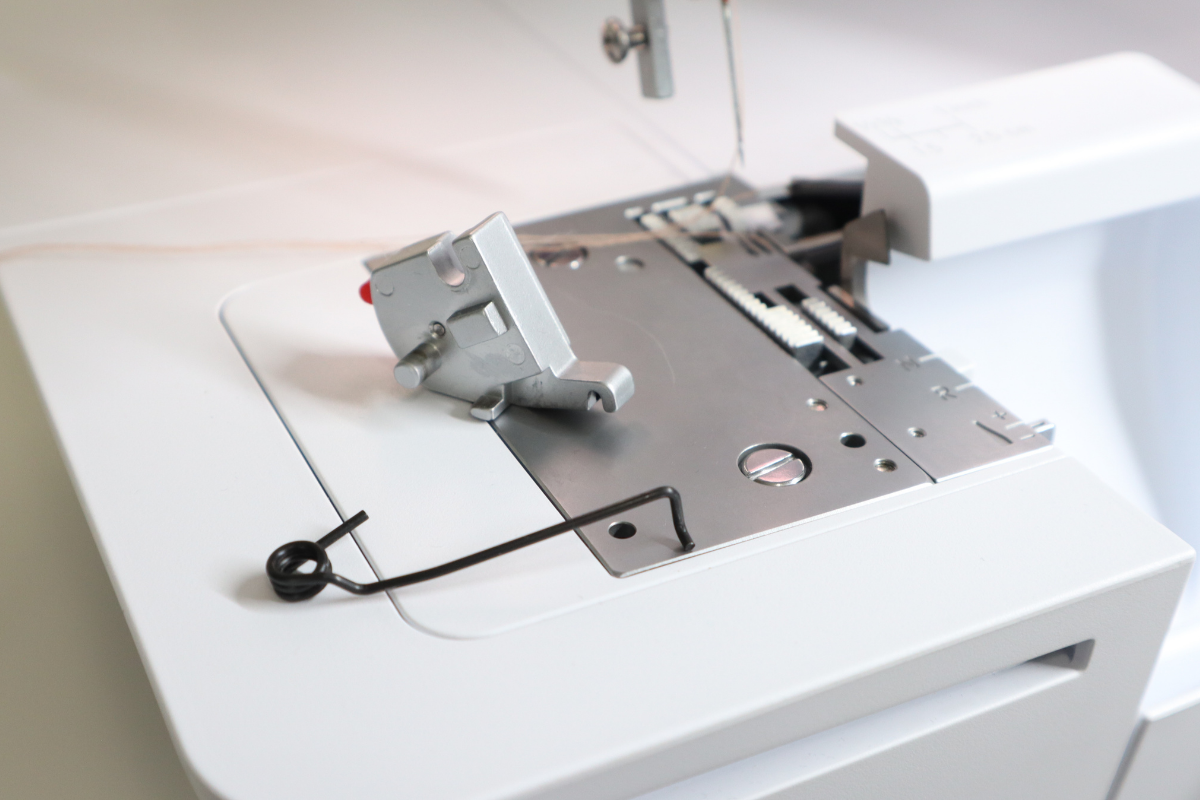
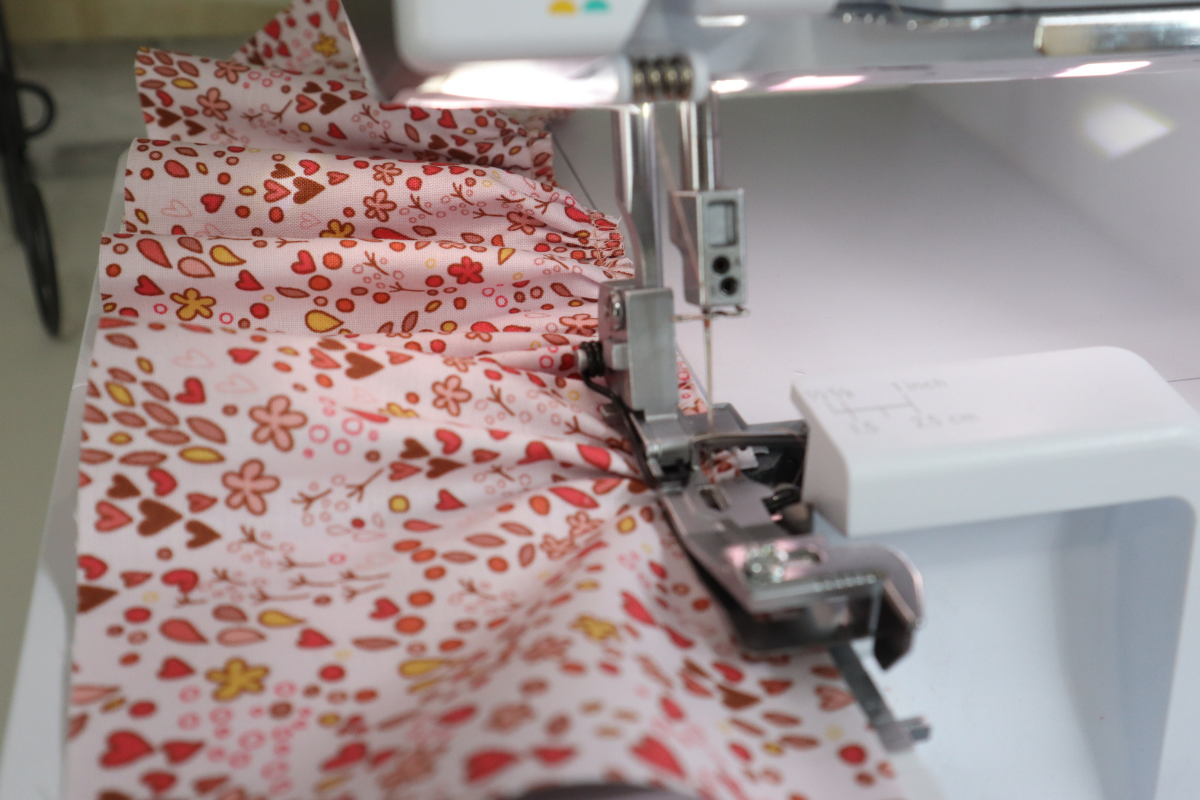
Adjust length and differential feed as high as they will go allowing for the best gathers.
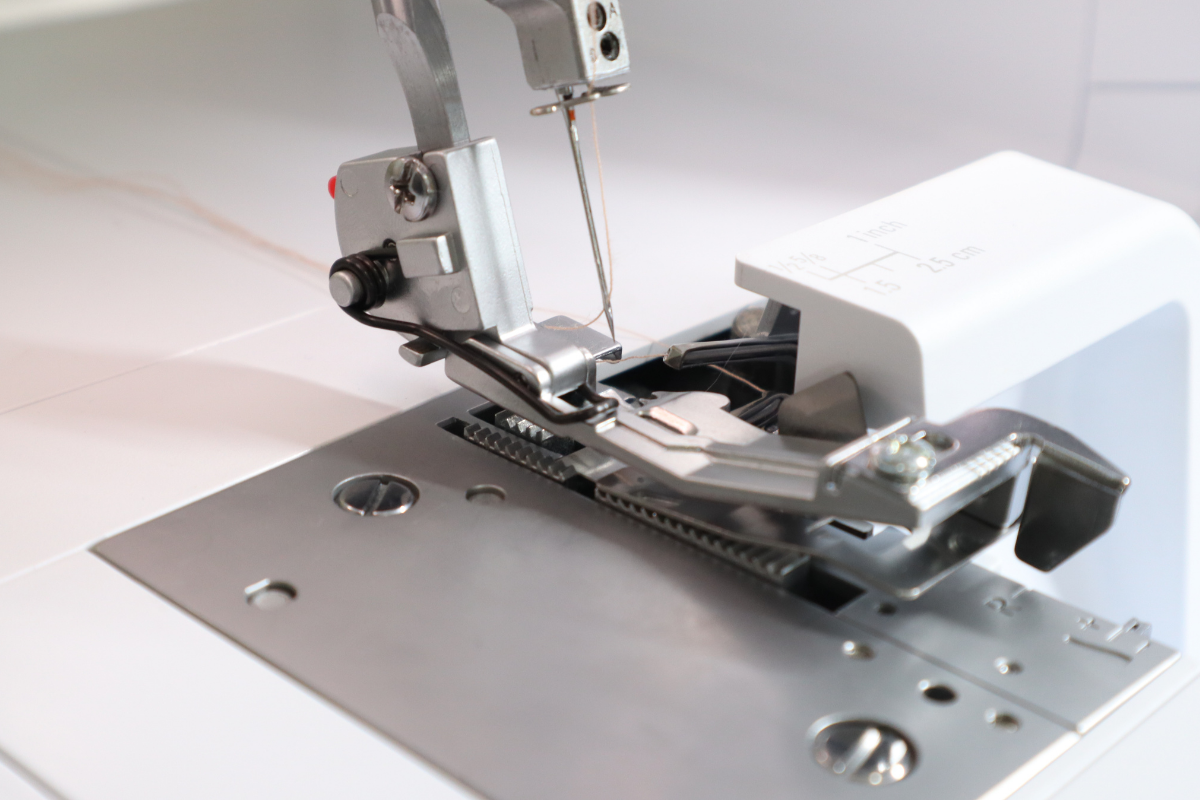
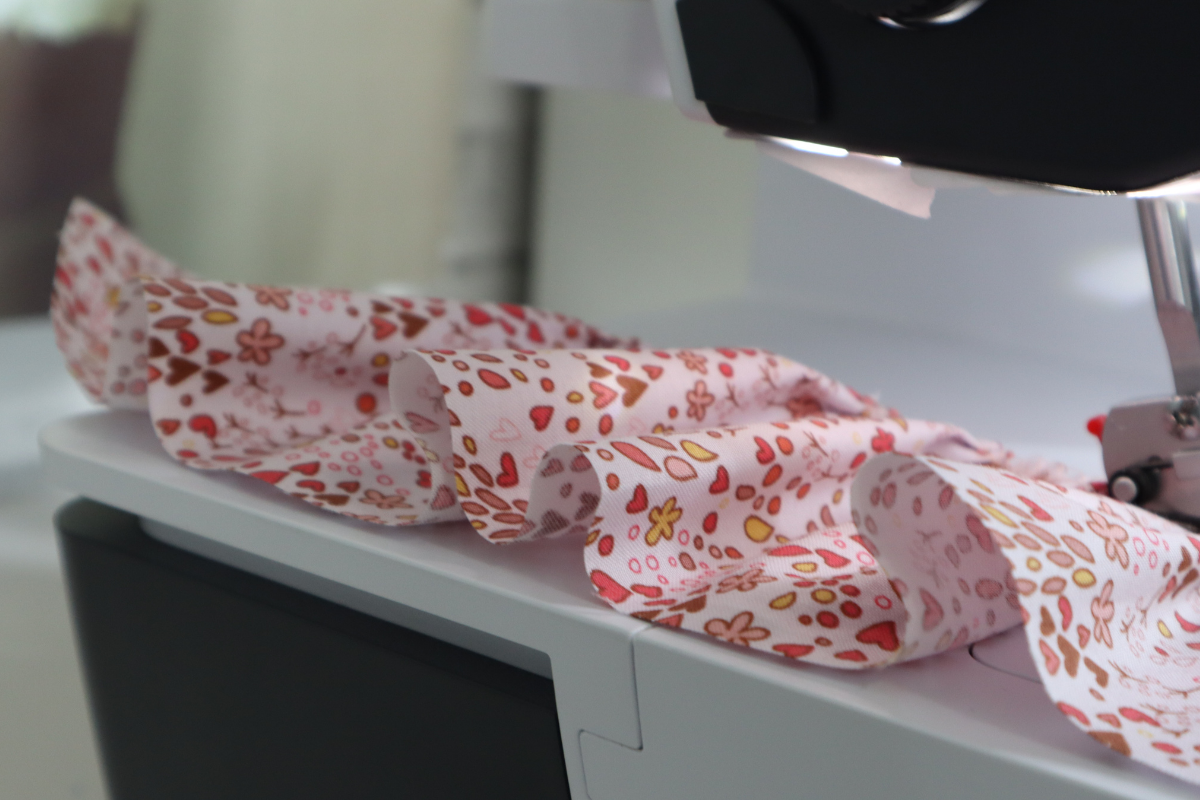
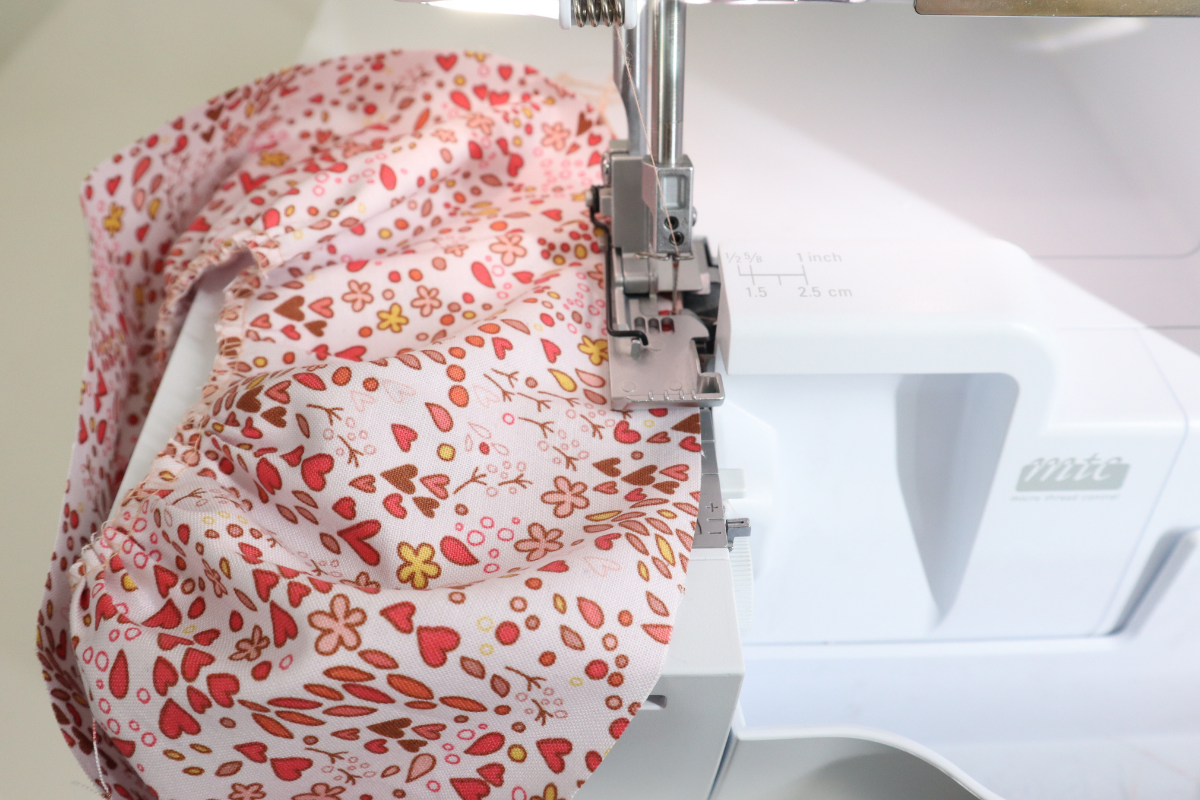
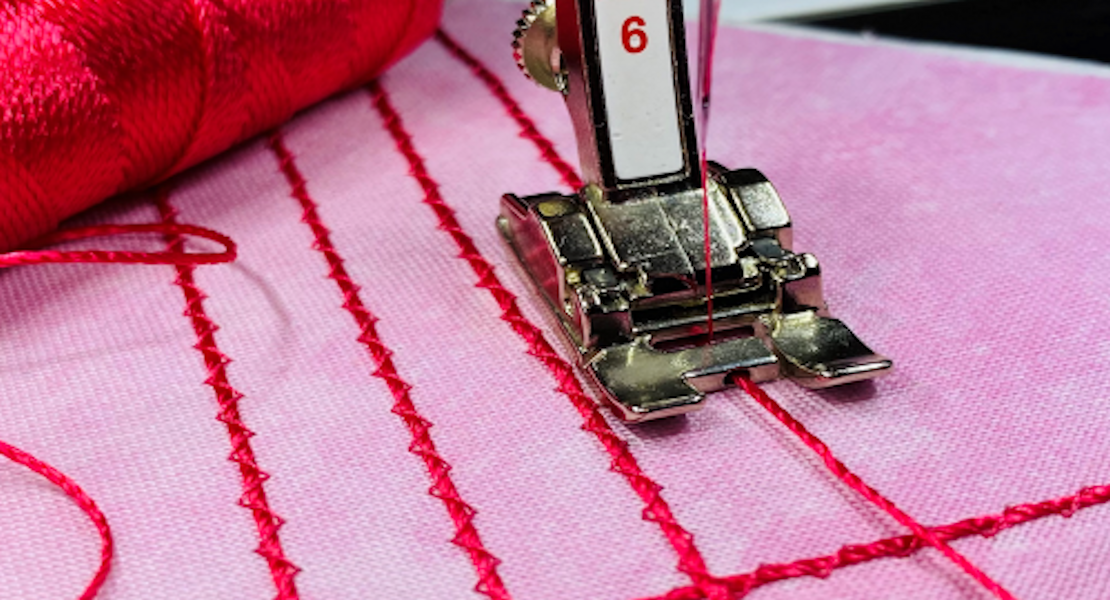
Place one of the Cuffs with one long edge against the edge of the bed of the machine and gather the material. Repeat for both Cuff pieces.
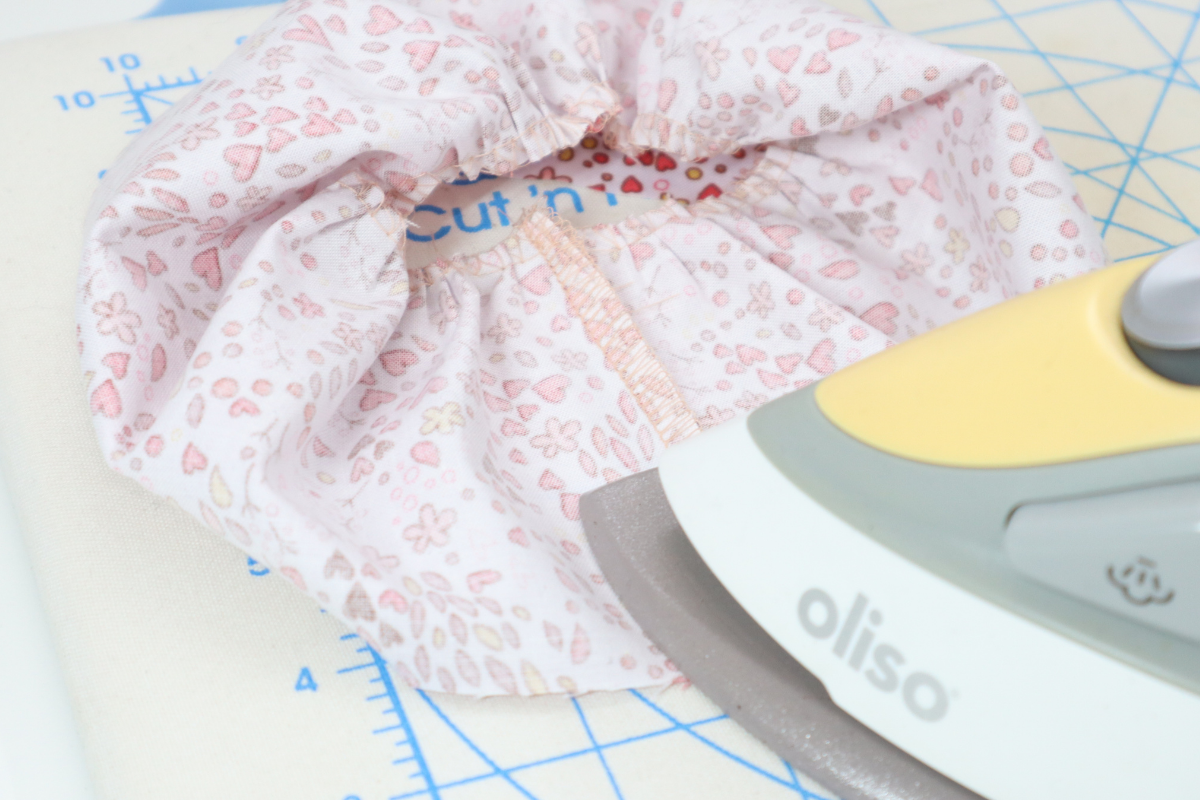
Change presser foot back to the standard foot, length to 2-3, differential feed to 1. For one of the Cuffs, place the right side together with the raw edges against the edge of the bed of the machine and stitch together. Repeat on both Cuffs. Press seams towards one side.

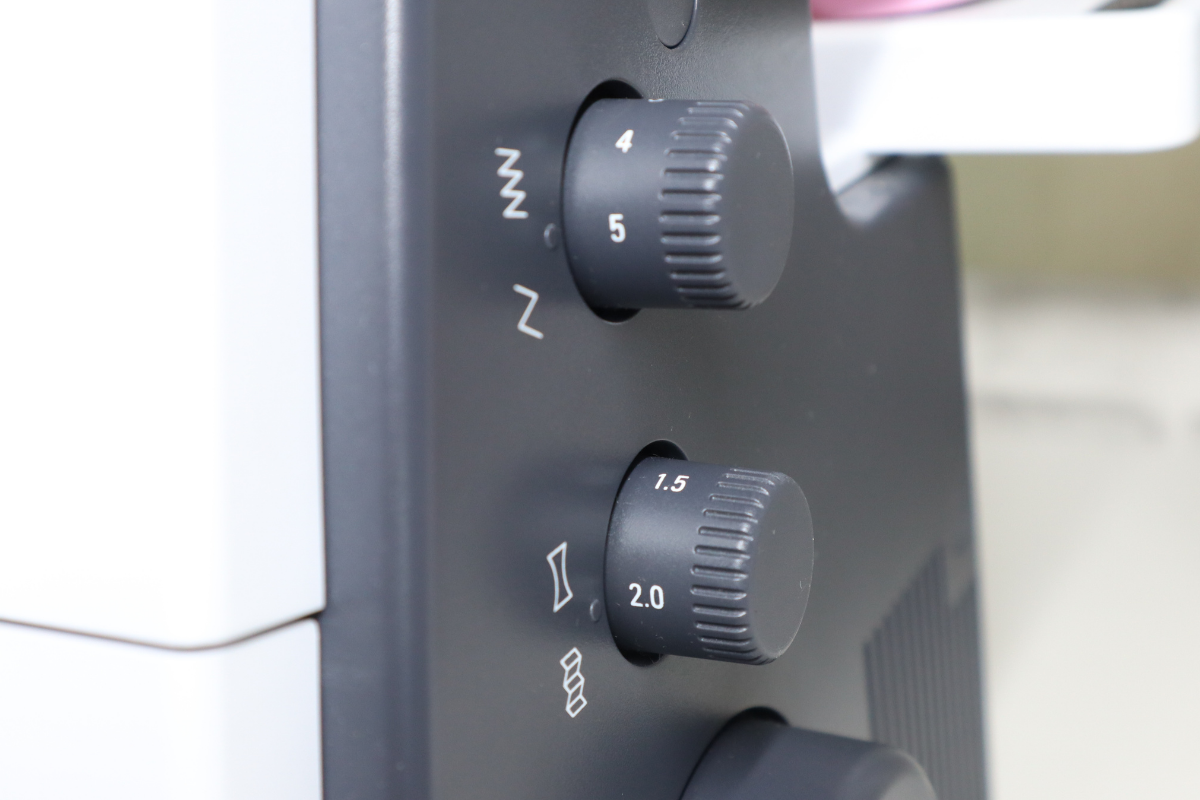
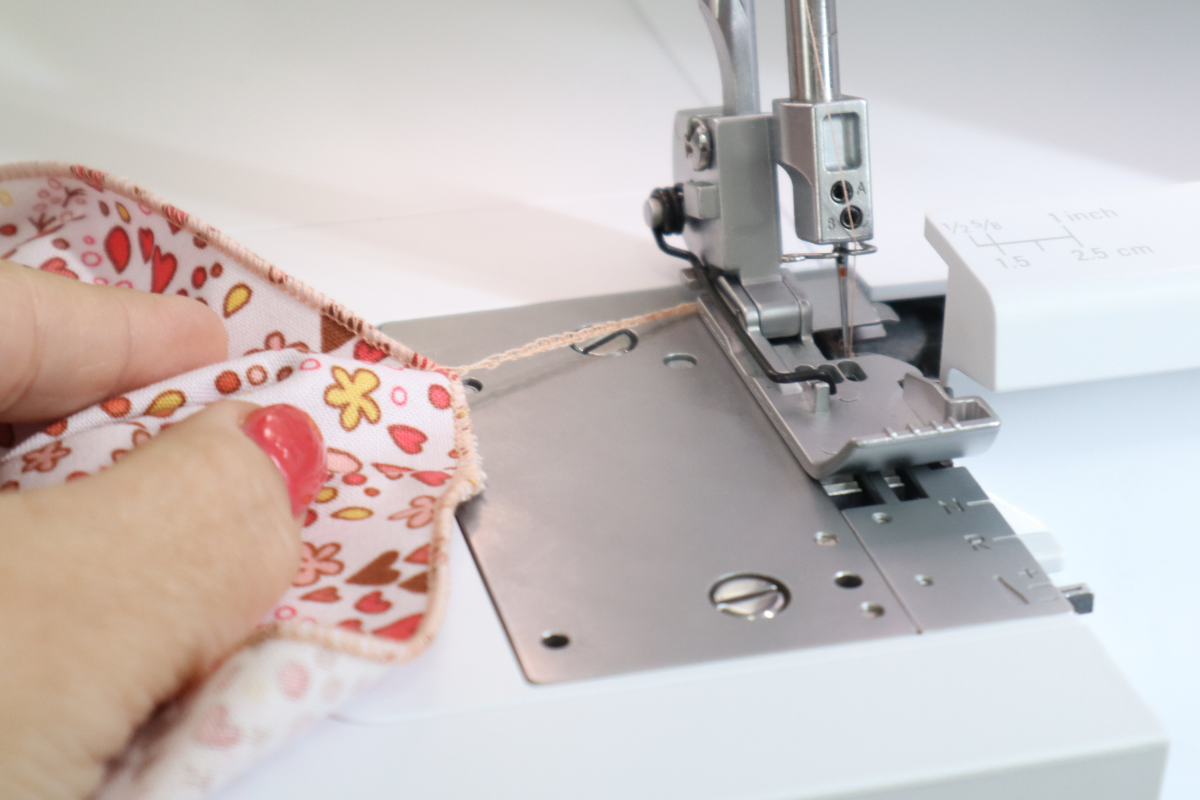
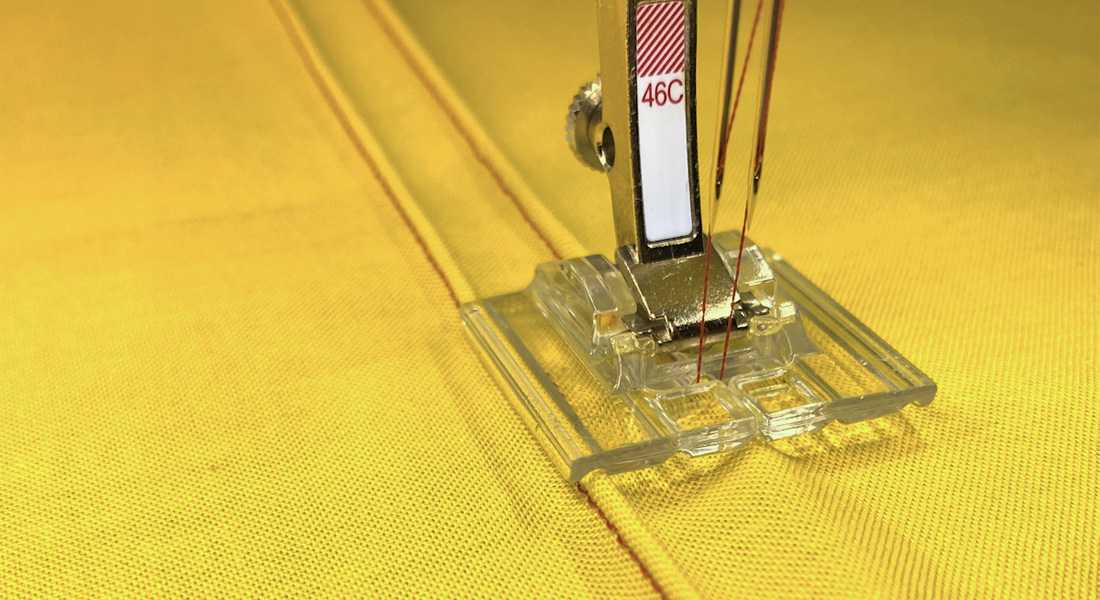
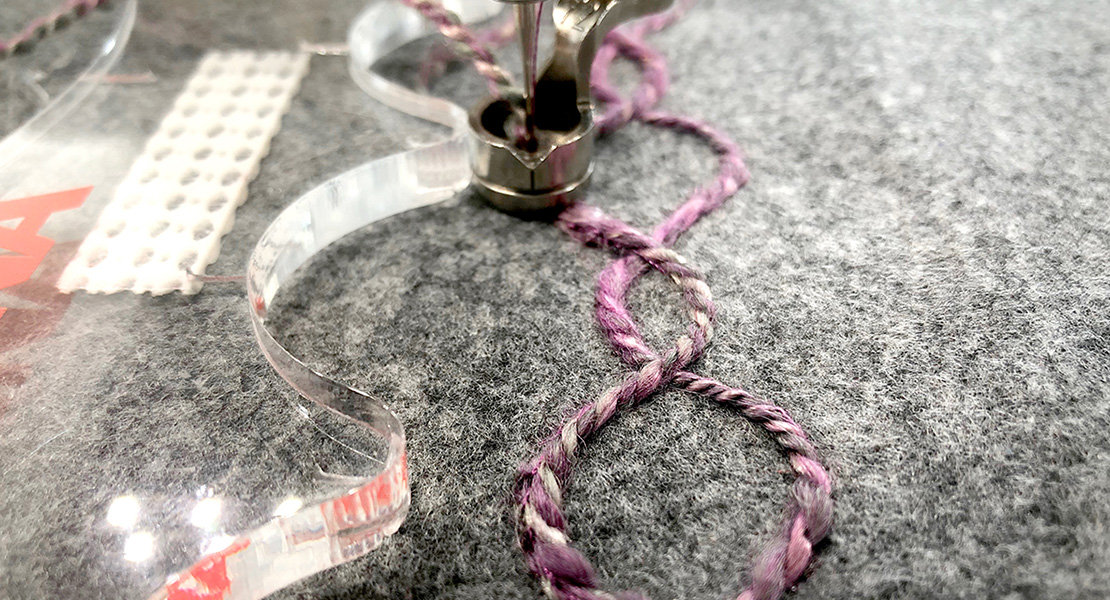
Set serger up for 3-Thread rolled hem. My tensions are based on the card that came with my serger, right needle 5, upper looper 5, lower looper 7. Length 1.5, differential feed 1, and the “R” selector.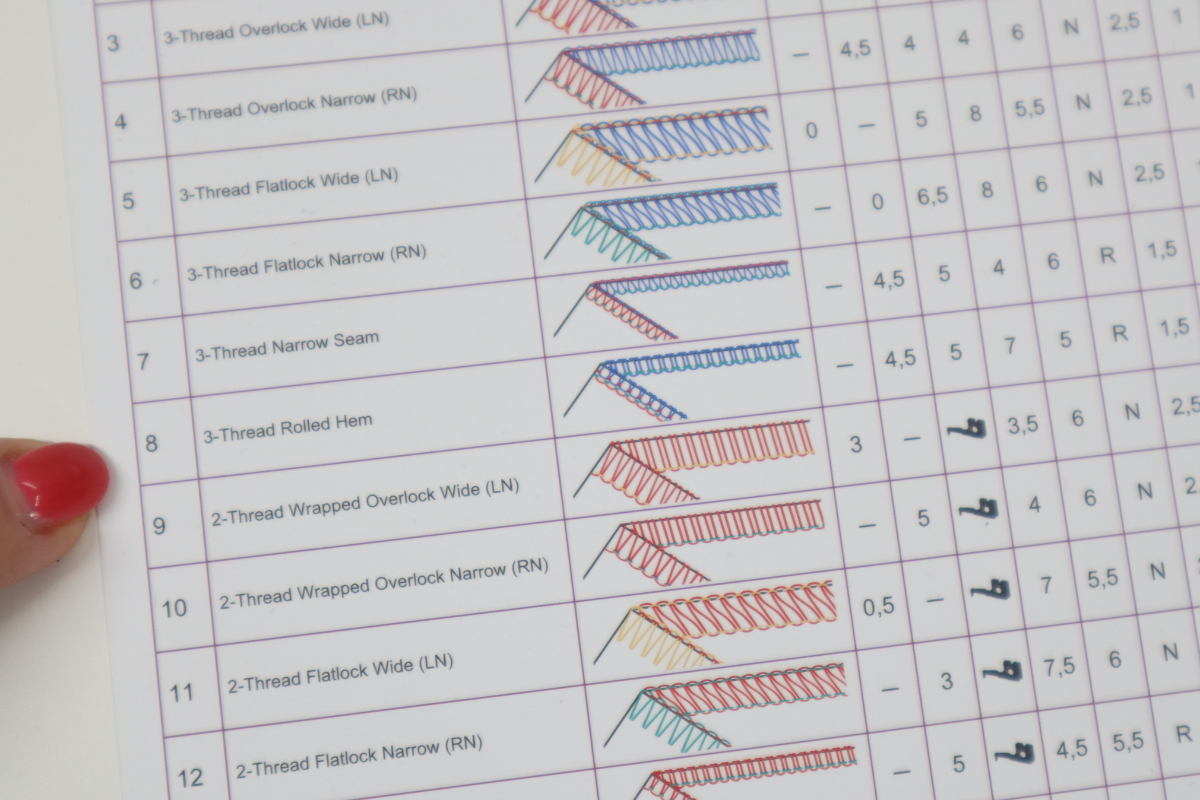
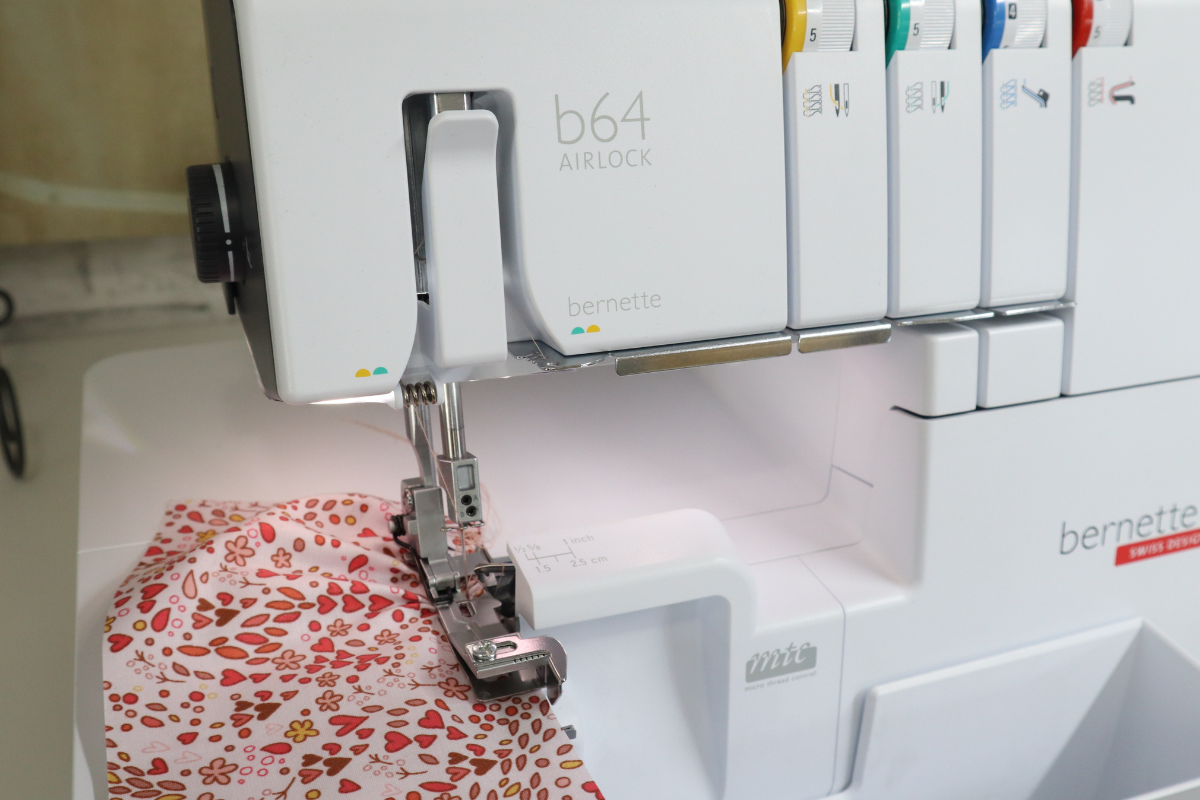
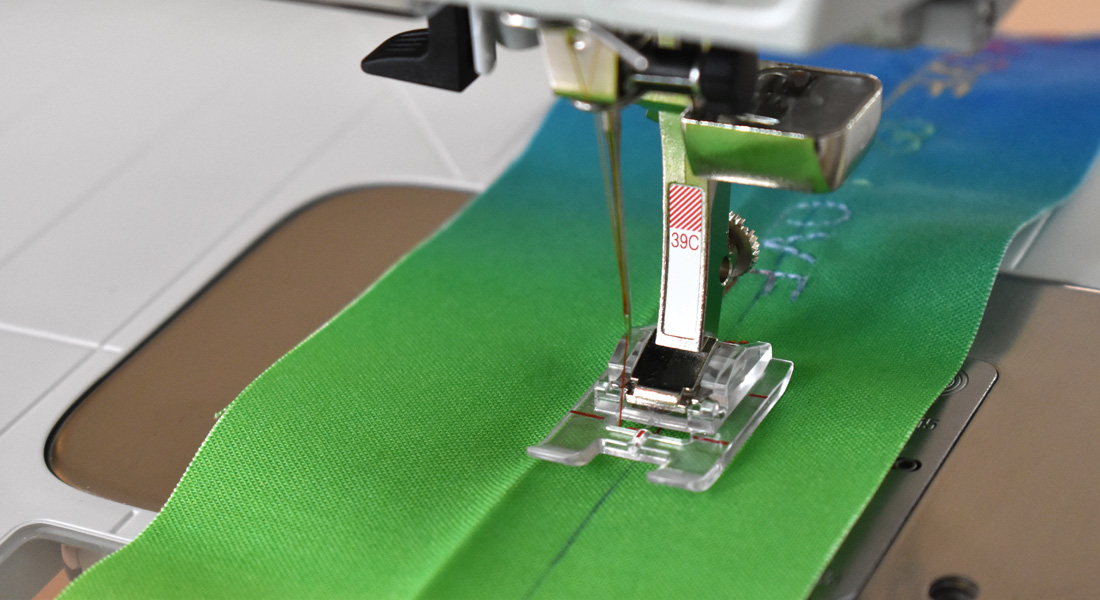
Begin with the presser foot up and slide the raw edge of the Cuff, right side up under the foot.
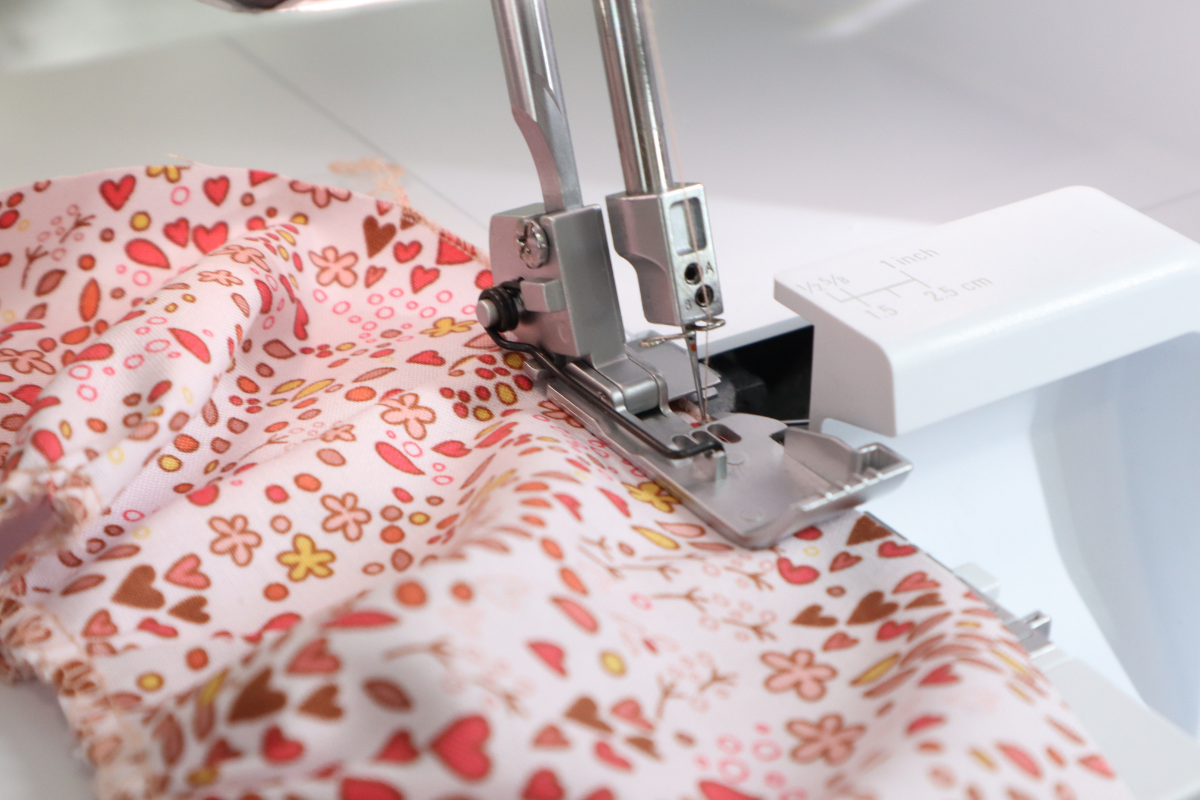
Align the raw edge against the edge of the bed of the machine. Lower foot and serge trying not to cut any material or a very small amount as needed.
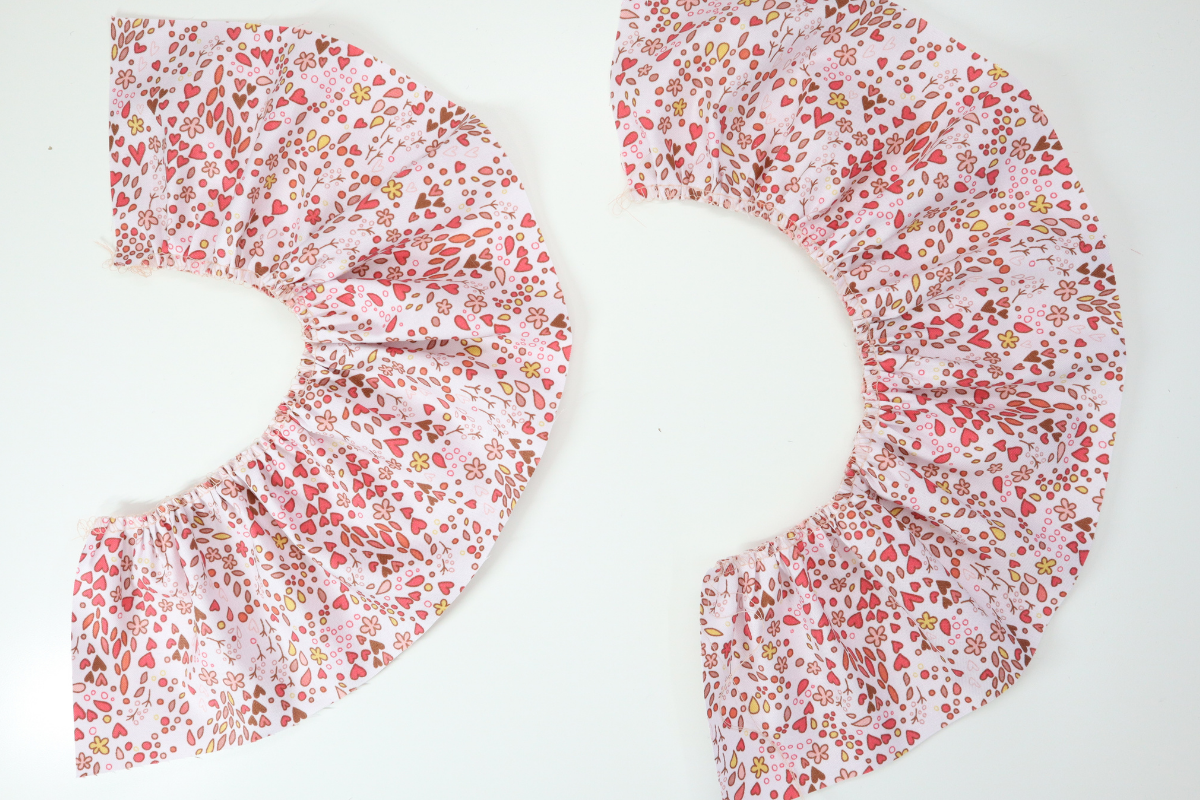
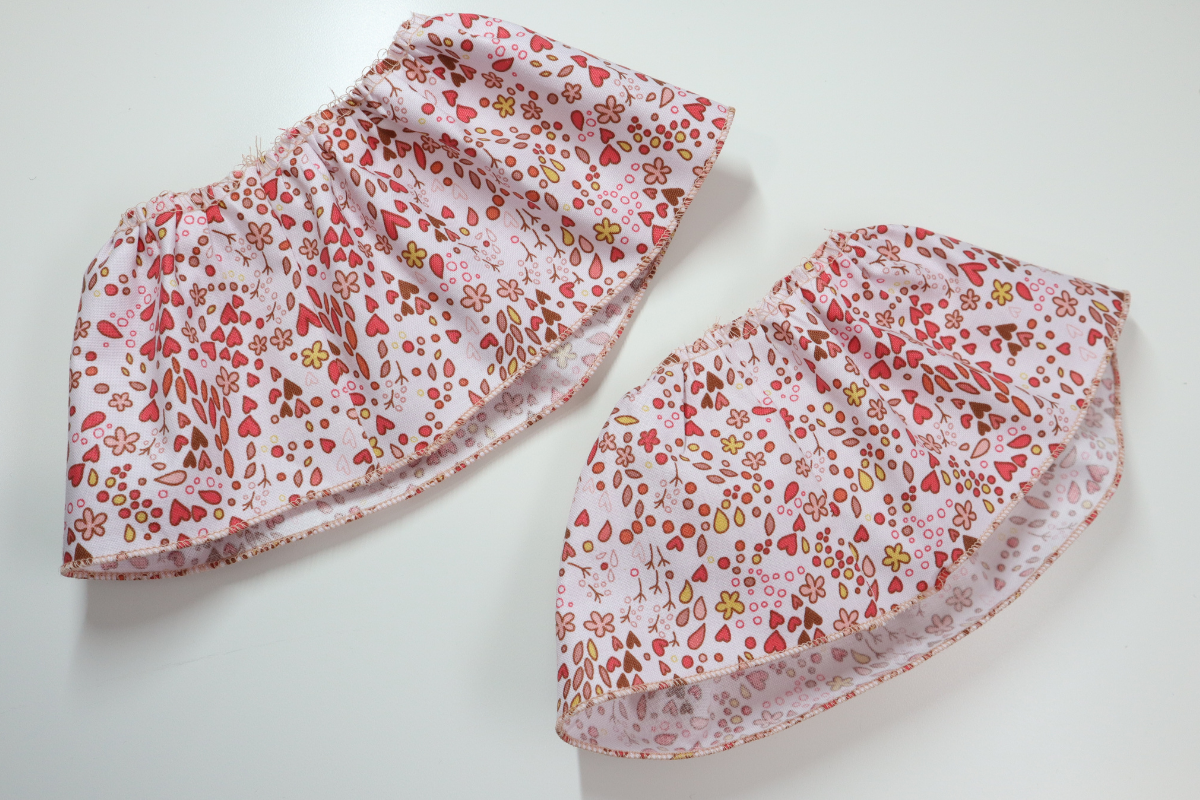
Continue stitching around the raw edge of the ruffle and when you near the beginning, cut off the original thread tail and cross over the beginning stitch.
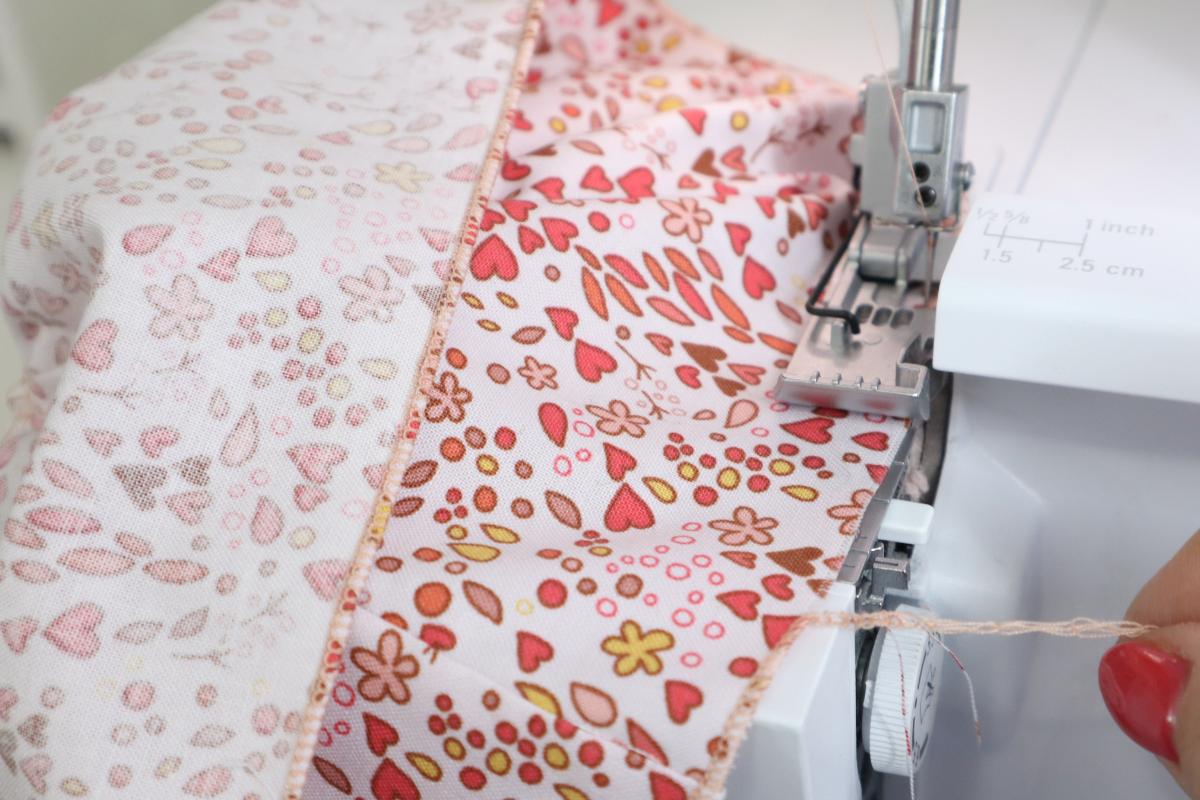

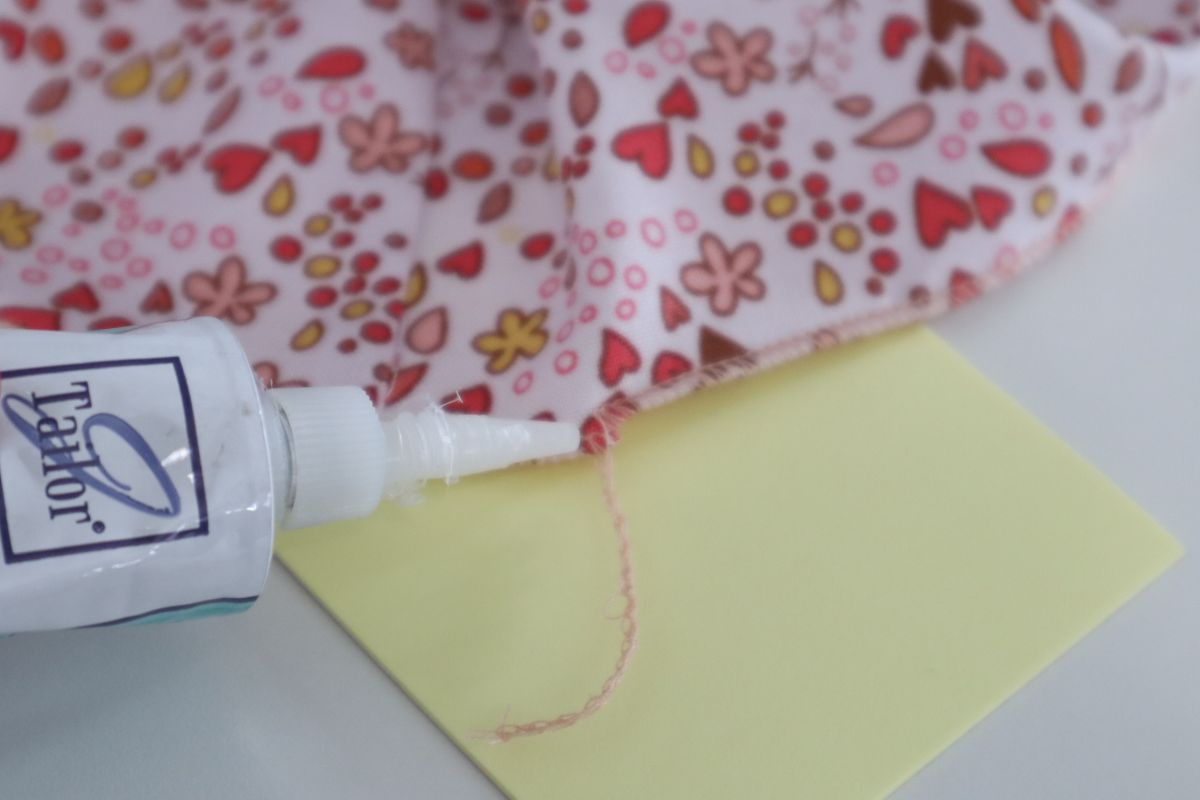
At the end of the stitching, raise the foot and pull the threads off the stitch fingers towards the back. Lower the presser foot and stitch at least 4″.

Cut the thread tails and use seam sealant to help prevent fraying.
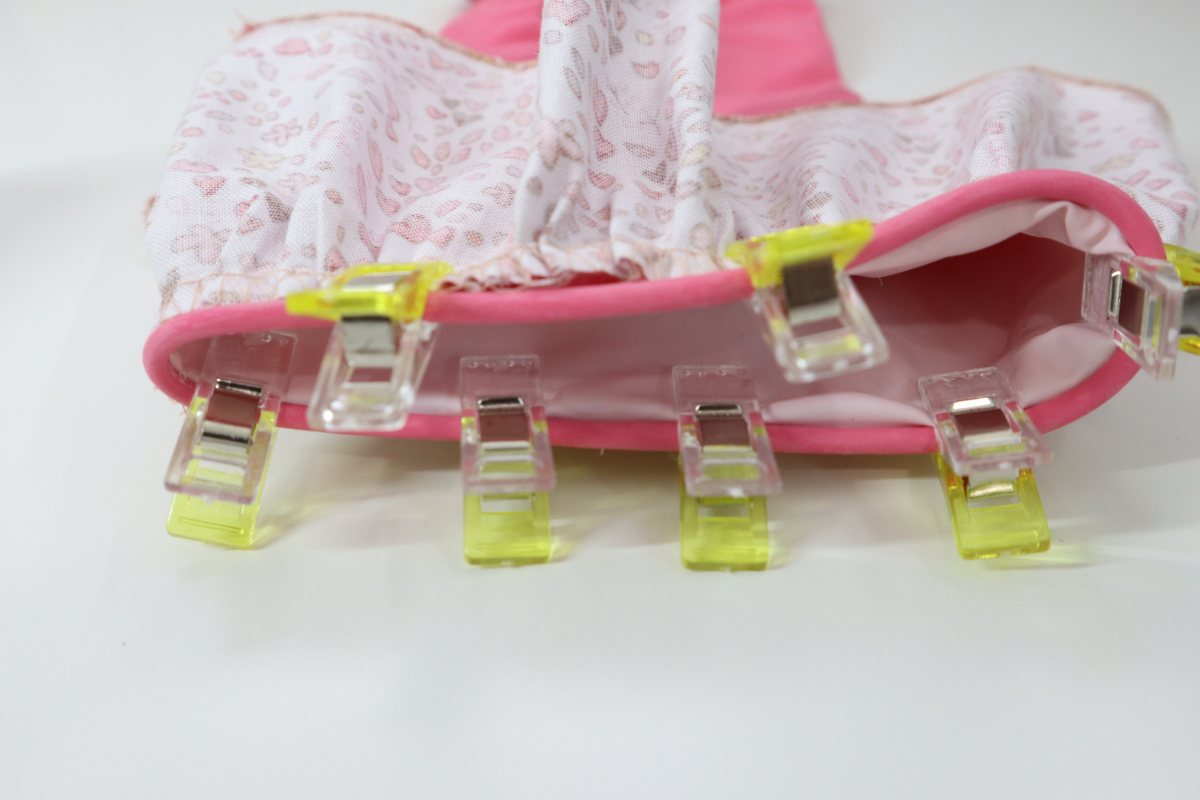
Use wonder clips to apply the right side of the Cuff to the right side of the bottom opening of the gloves. Align the seam of the Cuff with the “side seam” of the glove closest to the thumb.
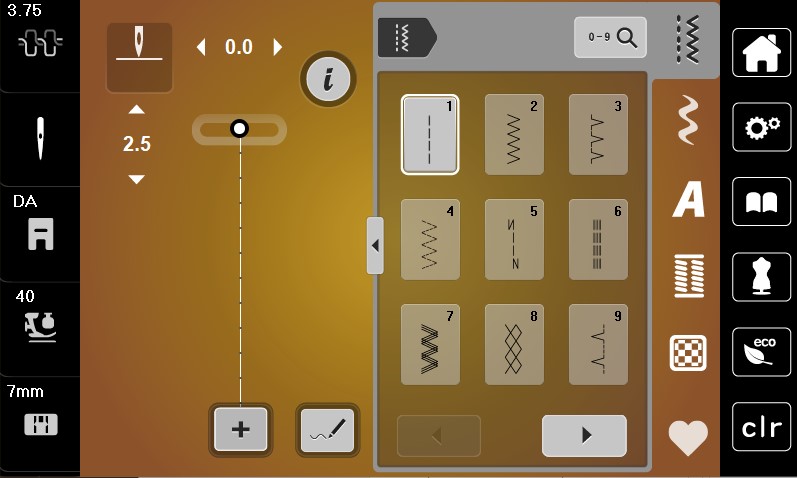
Set sewing machine up with Vinyl size 12 needle, Zigzag foot with non-stick sole, straight stitch with 2.5 length, and matching thread in the top and bottom. Make sure you tell your machine which foot you are using.
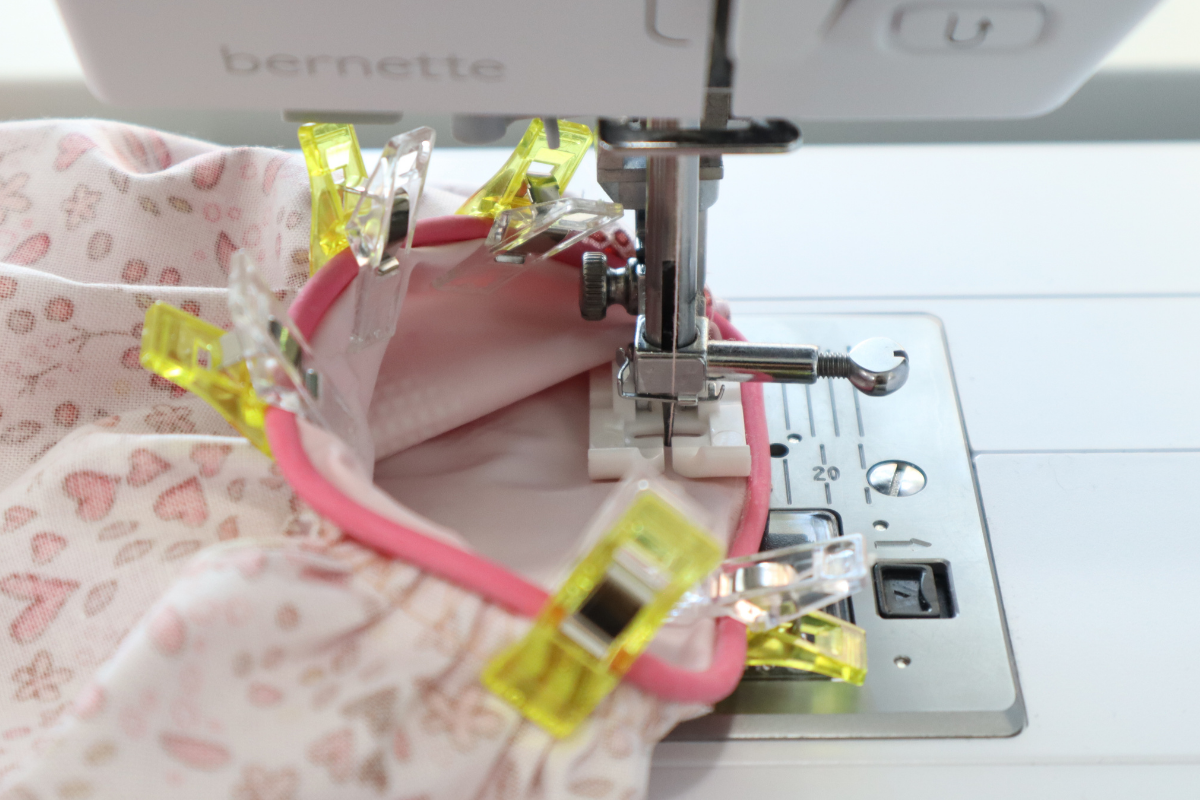
With the rubber of the gloves right side closest to the presser foot, sew at a 1/2″ seam allowance all the way around and backstitch at the end.
Once finished stitching clip thread tails and turn seam allowance towards the gloves. Very carefully press only the Cuff. *Avoid pressing the rubber gloves with the tip of the iron.

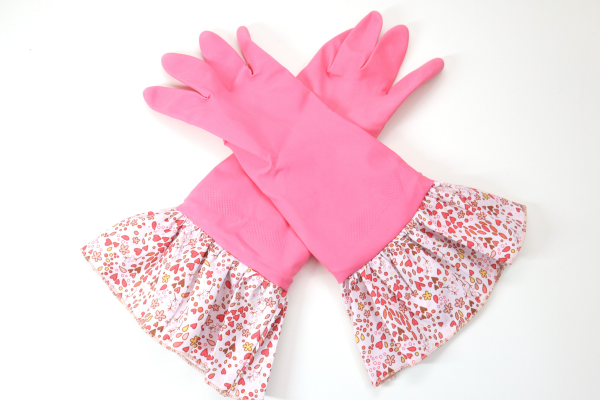
You are all finished! Congratulations! These make such a nice home warming gift, craft fair item for sale, or gift for yourself. Now that you’ve sewn today, it’s time to get back to cleaning!

I hope you enjoyed this easy serger project and enjoy making all of my easy serger projects! When you make yours, please snap a shot and tag me @SookieSews and @BERNINAUSA!!
Used Products


What you might also like


2 comments on “Decorative Cleaning Gloves”
-
-
I’m so glad it sparked a creative idea!
Leave a Reply
You must be logged in to post a comment.

What a great tutorial!
I never would have thought about gloves.