DIY Award Rosette Ribbons
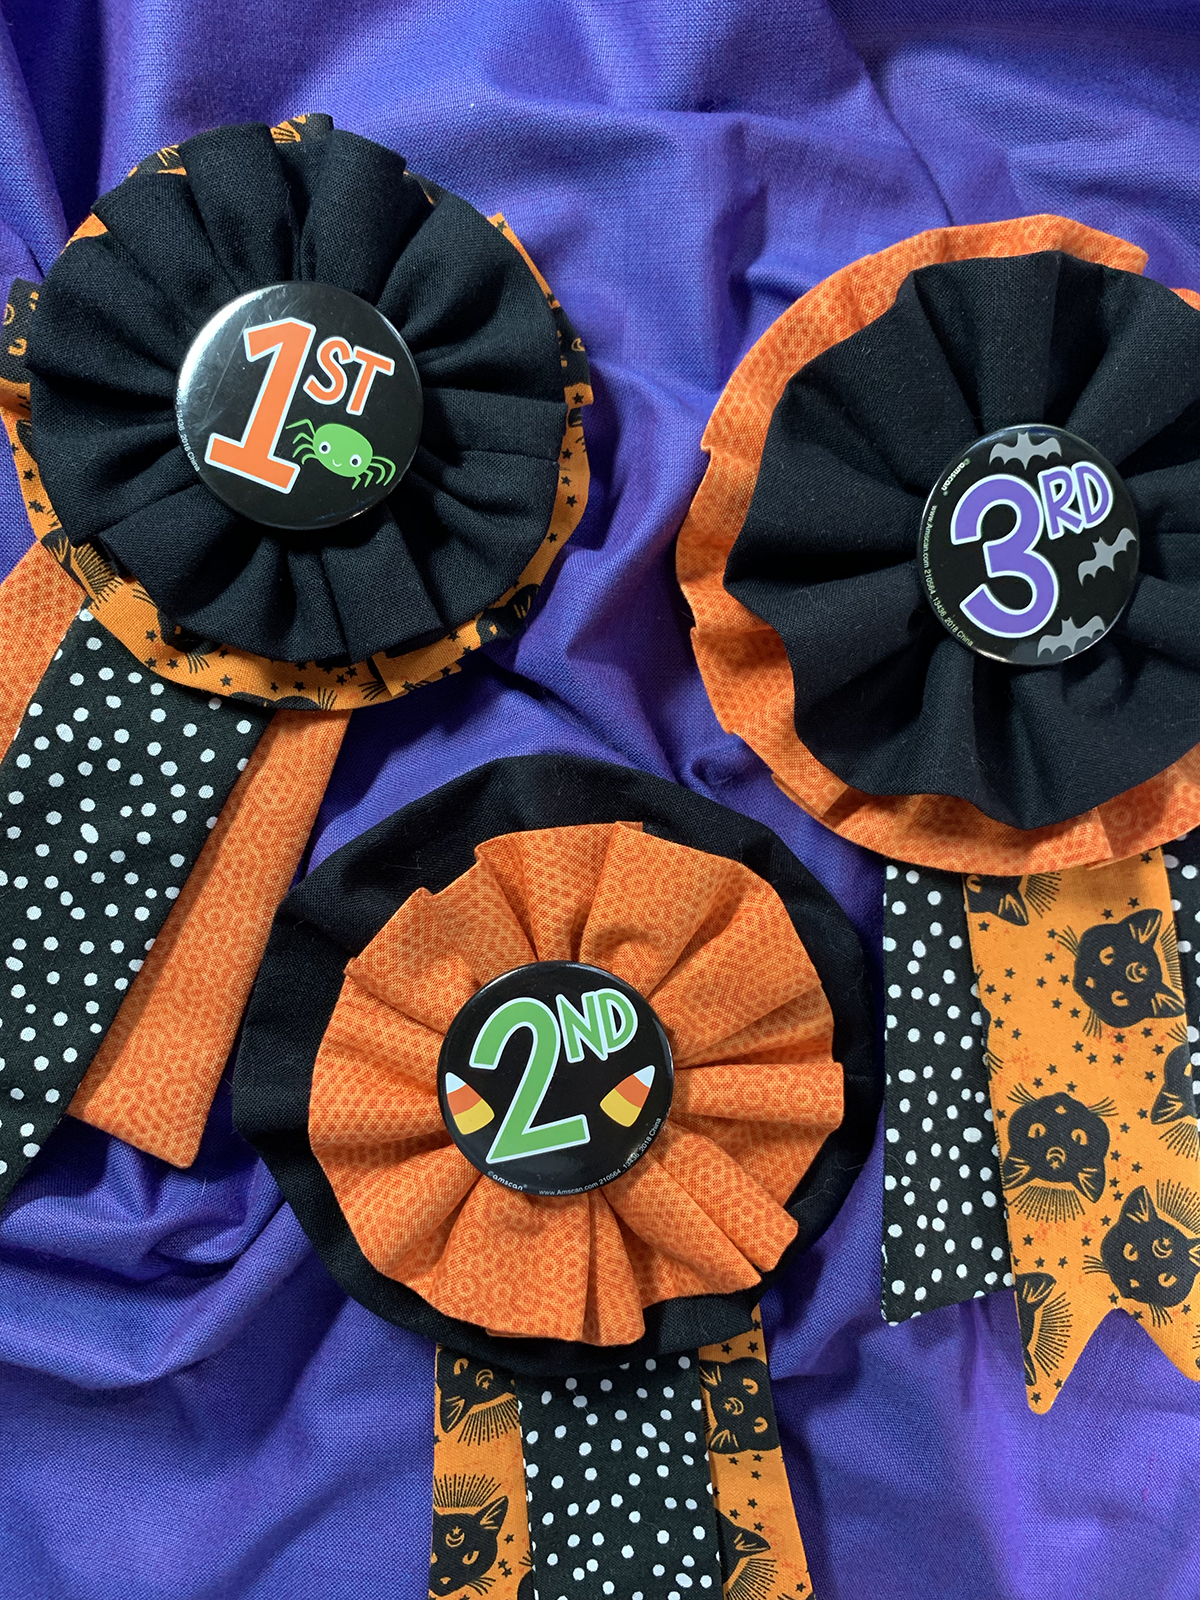
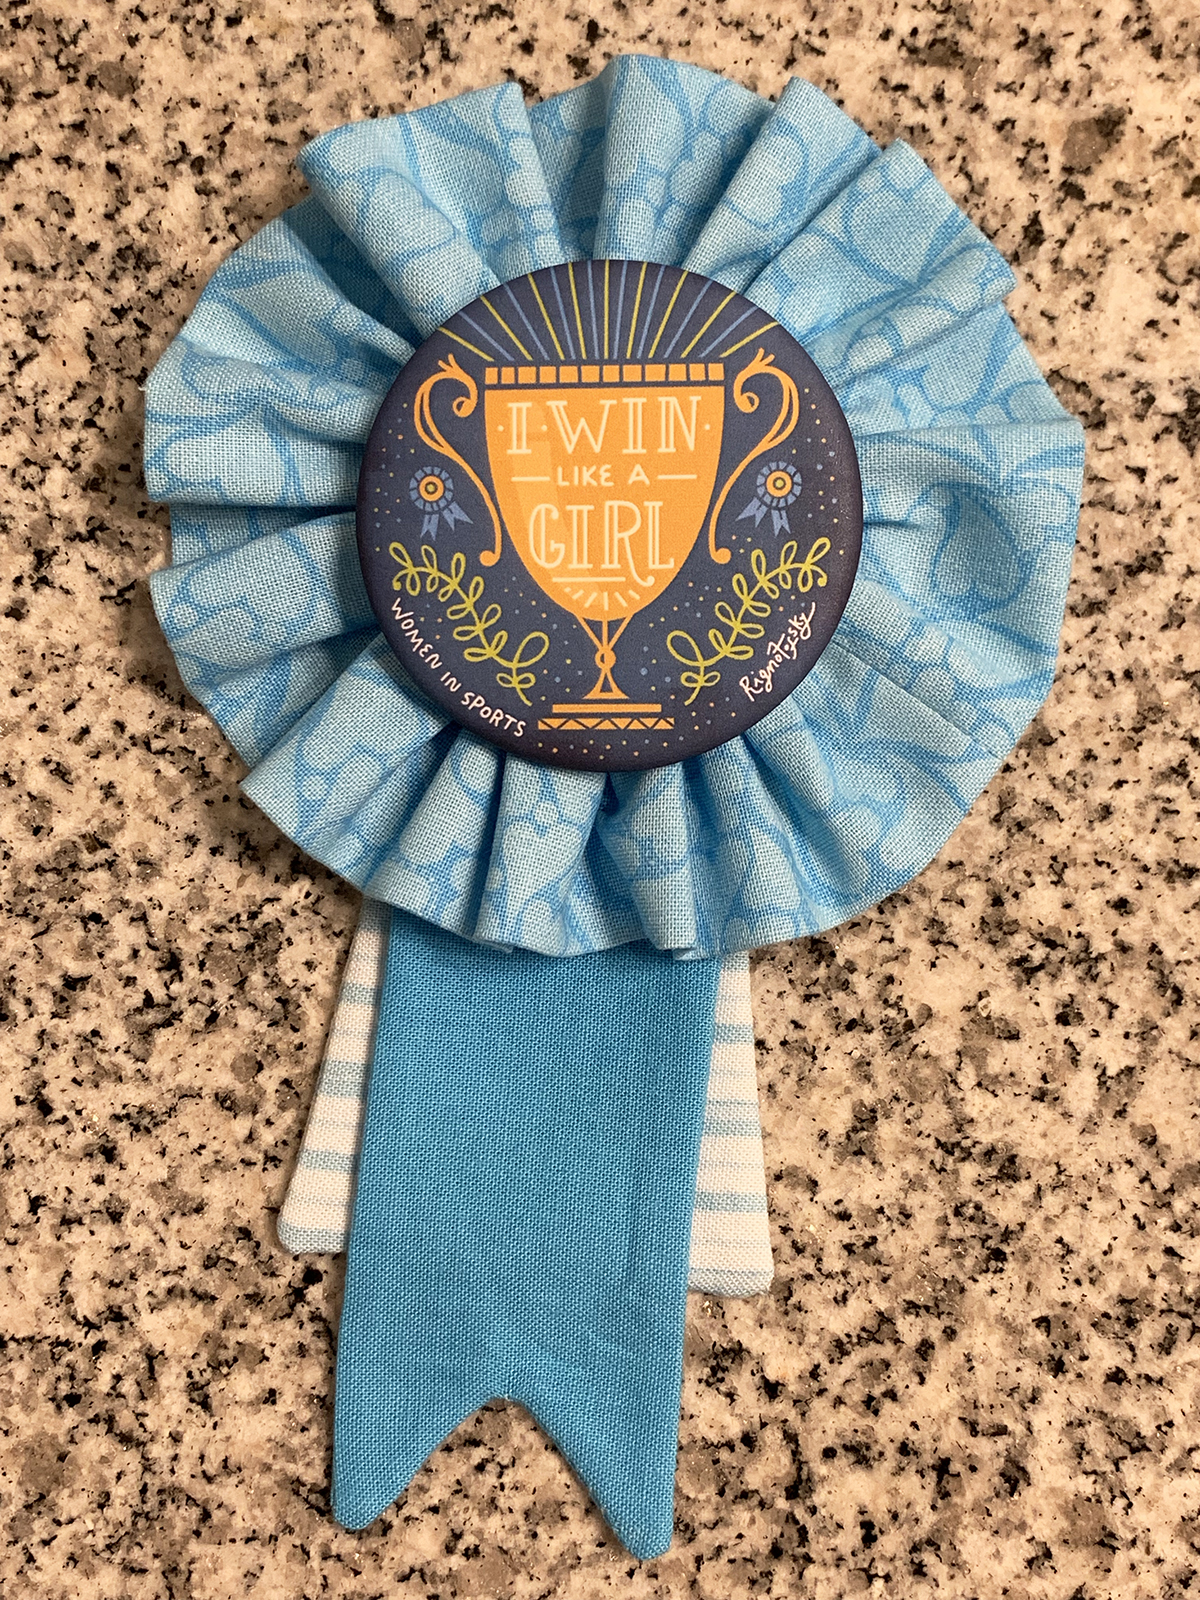
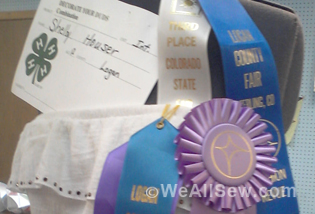
These ribbon rosettes are a great way to make someone feel special, or to decorate a package. You can attach a pin-backed button at the center, or make them into prizes. They go together easily and quickly. A pink rosette for the Sweet Sixteen birthday girl. An all-black version with an “Over the Hill” birthday button. A lacy version for the bride-to-be. A rosette for the winner of the first prize quilt. Simply change the color and style of the fabrics, and you have a lovely hand-made gift that is way spiffier than store-bought versions.
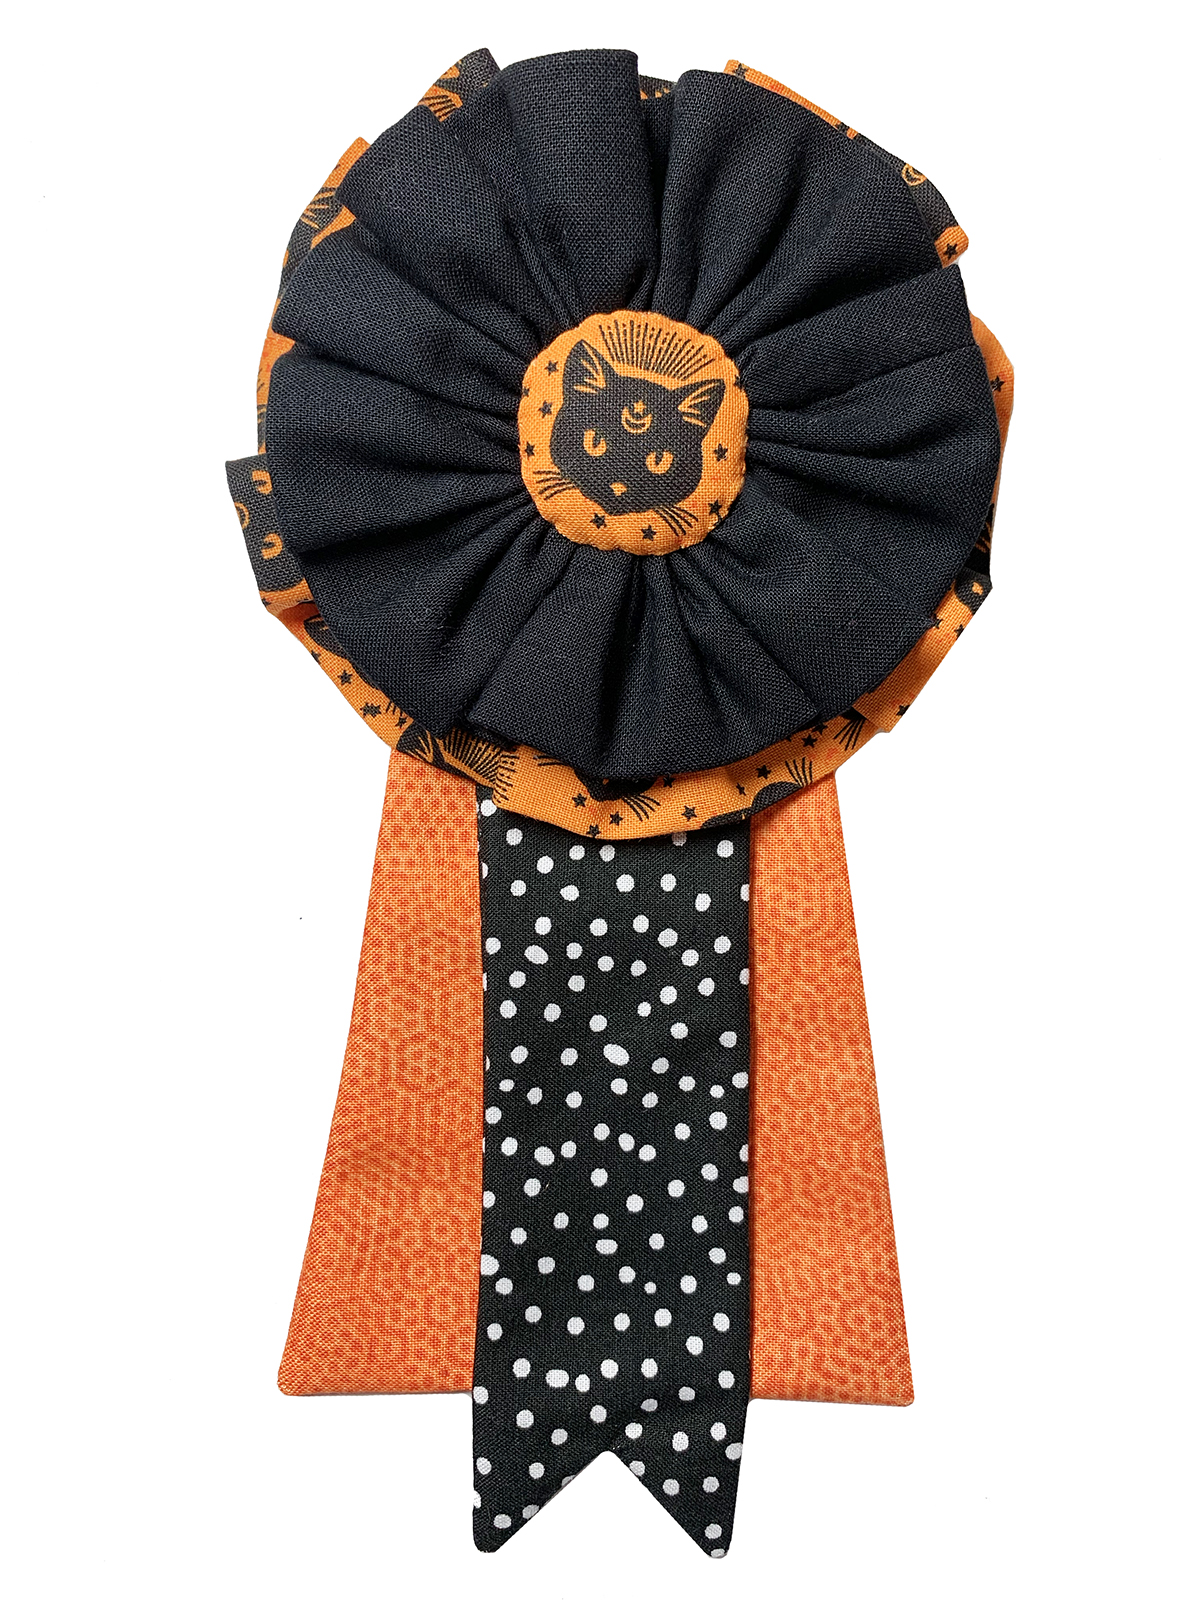
Here’s how to make special Halloween rosettes perfect for costume awards at your Halloween bash.
Materials to Make a Festive Rosette
- Download the Award Rosette Ribbon Pattern here
- Black and orange Halloween fabrics (or colors of your choice)
- Heavy hand-quilting thread
- Piecing thread that matches your fabrics (I used 50-weight Aurifil cotton mako)
- Scraps of batting (I used wool)
- Fast2Fuse Heavyweight interfacing
- Bar pin
- Pin-backed button
- Marking pen or pencil
- Rotary cutter
- Cutting mat
- Sharp scissors
- Sewing needle
Make the Rosettes
Cut one strip 3-1/4″ x 21″ and a second (a different color) 4-1/4″ x 21″.
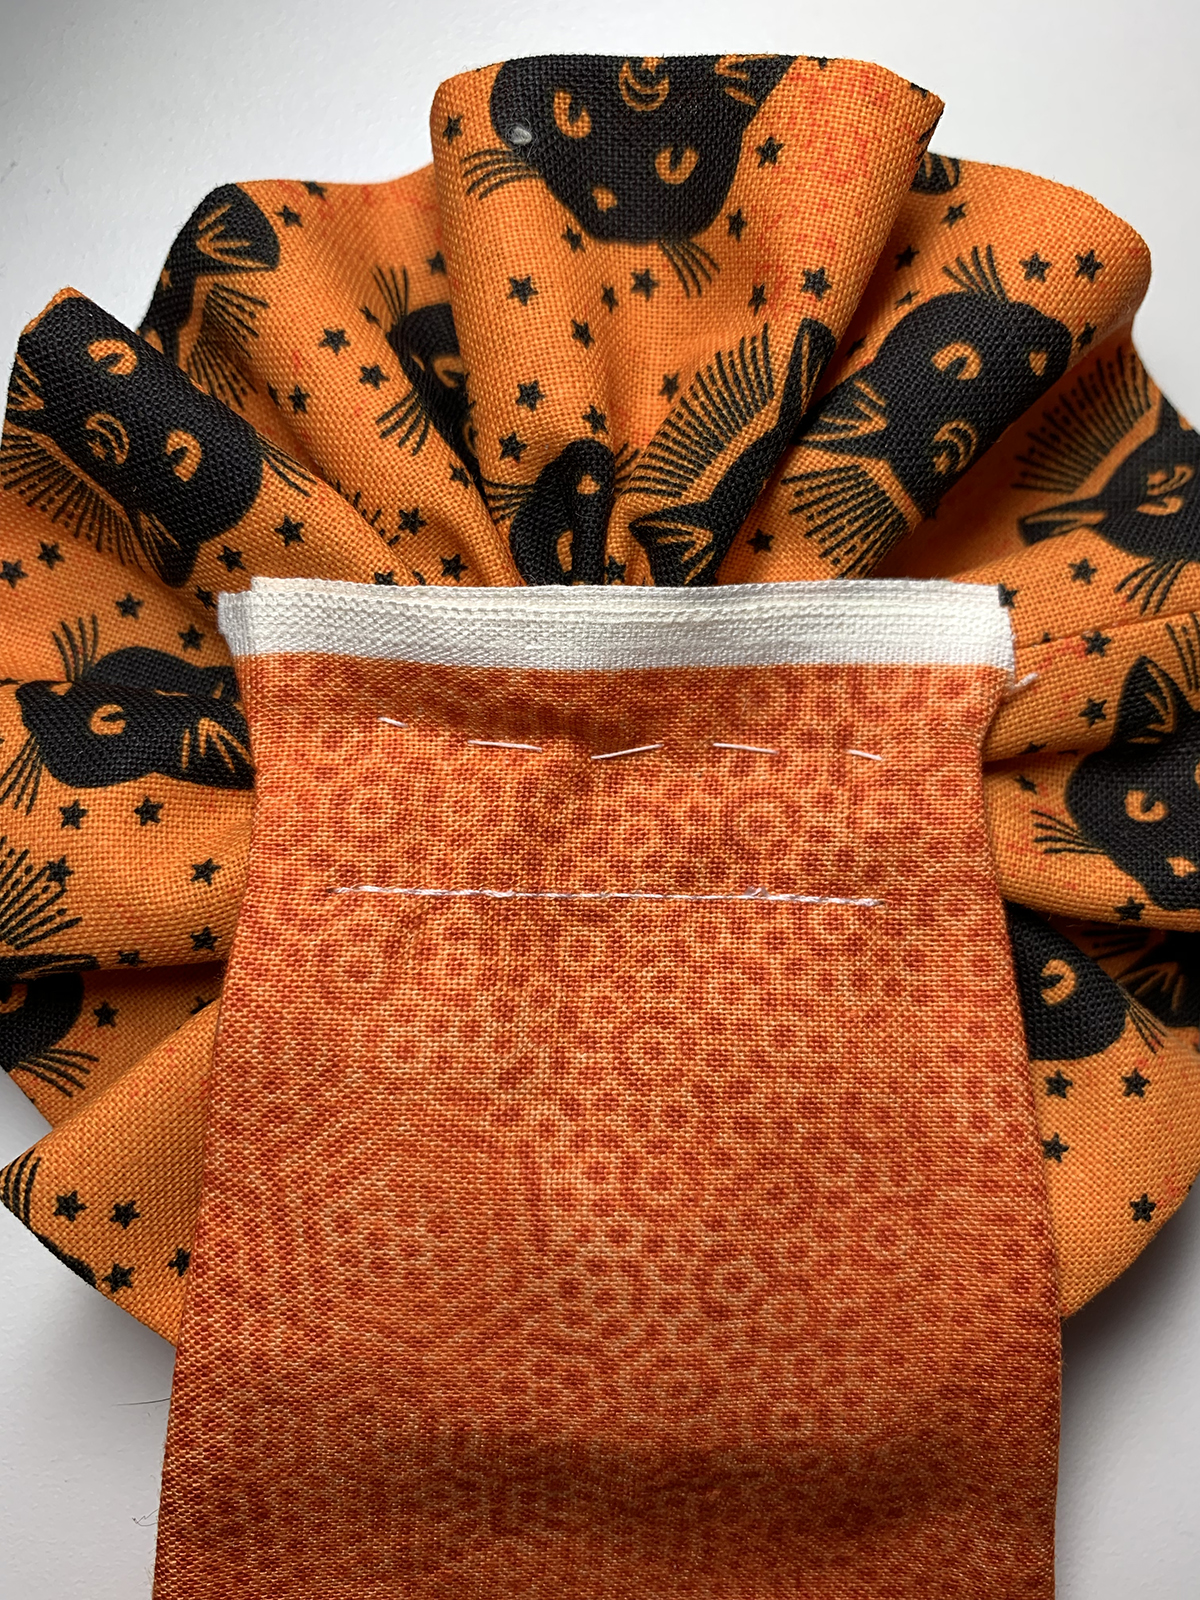
Take one strip and fold it in half lengthwise, and press. (It should now measure 1-3/4″ x 21″).

Unfold, and fold again in half widthwise, right sides together.
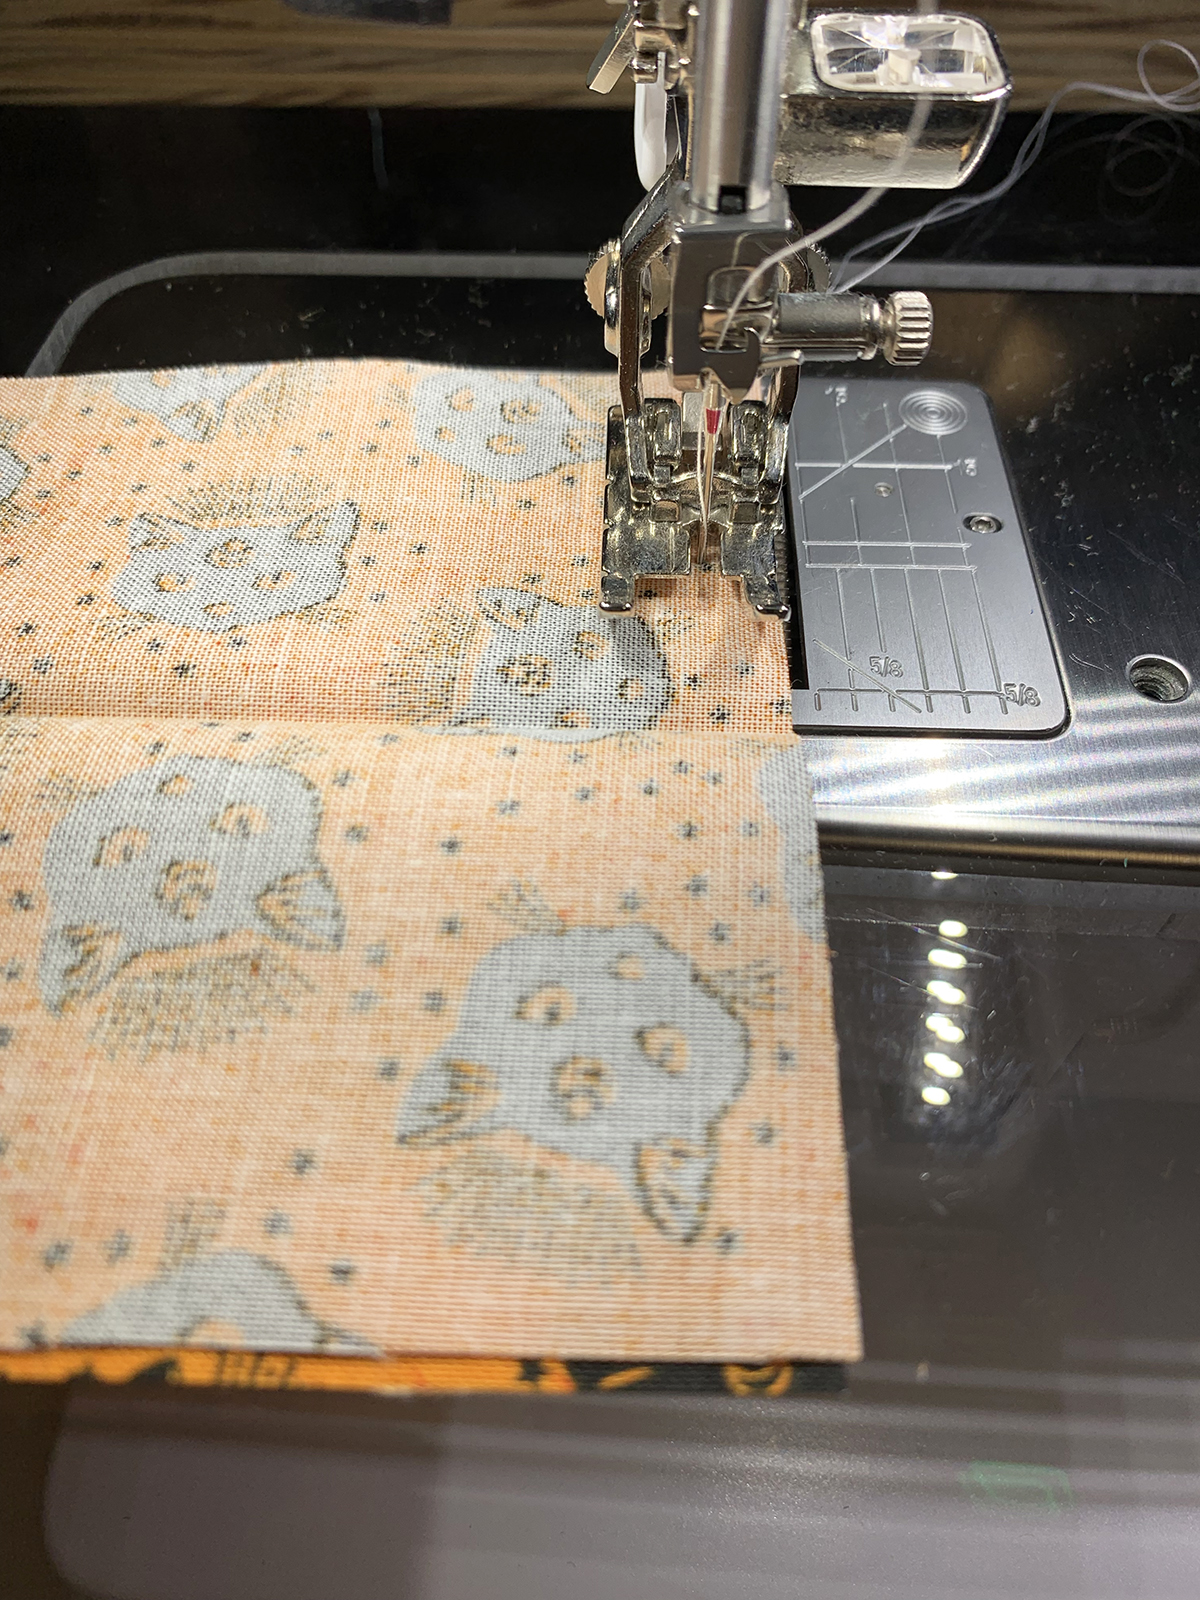
Sew the short ends together with a ¼” seam to form a loop. Open the loop right side out.
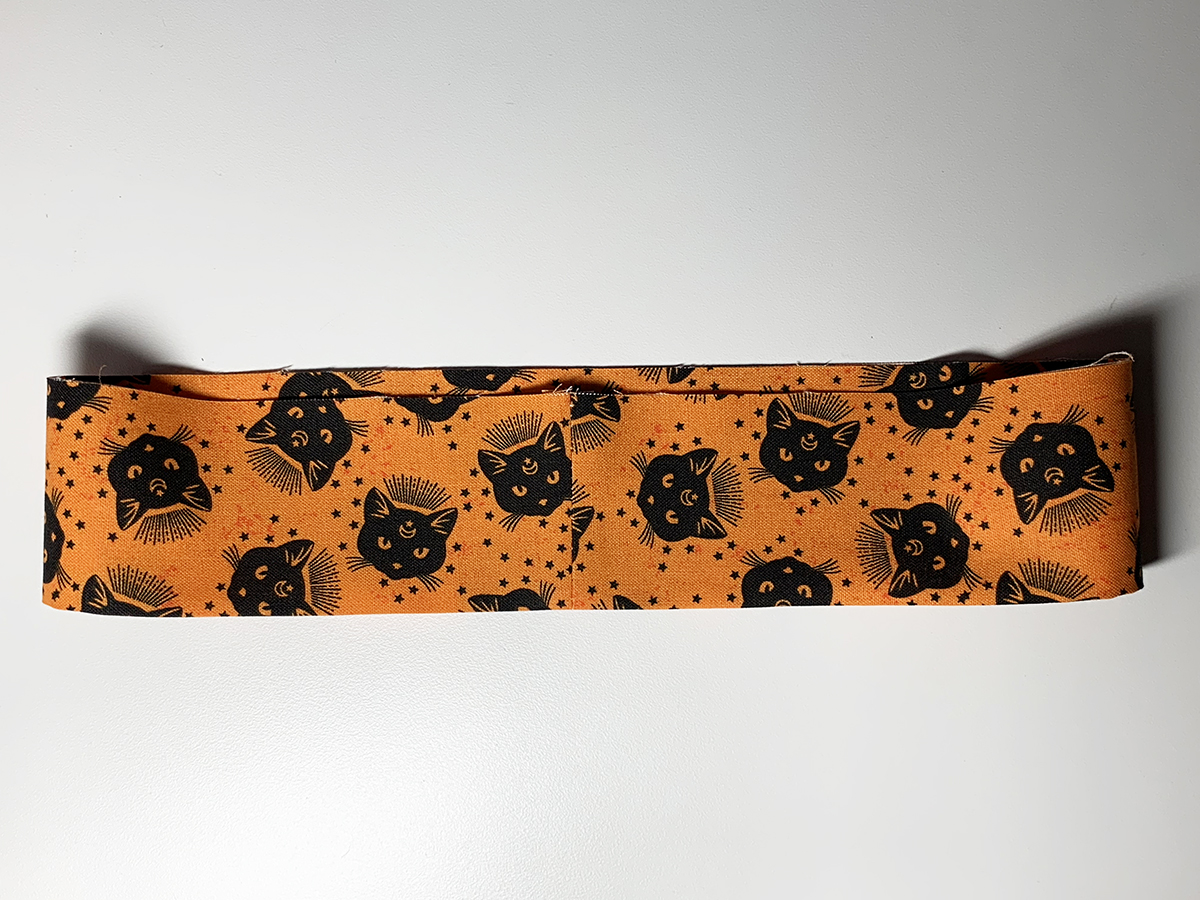
Press the seam open, and re-press the loop so that it is right sides out and folded in half.
Cut a 24″ length piece of of heavy hand-quilting thread (it doesn’t matter what color, as it will not show in the end) and thread a sharp needle, doubling the thread and knotting at the end.
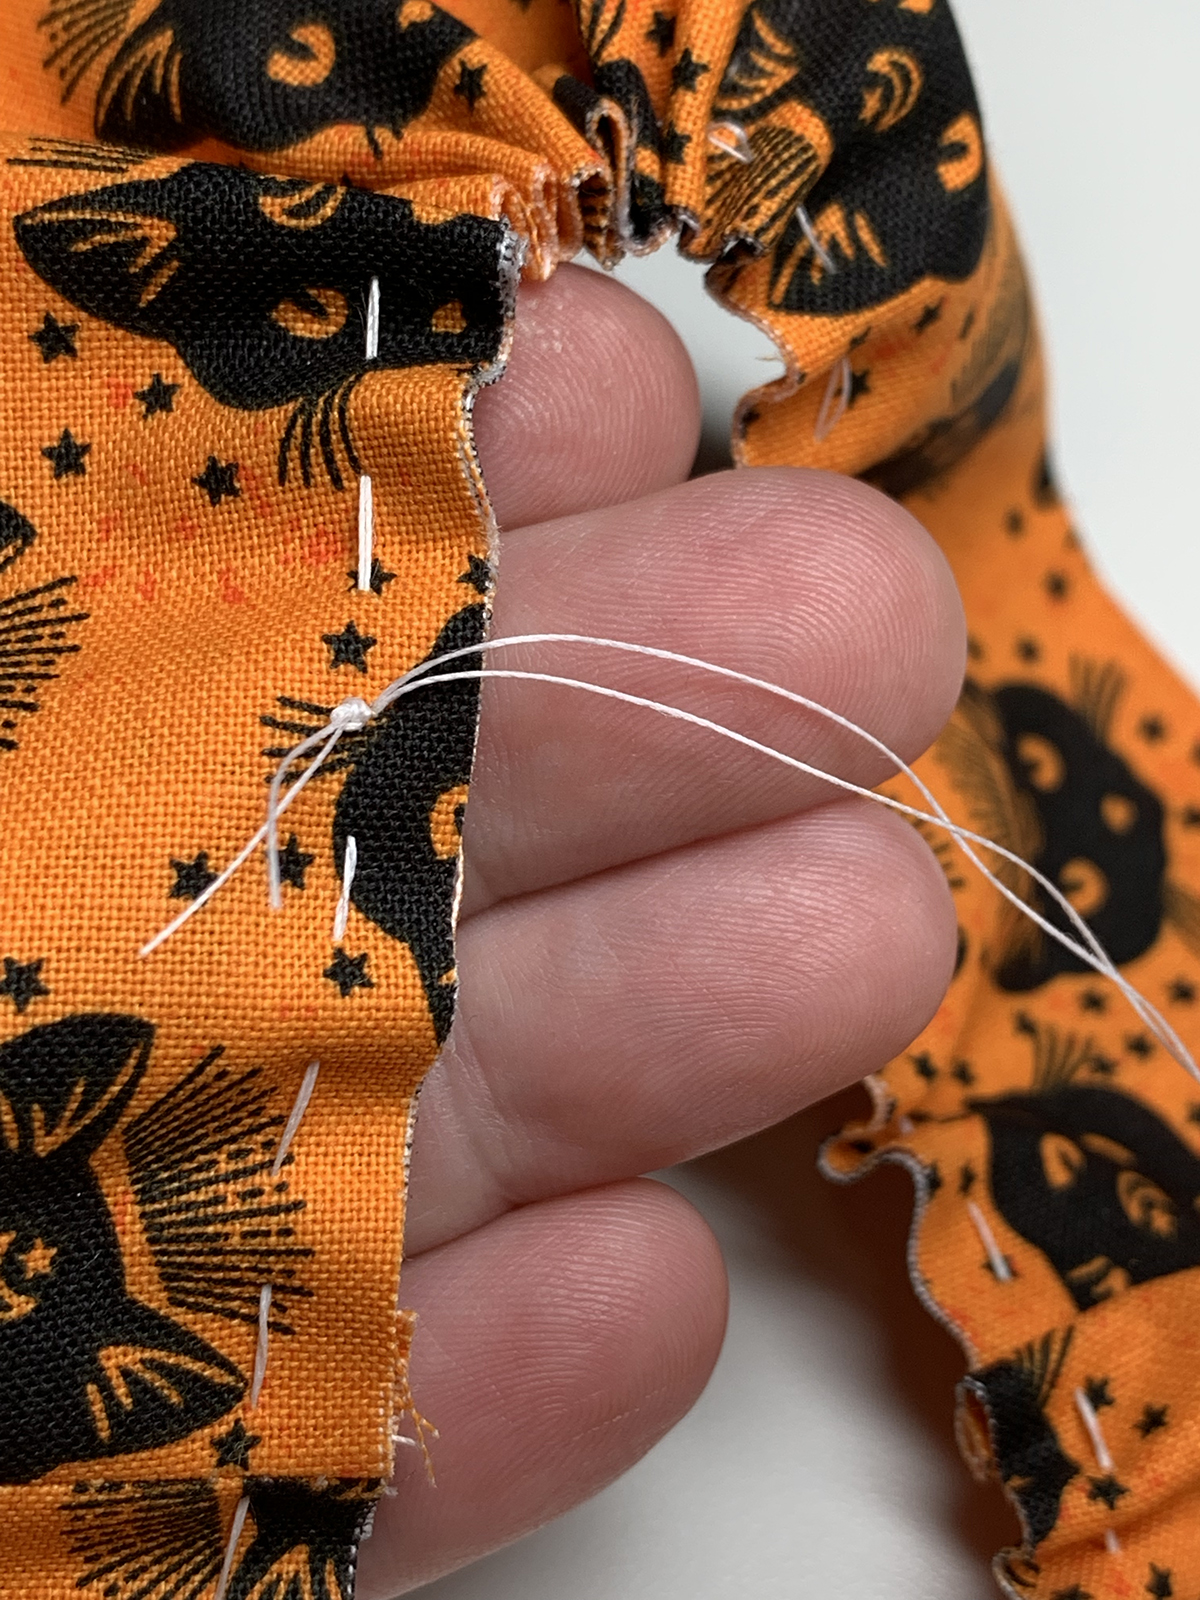
Stitch about ¼” in from the raw edge, using a running stitch. When you get back to the knot, gently pull on the thread to gather up the fabric as tightly as you can. Secure with a few stitches and a knot.

Stitch around the center, close to the edge, catching a few tucks at a time. Then back stitch, and then stitch a few more tucks. Go the whole way around and knot. This will help secure the center, and help the tucks to lie evenly and flat.
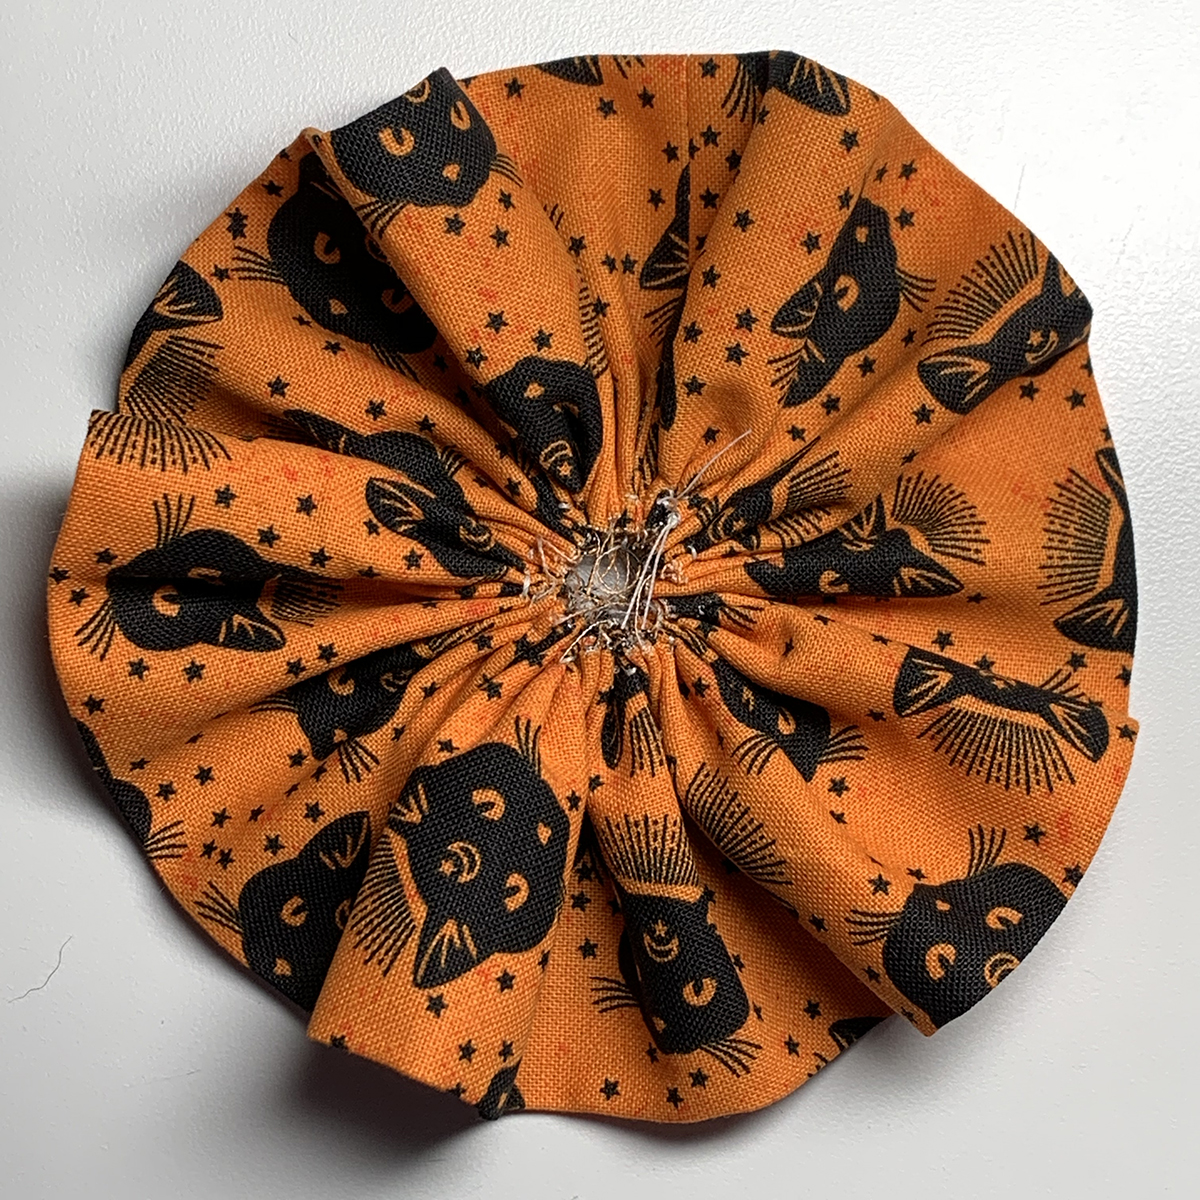
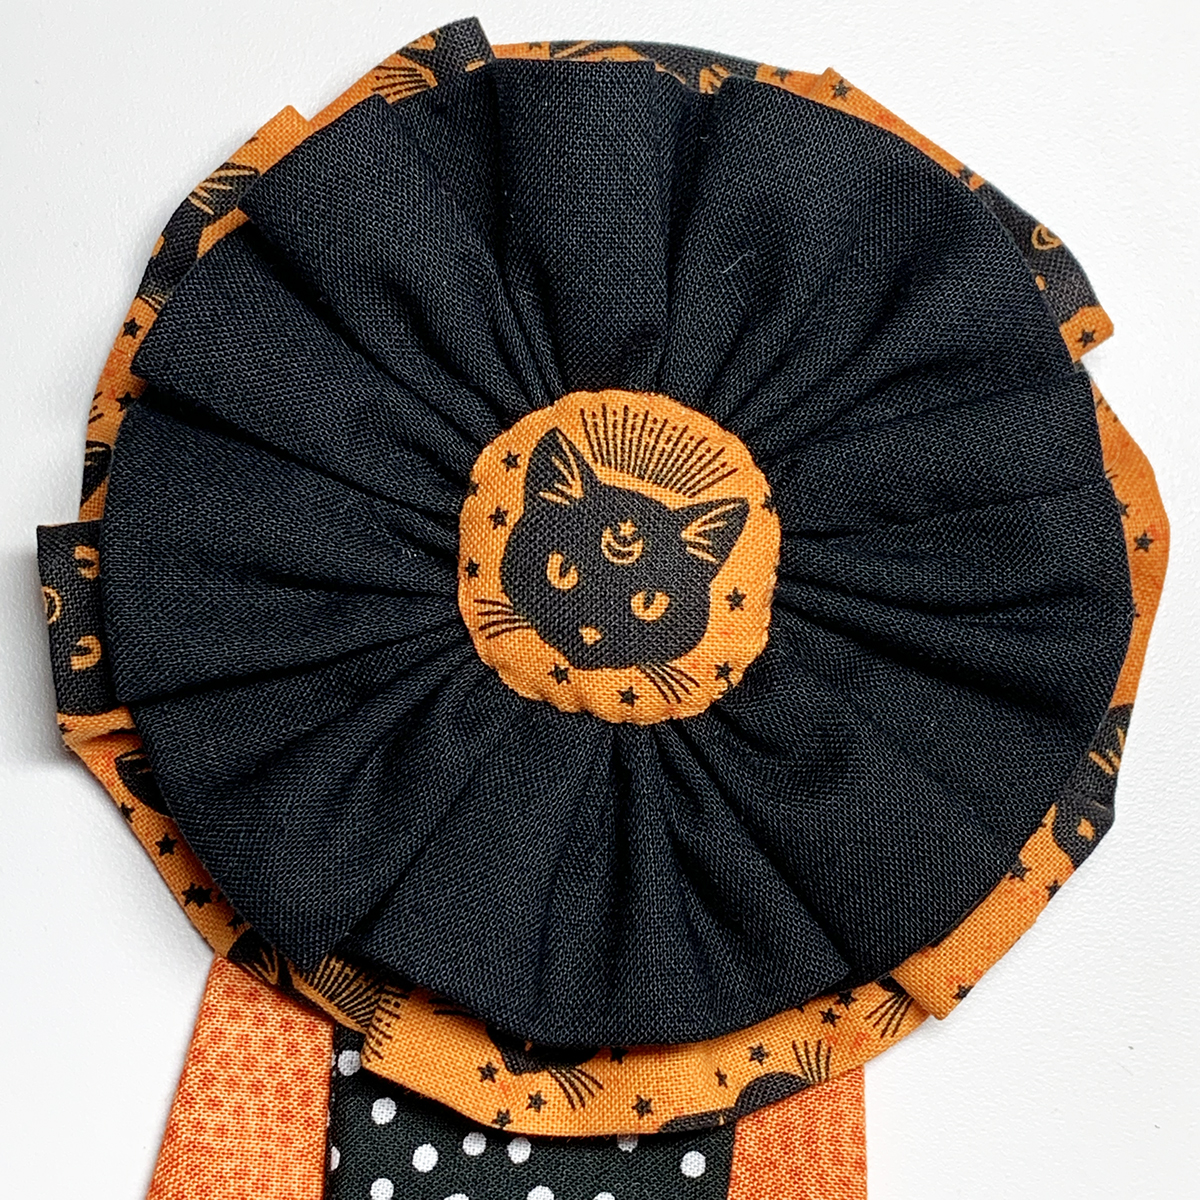
Make a second rosette using the other strip.
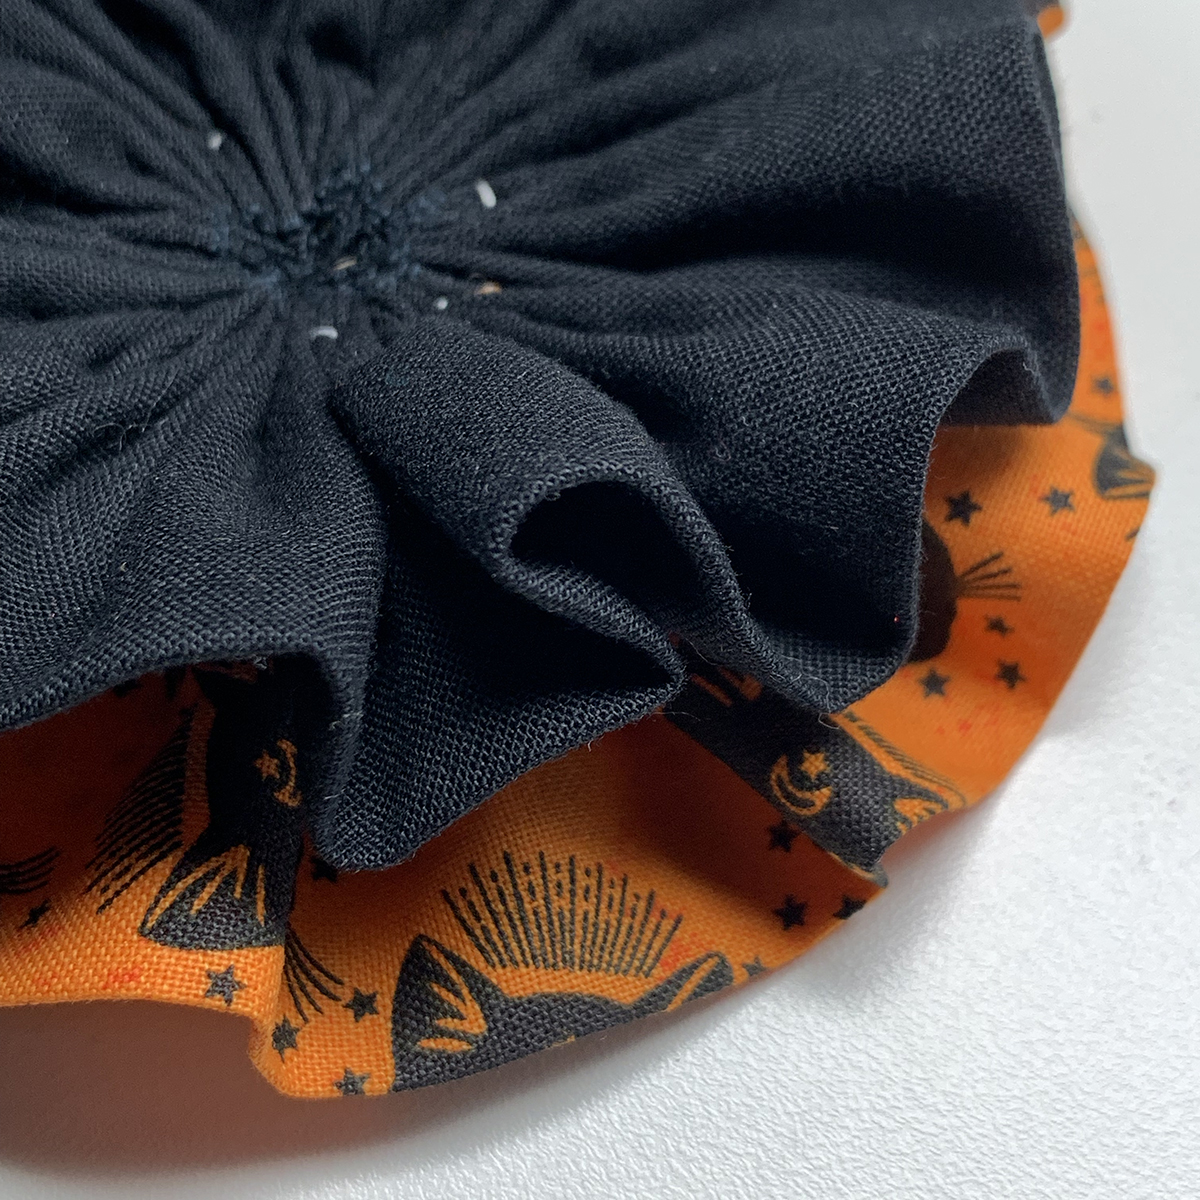
With hand stitching, tack the two rosettes together near the center.
Make the Ribbons
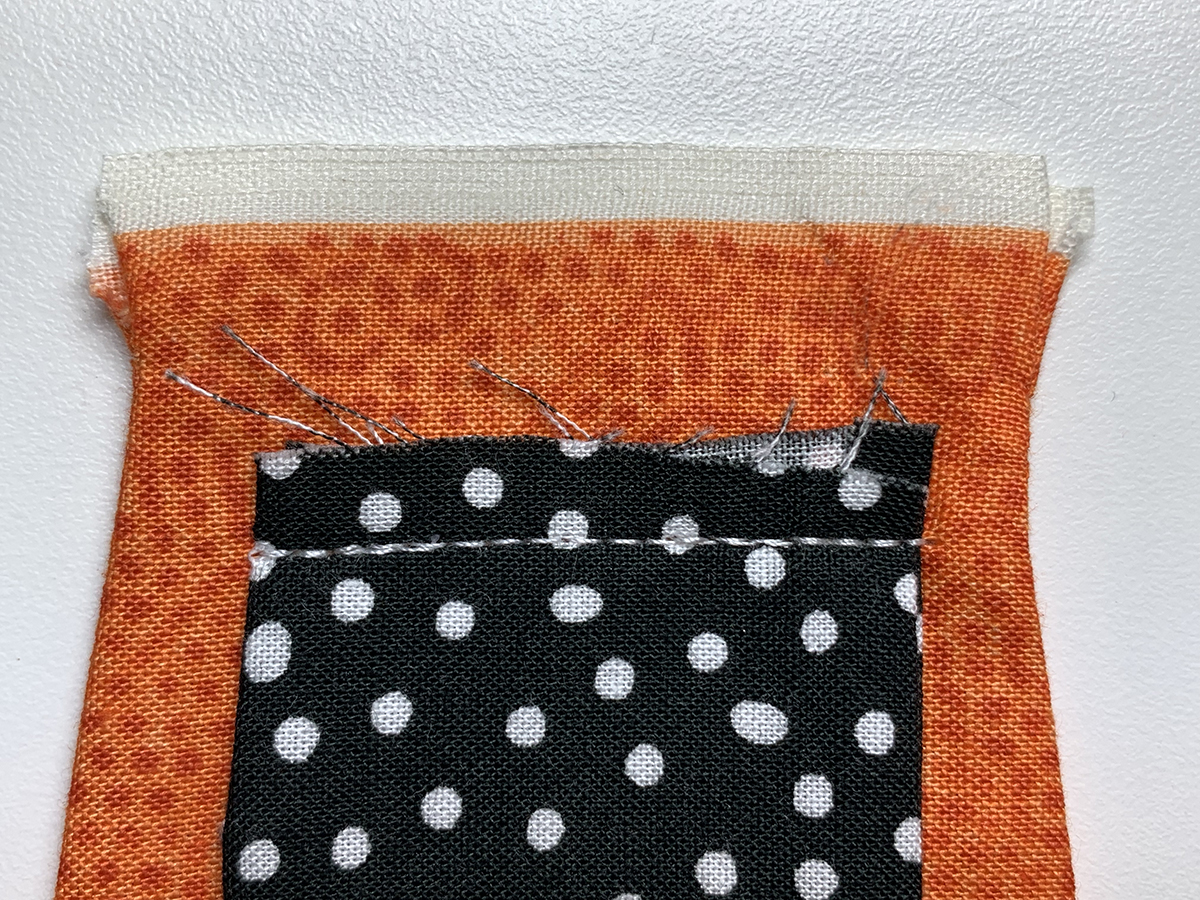
Print out out the patterns for the two ribbon styles, and cut out the patterns.
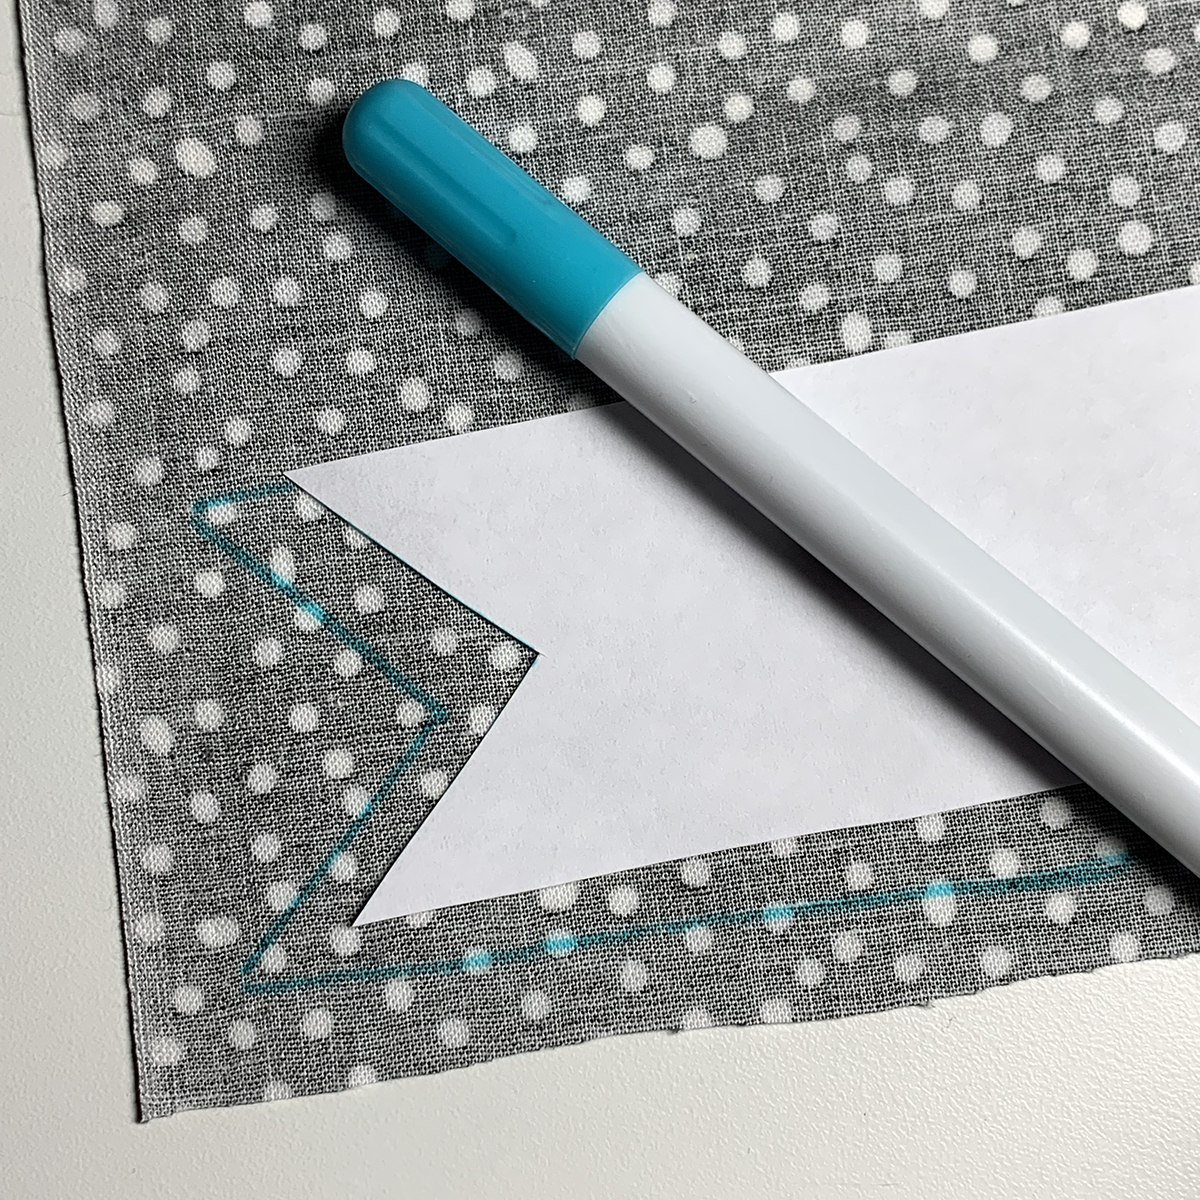
Place each pattern on the wrong side of the fabric you have chosen, and trace around it with a water-soluble marker or a pencil or pen.
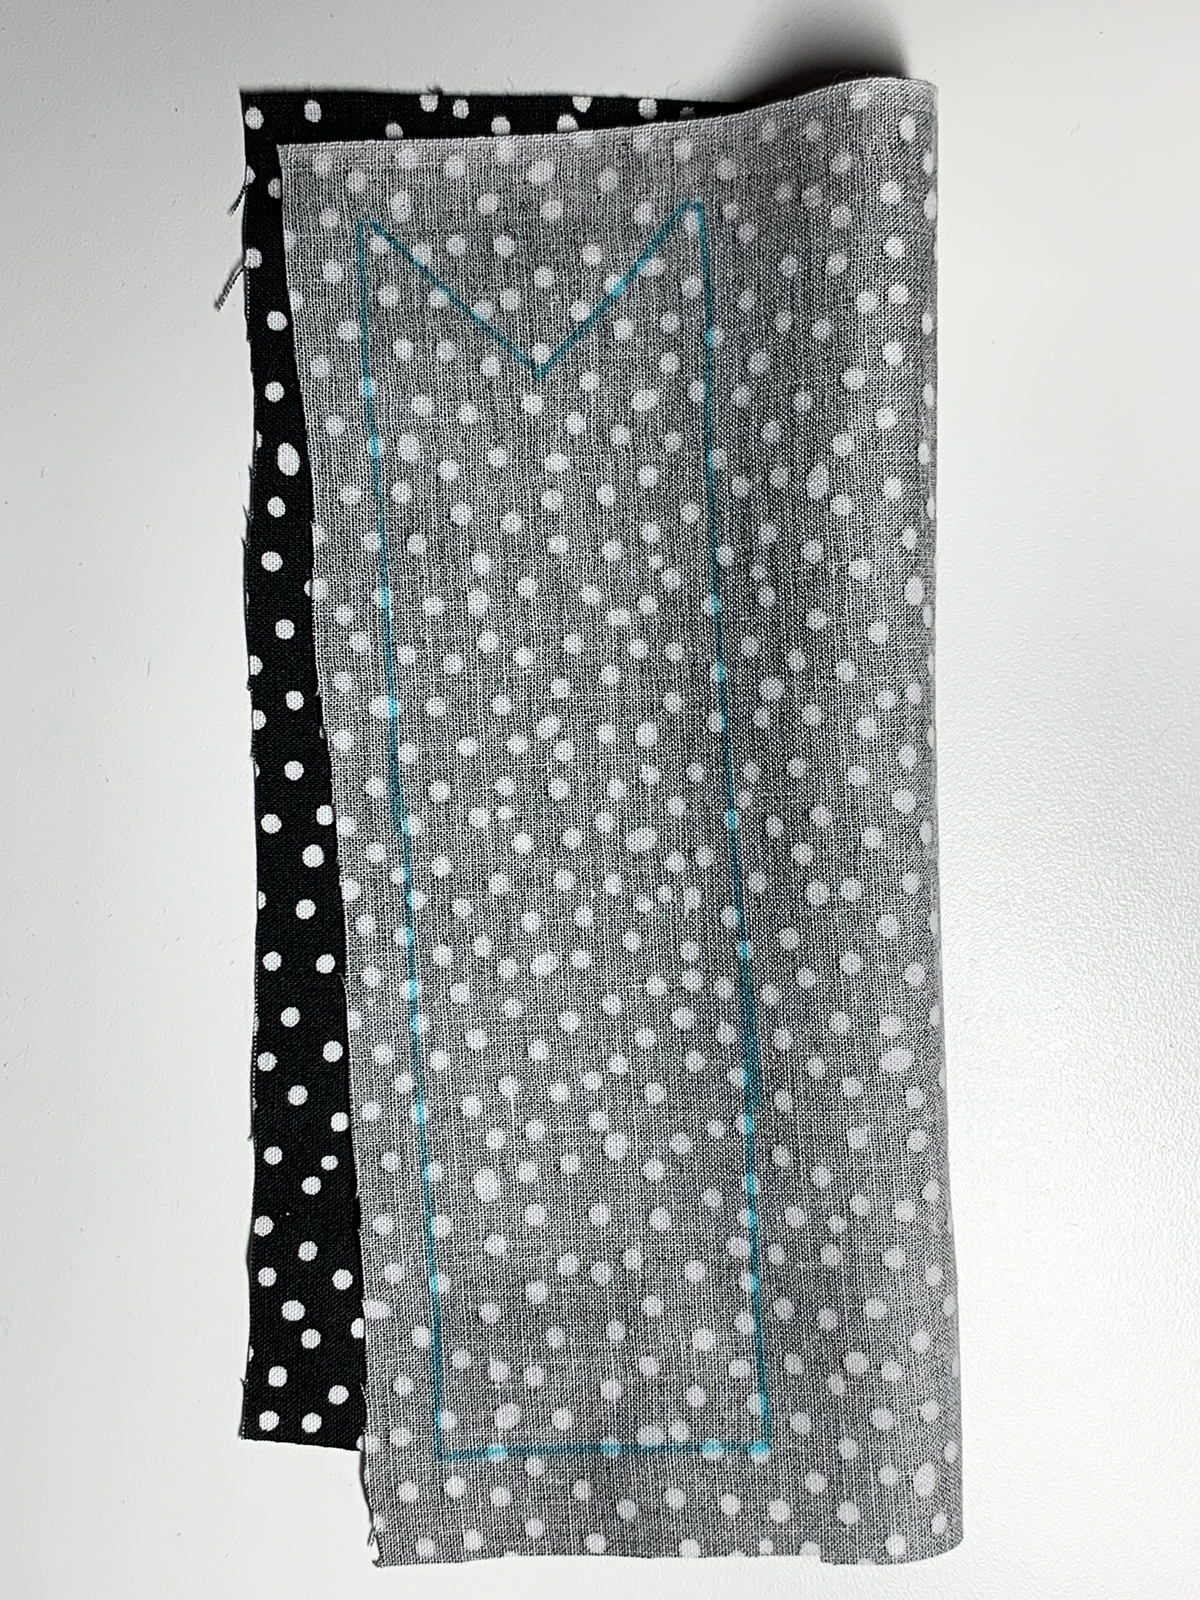
Cut a second piece of fabric the same size and layer the two together, right sides together.
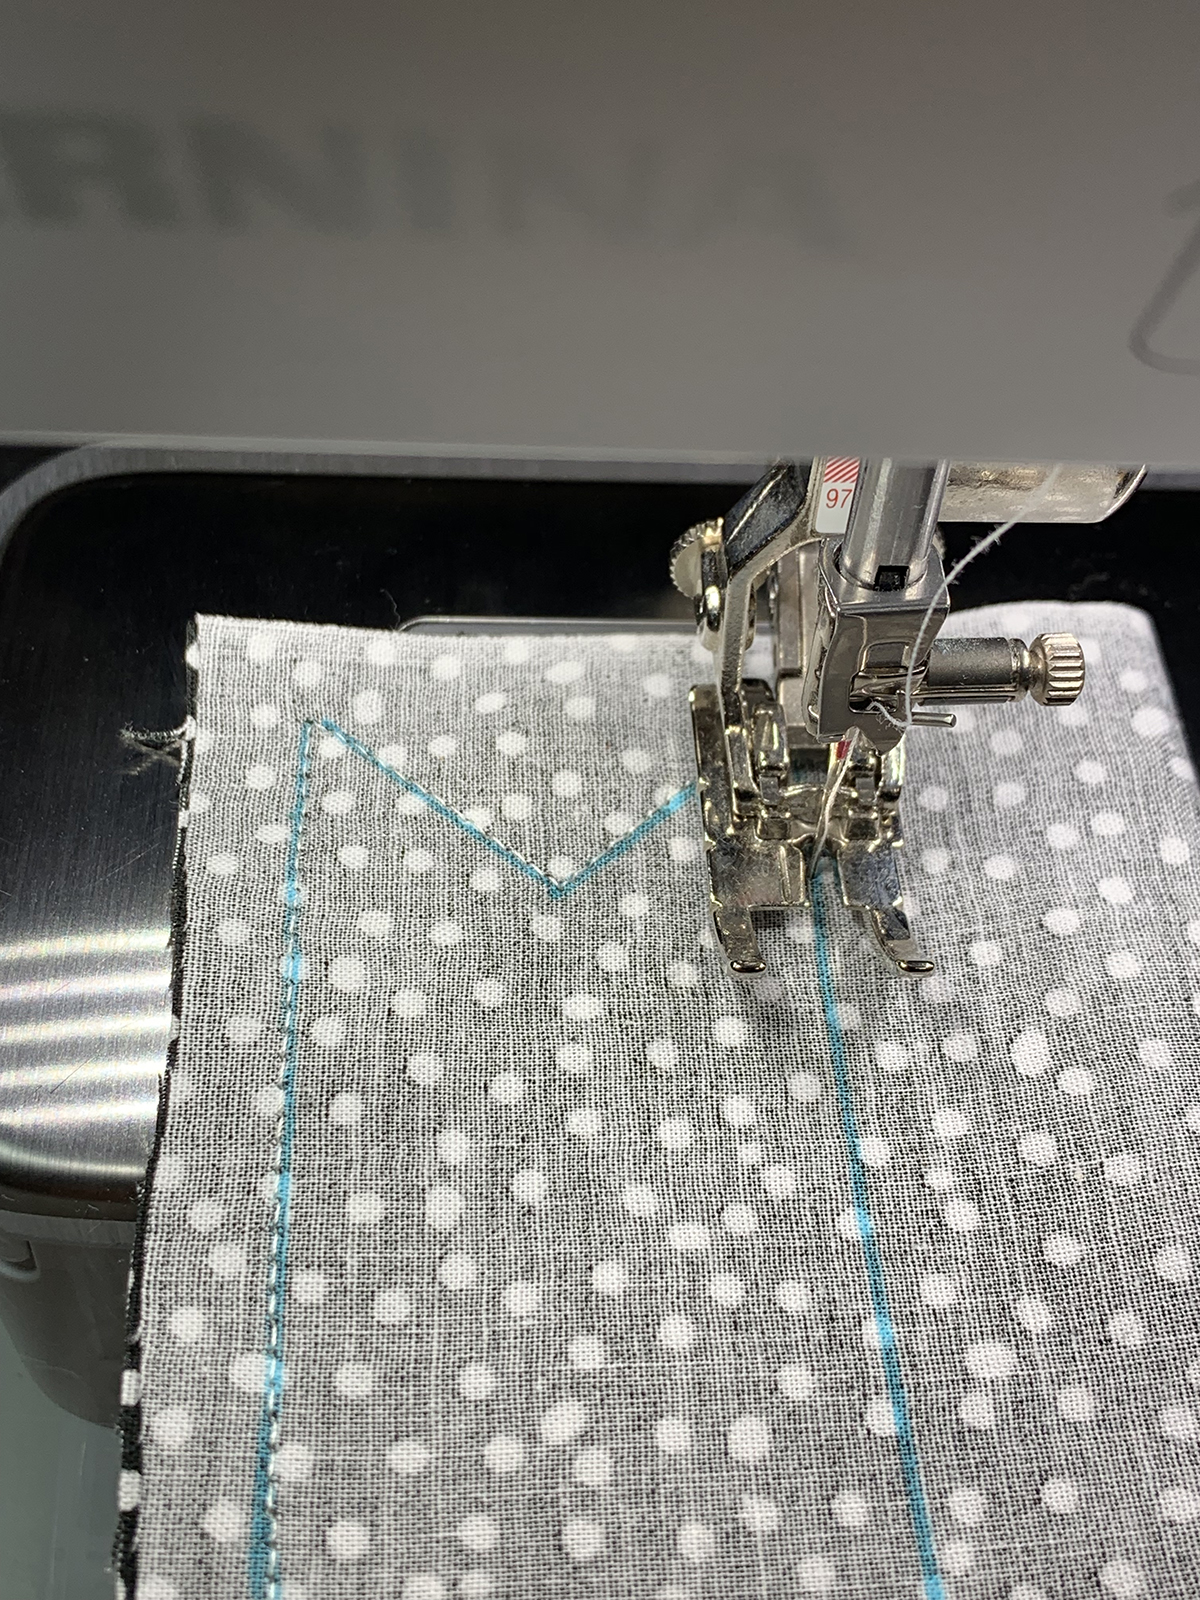
Sew along the side edges, backstitching at the beginning and end, leaving the top open for turning.
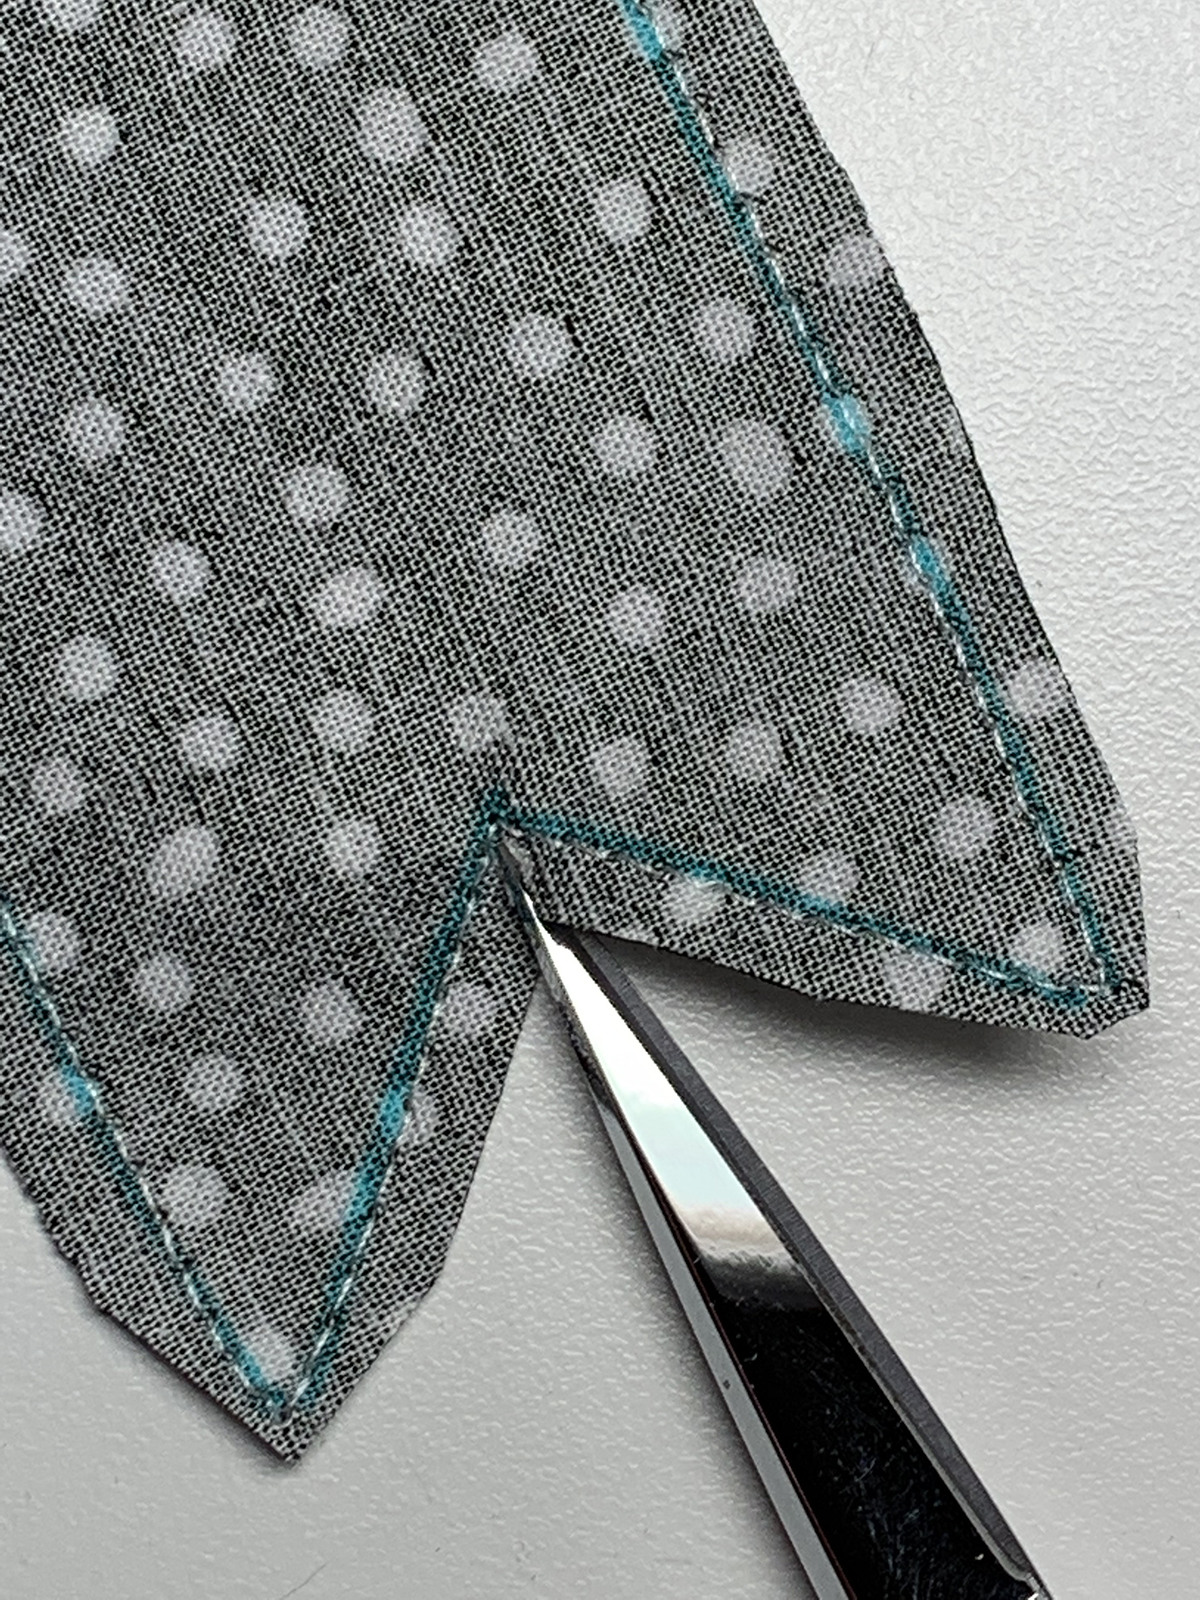
Cut the pieces out, leaving about 1/8″ seam. Cut closer at the tips, and notch in at the V.
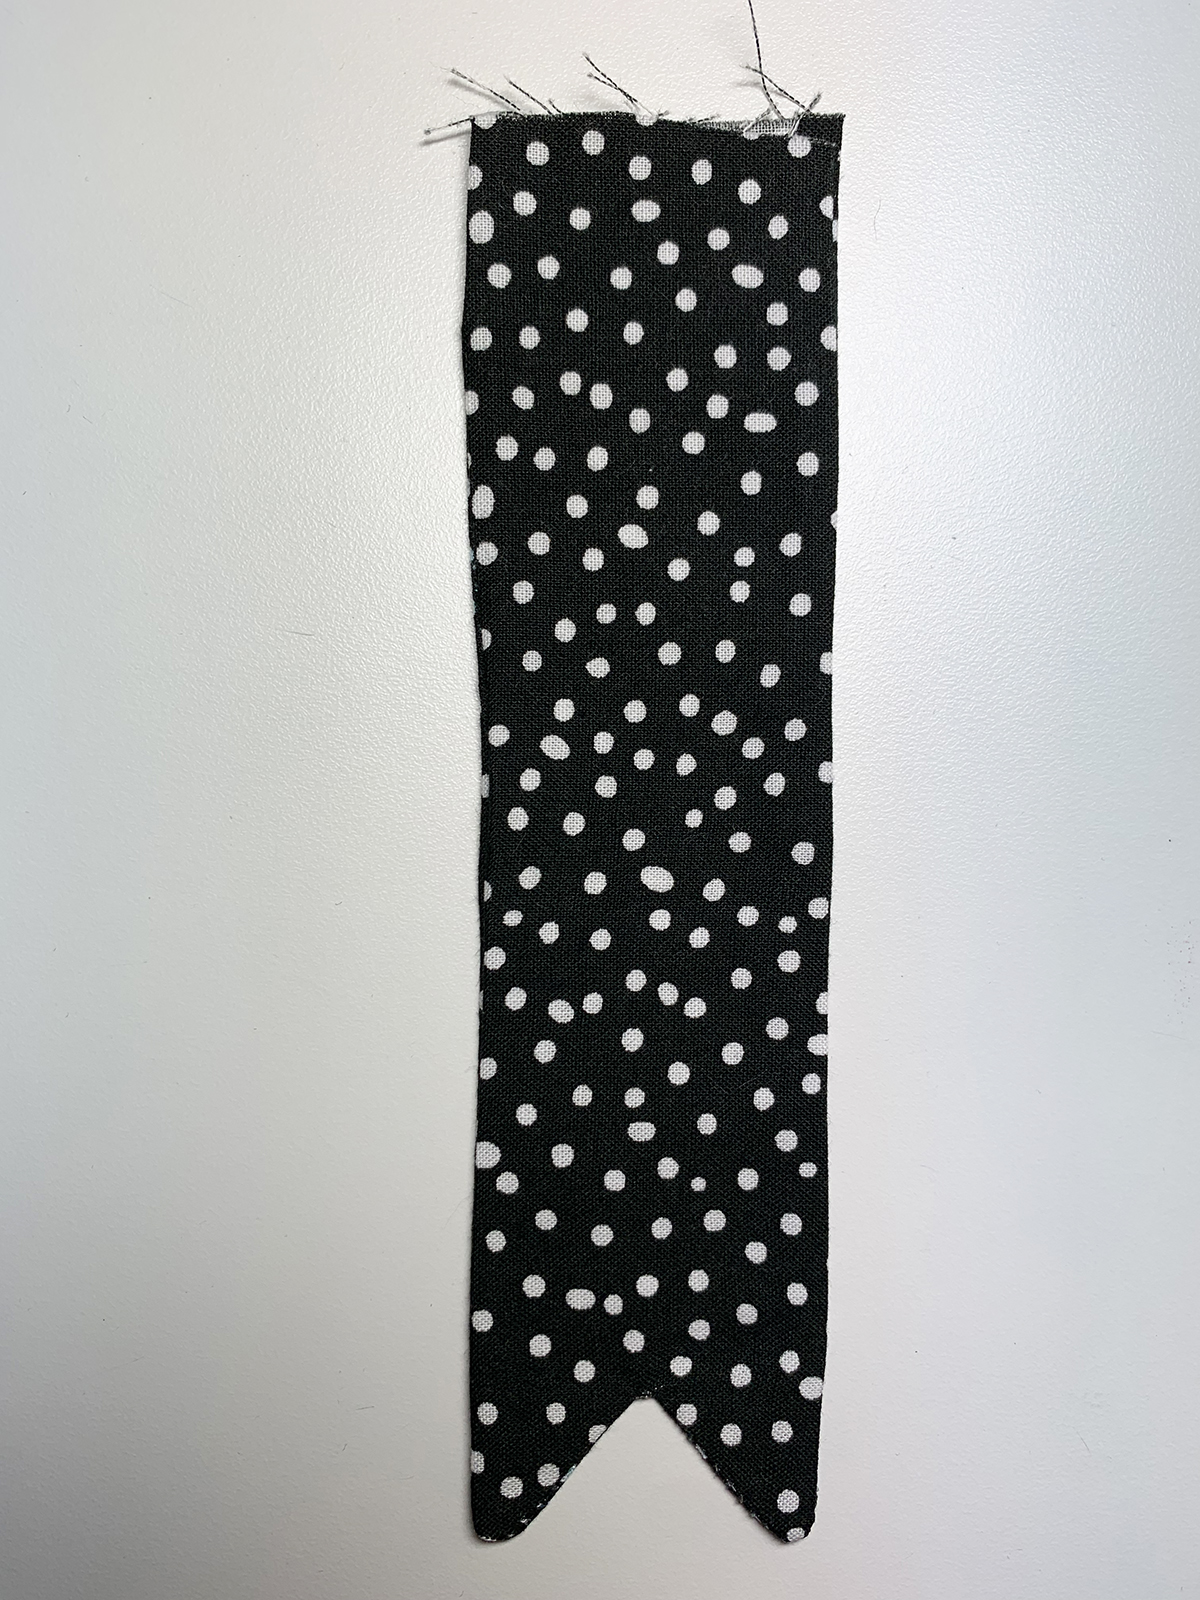
Turn right side out, and use a pointed tool to push the tips out, taking care not to poke through the fabric.
Arrange the two ribbons, and tack them together by machine.
Then hand stitch them in place on the back of the rosettes.
Make the Center
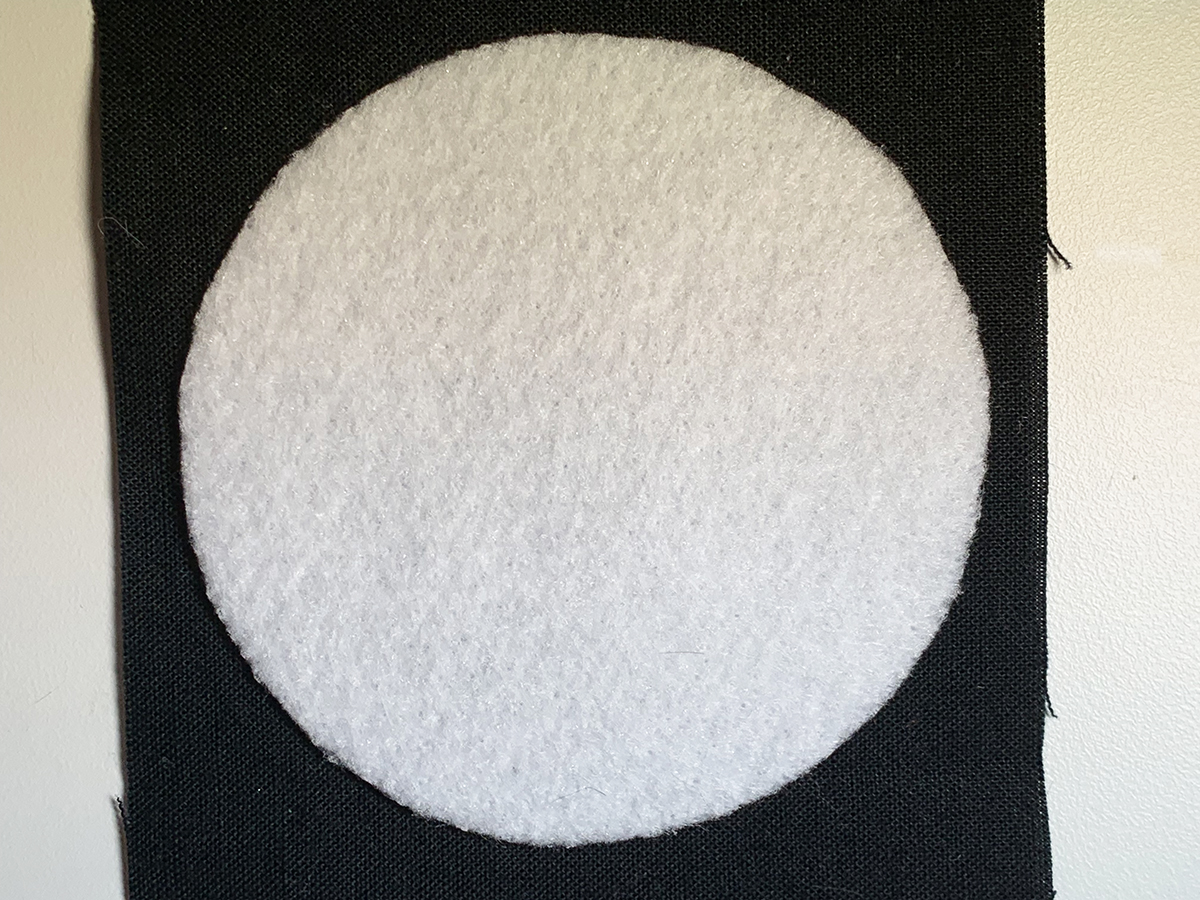
Trace the 1-1/2″ circle onto the wrong side of the fabric you have chosen.

Cut a second piece of fabric the same size and place the two pieces right sides together. On the machine, stitch around the line, backstitching at each end.

Cut the circle out, leaving about 1/8″ seam.
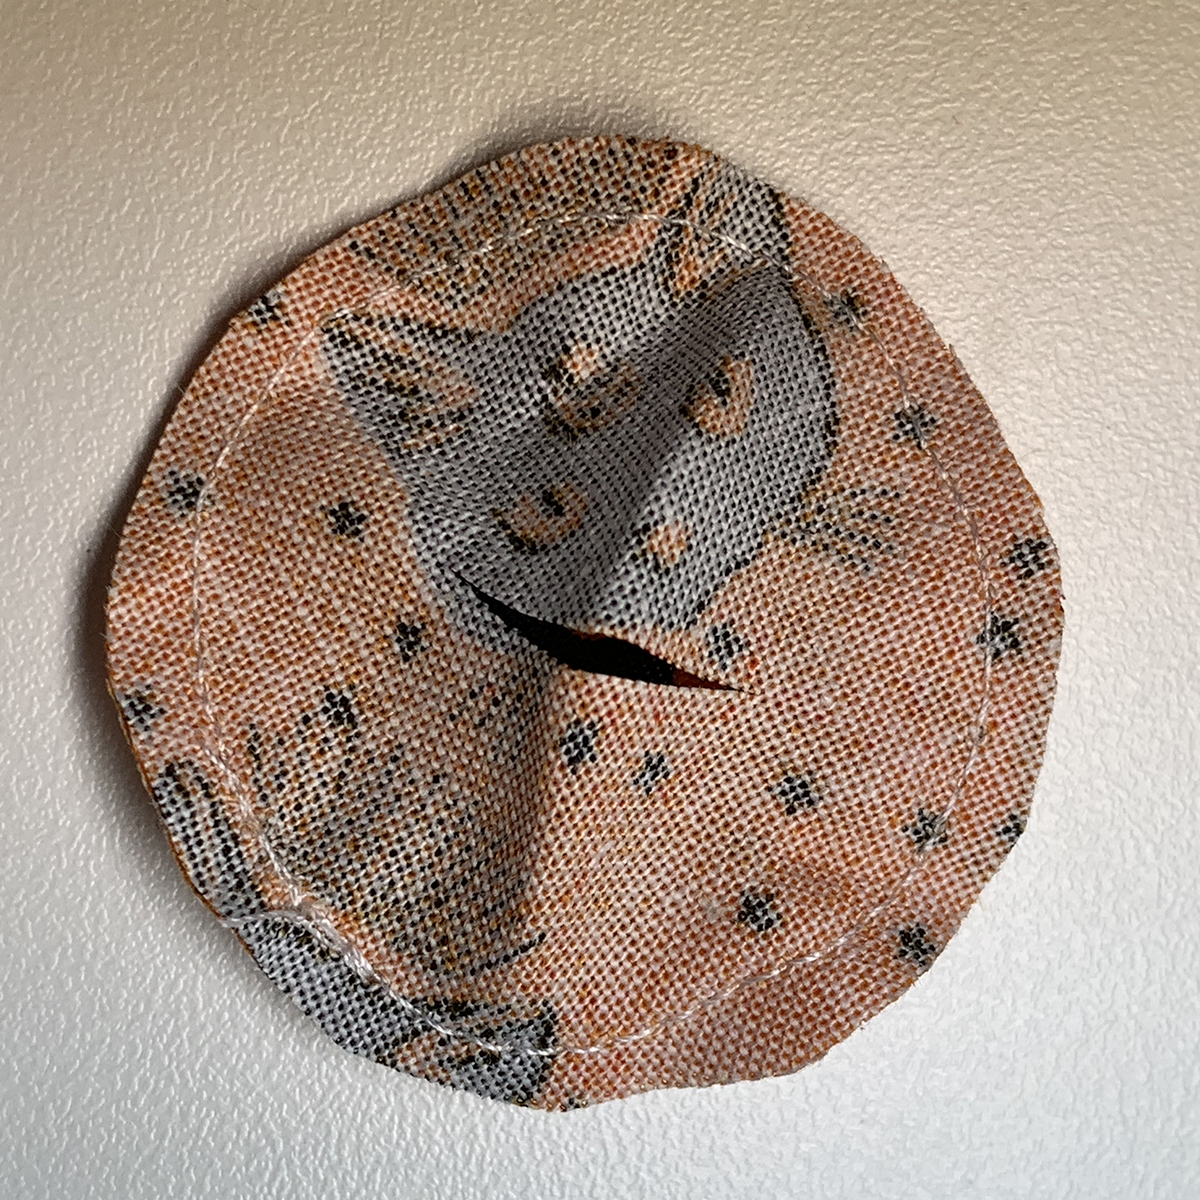
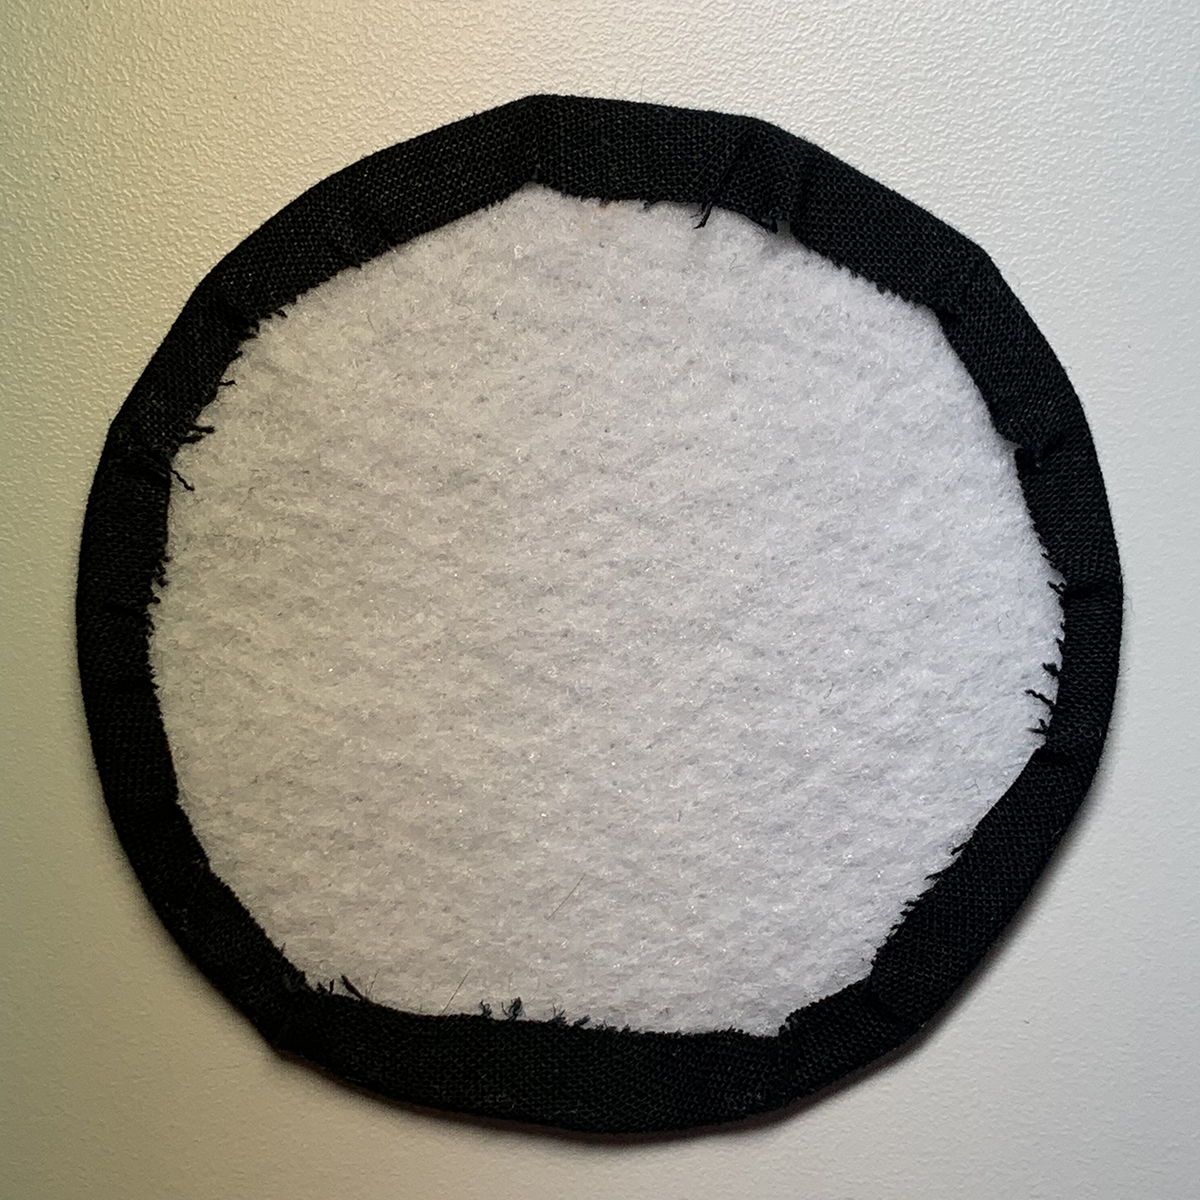
Slash one side of the circle and turn it right sides out.

Stuff the center with batting.
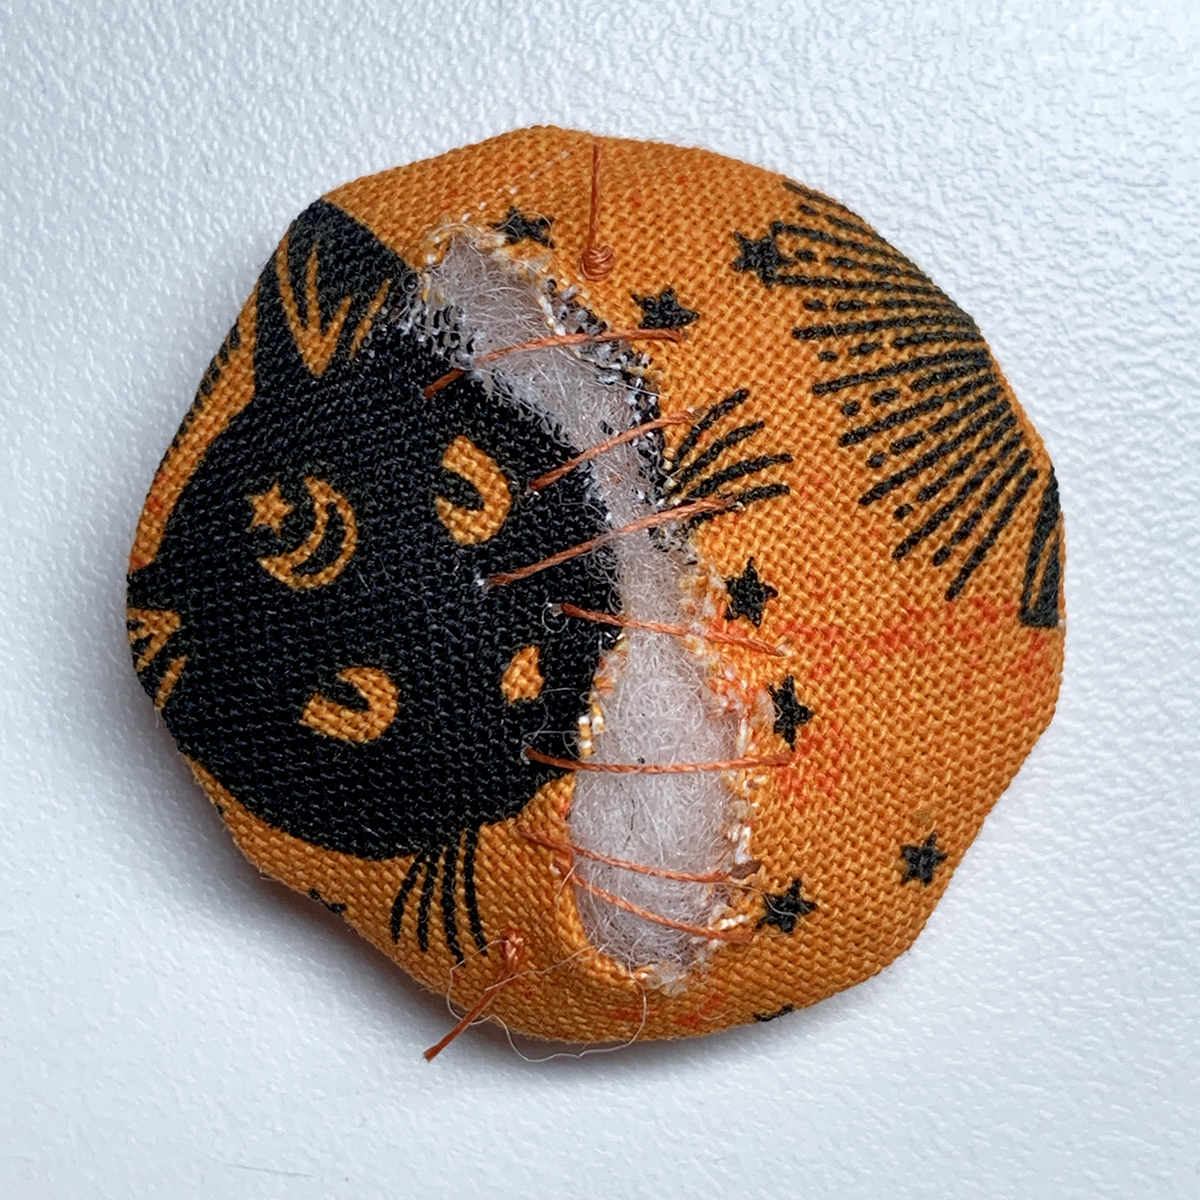
Sew the slash closed with loose stitches.
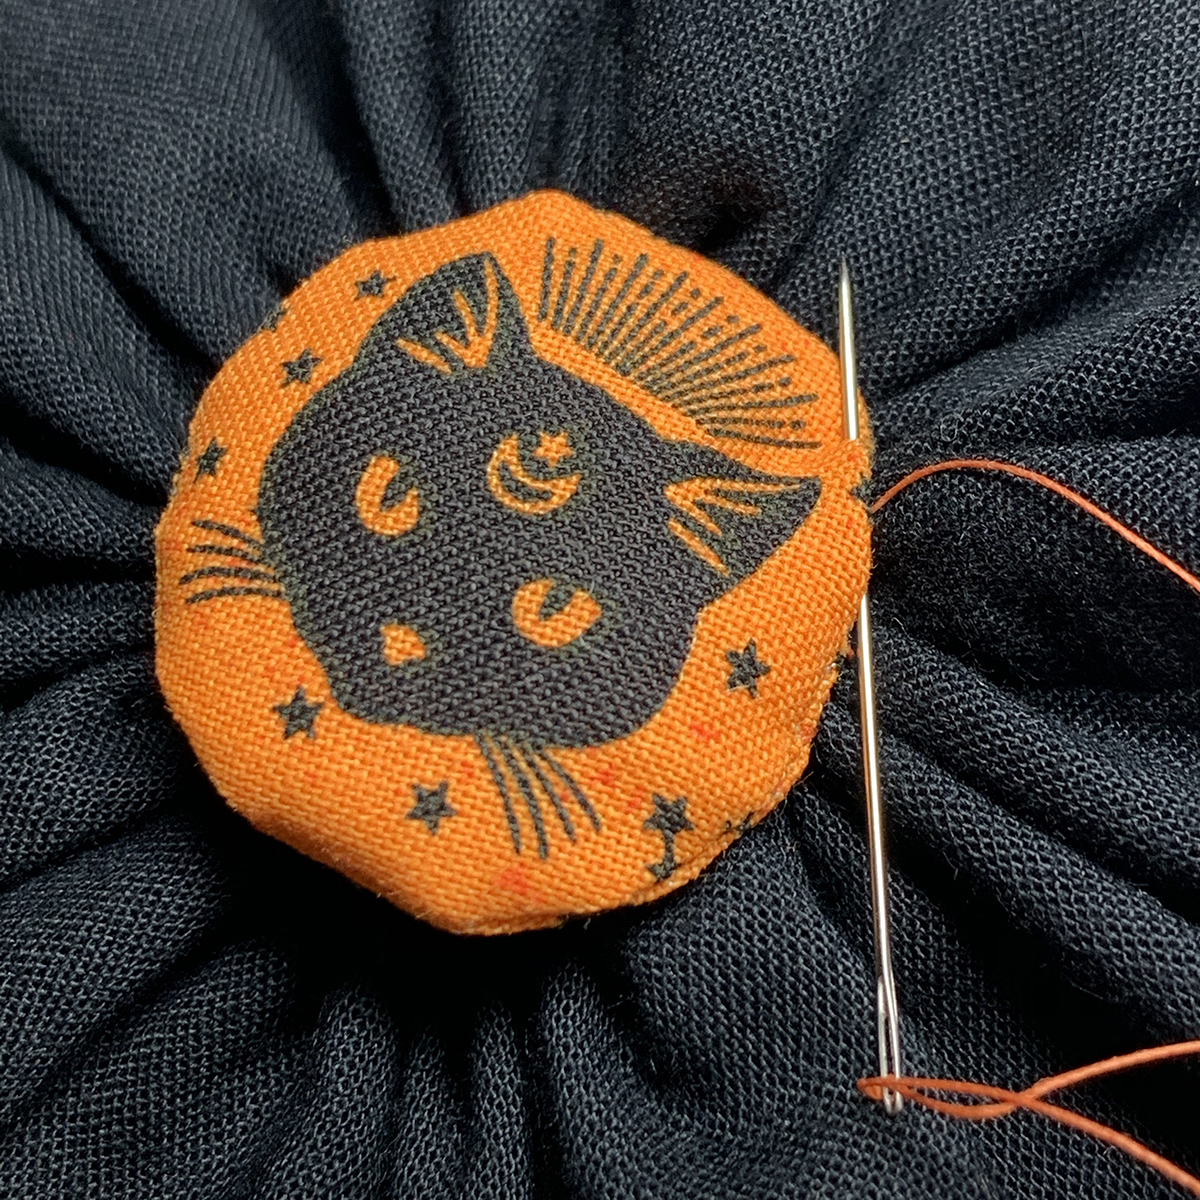
Center the circle on the front of the rosettes, and hand stitch it down using matching thread.
Make the Backing
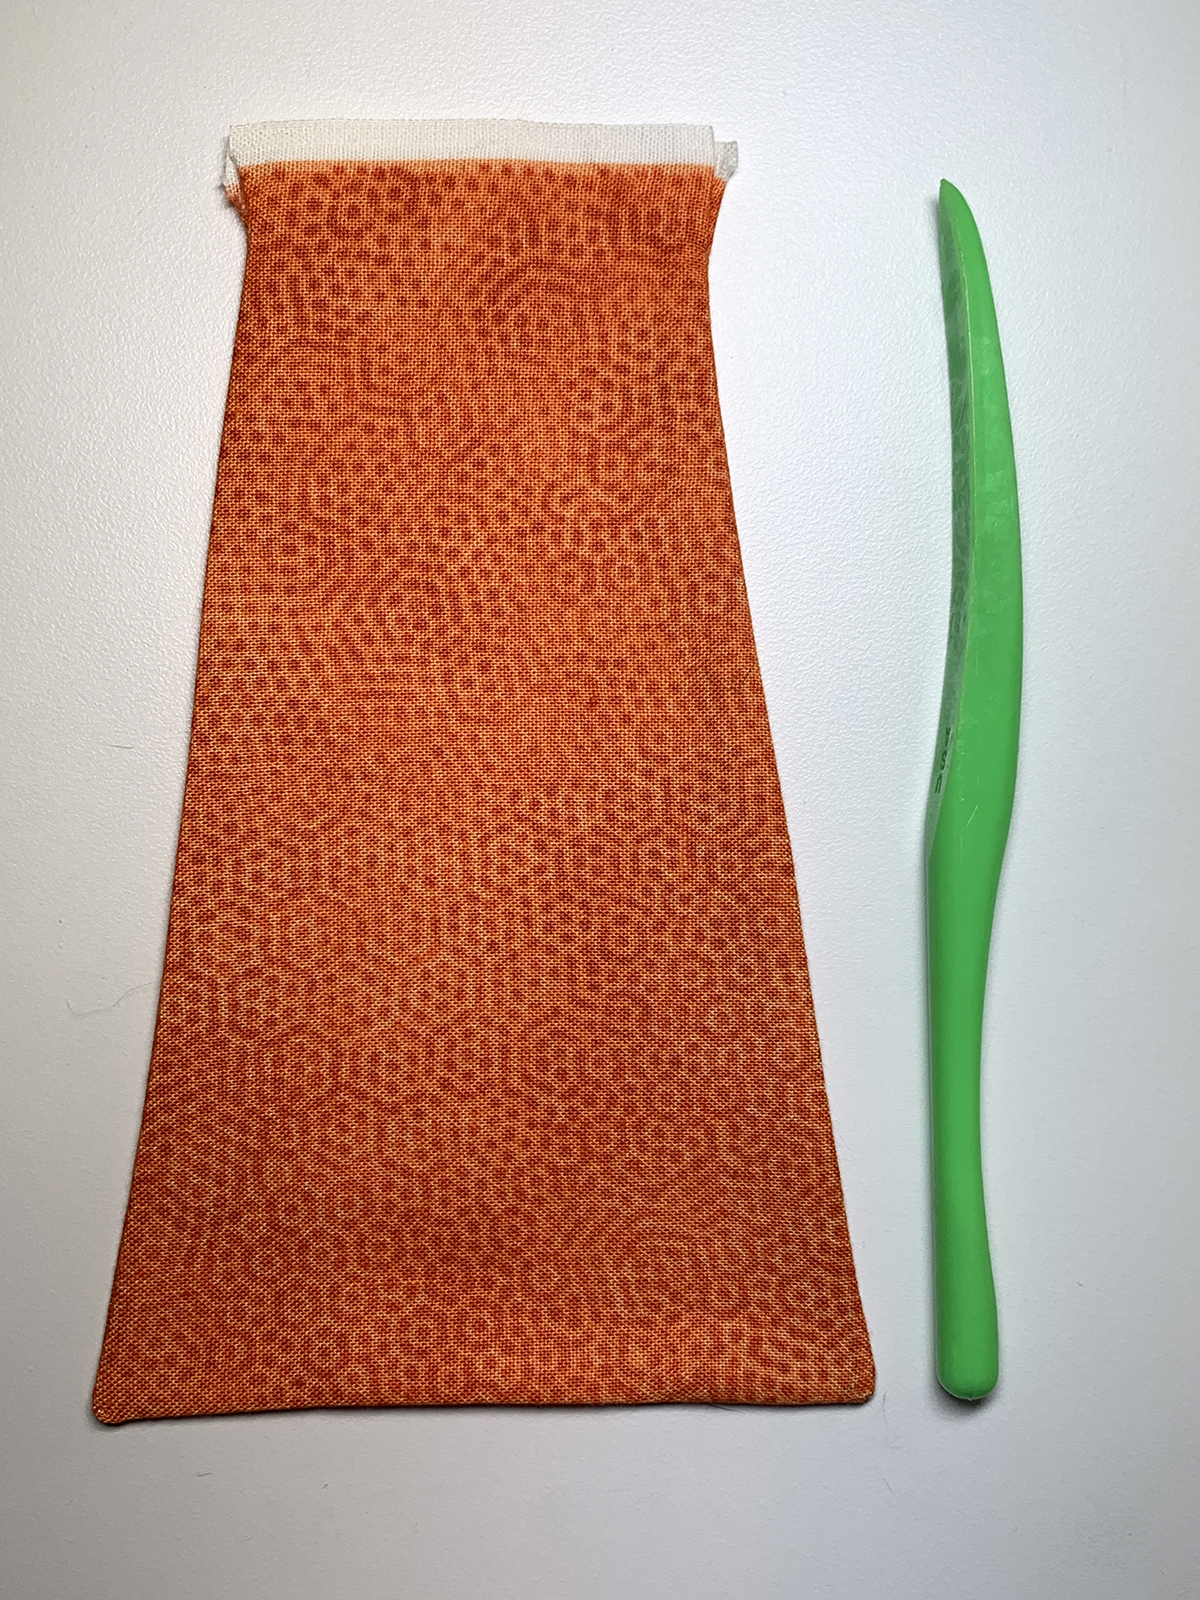
Cut out the 3″ backing circle and trace around it onto the Fast2Fuse. Cut it out, and then fuse it to the wrong side of your backing fabric, following the directions on the package.
Cut it out, leaving a generous ¼” seam allowance.

Turn it over, and use the tip of the iron to iron the seam allowance around to the other side of the circle.
Center and stitch the backing circle onto the back of the rosette, covering the raw edge of the ribbons. Make sure not to stitch through to the front of the rosette.

Finishing Touches
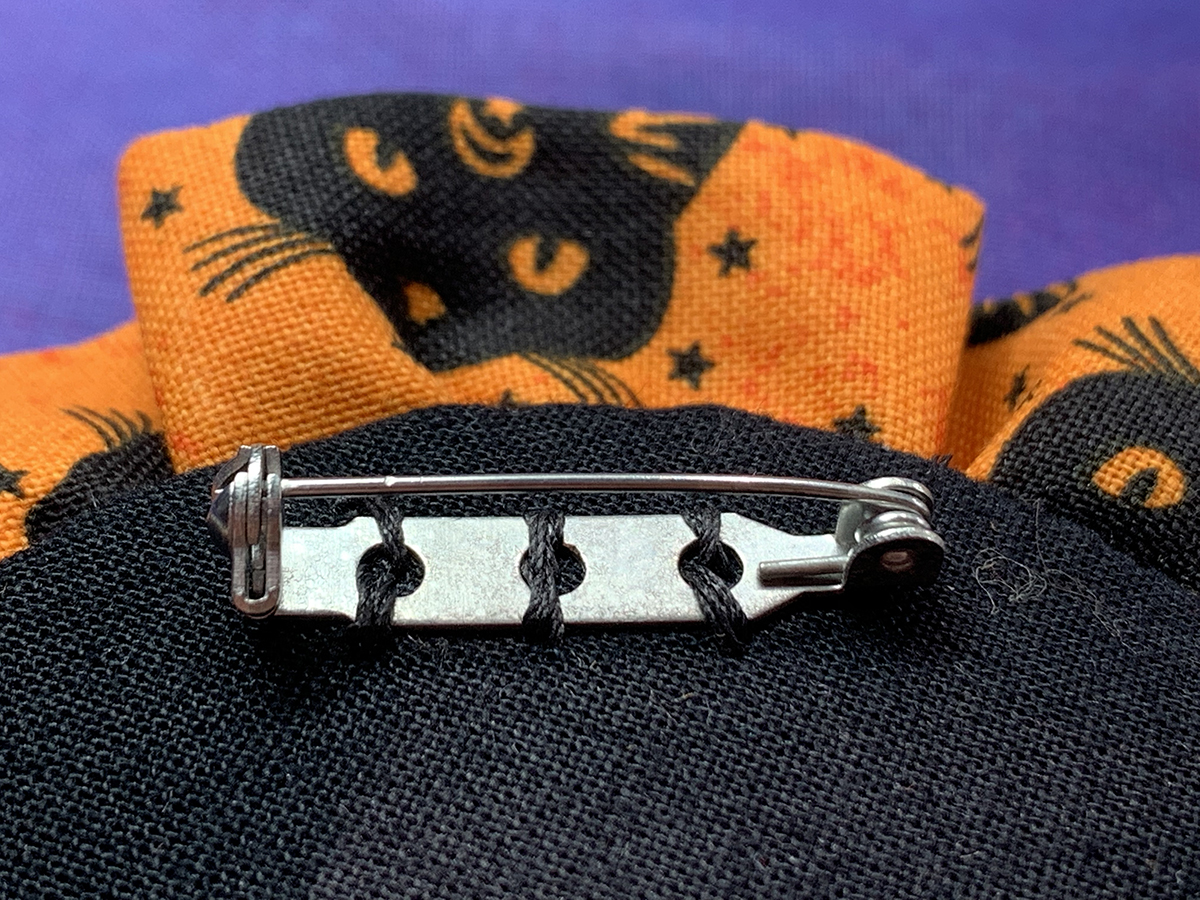

Hand stitch the bar pin to the top of the backing circle, using heavy thread. If you like, add a pin-backed button through the center of the front of the rosette.
Here are some other rosettes I’ve made for different occasions:
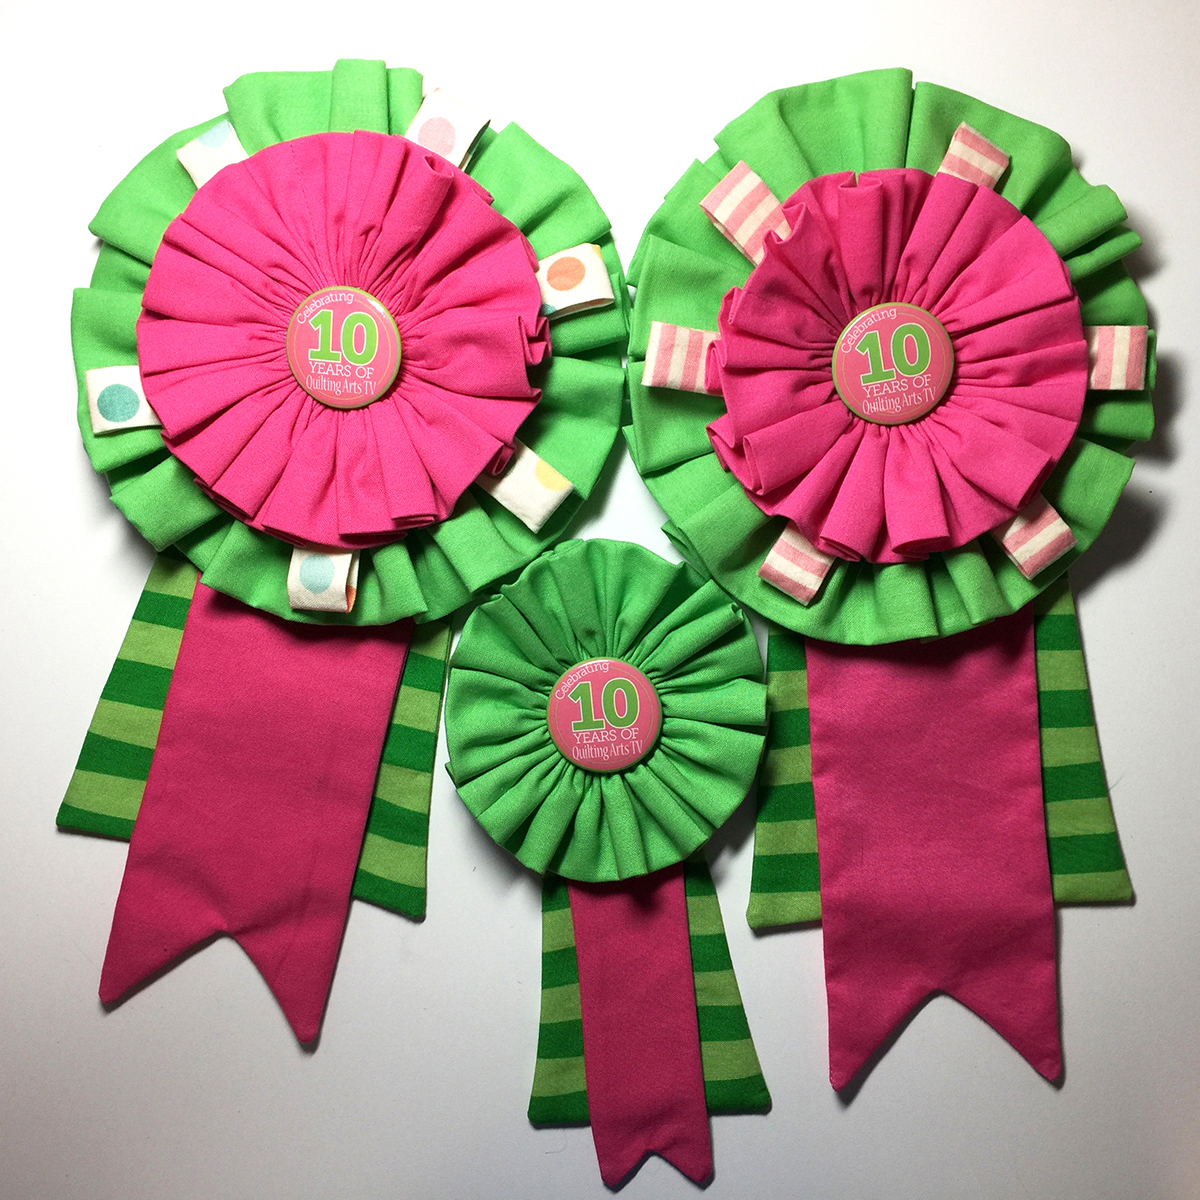
These were for the tenth anniversary of Quilting Arts TV. The larger rosettes have loops of striped and polka-dot fabrics inserted between the two rosettes to make them even more festive.