Embroider-Along Part 5: How to Embroider Knits
Welcome back to my Embroider-Along: Part 5. Hi, my name is Sue O’Very, BERNINA Ambassador and machine embroidery expert. In Part 4 we wrapped up the Basics of Machine Embroidery with Placement and Hooping. Today we’re going to dive in and focus on how to embroidery on knits. This will include the most popular types of knits and which stabilizers, threads and needles to use on them. Next, I’ve got a step-by-step tutorial on how to embroider a Baby Onesie with a complimentary “Hello World” embroidery design for you to practice your embroidery skills.
What is knit material?
During this Embroider-Along I have referred to any type of material which stretches more than 20% as a knit. The way to determine the percentage of stretch for knits is simple. Place a ruler flat on a table, fold the knit, measure from 0″ to 10″. Pull the knit past the 10″ mark as far as you can comfortably. If the knit extends to 12″, the stretch is 20%. If the knit extends to 14″, the stretch is 40%. Some materials have small amounts of stretch, like stretchy jeans, however because of the low % in that material it would be considered a woven. Listed below are the most popular knits and percentage of stretch:
- Cotton Pique Polo Shirt 20%
- Heavy knit T-Shirt 20%
- Polyester Pique Polo Shirt 30%
- Active wear performance knit 30-40%
- Baby Onesie 30-50%
- Ladies T-Shirt 30-50%
- Slinky knit 40-50%
Stabilizers for knits
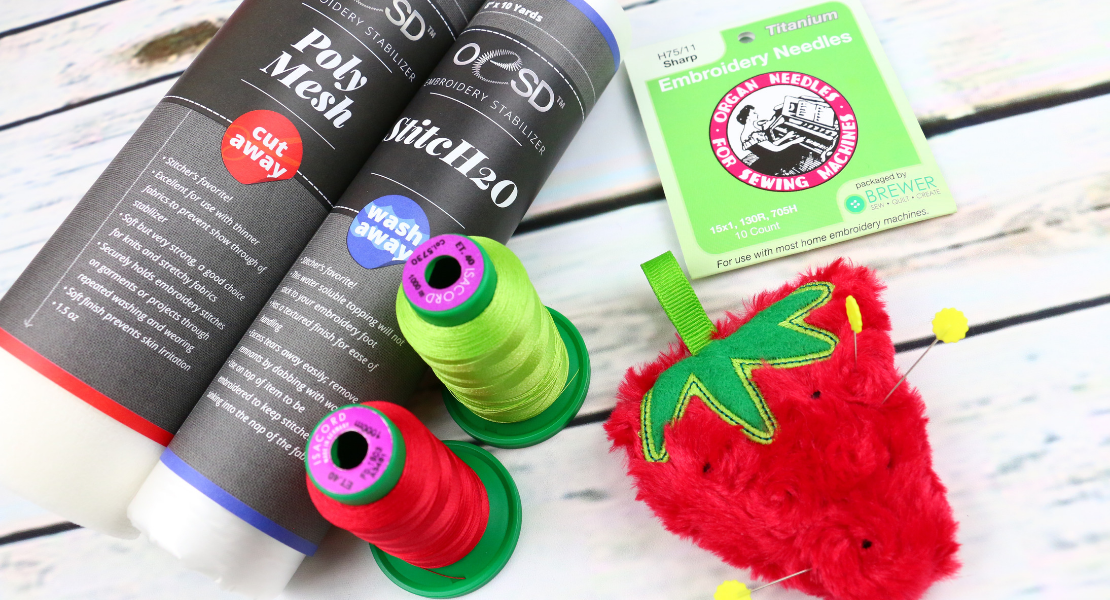
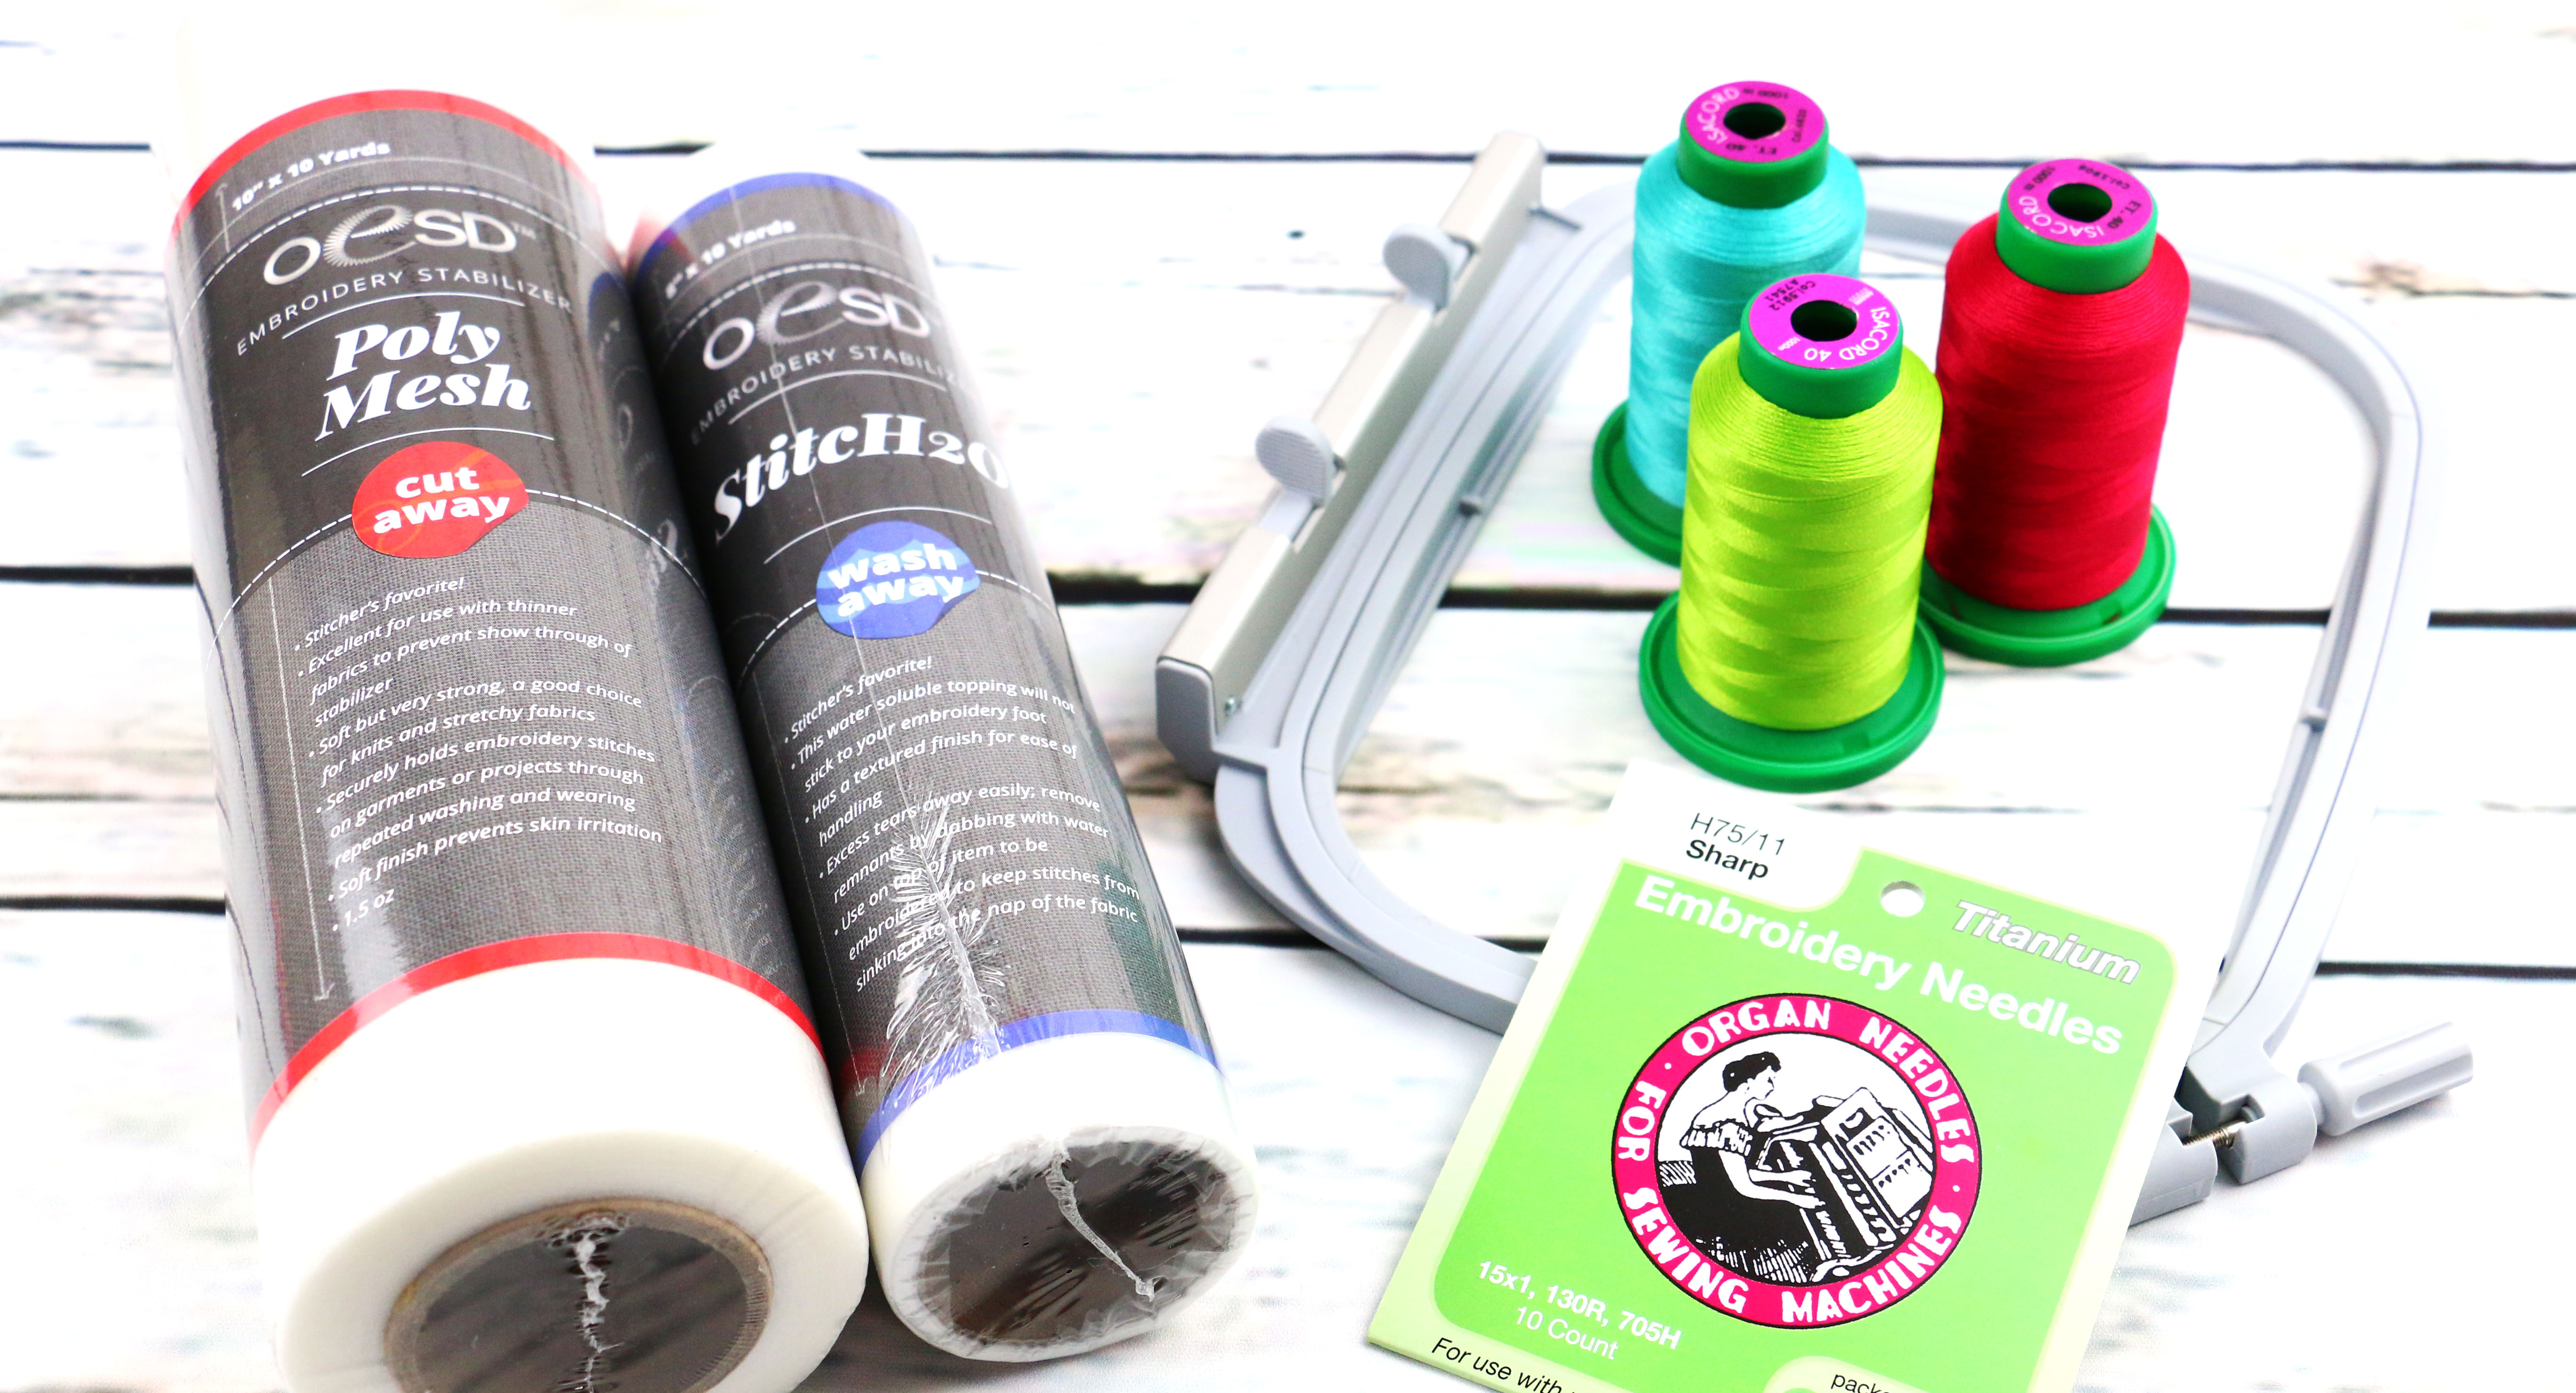
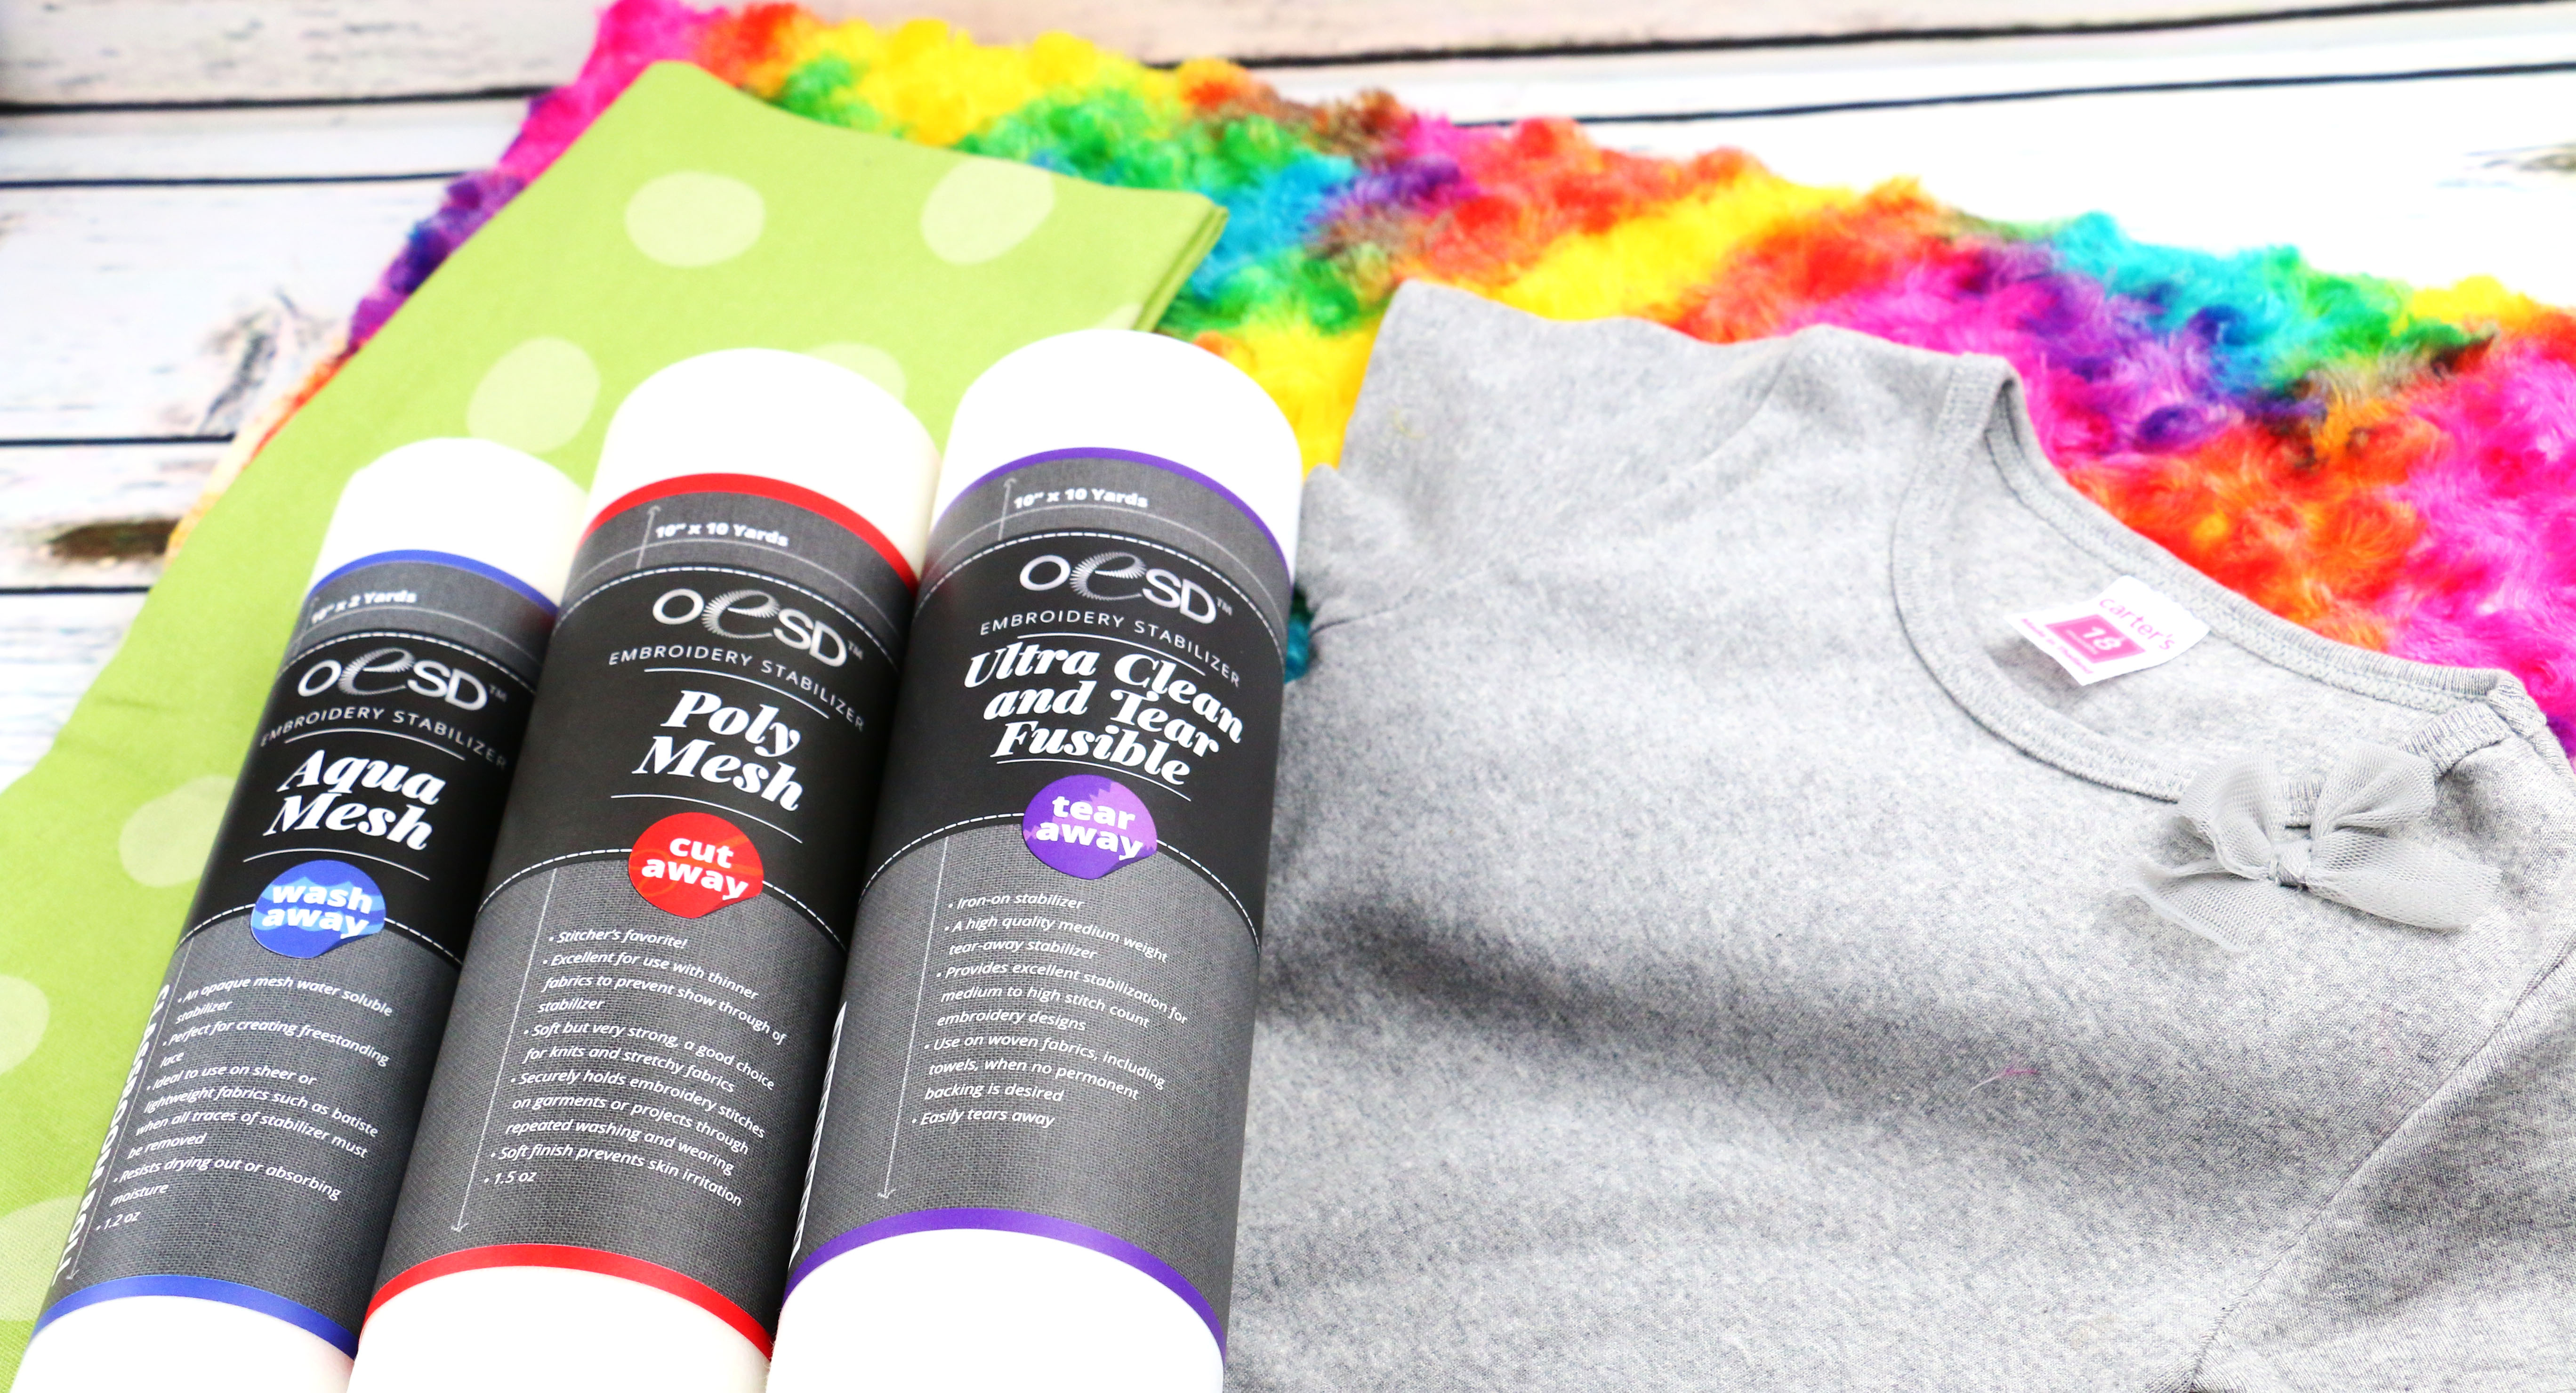
There are two types of stabilizers used for knits; Cut Away and Wash Away. The Cut Away is for the backside of the embroidery and the Wash Away is for the top.
Cut Away
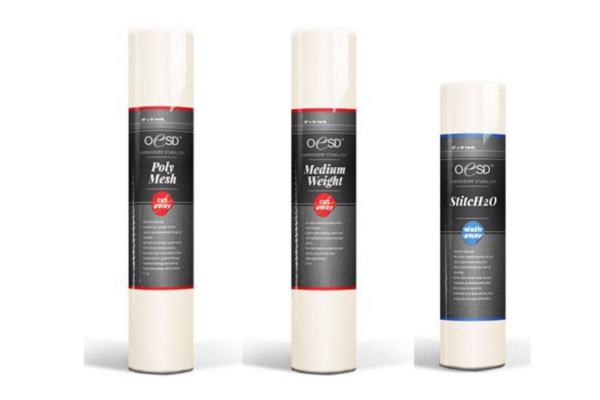
Within the category of “Cut Away” there are lots of different varieties, however the basic two are: Poly Mesh (thin/light) or Medium-Heavy Weight (thick/heavy). Refer to Part 2 of the Embroider-Along for more details on stabilizers.
When embroidering on knits keep these three rules in mind:
- Thinner/lighter the knit, thinner/lighter the stabilizer Poly Mesh AND Thicker/heavier the knit the heavier the stabilizer Medium-Heavy Weight
- Stretchy knit (30% or more) the thinner the stabilizer Poly Mesh
- Use two layers of a thinner stabilizer vs using too heavy a stabilizer
Wash Away
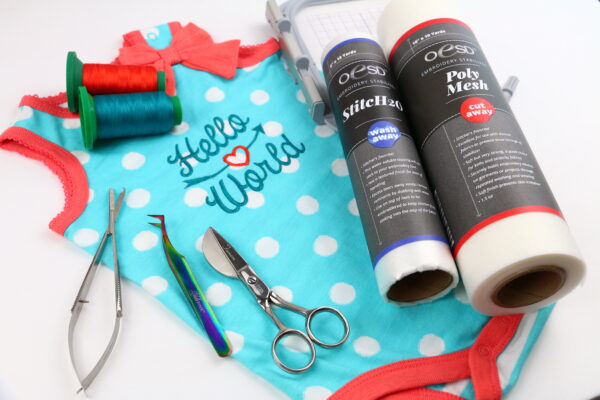
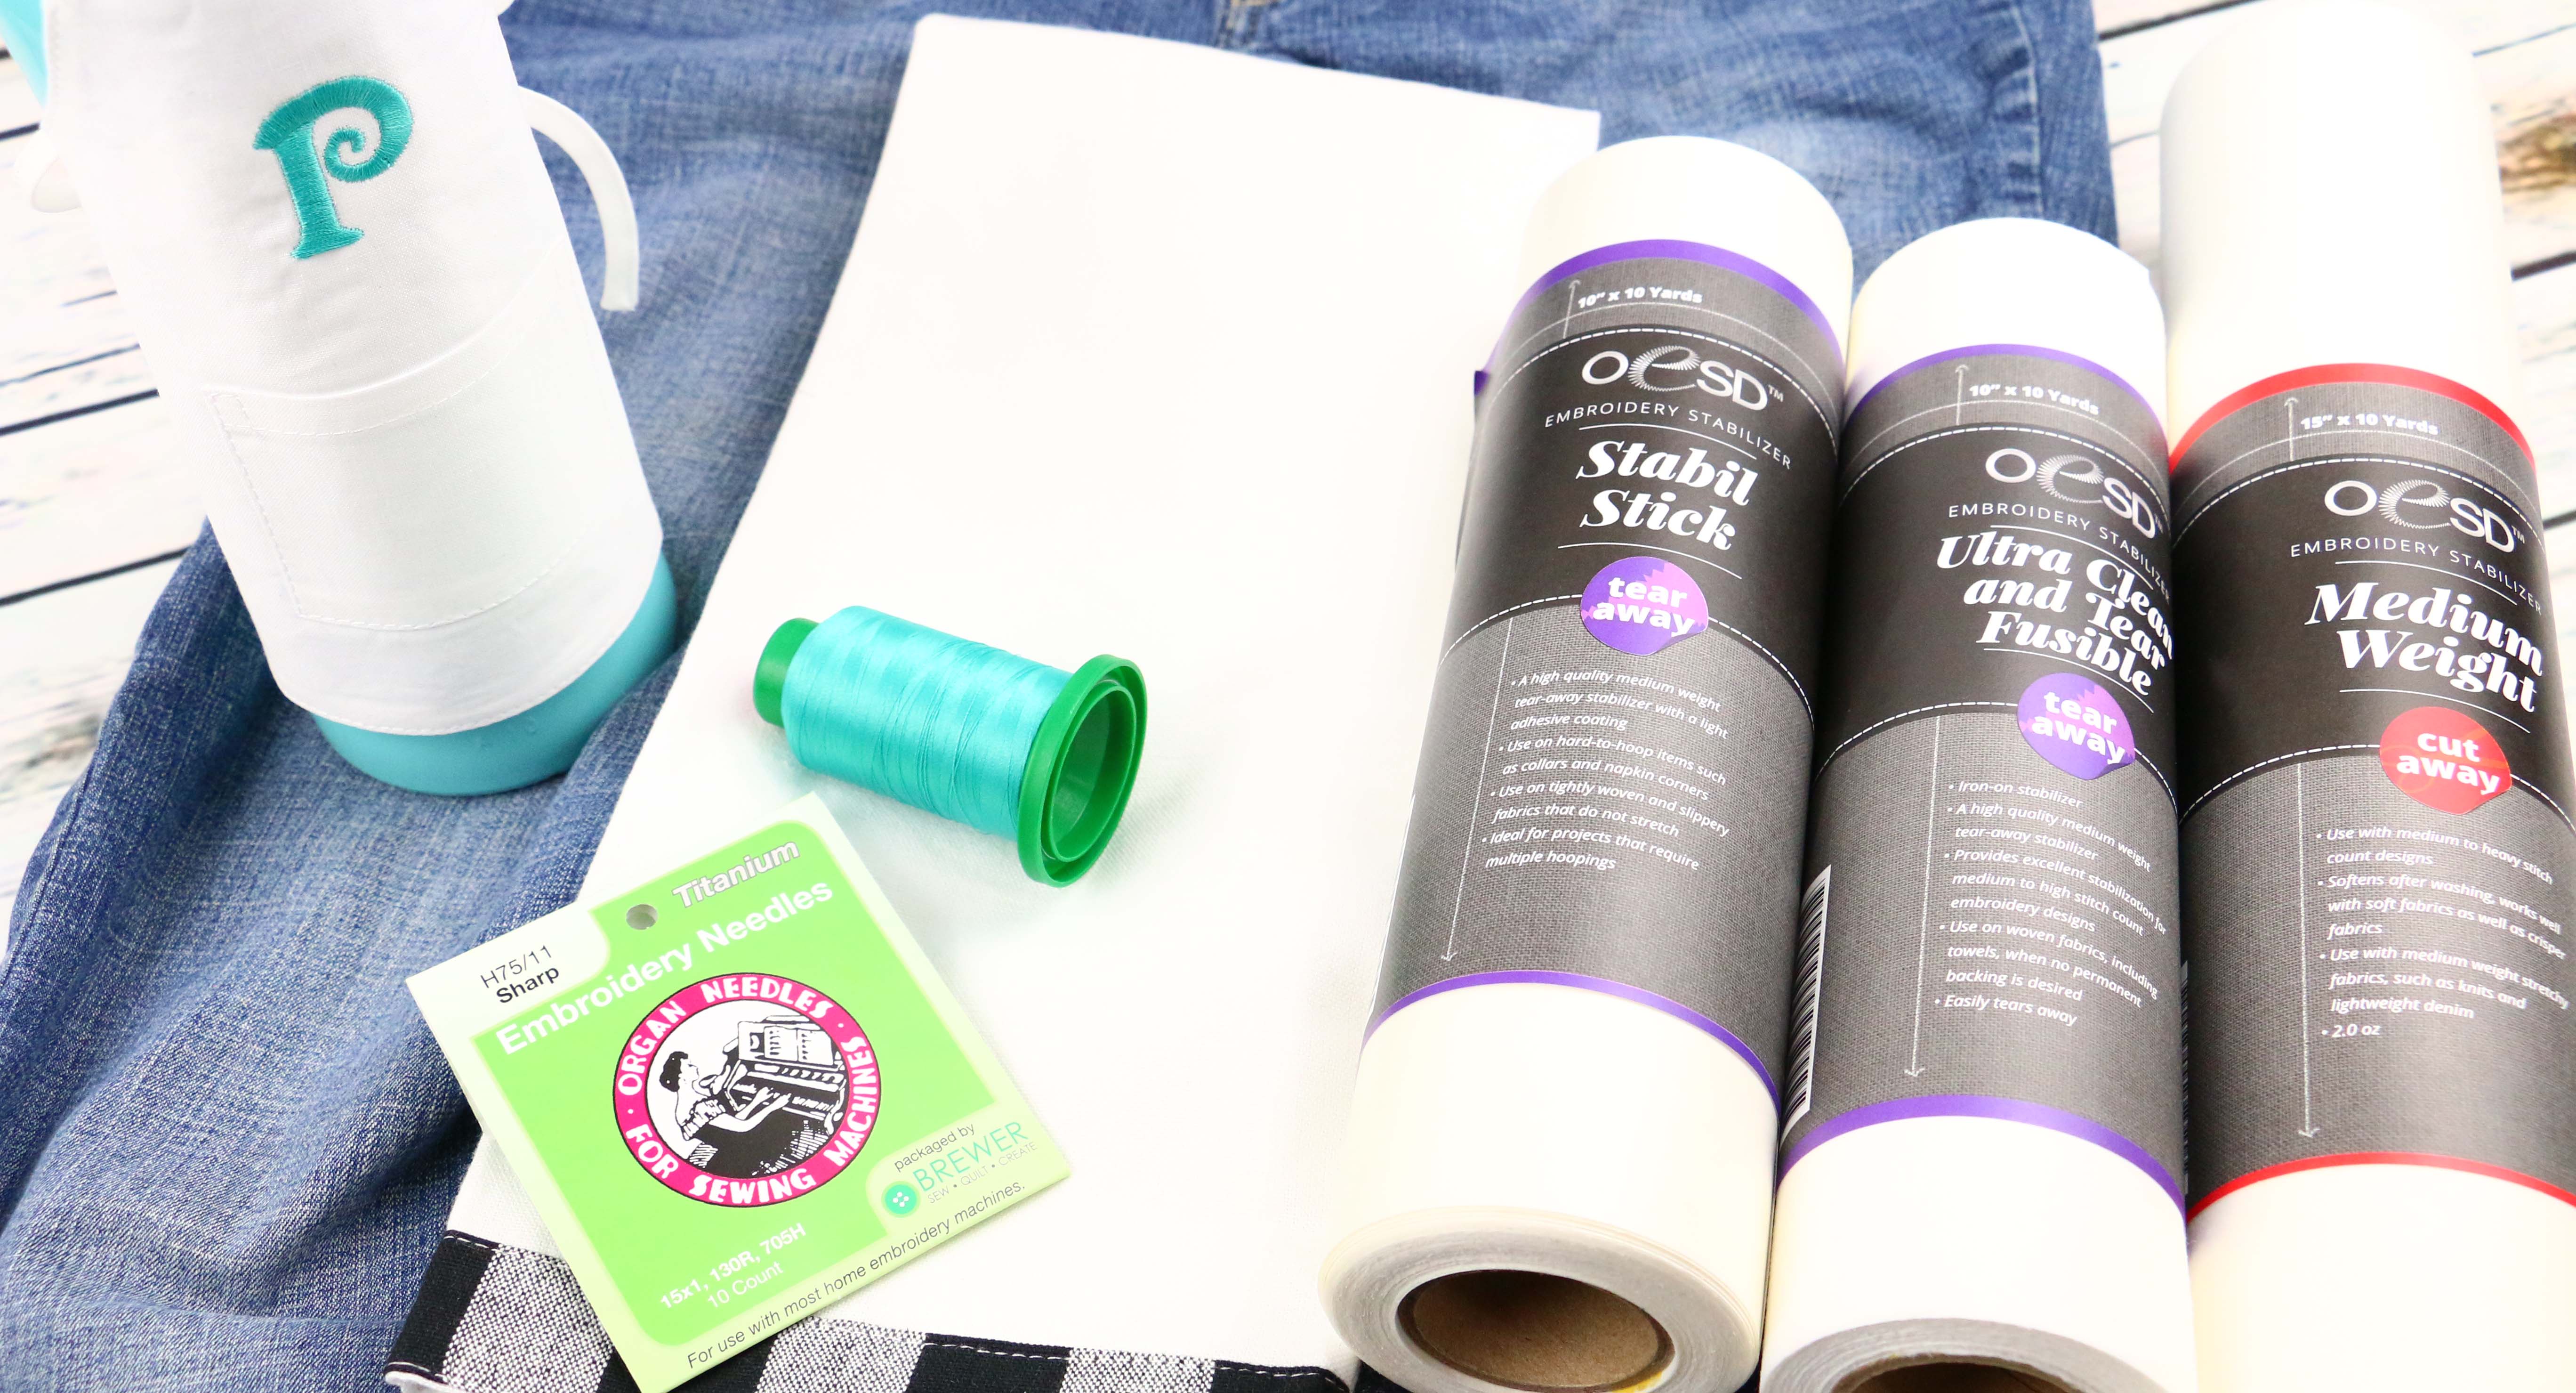
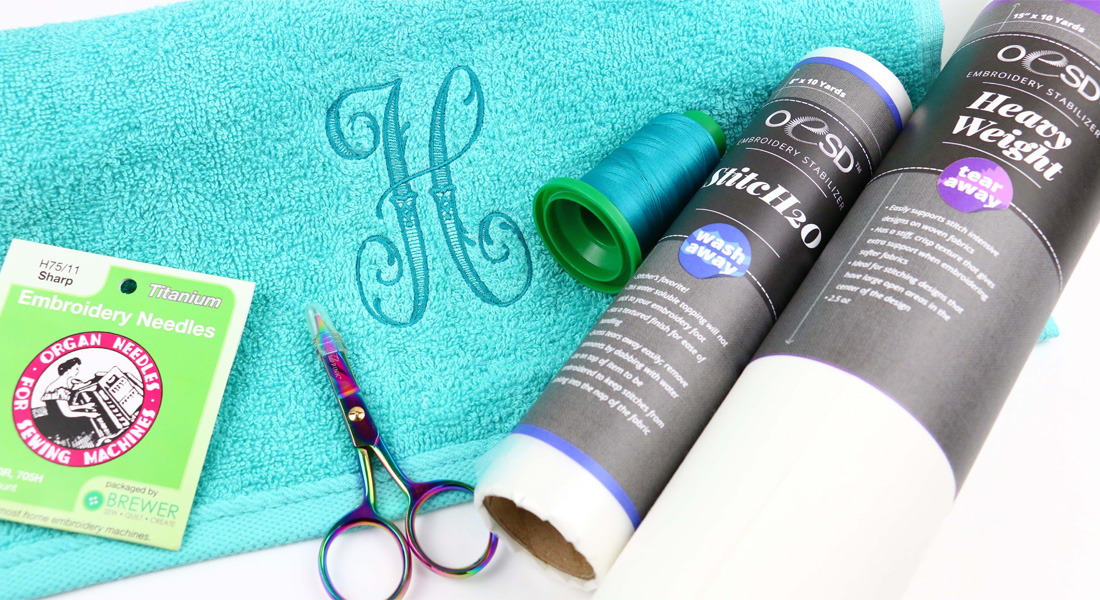
When embroidering on knits the purpose of the Wash Away is to provide the top with a flat smooth surface. When stitching is complete the Wash Away will tear away. Small tiny pieces might remain and can be removed using tweezers or a damp cloth. What doesn’t tear away will be washed out in the first wash. I prefer a clear thin Wash Away, my favorite is StitcH20 by OESD.
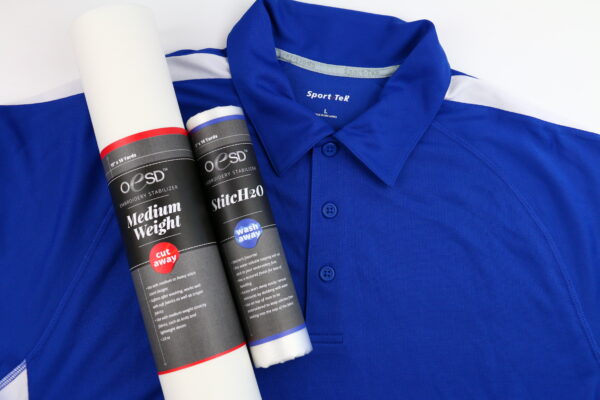
Listed below are the top knits and suggested stabilizers. All will use the clear thin wash away StitcH20 on top:
Thin weight knit with 30-50% of stretch: Poly Mesh (two layers of Cut Away depending how thick it is)
- Baby Onesie
- Ladies T-Shirt
- Polyester Pique Polo Shirt
- Active wear performance knit
- Slinky knit
Medium to thick weight knit with 20-30% of stretch: Medium-Heavy Weight Cut Away (2 layers of Cut Away depending how thick it is)
- Heavy knit T-Shirt
- Cotton Pique Polo Shirt
- Sweatshirt
Thread and Needles for knits
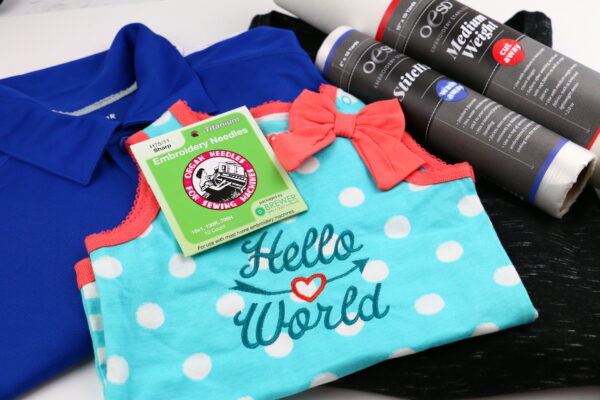
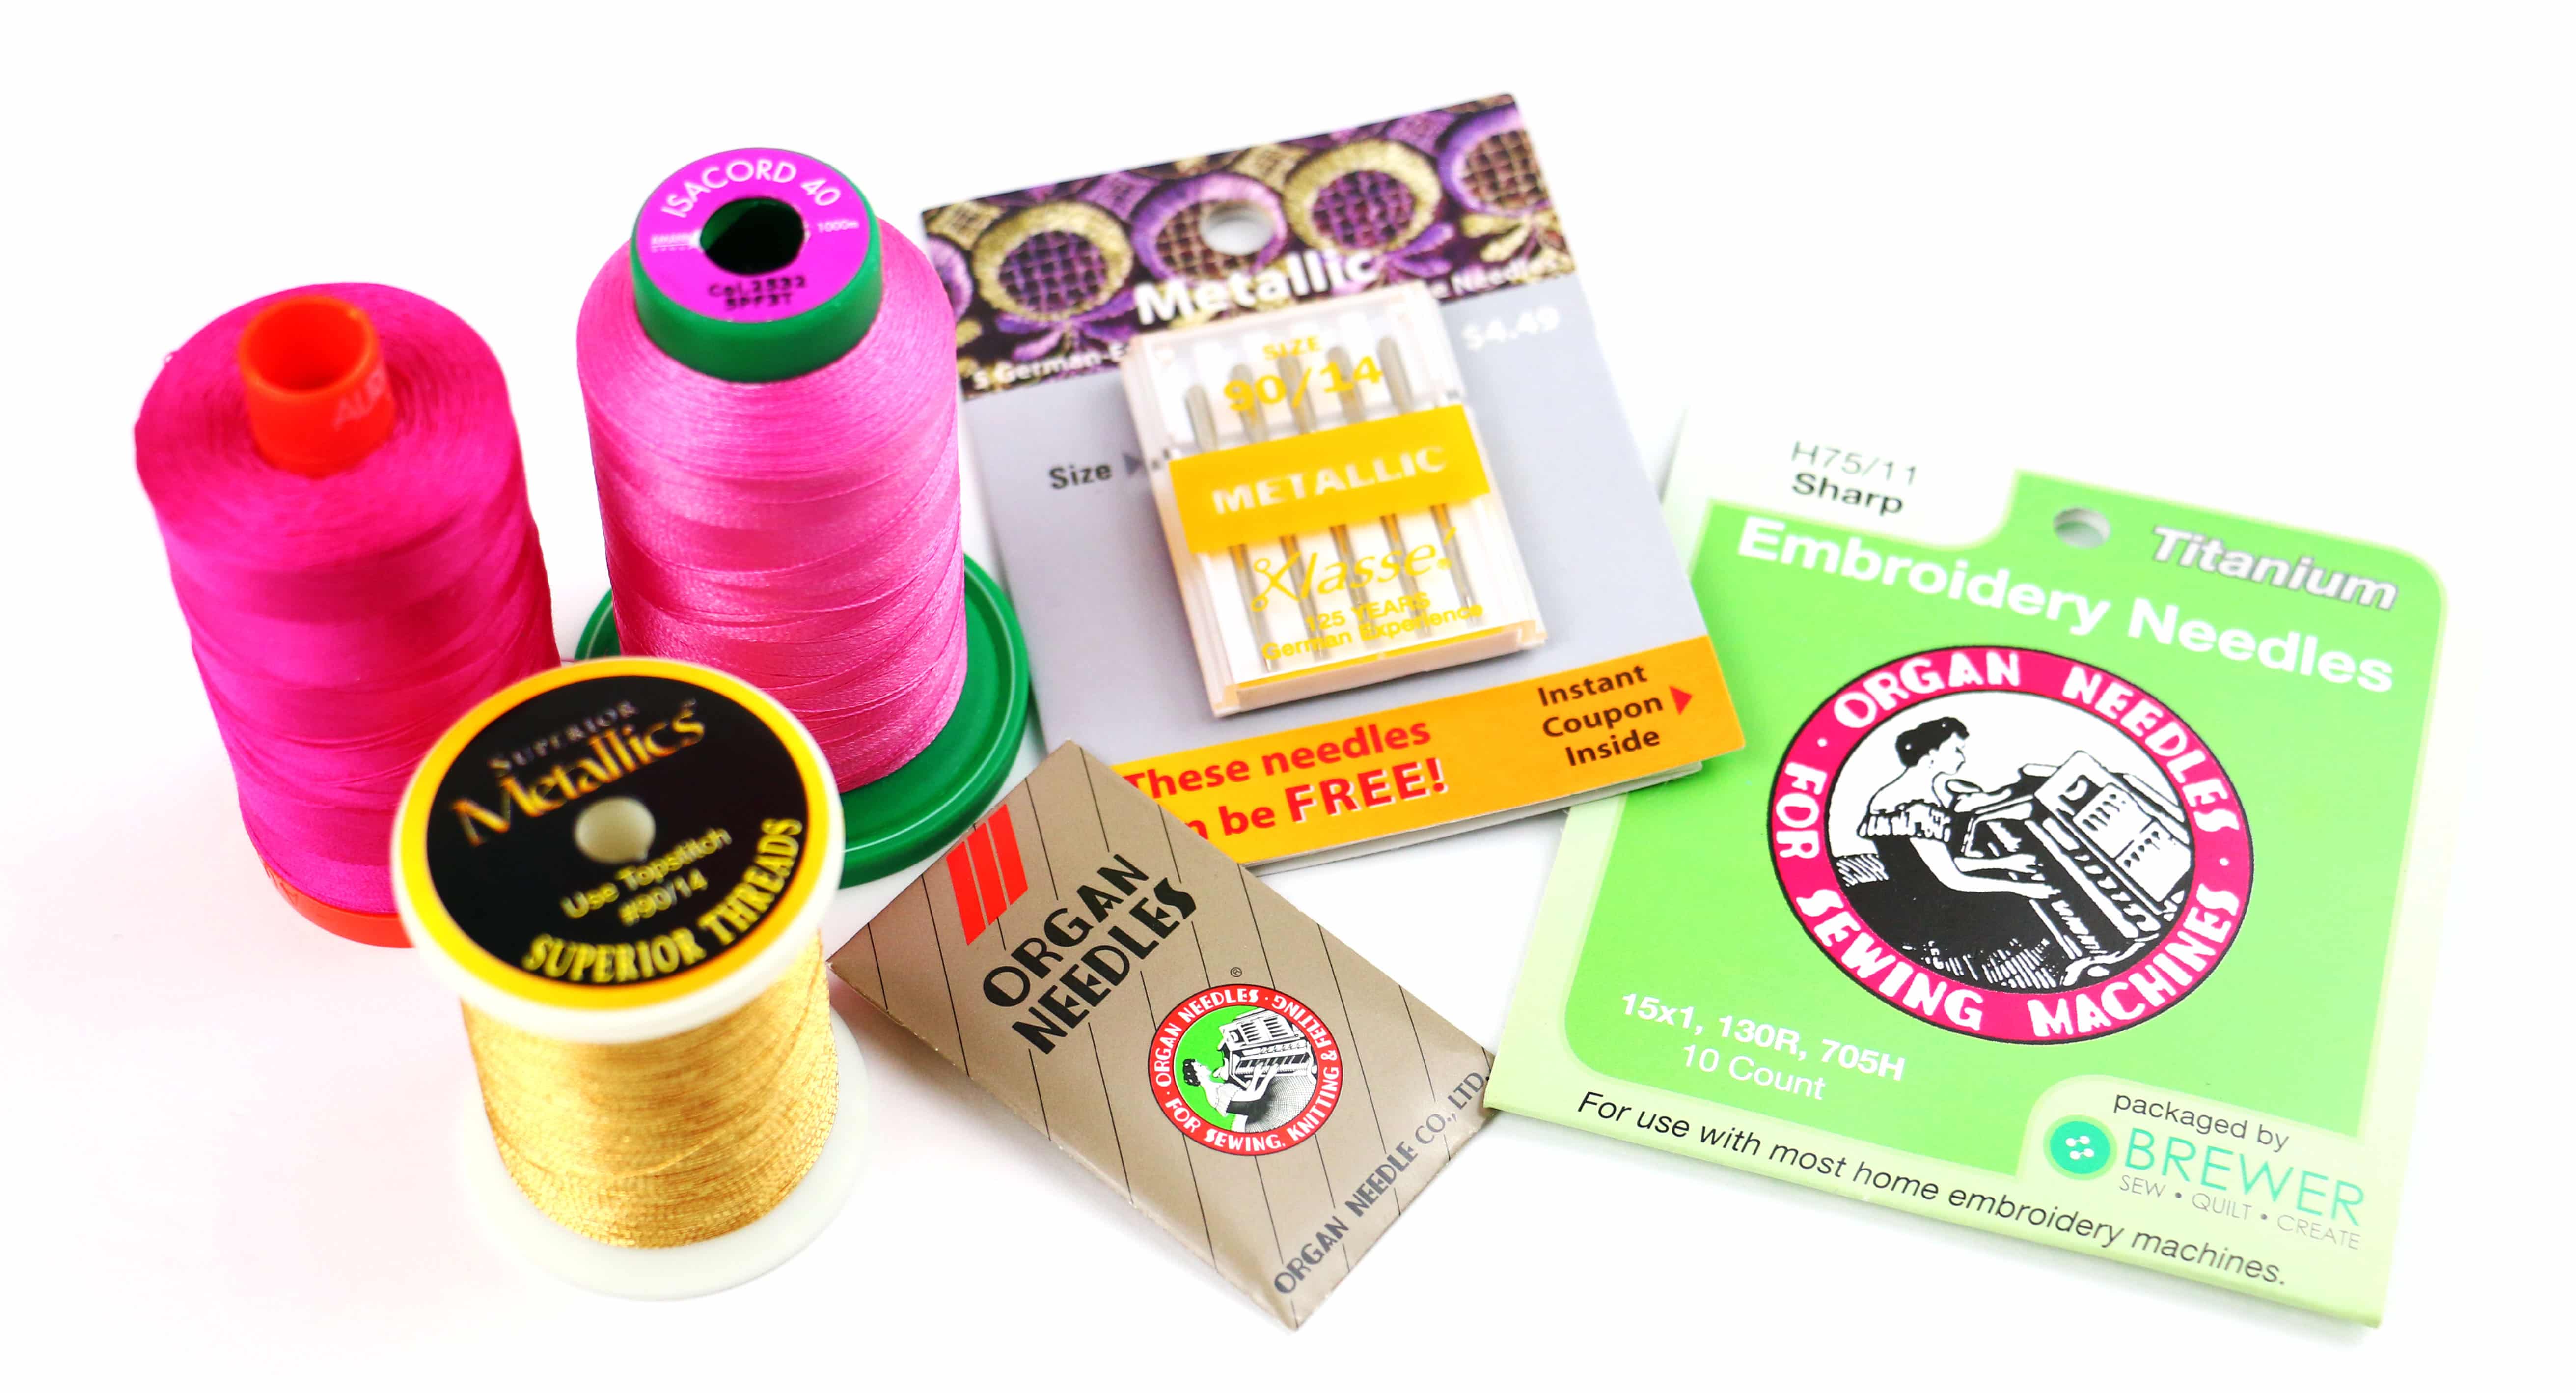
The choice of thread for embroidering on knits really depends on the design and desired effect. Refer to Part 3 where I talked about different types of threads and needles. Personally I avoid metallic thread on baby items and ladies T-shirts as it can be scratchy against sensitive skin. If metallic thread is the desired effect on a Baby Onesie for example, consider placing the design on the fanny area where a diaper will be in between the knit and the skin. As far as needles, I would keep it simple, use an embroidery needle, 75/11.
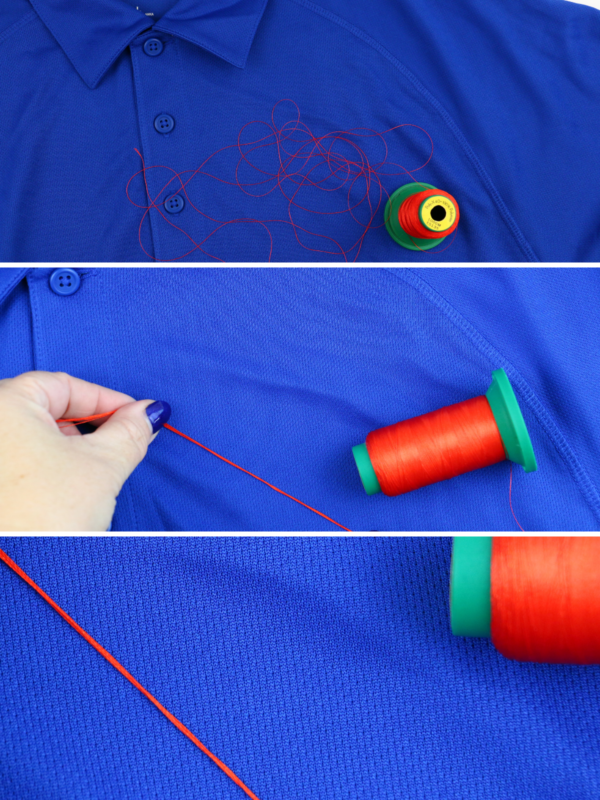
Pro tip: When stitching on knits the thread can get lost in the texture. Consider “auditioning” your thread. Pull out a long strand of thread folding it onto of itself to form about 20 strands. Twist to form one thick strand. Lay the thick strand on the knit. This will give the effect of a satin stitch.
How to hoop knit material?
Part 4 on my Embroider-Along was all about hooping! There are two ways of hooping; hoop the material and stabilizer together or hoop the stabilizer and float the material on top. When it comes to embroidering on knits as a general rule I always hoop the material and stabilizer together. The knit is already prone to stretch and shift so keeping it secure inside the boundaries of the hoop ensures the best results.
Type of designs for knits
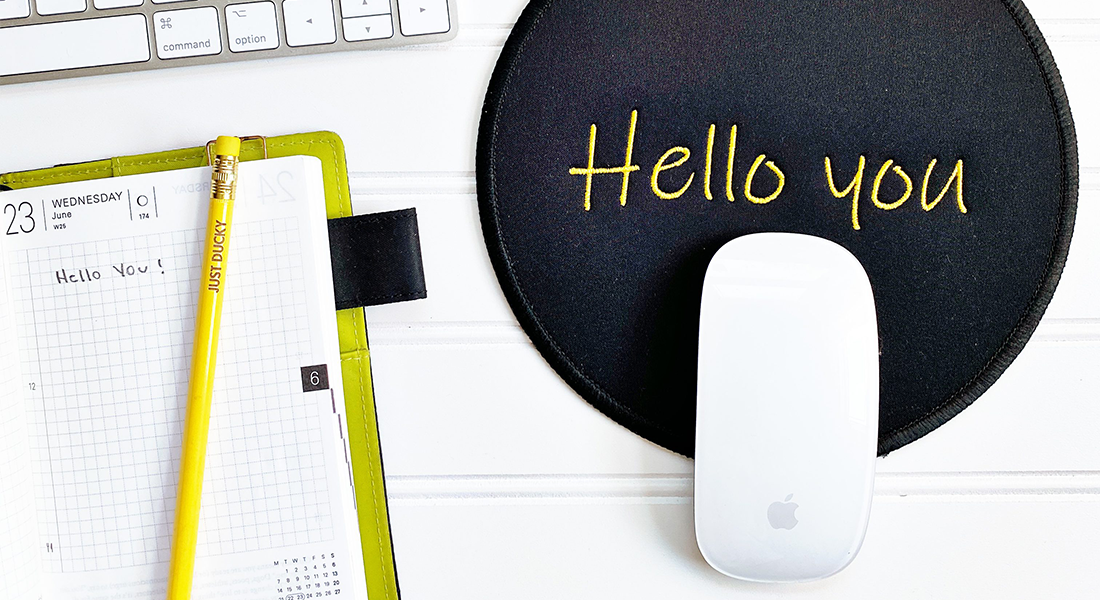
The goal when embroidering on knits is to keep the design flexible. Use designs with low to medium density and lots of open areas. There is nothing worse then a design so thick it appears to be bullet proof. You can download my Hello World embroidery design here!
Baby Onesie embroidery
In today’s lesson I will go step-by-step how how to embroider a baby Onesie.
Selecting the stabilizer
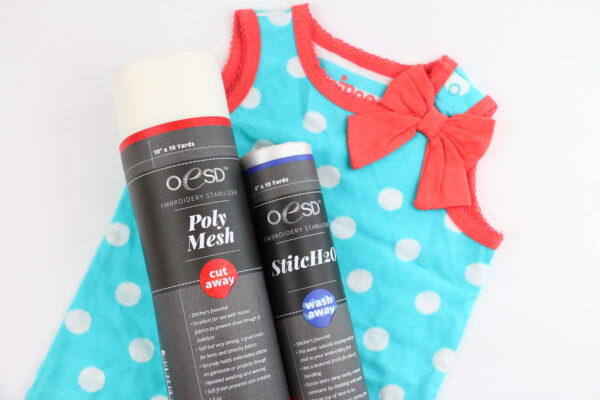
Baby Onesies typically have a lot of stretch, 30-50% and are also light weight. Using the Poly Mesh on the back and StitcH20 on the front is my recommendation.
Choosing thread and needle
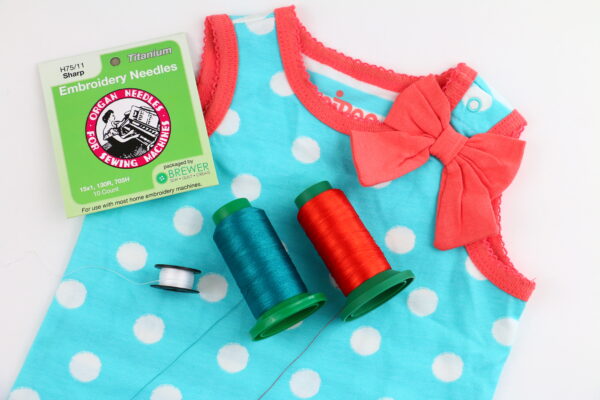
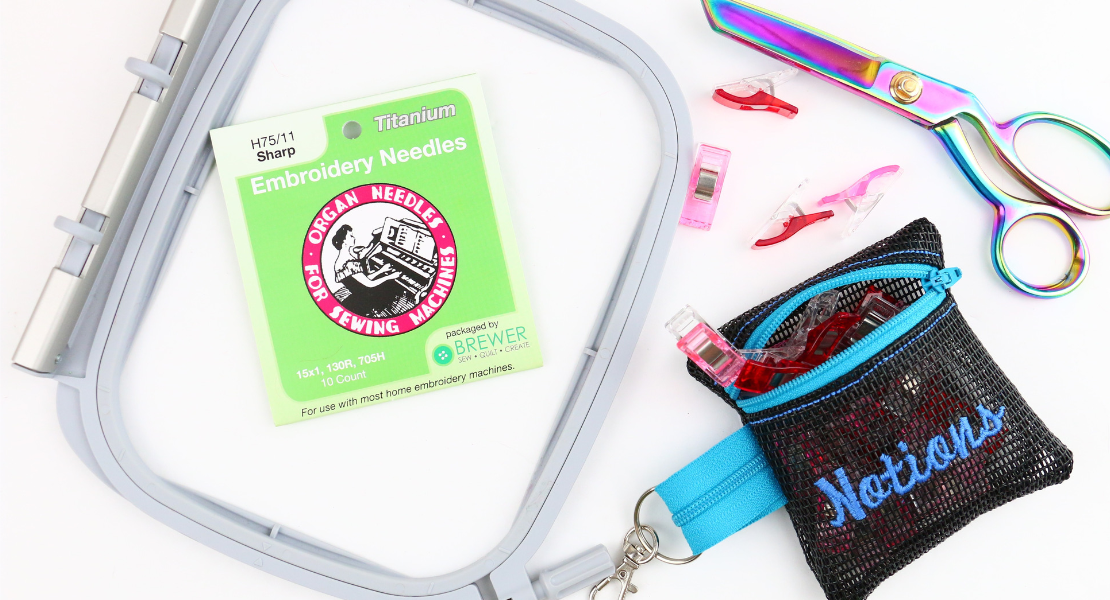
Babies are messy and their clothing needs to be washed often. If your Onsie is for sale or a gift consider keeping the thread selection easy for washing. In that case I would suggest a polyester embroidery thread and 60 weight white bobbin thread. Thread your machine and insert a brand new 75/11 embroidery needle.
Placement
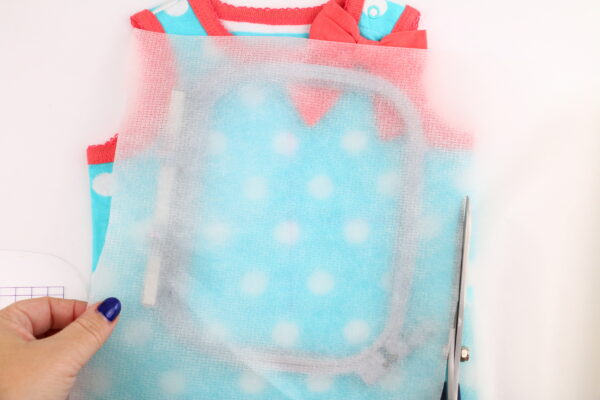
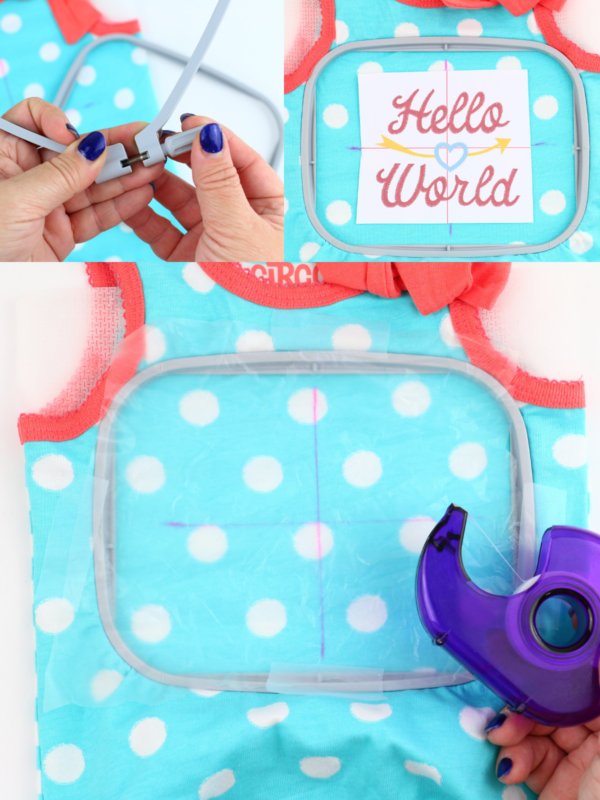
Placement and hooping tiny items can be tricky. Keeping the design simple and small is recommended until you’ve mastered the Baby Onesie. In Part 4 I talked about printing a template and for this type of project it’s very helpful. Cut a piece of Poly Mesh at least 1″ larger than the hoop and set the stabilizer to the side for now.
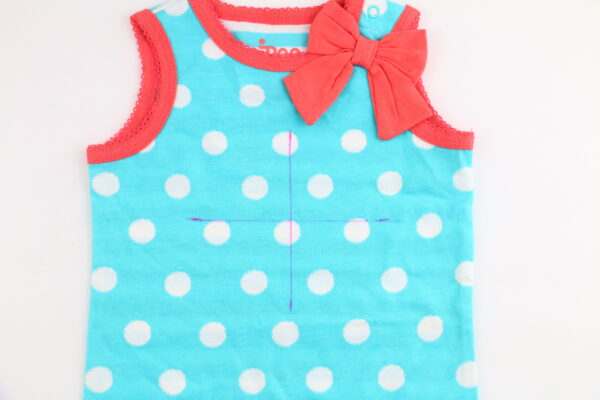
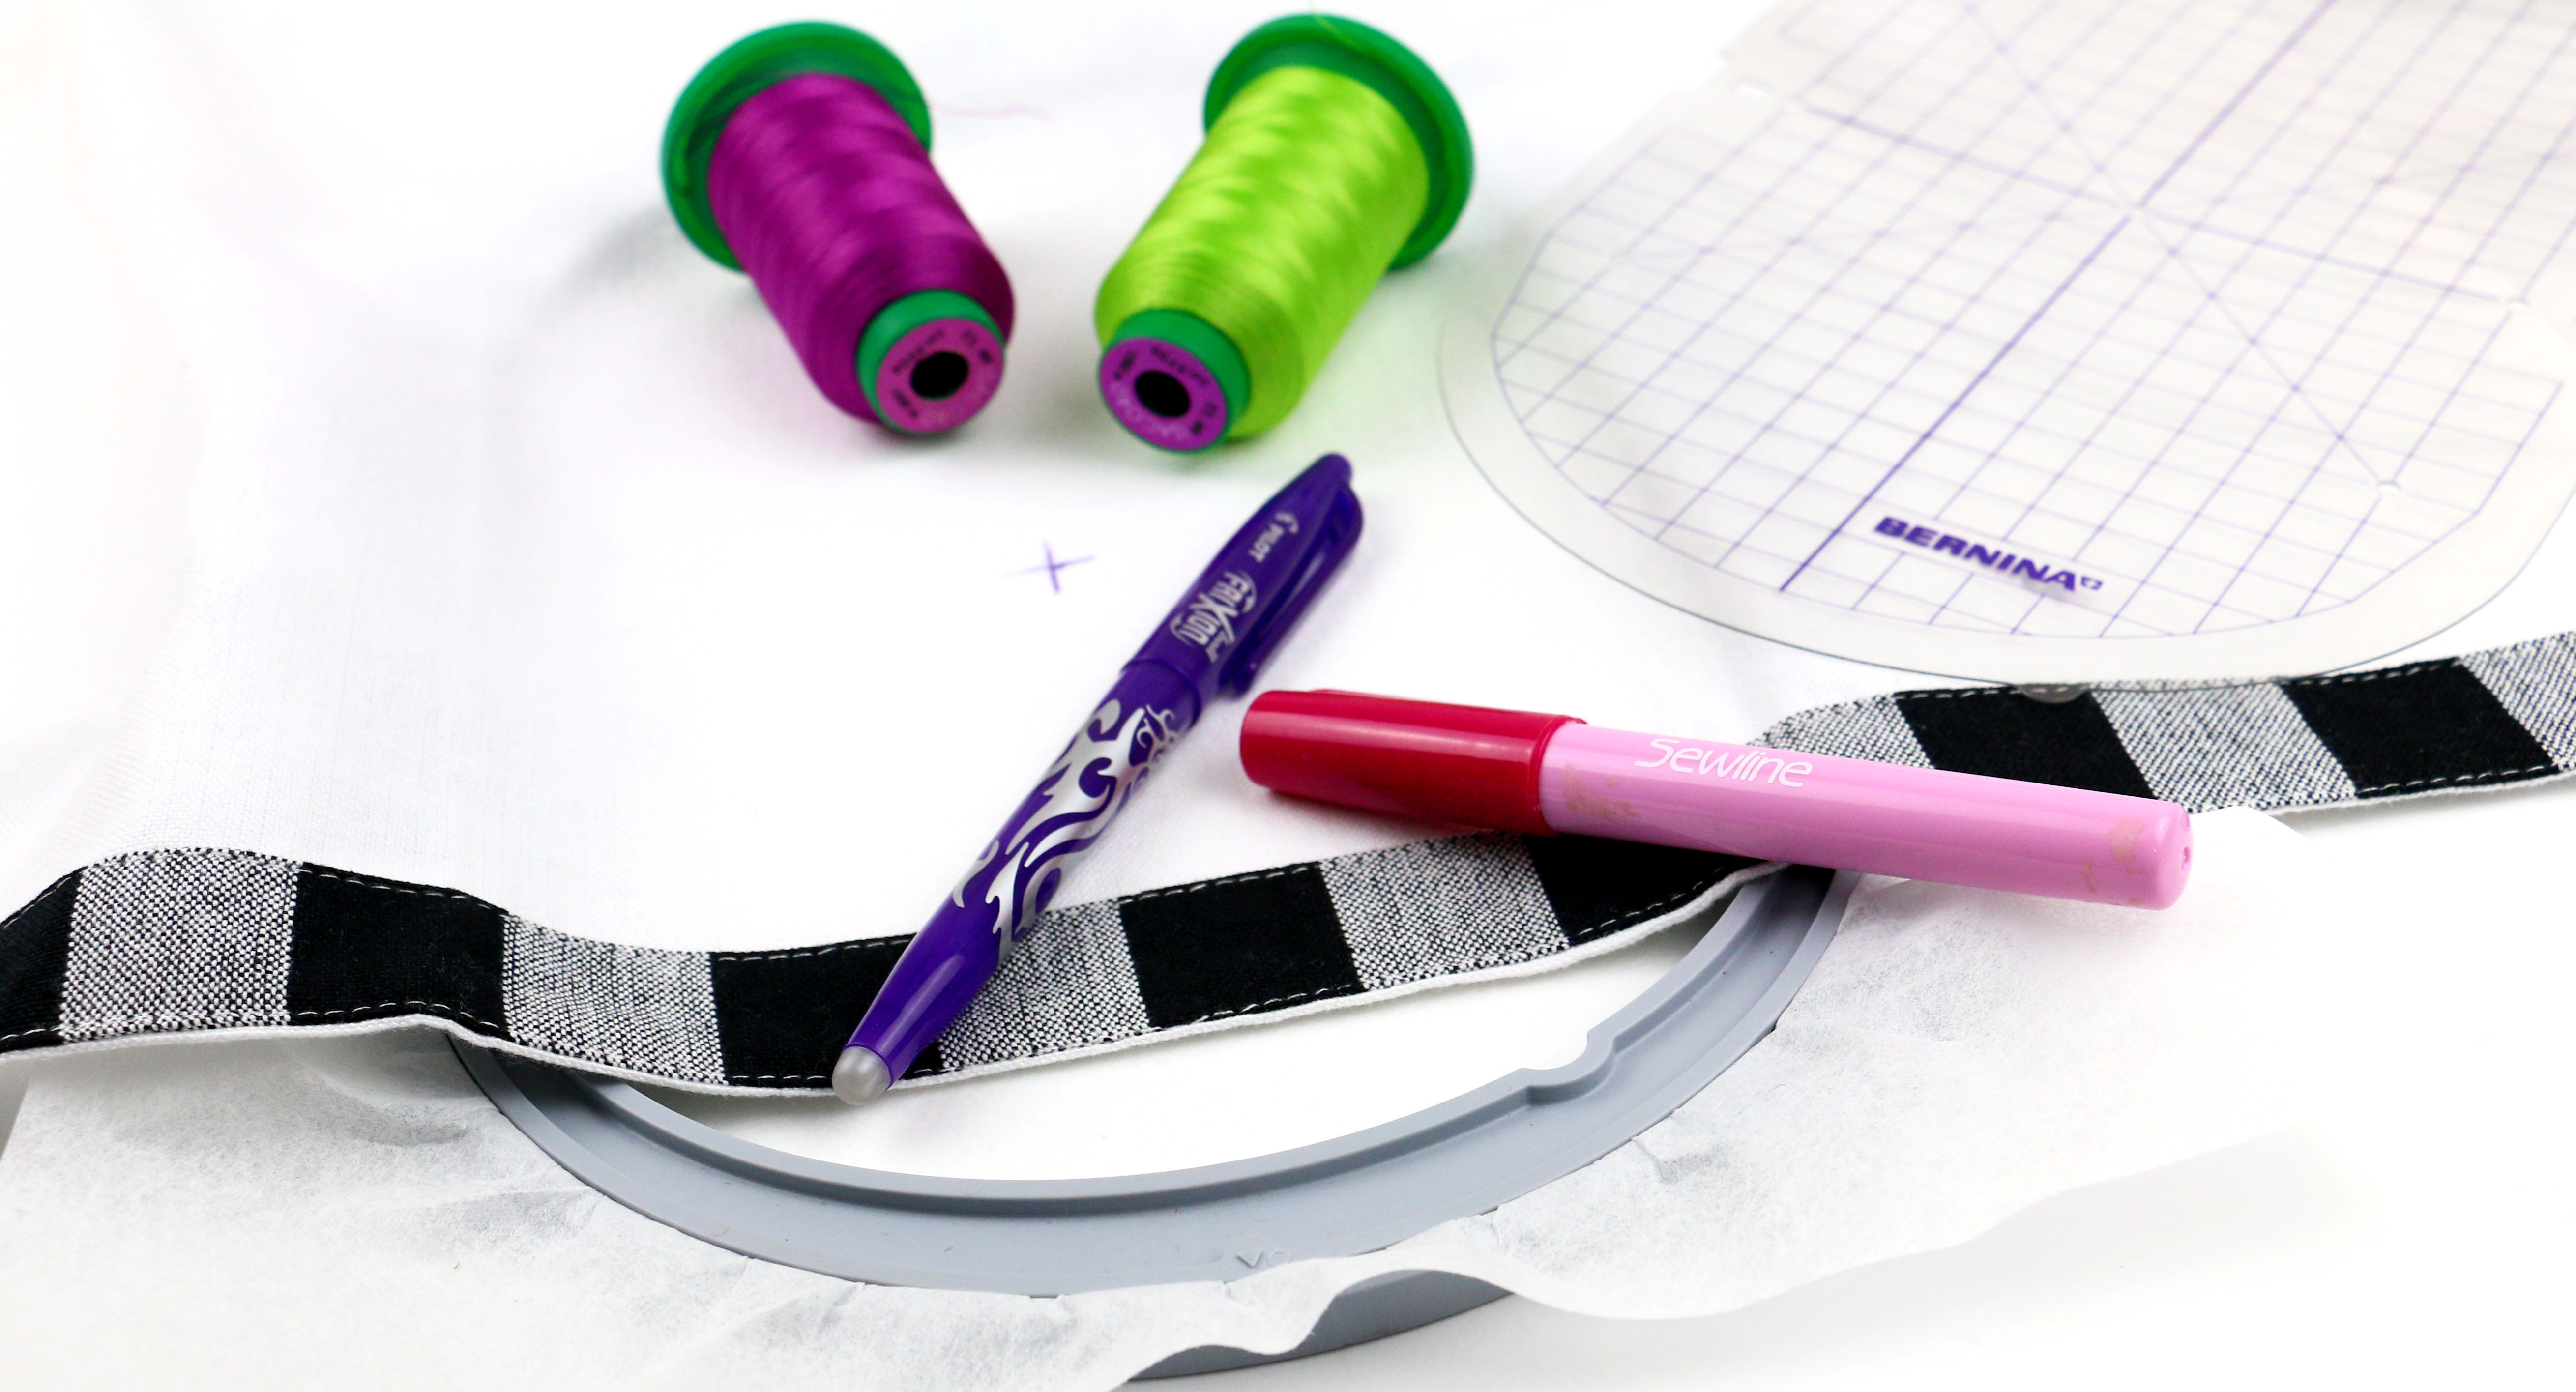
Find the center of the Onesie. Place the template over the desired area. Use a marking pen to mark the cross hairs. 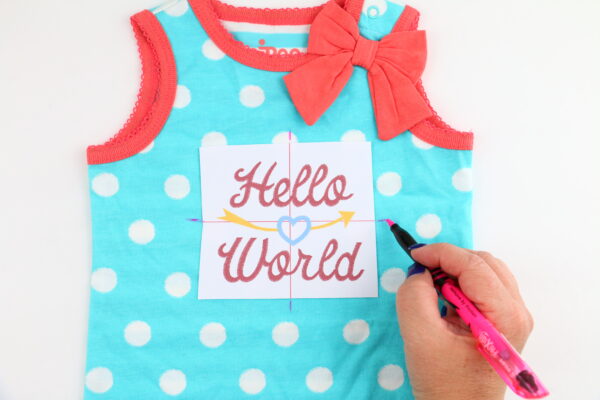
Use a ruler to connect the cross hair marks.
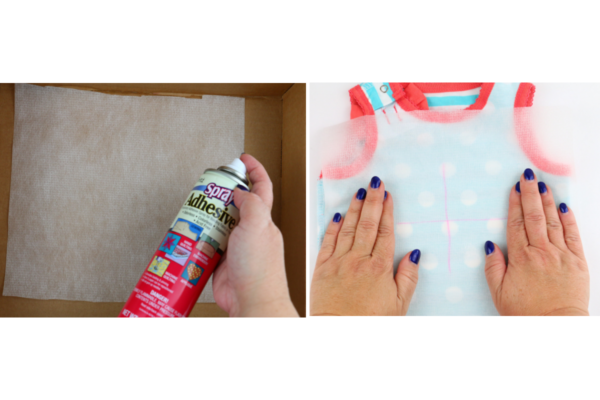
Place Poly Mesh inside a cardboard box, i.e. shoe box, spray the stabilizer with a spray adhesive. Turn Onesie inside out. Place the tacky side of the stabilizer onto the inside of the Onesie covering the marked area. Smooth out any air bubbles. Turn Onesie right side out.
Pro Tip: Because stabilizer is fairly inexpensive and easy to find I recommend always spraying the stabilizer as apposed to the project. Sometimes sprays can leave a residue or mark.
Hooping
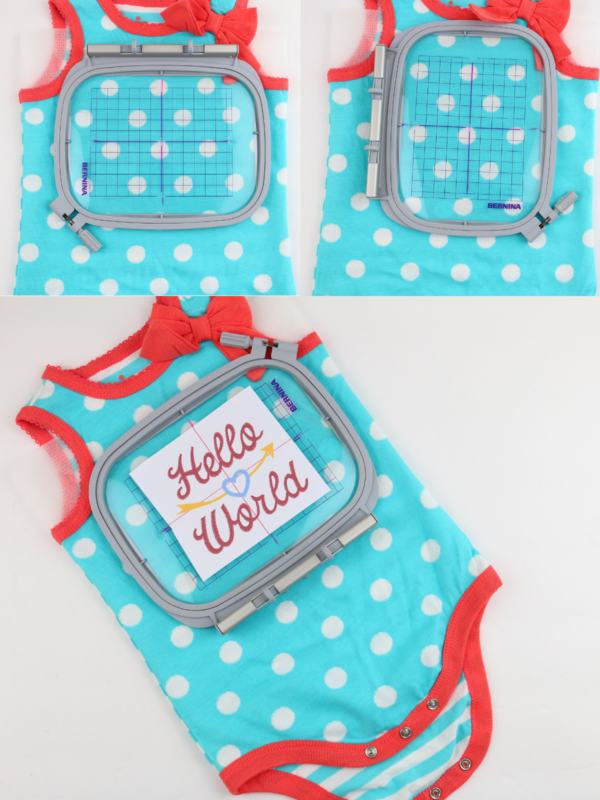
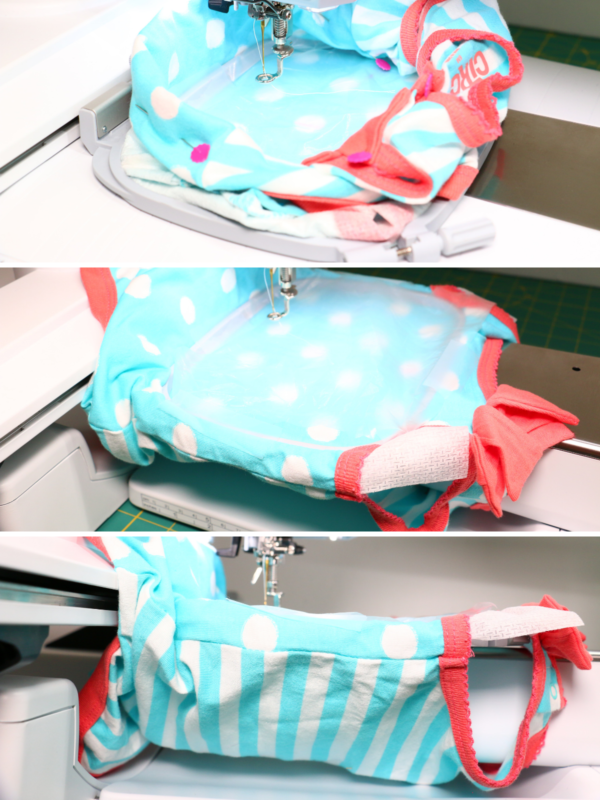
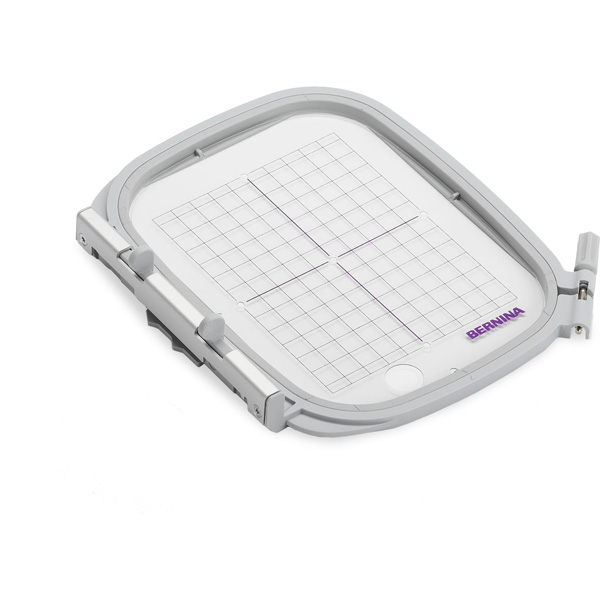
Before hooping the material/stabilizer combo consider how the hoop will clamp into the machine. Will the clamp come out of the neckline, armhole or bottom? Also consider if the design can rotate in your hoop. Look at the images below, notice the metal clamp of my hoop makes the most logical sense to come out of the bottom opening.
Now it’s time to hoop the material/stabilizer combo. Loosen the bottom hoop screw. Slip the bottom hoop inside the Onesie, keep it straight and flat. Rotate the hoop so the metal clamp is facing toward the bottom opening. Place the top hoop inside the bottom hoop aligning the grid with the hoops hash marks and the cross hairs. Once aligned push the top hoop inside the bottom hoop. Double check the placement with the printed template. Tighten screw on bottom hoop. Cut a piece of Wash Away stabilizer larger than the hoop, use clear tape to secure in place.
Baby Onesies and shirts can be tricky when attaching the hoop to the machine. All the materials need to lay flat and get out of the way of the throat plate and under the hoop. Best thing to do is “puddle” the materials outside of the hoop. You can use clips, tape or pins to secure the materials out of the way. Be sure to stay close to your machine while stitching constantly checking that the materials don’t slip under the hoop. Check your user manual or ask your local dealer if your machine can embroider with your free arm. This makes embroidering T-Shirts and Onesie’s much easier. Notice the photos below. The first shows the “puddle” method vs how my BERNINA 790 Plus has the free-arm for embroidering. Notice the Onesie slips right through the free arm. Easy!
Embroidering on Baby Onesie
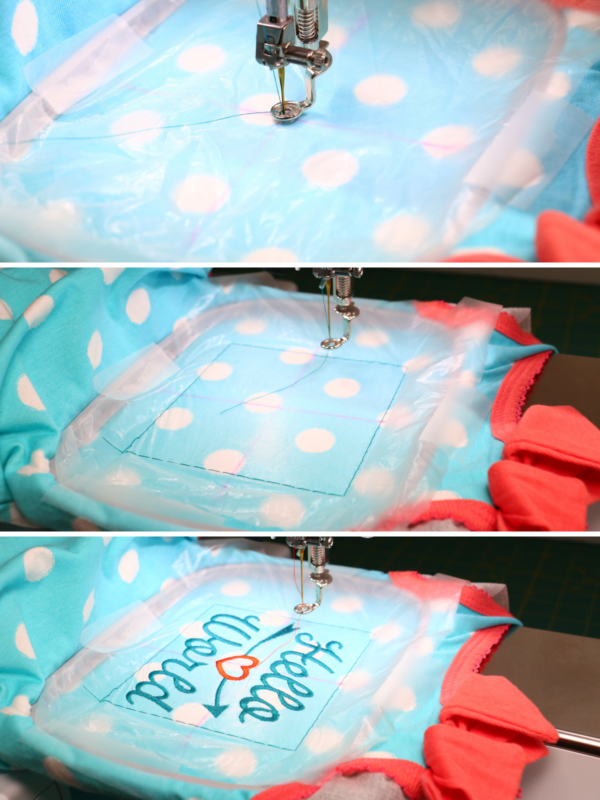
Once you snap the hoop onto the machine it’s time to adjust the design. Because the hoop needed to be placed in a certain direction, this design will need to be rotated. Once the design is rotated adjust the center of the design to align with the cross hairs. If your machine has a basting stitch option, use it to help secure the Wash Away over top of the knit. Last thing I do before embroidering is always check the position of the embroidery area. You can do this by choosing the Check Motif Size icon on your embroidery screen.
Pro tip: Many machines on the market have a Position Recall feature. In the event you experience a power outage this will save your design in the exact position. When you turn your machine back on the needle will go right back to the last stitch sewn. It’s still a good idea to save design in a memory pocket on your embroidery machine for future use though.
Removing hoop and finishing the Baby Onesie
Now that all the embroidery is finished it’s time to remove the hoop from the machine. Loosen the screw on bottom hoop and gently remove the hoop from the Onesie. Use thread snips to remove the basting stitch and any jump threads. Hold the knit with one hand and use the other to carefully remove the clear Wash Away stabilizer. Use tweezers to remove the small pieces of stabilizer. Turn Onesie inside out and using duckbill applique scissors cut away the excess Cut Away. Leave about 1/4″-1/2″ extra stabilizer around the outside of the stitching and be careful not to cut the stitching or material. Turn right side out and following the manufacturers instruction for removing the marking pen. Your Onesie is now complete. In order to embroider all the knits mentioned follow the same steps!
Pro tip: Avoid pressing polyester thread with direct high heat as it can leave an unappealing shine. Use a press cloth over the embroidery design to prevent this or press from the wrong side of the embroidery. 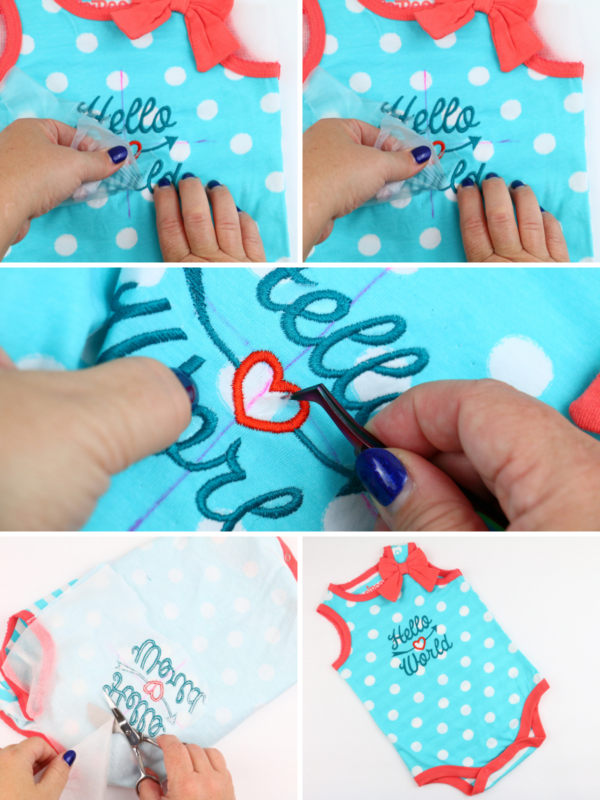
What is next?
The next three parts of my Embroider-Along continue with the “How to” for woven, napped and sheer materials. Each part I’ll show you the proper stabilizers for that a verity of materials in that category and how to embroider on one of them.
What is one new thing you’ve learned so far in this Embroider-Along you will share with a stitching friend? Let me know in the comments below and please ask any questions you might have about woven materials for next weeks post. Be sure to keep following along here, you can also follow BERNINA on Instagram and Facebook to see the latest post!
Here is the Embroider-along schedule:
- Embroider-Along Part 1: Intro four most popular materials for machine embroidery
- Embroider-Along Part 2: Stabilizer and Materials
- Embroider-Along Part 3: Needles and Thread
- Embroider-Along Part 4: Placement and Hooping for Machine Embroidery
- Embroider-Along Part 5: How to Embroider on Knits
- Embroider-Along Part 6: How to Embroider on Woven Materials
- Embroider-Along Part 7: How to Embroider on Napped Fabrics
- Embroider-Along Part 8: How to Embroider on Sheer Materials
- Embroider-Along Part 9: How to Embroider on a Ladies T-shirt
- Embroider-Along Part 10: How to Embroider on a Pillow Case
- Embroider-Along Part 11: How to Embroider on Luxe Cuddle® Rose
- Embroider-Along Part 12: How to Embroider on a Pet Screen
Until next time I hope you have a creative day, bye-bye!
Sue
What you might also like
17 comments on “Embroider-Along Part 5: How to Embroider Knits”
-
-
Hello sewweall, our WeAllSew blog content is posted in an open format. If you wish to print the post, you can easily print your tutorials from the WeAllSew blog. If you attempt to print directly from the screen a PDF will be generated for your convenience. Please give it a try.
-
Great idea. These are superb resources. Or an E book at the end.
-
I would also like these in pdf format..
Great helps!
-
-
Thank you! I have two older Berninas and never thought of using the free arm for these garments. Both of mine do this. So I should try a garment. My No Show Mesh may work on the inside of the garment. I have lots of t-shirts and other knit items to try. Thank you!
-
Go for it!! Follow the photos and make something special. Please share your results with us on the BERNINA social media too! Enjoy the Embroider-Along ~ Sue
-
-
I have the 790 Plus. Can you explain how to use the free arm to embroider?
-
Please forgive the delay on commenting. I just now saw this comment pop up. The free arm for your embroidery is very easy. Remove the extended bed so all that is remaining is the free arm. Then attach the embroidery unit. In fact I do most of my embroidery without the bed.
Give it a try and if you have questions feel free to come back here or next time you’re in your local shop, ask them to show you!!
Enjoy Sue
-
-
Duh!!
Of course, use the free arm for onesies! What a great idea!
Thanks for pointing out the obvious that I didn’t see. I look forward to the rest if your blogs…..am binge watching!!-
Sometimes the most obvious things slap me in the face 🙂 Plus I have a 9 year old girl so it happens to me more often than I like to admit. Enjoy and please do ask questions. Here to help!
Sue
-
-
I have the original Artista 200 machine converted to the 730. Can I use the free arm to embroider? I don’t think so, but thought I’d ask. I’m enjoying all your lessons. They are a great refresher!
-
Hello @jafralind, you can use the technique of free-arm embroidery with your BERNINA Artista 730 with the Free-arm Adapter Set purchased from your local BERNINA store. See more information about the adapter set at bernina.com here: https://www.bernina.com/en-US/Accessories-US/Embroidery-Accessories/Embroidery-Hoops-and-Adapters/Free-arm-embroidery-adapter-for-medium-and-oval-hoops Just get in touch with your BERNINA store to inquire about purchase and specific use of the Free-arm Adapter Set for embroidery with your BERNINA Artista model.
-
-
I had no idea I could use my free-arm when embroidering onesies. Thank you for this tip!
-
Learning new things is the best!!
-
-
Does the 590 have Position Recall?
-
How do you take in to consideration when a knit it going to be stretched when it is on the body? For example if I want to embroider a design on the back of a Lycra exercise shirt. I know when it goes on my body the shirt stretches to fit around me. I would guess I need to stretch the fabric when I hoop it so that the design looks normal when it is on me. Thank you for your help!
-
There are some very different opinions on how to best do this. Here is how I do it.
1. Make sure the stabilizer covers the entire back of the embroidery area especially into the hooped space.
2. Don’t hoop too tight (that is usually what causes wrinkles) and I don’t stretch the material.
3. I use (2) layers of Sheer Cut-Away (Polymesh) and use the spray adhesive to keep the two pieces together with one another first and then spray the back of the stabilizer to the wrong side of the garment.
4. Lastly use a Wash-Away stabilizer.Try using a Ballpoint needle since it doesn’t break the knit of the fabric where as embroidery needles are sharper and will potentially piece the fabric.
hope this helps 🙂 Oh and you might want to get a copy of my new book from your local shop: https://www.brewersewing.com/p-1061430-pocket-guide-to-stabilizers.aspx
-
Leave a Reply
You must be logged in to post a comment.



Be nice if these could be put in PDF format so we could download and save. Truly enjoy your education on this. Thank you