Embroidered Dog Collar: Easy Customization with Perfect Placement
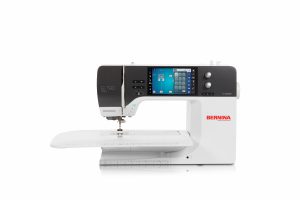
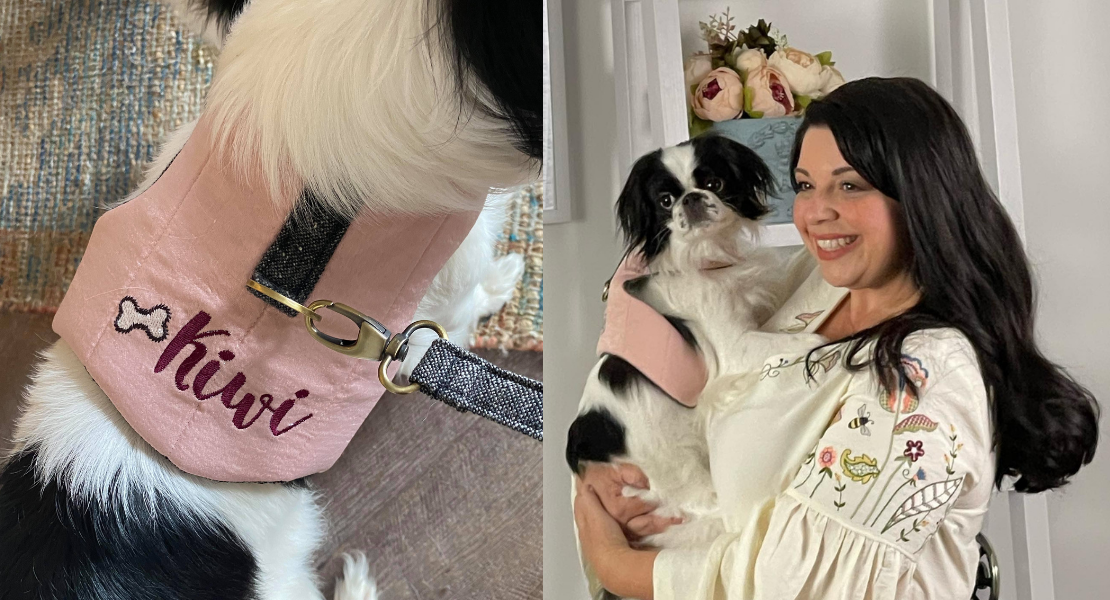
Embroidering on a dog collar is a fun and easy way to add a personal touch for your pet, and it also makes a great gift for any dog lover. Whether you want to stitch on a name, a cute design, or contact info, this project turns a basic collar into something special. Plus, using the BERNINA 790 PRO with Pinpoint Placement makes it super simple to get your design exactly where you want it—no guesswork!
Hi, I’m Sue O’Very, known in the sewing world as Sookie Sews. I’m a pattern designer specializing in serger and machine embroidery projects, a YouTuber, and a three-time published author. I’m also proud to be a BERNINA and bernette Expert. You can find me everywhere online @SookieSews. Today, I’m going to show you how to easily customize a dog collar with embroidery, using the BERNINA 790 PRO for perfect placement every time! So, grab your machine and let’s get stitching!
Materials
- Dog collar–I got mine at the Dollar Store
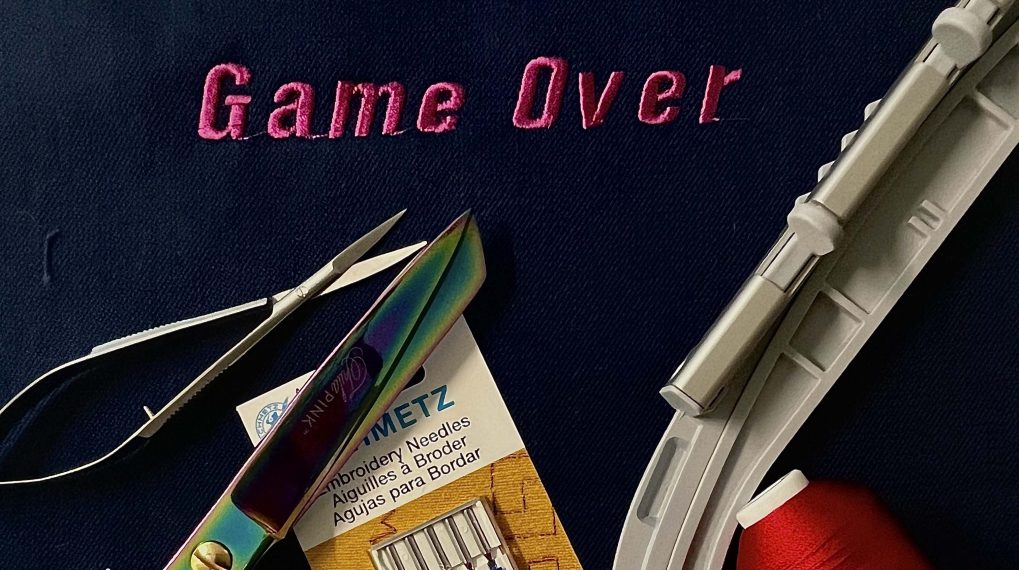
- Embroidery needles 90/14
- Embroidery thread
- Bobbin with 60 wt bobbin thread
- Sticky stabilizer
- Straight pin for scoring the stabilizer
- Iron and pressing station
- Thread snips
 Steps
Steps
1. Hoop Sticky stabilizer with paper side facing up.
2. With a straight pin, score the paper only, try not to cut all the way through to the stabilizer, in an “X” pattern. Peel away the paper revealing the adhesive stabilizer.
3. Press the dog collar to create a smooth surface for embroidering. Center the dog collar within the stabilizer, aligning it both vertically and horizontally, and gently press it onto the adhesive stabilizer to secure it in place. To ensure the dog collar remains adjustable, fold the inside portion flat and out of the way before you begin embroidering.
4. Thread machine and insert brand new needle. Select built in lettering and type out name.
5. Use the resize tool. Reduce the size with the dials on the front of the machine.
6. Select the “Check” button so you are able to see the corners of the design placement. Insert the hoop into the machine. Select the “Pinpoint” placement button illuminating the laser pointer so you are able to see exactly where the needle placement is. Use the dials to move side-to-side and up-and-down adjusting the placement of the dog collar as needed too. We are only stitching on the front/top dog collar. The part that is placed second is the underside and is only laying on the stabilizer to avoid any stitching.
7. Once you are satisfied with the placement, press the needle button.
8. Embroider the name, keep an eye on the presser foot so that it doesn’t get caught on the dog collar.
9. When finished stitching, remove the hoop from the machine.
10. Carefully remove the dog collar from the stabilizer leaving only the absence of the letters.
11. You can reuse this stabilizer with a simple patch. Cut a piece from the excess stabilizer outside the hoop, making sure it’s large enough to cover the lettering area plus an extra 1″ around it. Flip the hoop to the back, peel off the paper to reveal the adhesive, and place the patch over the back of the stabilizer.
12. Your dog collar is all ready to be put on your puppy or gifted to a friend!
I hope you enjoyed this easy machine embroidery project and check out all of my embroidery projects here on WeAllSew! When you make yours, please snap a photo and tag me @SookieSews and @berninausa!!


