Embroidered Cutesie Collar
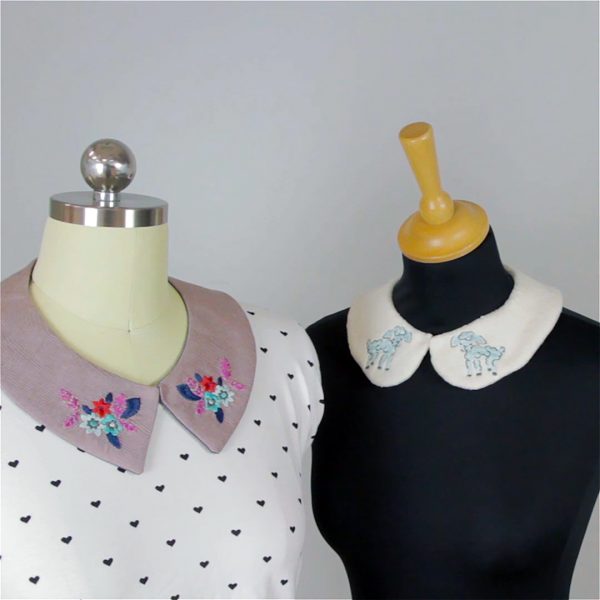
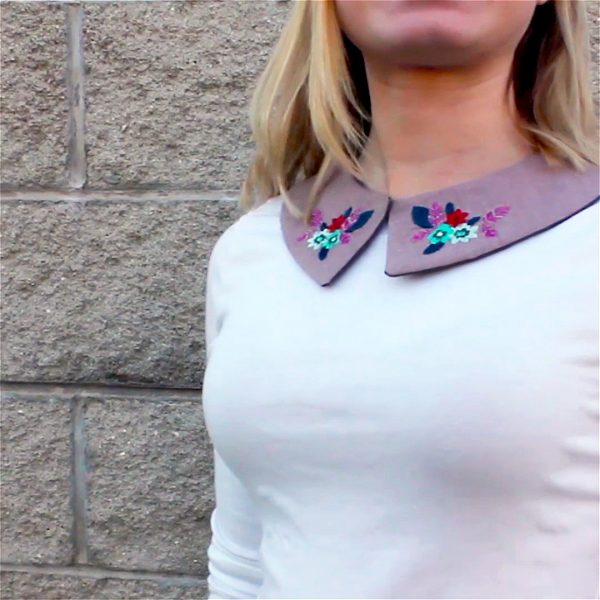
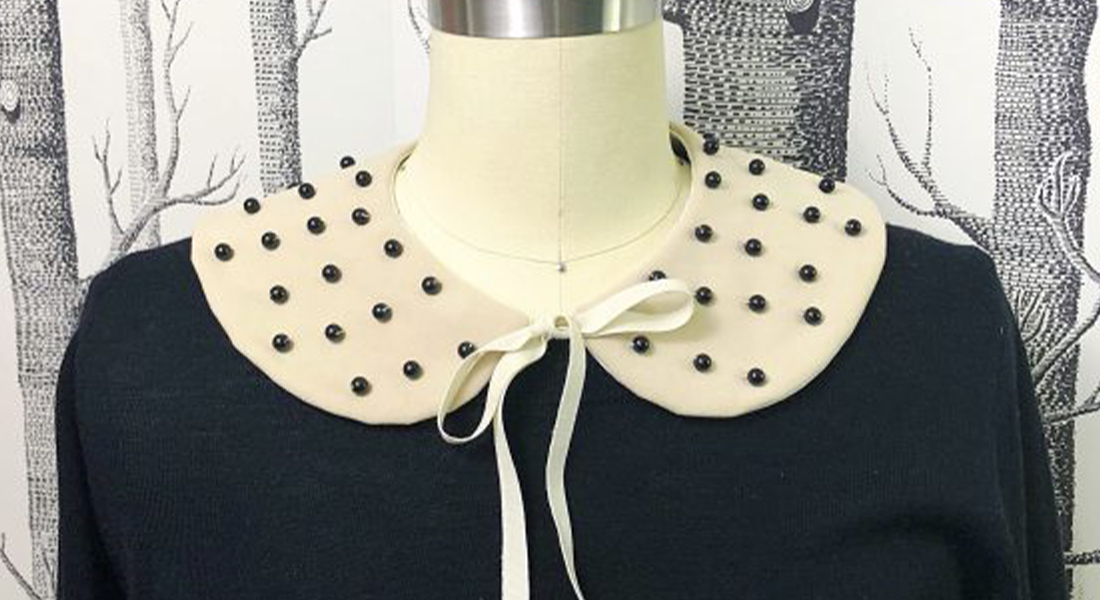
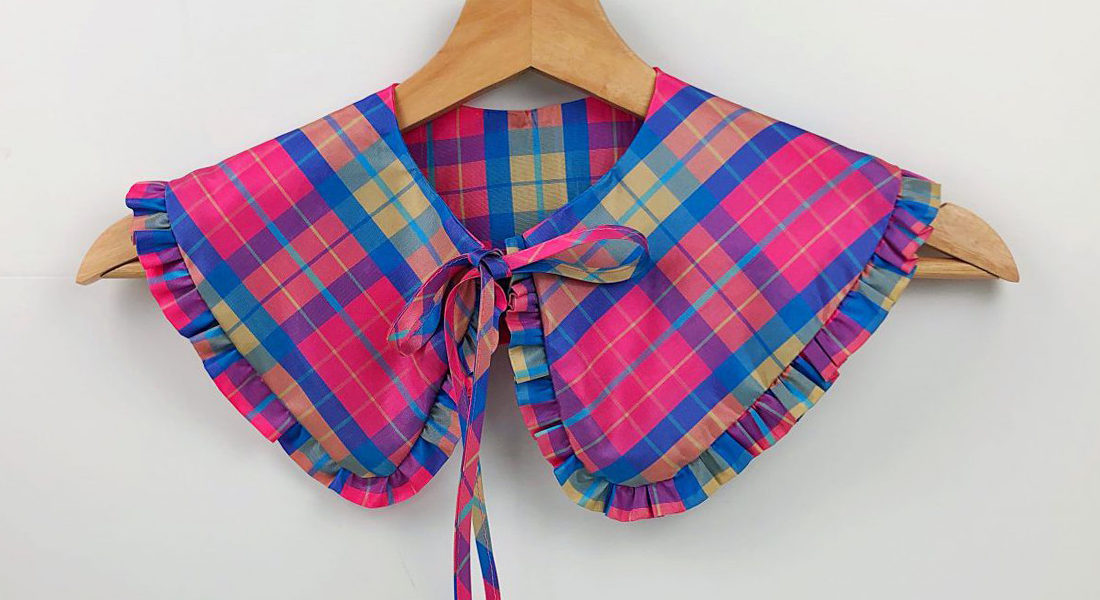
Accessorizing with jewelry has never really been my strong suit, but I recently purchased a removable collar and was inspired to create some collars of my own. Not only is this a perfect medium for some machine embroidery, it can really up your style game by transforming a regular T-shirt into something special. Make one for yourself or for the little girl in your life.
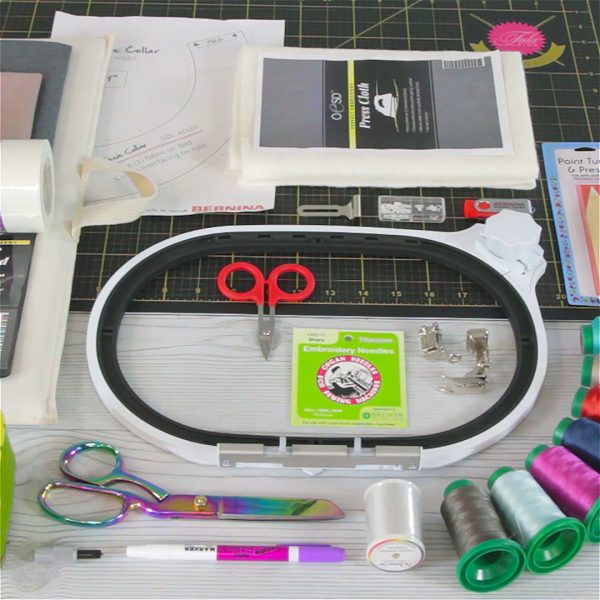
Materials to Create a Cutesie Collar
- BERNINA 590 E
- Embroidery Foot #26
- Patchwork Foot #97D
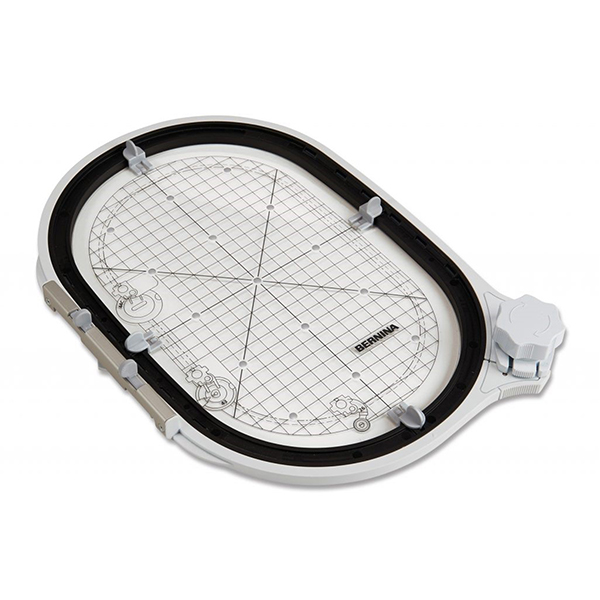
- BERNINA Midi Embroidery Hoop
- Embroidery design: Scout by Cotton + Steel #80141
- PDF pattern Adult Size, Child Size
- Fabric: 1/3 yard exterior, 1/3 yard lining (10”x16”)
- Iron on interfacing: ¼ yard
- AquaMesh Plus
- Isacord embroidery thread
- OESD perfect embroidery press cloth
- 80/12 Embroidery needle
- Scissors
- Iron and ironing board
- Hook and eye
- Point turner
- Fabric marker
Steps to make Cutesie Collar
Step 1: Create Embroidery Design
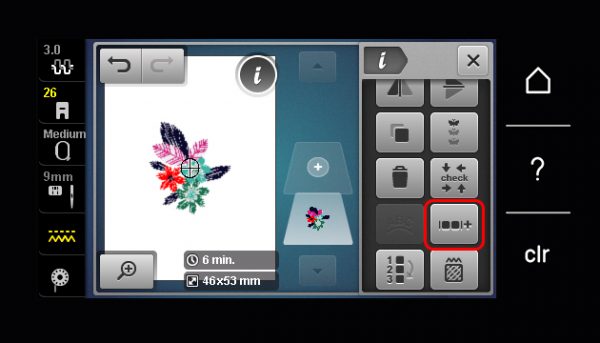
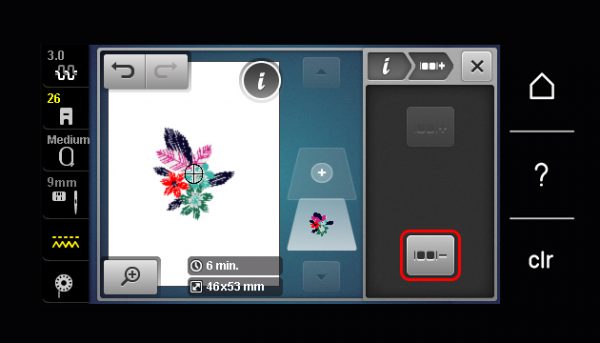
The new B 590 sewing and embroidery machine has many useful built-in embroidery software features. One of these new features is Group/Ungroup, which allows you to ungroup the layers of an existing design. Then you can isolate and duplicate or remove individual elements of the design. For the video of this project, I used the Corsage design from Scout #80141 and I ungrouped then copied and mirrored to create an addition set of leaves to go along the inside edge of the collar.
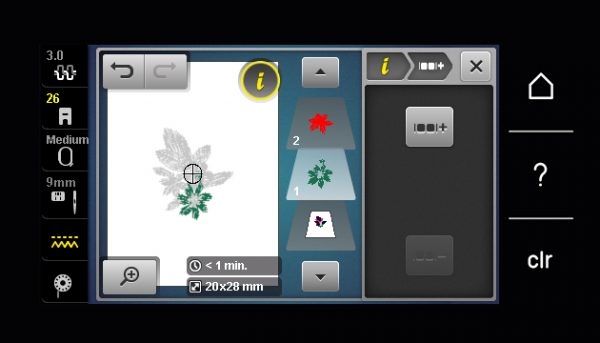
Go to the information menu, then select Group/Ungroup.
Then select Ungroup.
All the layers will then separate.
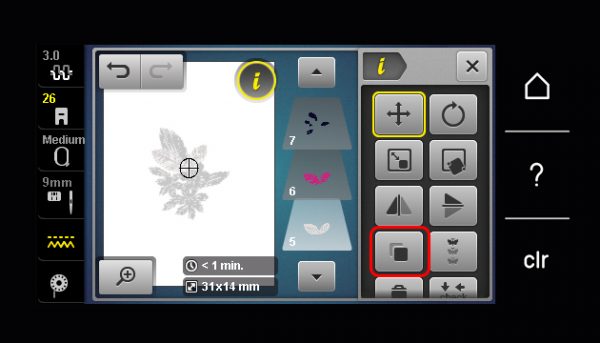
Next, use the up and down arrow buttons to go to the layer(s) you want to duplicate. Use the breadcrumb navigation to return to the main information menu and select Duplicate.
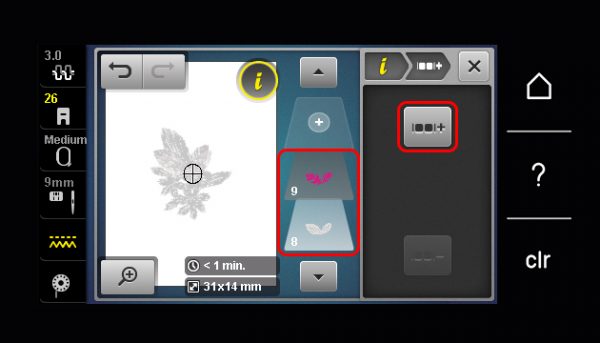
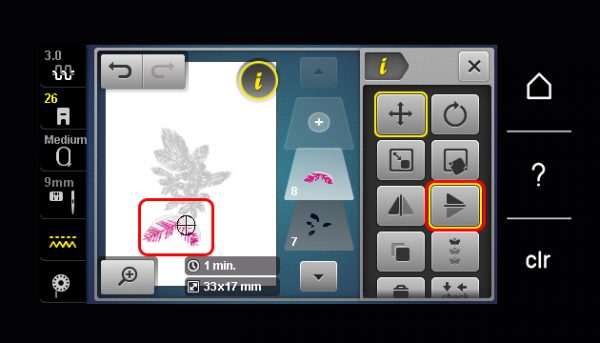
I duplicated two layers (numbers five and six) for the leaves and their details. Then you can group them together and they will work as one layer. To do this, select the bottom most layer of the motifs you want to group (layer 8) and then select Group.
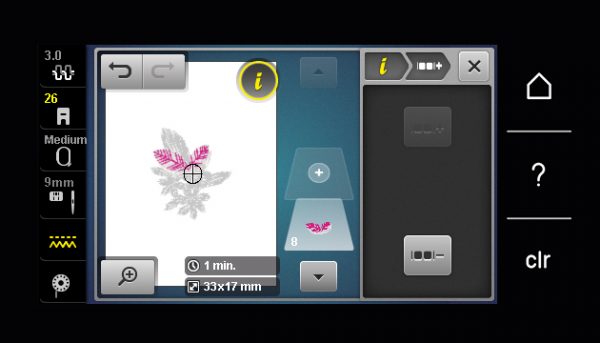
The layer that is above the selected layer will group together to become one (layer 8).
Then I can mirror and move my grouped leaves into place.
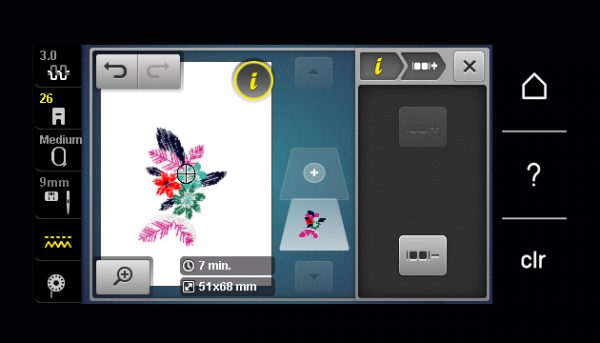
Once I like the way it looks, I am ready to regroup the entire motif. Again, start by selecting the bottom most layer and select Group to join the layers above until everything is in one layer.
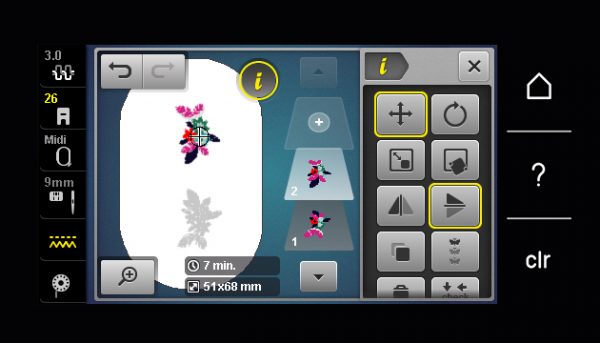
Now I can duplicate the entire motif and create a mirror image to embroider on each side of my collar.
Step 2: Prepare the Fabric
Download the pdf pattern for Adult or Child size collars.
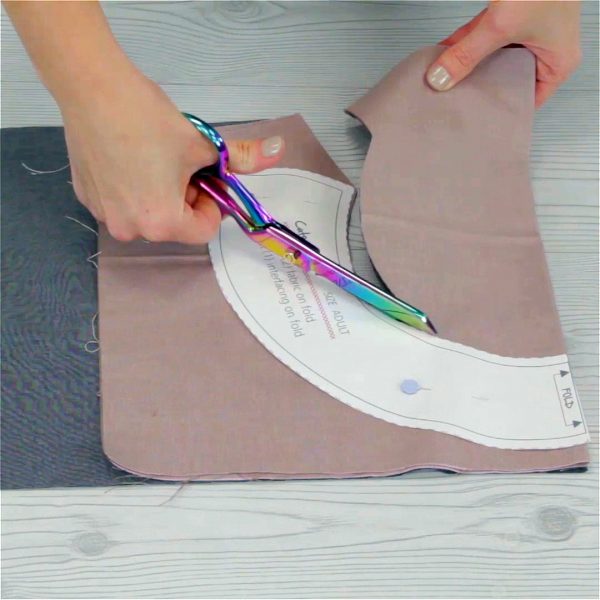
Cut out fabric for the exterior (embroidered side) and lining. Add a fusible stabilizer to the exterior fabric to help stabilize the embroidery design.
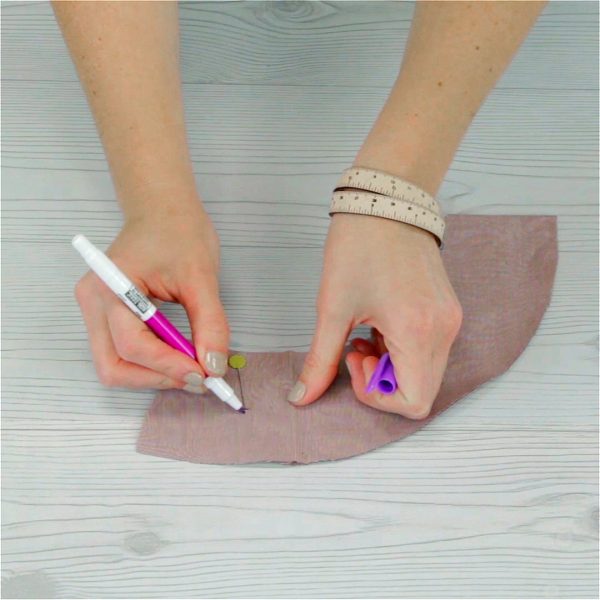
Mark the center placement points for the embroidery design on the collar.
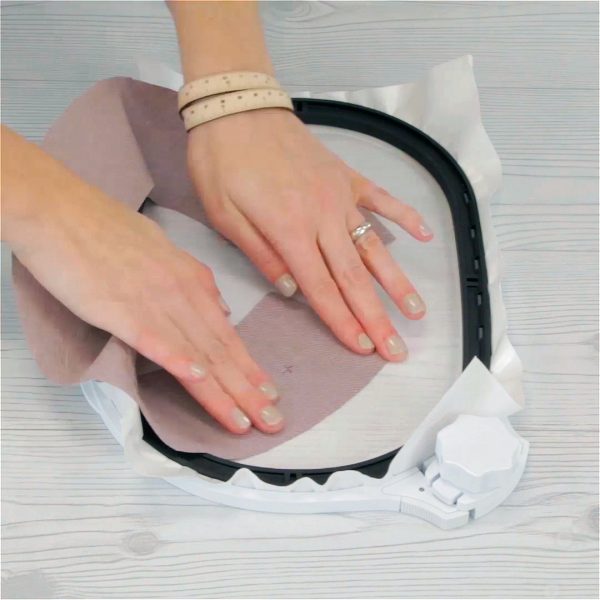
Hoop a sticky stabilizer, like OESD Stabil Stick, and remove the paper to expose the adhesive. Stick the ends of your collar down on to the stabilizer.
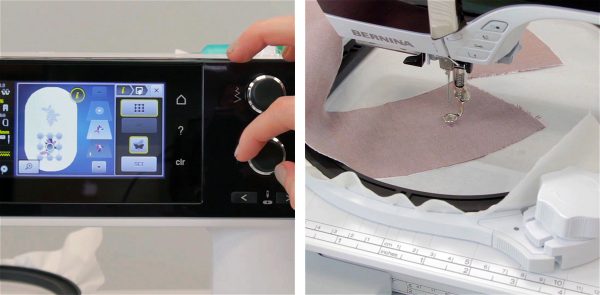
Use Pinpoint Placement to place your motifs in alignment with the markings you created in the previous step.
Once the embroidery is finished, use the OESD Press Cloth to set the embroidery in place and remove wrinkles.
Step 3: Sew the Exterior to the Lining
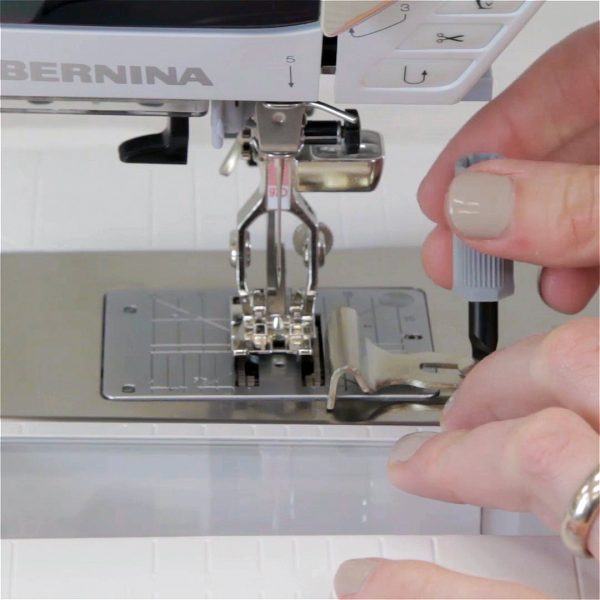
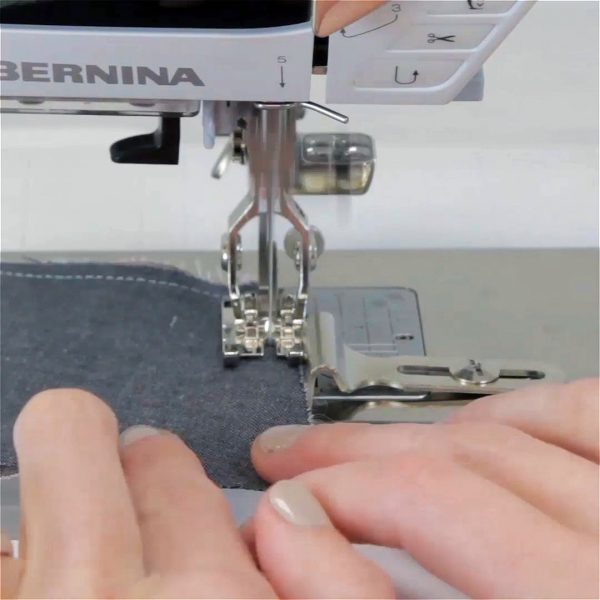
Attach Patchwork Foot #97D to your machine and engage Dual Feed. Attach the seam guide to the free arm and set the guide for a 1/4” seam allowance.
Sew the exterior and lining collar pieces together. Leave a 2” opening on the inside neck of the collar. Trim seam allowance to approximately 1/8”.
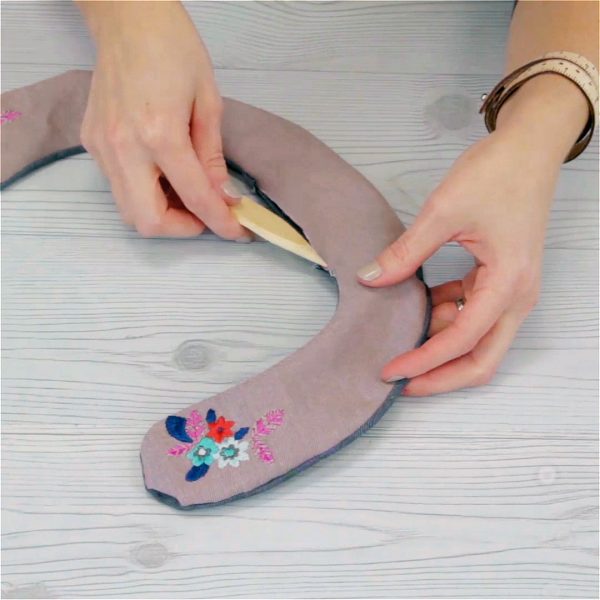
Turn the collar right side out and use a point turner to get a nice sharp corner.
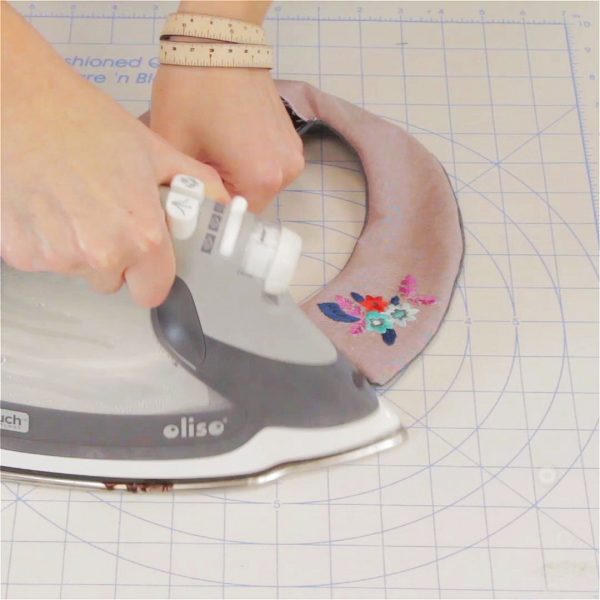
Finally, press the collar.
Step 4: Finishing Details
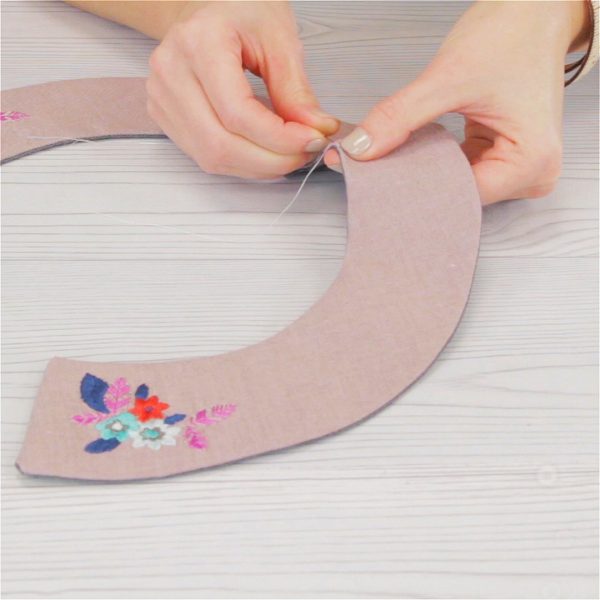
Using a ladder stitch, hand-sew the 2” opening closed.
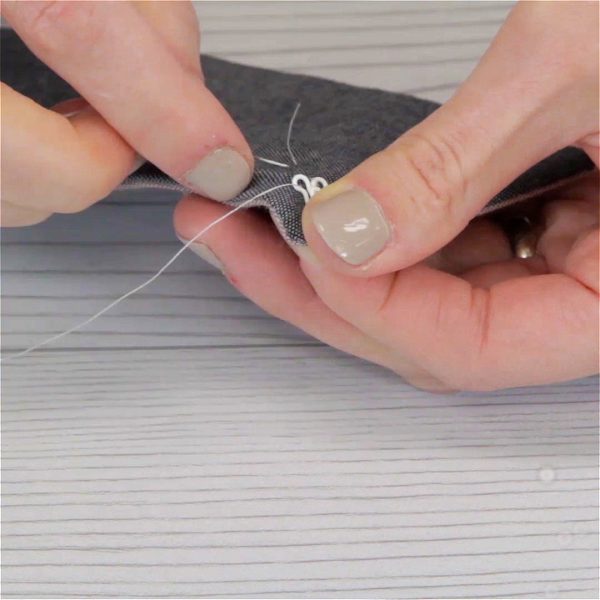
Hand-sew a hook and eye fastener at the collar corners.
Enjoy using the collar to accessorize even your most basic T-shirt!



Can’t wait to try one of these! I can think of so many ways to add embellishments……buttons, sequins, crystals, cording, etc, etc. I am so excited!