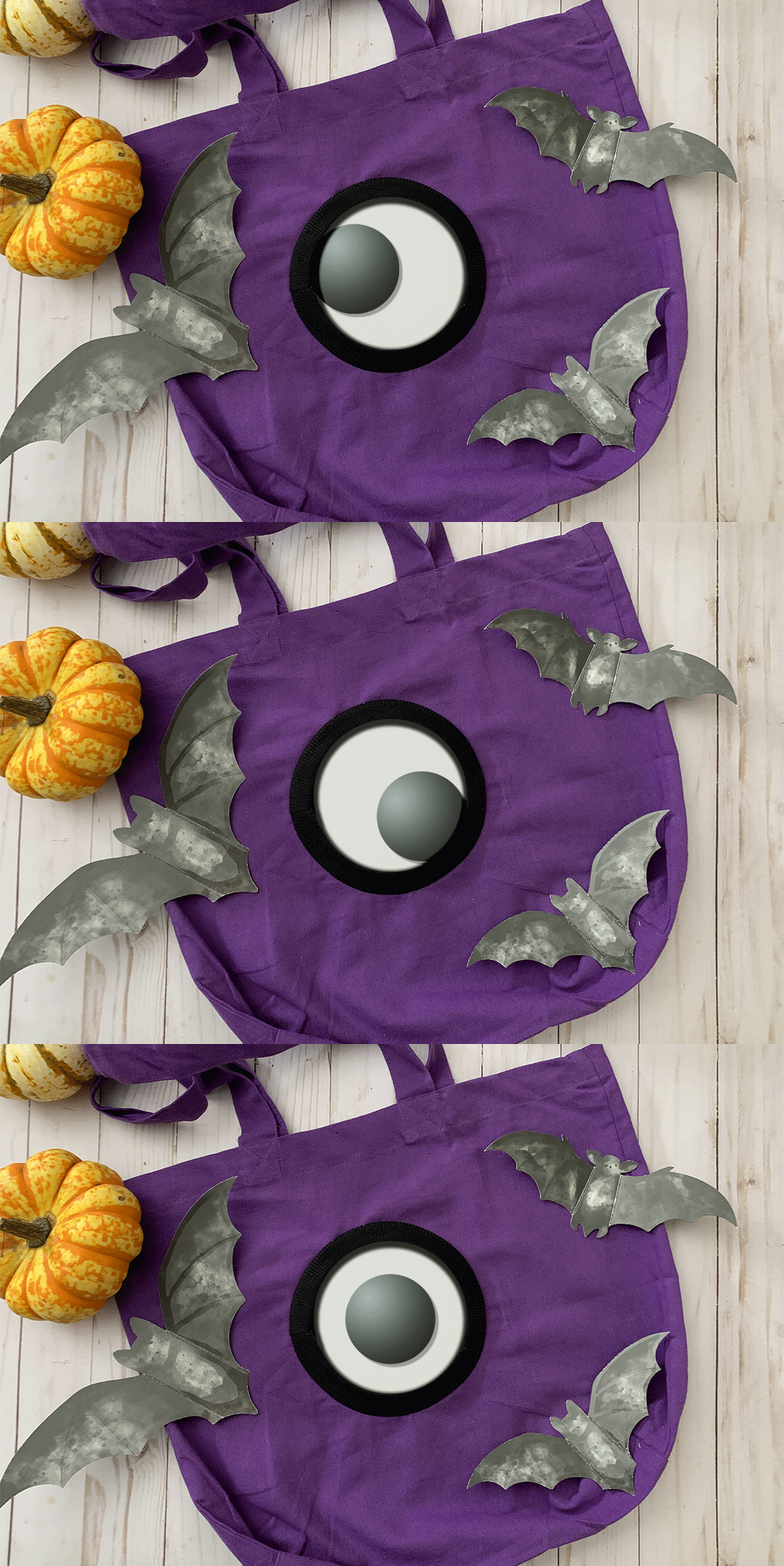
Eye On You Halloween Treat Bag
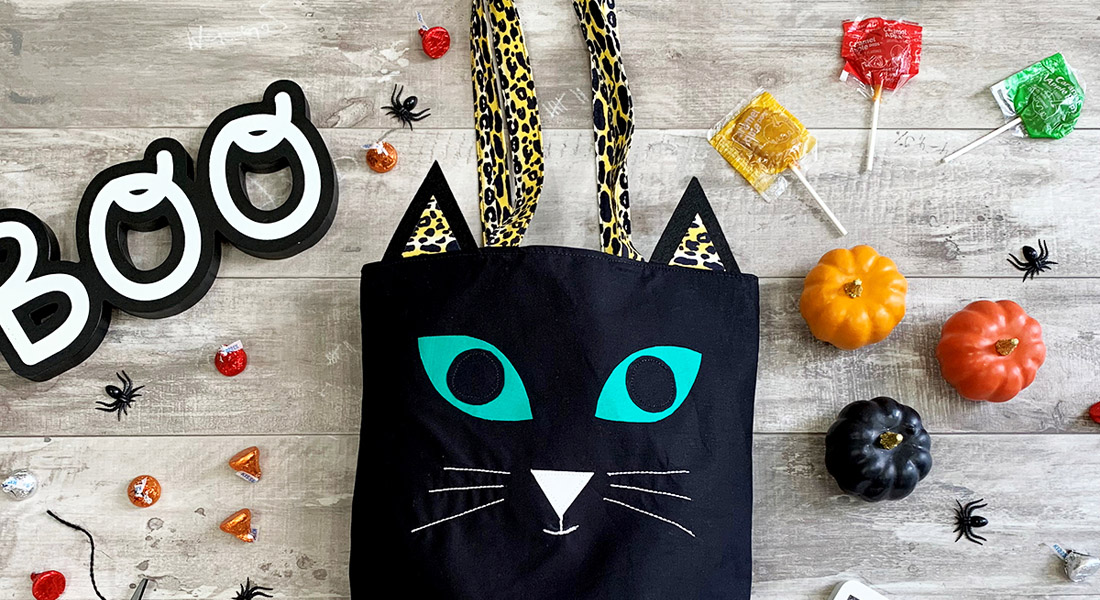
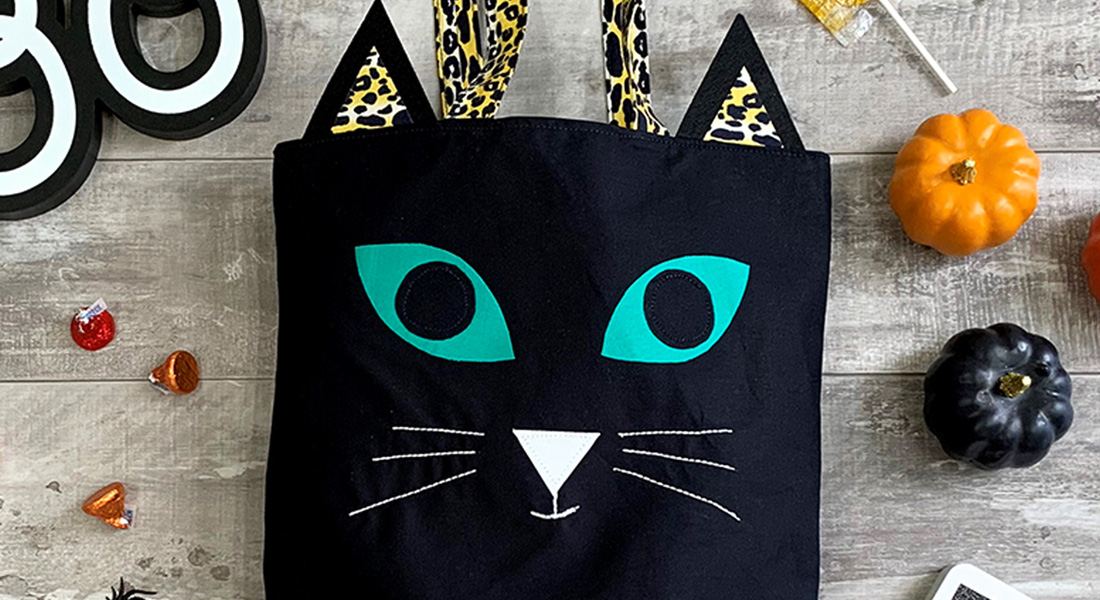
A zillion years ago, I made a shirt for my then toddler son, featuring the Pigeon character from the Mo Willem series of the same name—with a giant, removable googley eye. This year, in a desperate attempt to finish my son’s Halloween costume, I was reminded of it and decided to apply the same technique to a treat bag for him (alas, still working to finish his actual costume). It took about 10 minutes, start to finish using a pre-made canvas tote. With a matching applique underneath, the googley eye itself is removable and can be popped in or out depending on mood and occasion. Let’s dive in!
Materials to Sew the Eye On You Halloween Treat Bag
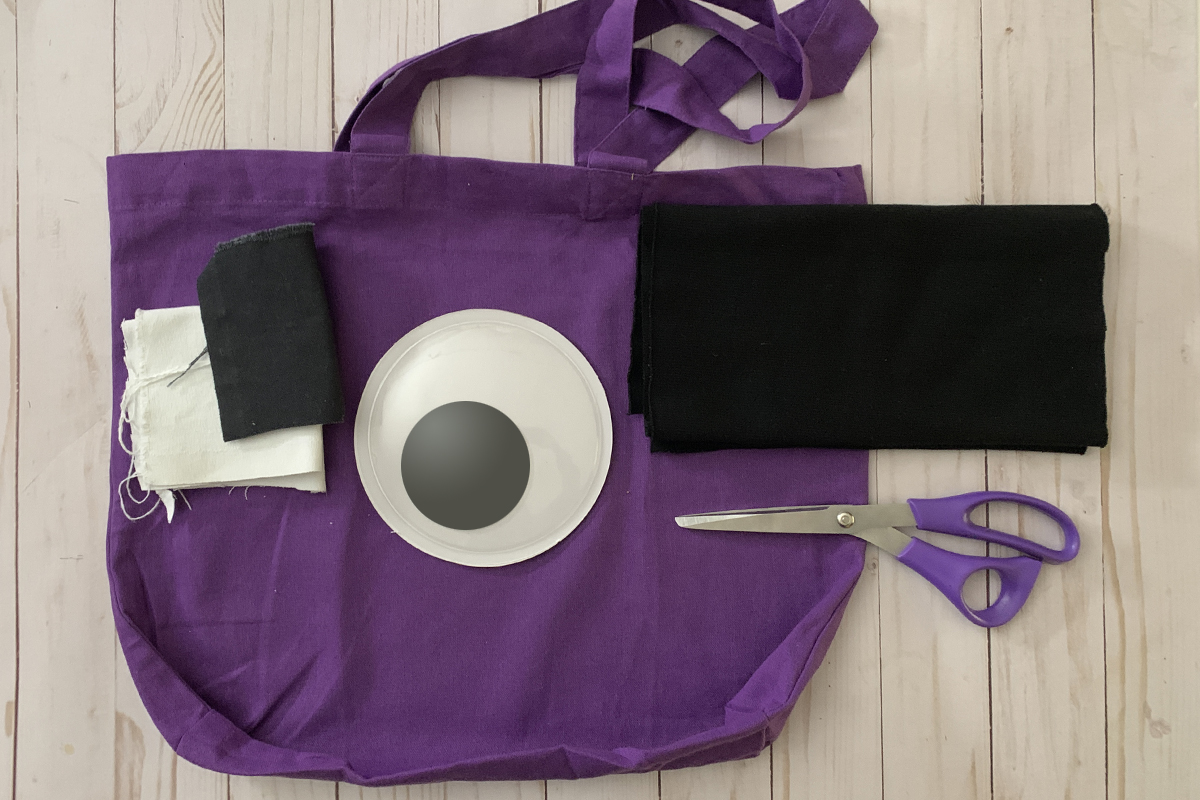
- Canvas tote bag (make your own or used a pre-made one, shown here from Michaels)
- Large, 6-inch “wiggly eye” (also picked up from Michaels)
- Enough black rib knit for a piece measuring 2″ x 14″
- Scraps of white and black fabric for the underlying appliqué
- Pins / Rotary Cutter / Cutting Mat / Ruler / thread / Removable marking pen
- Heat ‘n Bond (optional) or glue stick (optional)
Steps for Sewing the Eye on You Halloween Treat Bag
Again, this works up super quickly, especially with a pre-made tote. So even if you’re super behind and don’t have much time—you can do this!
Step 1: Trace and Cut The Eye Appliqué Pieces
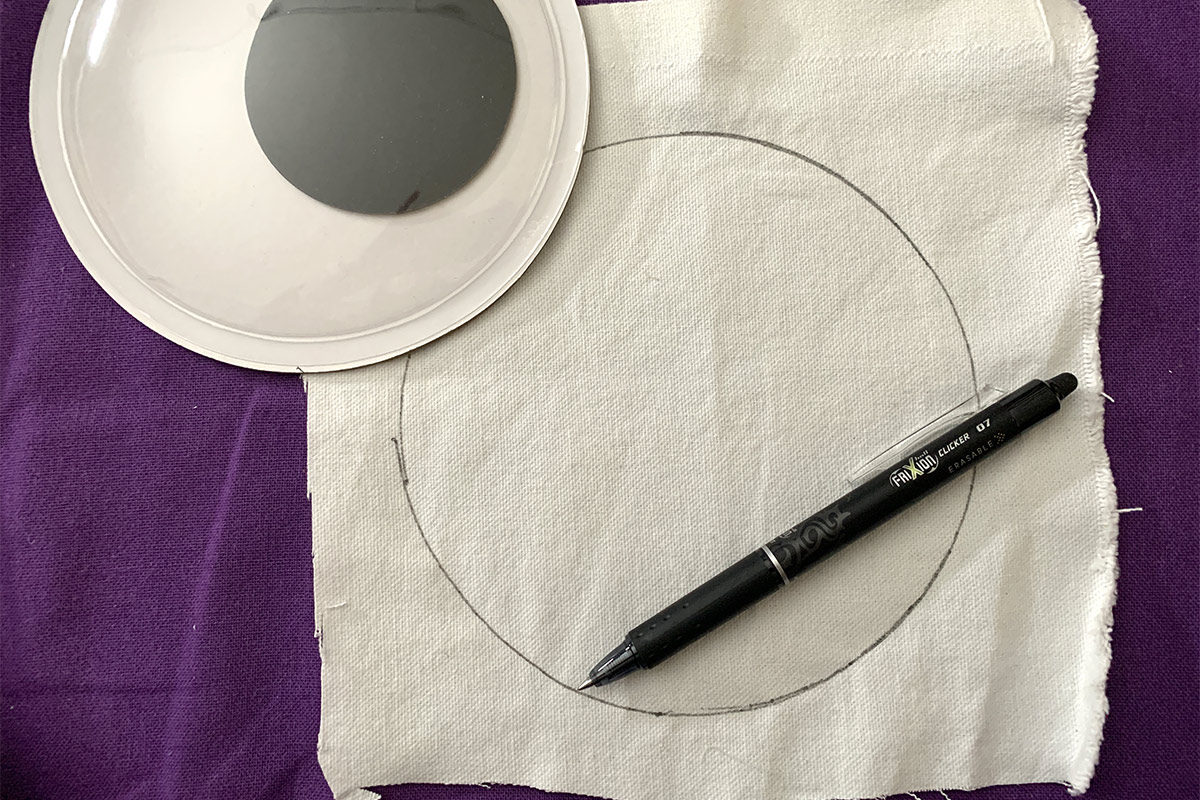
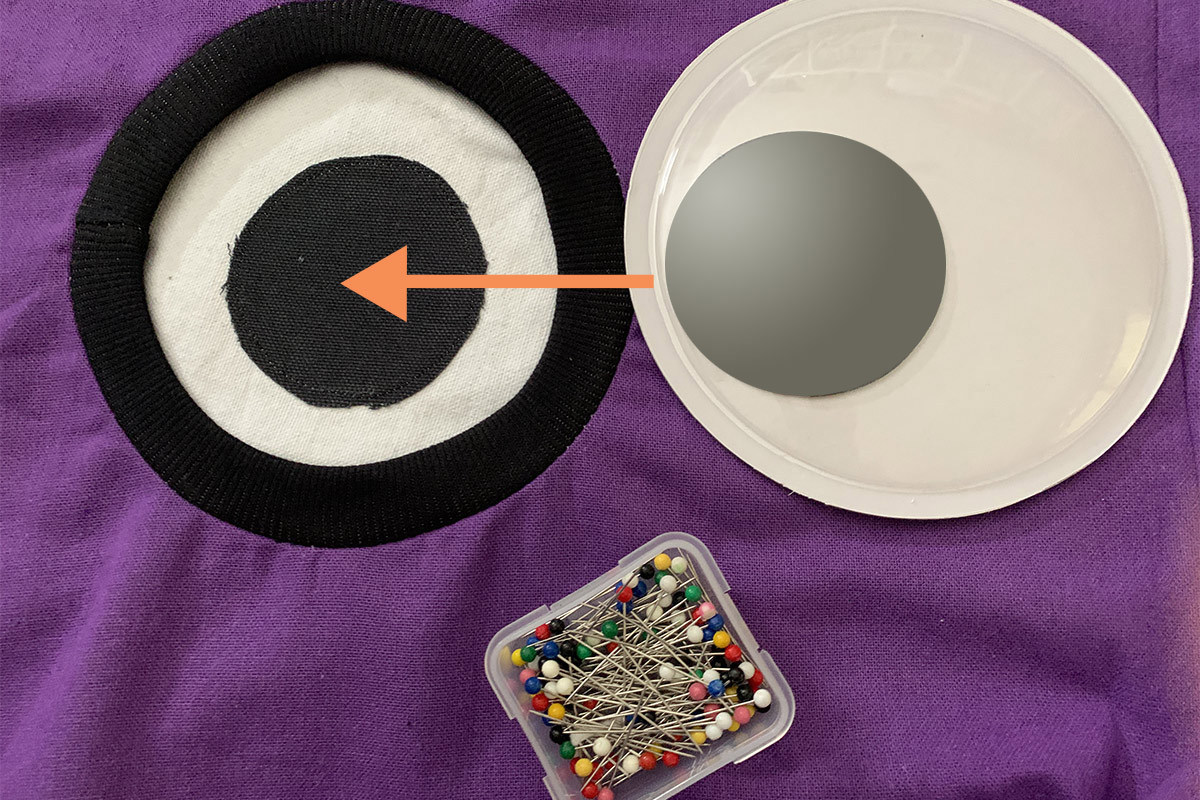
Using your removable marking pen, trace the gooogley eye onto your scrap of white fabric and cut out. Next, draw a 3″ circle on black fabric (or trace something similar in size), and cut out. You should now have a white eye ball piece and a smaller, black pupil piece.
Step 2: Appliqué the Pieces onto the Treat Bag
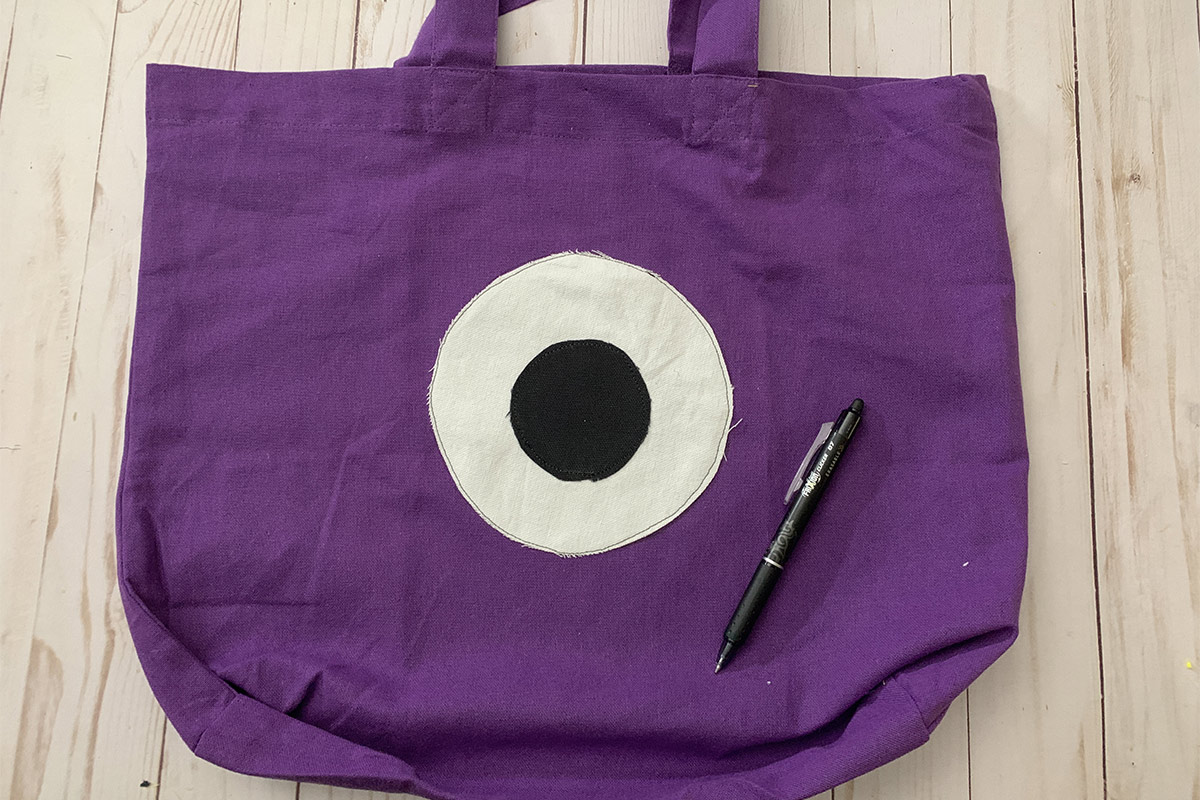
Position the white eyeball piece in the center of the bag, slightly raised. Pin in place, attach with Heat n’ Bond, or stick down using a water-soluble glue stick. Stitch around the edge with 1/8″ seam allowance.
Next, position the pupil in the desired position, stick down using your method of choice, then stitch in place again with 1/8″ seam allowance.
Step 3: Cut and Prep the Ribbing
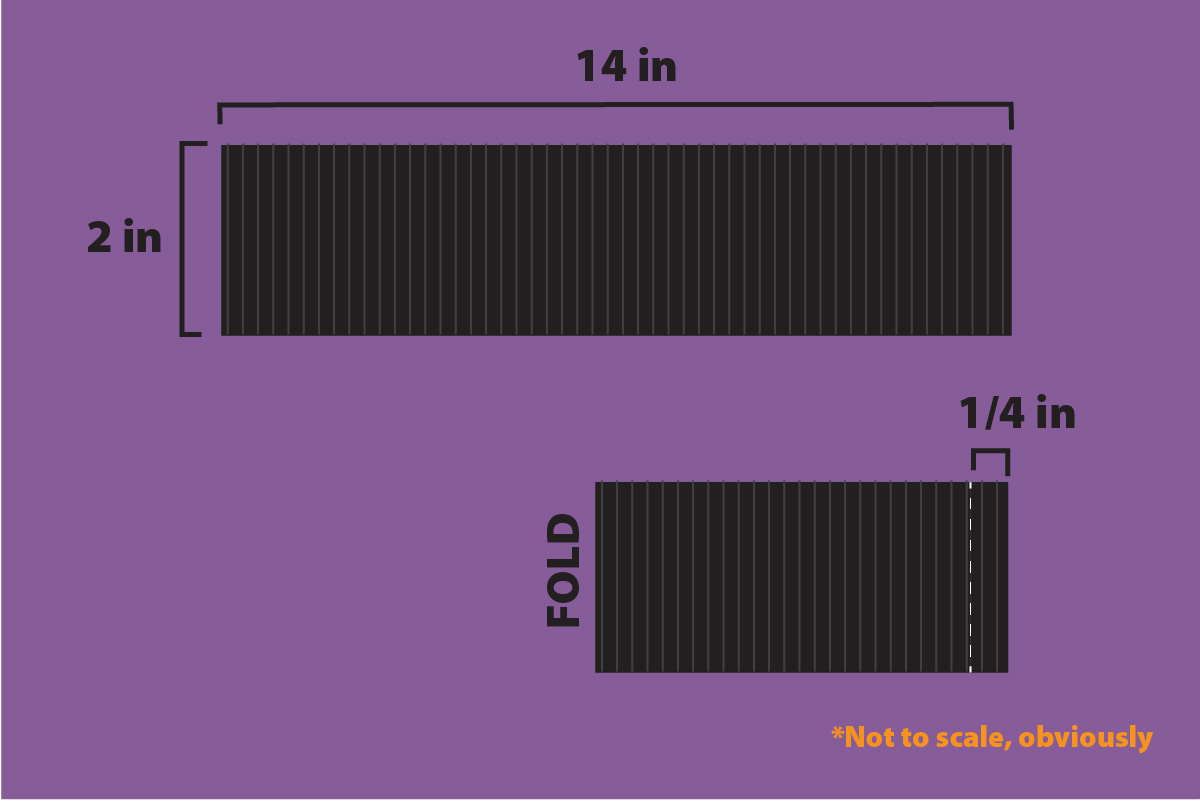
Measure a piece of ribbing that’s 2″ tall and 14″ wide (make sure the ribbing lines run parallel to the short side). Fold in half, bringing the two short sides together and stitch closed using a 1/4-inch seam allowance.
Step 4: Pin In Place and Attach the Ribbing
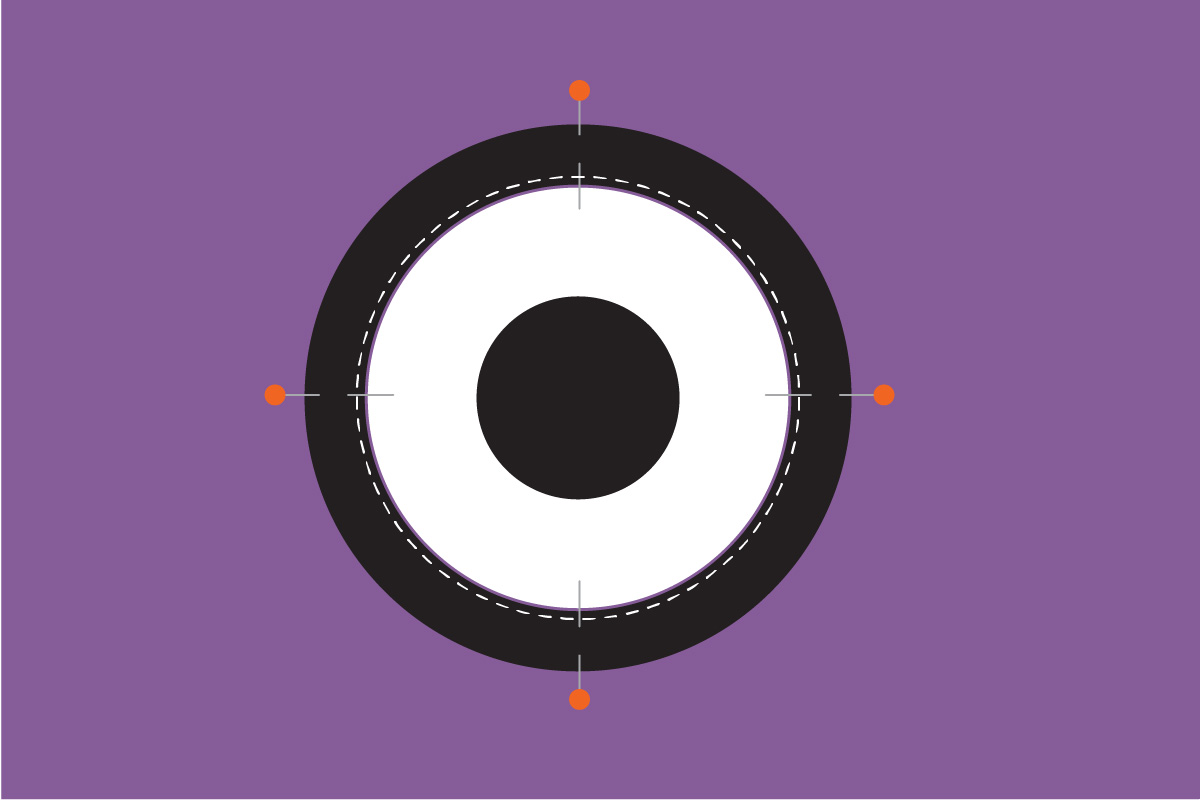
Turn the seam to the inside, fold in half length-wise, and use pins to divide the ribbing into fourths. Position on the tote bag with the open-edge facing inward, aligned just to the outside of the white appliqué circle. (The folded edge should be facing way from the eye at this point. We’ll flip it inward after sewing it down.)
One by one, use the pins to attach the ribbing to the tote bag (being careful to pin only the top layer of the bag) at the center top, center bottom, and center sides.
With a 1/4-inch seam allowance, stitch along the inside edge to close the open edge of the ribbing while attaching it to the tote bag. (Again, be careful not to sew the tote bag closed.)
When finished, flip the folded edge of the ribbing to the inside and press with a hot iron.
Step 5: Insert the Googley Eye (and Go Get Some Candy!)
The googley eye should slide snugly inside, with the ribbing holding it in place. That’s it! Your Eye on You Halloween Treat Bag is finished and your little monster is ready for all the candy they can carry!
