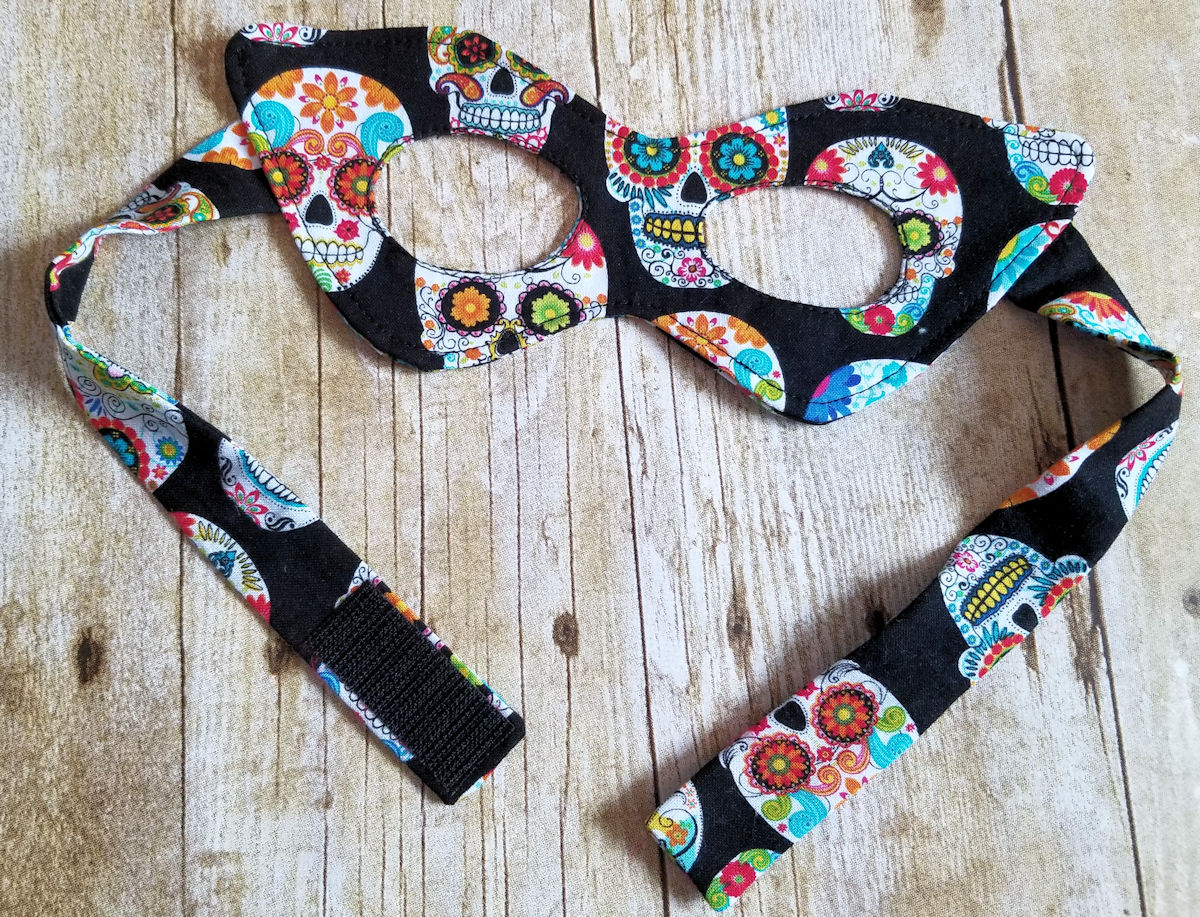
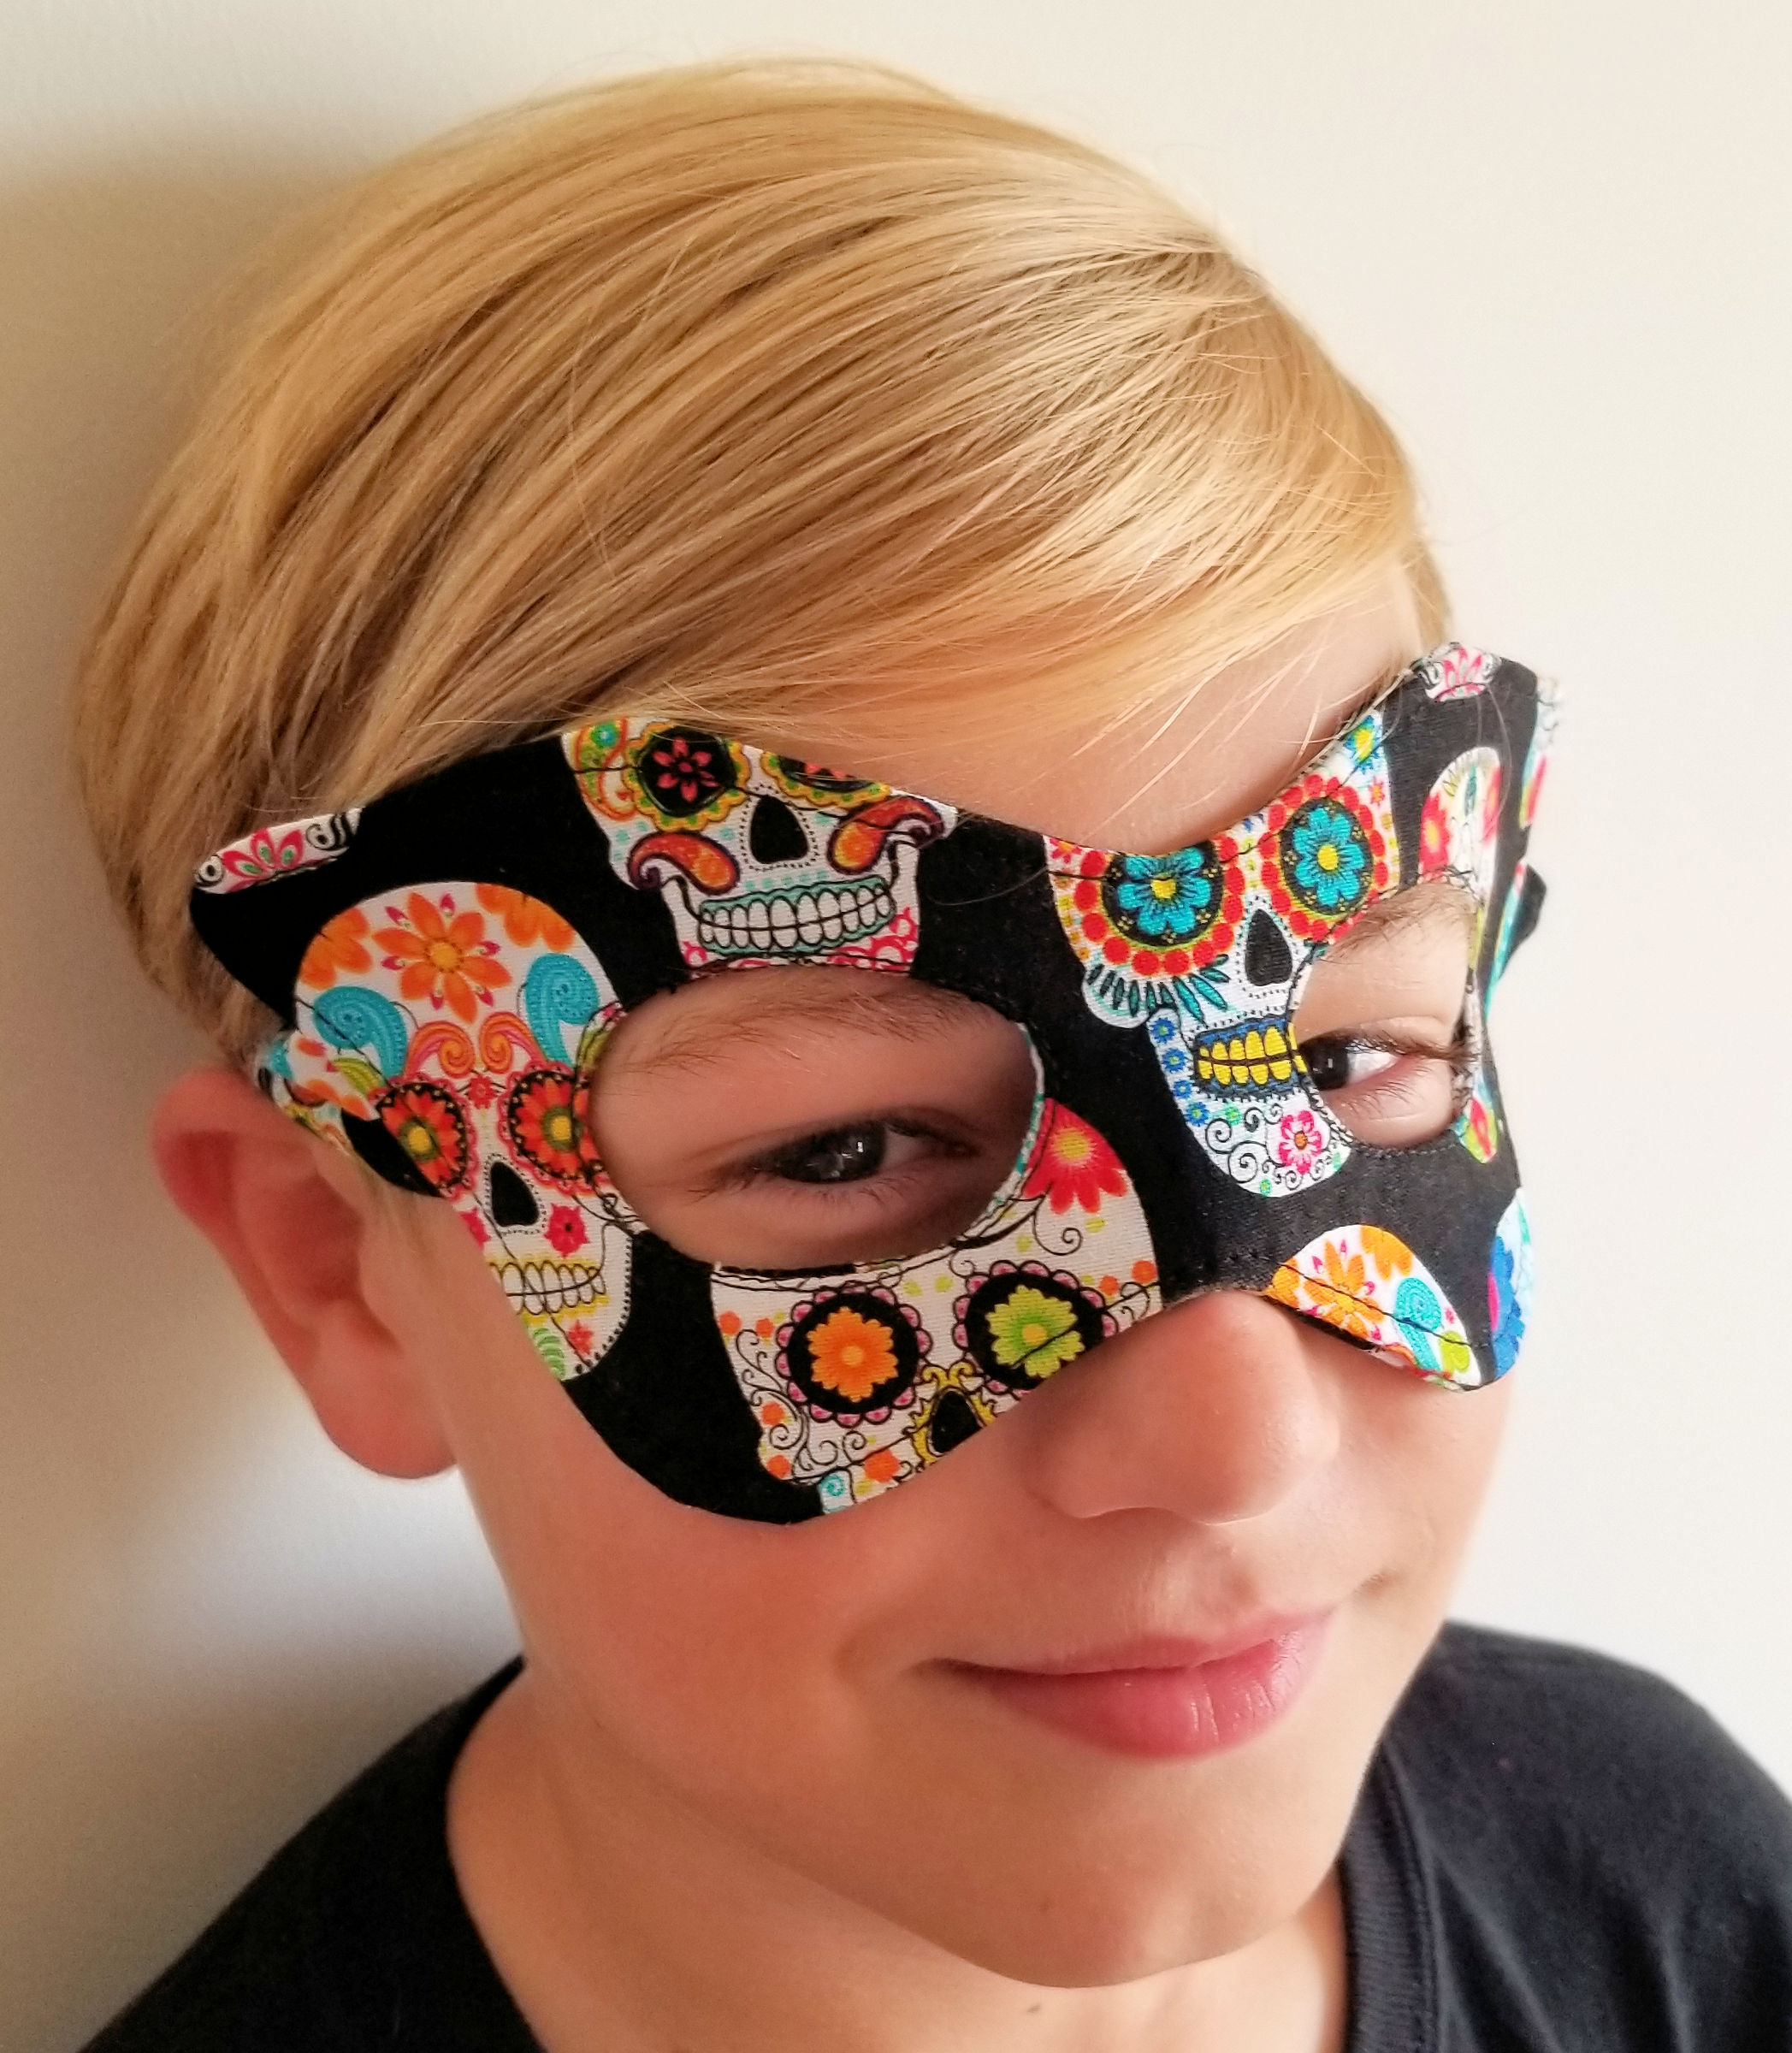
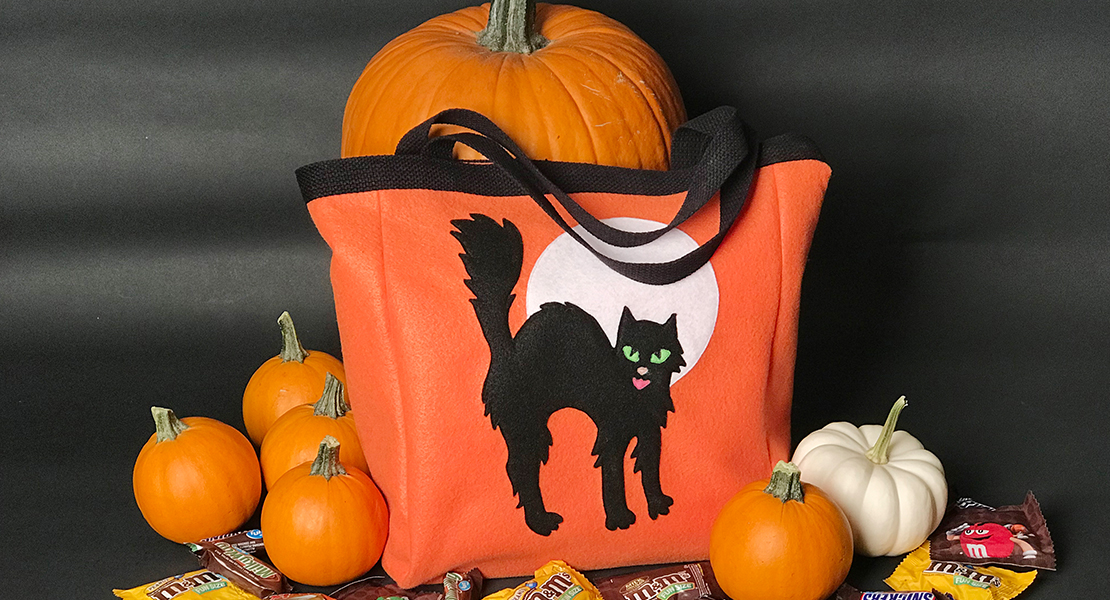
Halloween Mask Tutorial
It’s Stacy from Stacy Sews, here again with another quick and easy Halloween tutorial. This time around, I’m showing you how to create a basic eye mask with Velcro fabric straps. This project is great base for all sorts of costumes whether it’s for a superhero, villain, or bugler. Best of all, this mask is made using cotton fabrics so the sky is the limit on designing your accessory. Plus you can use two different materials an create a reversible mask which is perfect for children’s dress up trunks or if you’re just needing a quick change on Halloween!
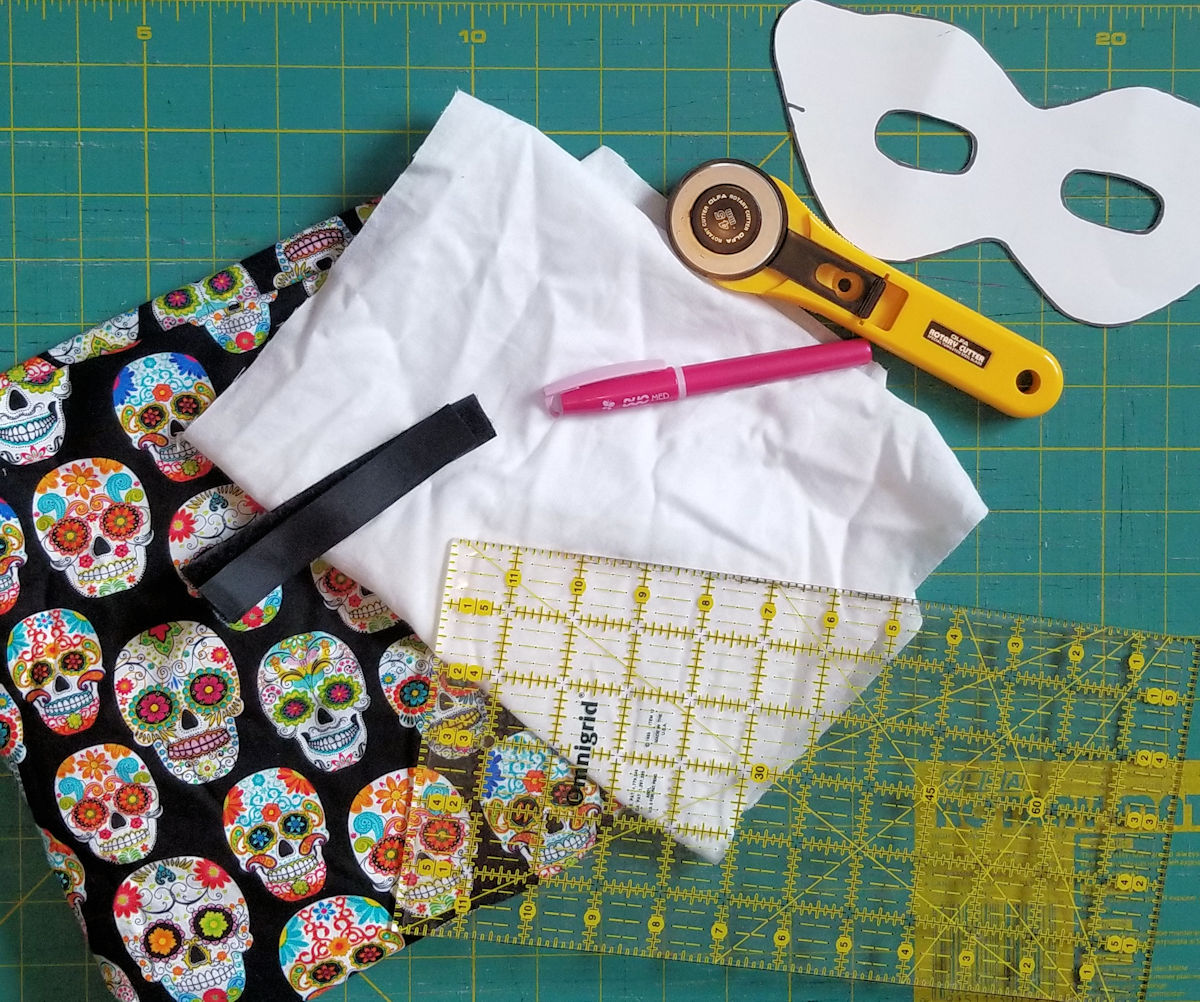
Materials to Make a Halloween Mask:
- 1/4 yard of cotton fabric (or 2 different cotton fabrics, 1/4 each)
- 1/2 yard woven interfacing
- Velcro
- Ruler
- Scissors
- Water Soluble Marker
- Halloween Mask Template
Optional:
- Patchwork foot #37C
- Rotary cutter & mat
Sewing the Halloween Mask:
(Seam allowances are 1/4″ unless otherwise noted)
From fabric:
- Cut 2 from Halloween Mask Template
- Cut 2, 2 1/2 x 8 1/2″ strips
From interfacing:
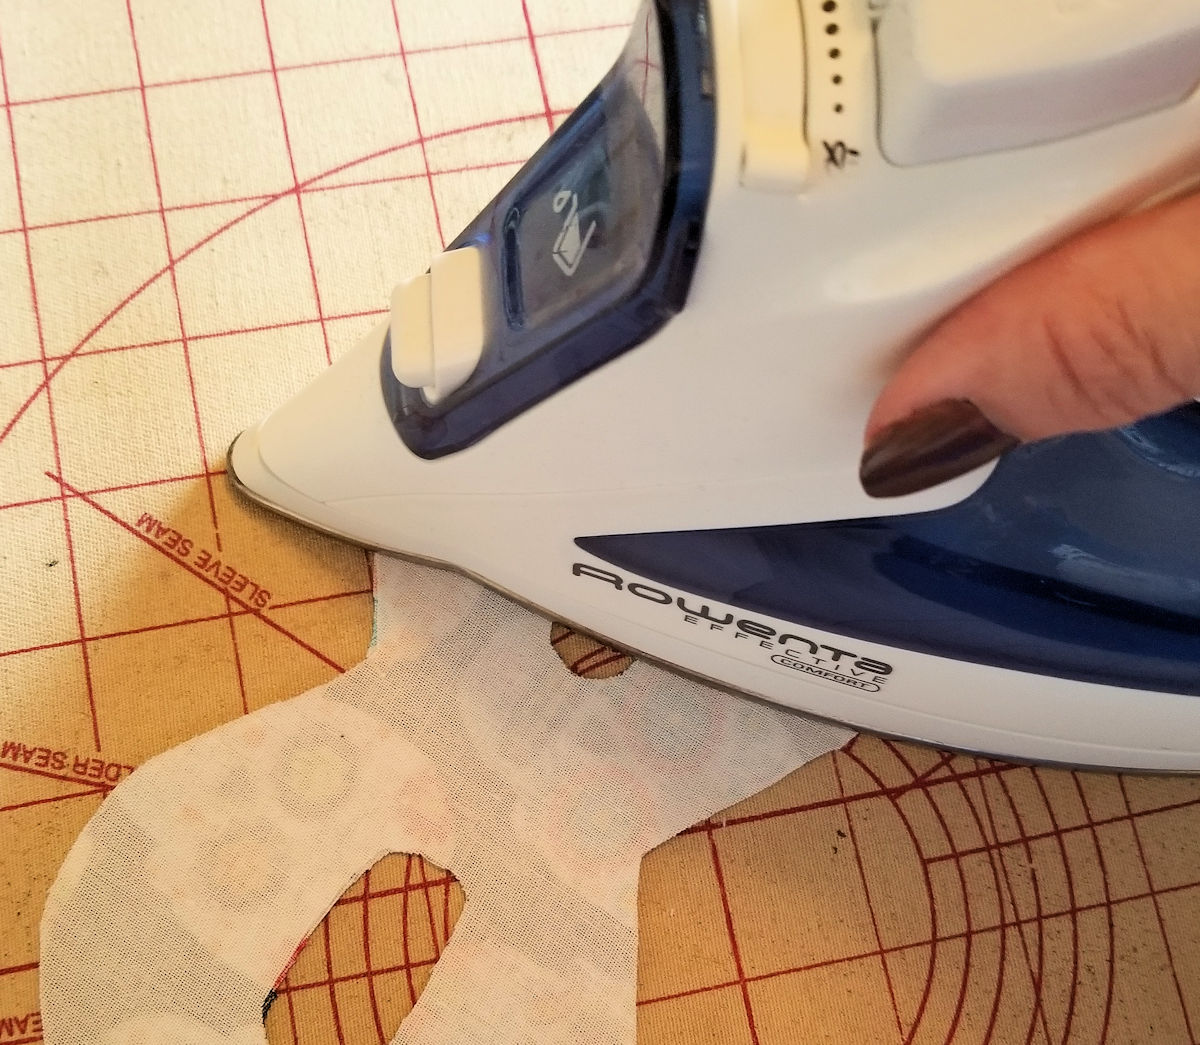
- Cut 2 from Halloween Mask Template

Iron interfacing to the wrong side of each mask piece. Transfer markings to the right side of one mask.
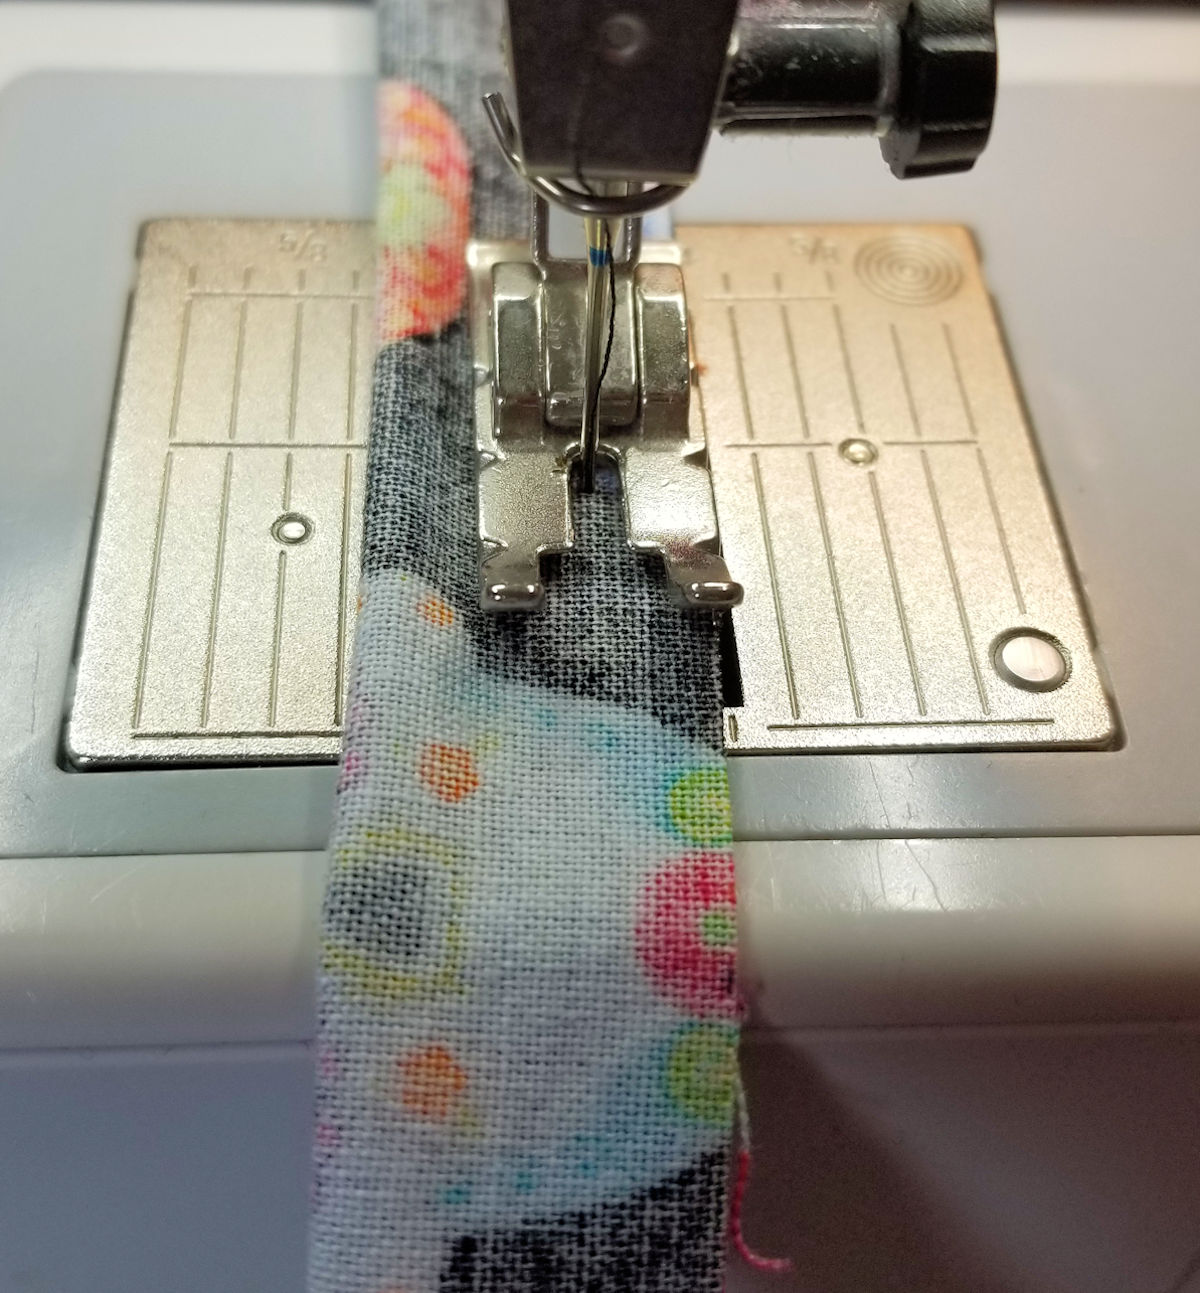
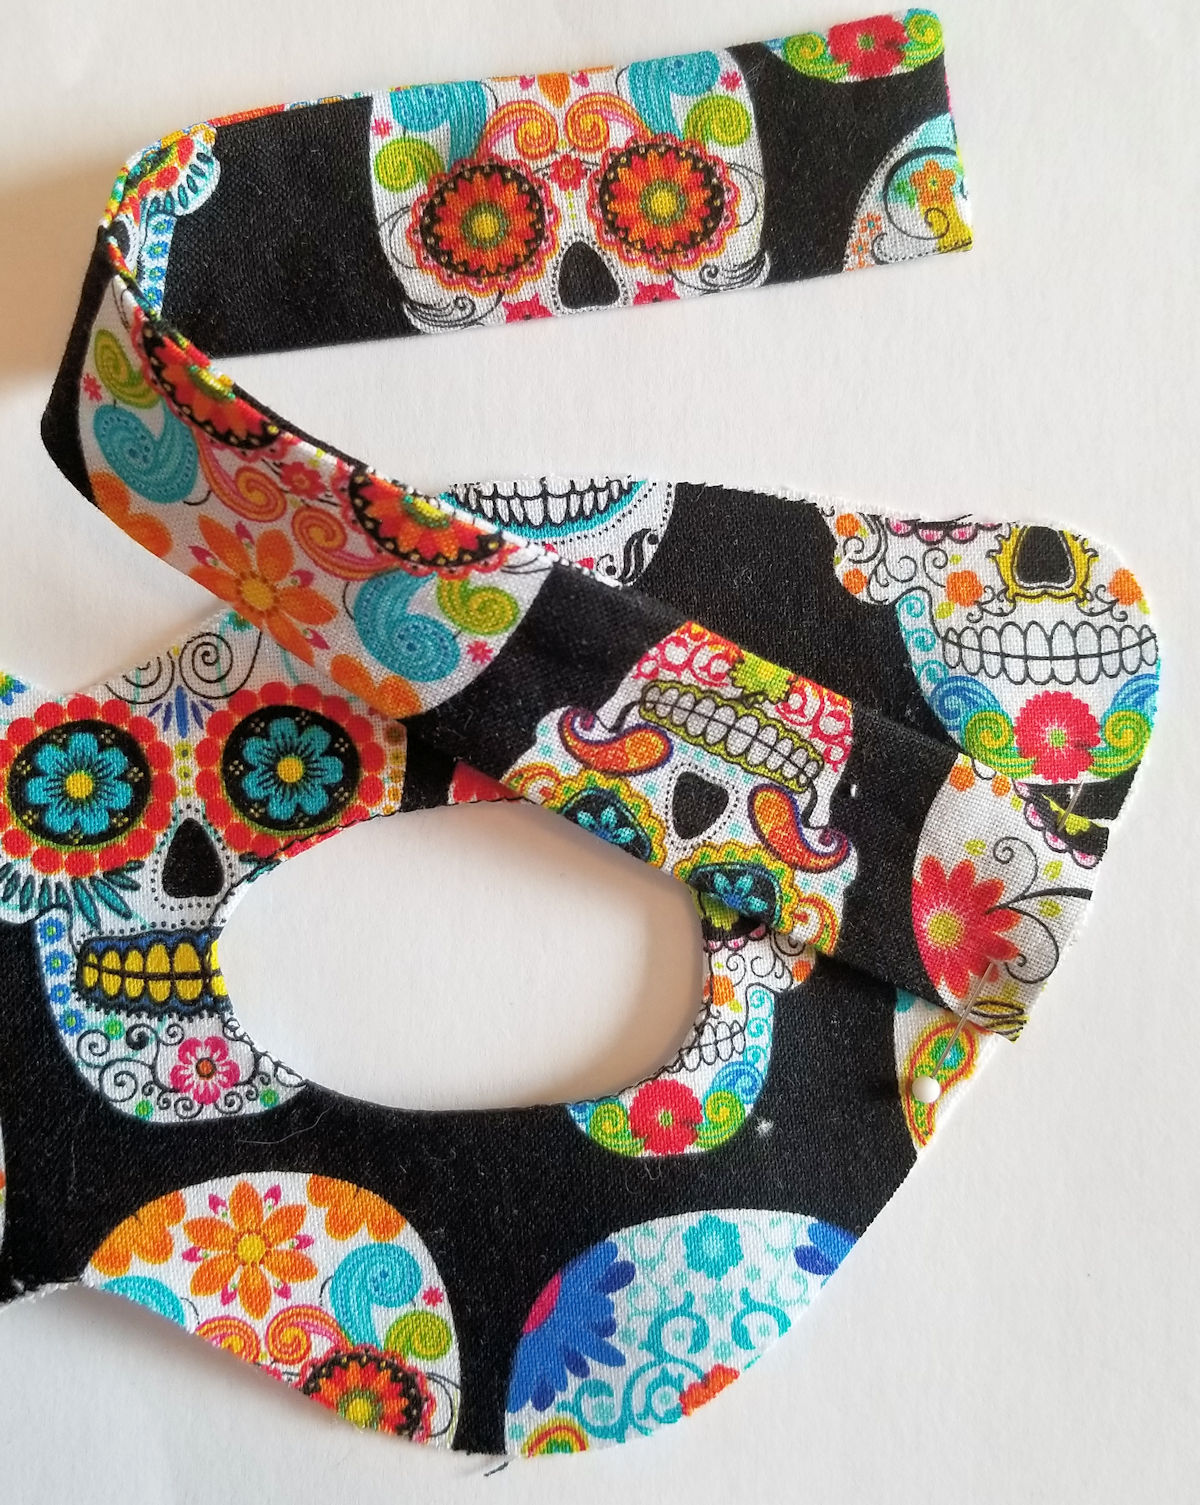
Fold one 2 1/2 x 8 1/2″ rectangle in half, wrong sides together. Sew along the long edge and one short edge; leaving one end open for turning. Clip corners, turn right side out, and press. Repeat for second rectangle. Set straps aside.
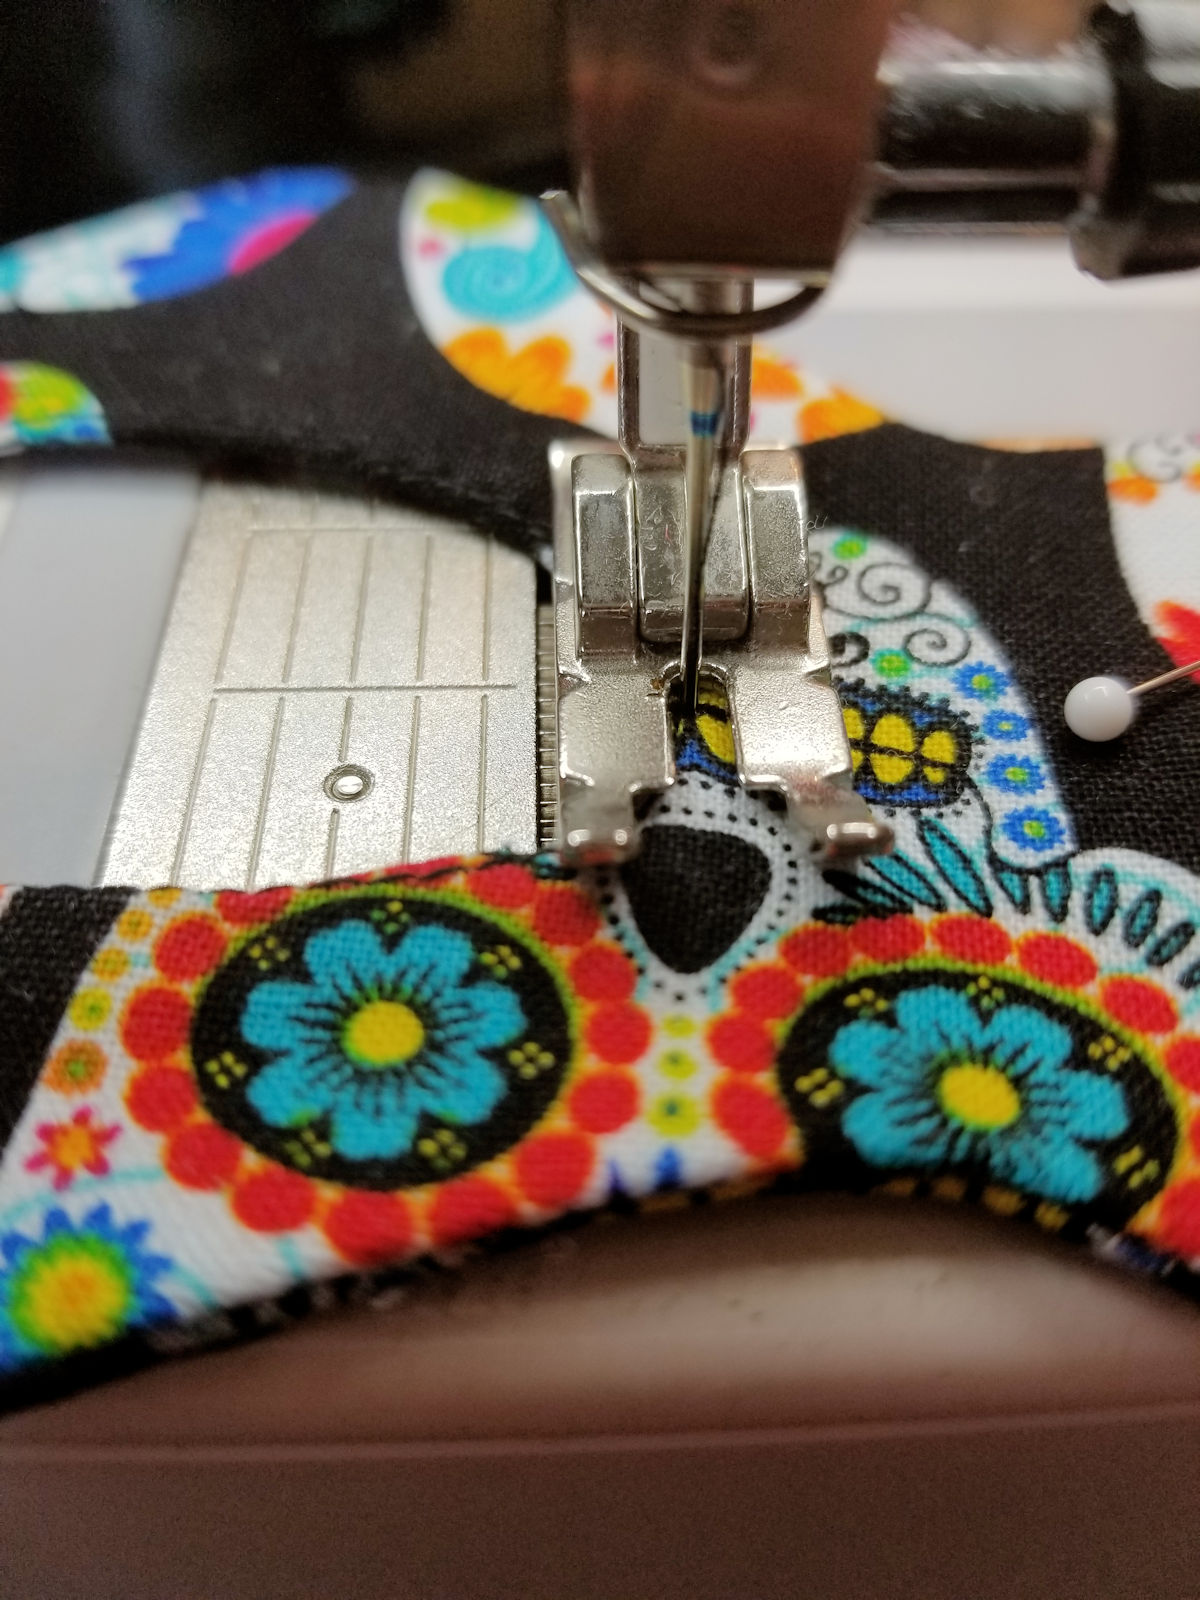
Fold back 1/4″ along each eye hole. The easiest way to do this is to sew a basting stitch 1/4″ away from the eye opening. Clip around the eye opening to the stitches (but not through the stitching), fold back the fabric to the wrong side of the mask, and press in place. Repeat for second eye mask.

Center the open end of a strap to the markings you made on the front of one mask piece, match the raw edges and pin in place. Repeat for second strap. This is a good time to make adjustments to the strap length (younger children may need the strap size reduced). Once you’re happy with the length, baste straps in place.
Place the mask pieces right sides together and sew around the outside edges, keeping the straps free from stitching. Clip curves and turn the mask right side out through eye hole openings. Press.

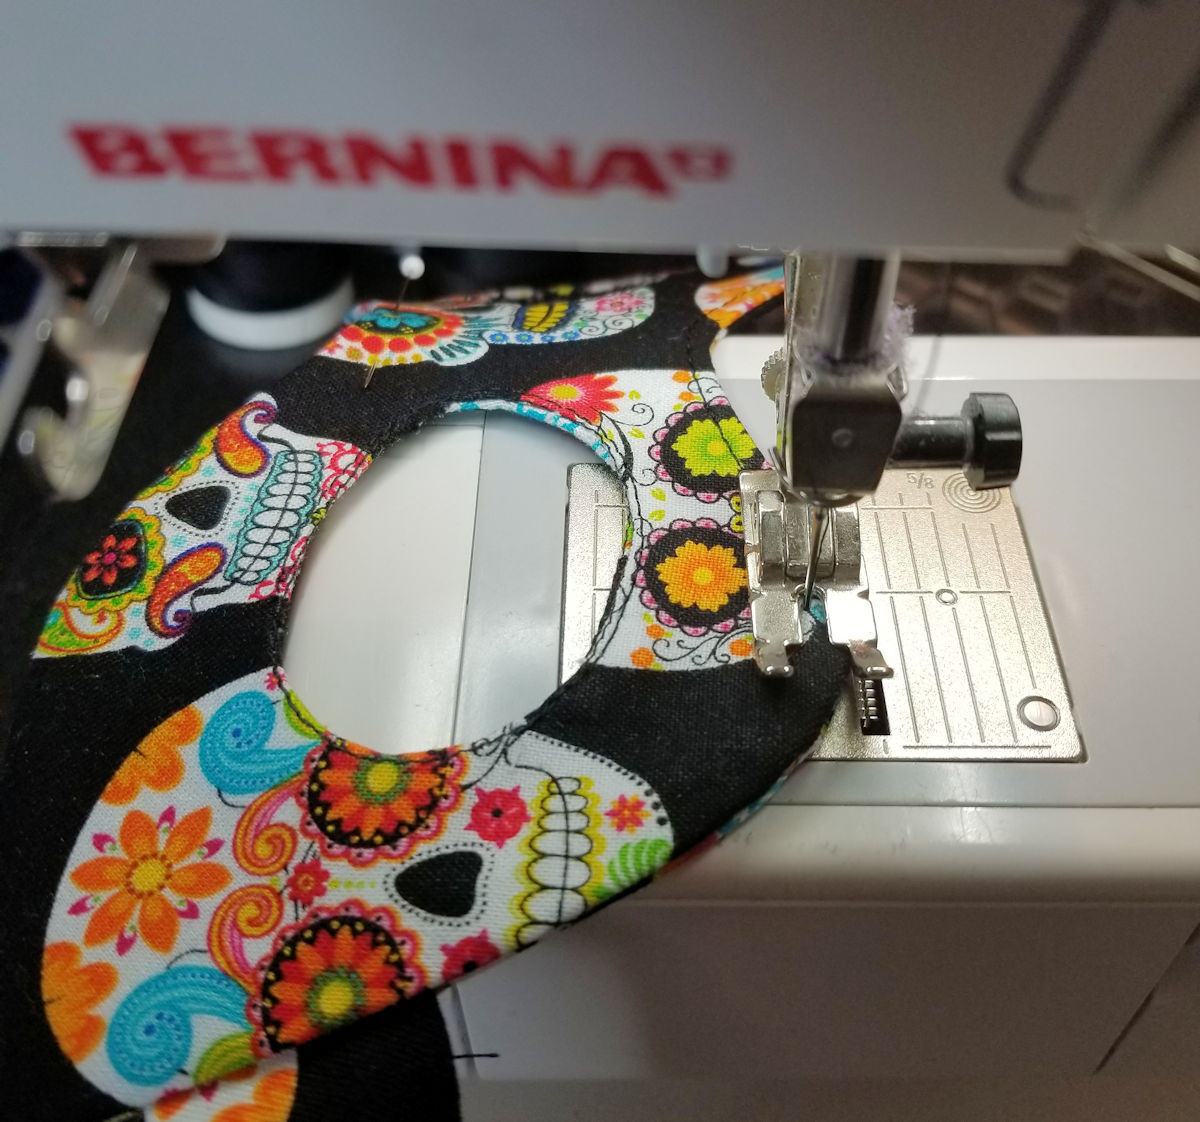
With the wrong sides together, line up the finished edges of the eye holes so that they are even. Stitch close to the folded edges. Repeat for second eye.
Edge stitch along the outer edge of the mask.
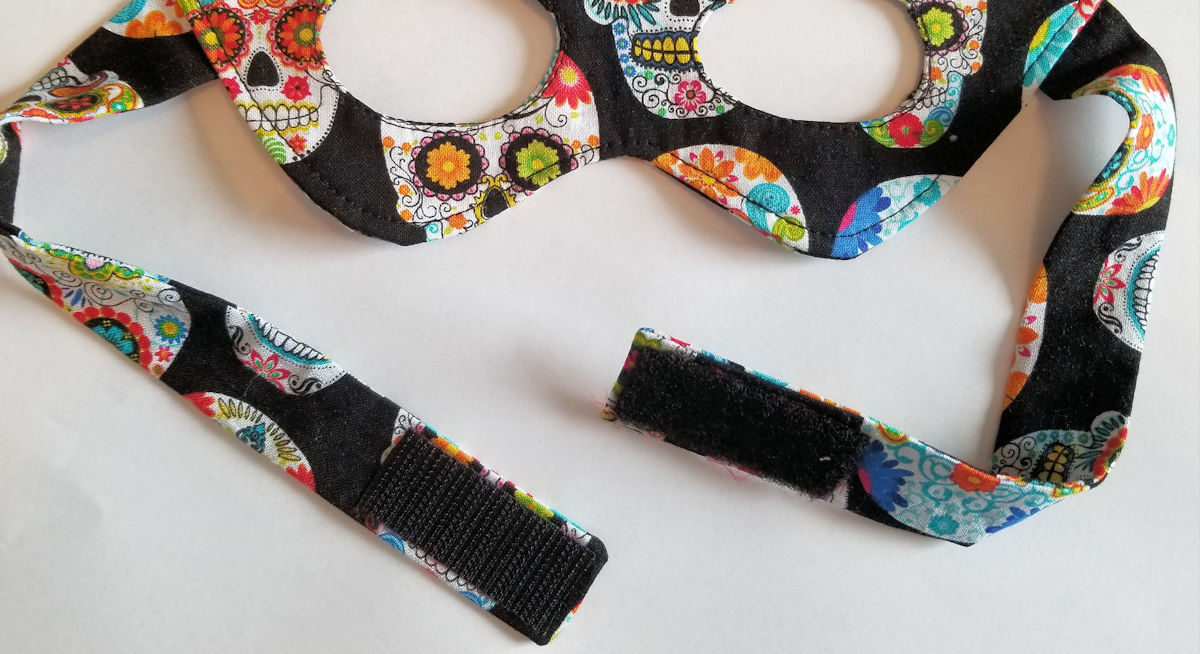
Cut the Velcro into 1 1/2″ pieces. Sew the Velcro to the bottom edge of the strap; one piece should be to the “right” side of the strap, the other should be sewn to the “wrong” side of strap. This will make sure that the strap will lay flat when attached together.
Now put on your mask and get ready for Trick-or-Treating!
Used Products


What you might also like


2 comments on “Halloween Mask Tutorial”
-
-
The template is now available – just click on “Halloween Mask Template” under the “Materials to Make the Halloween Mask” section of the tutorial!
-
Leave a Reply
You must be logged in to post a comment.

Where can I find the mask template?