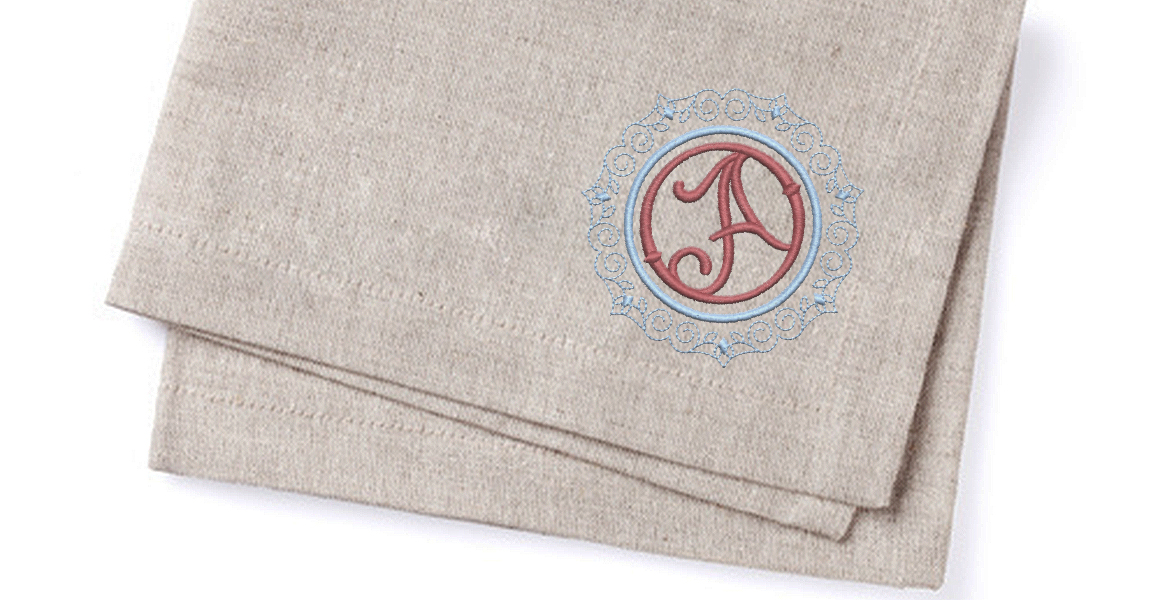
How to Digitize Your Own Split Letter Monograms
A fabulous step-by-step digitizing tutorial from Rhea Lucovsky, Elegant Stitches, Cary, NC.
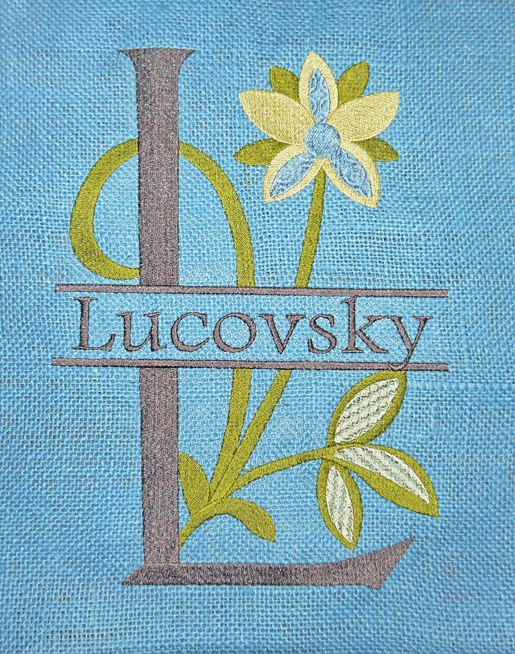
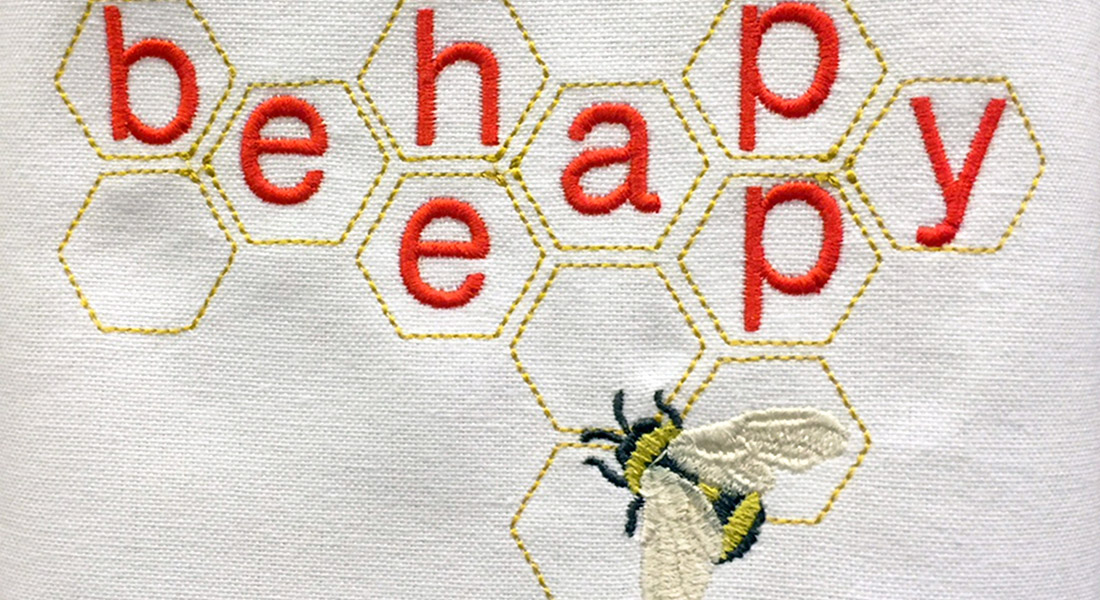
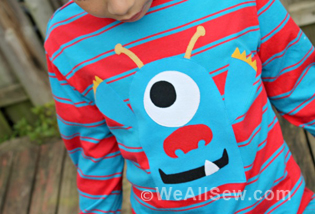
For those of you who enjoyed the Split Applique Lettering photos in my previous posts, this tutorial gives you a starting position in which to take your designs further. For the sake of those designers selling split appliques, I didn’t want to give away too many secrets!
Start by opening your BERNINA Embroidery Software 7 – Designer Plus and creating a new file for your split-letter monogram. Select the Jumbo Hoop: Right click on the Hoop icon on the top tool bar. Click on the down arrow next to the listed hoops and select the Jumbo Hoop.
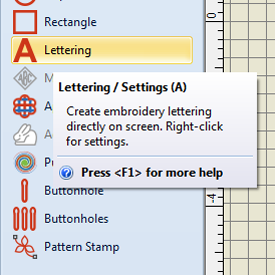
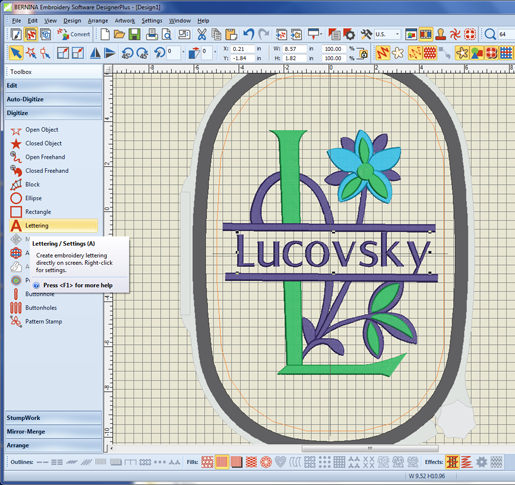
Choose the Digitize folder from the toolbox on the left side of your screen. Scroll down to the Lettering tool/icon and choose it by left-clicking on it. New left-click on the screen and type the desired letter. You must press Enter on your keyboard to make the letter appear with stitches on the screen. After you press Enter, the letter should already be selected. If it is not, select the letter by left-clicking on top of it.
Right-click on the letter to open the Object Properties box. Or you can do this by selecting the object properties icon from the toolbar – it is the icon that looks like a sheet of notebook paper with a red arrow in the upper left corner. (I find it easier too maneuver with the mouse.)
In the Object Properties box, use the arrow key to scroll through the alphabet and choose the font you wish to use. The example shown is Secret Garden. Click OK to change the font. The Object Properties box will then close.
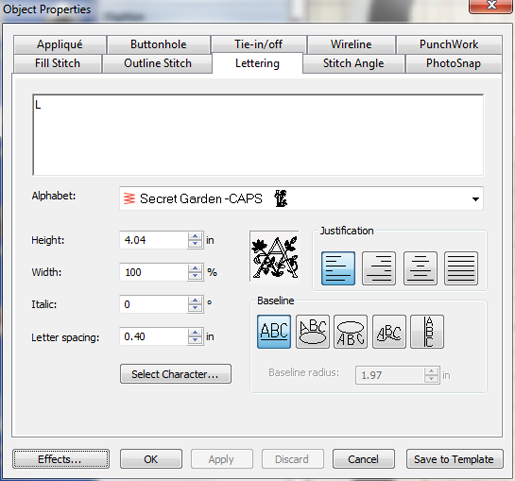
Select the letter and enlarge it to the desired size. The example is 10″ high. You can either use the size boxes on the top tool bar and type in the desired Height and Width or select the letter and drag the corner boxes to enlarge the letter proportionally.
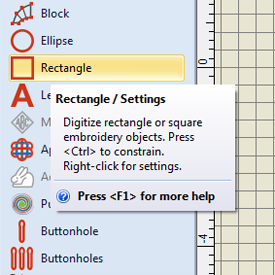
Still working in the Digitize folder in the toolbox, select the Rectangle tool/icon. Left-click and hold to the left of the letter (near the center of the letter) and drag across the letter; and left-click once when your rectangle looks wide enough. This will create a filled rectangle across your letter.
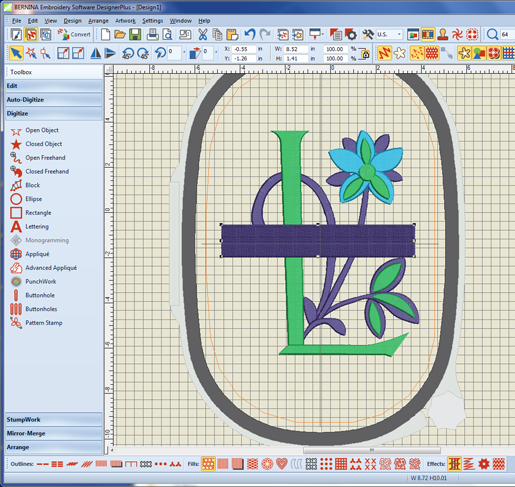
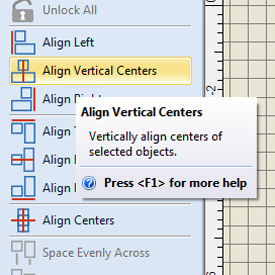
Select both the letter and rectangle on the screen and navigate to the Arrange folder in the toolbox on the left of the screen. Open the folder and choose the Align Vertical Centers icon and select. This will move the rectangle, positioning it over the vertical center of the letter.
Select the rectangle and move it up or down to place it where you want it over the letter. At this point you can adjust the height and width of the rectangle if desired. Everything that lies beneath the rectangle will be removed in the next steps.
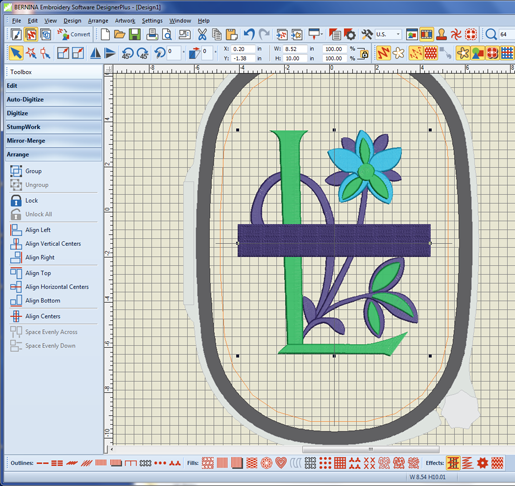
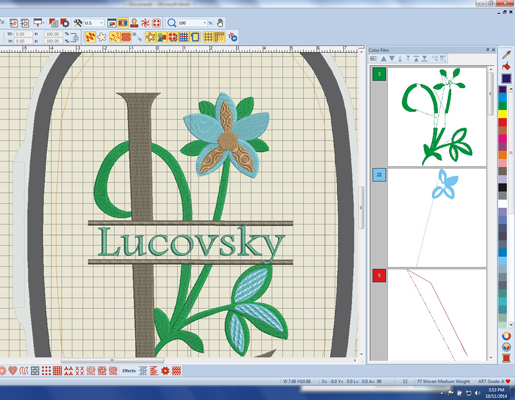
Select only the letter by left-clicking on all of its parts in the color film located the right of the screen.
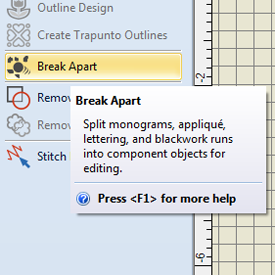
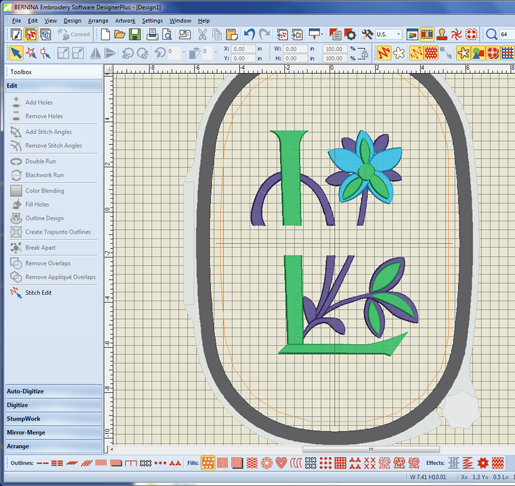
Now on the left of the screen in the toolbox choose the Edit folder and select the Break Apart icon break the letter into its component parts.
Select only the rectangle by left-clicking on the rectangle in the Color Film located on the right of the screen. Now select the Edit folder from the toolbox on the left of the scree to remove all the parts underneath the rectangle.
Select the rectangle and delete it by pressing the delete key on your keyboard.
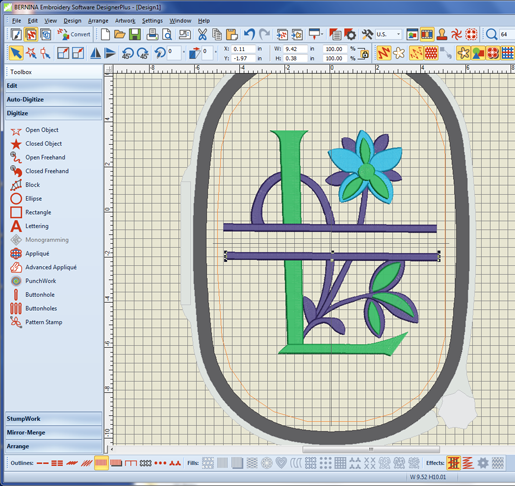
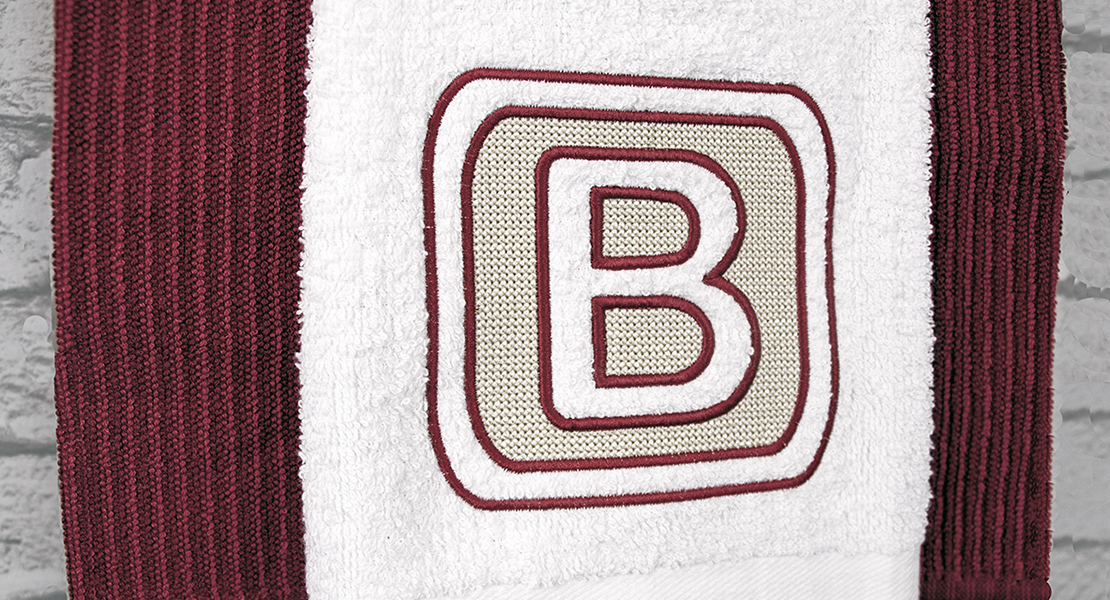
In the Digitize folder, select the Open Object tool. Select the Satin Outline icon at the bottom of the screen. Draw a horizontal line across the upper edge of where the rectangle used to be. Make sure the line overlaps and covers the stitches of the letter. Hold down the Control key while dragging the line to ensure that the line is straight. Left-click on the screen to the left of the letter near the top of the opening, hold down the control key, click to the right of the letter, then press the Enter key. You should now have a straight horizontal satin line across the letter.

Now clone the satin line by right clicking on it and dragging the clone to the bottom of the opening. At this point, you can select the horizontal lines and change the height and width to the desired size to frame your lettering.
If the opening between the satin lines is not wide enough, simply use the Select Object tool to drag a box around the lower half of the design and use the Down Arrow key on the keyboard to move that portion of the design further away, creating a larger opening in which to insert your lettering.

Still in the Digitize folder, select theLettering icon. Left click on the screen, type in the desired word/name, and press Enter. Chose a font style in the Object Properties box and size the text to fit between the satin lines.
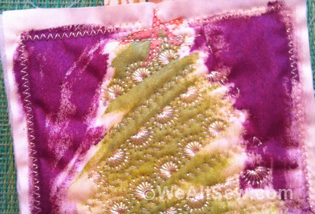
Examine the letter and make sure the satin stitches in the design are not exceeding a satisfactory width for stitching. If they appear too long, click on the Object Properties icon or right-click on the design and change the fill stitch to Special Satin, Fancy Fill, or Step Stitch. Do this for each section of the design, if desired.
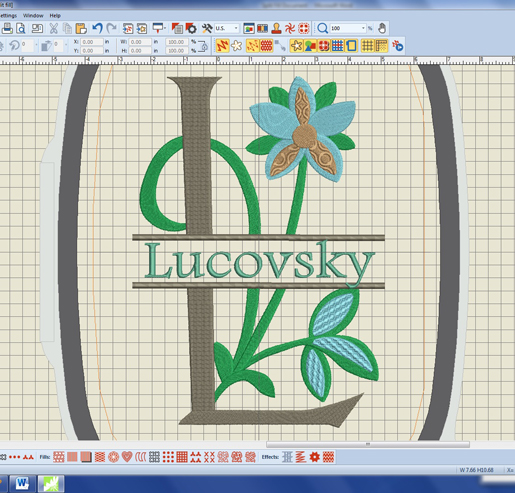
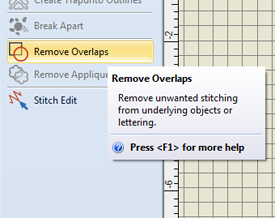
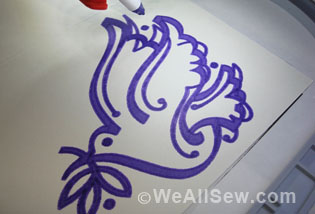
Select individual pieces of the design and remove any overlaps. I removed overlaps on the flower and the leaf. You can also change colors in any design element and rearrange the stitch order.
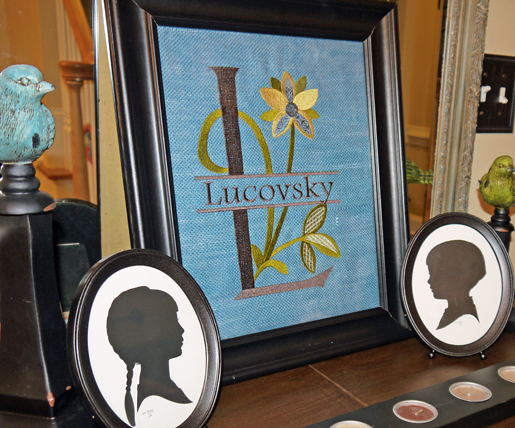
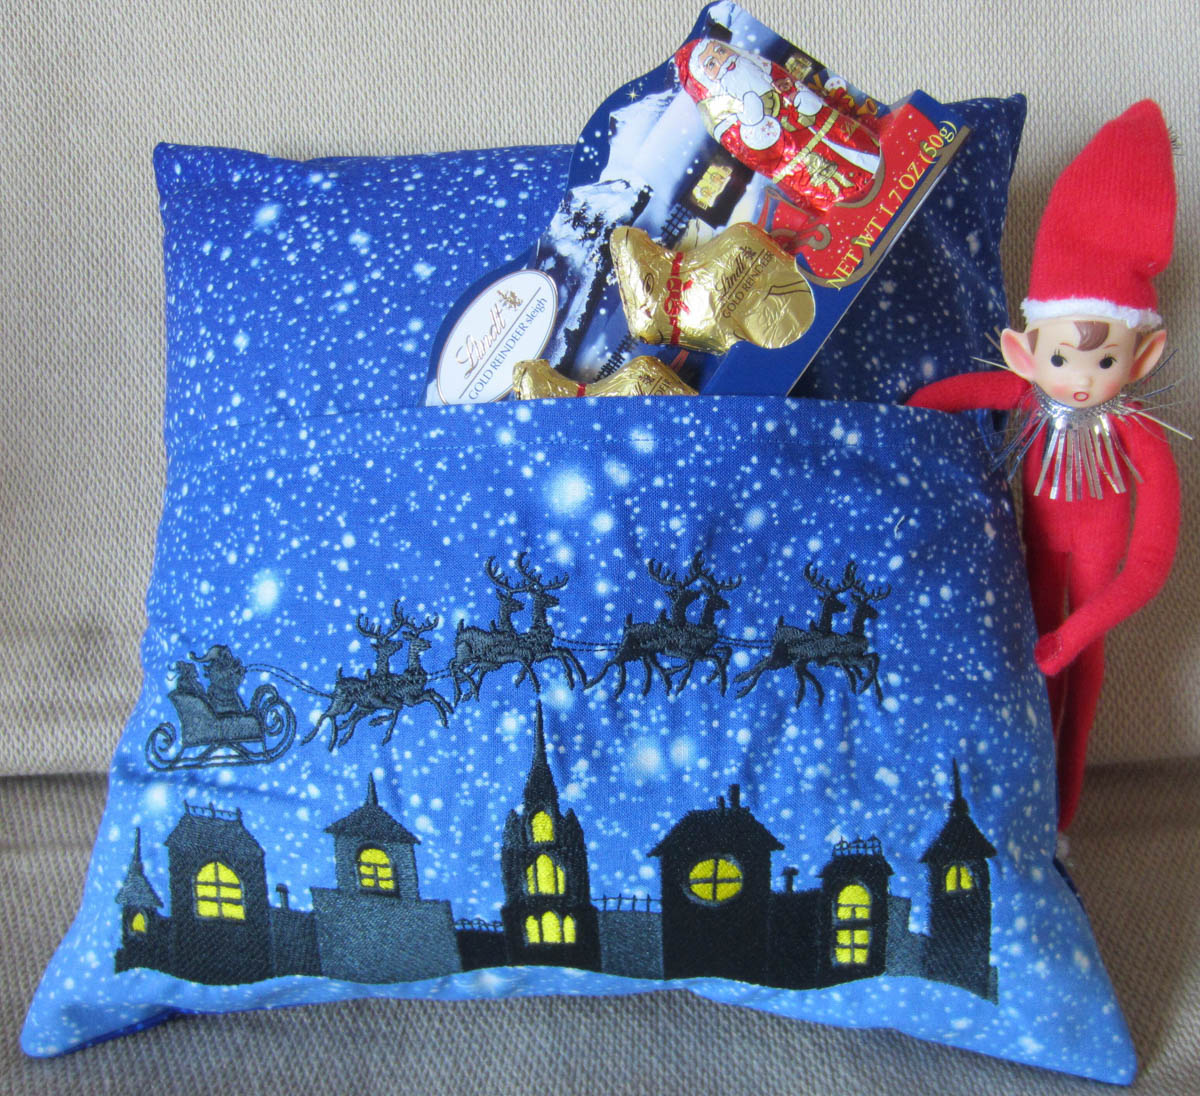
Stitch and enjoy! These make awesome gifts stitched on pillows, burlap for framing, blankets and more!
Used Products


What you might also like


4 comments on “How to Digitize Your Own Split Letter Monograms”
-
-
After reading these directions I think I can digitize this in ver 6 as well, can’t I ? Is there anything in this lesson that only applies to ver 7?
-
I think you can do this in v6 as well, but some of the steps and tools might be a little different. Jo
-
-
Pingback: WeAllSew « https://weallsew.com
Leave a Reply
You must be logged in to post a comment.

Hi Rhea,
What a great lesson; your directions are clear and concise !! I followed you step by step and am thrilled with the results. Thank you so much for sharing !!
Geraldean