How to Free-motion Quilt a Christmas Tree
Christmas Quilting
Let’s learn how to free-motion quilt a Christmas tree motif!
O Christmas Tree, O Christmas Tree,
How lovely are thy branches!
Seasons Greetings, Quilters! I’m Lori Kennedy of LoriKennedyQuilts, back with another free motion quilting tutorial. Whenever I see a Christmas tree, I can’t help silently singing a few verses: O Tannebaum, O Tannebaum…
While there are many symbols of the season, the Christmas tree is one of the most recognizable—and certainly the easiest to stitch! A simple triangle set on a rectangle base is easily seen as a tree. Add a star on top, and everyone knows it’s a Christmas tree!
Free-motion Quilting
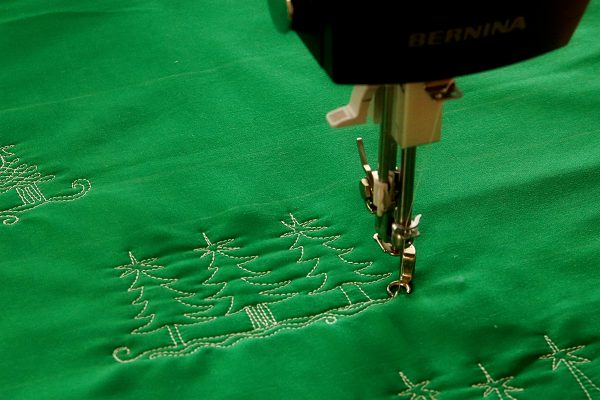
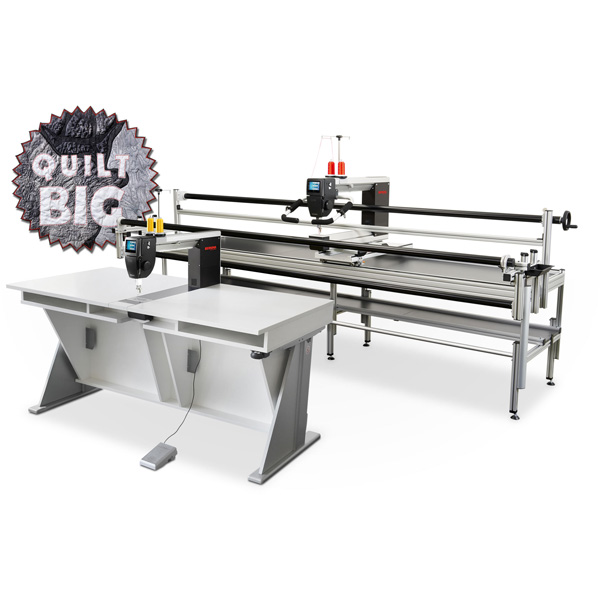
I love to free-motion quilt on all three of my BERNINA sewing machines. (I’m lucky enough to have a BERNINA 770 QE, Q 20 Sit-down and a Q 24 on a frame!) When free-motion quilting, I use either the Free-motion Embroidery Foot #24 or the Adjustable Stippling Foot #73 which are interchangeable on all three machines. Both of these feet are open-toed with an offset shank which allows the greatest visibility.
I love all of my machines because BERNINA stitches are beautiful! In the video of the Christmas tree, I am stitching on the fabulous BERNINA Q 20 Sit-down Longarm machine. The Q Series machines offer four quilting modes: Manual Mode, Basting Mode and two stitch regulated modes, BSR1 and BSR2. The stitch regulated modes control the stitch length. Because not all quilters use a stitch regulator, in the video, I am stitching in the Manual Mode. I control the stitch length by how fast I move the quilt under the needle. The key to quilting without a stitch regulator is to maintain a constant speed with your foot control. Notice how the sound of the motor maintains a fairly constant hum. Use your ears to help maintain a constant speed whenever you quilt without a stitch regulator.
How to Free Motion Quilt a Christmas Tree
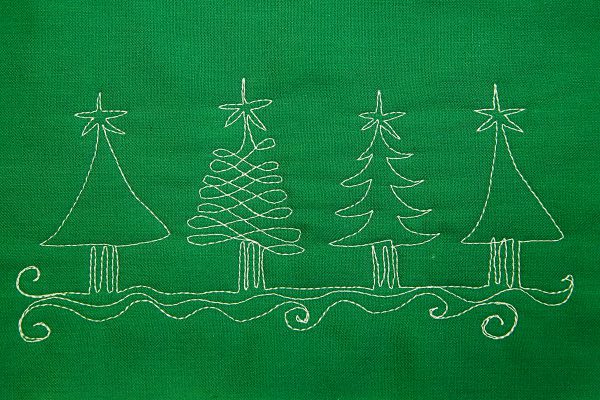
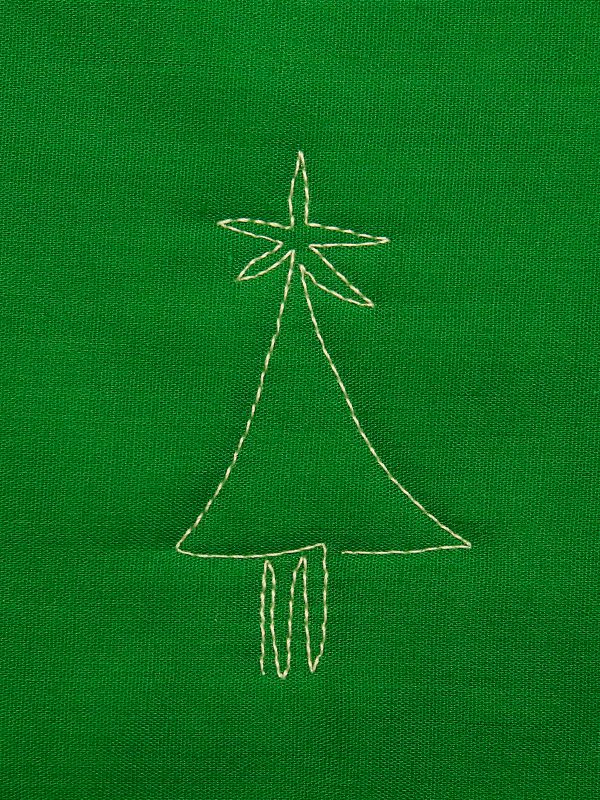
Start with the simple triangle tree then practice more embellished variations.
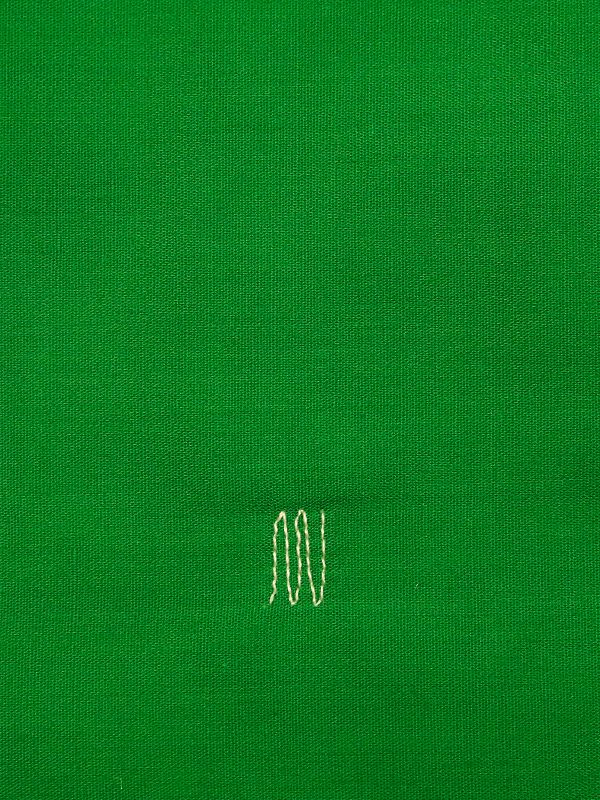
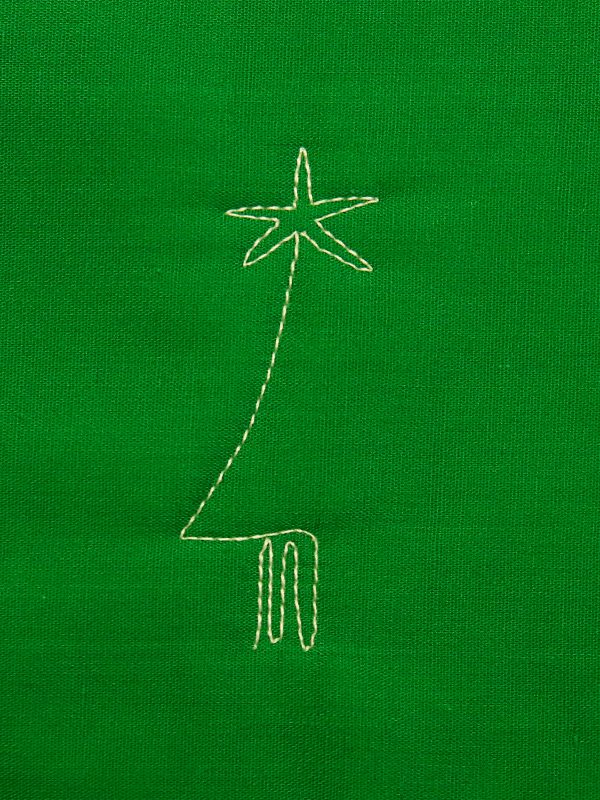
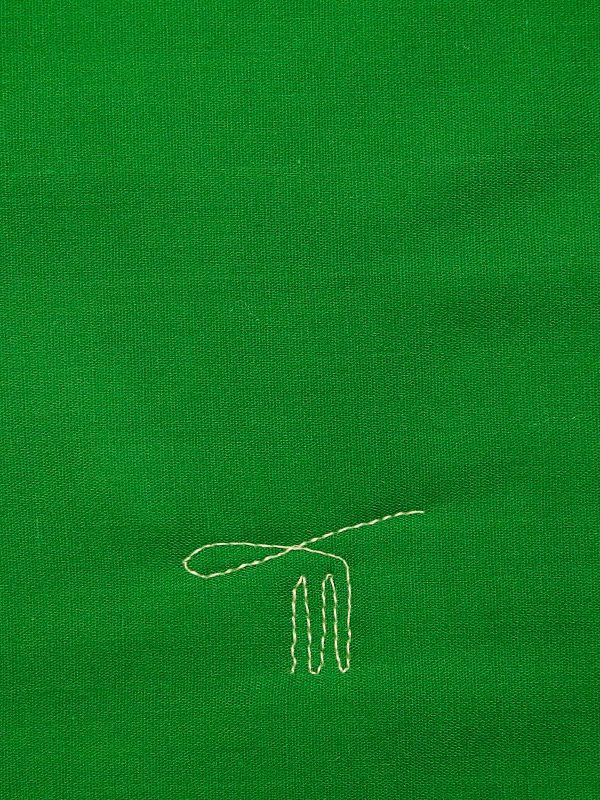
Begin at the bottom of the border and stitch five closely spaced lines to create the tree trunk.
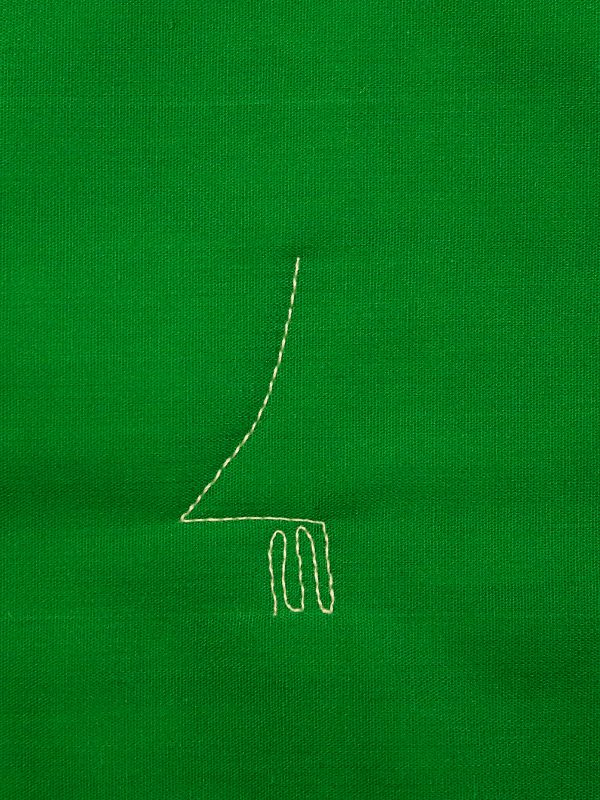
Stitch from right to left above the trunk, then stitch at an angle upward. This line can be straight or slightly curved.
Next, add a star. Don’t worry if your star is wonky. Wonky stars add character to the tree!
Stitch down and to the right, mirroring the left side of the tree. Then stitch a horizontal line back to the trunk.
Finally, stitch down and then along the baseline to begin the next tree in the border.
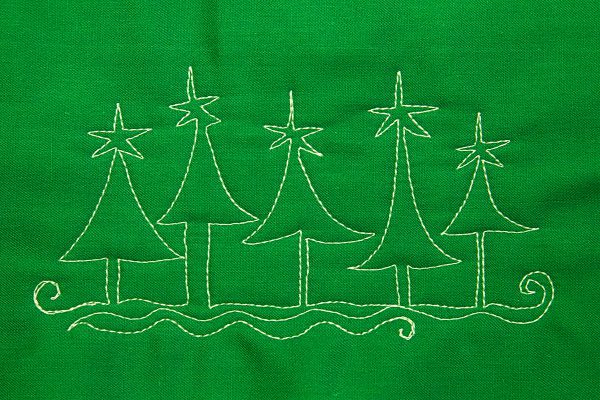
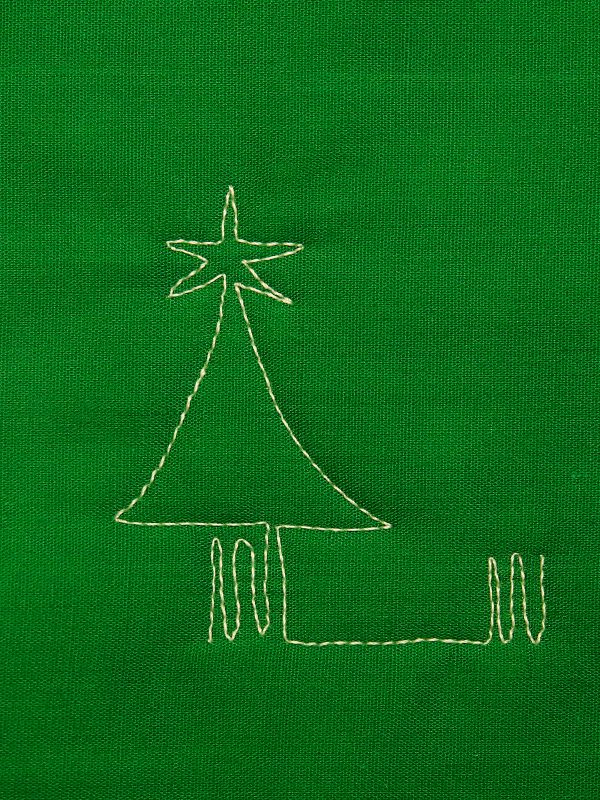 A row of simple trees creates a very festive border!
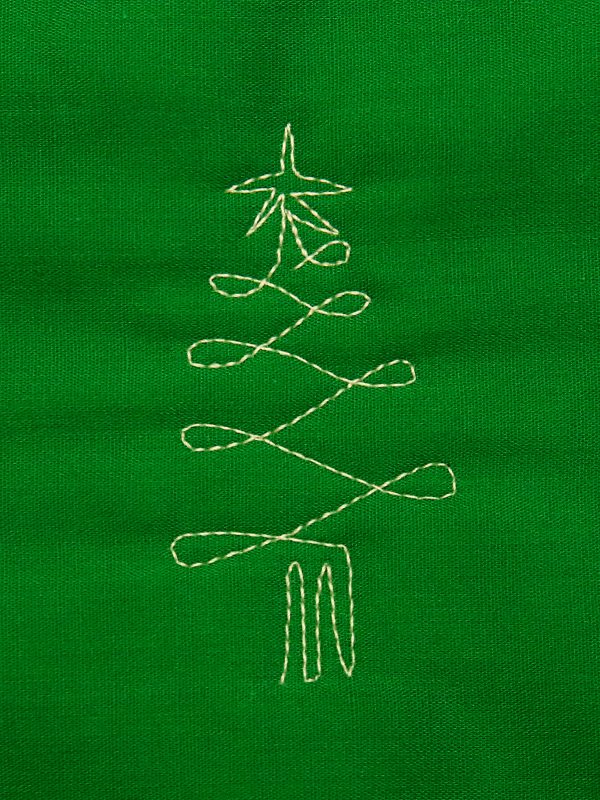
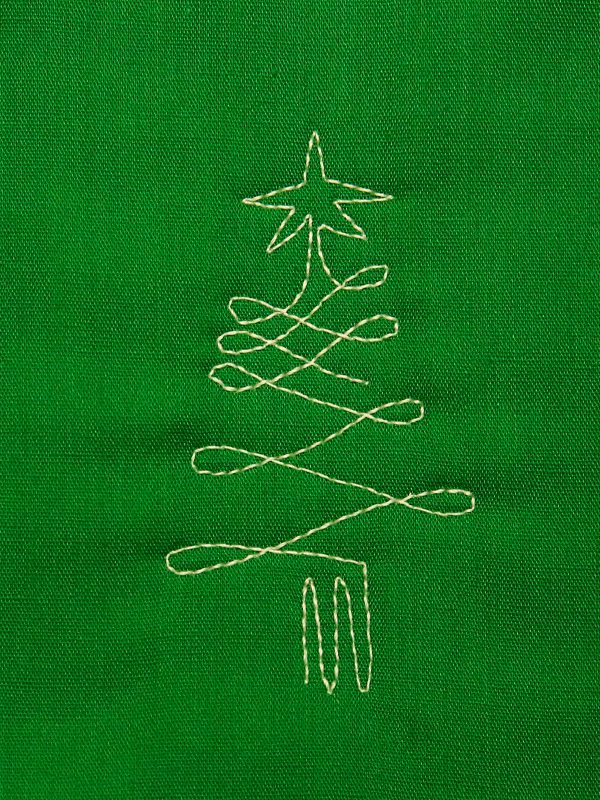
How to Free-motion Quilt a Tree with Boughs
Once you’ve learned the basic triangle tree, it’s easy to add more design elements.
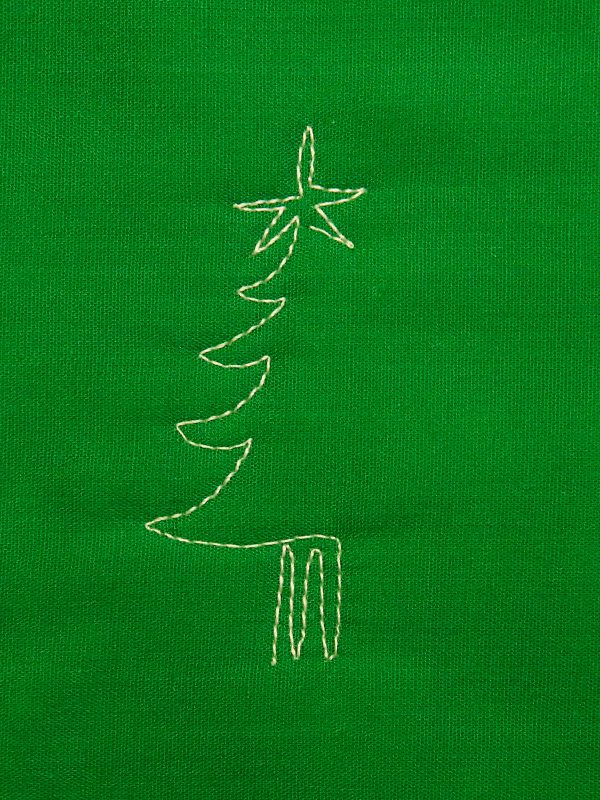
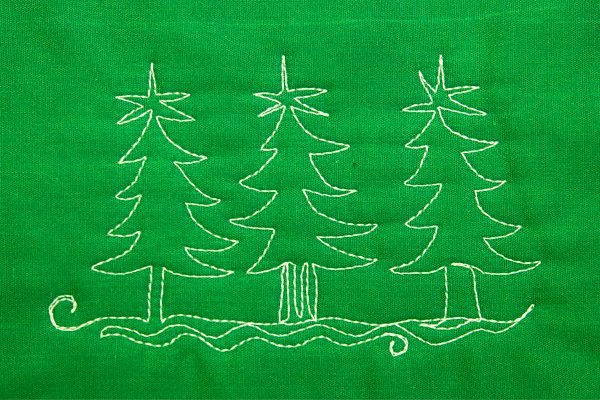
For a tree with boughs, begin with the five-line trunk then add scallops as you stitch the sides of the tree.
Stitch the mirror image on the right side. Then stitch along the tree trunk to the base to begin another motif.
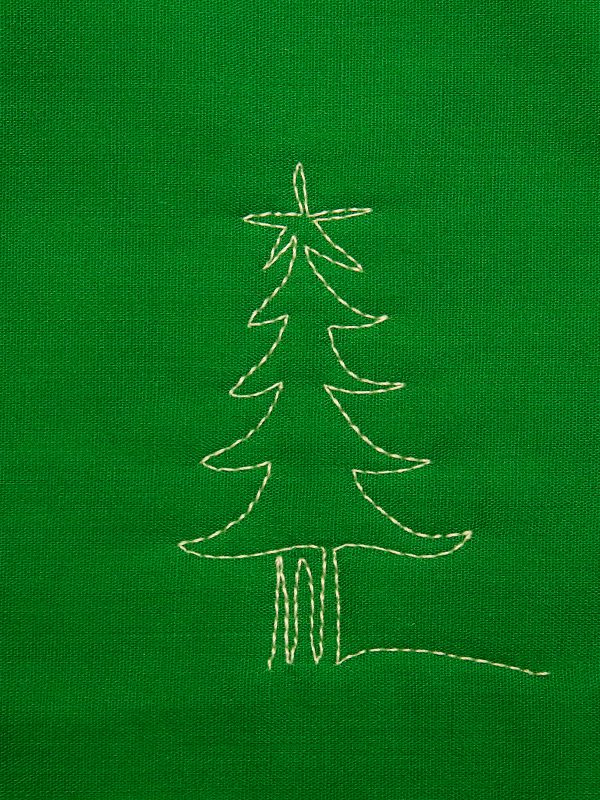
A row of these trees looks great too!
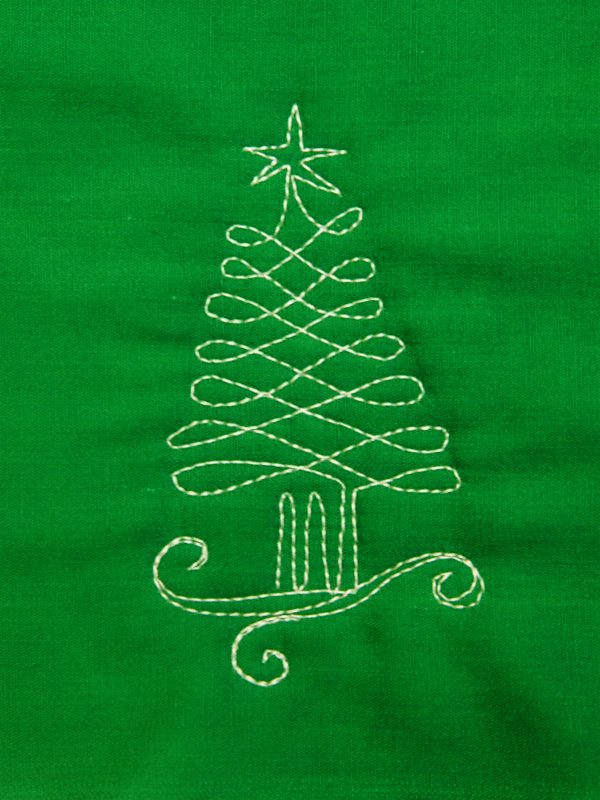
How to Free-motion Quilt an Embellished Tree
The embellished tree is stitched from bottom to top and then down again.
Begin with the tree trunk, then add a loop stitched counter clockwise.
Add progressively smaller loops as you stitch upward. Stitch to a point and then stop.
Add a star on the top, then begin stitching twisted loops downward.
Stitch the loops in the spaces.
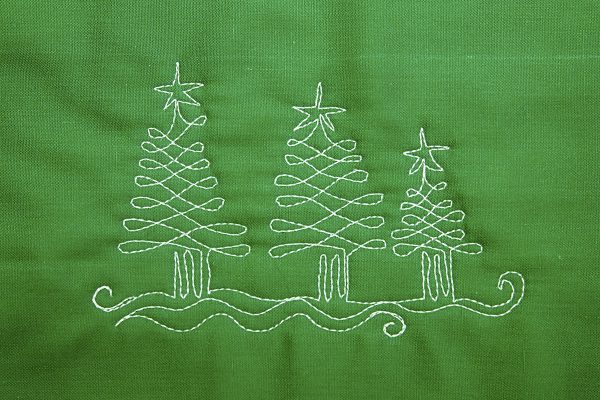
Continue adding twisted loops to the base of the tree.
A row of embellished trees, ready for Christmas!
Christmas Motif Tips
- A row of trees is a perfect border for all your Christmas quilts.
- Use 40, 30 or 28 wt thread to really show off your quilted design.
- Doodle first! Doodling creates muscle memory and improves the look of your quilting!
- Stitch a single tree on small tags to decorate your packages. Or stitch a row of trees on a red tea towel for your kitchen!
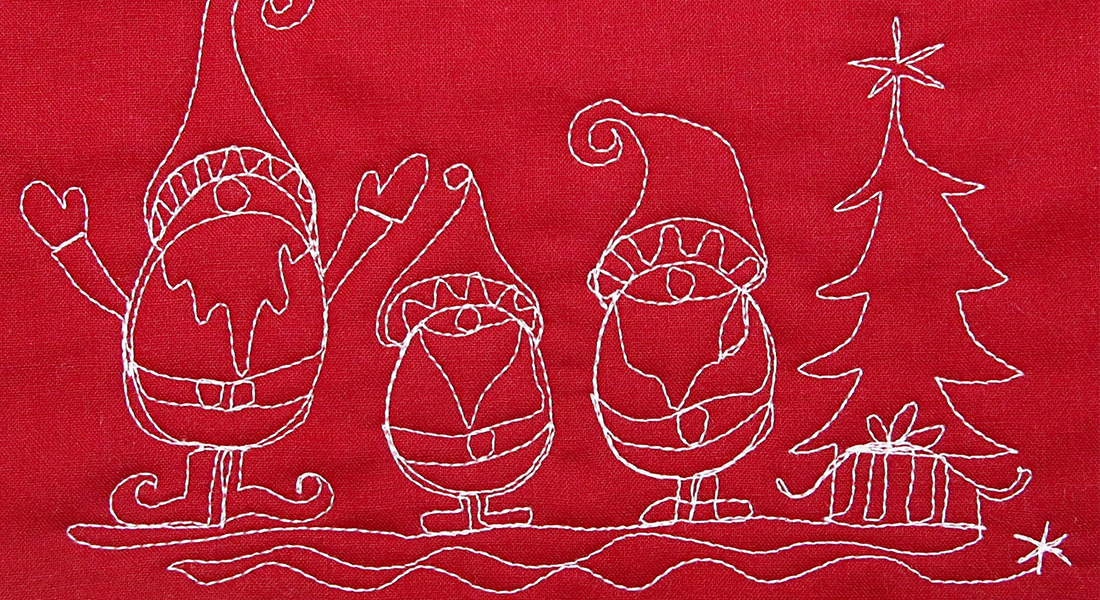
You might also like the Christmas Gnome Motif
Check out my book, More Free Motion Machine Quilting 1-2-3 for more Christmas and Winter-themed motifs. Books make great gifts!
Merry Christmas!
