How to Free-motion Quilt a Spooky Halloween Border with Sugar Skulls
Tombstones, and Jack-o-lanterns and skeletons, Oh, my!
Whistle past the graveyard as you stitch the Spooky Halloween Border!
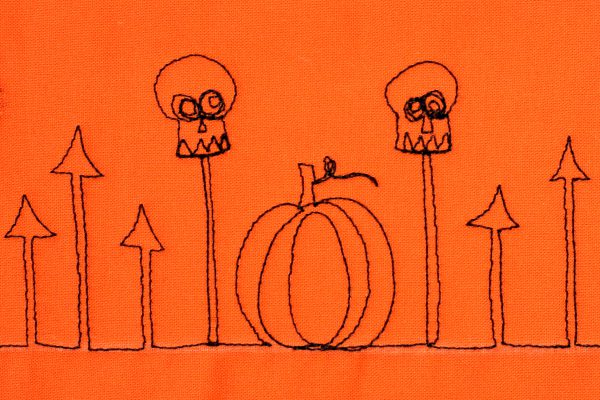
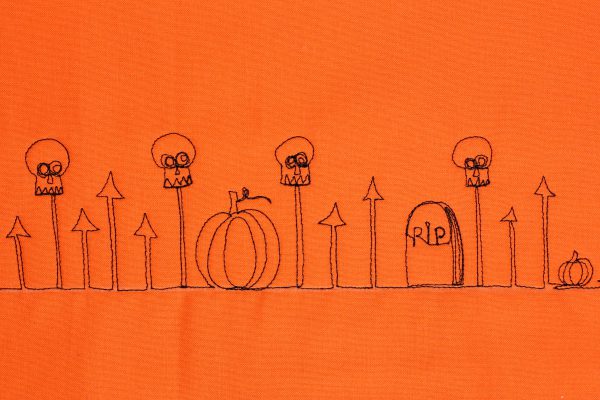
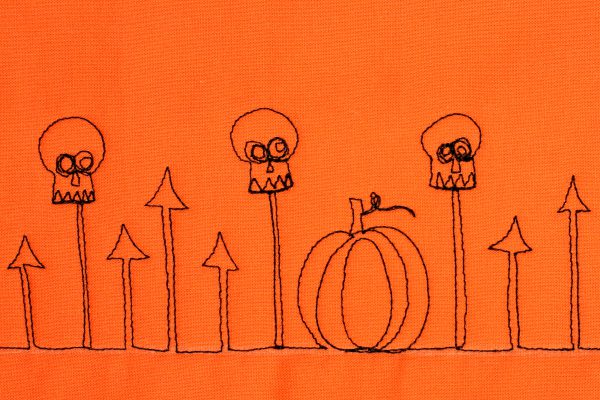
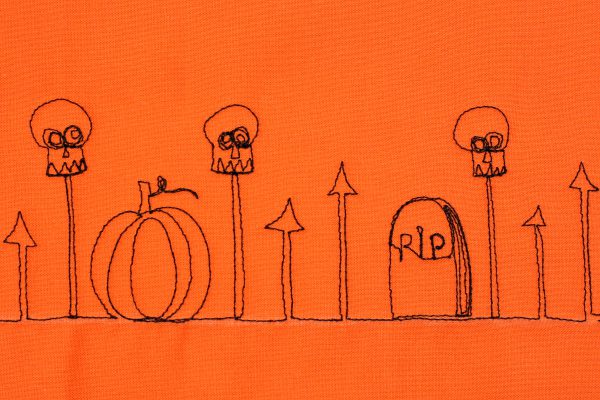
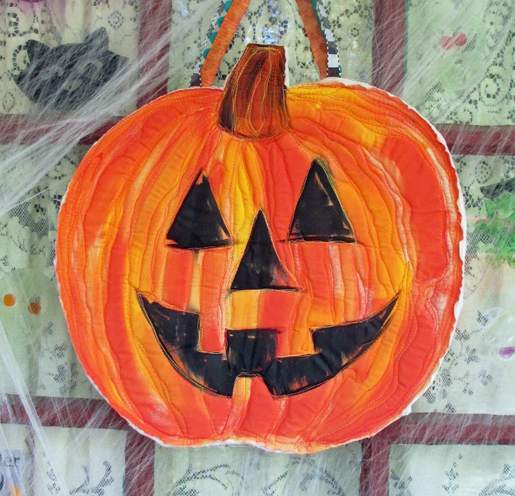
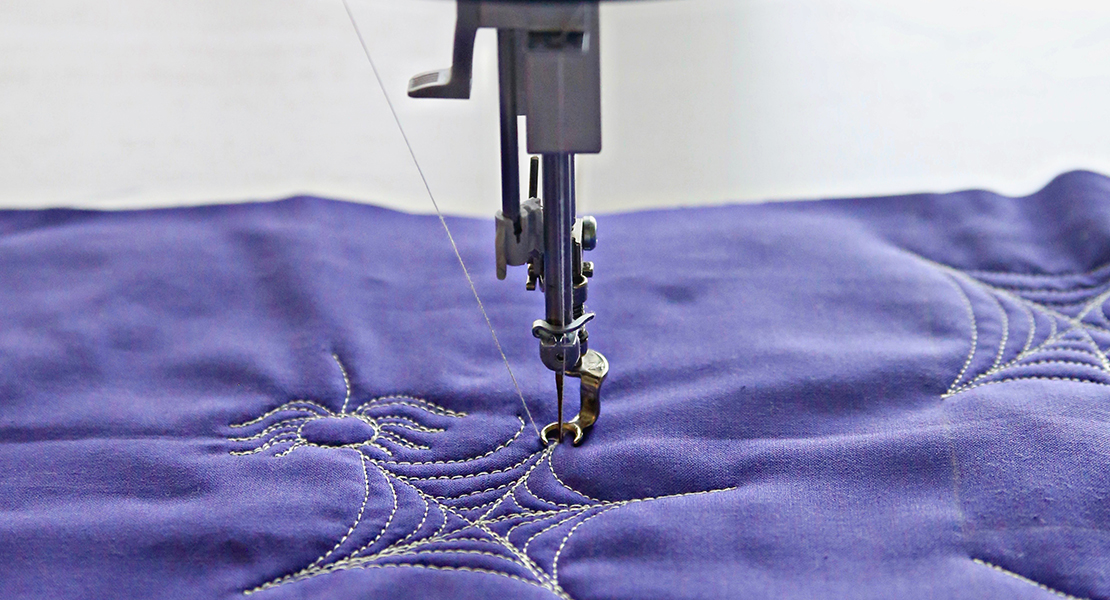
I’m Lori Kennedy of Lori Kennedy Quilts and like most quilters, I LOVE Halloween and Halloween inspired quilts! Create a fabulous border on your next Halloween project by stitching a spooky fence motif and then add a few creepy creature embellishments. Quilt simple gravestones, add a Jack-o-Lantern (We All Sew tutorial HERE) and then try skulls. Halloween is a great time to practice hand drawn quilted elements—there’s no need for perfection!
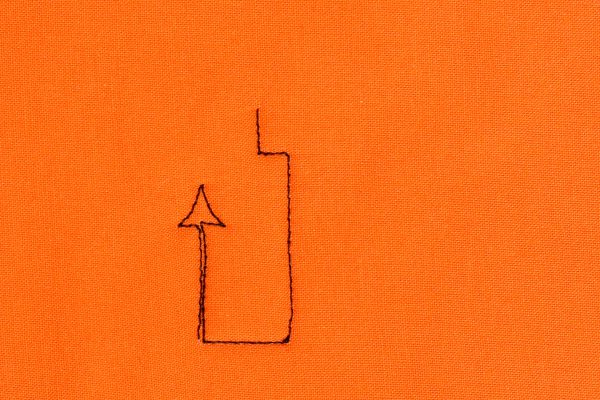
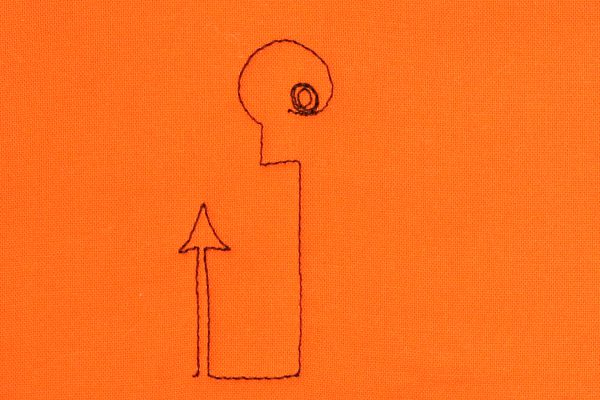
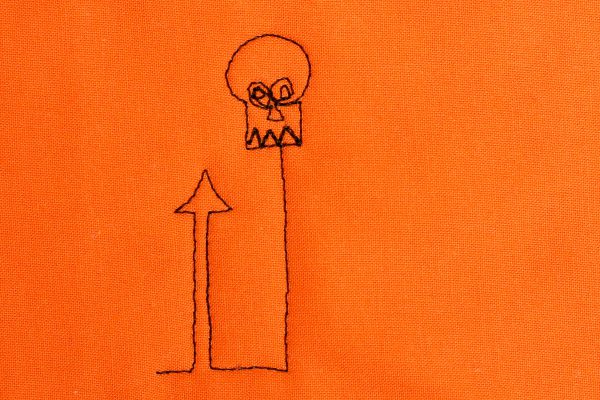
Begin stitching on the bottom line of the border. Stitch a simple arrow shape to begin the graveyard fence. Stitch along the horizontal line to begin the next element, the skull.
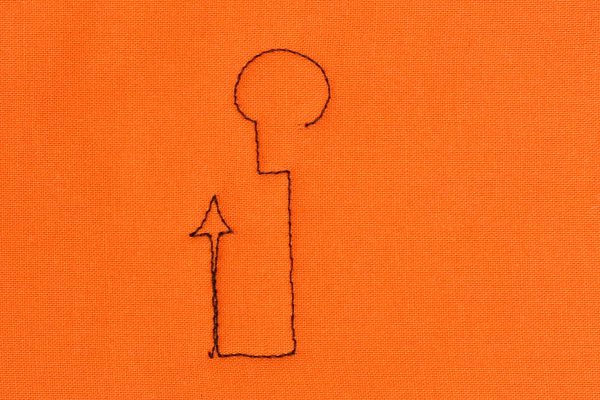
Stitch a vertical line, then a short horizontal line and a short vertical line.
Add a semi-circle.
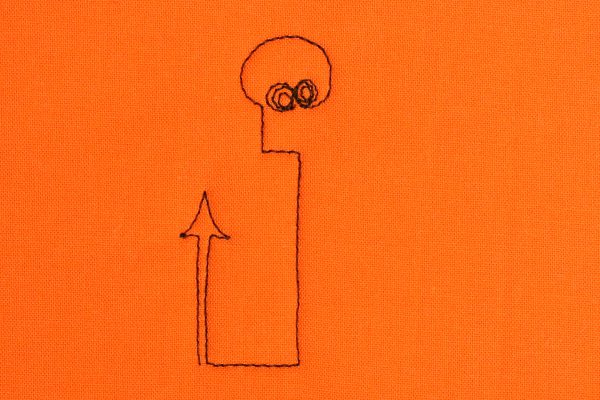
Stitch a small messy spiral to create the right eye socket.
Add another messy spiral.
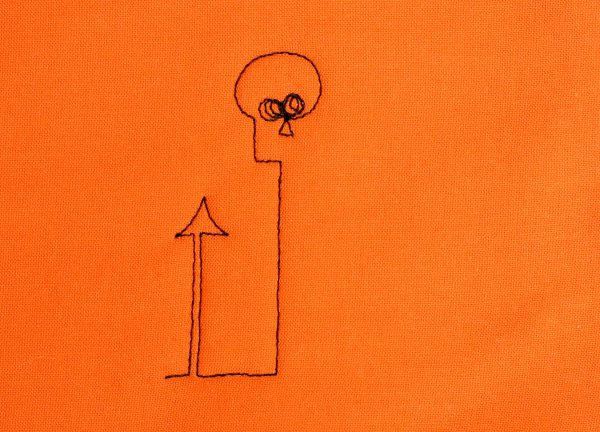
Stitch a small triangle for the nose.
Stitch under the right eye socket and then stitch a short vertical line.
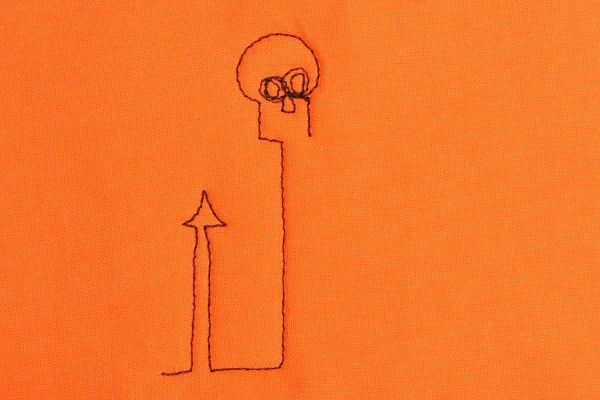
Add a zig zag from right to left and then overstitch the zig zag.
Stitch a vertical line to the baseline and then stitch over several stitches to add more elements.
Add an arched line to create a gravestone and add lettering like Frank N. Stein or “I told you I was sick.”
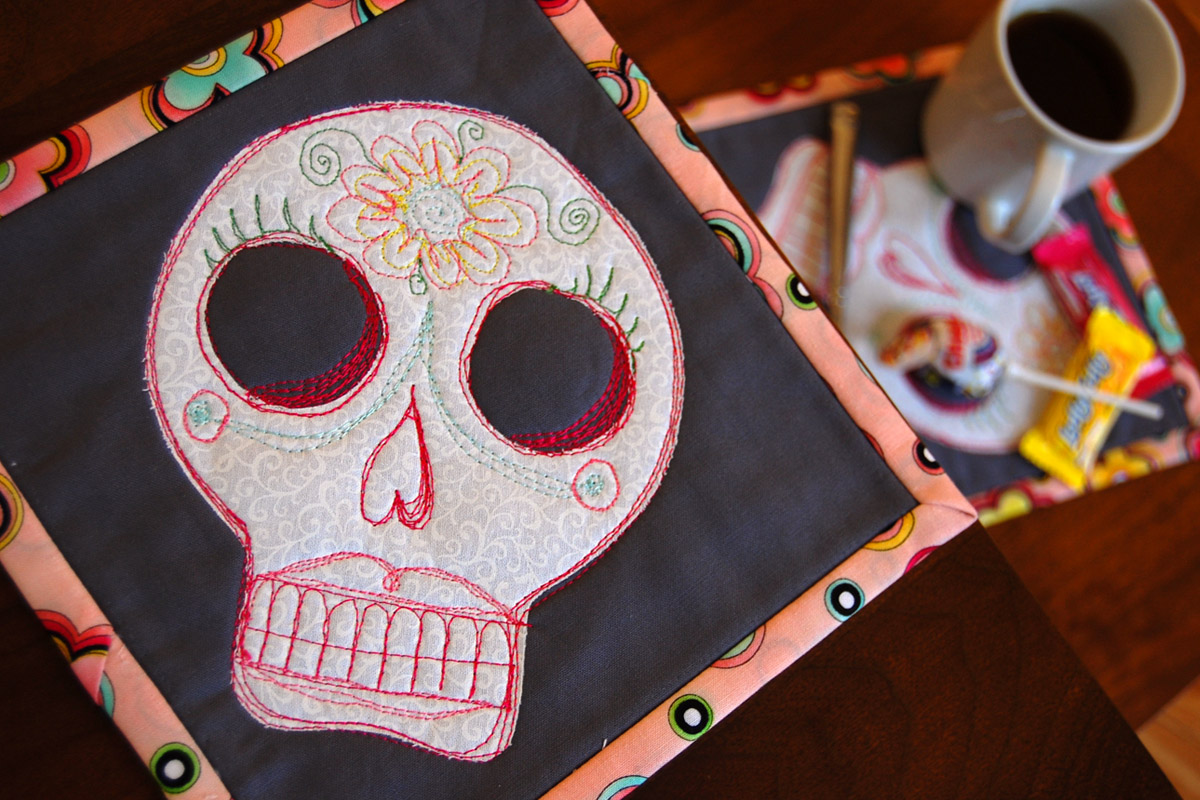
Dia de Muertos Sugar Skulls
Once you learn the basic skull motif, quilt a large version and embellish with a variety of motifs. Almost any quilt motif would be suitable for the decorative Sugar Skulls.
For more quilting motifs, ideas and tips, be sure to check out my latest book, 25 Days to Better Machine Quilting, Martingale.
What you might also like
2 comments on “How to Free-motion Quilt a Spooky Halloween Border with Sugar Skulls”
-
-
It’s not your ordinary motif! Glad you enjoyed it!
-
Leave a Reply
You must be logged in to post a comment.

this was really fun after i got the hang of it
thank-you