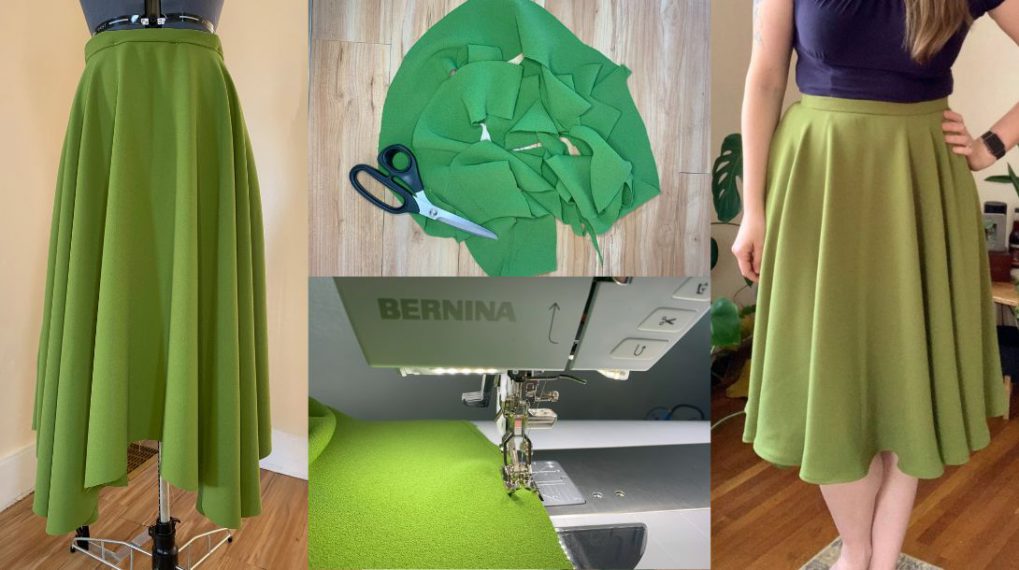
How to Make a Gored Skirt
I’ve been making all my skirts without a pattern for years, and here’s how I do it!
For those of you who prefer watching video tutorials, I did make a video of me making a different skirt using the same method that’s available on the bernette Instagram page here.
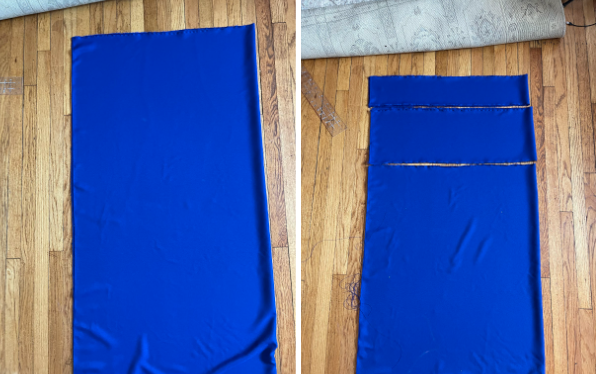
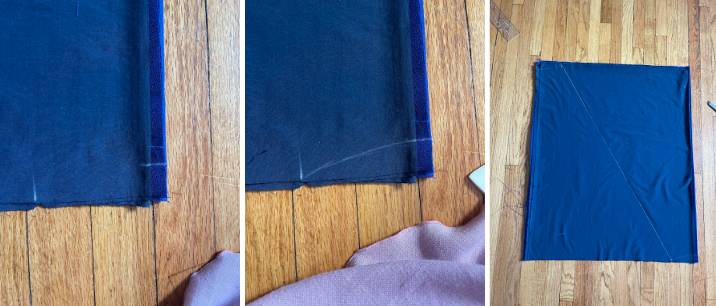
I’m starting off by laying out the length of my fabric folded in half. Then, I’m marking off a strip that’s as wide as I want my pockets to be (plus an inch for seam allowance) and a strip that’s twice as wide as I want my waistband to be. (Again, plus an inch for seam allowance.) Then I’m cutting away those strips and setting them aside for now.
The rest of my fabric I’m then folding in half again lengthwise, folding my lining fabric the same way, and laying that on top.
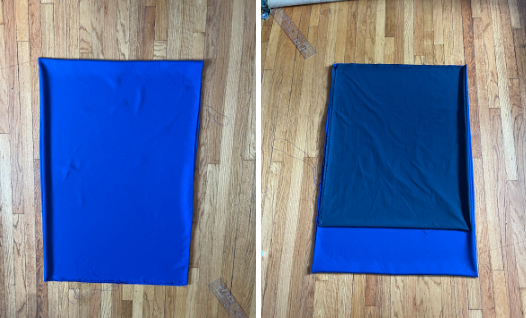
I had a little more of my outer fabric than my lining fabric, so I’m just cutting off the excess so these pieces are the same length. Then cut along the folds that are on the top edge of the fabric. Next, you should have four folds along one side, two of each fabric. Cut along only one of each of those folds, so that you’ll have a centre back seam but no centre front seam.

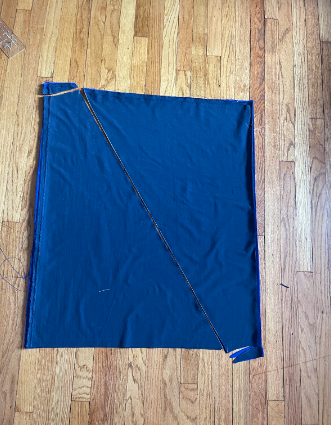
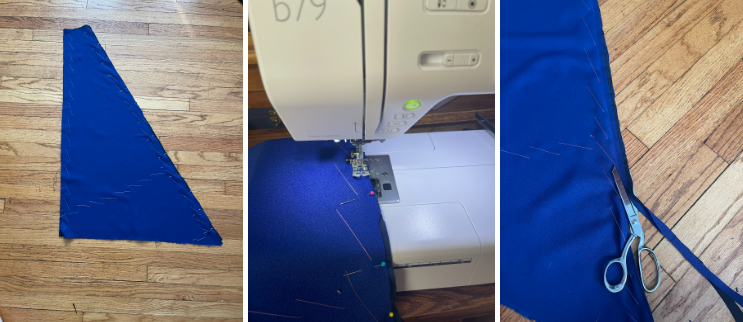
Then, draw a mark into the fabric that’s an eighth of your waist measurement, and one that’s an inch down. (If this winds up being a little too big or too small for your waist, that can be easily fixed later.) Then draw a curved line connecting those two dots. Repeat this process on the opposite corner of the fabric, and then draw a large diagonal line connecting the two outer marks together.
Now cut along all of those lines. This is essentially the core of this method, just cutting big triangles and stitching them together until you have a skirt. The rest of this process can be customized to whatever you want and whatever works best for you. I like my fussy little historical sewing techniques, so that’s what I’ll be using for the rest of this tutorial, but if you prefer other methods and something else works best for you, go for it.
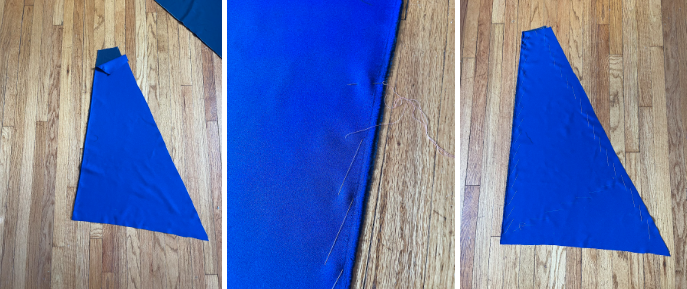
I prefer to flatline my skirts, so next I’m moving on to doing that, laying an outer piece on top of a lining piece and then basting the sides together with big padstitches to ensure they stay together. I’m stitching along both sides and then also just kind of guessing above where I think my hem will wind up being and stabilizing that too.
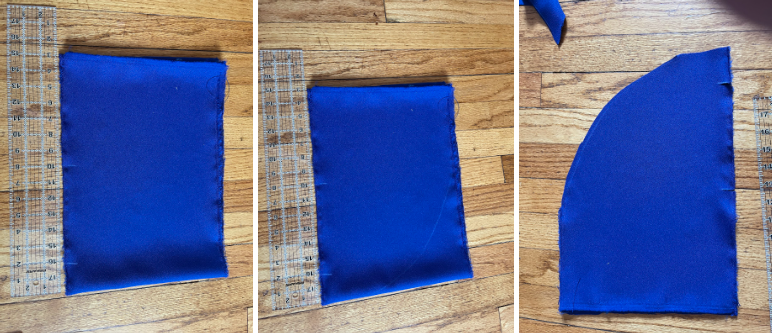
Now for cutting out the pockets. I’m taking that strip I cut away for the pockets earlier and folding it in half again so there are four layers of fabric. Then I’m marking along one edge two inches and eight inches down from the edge. That’ll become the pocket opening., so once those points are marked I’m cutting them half an inch in to form the flaps I’ll later stitch onto my side seam. I’m also rounding off the top, and then cutting that all out.
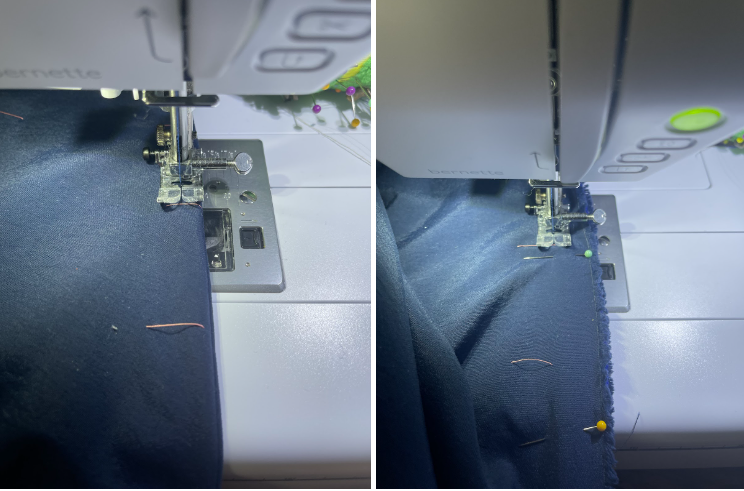
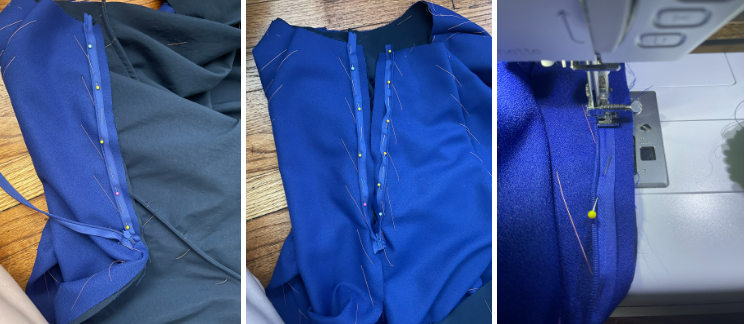
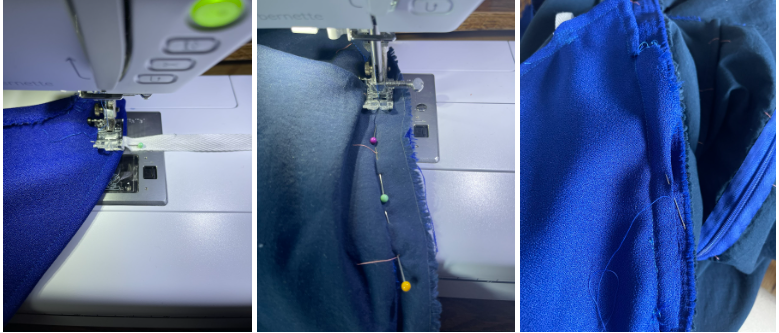
Back to the skirt itself, I’m doing french seams for the side front and side back, so I’m starting by taking two pieces and pinning them wrong sides together before sewing them together. Your side front and side back seams are going to be on the sides that are cut diagonally. The straight sides become the true side seams and the centre back seam, since a pocket on the bias is much more likely to warp over time. Once my seam is stitched together, I’m trimming away the excess fabric.
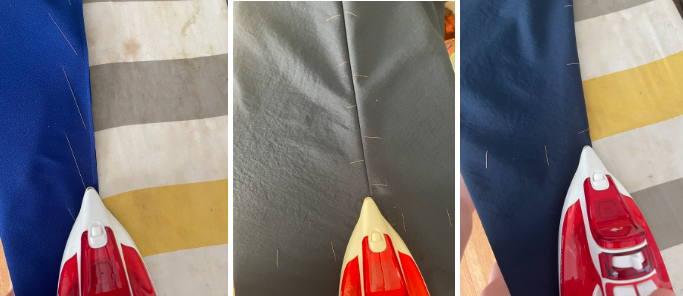
Once my seam is stitched together, I’m pressing it three times. This may seem excessive, but I’ve found it makes the process easier and makes the seams lay flatter. The first press is just along the seam as is to make sure it’s not wrinkled after going under the machine. Then I press it open from the lining side. Finally, I’m pressing it flat inside out. The middle step here just makes the transition from one to three much easier.
Then I’m stitching that seam down again with about a quarter inch of seam allowance to contain the raw edges of the fabric. Here’s where I’m also stitching up the side seams, but those are stitched regularly with the right sides together rather than being done with a french seam.
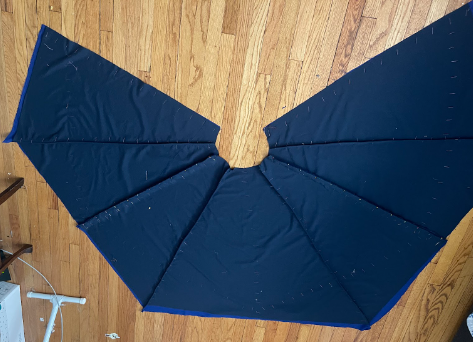
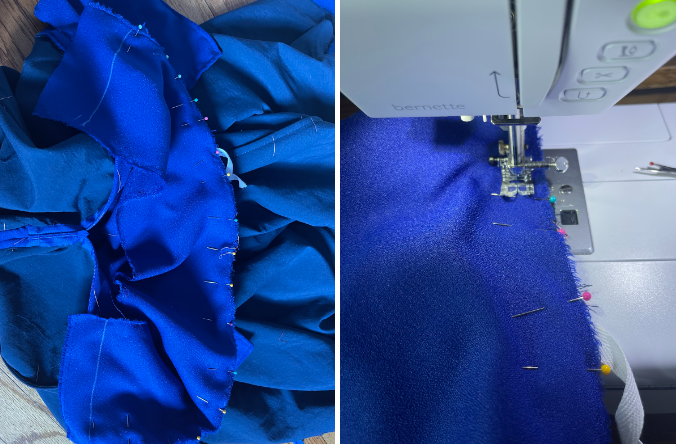
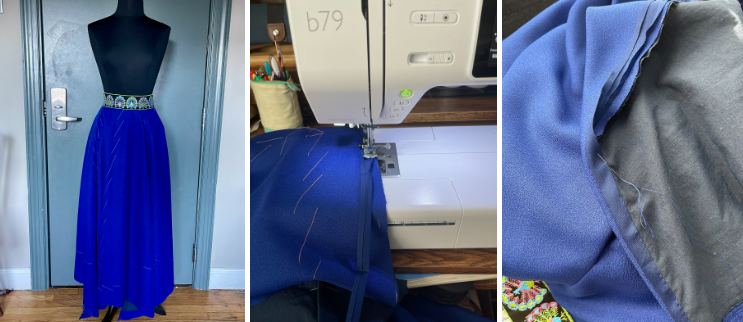
And here’s what it looks like when all laid out together. Here you can see what I meant by making sure the side front and side back seams were on the bias, and that you should leave one of the side folds uncut so it can become the centre front panel. Here’s where we also fix the waist if it’s not sized correctly. If it winds up being too big for you, take it in through each of the seams until it fits. If it’s WAY too big for you, you can also pleat it up in the back for a sprinkle of Victorian influence. If it’s too small, cut some fabric out of the waistband until it does fit. Start off in little bits, like just a half or quarter-inch strip out of the circumference of the waistband. Make sure to leave enough seam allowance for the zipper.
Now it’s zipper time. I’m using an invisible zipper here.
Once the zipper is set into place, I’m stitching up the rest of that seam. Back to historical methods, I’m trimming away some of the lining fabric and folding the outer fabric over it, and stitching that down by hand to encase the raw edges, being sure to only catch the lining with my stitches so they don’t show through to the outside. This method is referred to as ‘felling’. This only needs to be done on the centre back seam and not the side seams, as the side seams were cut on the selvedge and thus do not need to be finished.
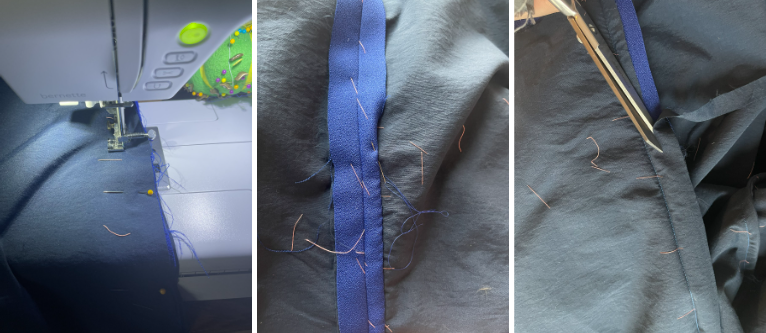
Back to pockets. I’m chalk marking the side seam five inches and eleven inches down from my waistband to mark out the six-inch opening of the pockets. (Feel free to adjust these measurements if you prefer your pocket openings to be higher or lower.) Then I’m backstitching along either side of those to hold them into place, and pressing them open.
I’m waiting until after I’ve pressed the seam open to seamrip out the stitched between the two backstitched points because the crease created by pressing creates a very visible line so you know what line to stitch along when sewing your pocket into place. I’m also putting the pockets together with french seams, stitching along one edge (but leaving the pocket opening I marked out earlier unstitched) before trimming away any excess seam allowance, turning it inside out, pressing it, and stitching around the edge again.
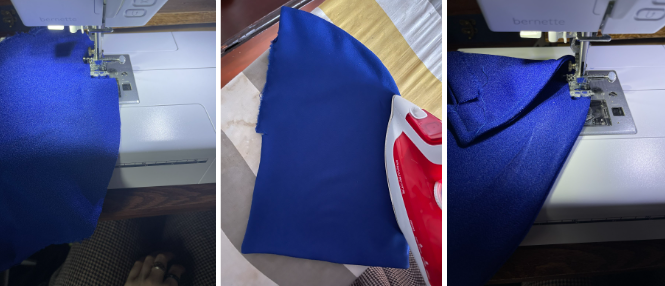
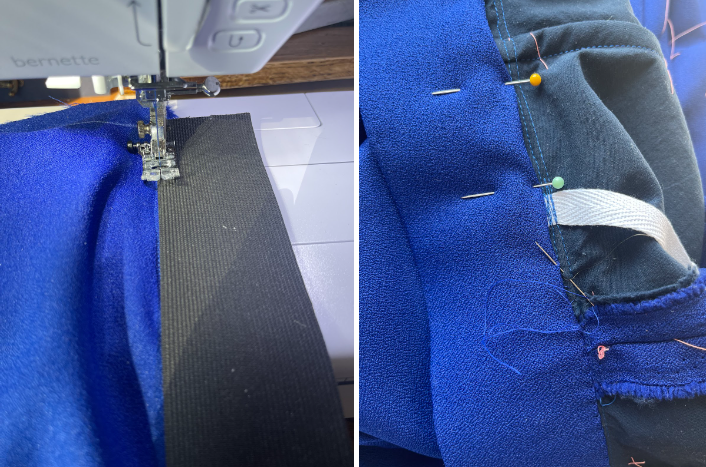
Next, I’m stitching some twill tape to the top of the pocket. This is going to get stitched into the waistband later, and is there to make it so the weight of anything placed in the pockets is supported by the waistband rather than hanging on the waist seam itself and causing that to warp out of shape. Then my pockets are stitched into place. I find it makes it easier to make the opening look neater if you’re sewing with the skirt side of the fabric facing up, rather than sewing from the pocket side. Once that’s in place, I’m finishing the raw pocket edge by felling it to the seam allowance.
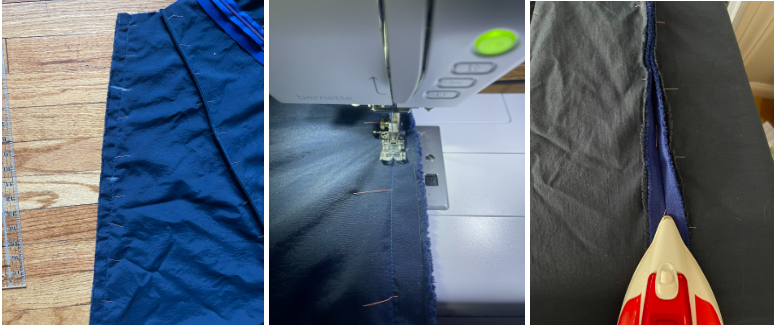
Now it’s time for the waistband. I’m starting off by cutting that waistband strip from earlier down to the size I need. My waist measurement plus seam allowance, more on one side than the other so there can be an overhang for the closure. Here I’m also stitching the twill tape into place, just a few inches in front of the side seam.
Normally I have a rather stiff non-fusible interfacing that I stitch in with the fabric, but I’ve found that another thing that’s really been working for me when it comes to something that’ll keep wide waistbands stiff. Really old stale elastic. It’s not really stretchy at all anymore, which is perfect, because I don’t need the waistband to stretch. So I’m stitching the outer fabric into place first before stitching that down too. Then I’m folding the waistband over that and stitching it down to the other side.
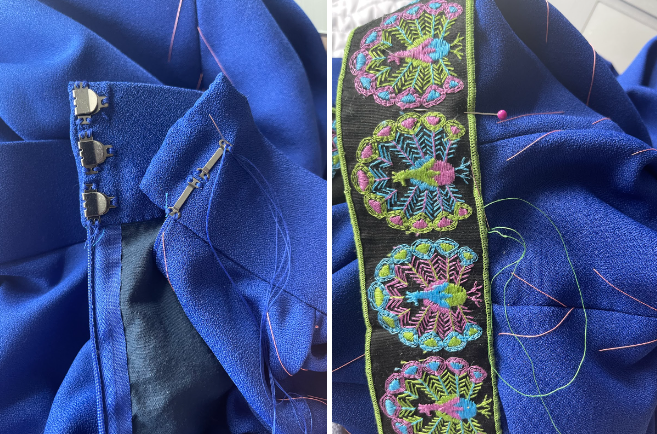
I’m using hook and bar closures at the back to close the waistband. Then, because the skirt is a little plain, I chose to tack this cute decorative trim my great aunt gave me to the waistband for a little extra flair.
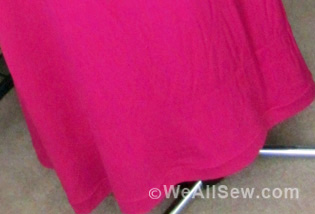
Because the side front and side back seams are on the bias, it’s generally a good idea to let them hang and stretch out before hemming, I’m putting mine on a dress form for a week before leveling off the hem, but you can also have it hand on a hanger and have a friend mark the hem. Once the extra fabric is trimmed away, I’m stitching bias tape all along the hem, before folding it over and felling it down to the lining so the stitches don’t show through to the other side.
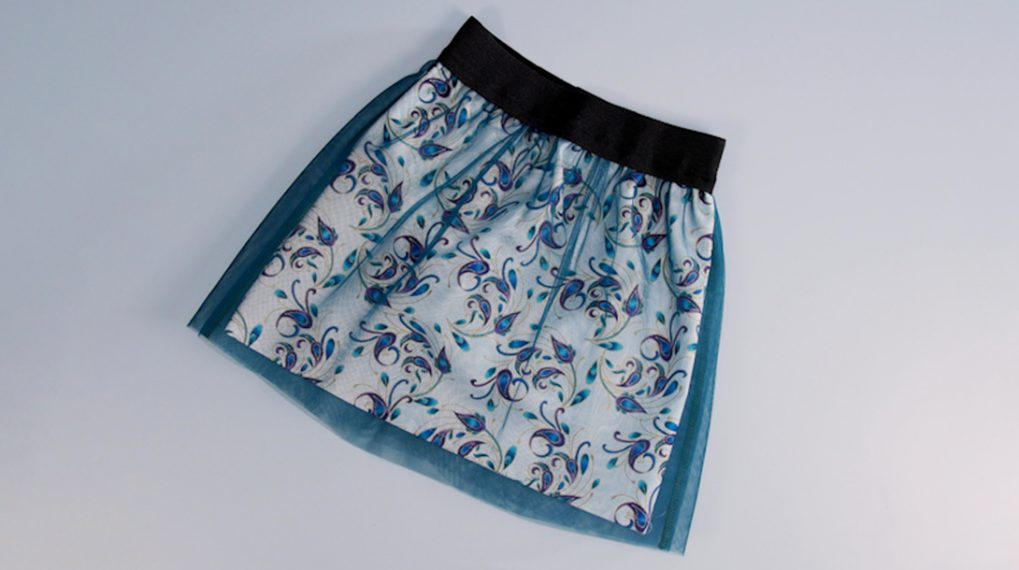
After that, the basting stitches from earlier are removed and the skirt is complete!
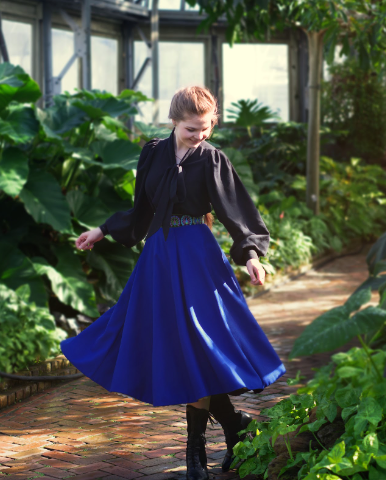
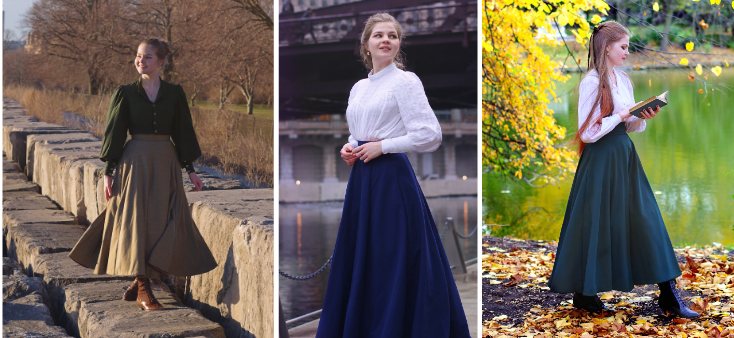
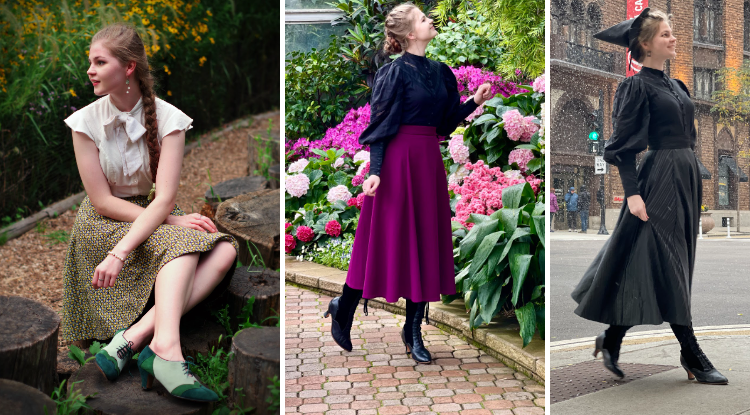
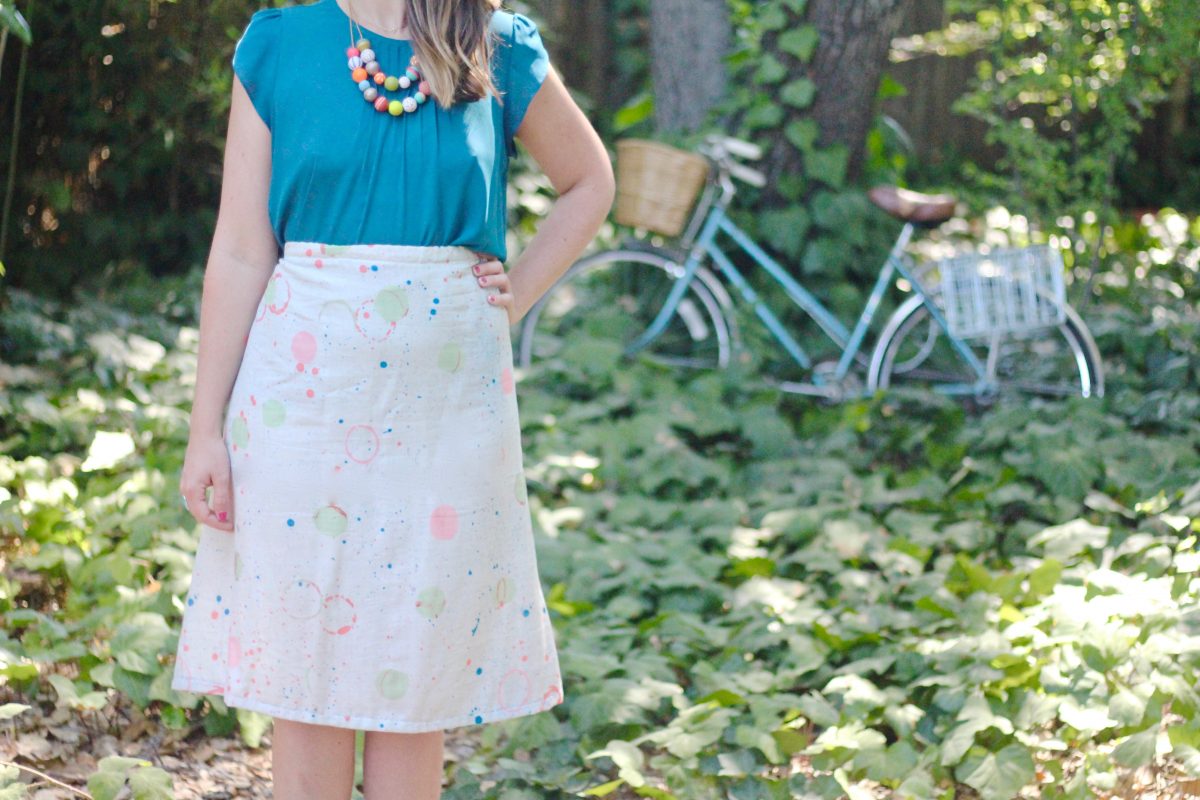
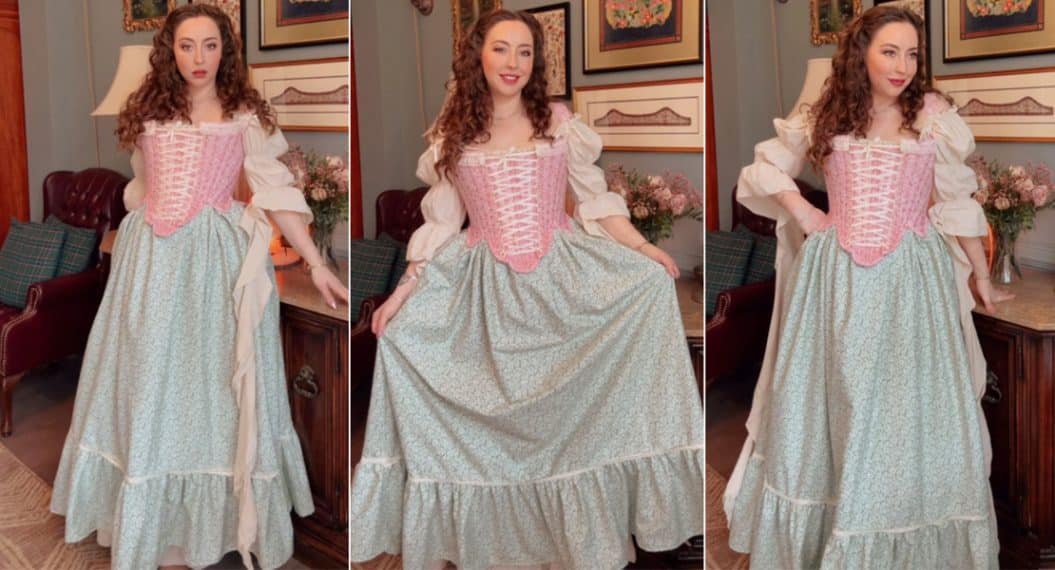
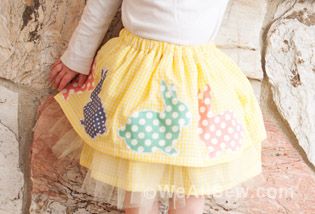
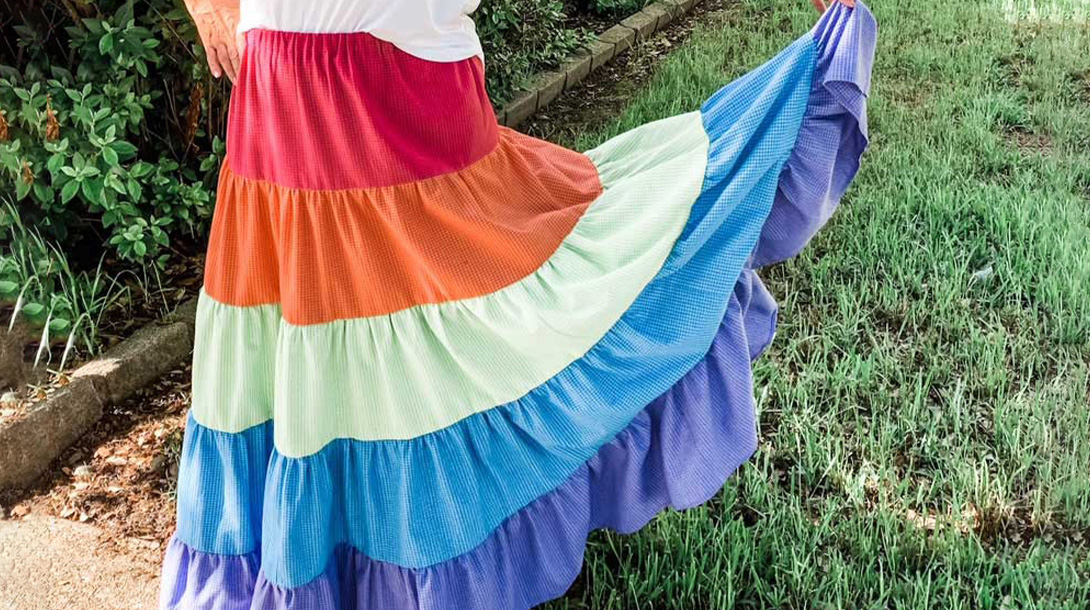
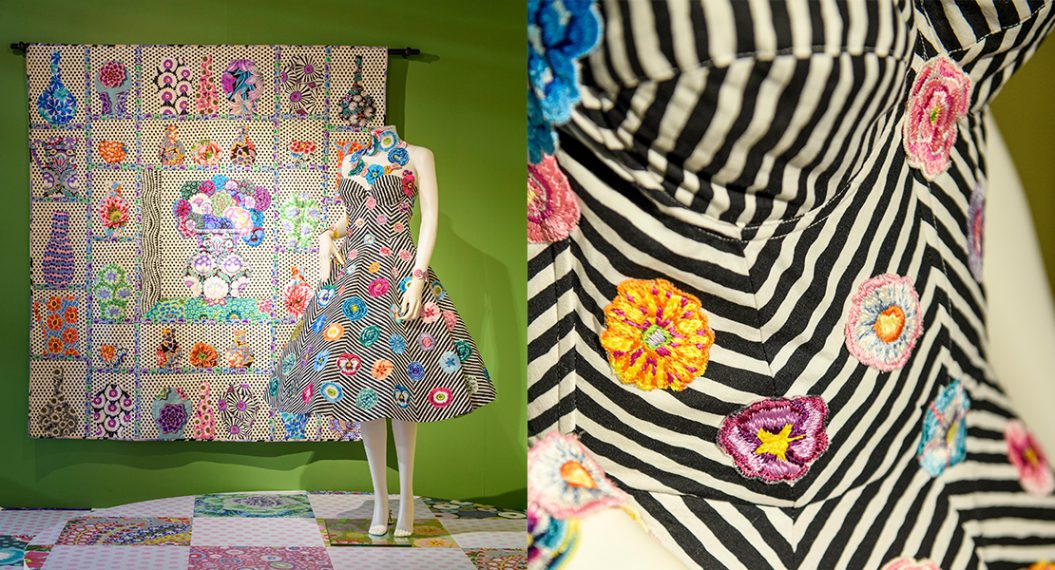
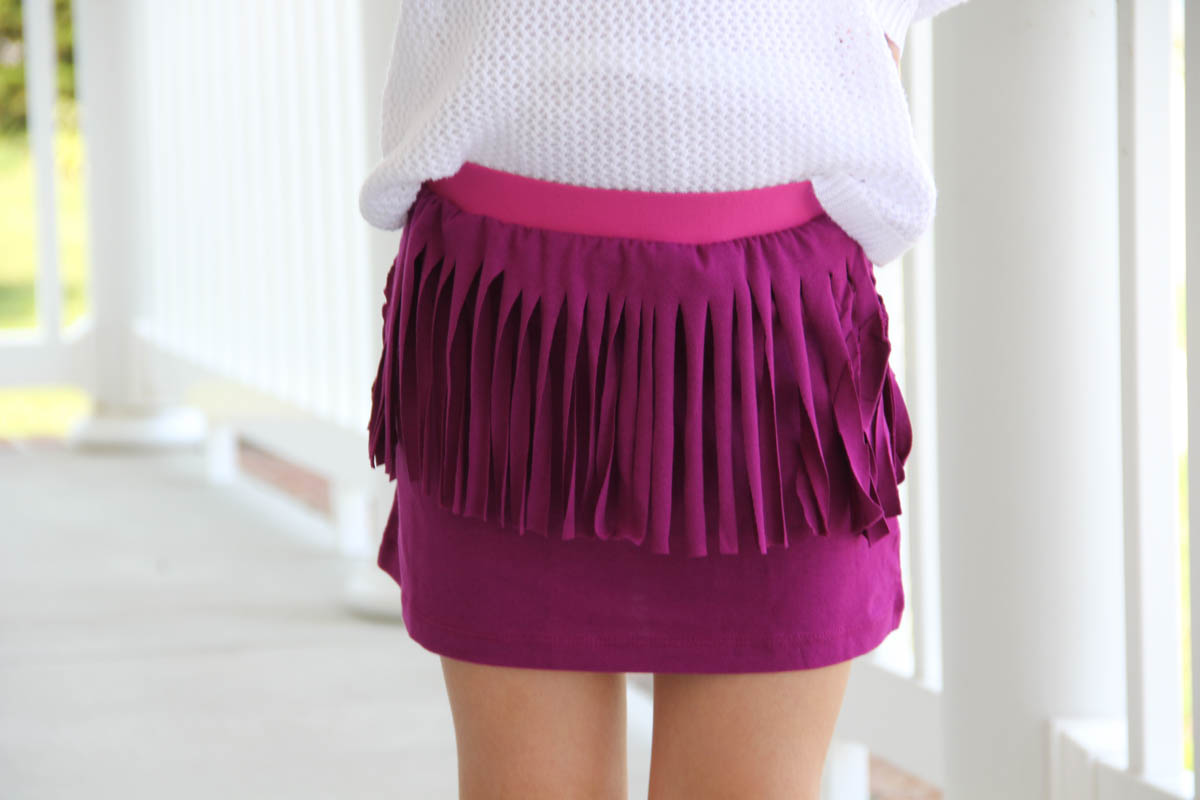
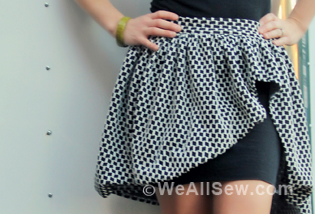
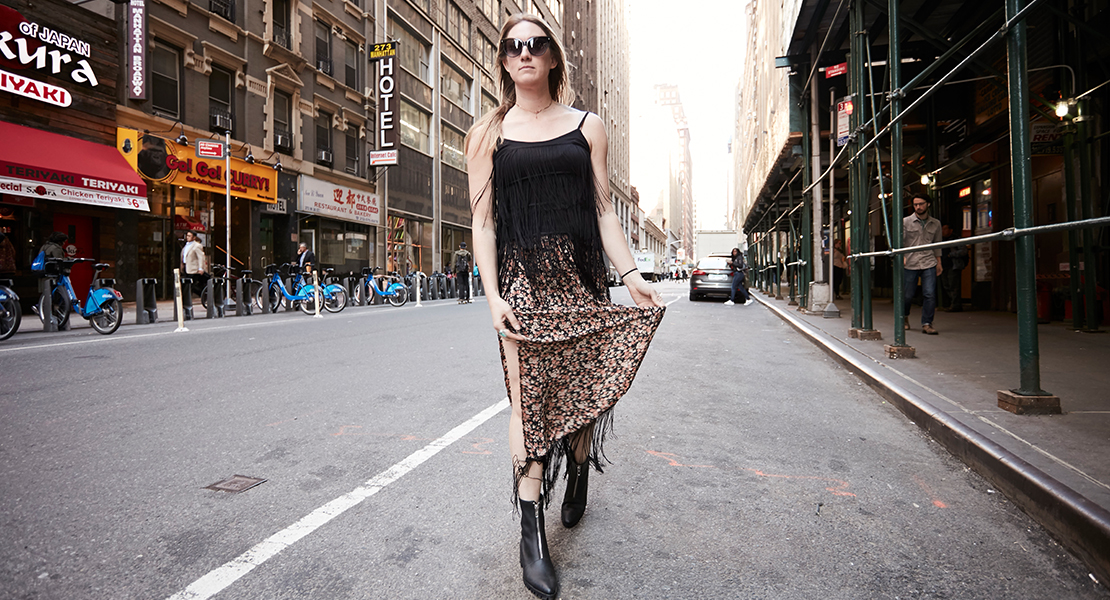
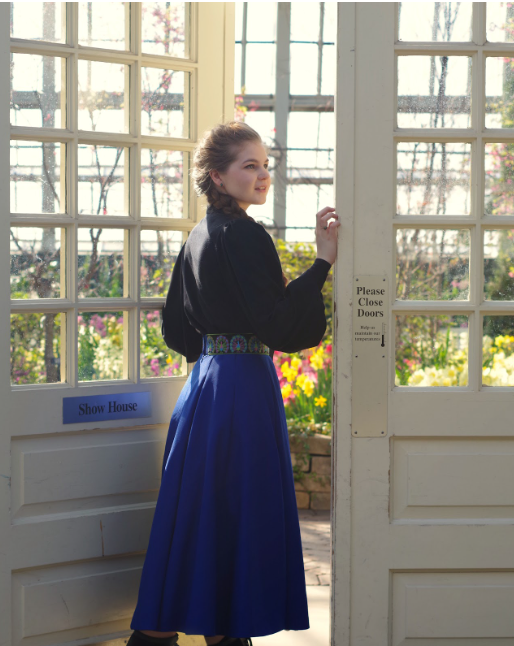
Here are other skirts I’ve made using the same method, just changing the length of the skirt or the width of my fabric. The core concept remains the same: Sew a bunch of triangles together until you end up with a skirt.