How to Make Japanese Inspired Door Curtains
Learn how to make a simple door curtain that adds privacy and style to any doorway and acts as a quick room divider.

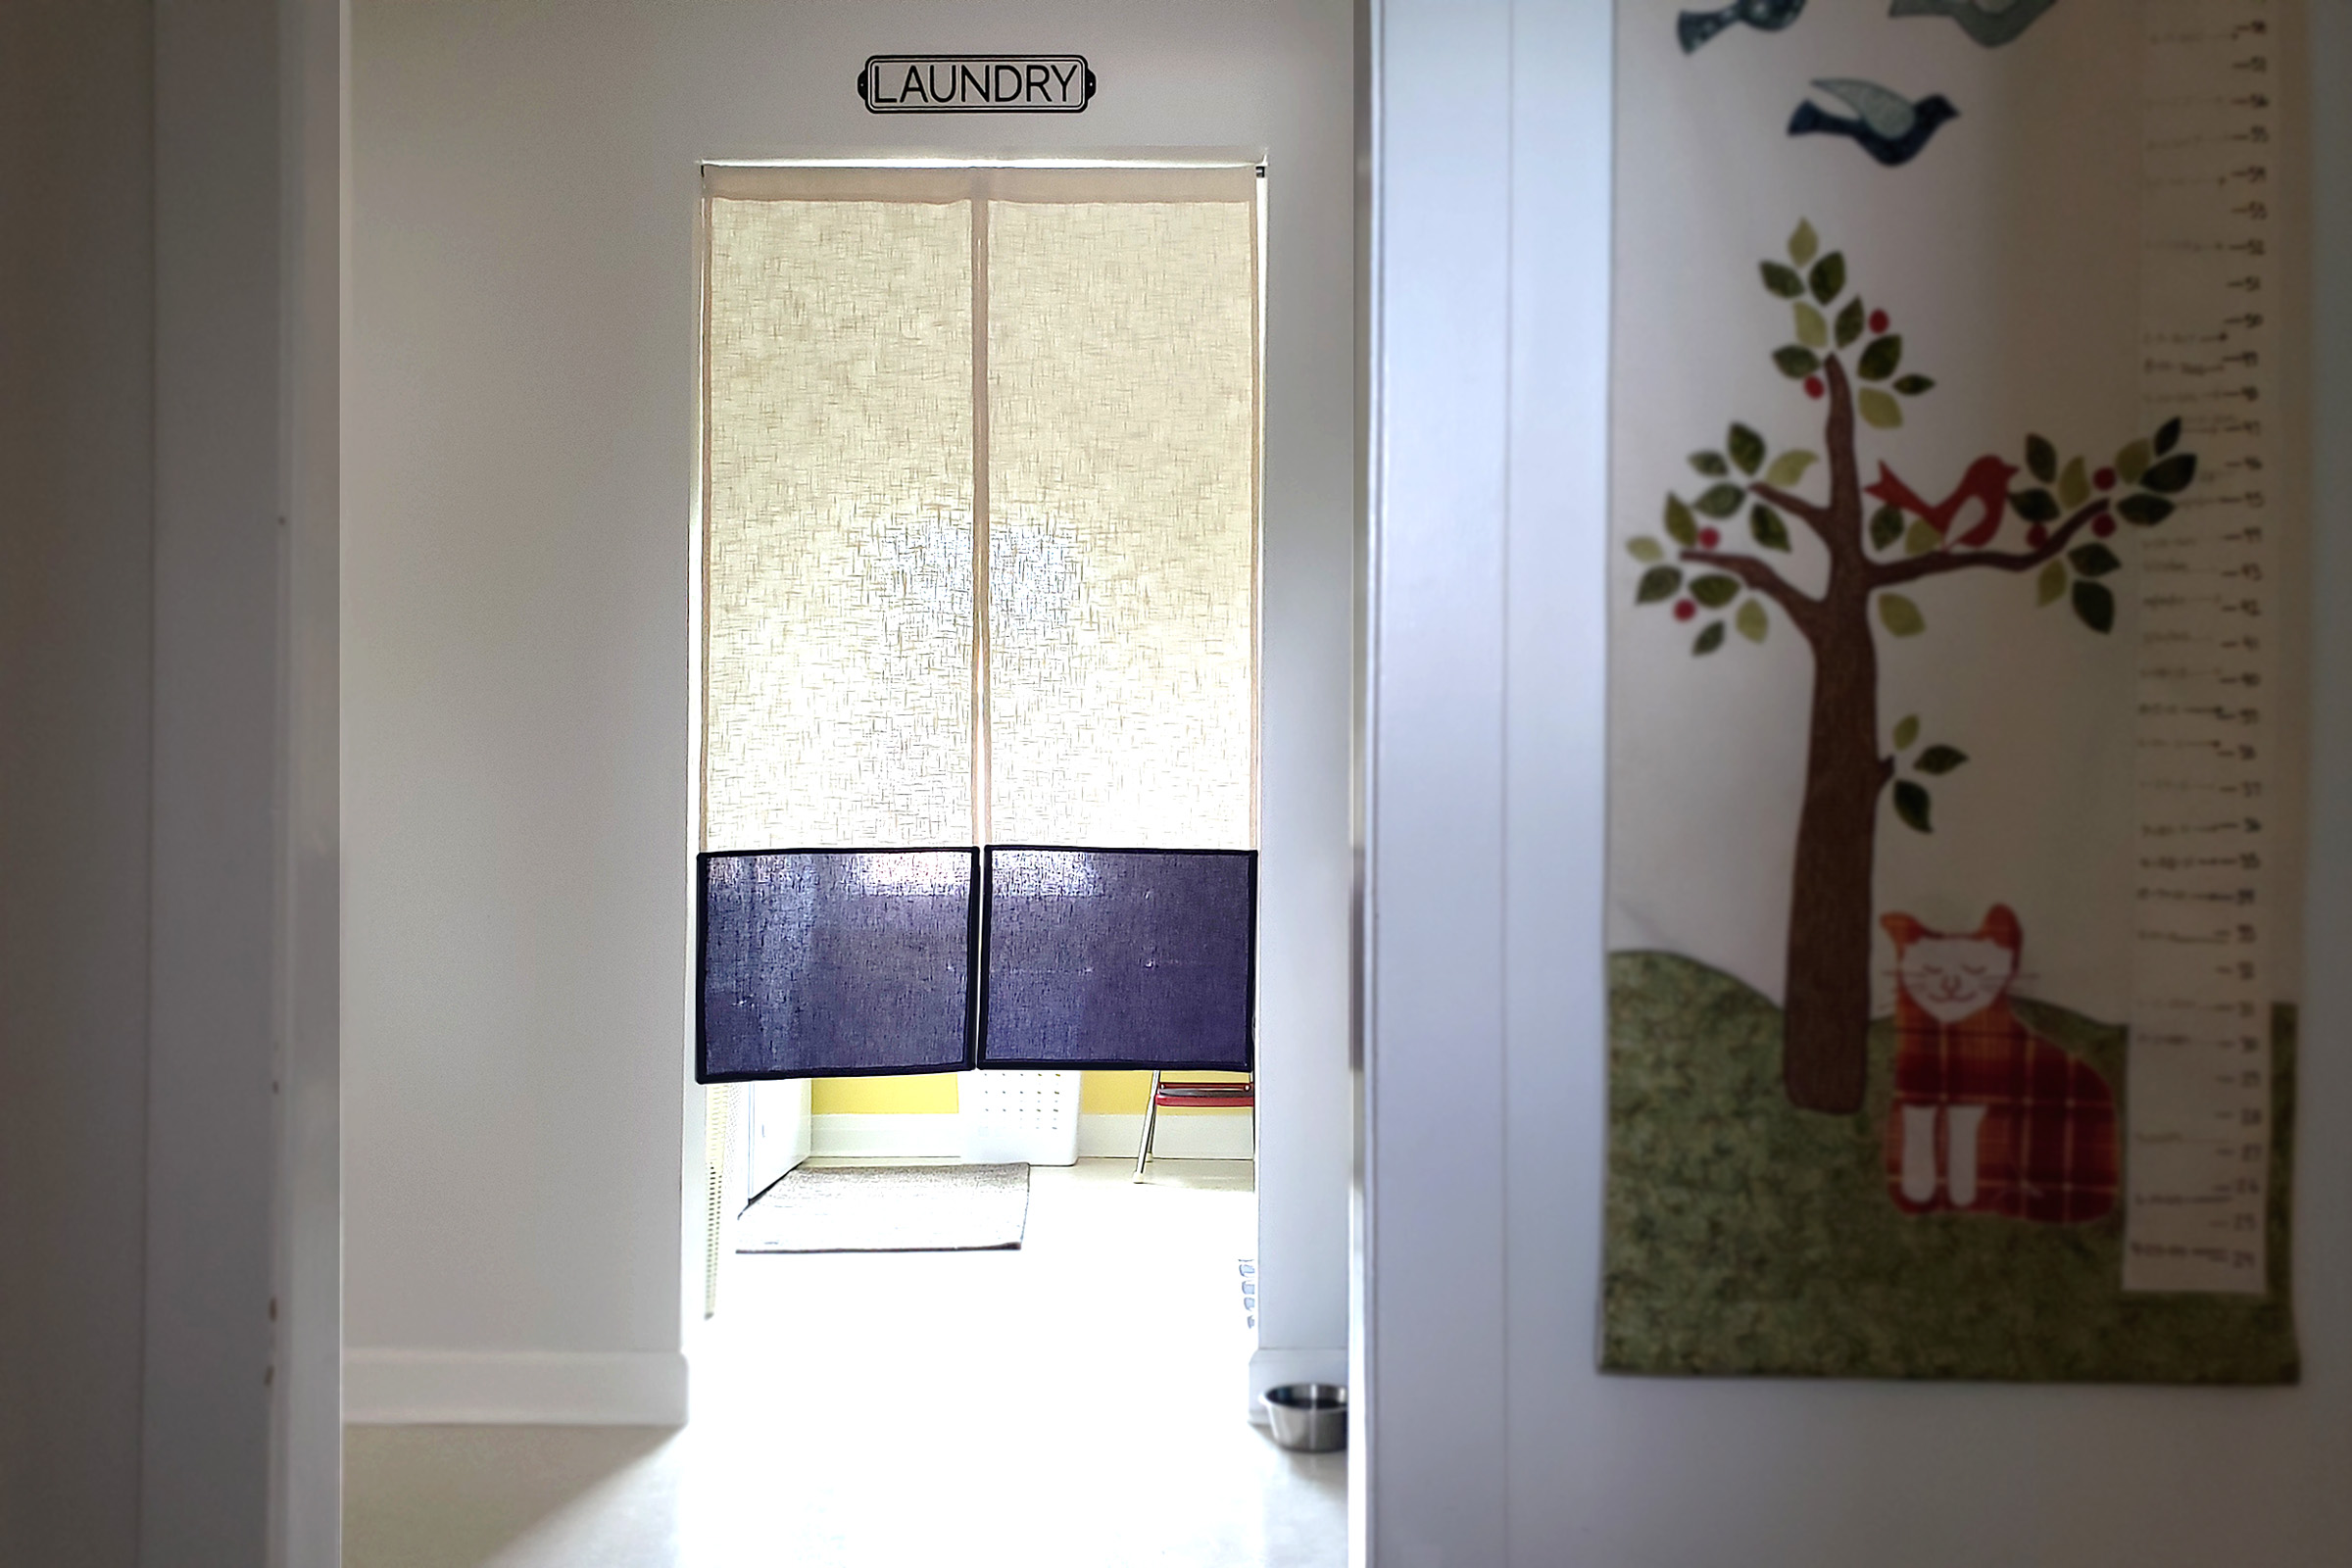
Our home has a second floor laundry room off the main hallway and I see it every time I walk from my home office/sewing studio to the rest of the house. Some days there is laundry all over this little room and it looks like an explosion! I wanted to hide the mess without losing the bright morning light from the window, or the easy access for our cats to access their stuff in the room.
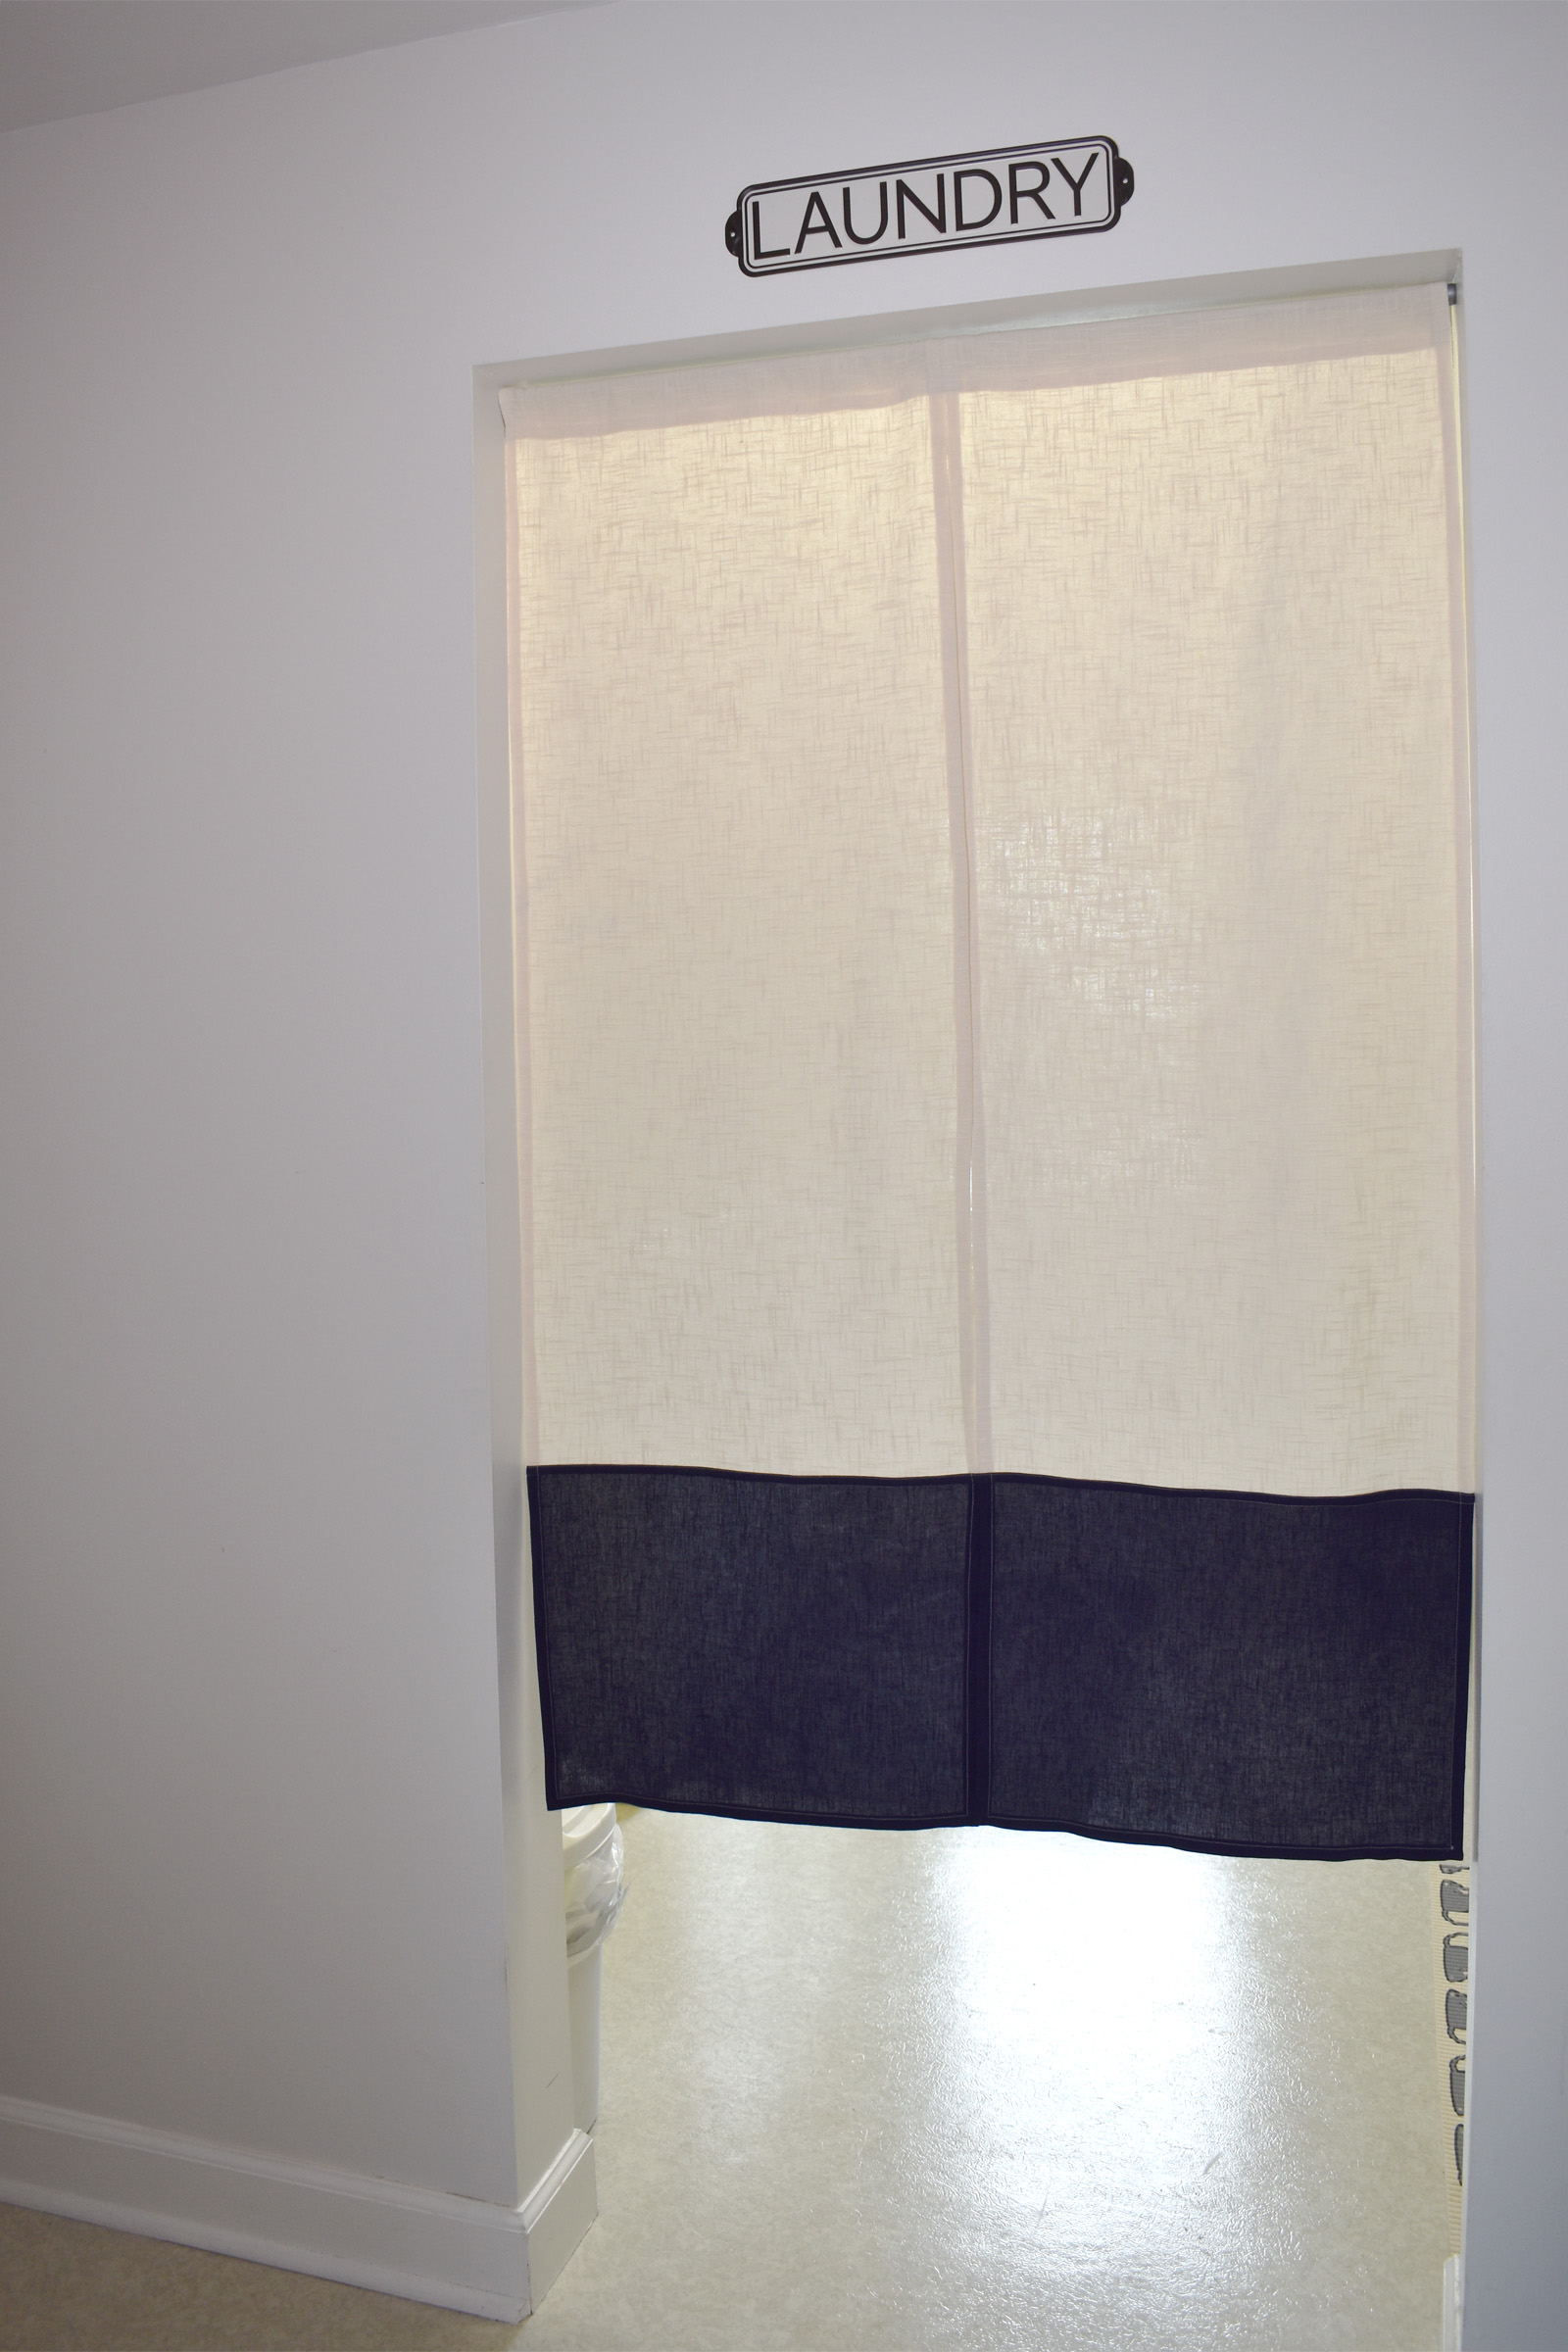
I made a simple fabric room divider inspired by Japanese noren room dividers. Traditionally noren panels are hung in doorways or between rooms, and are made of lightweight fabric with a center split for ease of entering. These fabric panels divide a room and give a bit of privacy but still allow air and light between rooms. If you’d like to learn more about traditional Japanese noren check out this article.
Materials to Make Japanese Inspired Door Curtains
Suitable fabrics include light to medium weight woven solids or large prints.
- 1 2/3 yard fabric for main part of curtain (the top part, I used a medium weight, textured rayon woven fabric)
- ¾ yard fabric for contrast part of curtain (the bottom part, I used a medium weight woven rayon fabric)
- 40wt polyester or all-purpose thread to match fabric
- Rotary cutter, cutting mat, and 6″ x 24″ ruler
- Basic sewing supplies
- Tension curtain rod to fit door opening
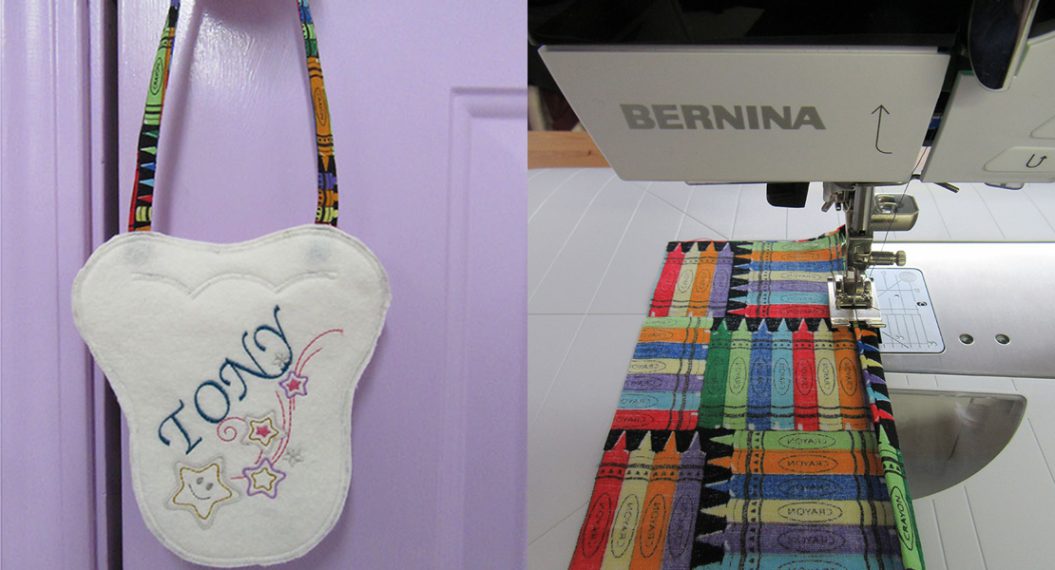
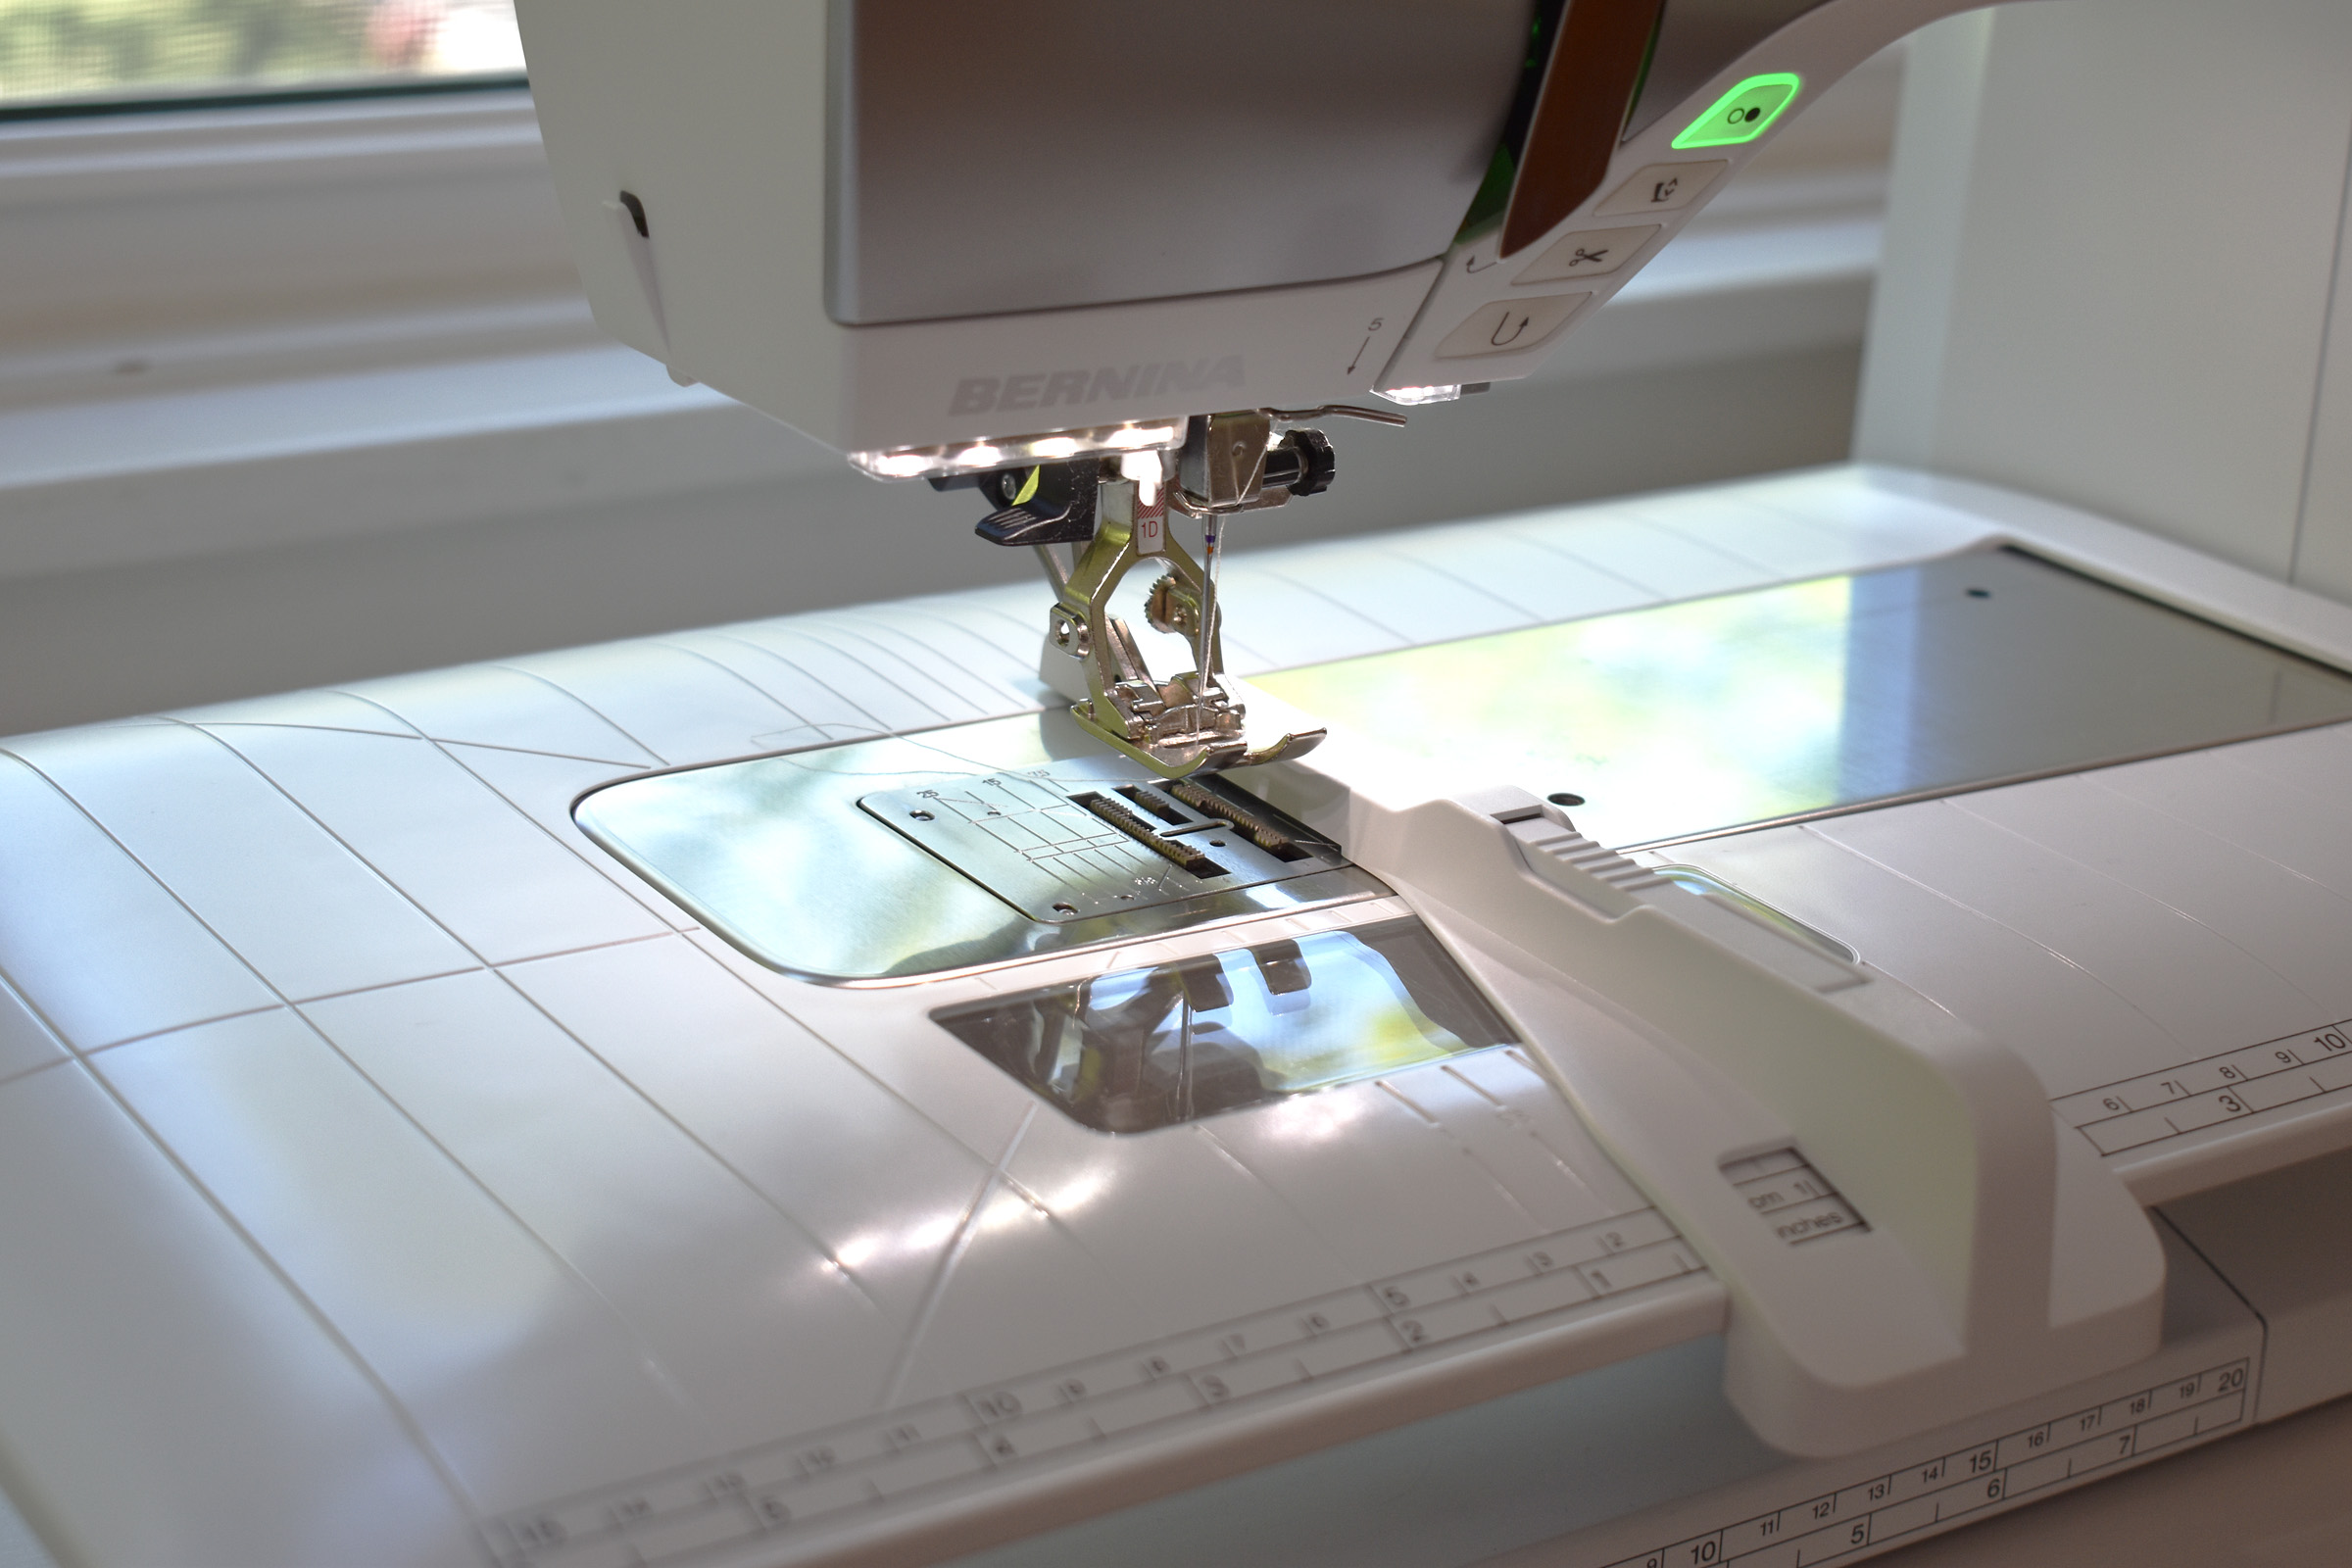
- Sewing machine (I use a BERNINA 570 QE)
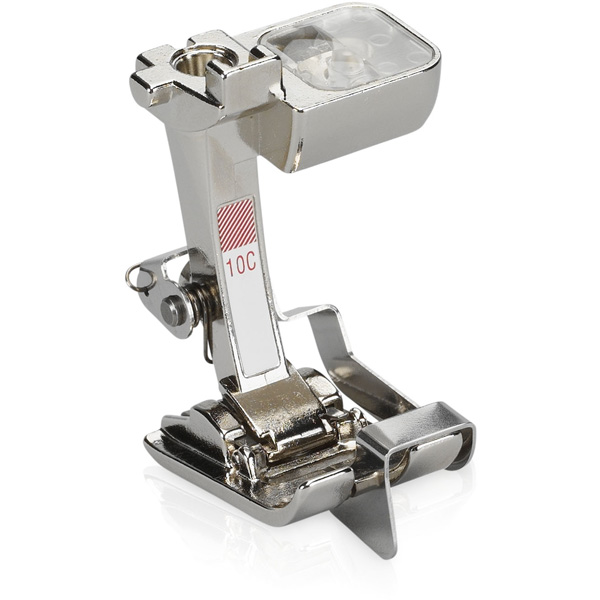
- Reverse Foot #1D
- Edgestitch Foot #10C
- Seam Guide for Slide-on Table
Cut the fabric to size.
You may wish to wash the fabric (follow the manufacturer’s washing instructions) and press it well to pre-shrink before cutting.
Cut fabric on grain line with the woven threads in the fabric. The more exact you cut the panels on the woven grain of the fabric, the straighter the panels will hang in the doorway when they are finished.
Find your calculated panel width:
Step 1: measure the inside width of your door frame where you plan to hang the tension rod. Divide this measurement by 2, then add 2″. (My door frame measures exactly 36″ across, divided by 2 equals 18″ + 2″ to calculate the panel width of 20″).
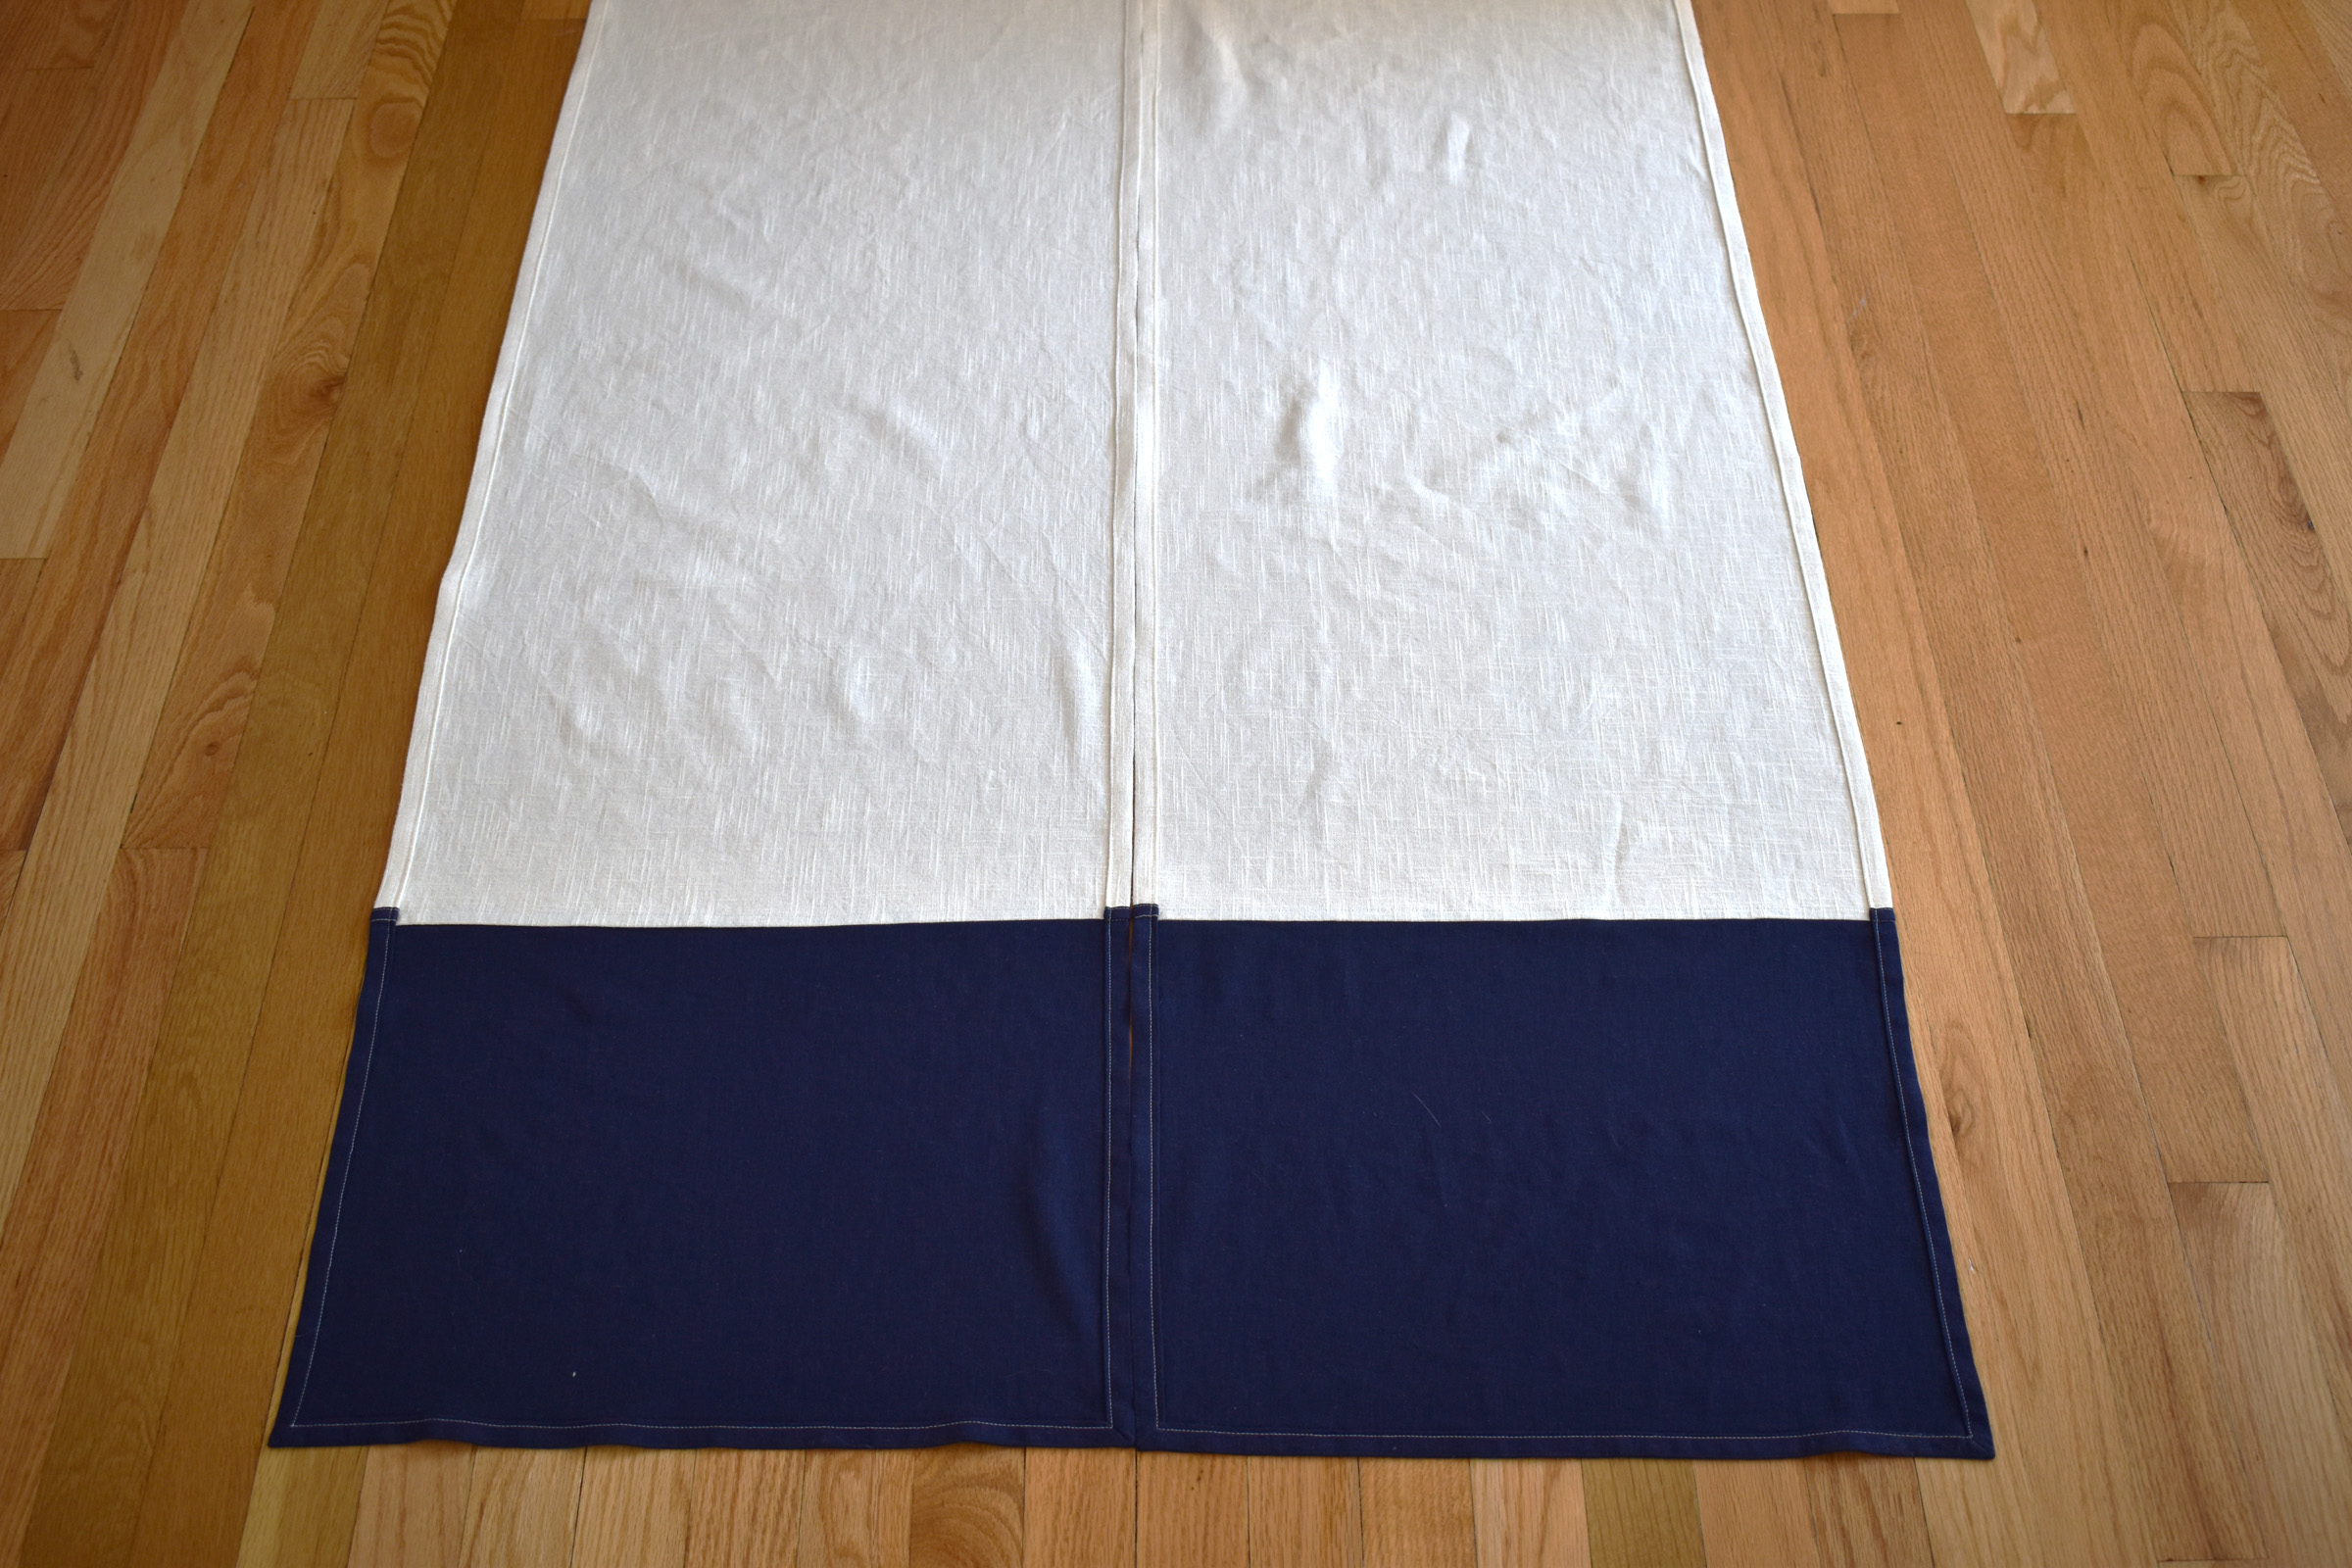
Step 2: Cut two main fabric panels (for the top part of each curtain) 48″ long by your calculated panel width.
Step 3: Cut two contrast fabric panels (for the bottom part of each curtain) 15 1/2″ long by your calculated panel width.
Get ready to sew.

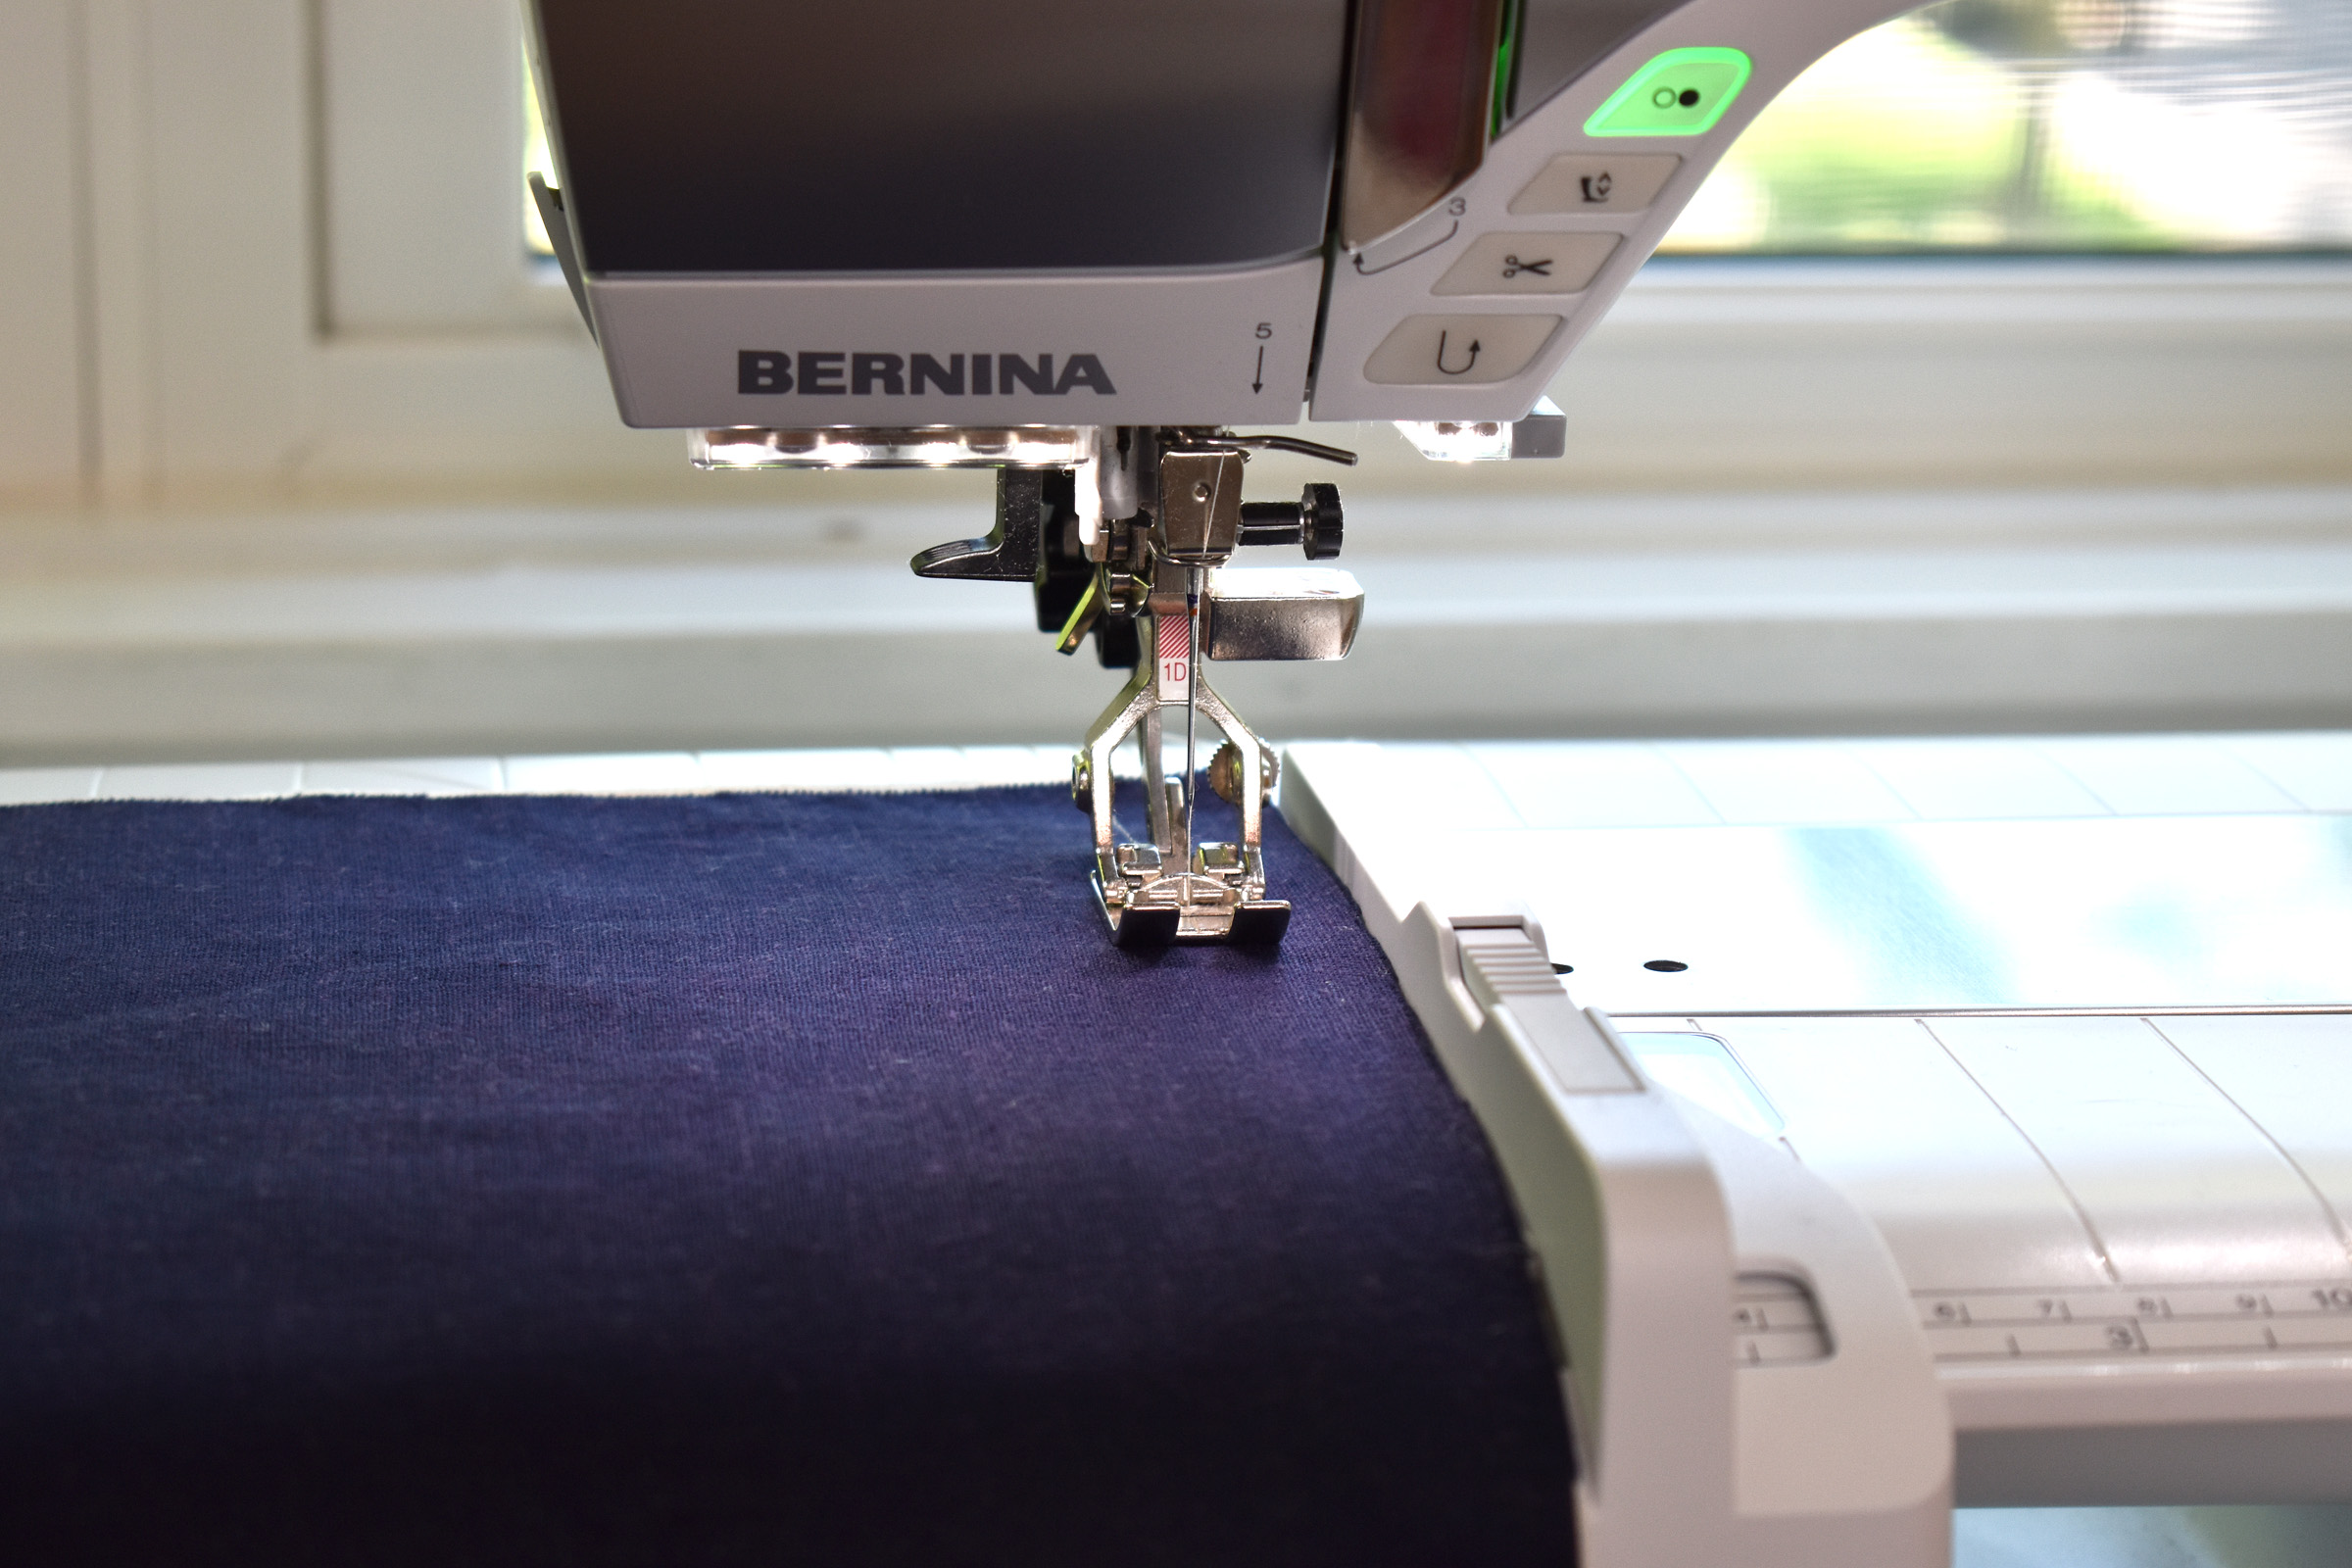
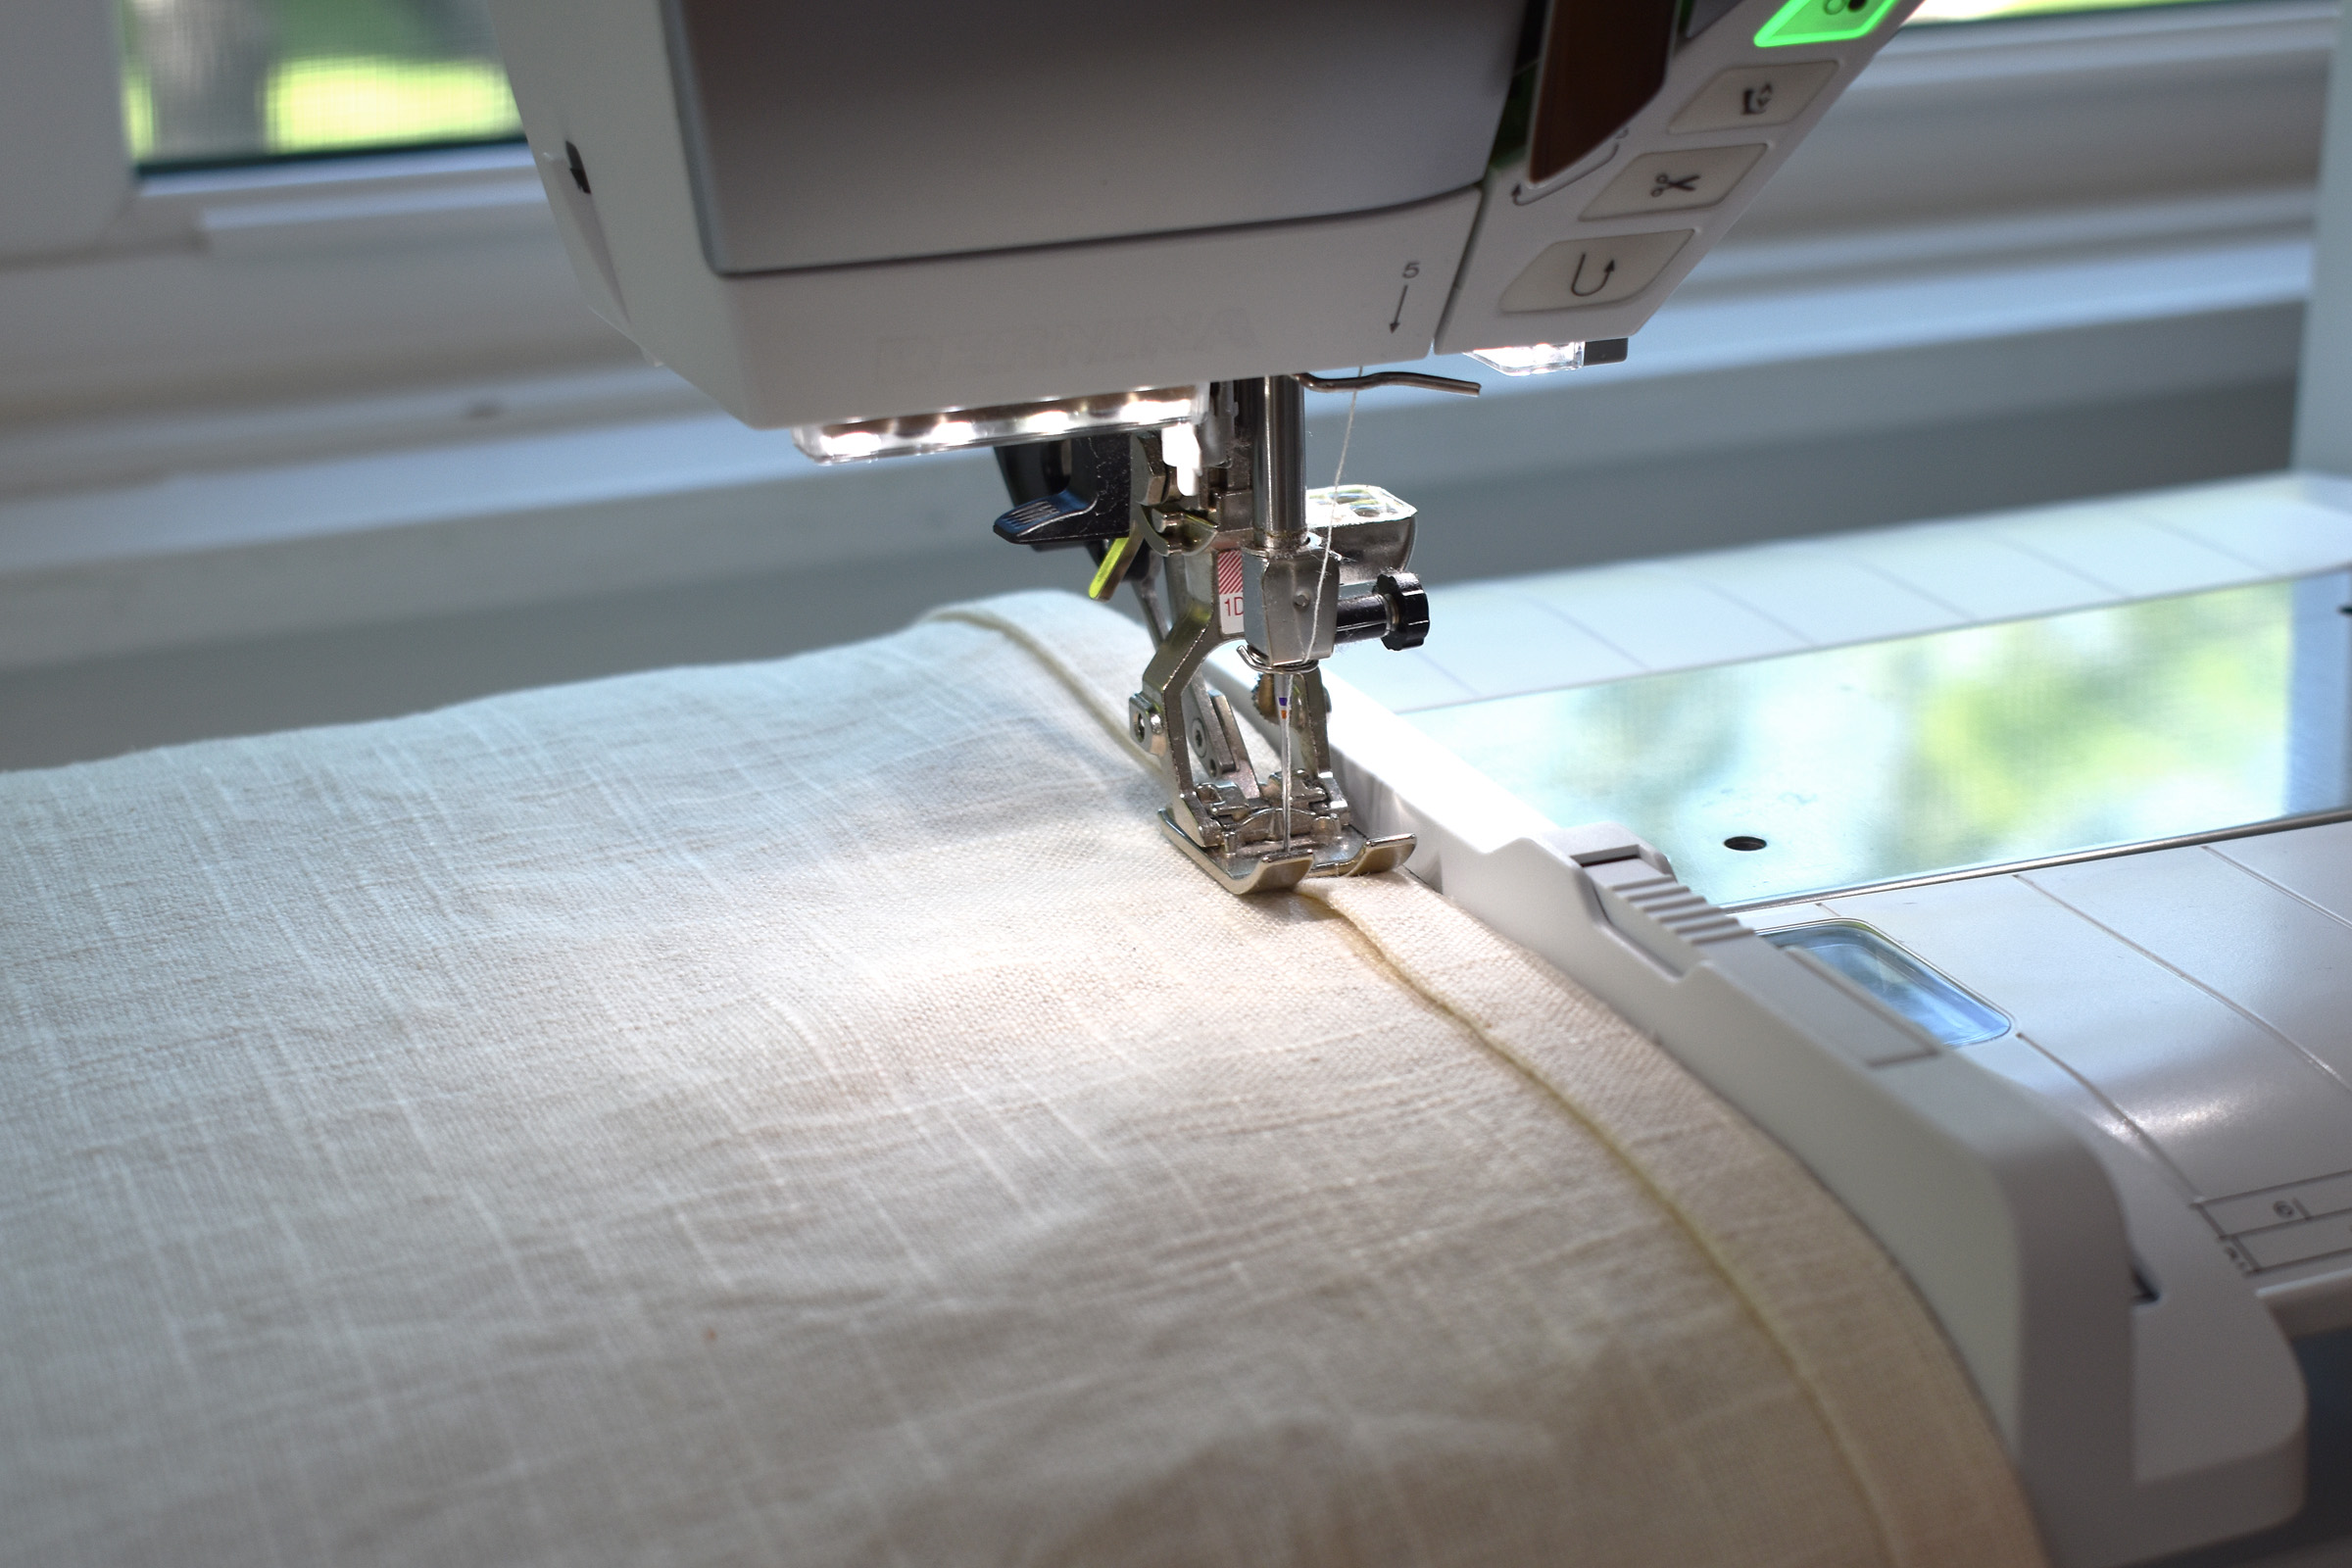
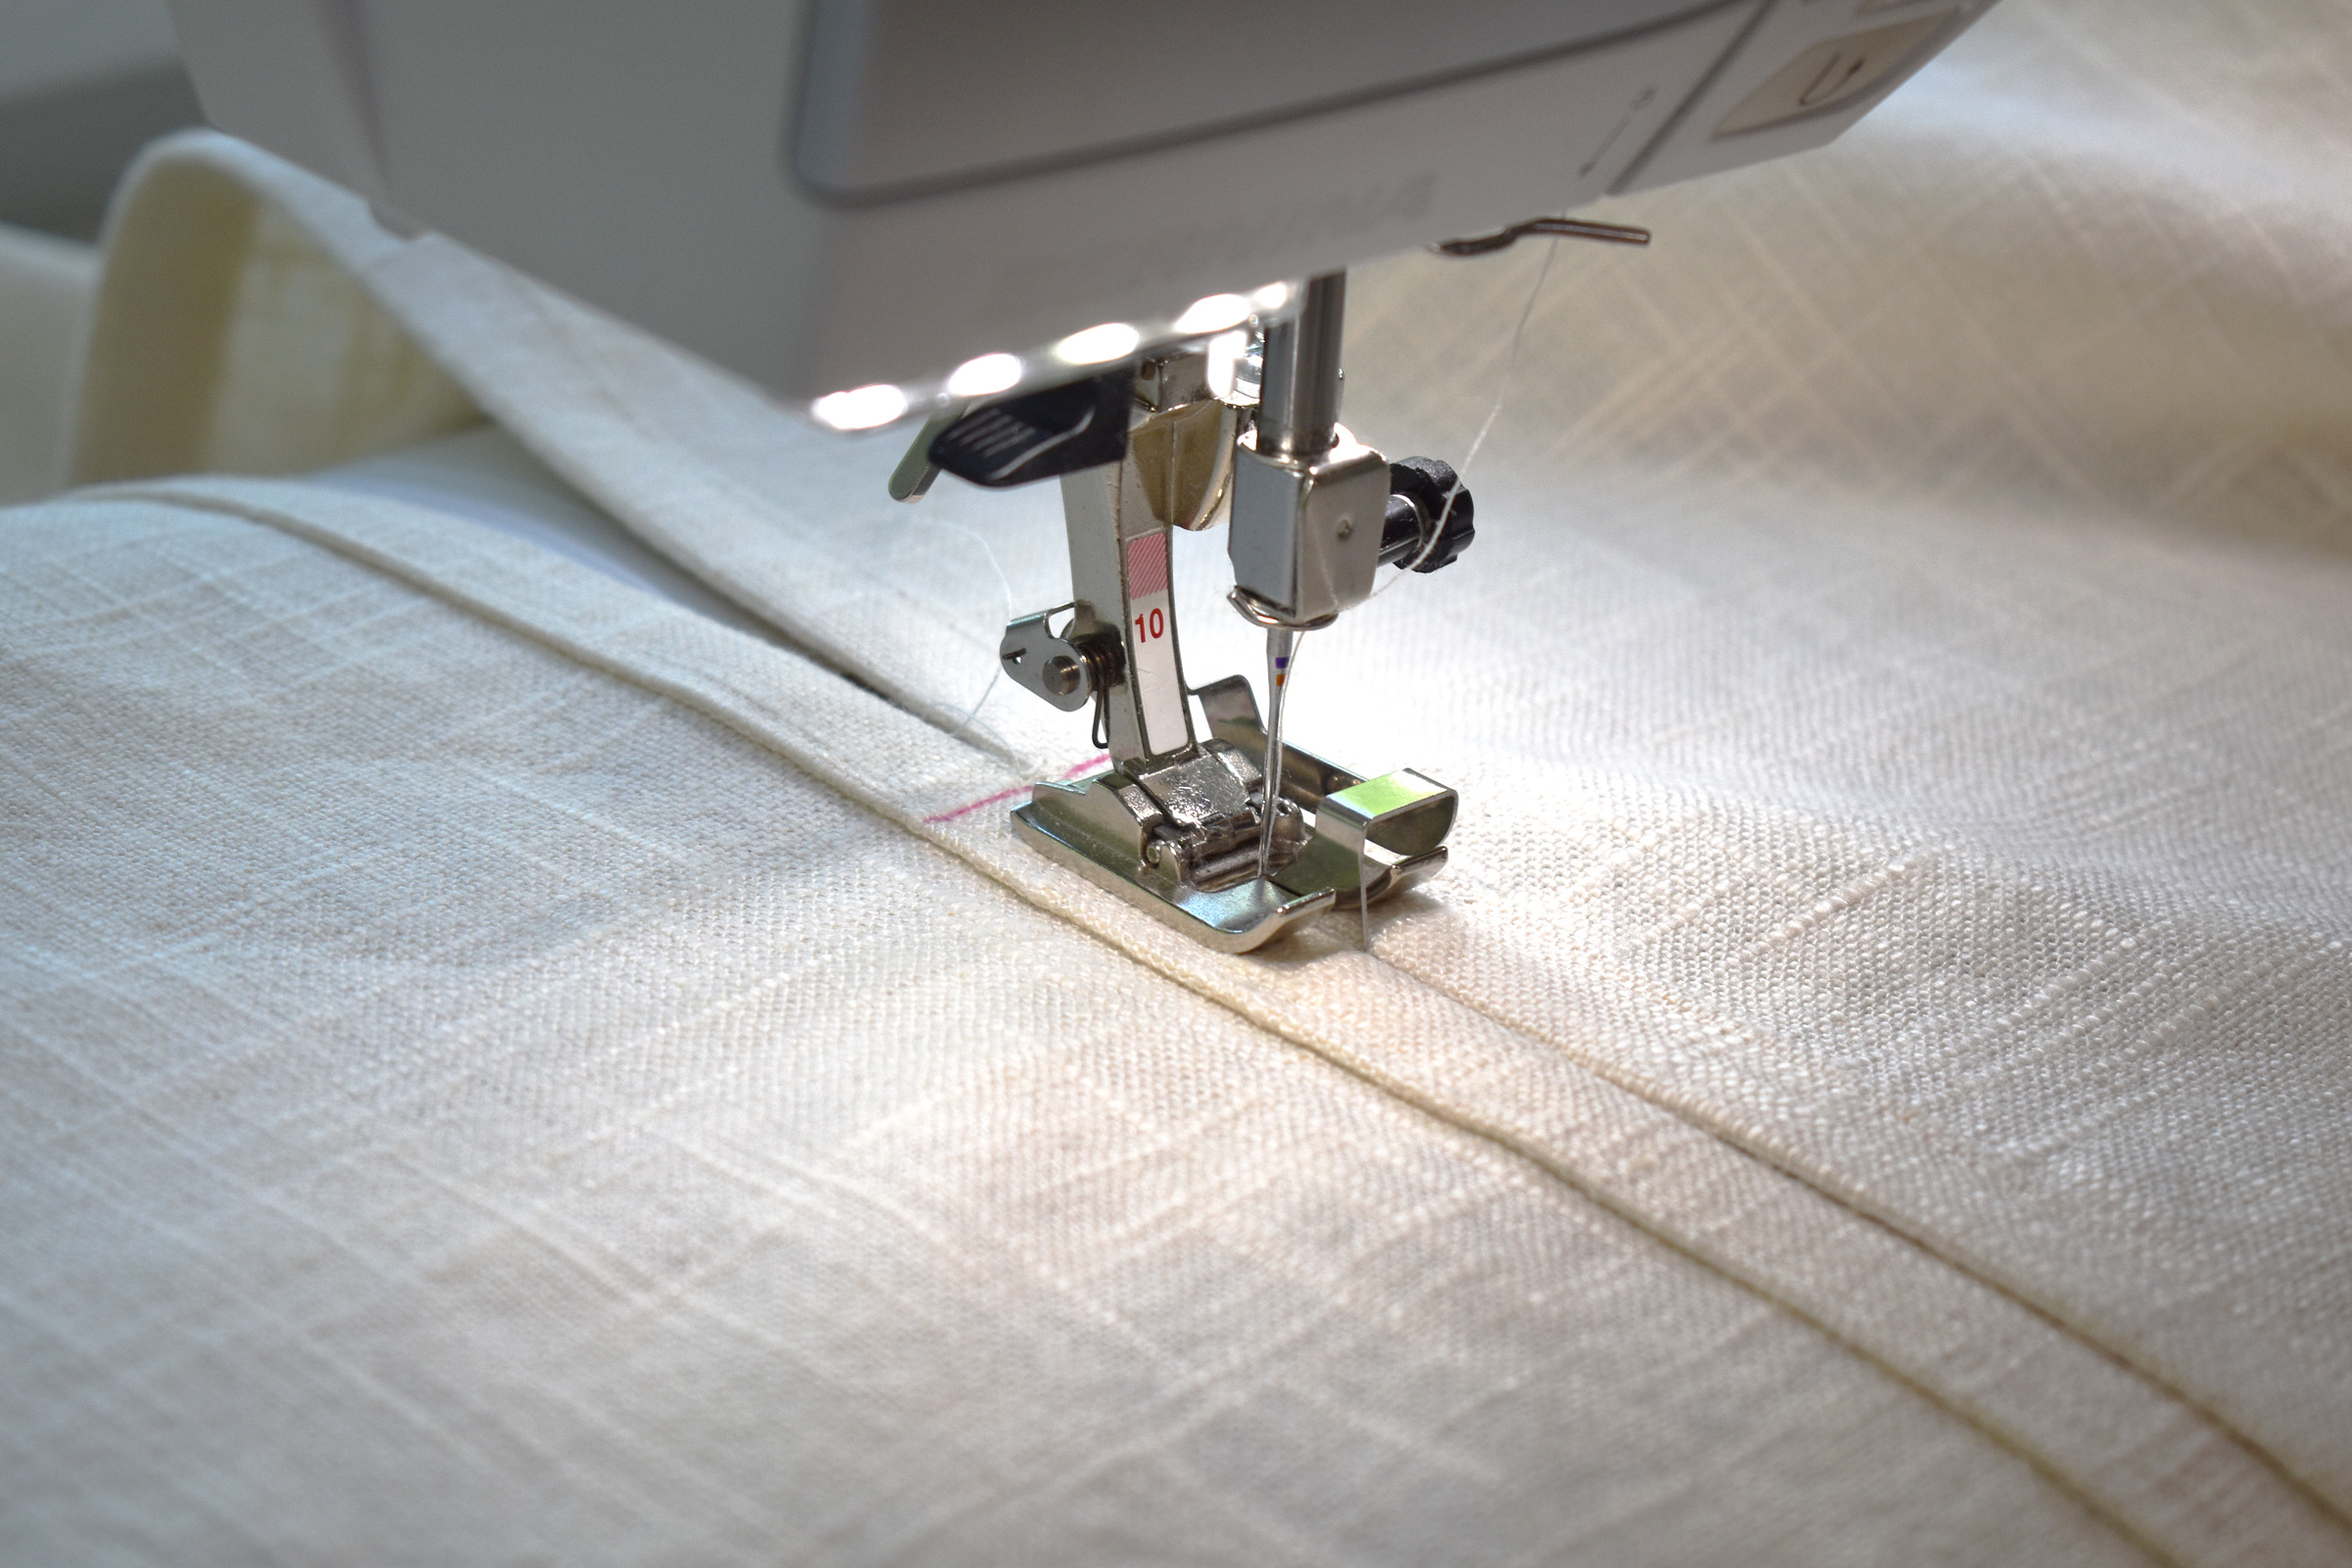
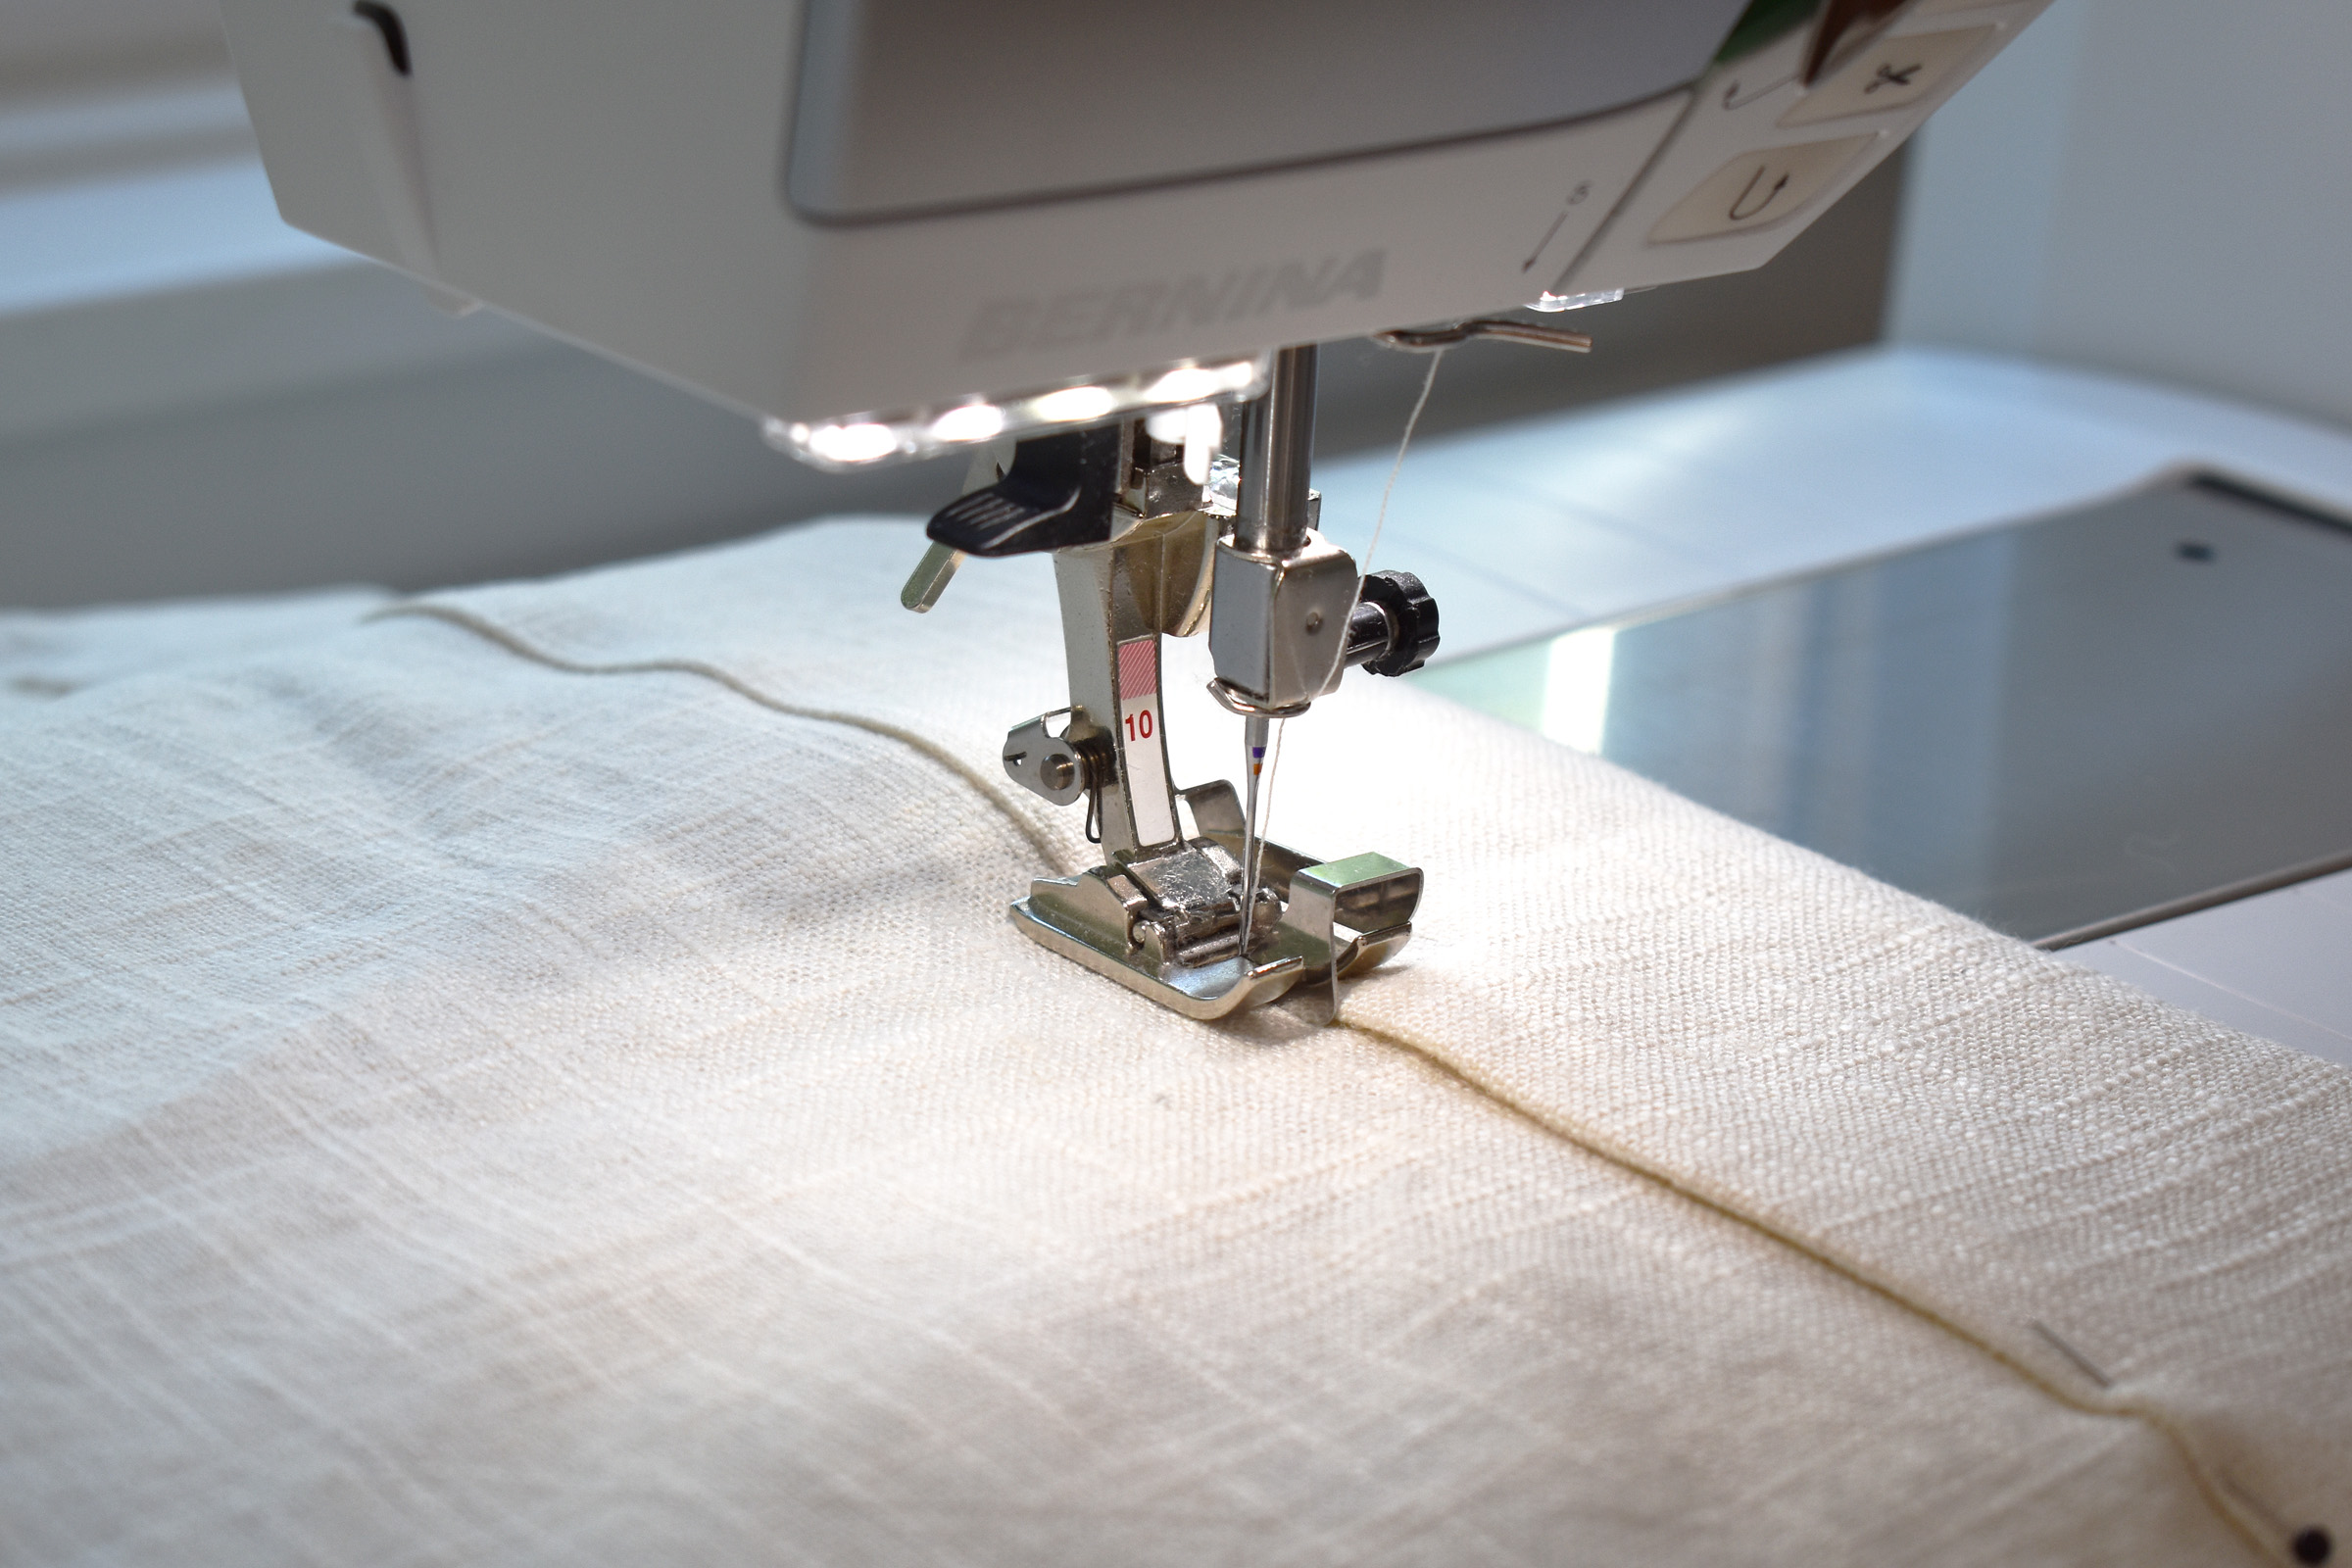
Set up your sewing machine with Reverse Pattern Foot #1D to sew a standard straight stitch, and insert the Seam Guide for Slide-on Table set for sewing a 1″ seam. Use thread that matches the main fabric with a suitable sewing machine needle.
Sew the fabric panels.
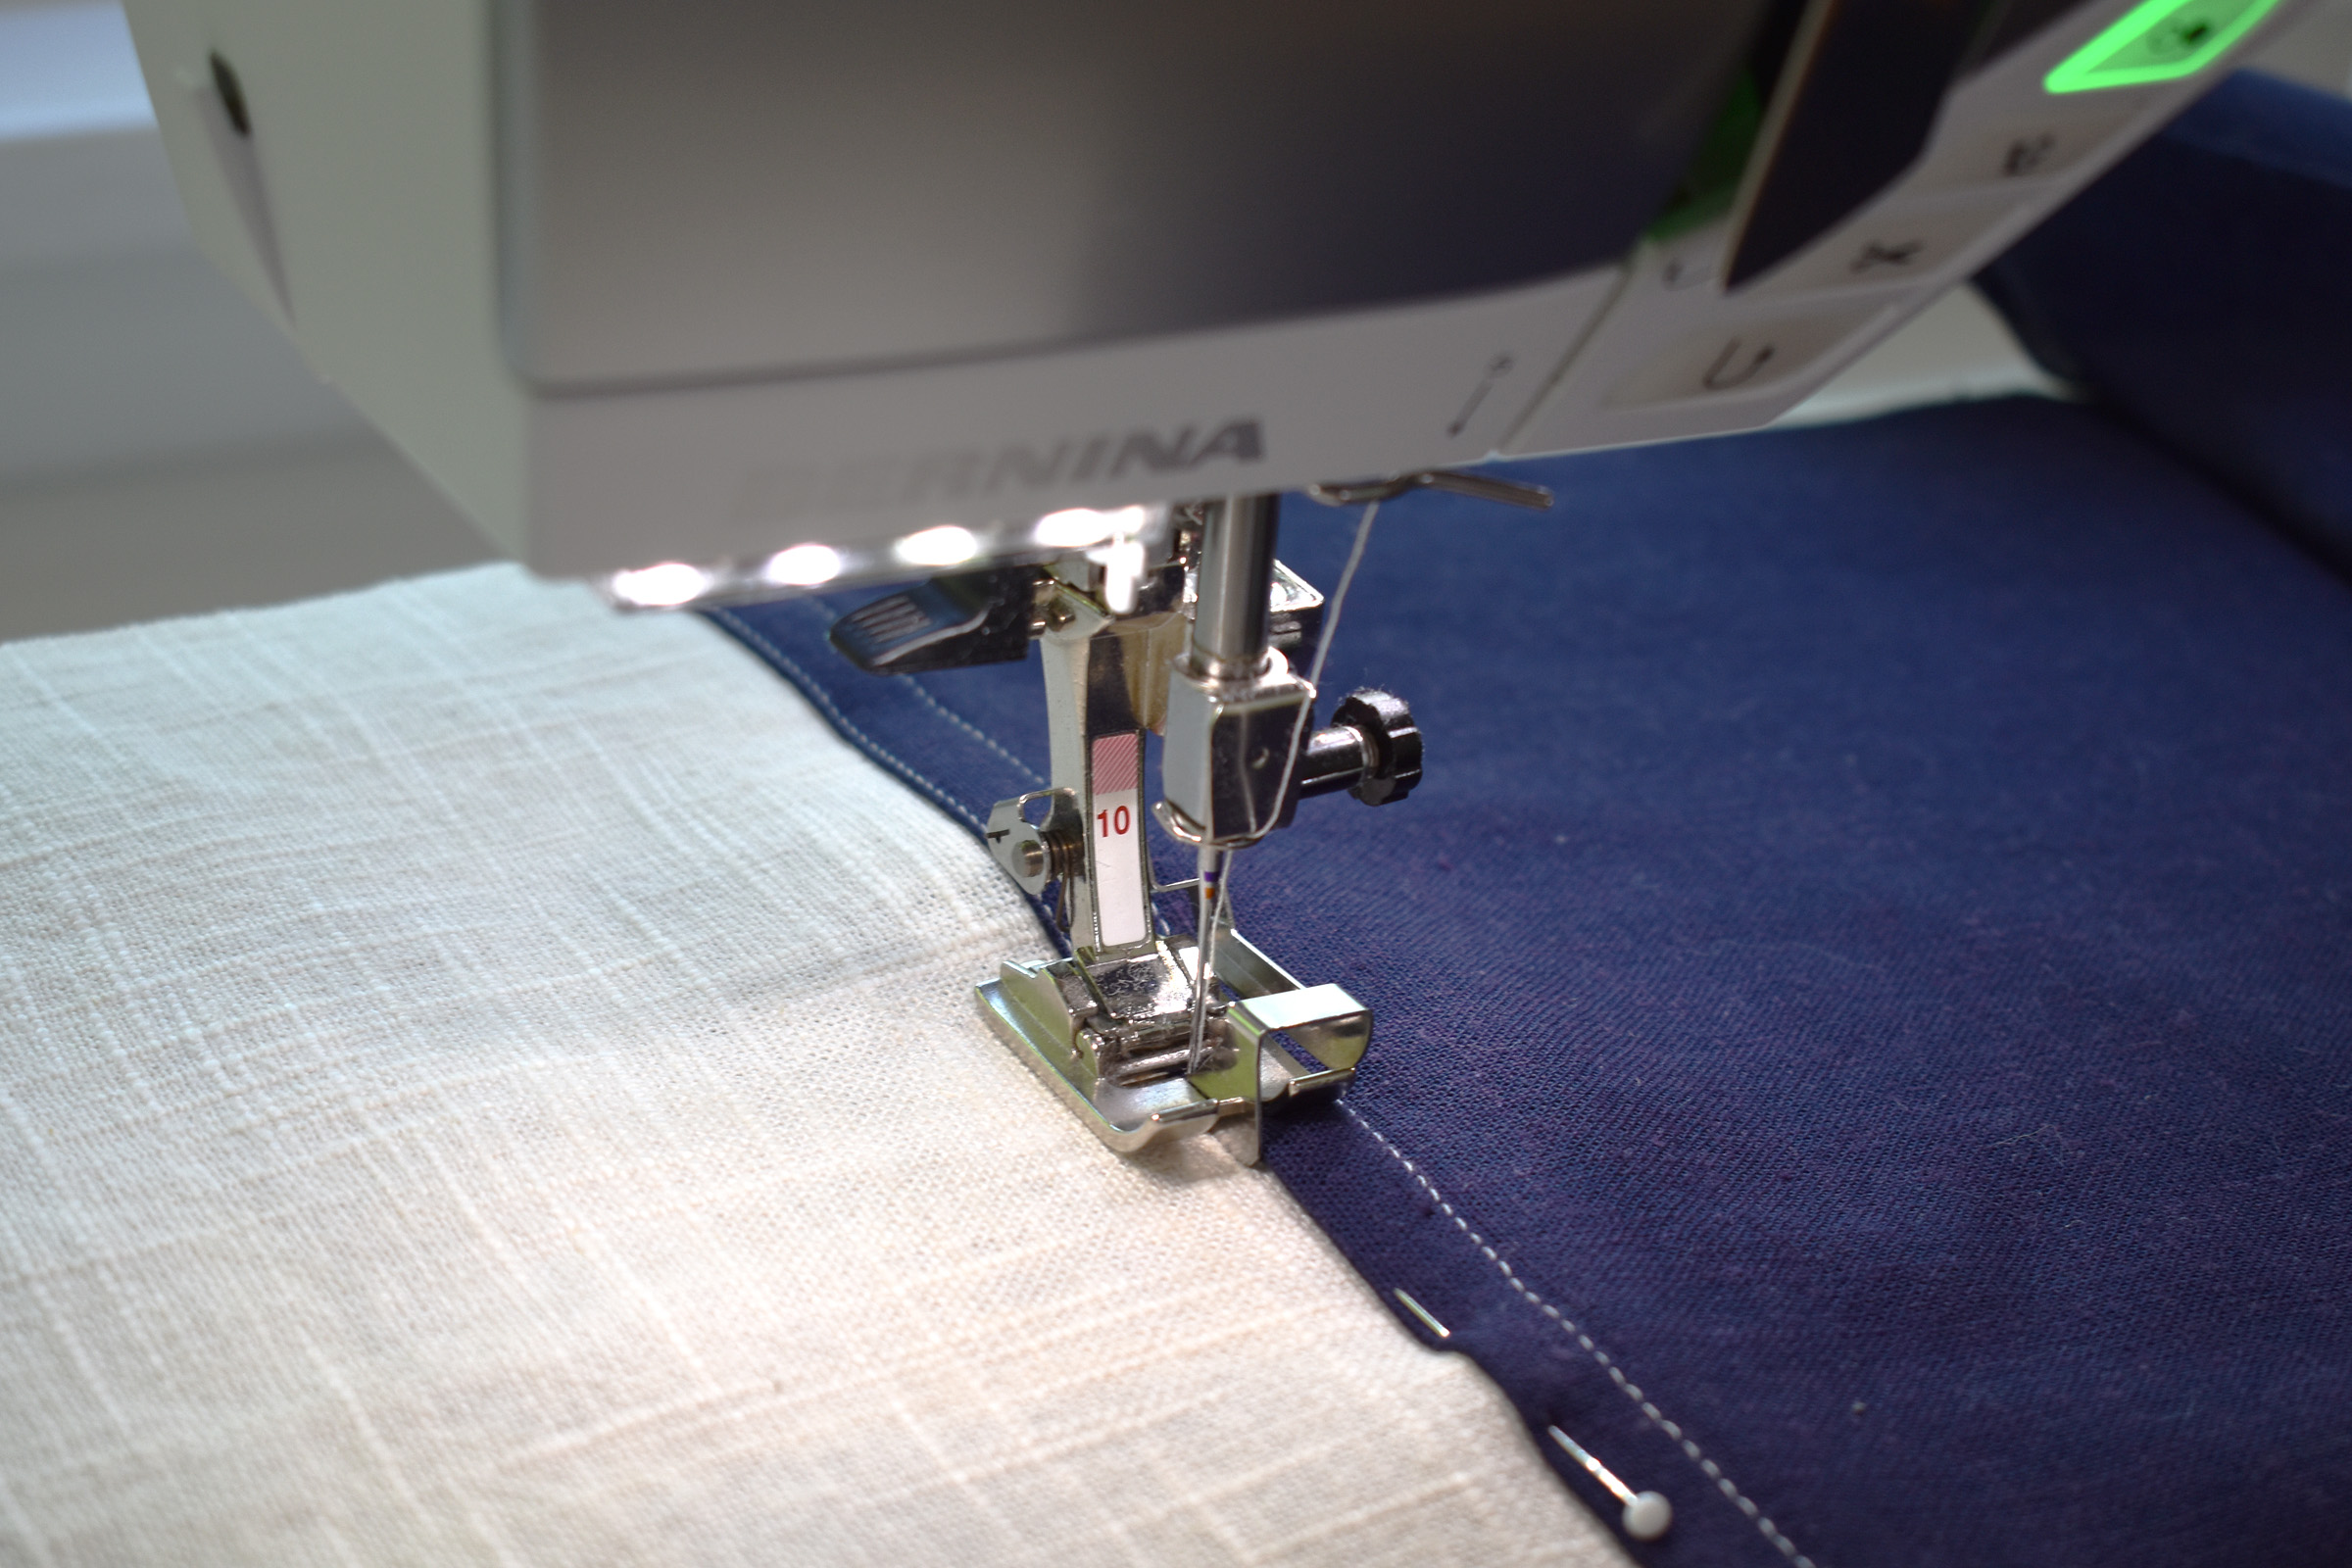
Sew the main and contrast panels together along the 20″ wide side. If your fabric is directional (if one way is definitely up!), make sure you sew the contrast panels to the bottom edge of the main panels. Sew together with a flat-felled seam.
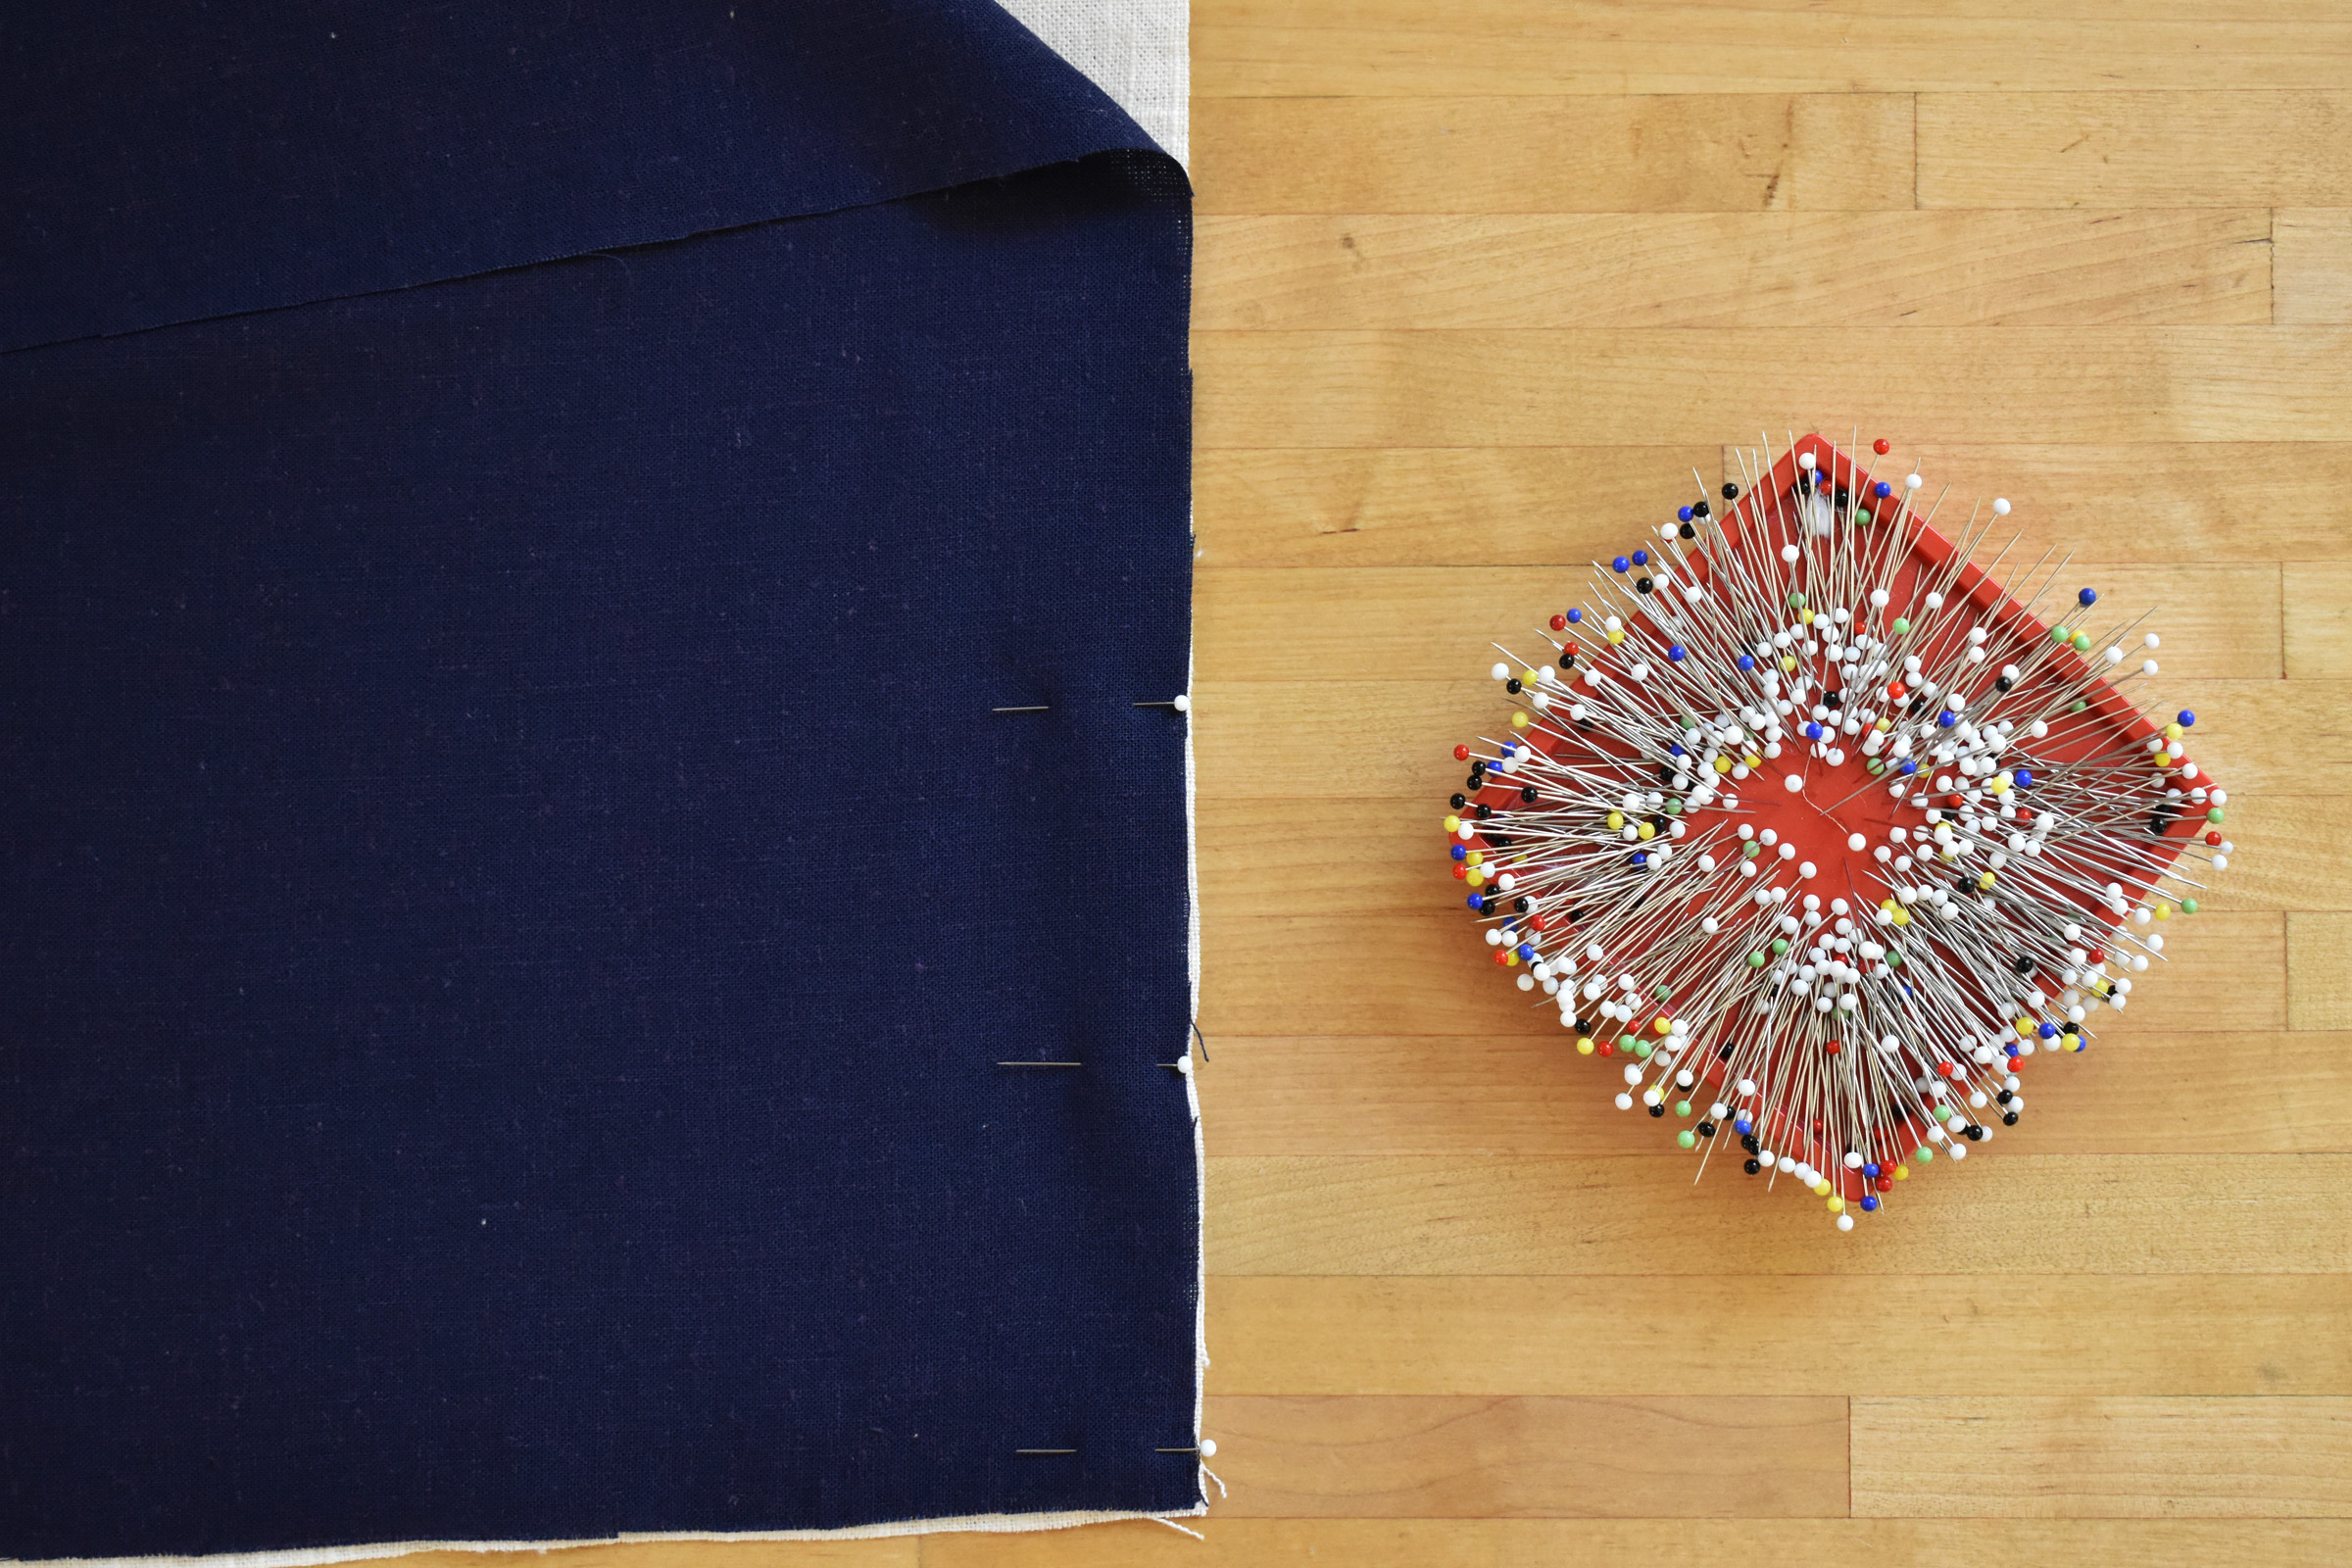
Pin the top of each contrast panel to the bottom of each main panel, wrong sides together.
Sew with a 1″ seam using the Seam Guide for Slide-on Table as a guide.
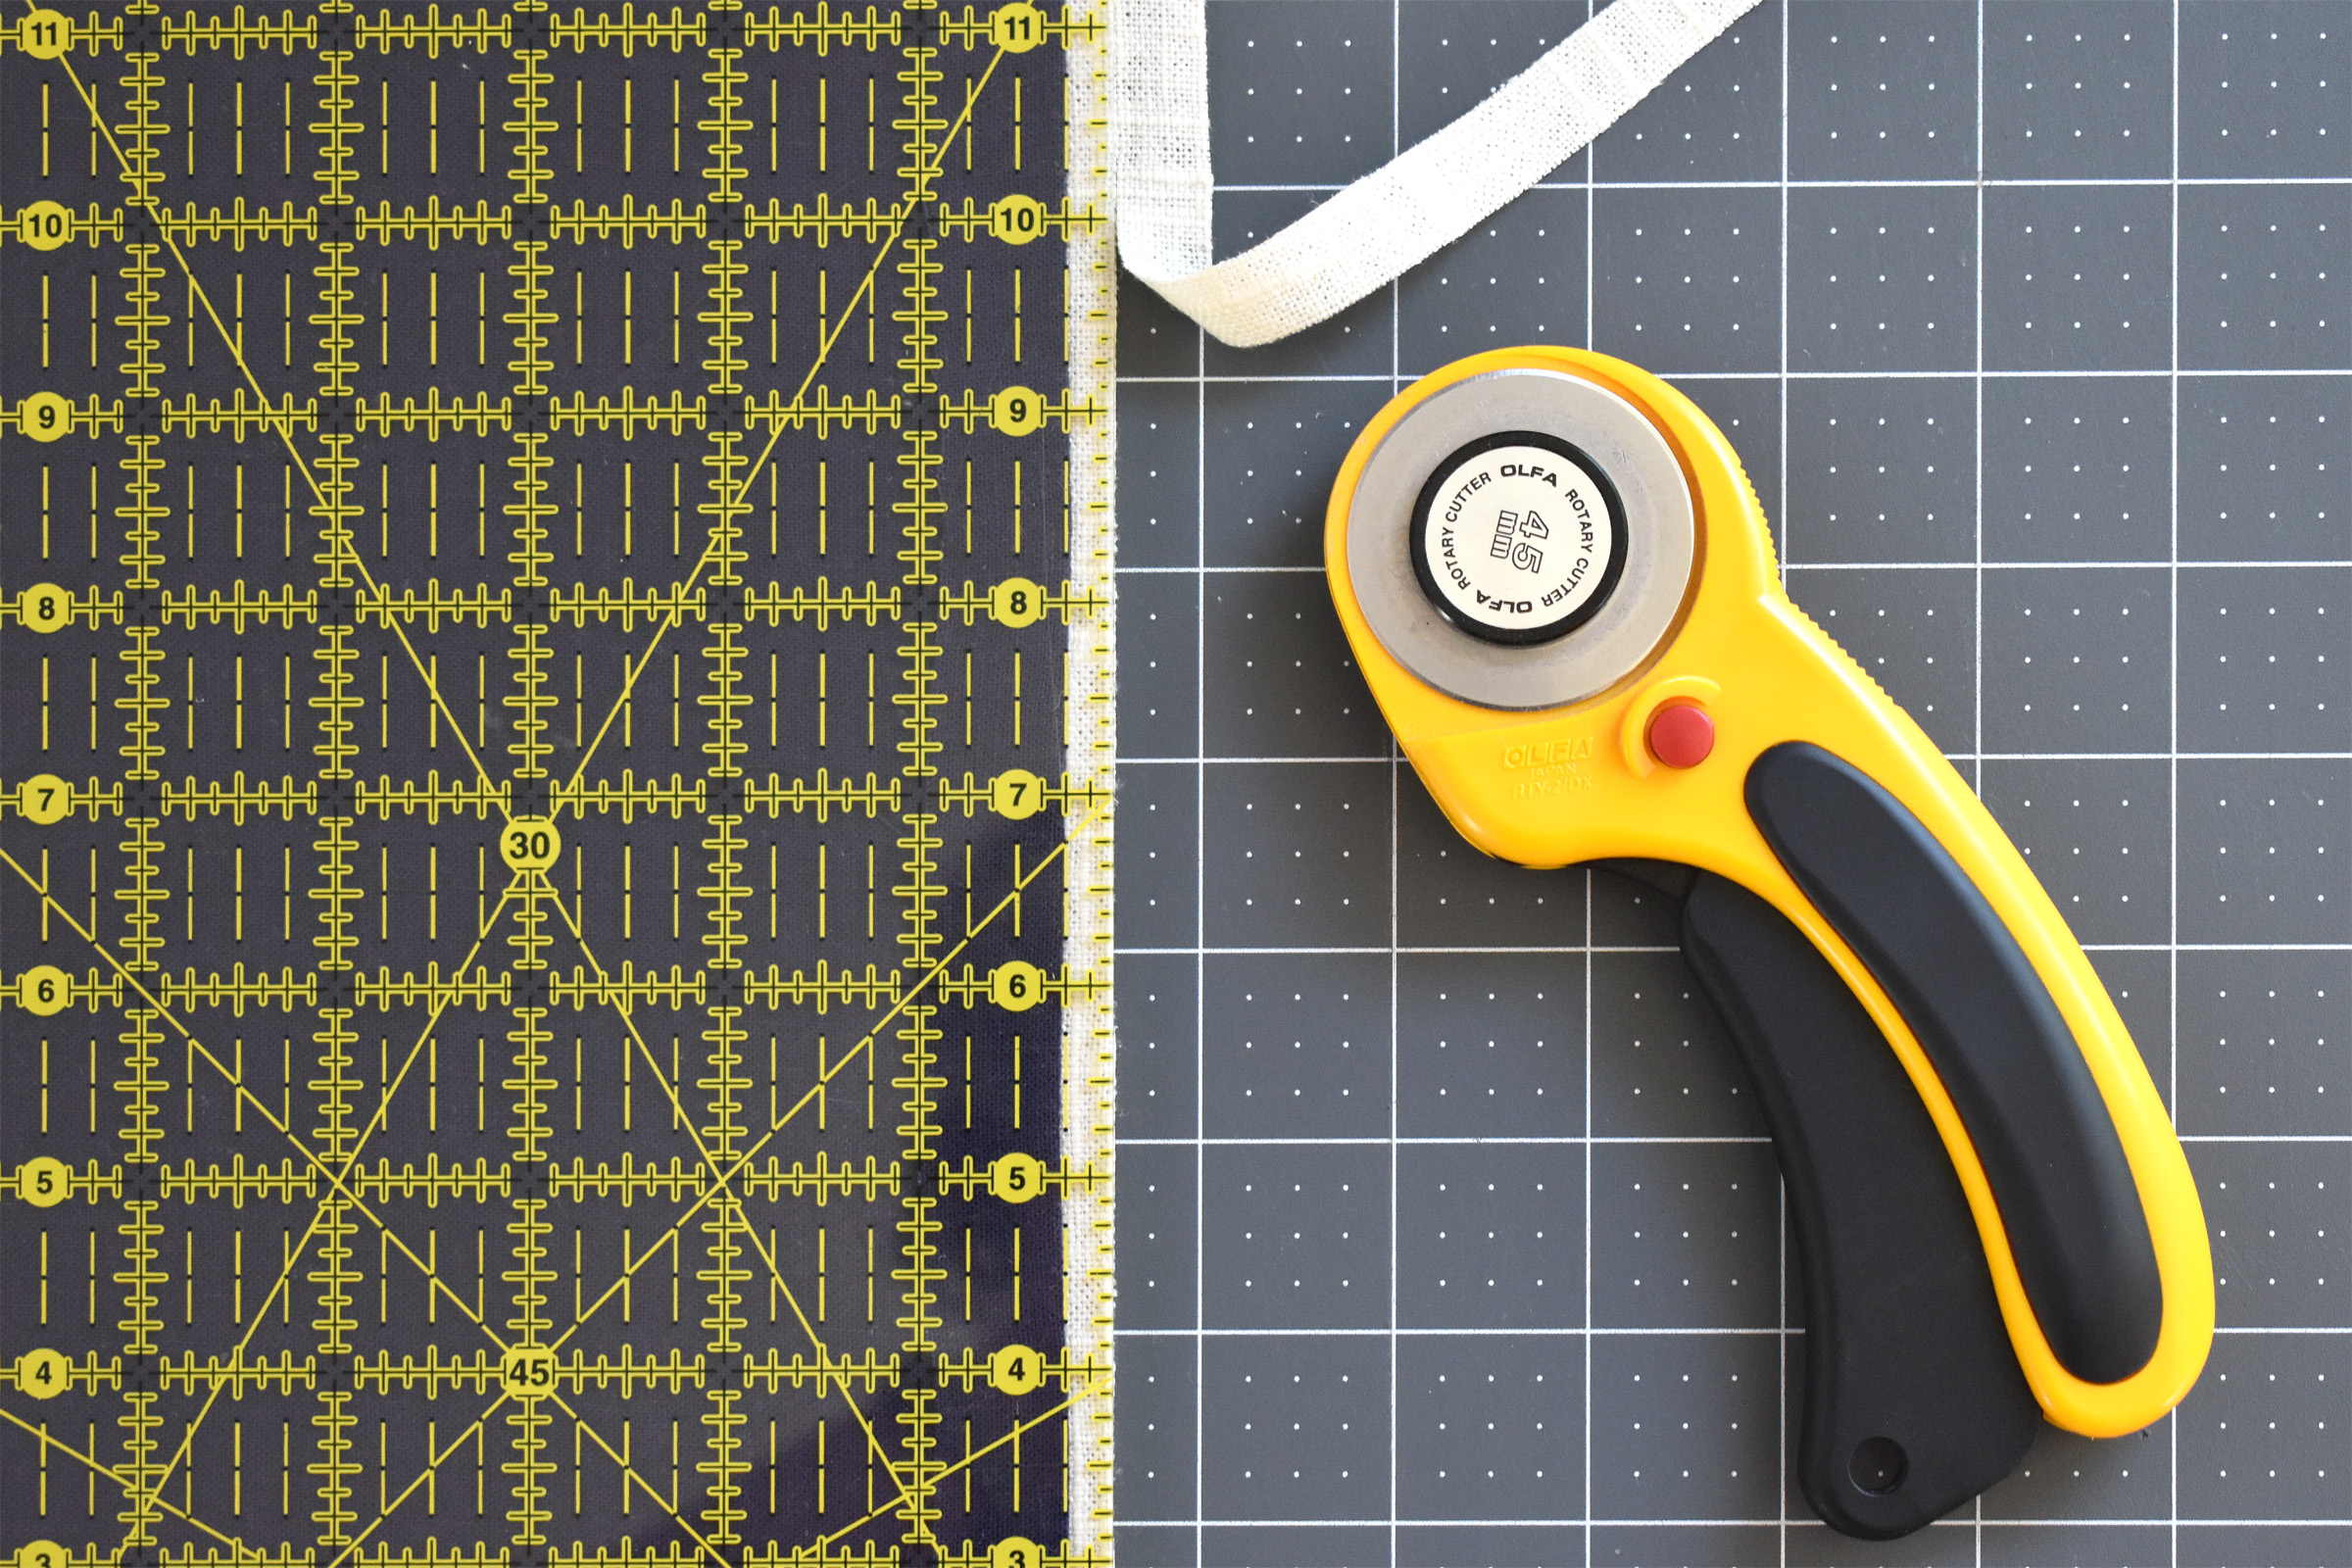
After stitching, press the seam flat. Next, press only the contrast fabric seam allowance to the side, leaving the main fabric seam allowance flat. Using a ruler, rotary cutter, and cutting mat, trim only the main fabric seam allowance down to 1/4″.
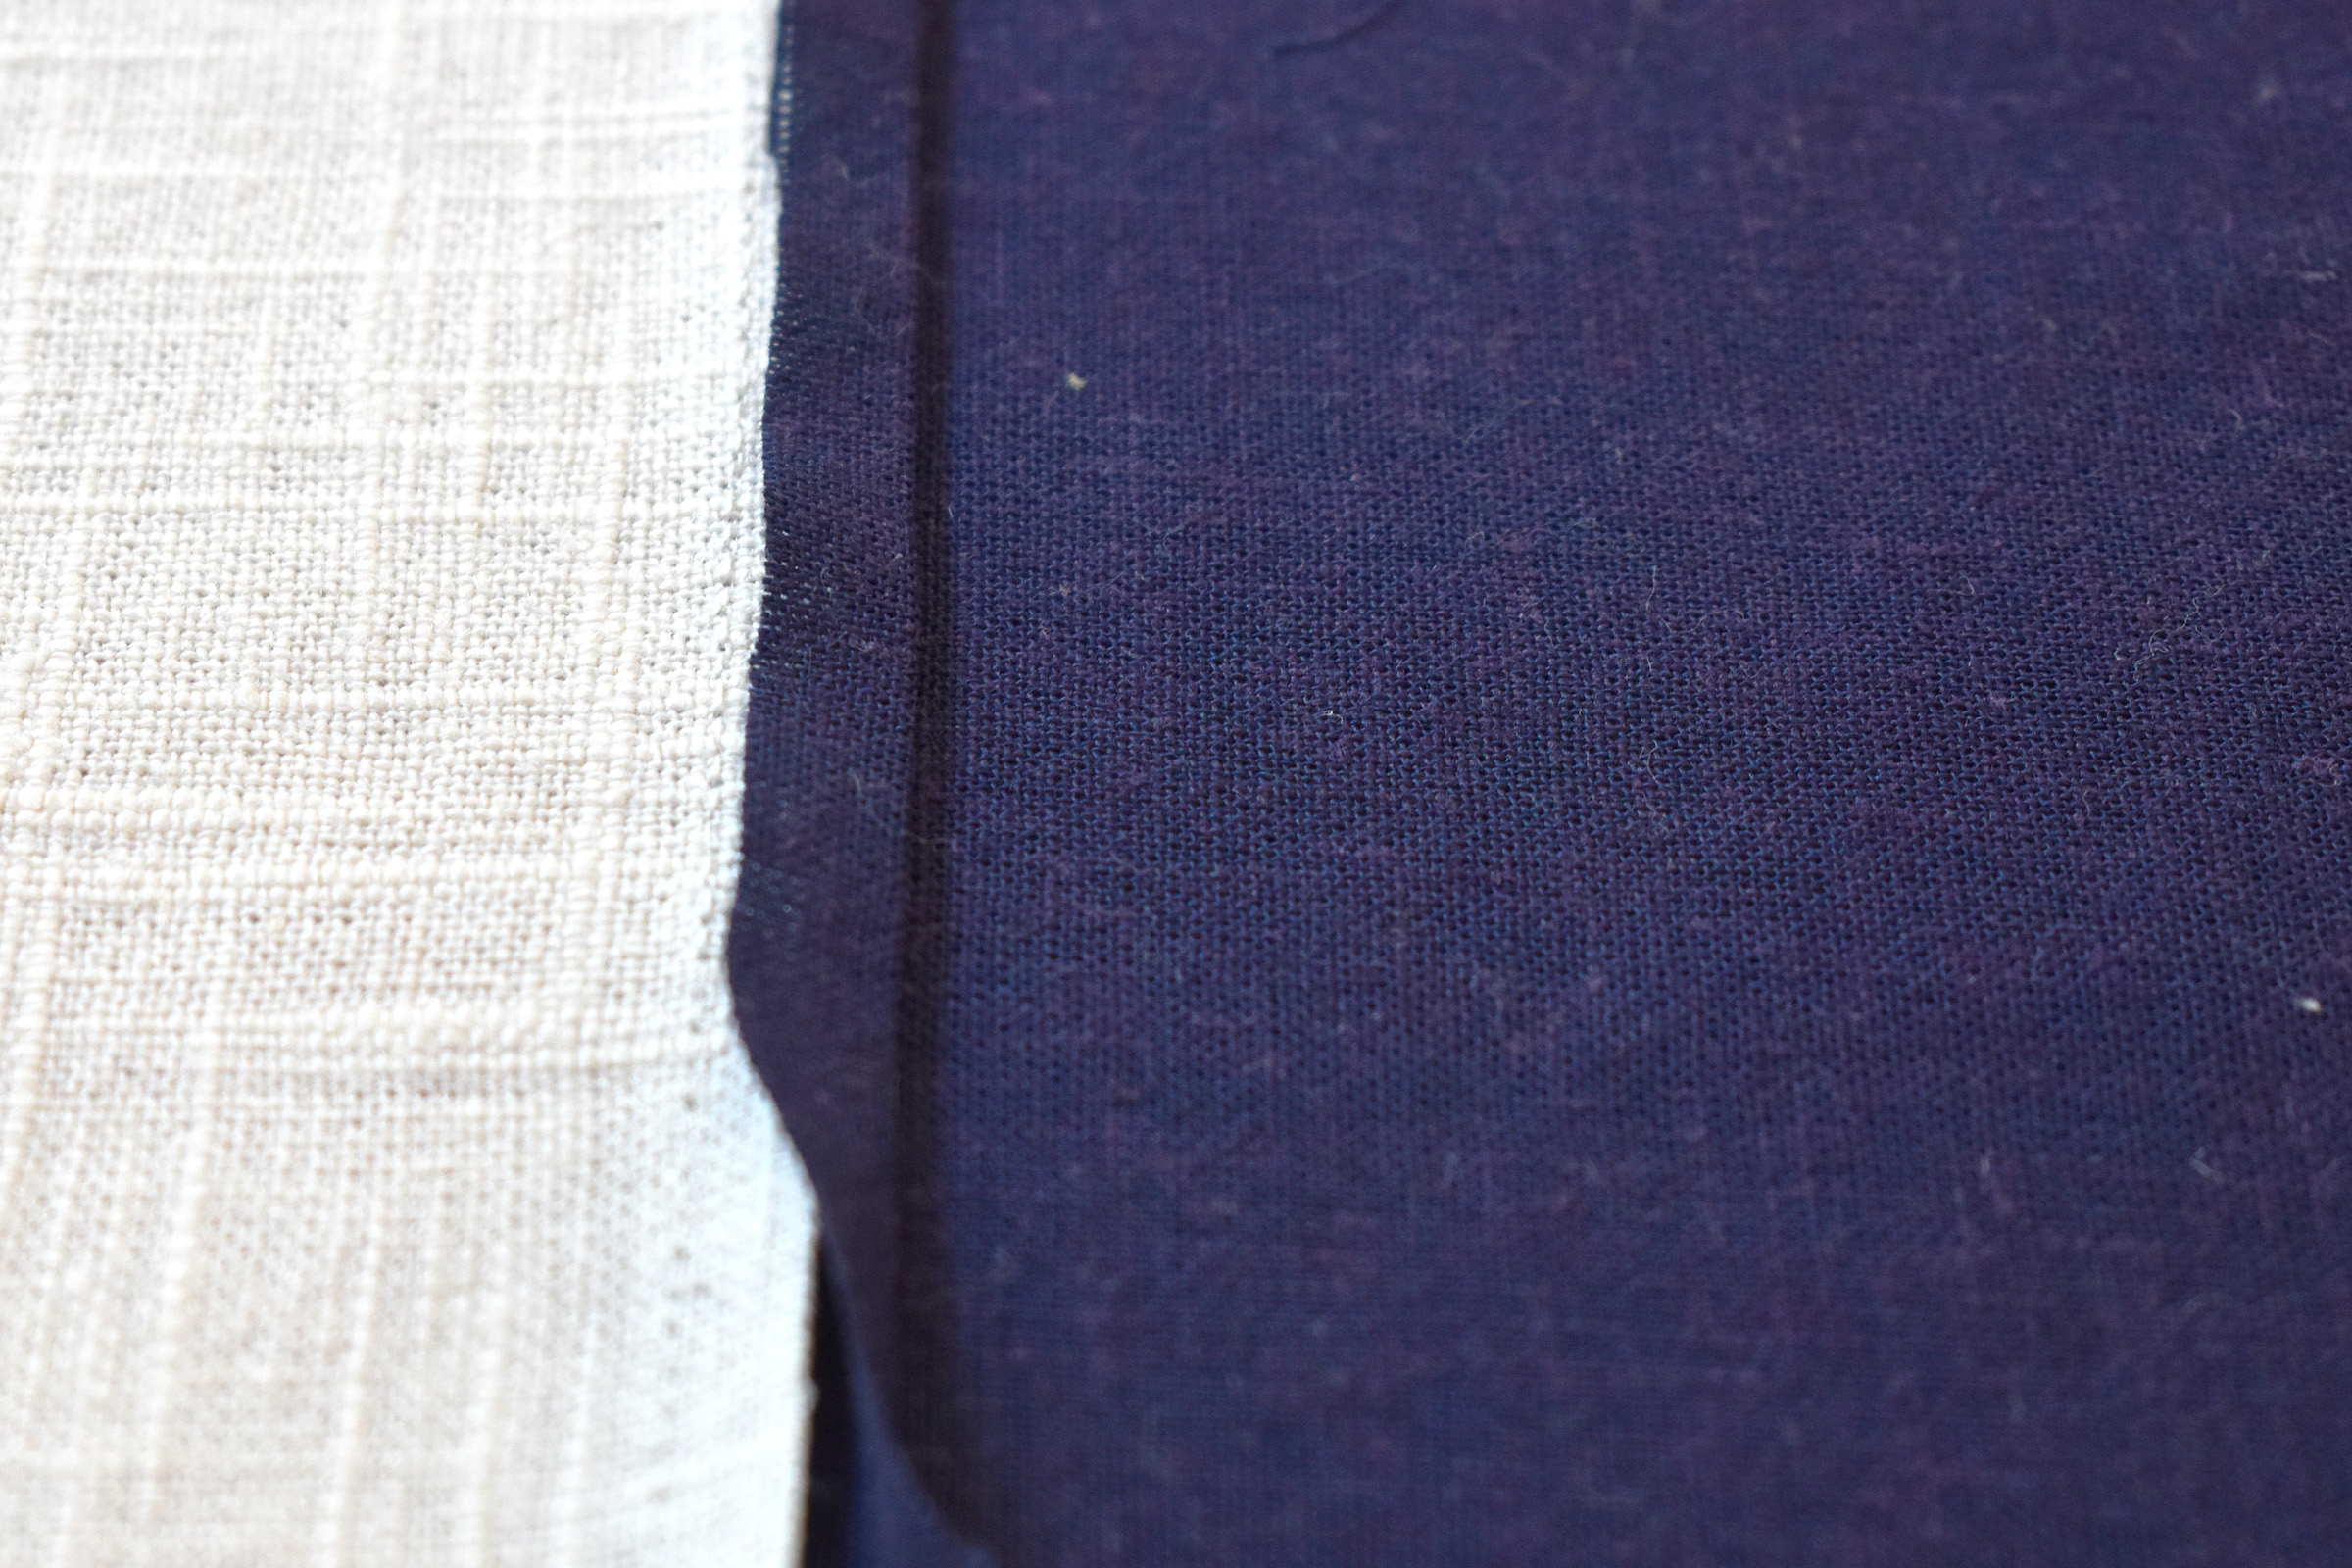
Open the seam with the seam allowance up. Press the contrast seam allowance over the raw edge of the main seam allowance, almost to the edge of the seam stitching. Next, fold the pressed-over seam towards the main fabric and press well to set the folds. Pin in place.
Edgestitch along the folded seam. Move the Seam Guide for Slide-on Table over to the side, and insert Edgestitch foot #10C. Move the needle position two clicks to the right so the needle will catch the folded edge when lined-up with the blade of the foot. Sew all along the folded edge, backstitching at the beginning and the end of the seam. Press the seam after top stitching. Complete these steps for both panels.

Next, press a 1″ hem in the sides and bottom of the curtain panels. Use a ruler to measure the hem as you fold it over to the back (wrong side) of the curtain panel, and press a crease in the hem.
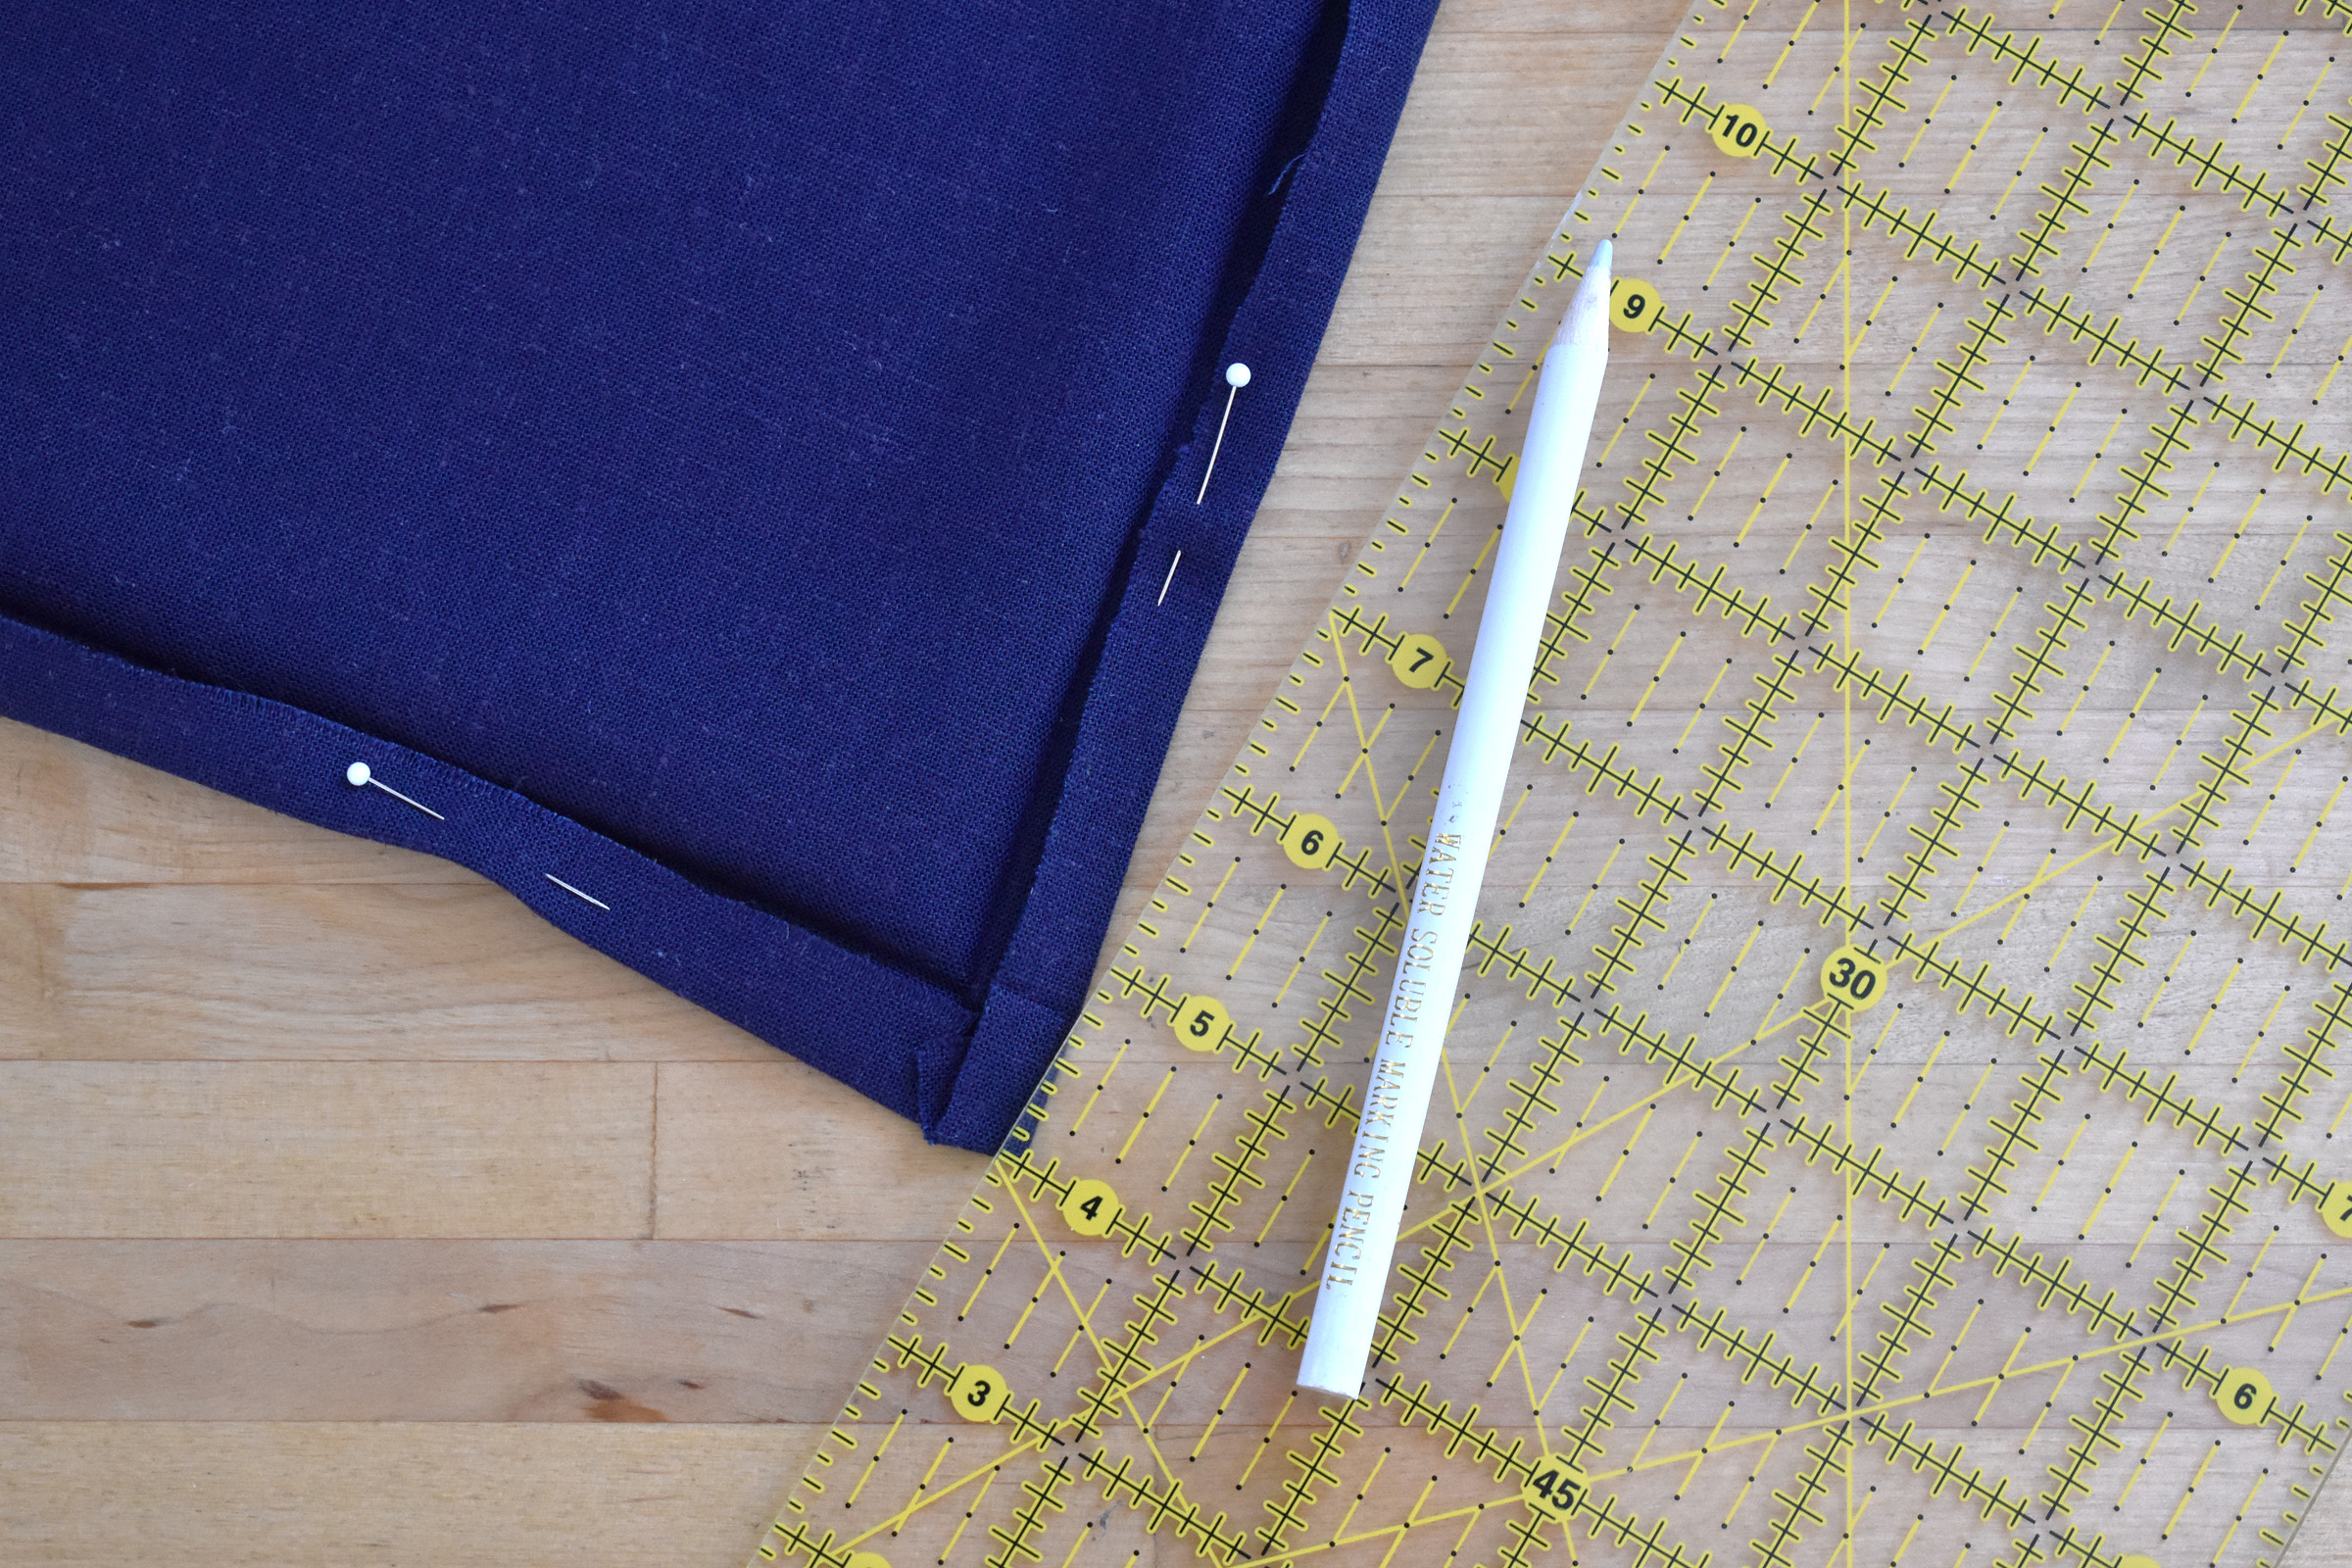
Miter the bottom corners following these steps.
Open the pressed 1″ hem at each bottom corner and press the raw edges in to the edge of the 1″ crease. Grab a fabric marking pencil and the clear ruler.

Line-up the edge of the ruler at a 45 degree angle across the inside point created by the 1″ pressed hem, and make a mark across the 1/2″ folded-over edges with the fabric marking pencil.
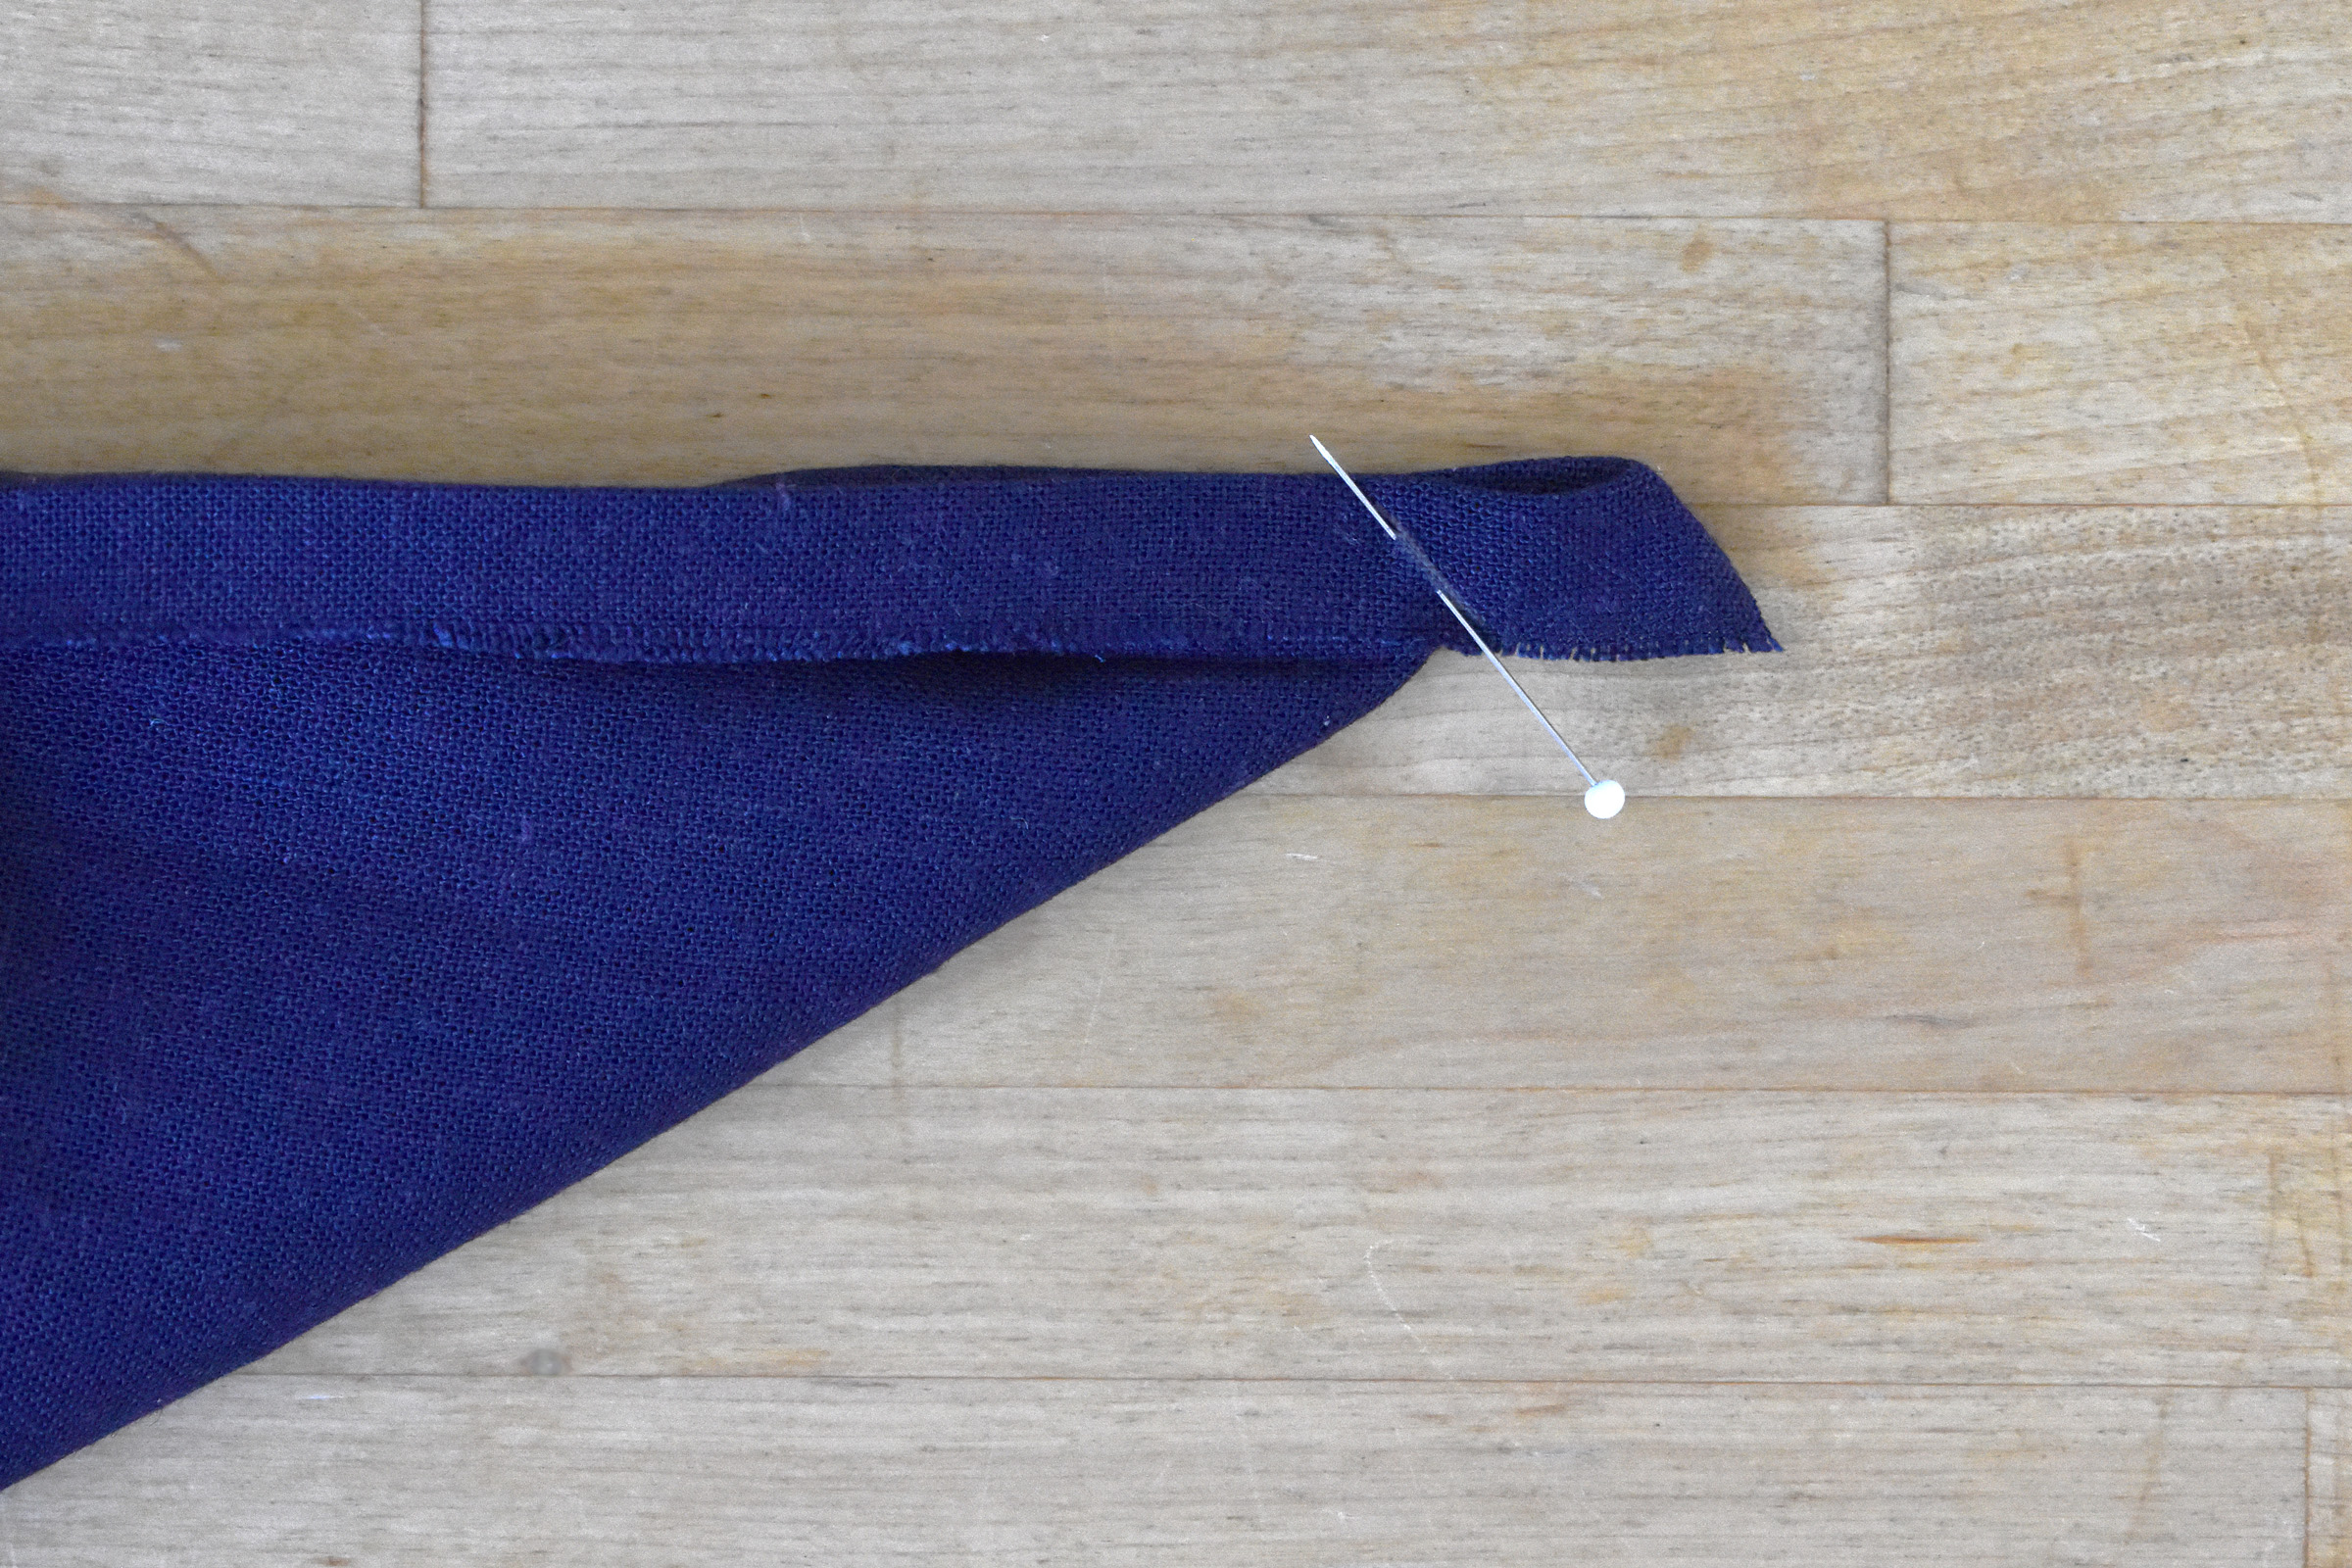
Fold the corner over, right sides together, matching the edge. Pin the fold together at the mark.
Insert Reverse Pattern Foot #1D and return the needle to center position. Stitch across the marked line at the folded corner, backstitching once.
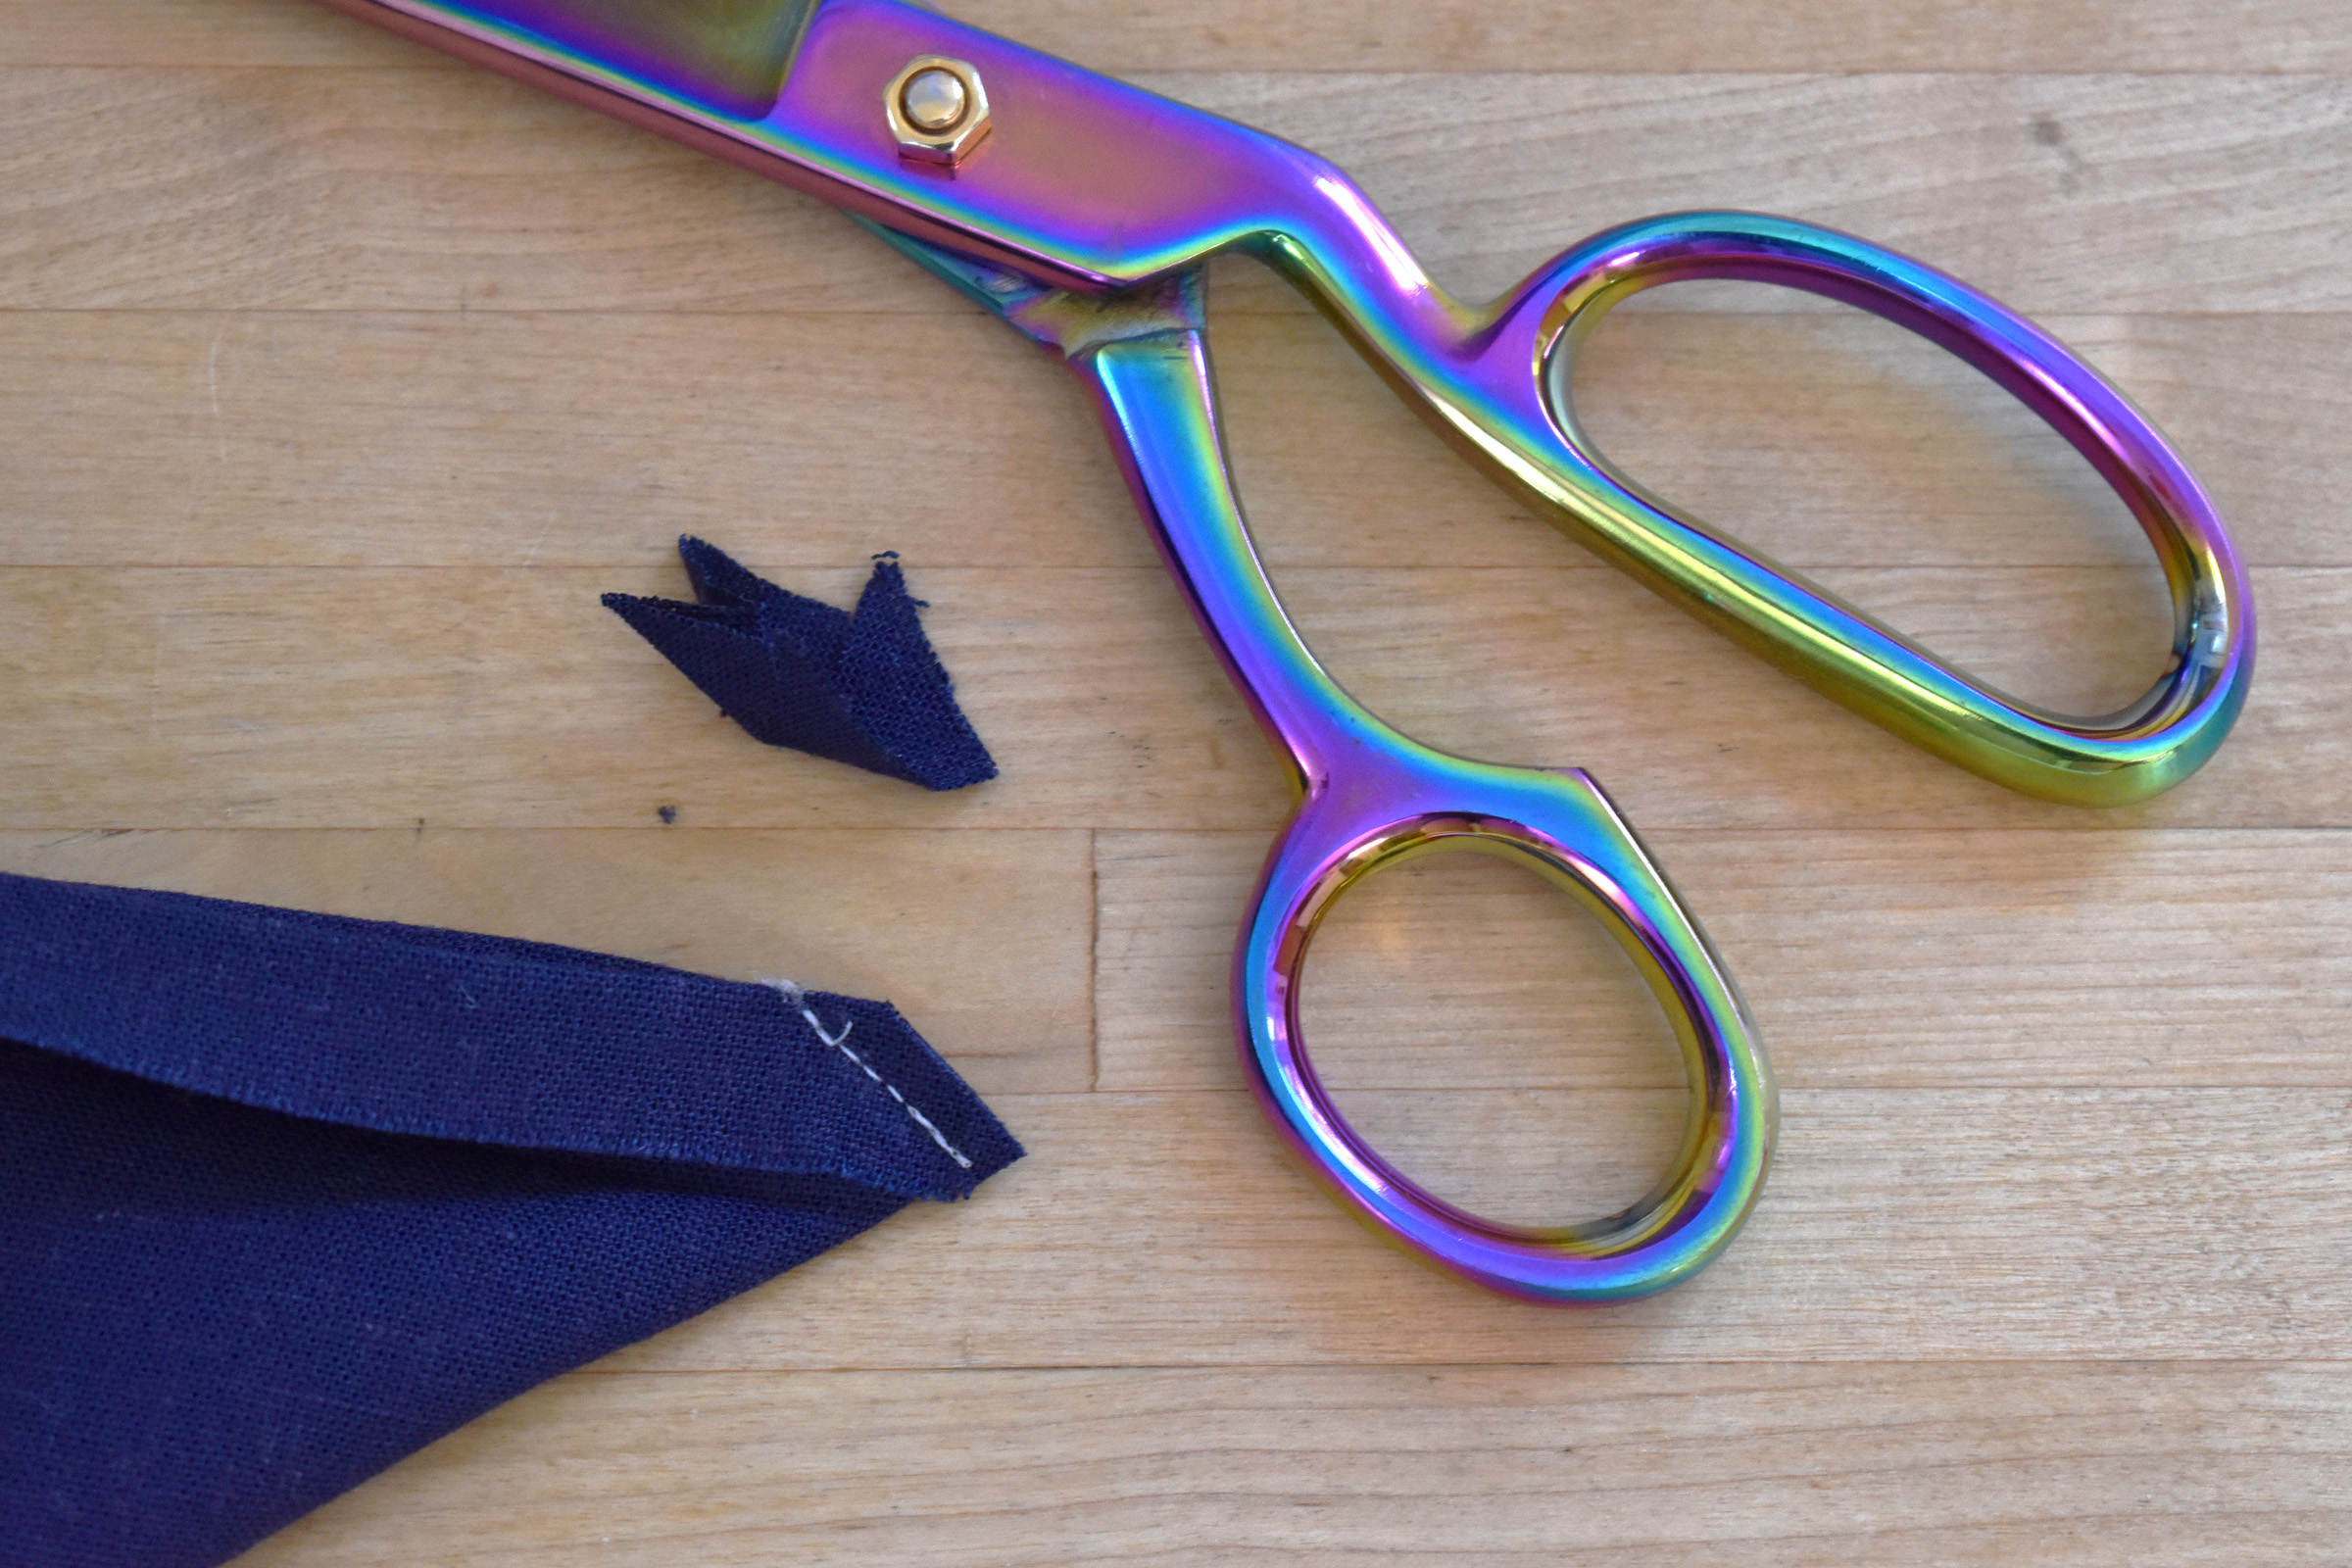
Trim the seam allowance close to the stitching.

Turn the seam inside the corner and press the corner flat. Repeat with each of the corners on both panels.

After mitering the bottom corners, finish pressing the raw hem edge over. Fold the raw edge in to meet the pressed hem crease along the sides and bottom edges of both panels.
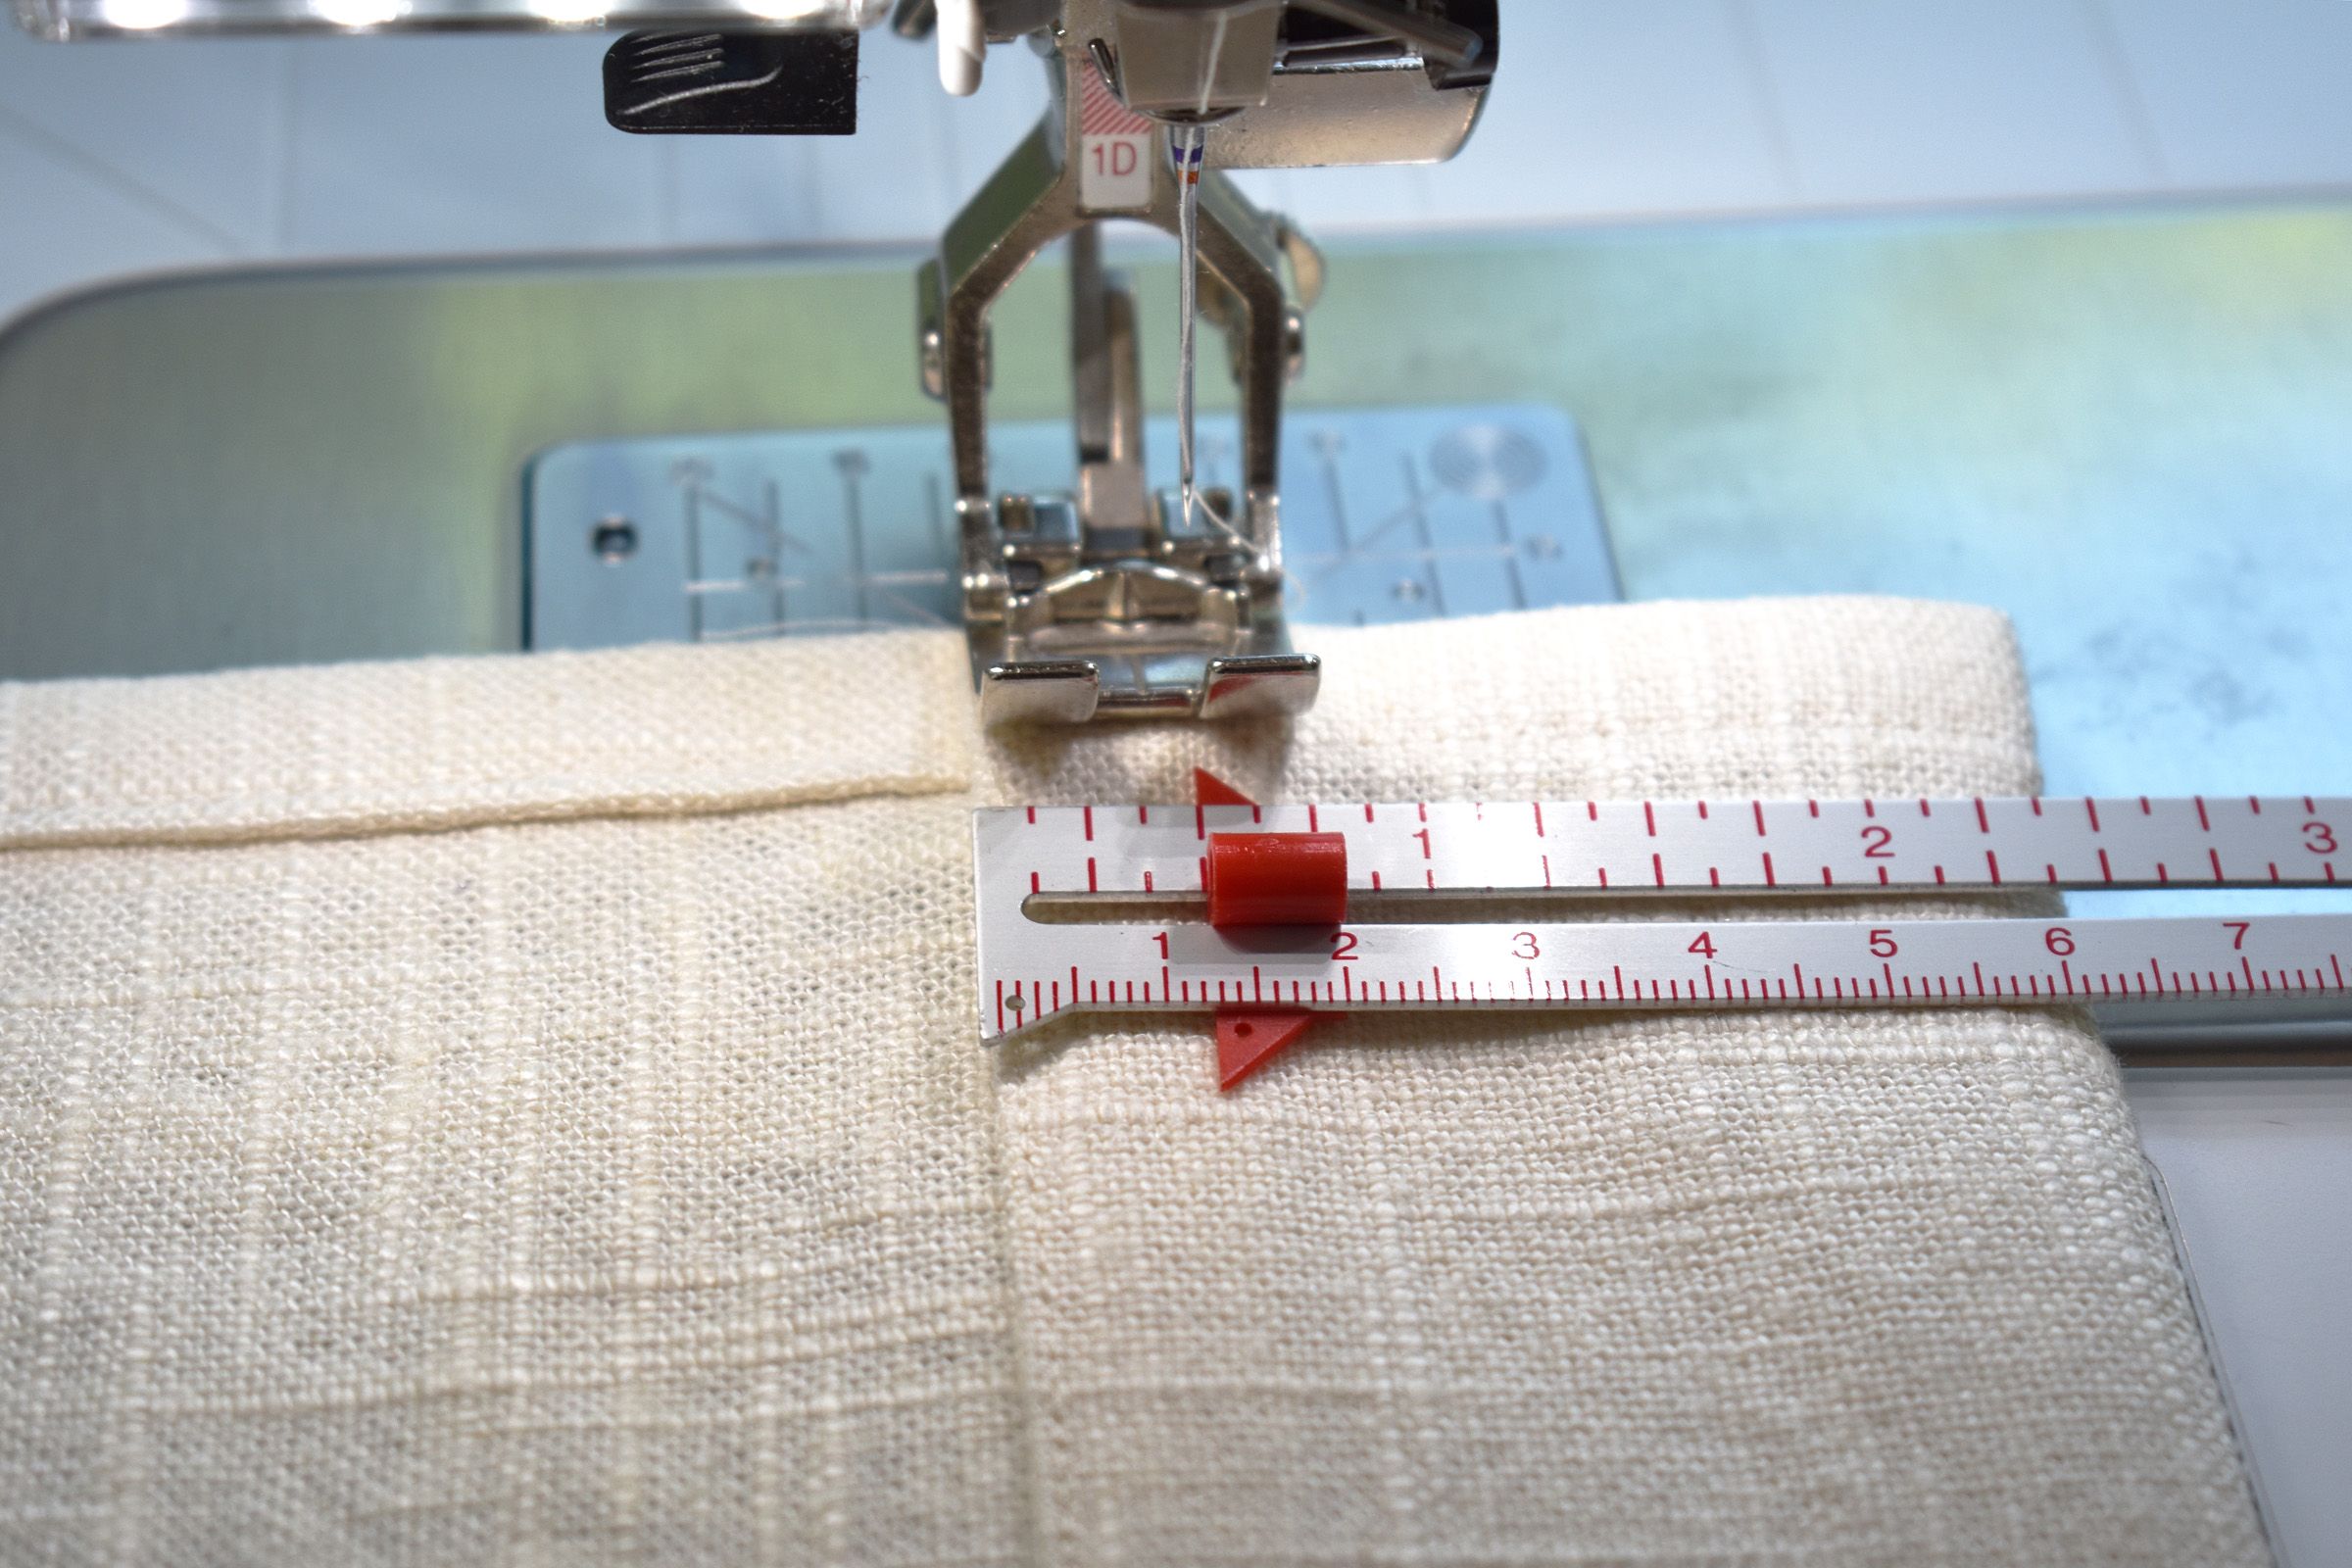
Move the Seam Guide for Slide-on Table over to sew a scant 1/2″ seam. Sewing a “scant” seam means sewing slightly less than the full seam allowance measurement; line up the Seam Guide to sew a seam slightly less than 1/2″.
Start sewing the hem at the top of one panel, backstitching at the beginning, guiding the hem edge along the Seam Guide.
When reaching the corner hem, pivot to turn and sew the next edge. Stop sewing in the corner with the needle down in the fabric and raise the presser foot.

Pivot the fabric, then lower the presser foot and continue sewing. Backstitch at the end of sewing the hem, and press the hem flat.
Finish the curtain top edge.
Place both panels right side down on a large flat surface (I use a cleanly swept floor). Make sure that crisp seam line in the different fabrics lines-up in both panels.

With the bottom edges and seams matching, look at the top edge of the curtain panels. It is okay if the top edges are not exactly even. With the ruler and a fabric marking pen or pencil, measure down 8″ from the top raw edges of the panels and make a clear, even mark across the two hems.
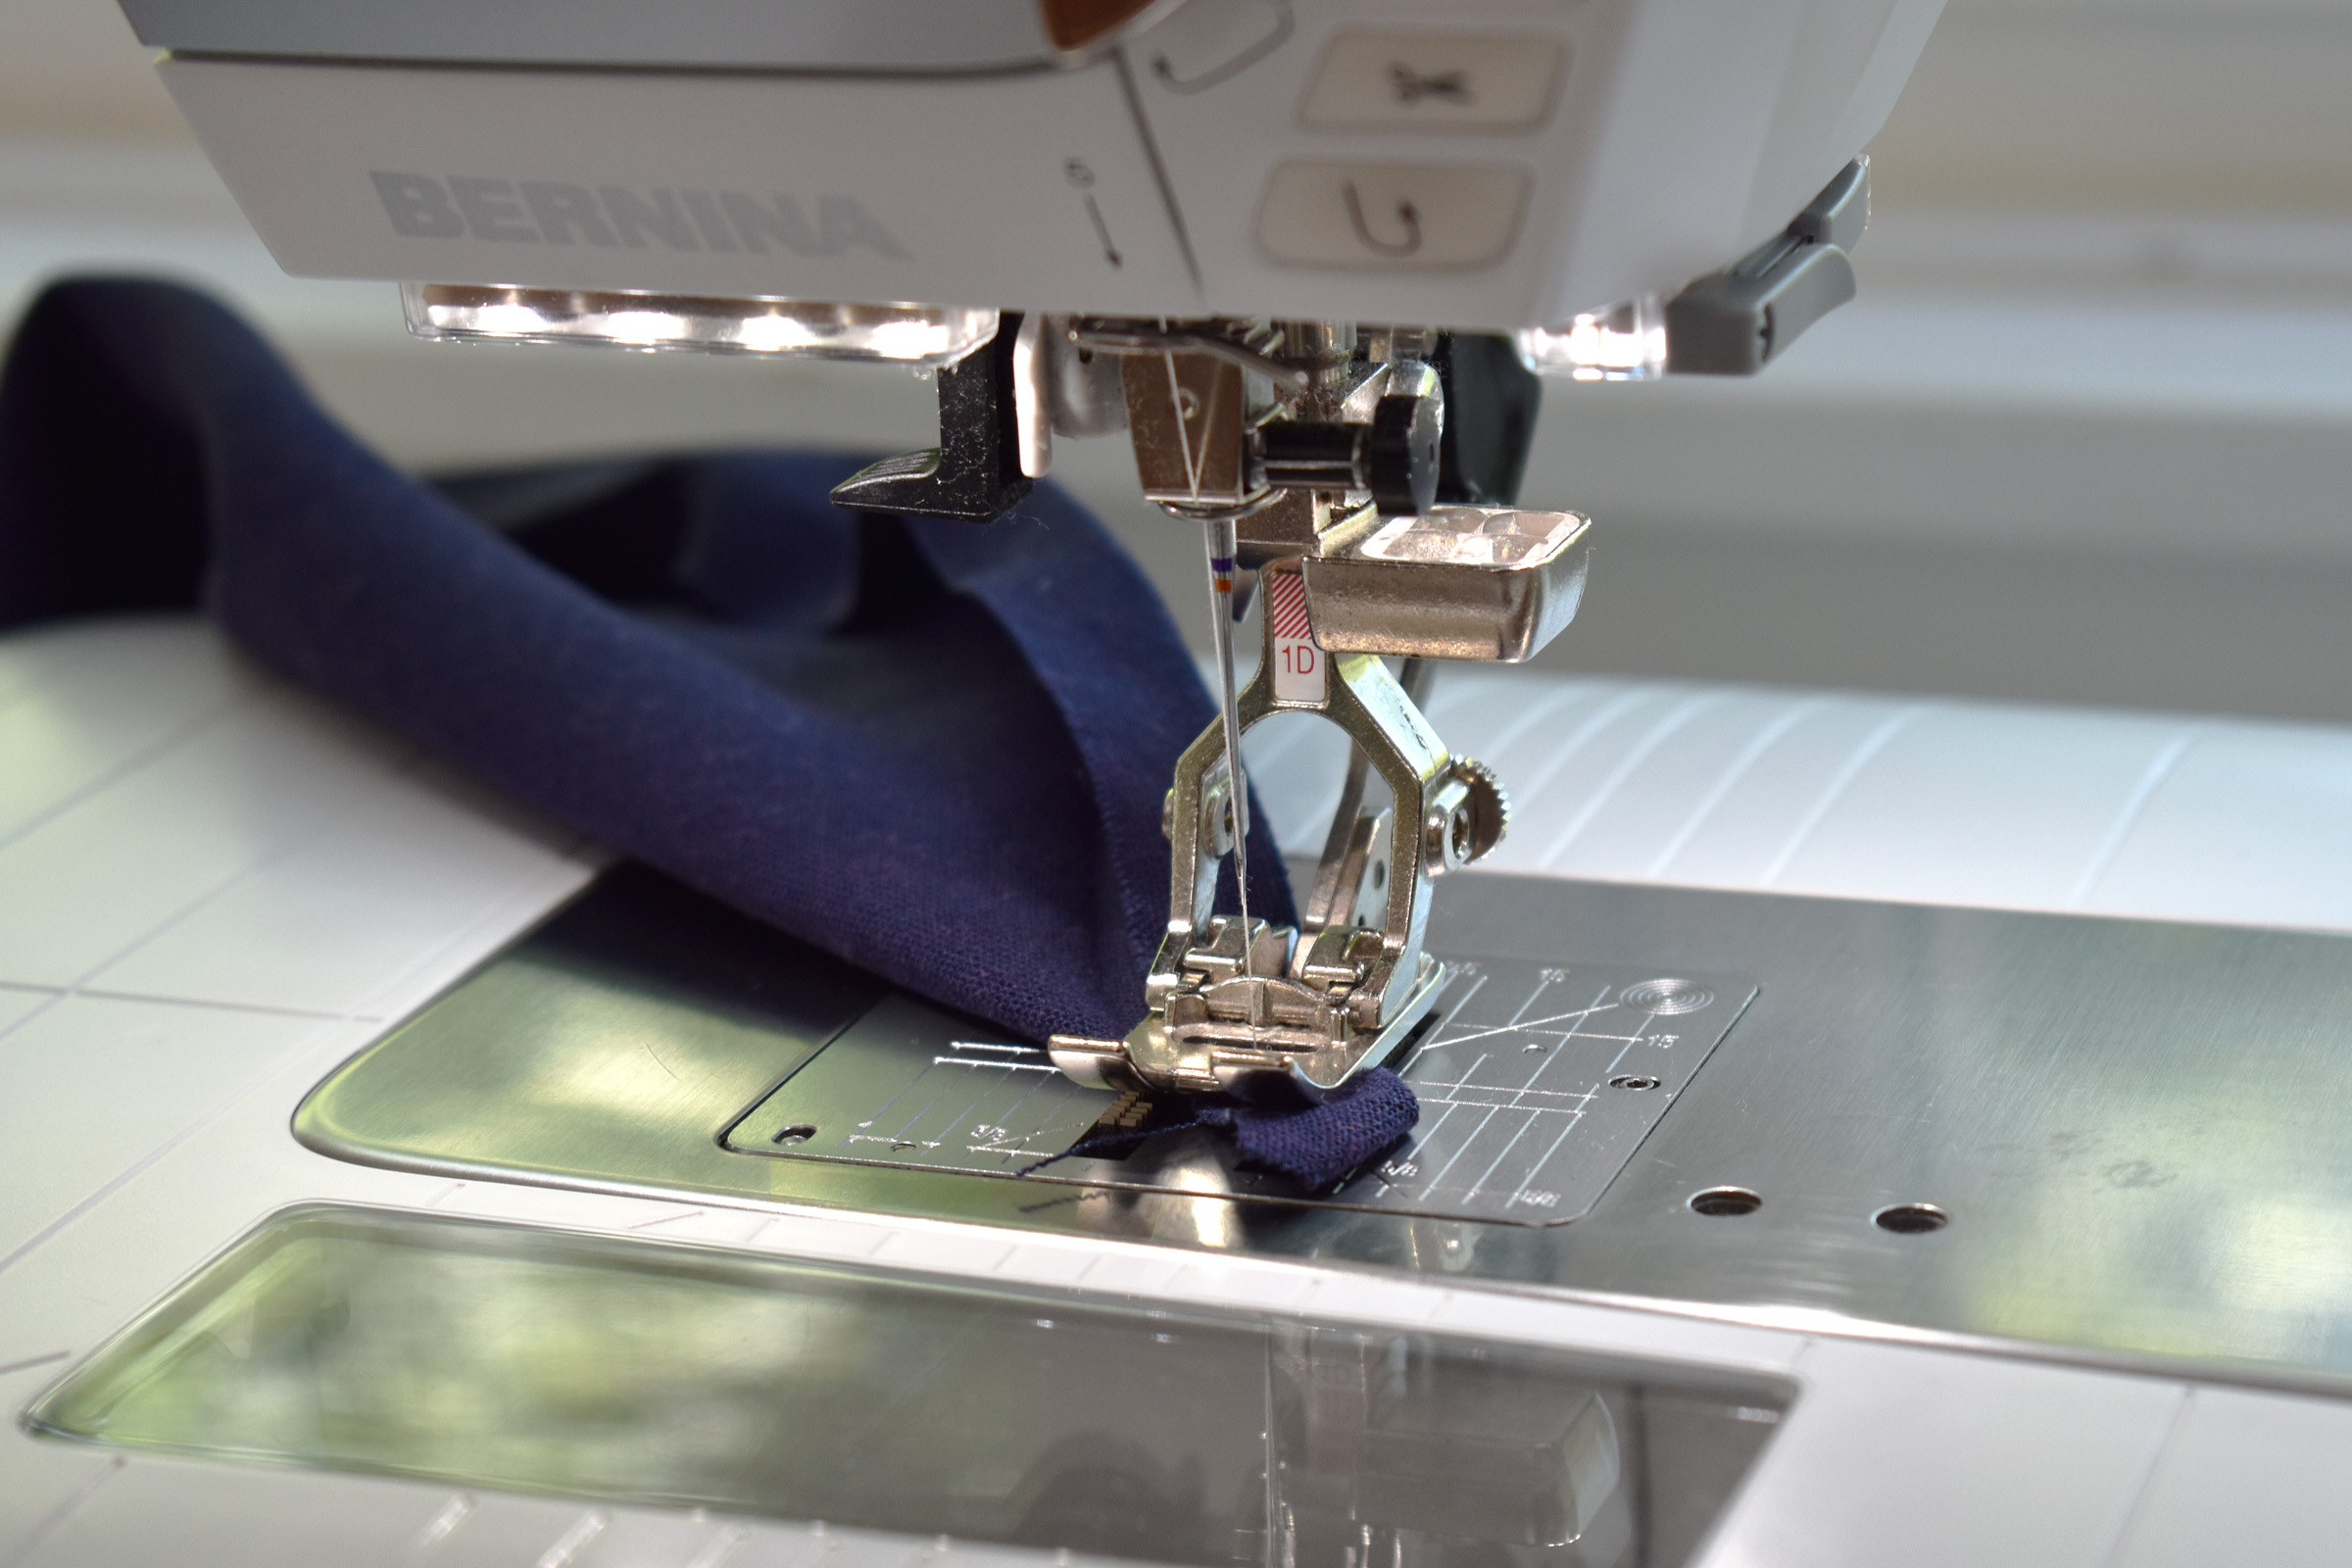
Sew the top edges of the curtain panels together with a zigzag stitch. Move the Seam Guide out of the way, replace Edgestitch Foot #10C on the sewing machine, leave the needle centered and use a standard zigzag stitch.
Line up the top end of the panels on the sewing machine table, right sides down and raw edges facing you. Place the hem edges on either side of the Foot #10C blade (just like in the photo above). Match the marks made across both hems as the start-to-sew point. Backstitch about 1/2″ to create a strong join in the top of the panels before continuing to zigzag the two edges together all the way to the top of the panels. Gently guide the hem edges to meet at the blade of the foot. Backstitch again at the top end of zigzagging the panels together.
Press the zigzagged join gently. Now check the top, raw edges of the curtain panels on your cutting mat. If both sides are close to even at the top, move on to the next step. If you find a difference of 1/4″ or more at the top (and you matched those marks together carefully when joining the panels together), carefully trim the tops even using the rotary cutter and ruler. A good way to check is to fold both panels right sides together, matching the bottom edges and that seam, and checking how close the top edges meet. Trim carefully if you need to even them up.

Finish the top edge of the curtains to create the rod pocket. Press the raw edge over 3″ to the wrong (back) side of the curtains to create a crisp crease in the fabric.

Open the fold, and press a 1/2″ hem in towards the wrong side. Fold the top hem over again on the first crease, and pin the folded edge in place.
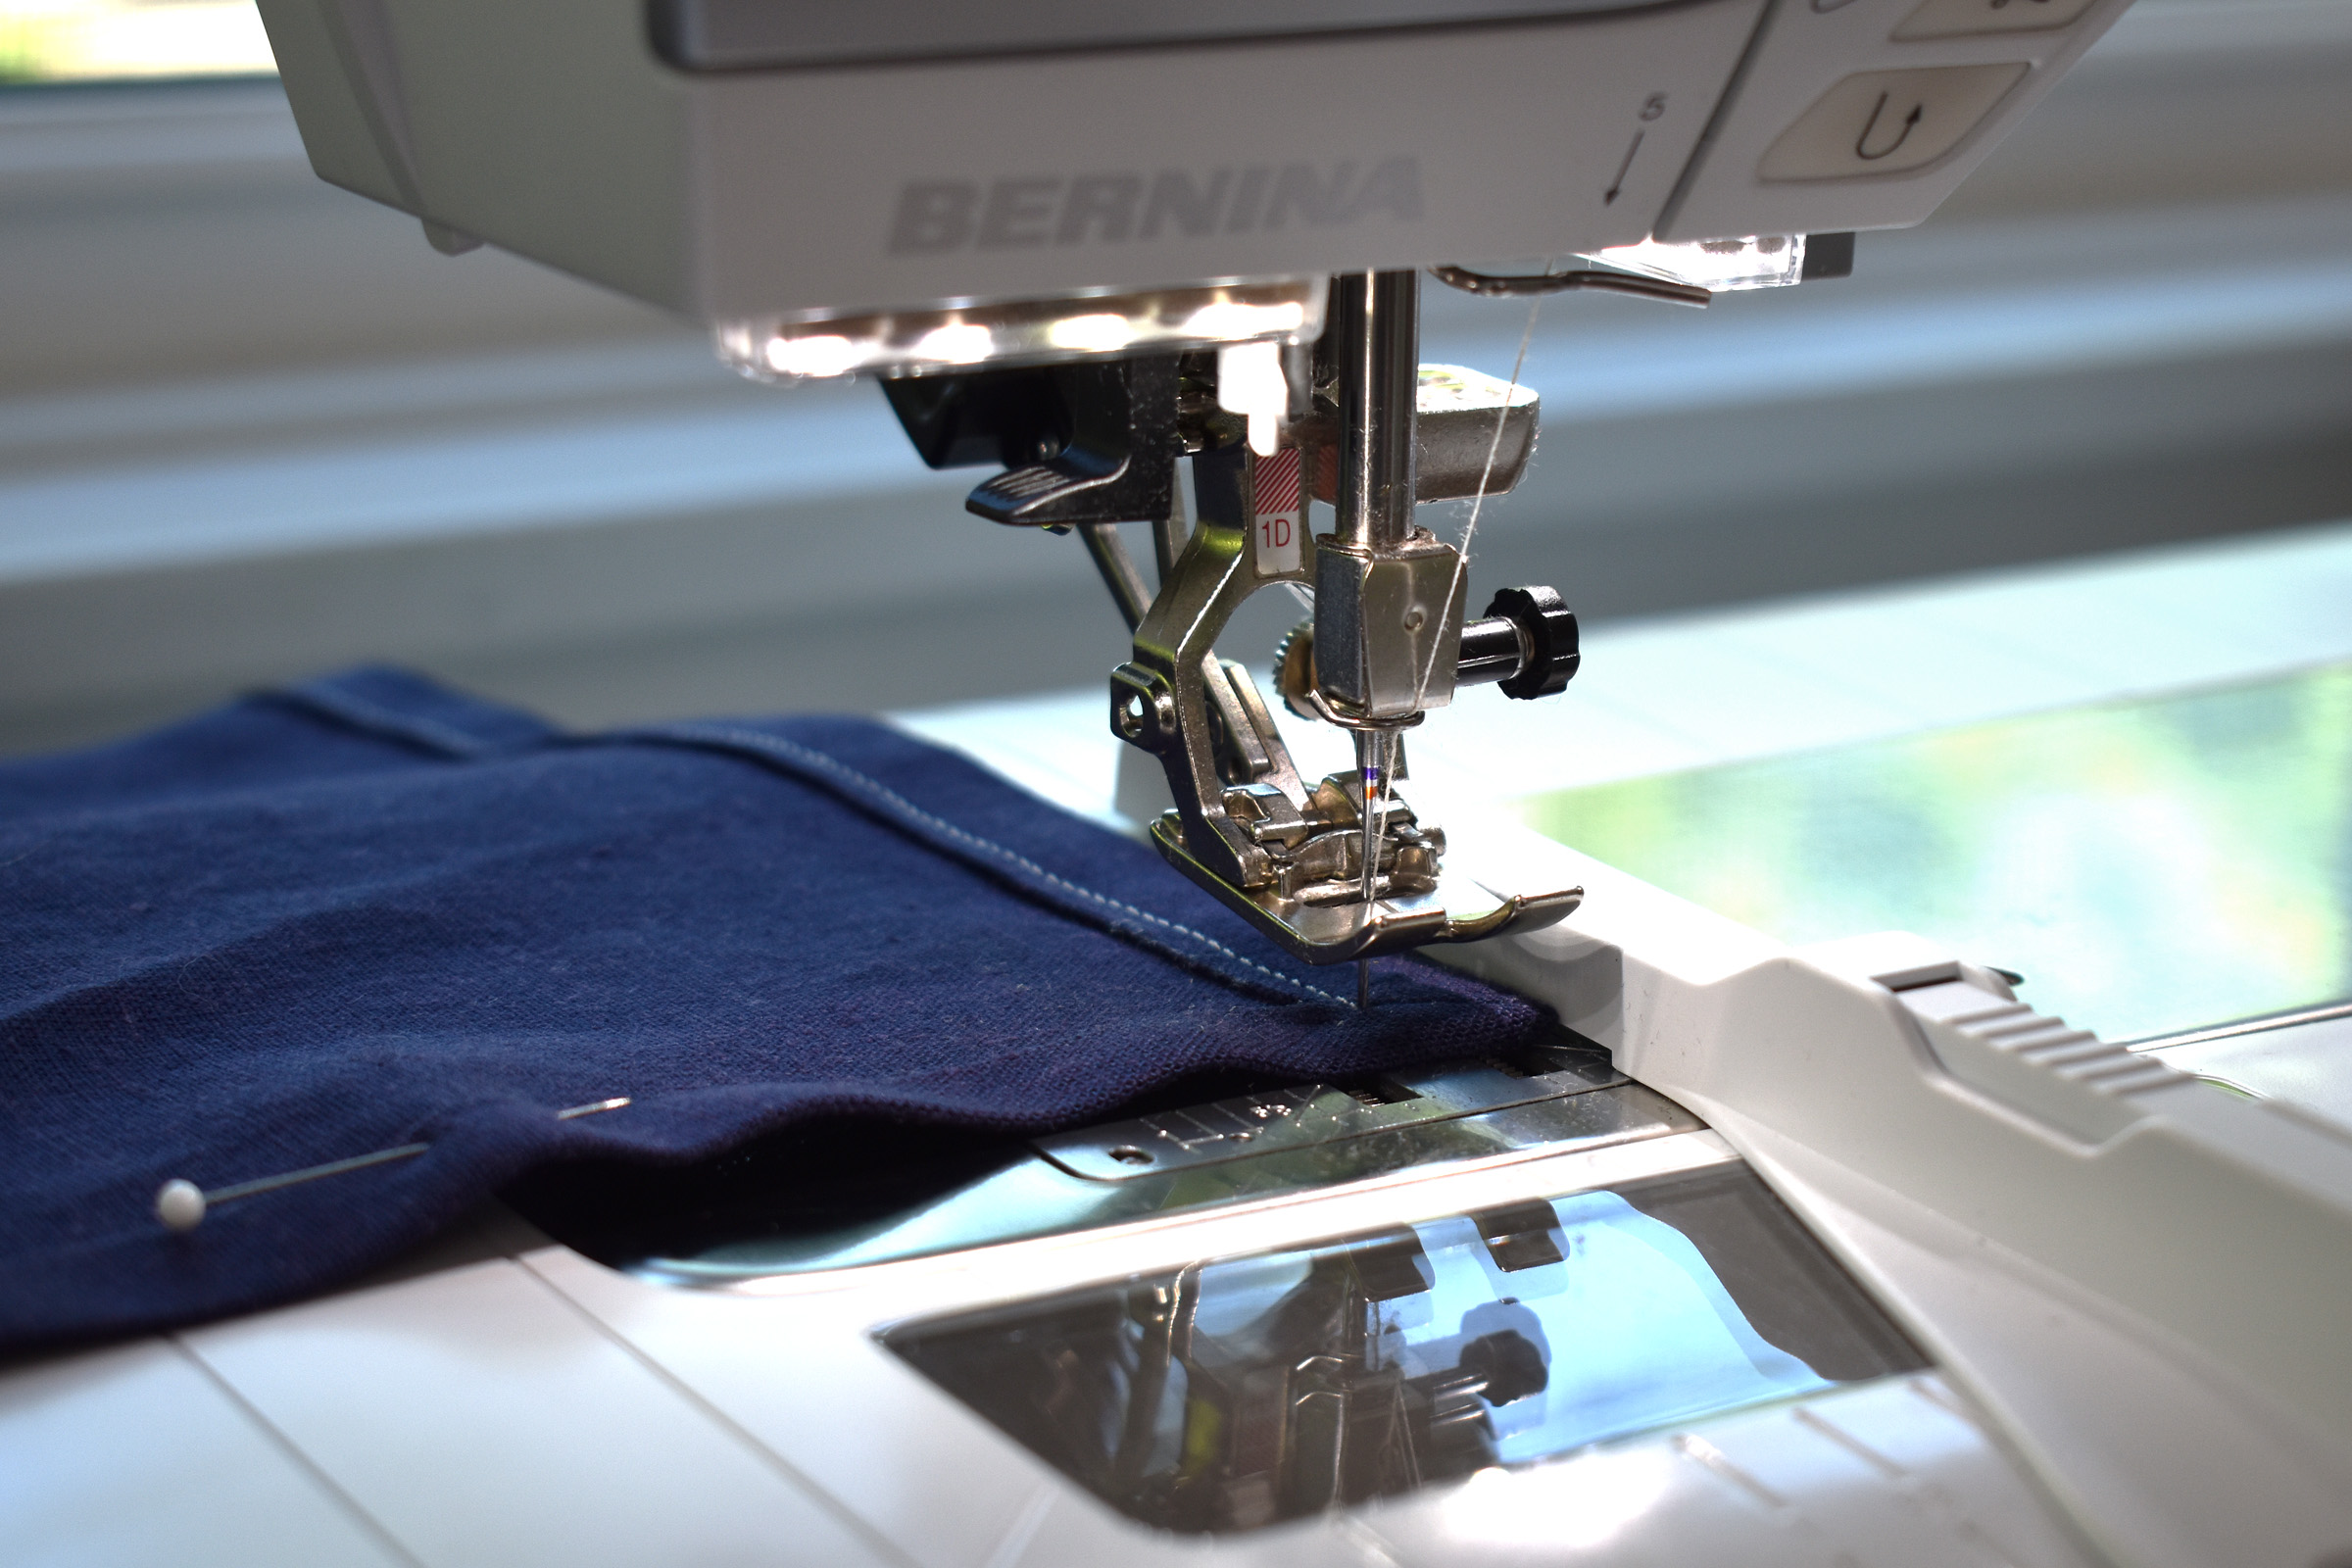
Insert Edgestitch foot #10C and move the needle position over to the right two clicks. Sew the length of the hem, lining up the folded edge against the blade of Foot #10C.
Now insert Reverse pattern foot #1D and prepare to sew a second line of stitching about 1/2″ from the folded edge. With the left edge of the foot along the folded edge of the hem, move the needle position to the right until the needle is as close to 1/2″ from the edge as possible. Stitch down the hem with the left edge of the foot along the fold in the hem, backstitching at the beginning and end.
Give the curtains a final pressing to set the seams. Get ready to install the curtain rod.

Test the tension curtain rod in your doorway for the correct width. The rod should fit snugly in the doorway but not so tight that the rod bends or distorts. Insert the rod through the top end of the curtain panels, and replace the rod in the doorway.
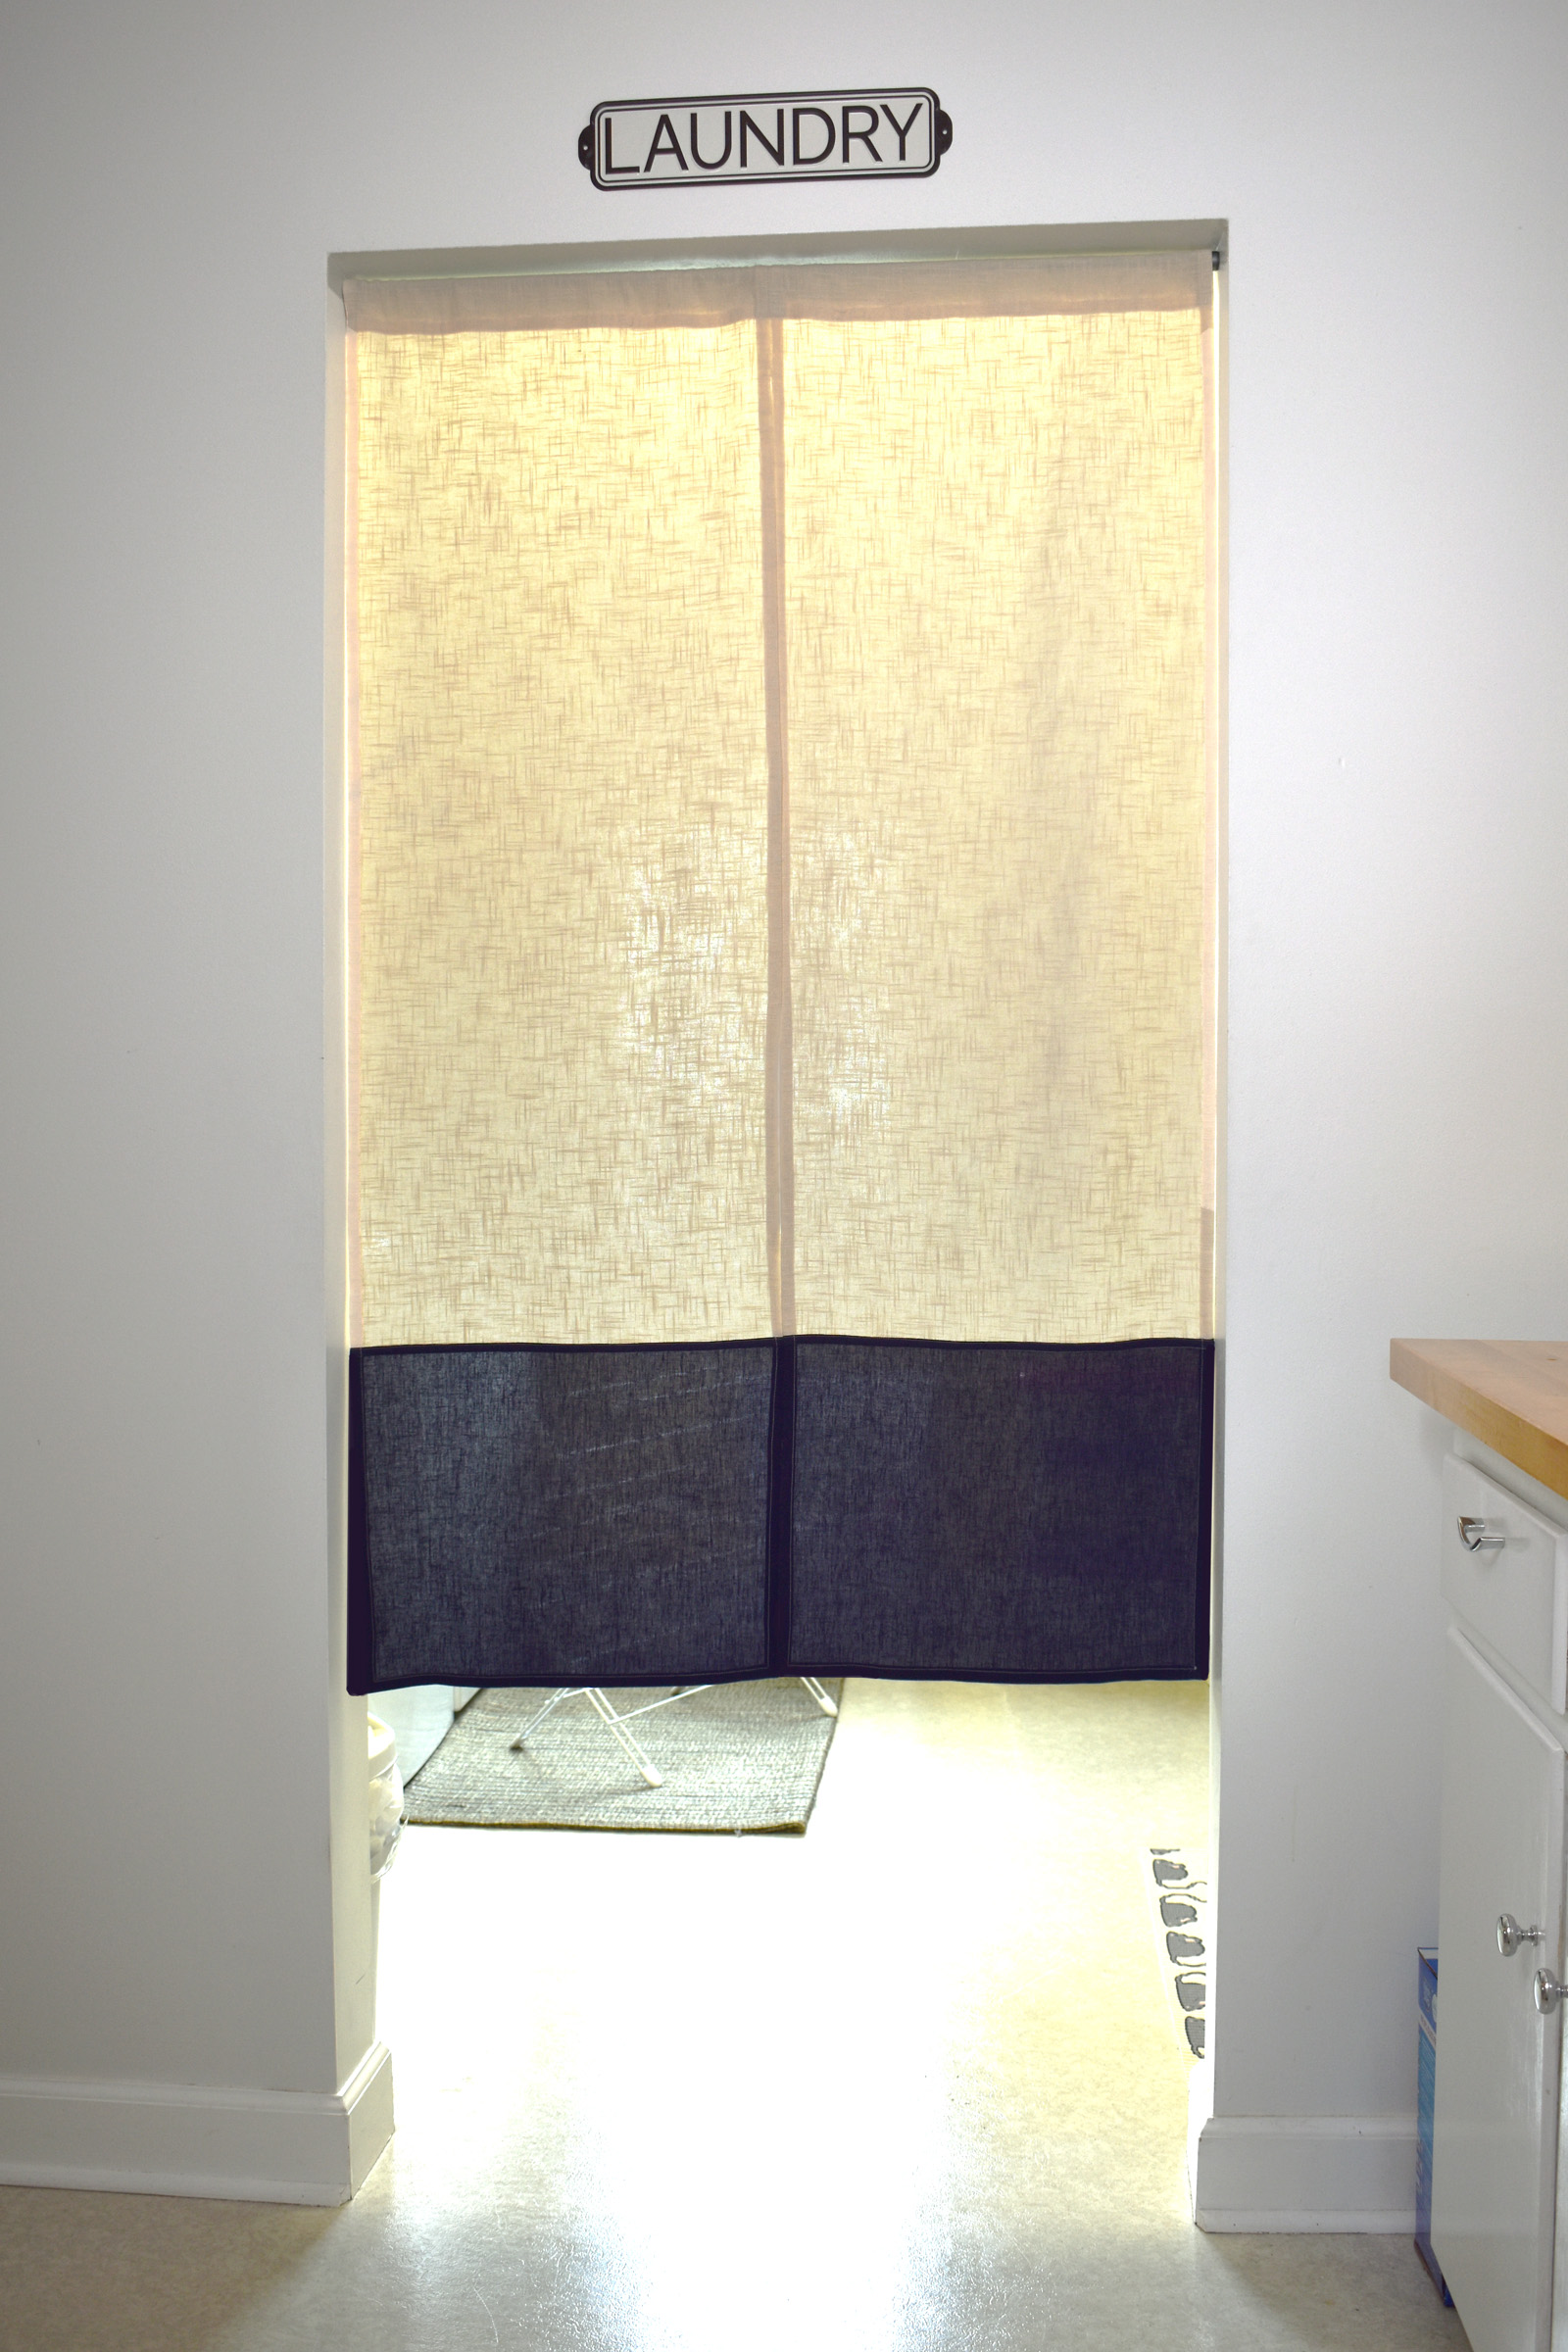
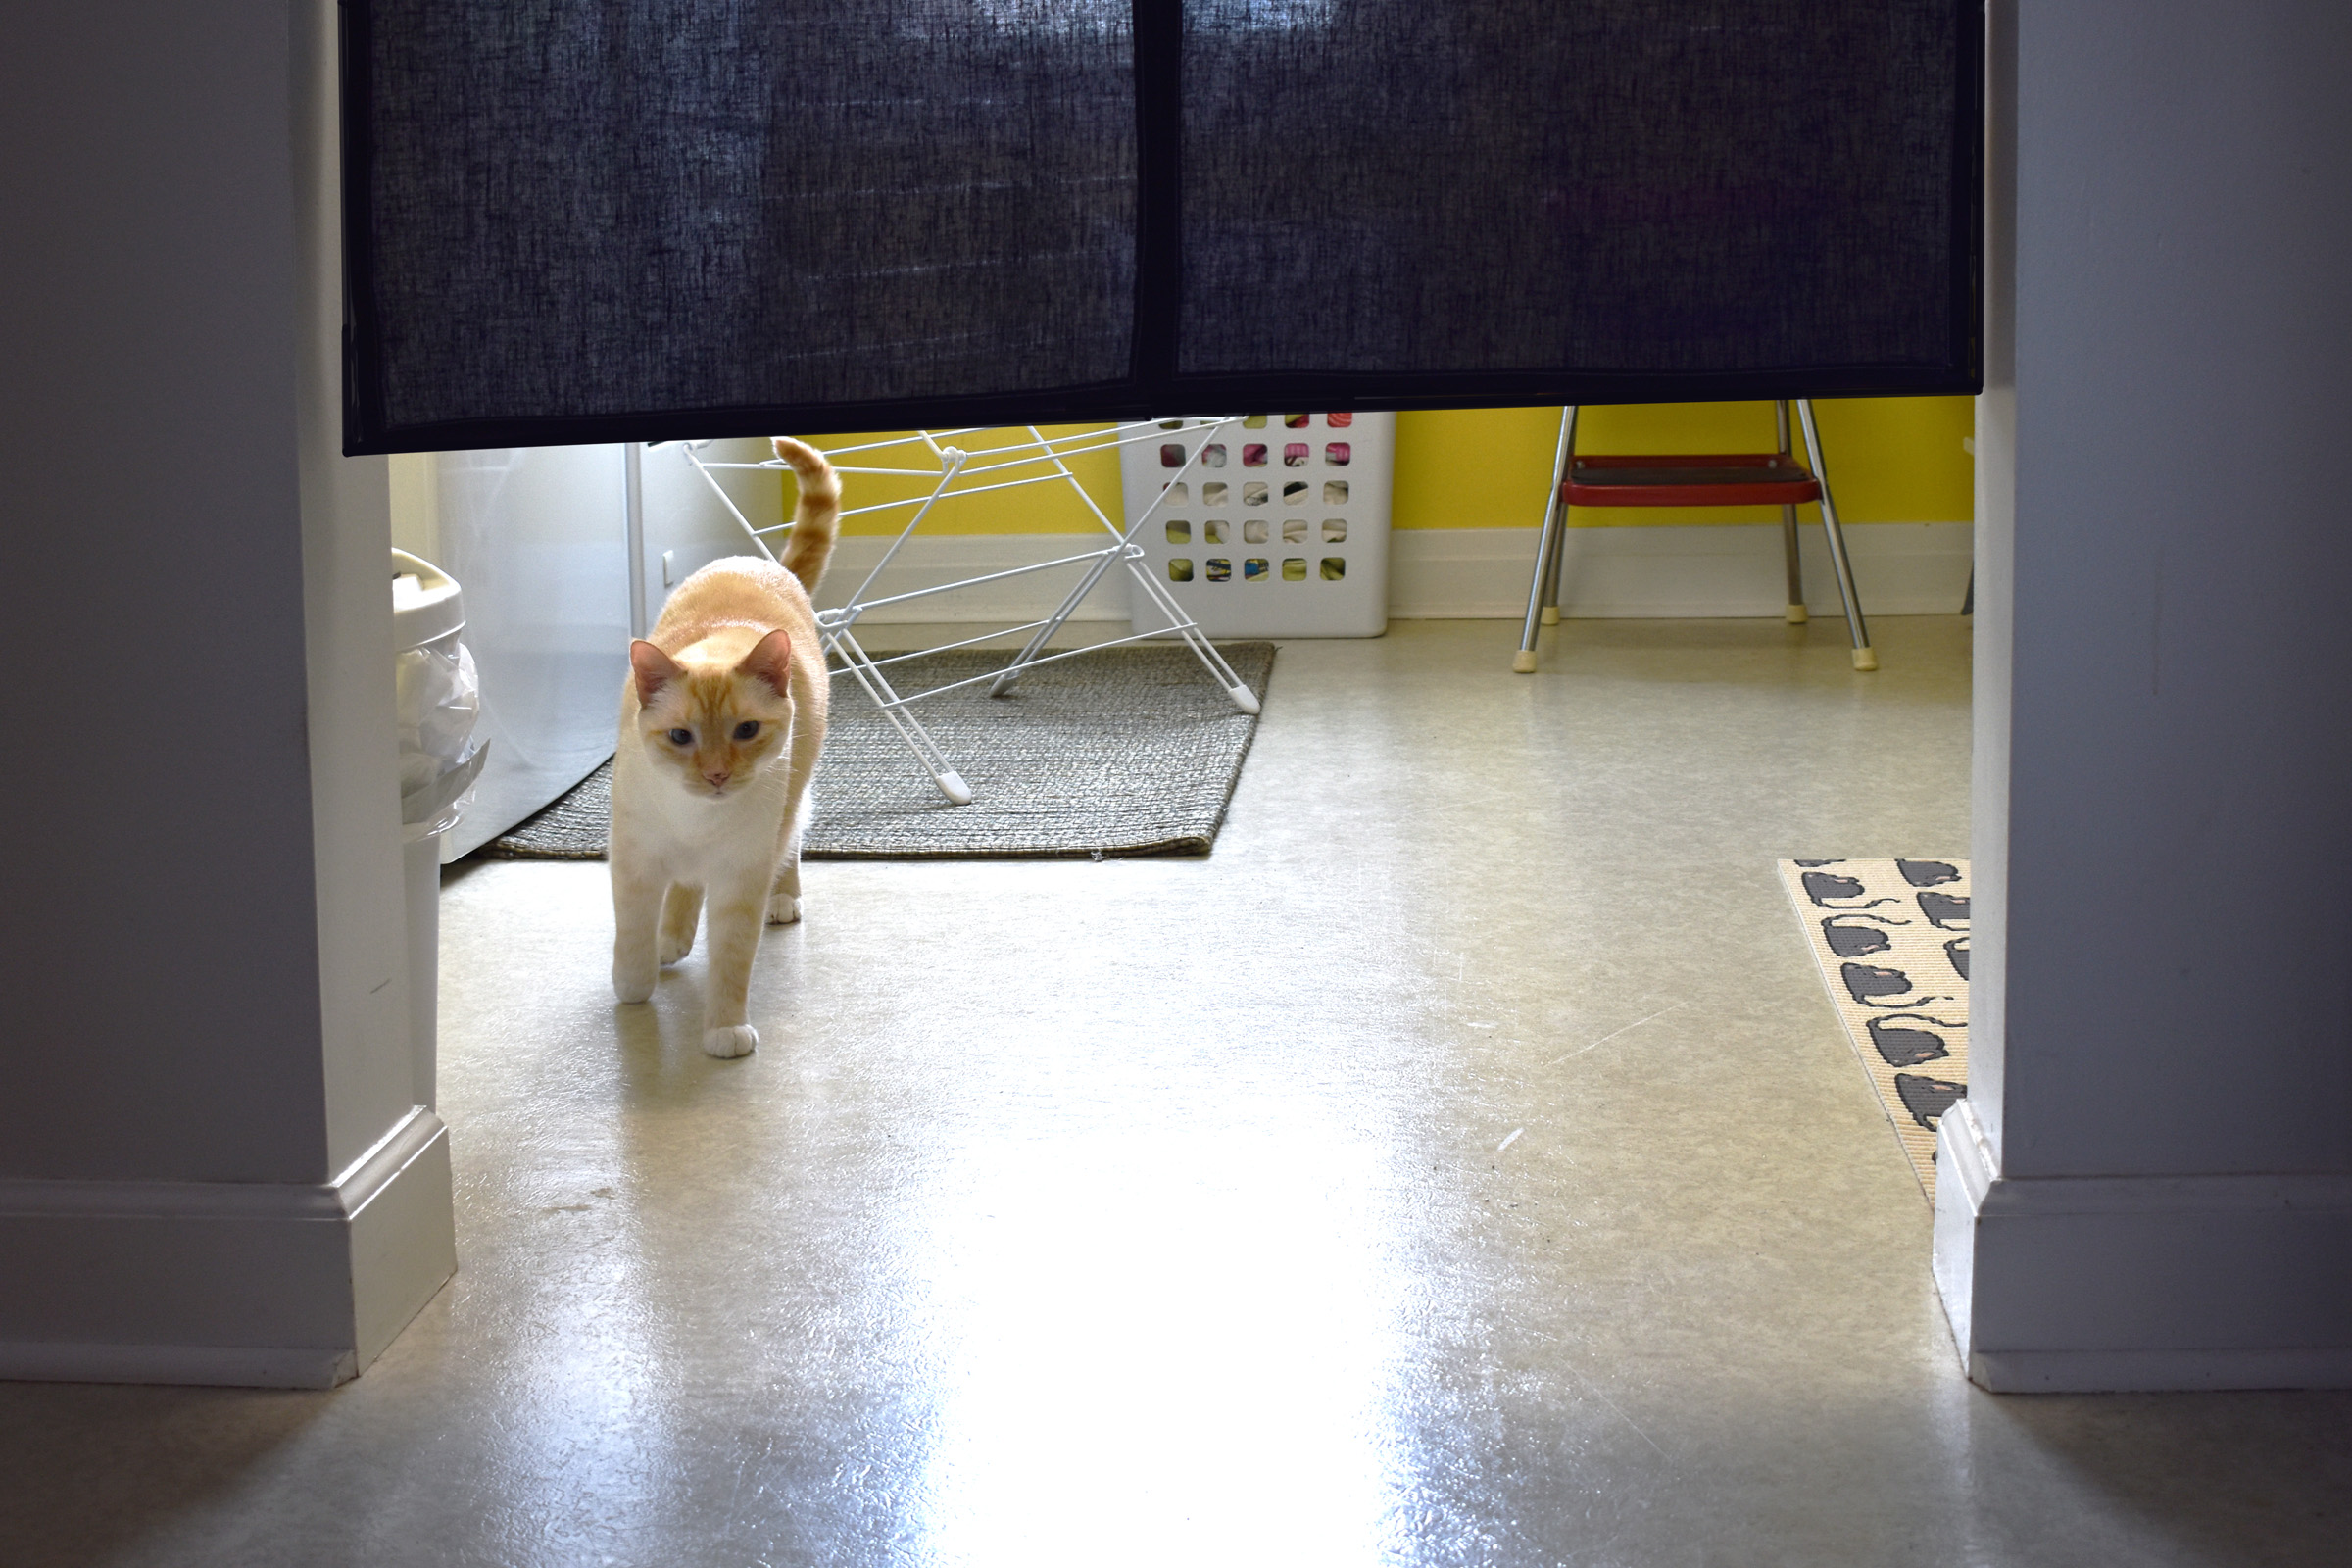
And enjoy your curtains! We all appreciate having the laundry room divided from the rest of the house while still allowing light, air, and the cats through the doorway.