How to Quilt a Landscape Quilt
Here’s a tip from Nancy Prince, award-winning quilter, published author, national quilting teacher and thread painter extraordinaire:
Quilting a landscape quilt is totally different from quilting a traditional quilt!! Remove all thoughts of feathers and crosshatching – you have to think terrain for the quilting to be effective. By nature quilts are a flat one-dimensional item, but with the appropriate quilting this flat surface can produce rugged mountains, gently sloping meadows, or distant hills. The idea when quilting a landscape quilt is to give the illusion of closeness or distance. This illusion is created by the amount of space between the quilting lines – the less space between the quilting lines, the greater feeling of distance; the farther apart the space between the quilting lines, the greater feeling of closeness.
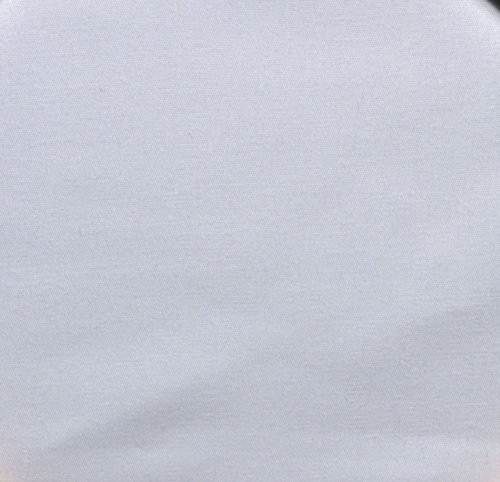
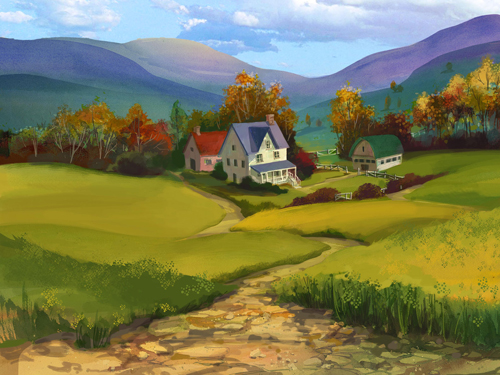
For example, look at the image below – a flat one-dimensional background because there is nothing there.
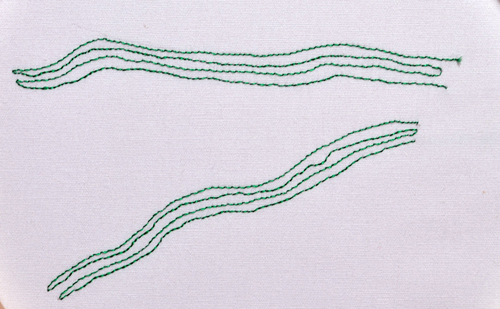
Now in the next photo, just by changing the direction of the terrain line the illusion goes from a gently sloping terrain (top) to a very steep incline (bottom).
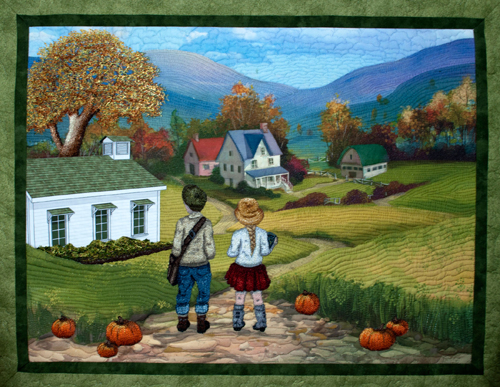
To go a little farther, look at the background fabric in the next photo. Now the artist has helped with determining the terrain lines by the way the background was painted.
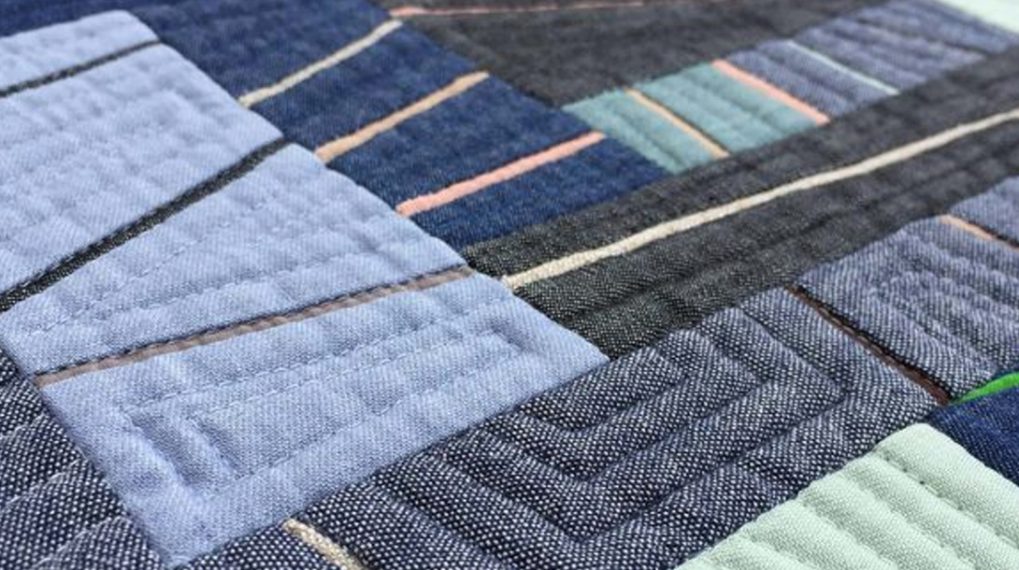
But as quilters we can really enhance the illusion of distance and closeness by the correct quilting as seen below.
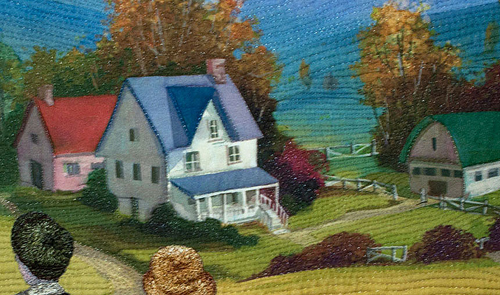
Look at the space between the quilting lines around the center house and barn. The quilting lines are horizontal to each other, depicting a flat terrain around the house, while the quilting lines are very close together, giving the illusion of distance. Now look at the space between the quilting lines in front of the house and red shrubs. The space between quilting lines has increased dramatically, giving the illusion that not only is this part of the terrain closer to you but also the curved quilting lines enhance the illusion of a gently sloping terrain. Now look at the quilting lines in front of the schoolhouse. The space between these quilting lines has gradually increased again, giving the illusion of closeness. In addition, the quilting lines create the illusion of a gently sloping terrain.
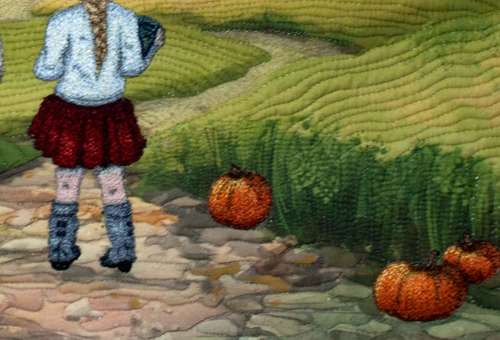
The same is true of the roadway. Landscape areas in the distance have no form and are muted in color. So the correct way to quilt the roadway is to quilt lines very close together, gradually increasing the space between quilting lines the closer to the front of the quilt the roadway is. The roadway at the front of the quilt is the closest to the viewer, thus the individual rocks on the roadway are visible. It is very simple then just to follow the outline of the rocks to quilt this area.
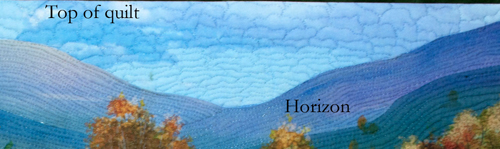
The horizon is the part of the quilt farthest away from the viewer, so the space between quilting lines for the sky at this point should be very close together. So when quilting the sky, simply start out with very small cloud formations close together at the horizon, gradually increasing the size of the cloud formations the closer the quilting gets to the top of the quilt.
To sum everything up – the space between the quilting lines should be closer together the farther away a landscape area is from the viewer, and farther apart the closer the landscape area gets to the viewer. But keep in mind that there should be a gradual increase in the space between the lines for everything to stay in proportion.
I hope next time you look at a landscape quilt you will automatically think terrain lines. Enjoy, as a lot of creativity exists when quilting a landscape quilt.