How to Sew a Romantic Pink Corset
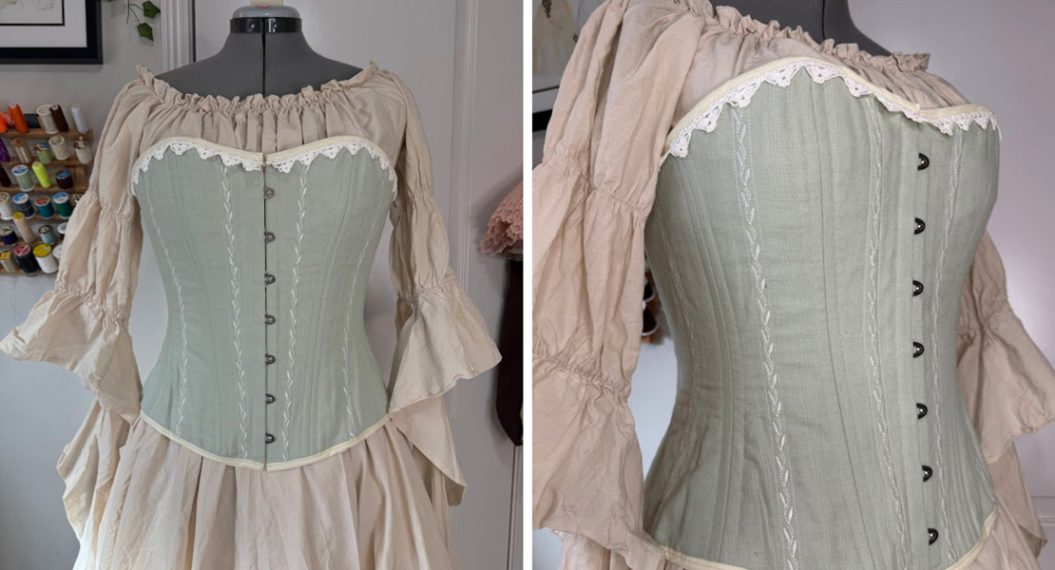
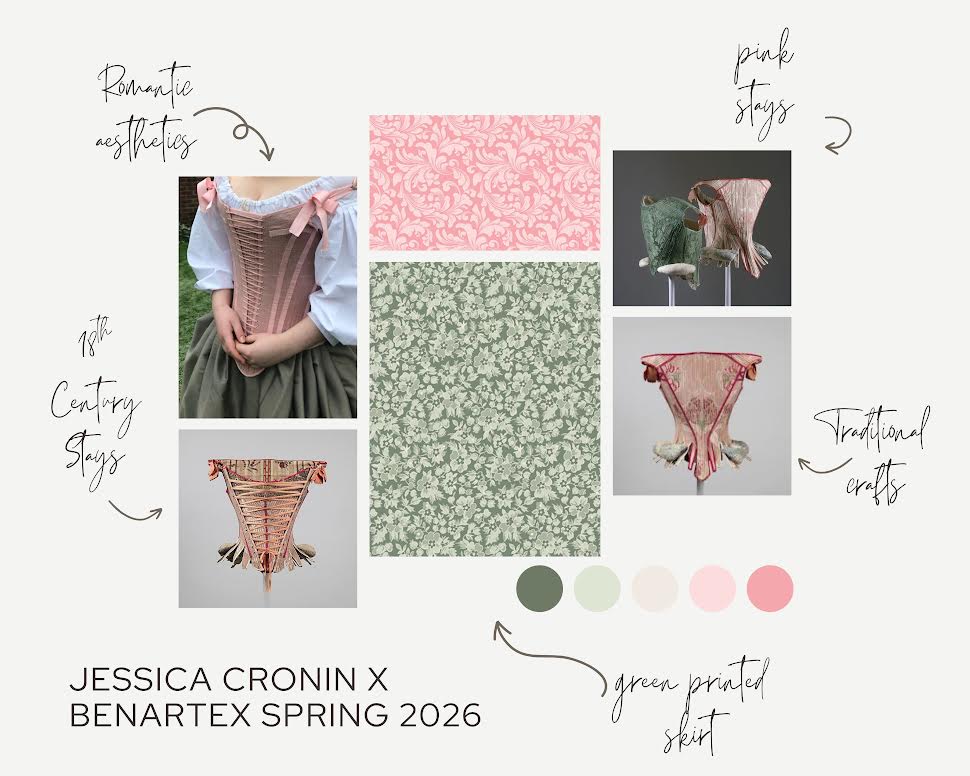
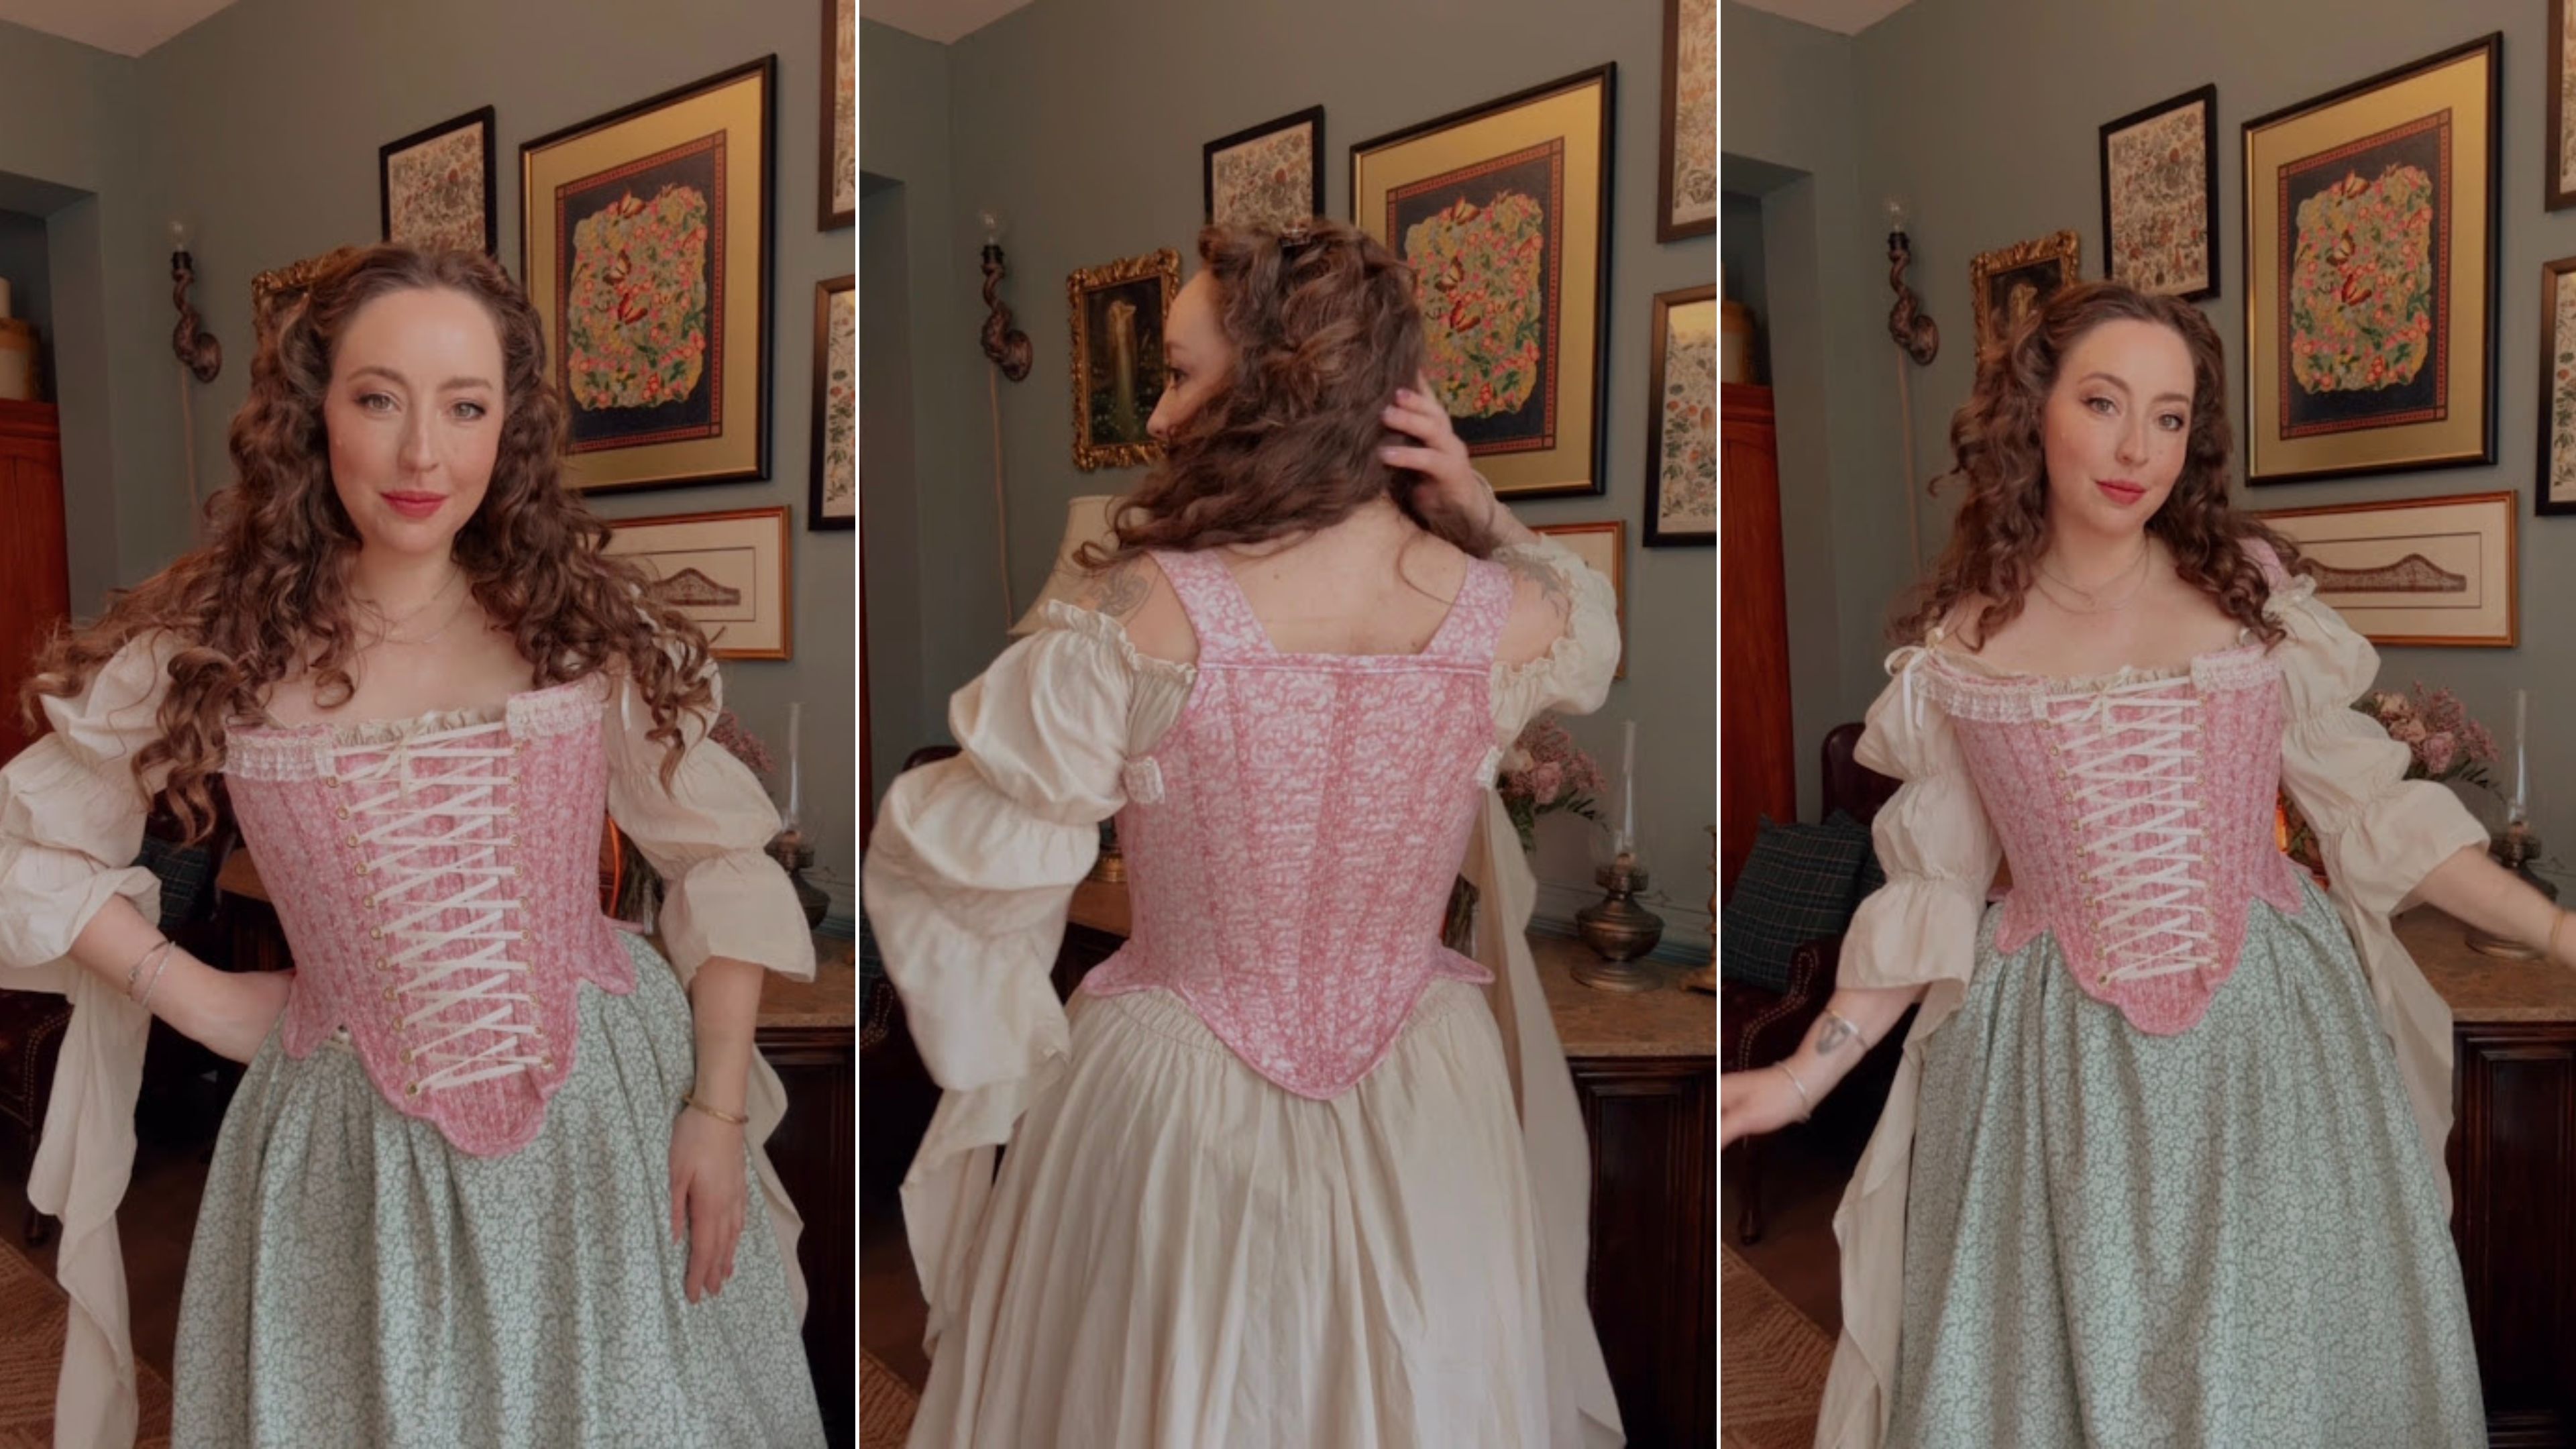
Every now and then, I make something that I’m completely enamored with, and right now, it is this 18th-century pair of stays I made using the Lovely Scrolls Light Pink from Benartex.
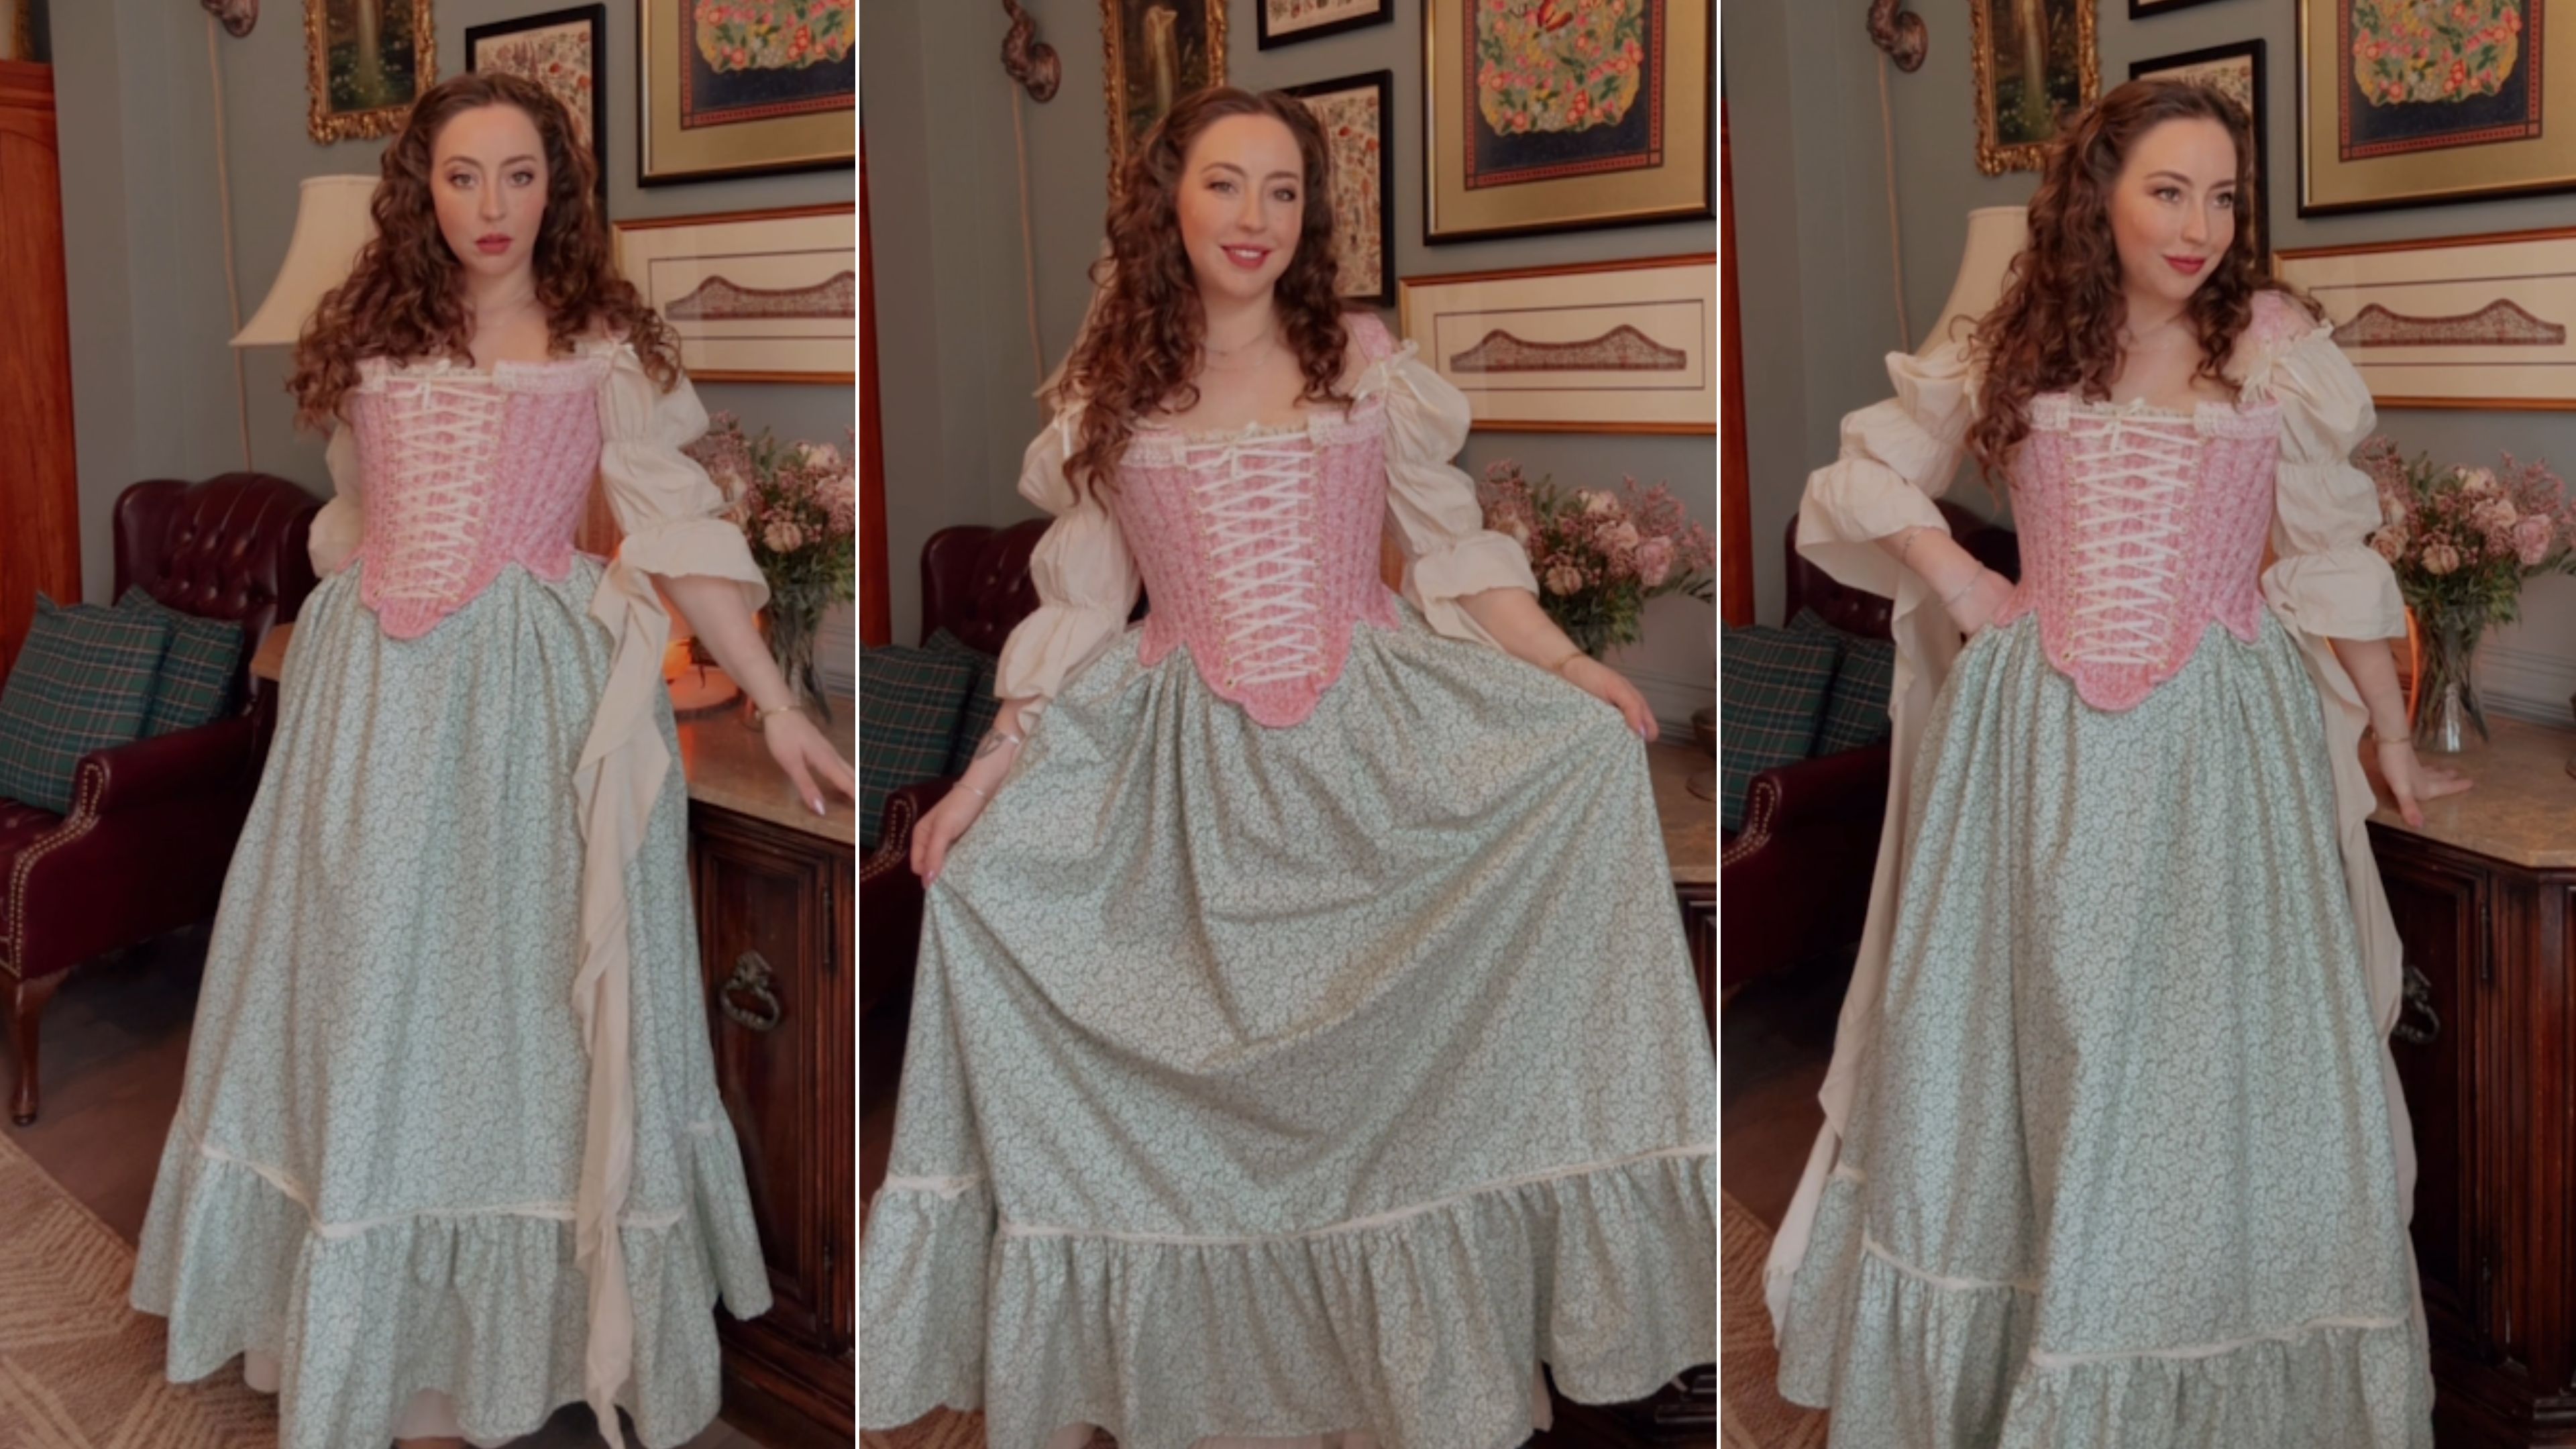
We must all take a minute to appreciate how beautifully this corset turned out!
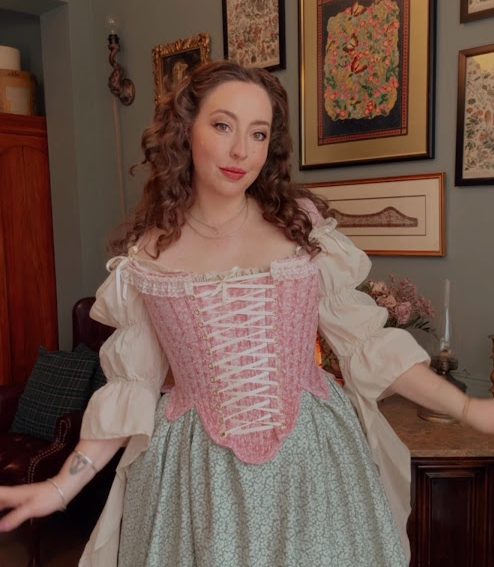
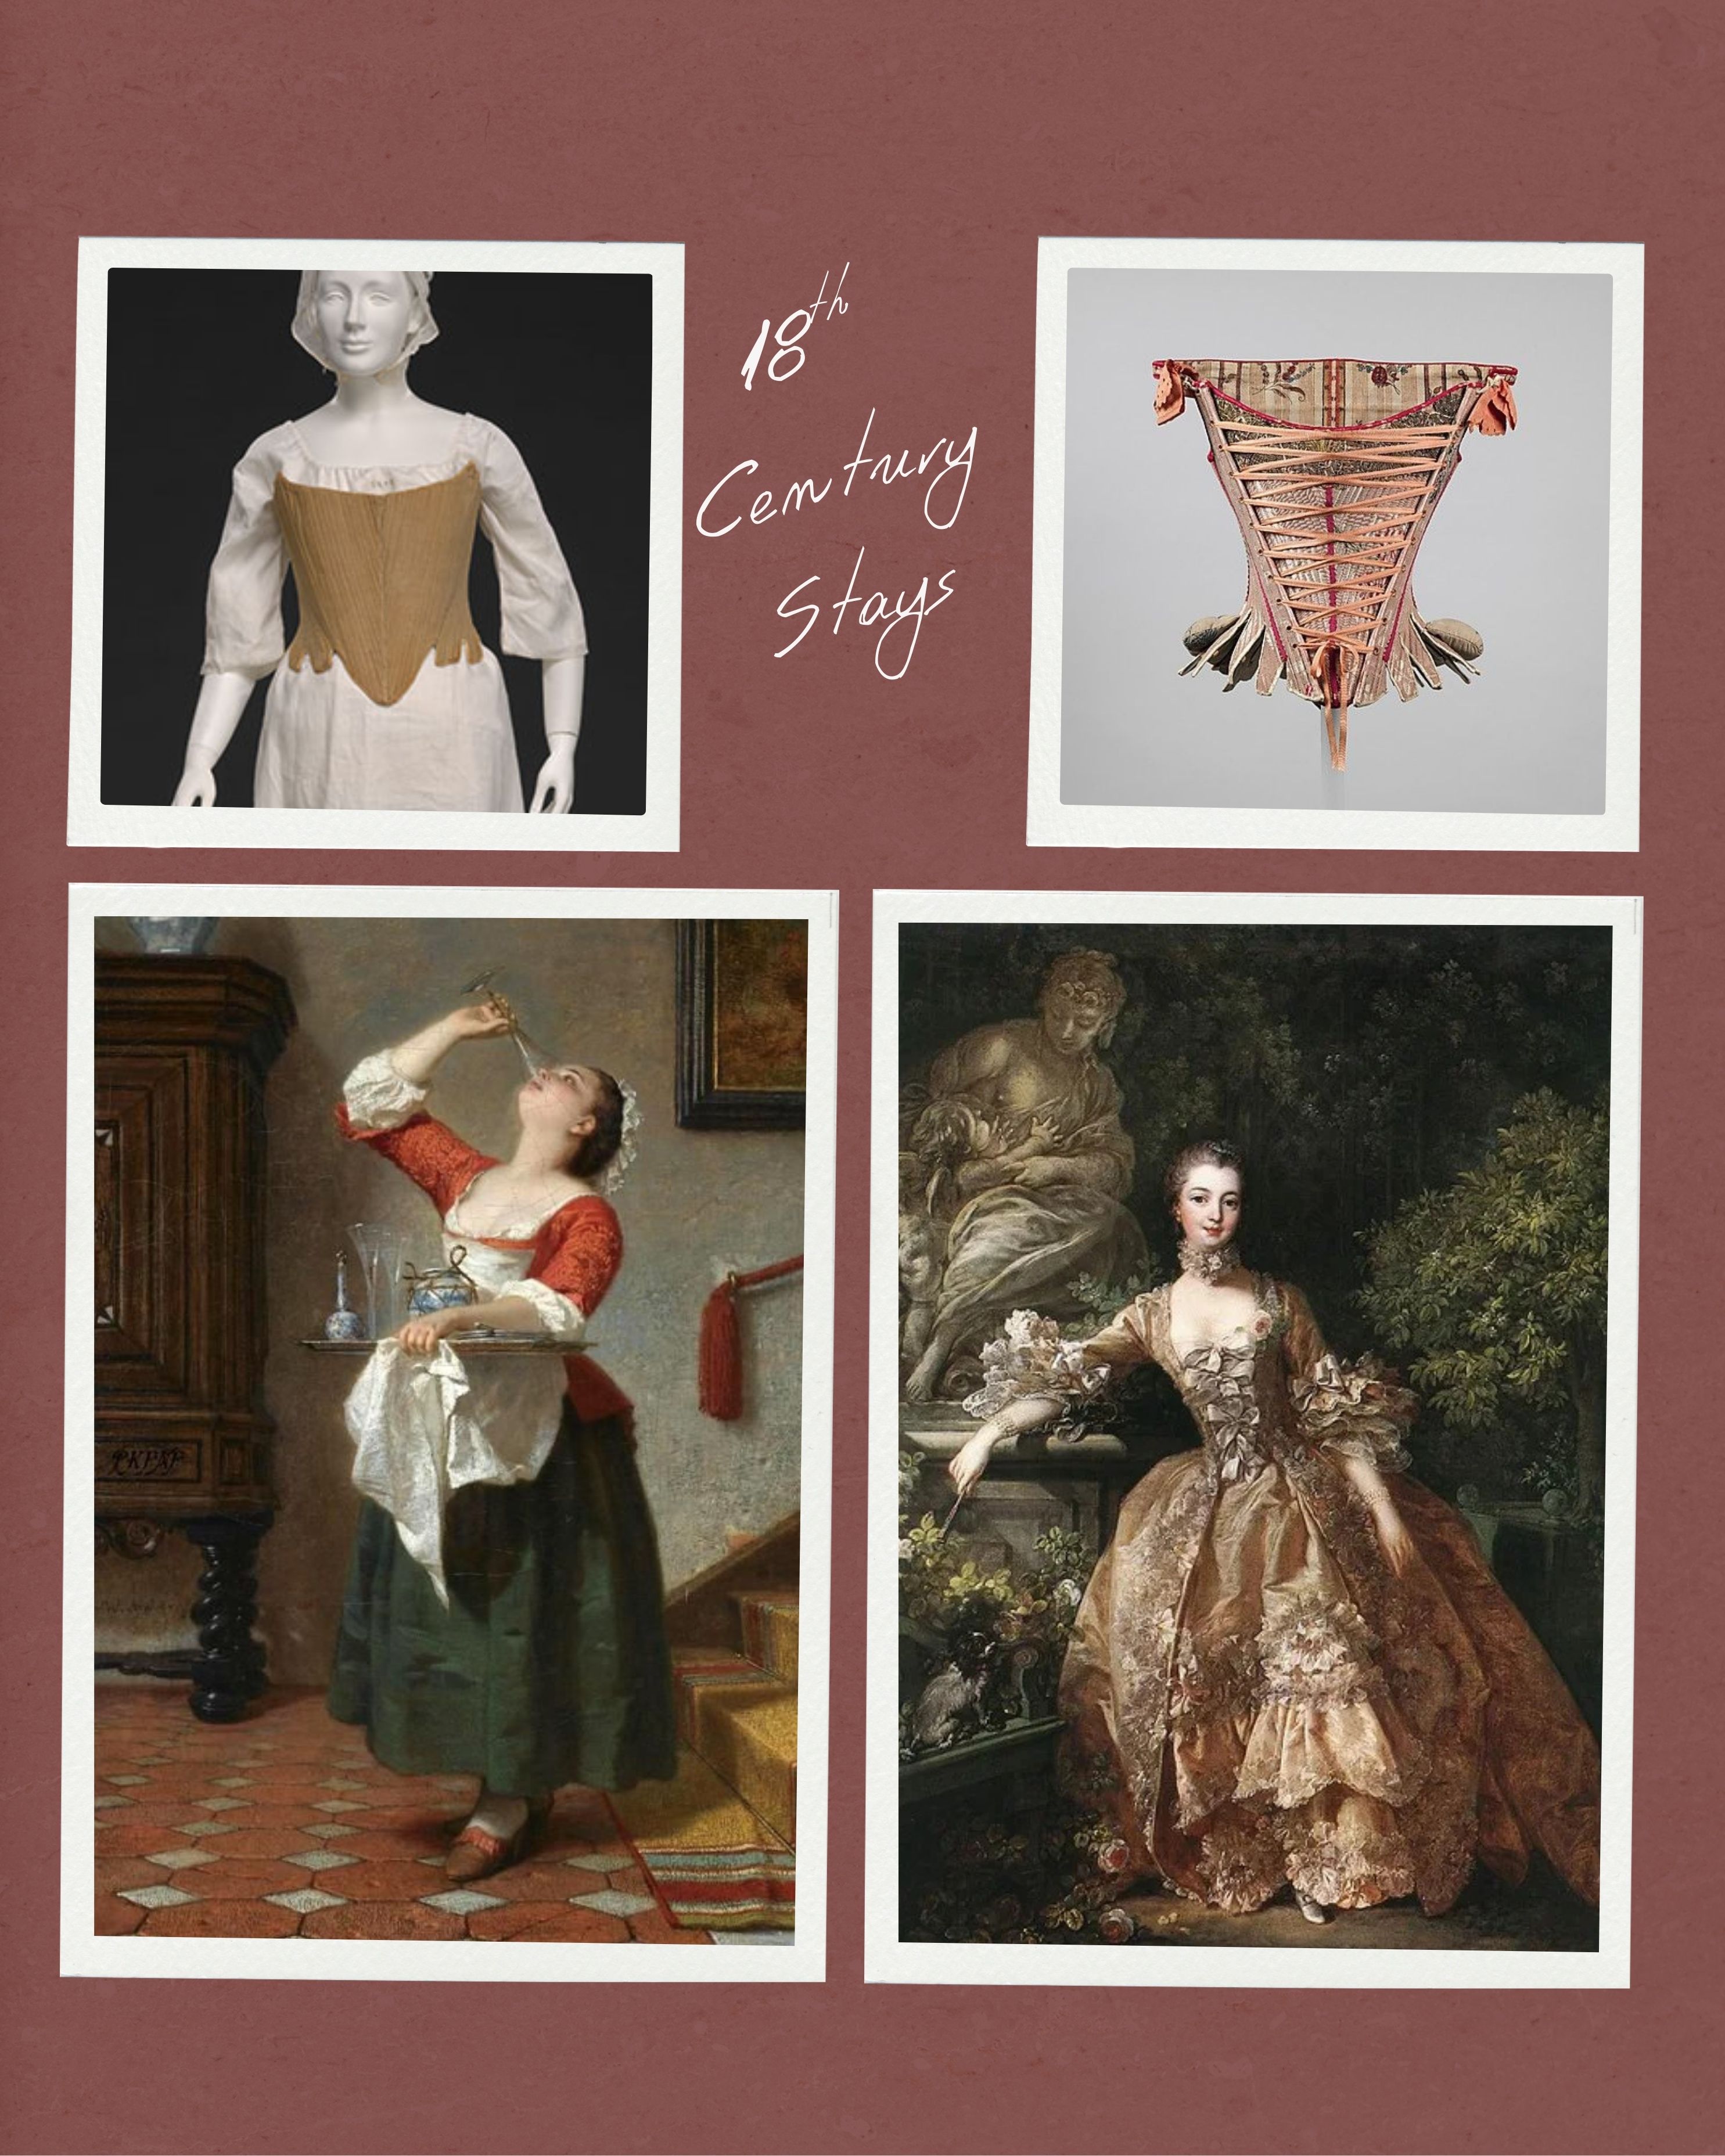
In general, the stays worked like a modern longline bra or vintage girdle–supporting the bust from the waist, easing the lower back from taking on all this work while protecting the hips where the many skirts, petticoats, and panniers rested on the body.
Historically, women of all classes wore stays. The lower classes often wore strapless stays, which did not impede the movement of the shoulders, so they could do physical labor-style work. The upper-class women, especially the aristocracy and royalty, wore more restrictive stays as they did little to no manual labor.
Materials Needed for 18th-Century Stays
- Internal Fabric Layers: Strong, sturdy fabrics like linen/ cotton canvas or twill were used for the core layers to provide structural strength.
- Outer Layer (Fashion Fabric): Wool (especially green or blue calamanco), silk brocade, decorative cottons or linen.
- Boning/Stiffening: Baleen (whalebone) was most common due to its flexibility, but reeds, wood bents, or cord were also used.
- Lining: A lightweight, often loosely tacked, linen lining was used, allowing for replacement.
- Binding: Leather, linen tape, or self-fabric was used to bind the edges for durability.
- Closure: Hand-sewn eyelets were used for lacing, often reinforced with leather, typically at the back, but sometimes with front-lacing options.
Materials Used to Make These Replica 18th-Century Stays
- Internal Fabric Layers: One layer of medium-heavyweight cotton broadcloth
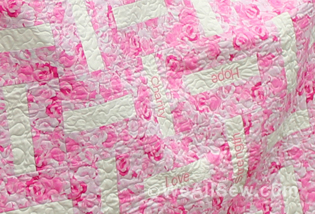
- Outer Layer (Fashion Fabric): Benartex Fabrics Lovely Scrolls Light Pink 15116L-20
- Boning/Stiffening: Rigiline plastic boning
- Lining: cotton muslin
- Binding: fashion fabric bias binding made using the Lovely Scrolls fabric
- Closure: gold grommets
I used my own pattern for these 18th-century stays, but if you are looking for an excellent pattern, I ALWAYS recommend the company RedThreaded for their patterns and corset-making kits, whether you are new to sewing historical foundation garments or a seasoned professional!
Steps to Make Your Own Decorative 18th-Century Stays
1. Prep Your Fabric
When making clothing, it is always best to pre-wash and iron your fabric in case there is any shrinkage before cutting and sewing!
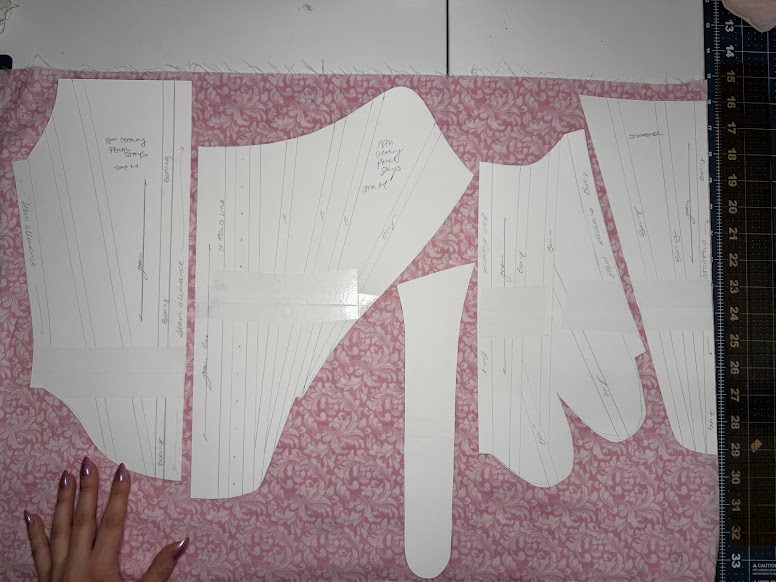
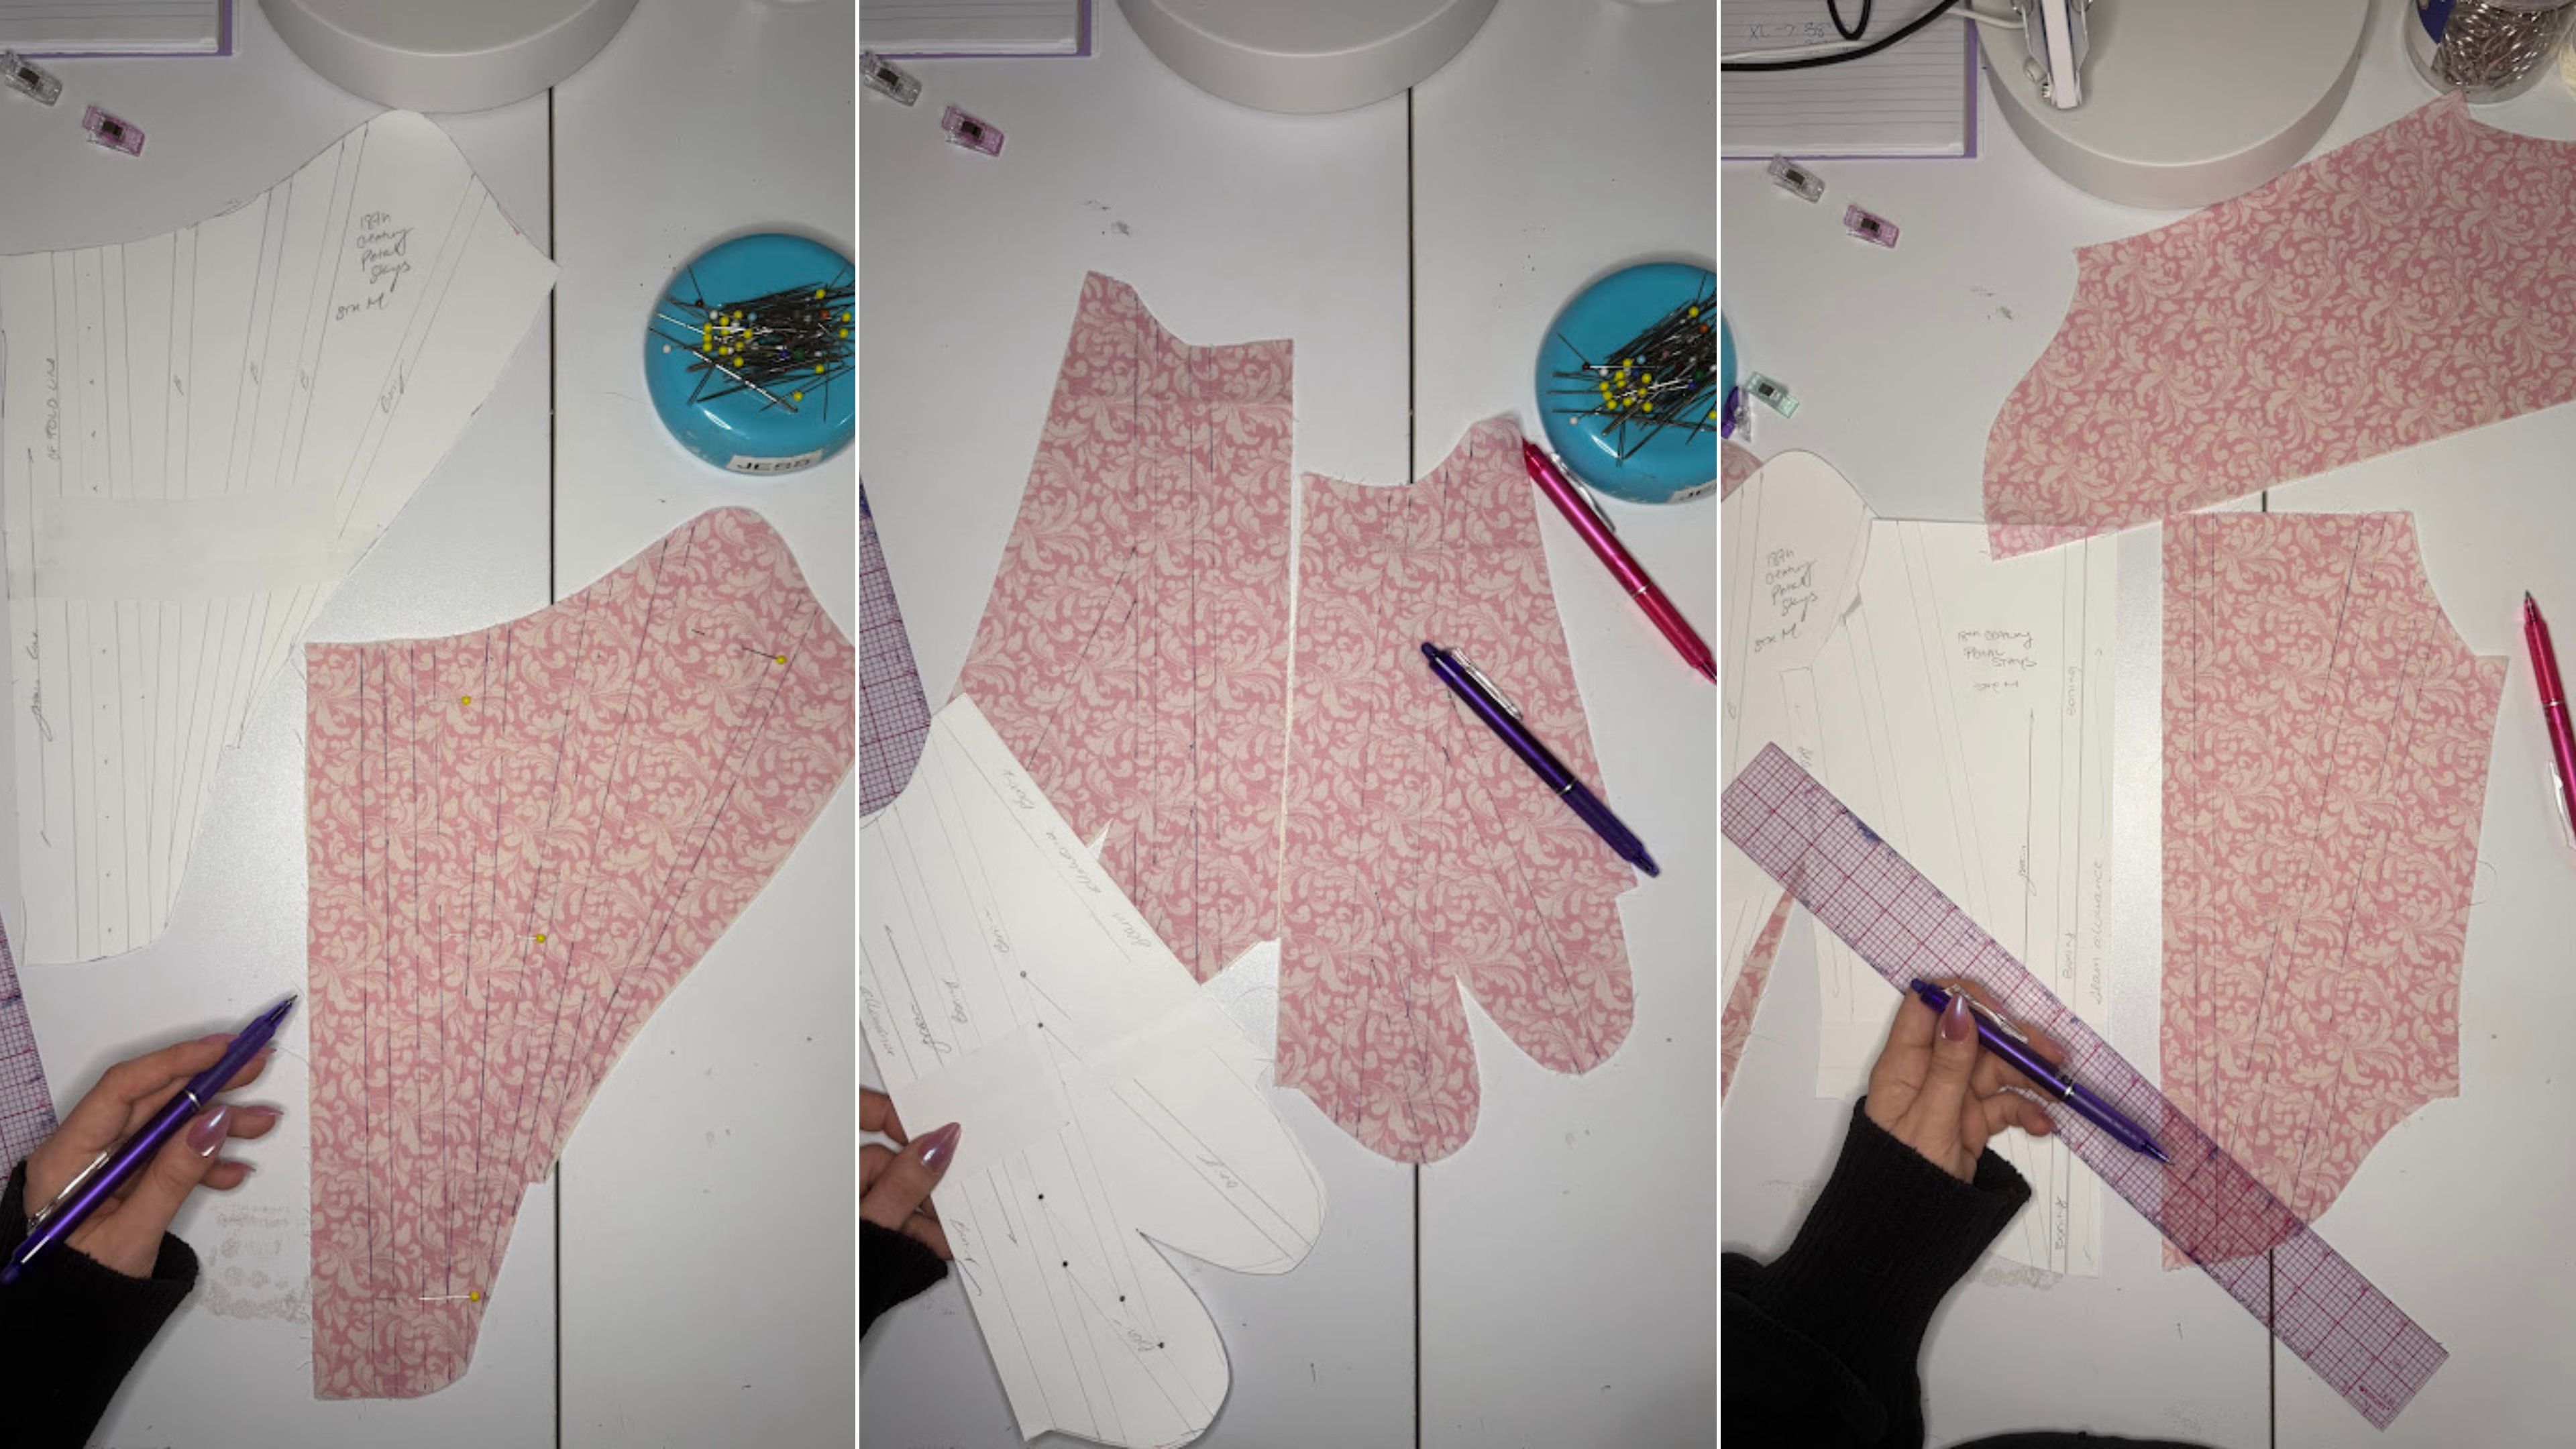
2. Cut Out Your Fabric & Make The Bias Binding
Cut out all three layers–fashion, stiffening internal fabric, and lining fabric. I also take this time to make the bias binding because I find it to be the one thing I really avoid doing for some reason!
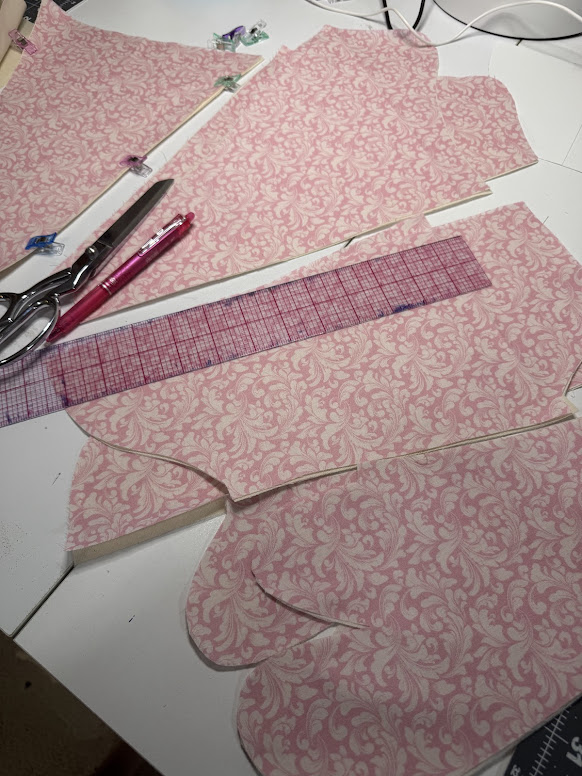
3. Draw In All Boning Channels
This honestly takes a lot of time, and that is okay. These need to be precise, and I like to use a heat-erasable fabric pen to make sure I can see everything easily. These lines will act as guidelines for your decorative motifs, and then you will stitch on top of them when you sew your boning channels, so this is a very important part of the whole process!
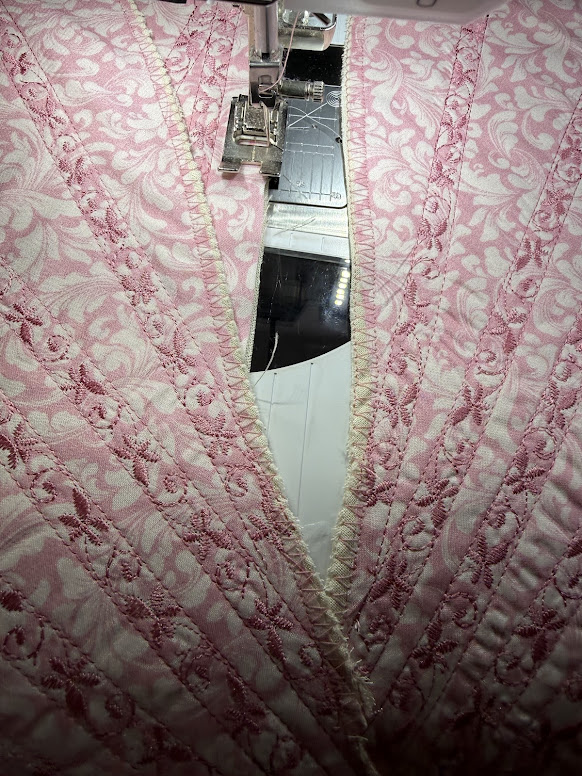
4. Sew on your Decorative Motifs
My favorite part! I wrote another blog post about decorative stitches you can do on your BERNINA machines, and this has been one of my favorite features on my B 770 QE PLUS Kaffe Edition machine to play with! I just love how these sew out so beautifully. A pro tip: I like to use embroidery thread when I sew out my decorative stitches (make sure you use the embroidery bobbin thread too for smooth sewing). The embroidery thread has a sheen to it that just pops and sews out beautifully.
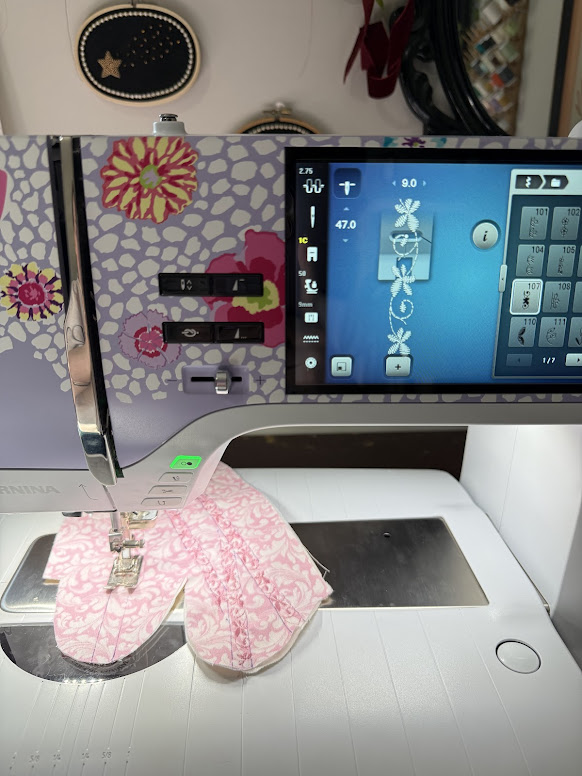
For this project, I used the Isacord Thread in color 2153 Dusty Mauve, which just elevated this project even more. The color worked nicely with the pink tone of the Benartex Fabric. I used decorative stitch motif 107 on my BERNINA machine–it is one of the stitches that the machine comes with, and I think it really turned out lovely, complementing the scroll work motif of the Benartex fabric well. I love to add decorative stitching to my corsets, and whenever I am sewing these out on the machine, I can’t help thinking, “Thank goodness I have this BERNINA or this would be taking FOREVER!” Decorative stitching is a really fun detail I encourage you all to try in your own projects! I constantly find myself thinking, do I add decorative stitching to this project all the time now.
To accomplish these decorative stitches, I take my fashion fabric and the internal structure layer fabric and sew the decorative stitching on. I do not sew this with the lining layer in place yet –the lining layer is added when we sew the lines of the boning channels.
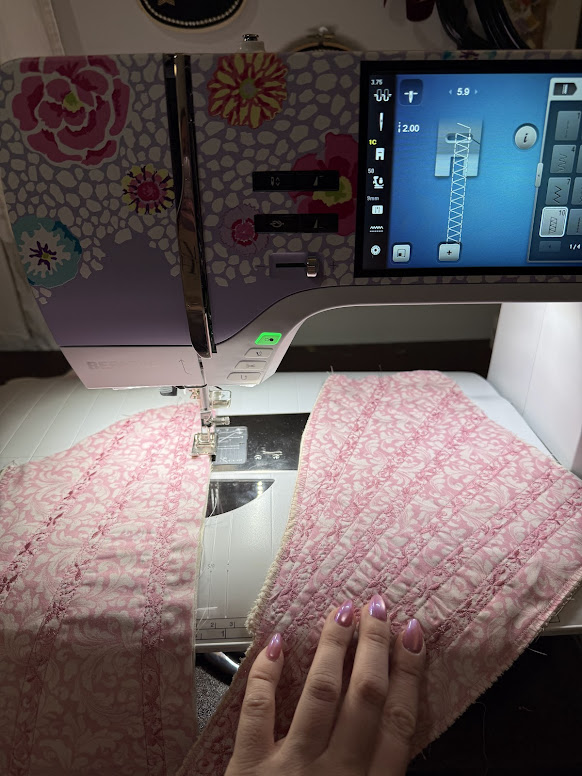
5. Sew in your Boning Channels
Grab your lining layer and add it to the stack of your fabrics, as it is now time to sew in your boning channels. The boning will eventually live in the in-between of the lining fabric and the internal structure fabric.
6. Serge or Sew Your Edges to Stop Fraying
This is a step I like to do with all my corsets. Historically, the edges were hand sewn with a blanket or whip stitch to keep edges from fraying, but I like to use the zigzag stitch or the #10 stitch to make my edges lovely. You could also use your serger for this!
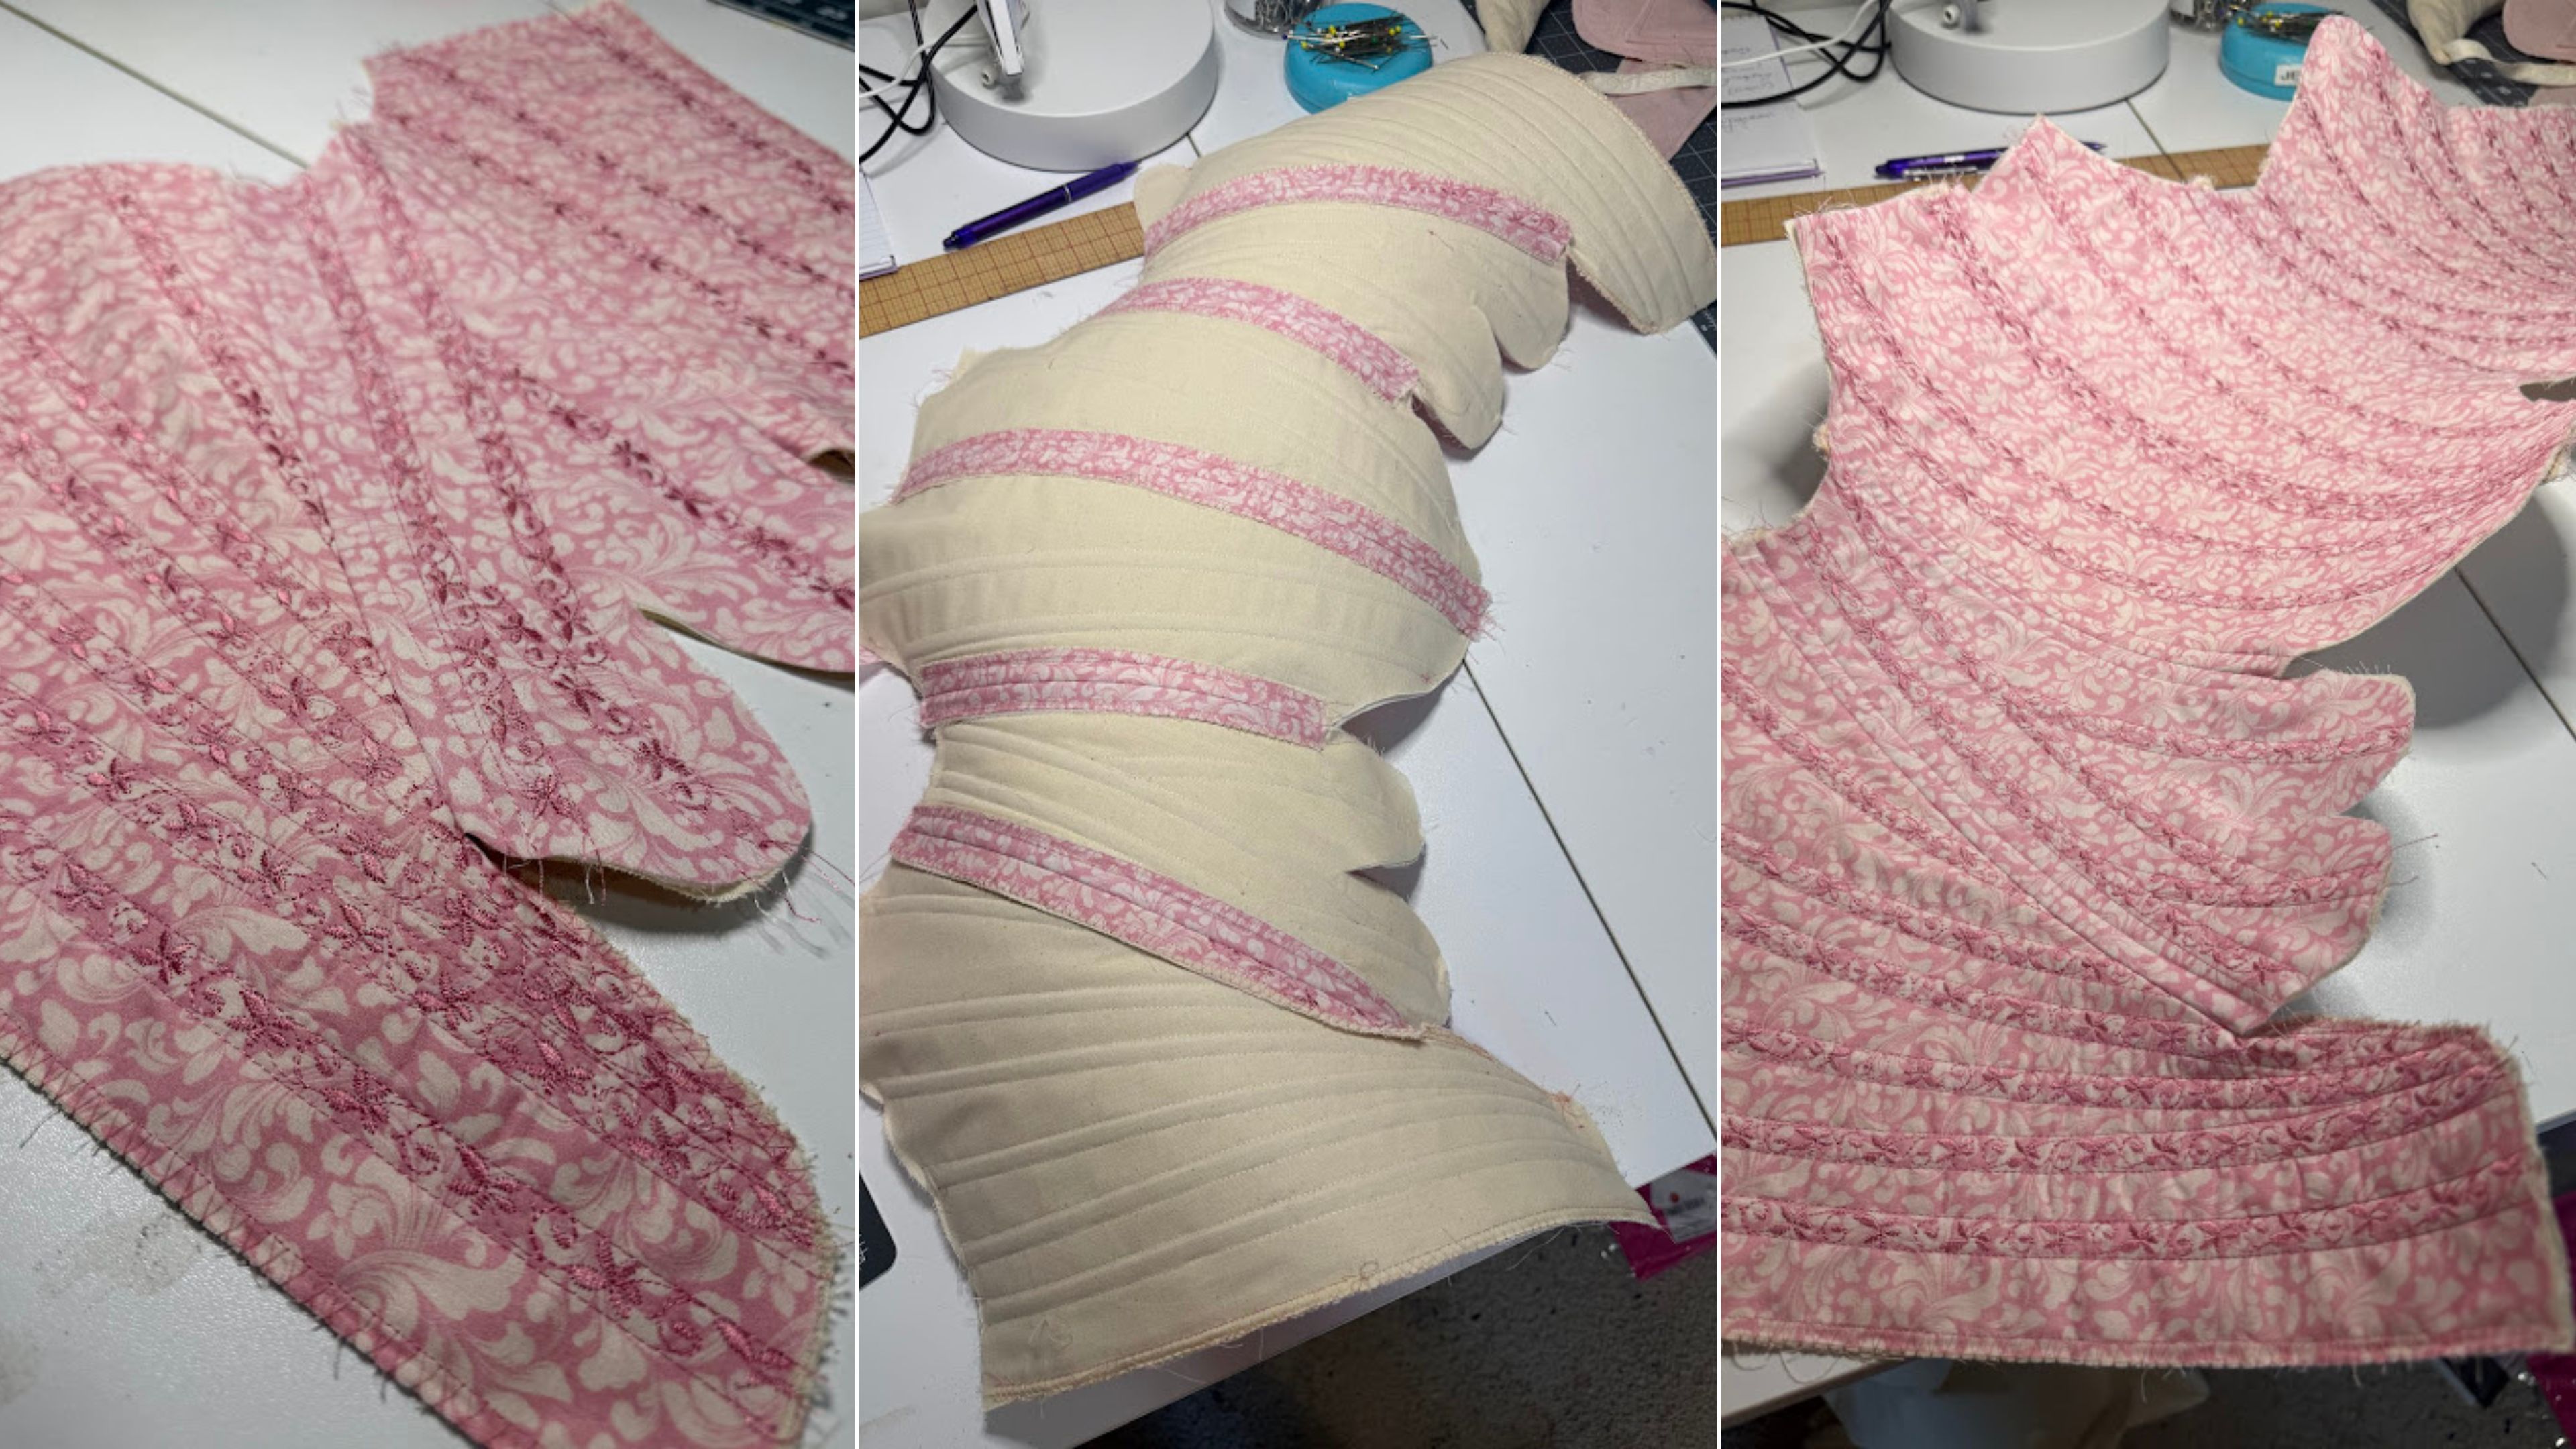
7. Sew Pieces Together, Ironing Seams Inside
Now it’s time to FINALLY assemble the corset–it’s a long process, but one that is so satisfying. Here is where you start to see the garment taking shape–I love how dimensional corsets and stays are!
8. Add Boning
I use rigiline plastic boning–I find this to be incredibly easy to wear, it molds nicely to the body, and it doesn’t break the piggy bank!
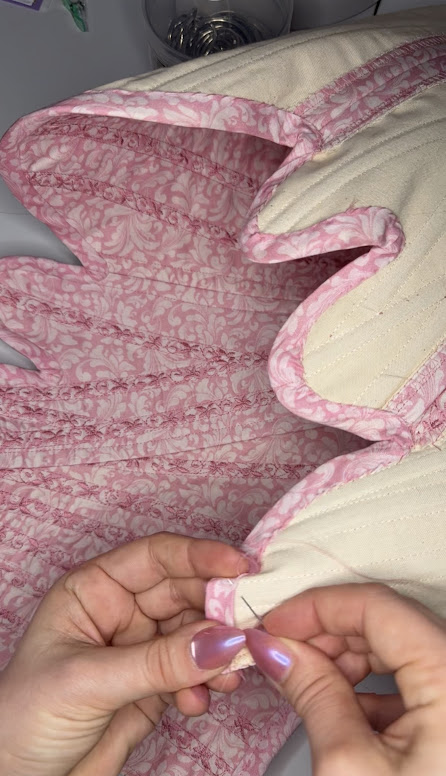
9. Sew on Bias Binding
My trick for this is to machine sew the binding on the fashion or outside of the garment, fold it in to the inside, and hand sew the inside. The truth is that 18th-century stays were invented before the sewing machine, and pushing the stays tabs under a machine, while doable, can be quite frustrating to accomplish, so I like to do the initial part sewn with my machine and then finish with hand sewing the inside. I will say the BERNINA precision stitching functions do make this so much easier to accomplish than any of my other machines! What is also nice about the rigiline is that the BERNINA machines can sew right through it easily, so if you have a bone that is a little too long and you sew over it, chances are you won’t even notice that’s how powerful the machines are!
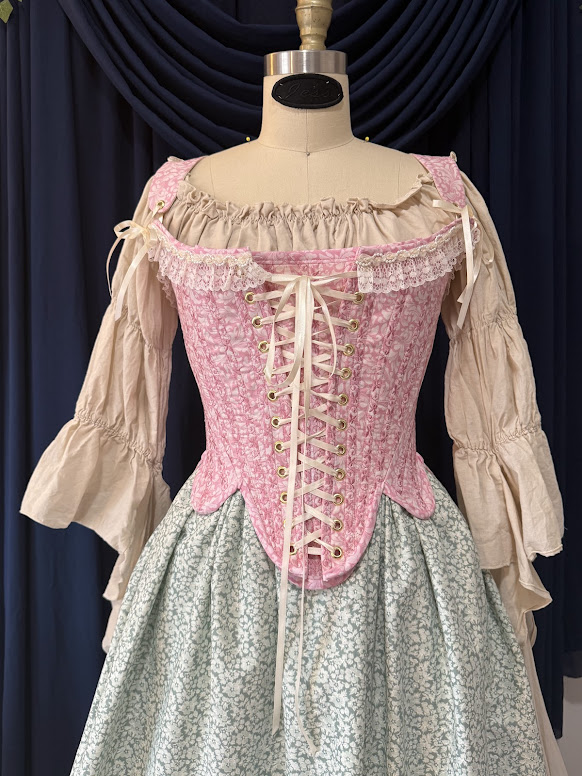
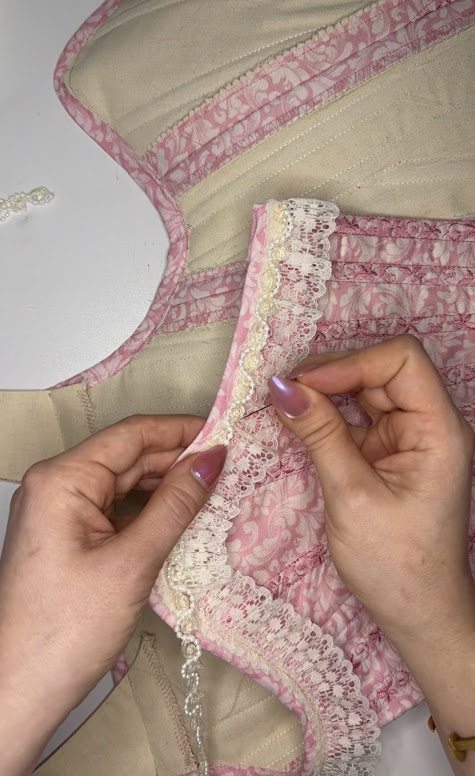
10. Sew on Your Decorative Trim
I wanted to make this corset even more playful and sweet, so I went ahead and added some lace trim and beaded pearl rose trim to the top line of the stays. It’s little details like these that bring me so much joy!
11. Add Grommets
The last thing to do is add your grommets and wear your stays with pride!
Overall, I really enjoyed making this piece of history, and I always like to tell other cosplayers and fashion history enthusiasts that if you are looking for printed cottons, go check out your local sewing centers and quilting fabric shops! The only difference is that quilting cotton is 44″ wide and fashion cotton is 60″ wide.
There are so many beautiful, historically inspired, or historically adjacent feeling prints, and you will always know the quality is excellent. With Benartex Fabrics, I know I am getting 100% high quality cotton fabric with beautiful and thoughtfully designed prints.
Thank you to Benartex for supplying the fabric and sewing this up on my B 770 QE PLUS Kaffe Edition Machine was absolutely delightful–especially using those decorative stitches! I know I’ll be making many, many more printed cotton items using quilting cottons soon!
Be sure to come back next week for part two, where we will be making an 18th-century skirt and ruffled petticoat!
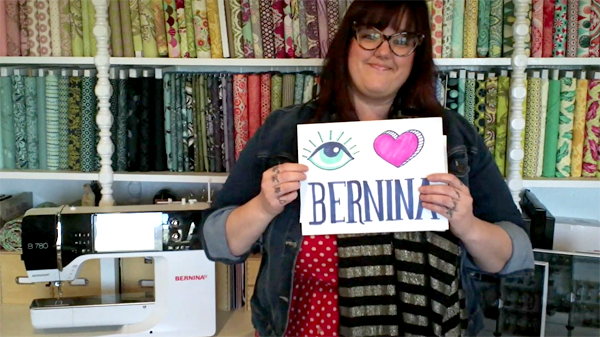
Jessica Cronin is a costume designer and historical fashion enthusiast. If you want more projects like this, you can find her on YouTube, Instagram, Facebook, and TikTok (@jesscronindesigns)