How to Sew a Star of David Hanukkah Mug Rug
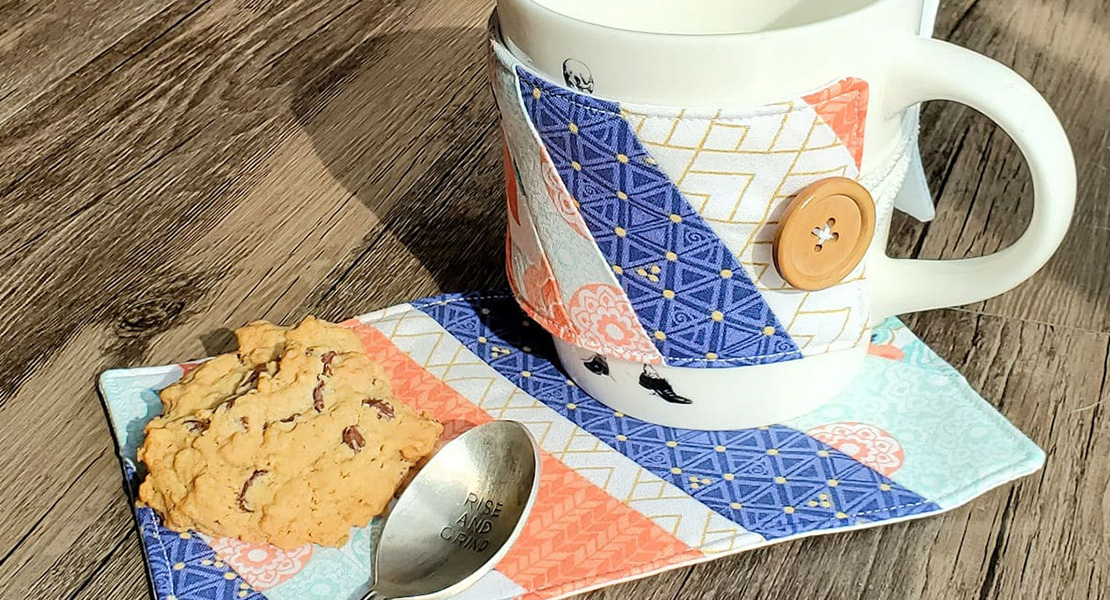
Bigger than a coaster, smaller than a placemat, and all the rage—mug rugs. Use them with your coffee and goodies, on a night table, or just because they look so cute. The best part, most mug rugs can be made from the scraps you have leftover of your favorite fabrics.
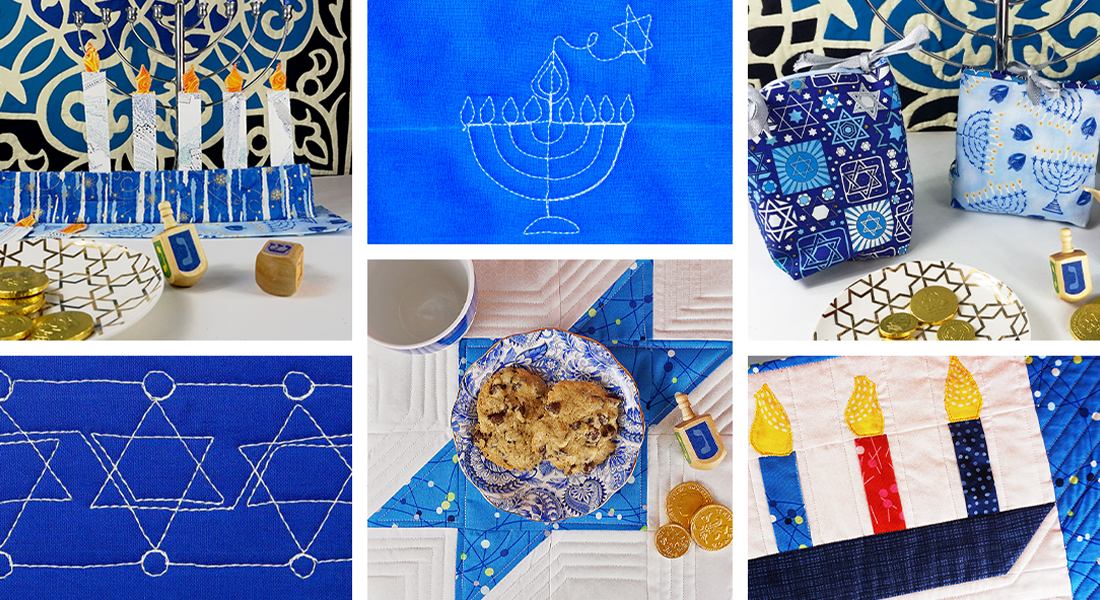
Decorate your home for Hanukkah with this cute mug rug for your coffee and cookies; make them as gifts—they are fast and easy. This Star of David block pattern is just a starting point, use your imagination and have with fun sizes, fabric combinations and patterns.
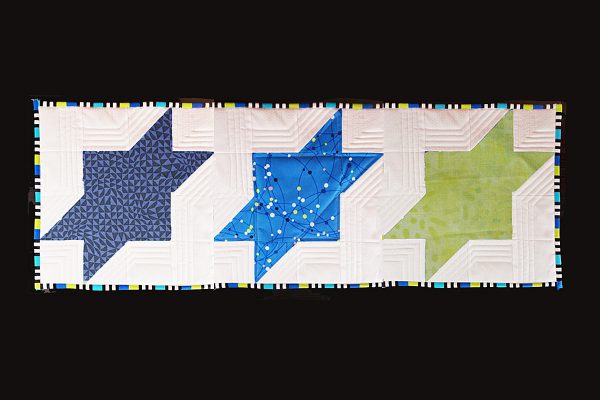
Don’t want a mug rug? Three of these blocks can be a table runner, nine are a cute star quilt. Whatever you use this block for, make it your own and have fun.
Star of David Hanukkah Table Runner
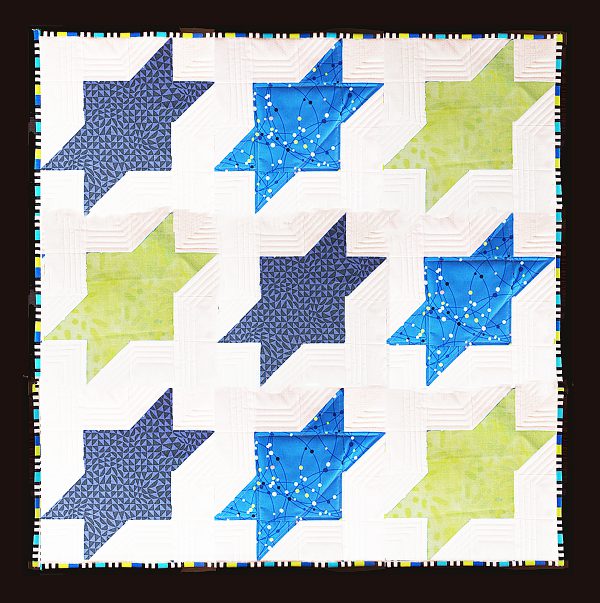
Star of David Hanukkah Small Quilt
Materials to Sew a Star of David Hanukkah Mug Rug
Fabric Needed for Each 12” Square Star of David Block
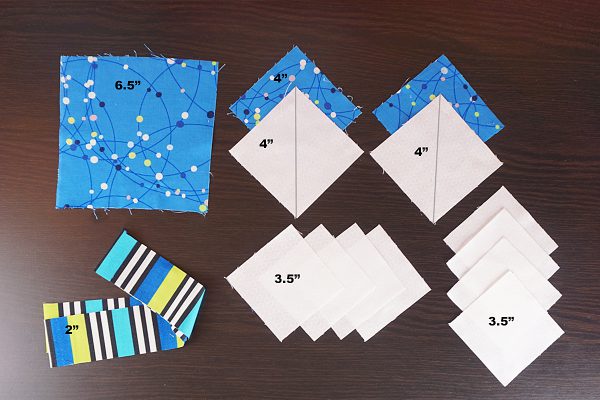
- Eight squares of background fabric cut 3 ½” square
- Two squares background fabric cut 4” square
- Two squares of focus fabric cut 4” square
- One square of focus fabric cut 6 ½” square
- 2 strips of binding fabric cut 2” wide
- Backing fabric cut 12 ½” x 12 ½”
*This is a great way to use up scraps you already have in your stash. If you are purchasing new fabric, far quarters or ¼ yard cuts are great for the squares; ¼ yard of binding and ½ yard of backing.
Additional Materials Needed to Sew a Star of David Hanukkah Mug Rug
- Low loft or traditional batting (cut about 12 1/2” square)
- Rotary cutter, ruler and mat
- Neutral-colored thread
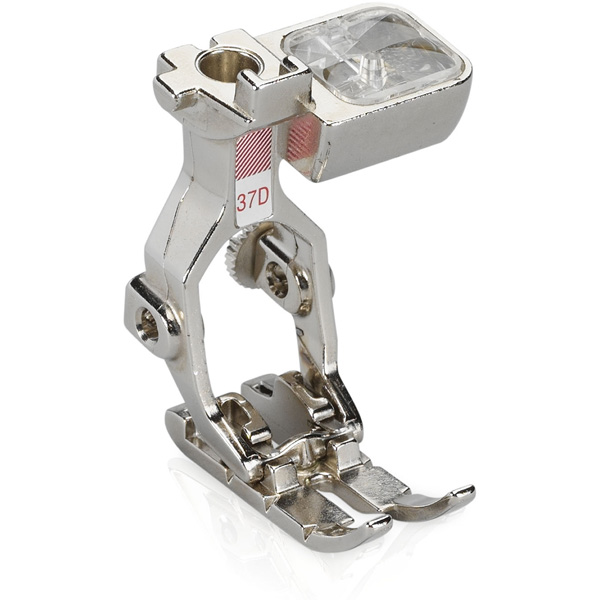
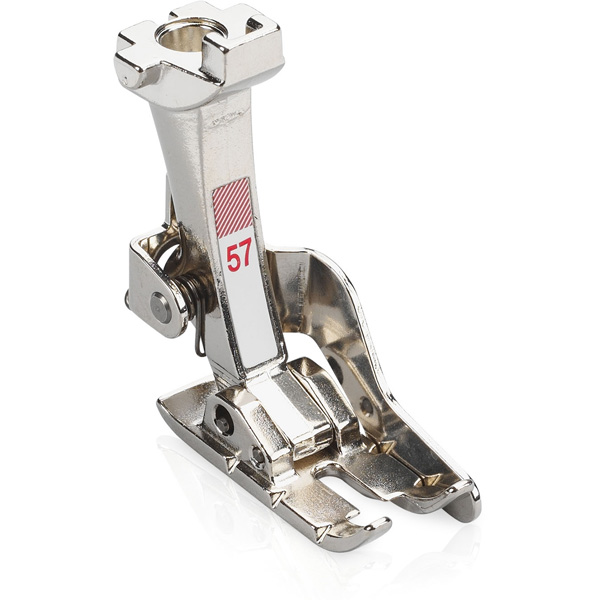
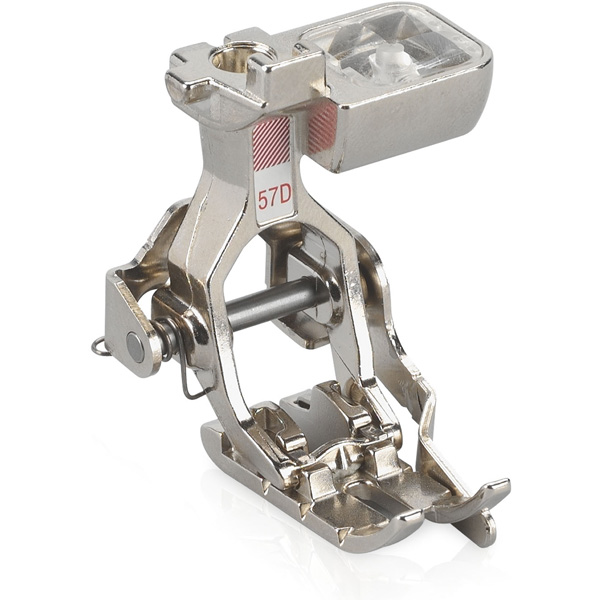
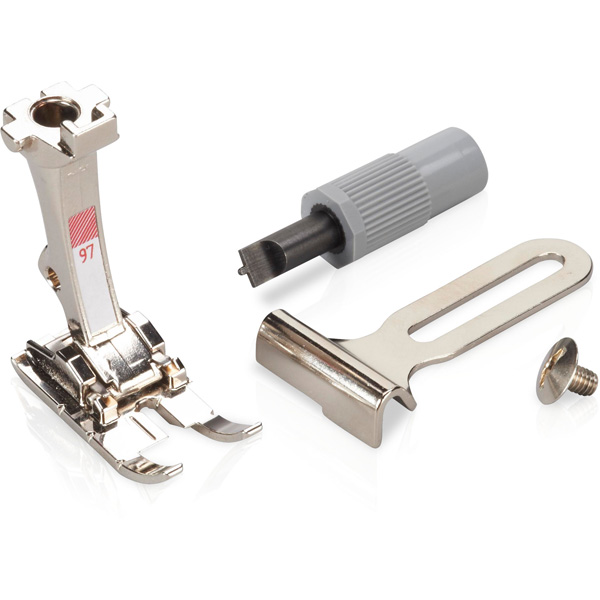
- BERNINA Patchwork Foot (Patchwork Foot #37/37D, Patchwork Foot with Guide #57/57D or Patchwork Foot #97/97D)
Steps to Sew the Star of David Hanukkah Mug Rug
Step 1: Cut Your Squares
Background fabric – Eight (8) 3 ½” squares
Background and focus fabrics – Two (2) each cut 4” square
Focus fabric – Cut one 6 ½” square
Step 2: Making Half-square Triangles
I do my half square triangles a little differently than you may have learned. I always cut initial squares of fabric one inch larger than the finished size of the half-square triangle blocks. Why? Because that little bit of wiggle room ensures that I can trim them to perfect half square triangle blocks if my sewing is a little off. So, for a block that is 3 inches finished in the quilt (3 ½” raw), I cut the squares at 4”.
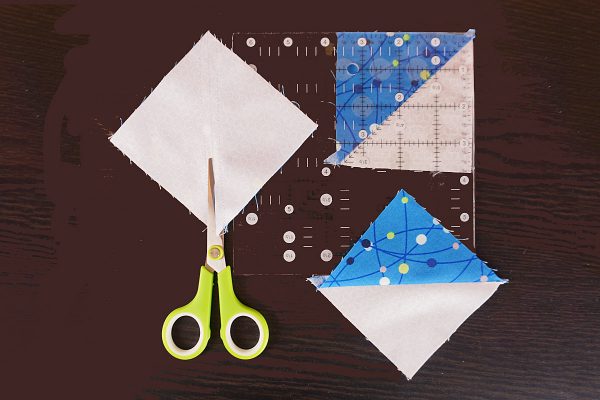
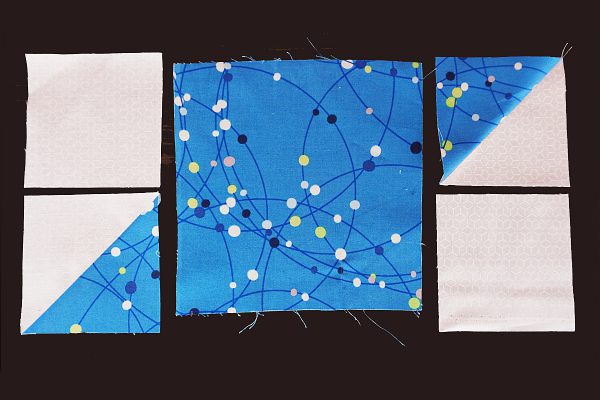
Place one background square and one focus fabric square right sides together. On the back side of the lightest fabric, draw a line from one corner diagonally across to the other corner. This guideline is not a sewing line. Sew ¼” away from the line on one side and then ¼” away on the other. Cut on the drawn line and you will have two half-square triangle blocks.
Press them open and flat, then trim to 3 ½” square.
Step 3: Sew the Star of David Block Together – Left and Right
Sew one half square triangle sewn to a background fabric as shown in the photo above, then sew the other pair. Make sure the orientation of the half square triangle is correct. Press and sew these two units to the 6 ½” focus fabric block as shown in the photo.
Step 4: Sew the Star of David Block Together – Top and Bottom
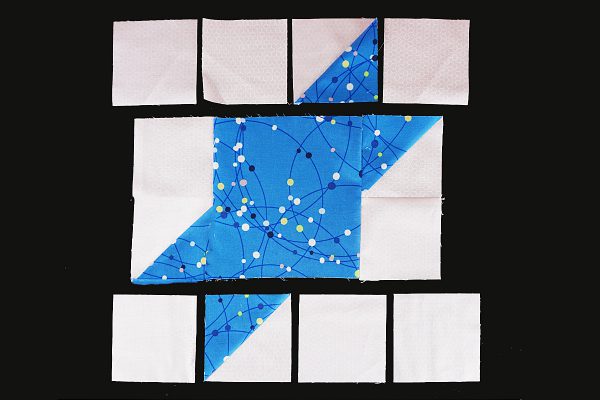
Now sew together the top and bottom rows, as shown in the photo, again being careful about the orientation of those half-square triangle blocks. Press and sew these rows to the top and bottom of the center unit, matching the seamlines.
Create the top and bottom row, again paying close attention to the orientation of the half square triangle.
Step 5: The Quilt Sandwich
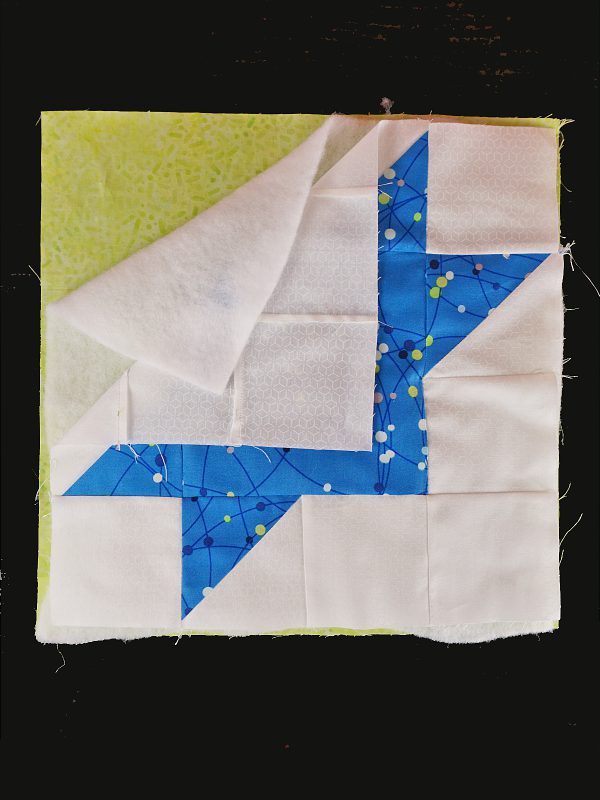
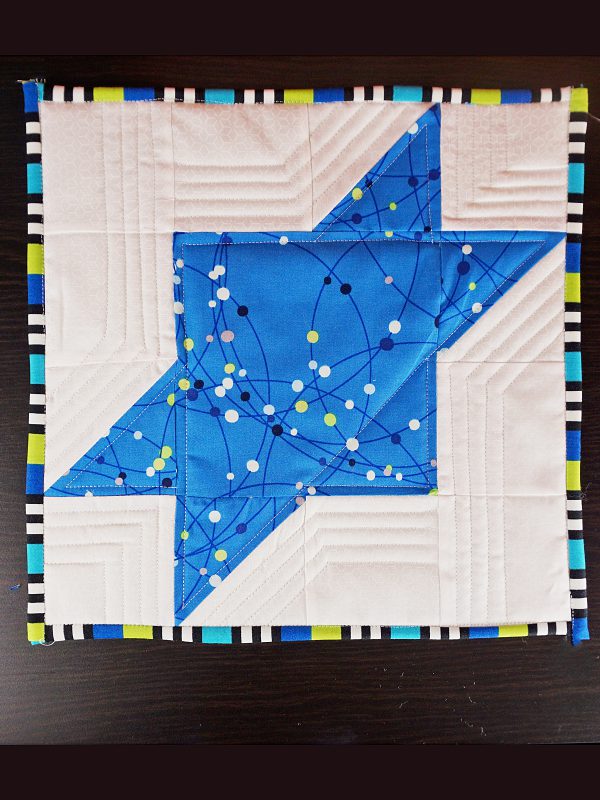
Layer the top, batting and backing fabric with the right sides facing out. Since this is so small, a few pins or clips will hold your layers in place while you quilt. The more you quilt, the flatter the mug rug will be—but have fun and make it your own. I find my knee lift is great for all the pivoting I do when quilting such a small area!
Step 7: Binding
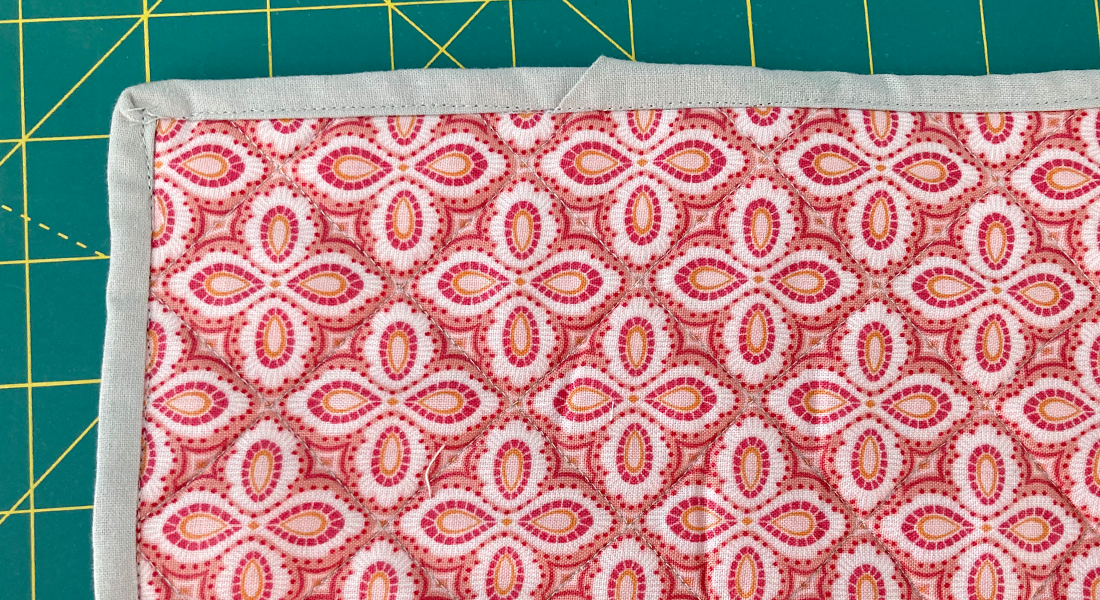
Bind in your favorite method. Easy!
What you might also like
2 comments on “How to Sew a Star of David Hanukkah Mug Rug”
-
-
Lovely! I’m going to make a set for our children. Thank you so much!
Leave a Reply
You must be logged in to post a comment.





Thank you for this tutorial! It’s so nice to find Hanukkah represented.