Longarm Quilting Tip: Thread Tension
Tension shouldn’t cause tension!
I cannot tolerate those tension headaches that have crept up on me when I couldn’t get the tension to where I needed it to be. Over the past 14 years I have had ample time to discover how to become a bit more proactive and prevent those painful disturbances from taking over my day. Regardless of whether the time spent sewing is being done on a domestic sewing machine or the longarm; whether we are sitting or standing at our machine the last obstacle we want to encounter is tension issues.
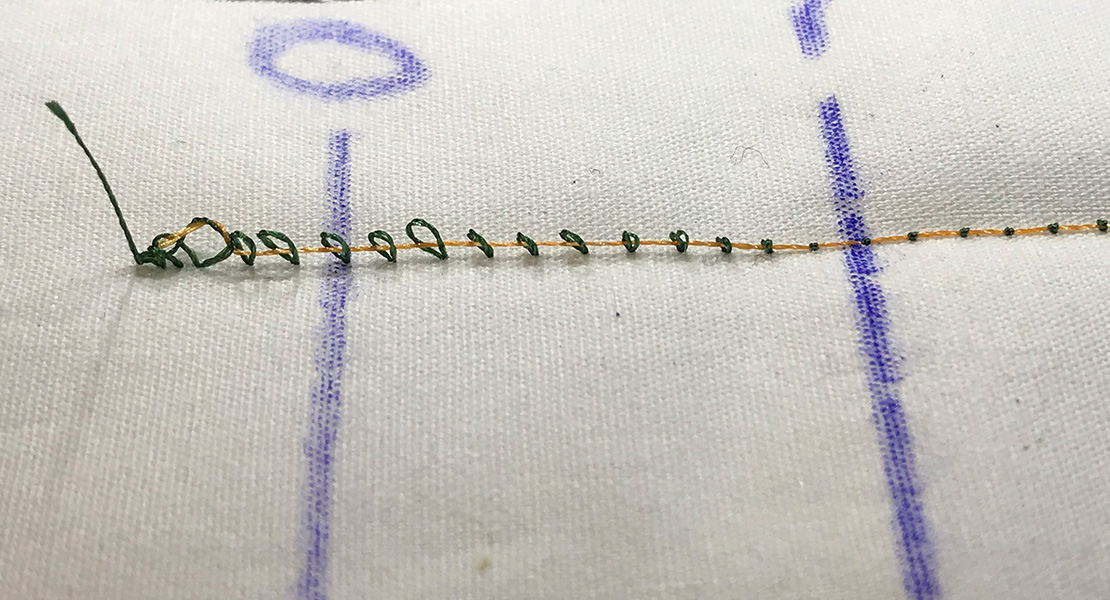
Stitches are supposed to interlock in the batting of a quilt. If you notice your bobbin thread on the top, you will need to loosen your top tension. If you observe top thread on the bottom, you will need to tighten your top tension. I know this sounds so simple; but when this particular situation strikes it doesn’t necessarily go that smoothly or easily.
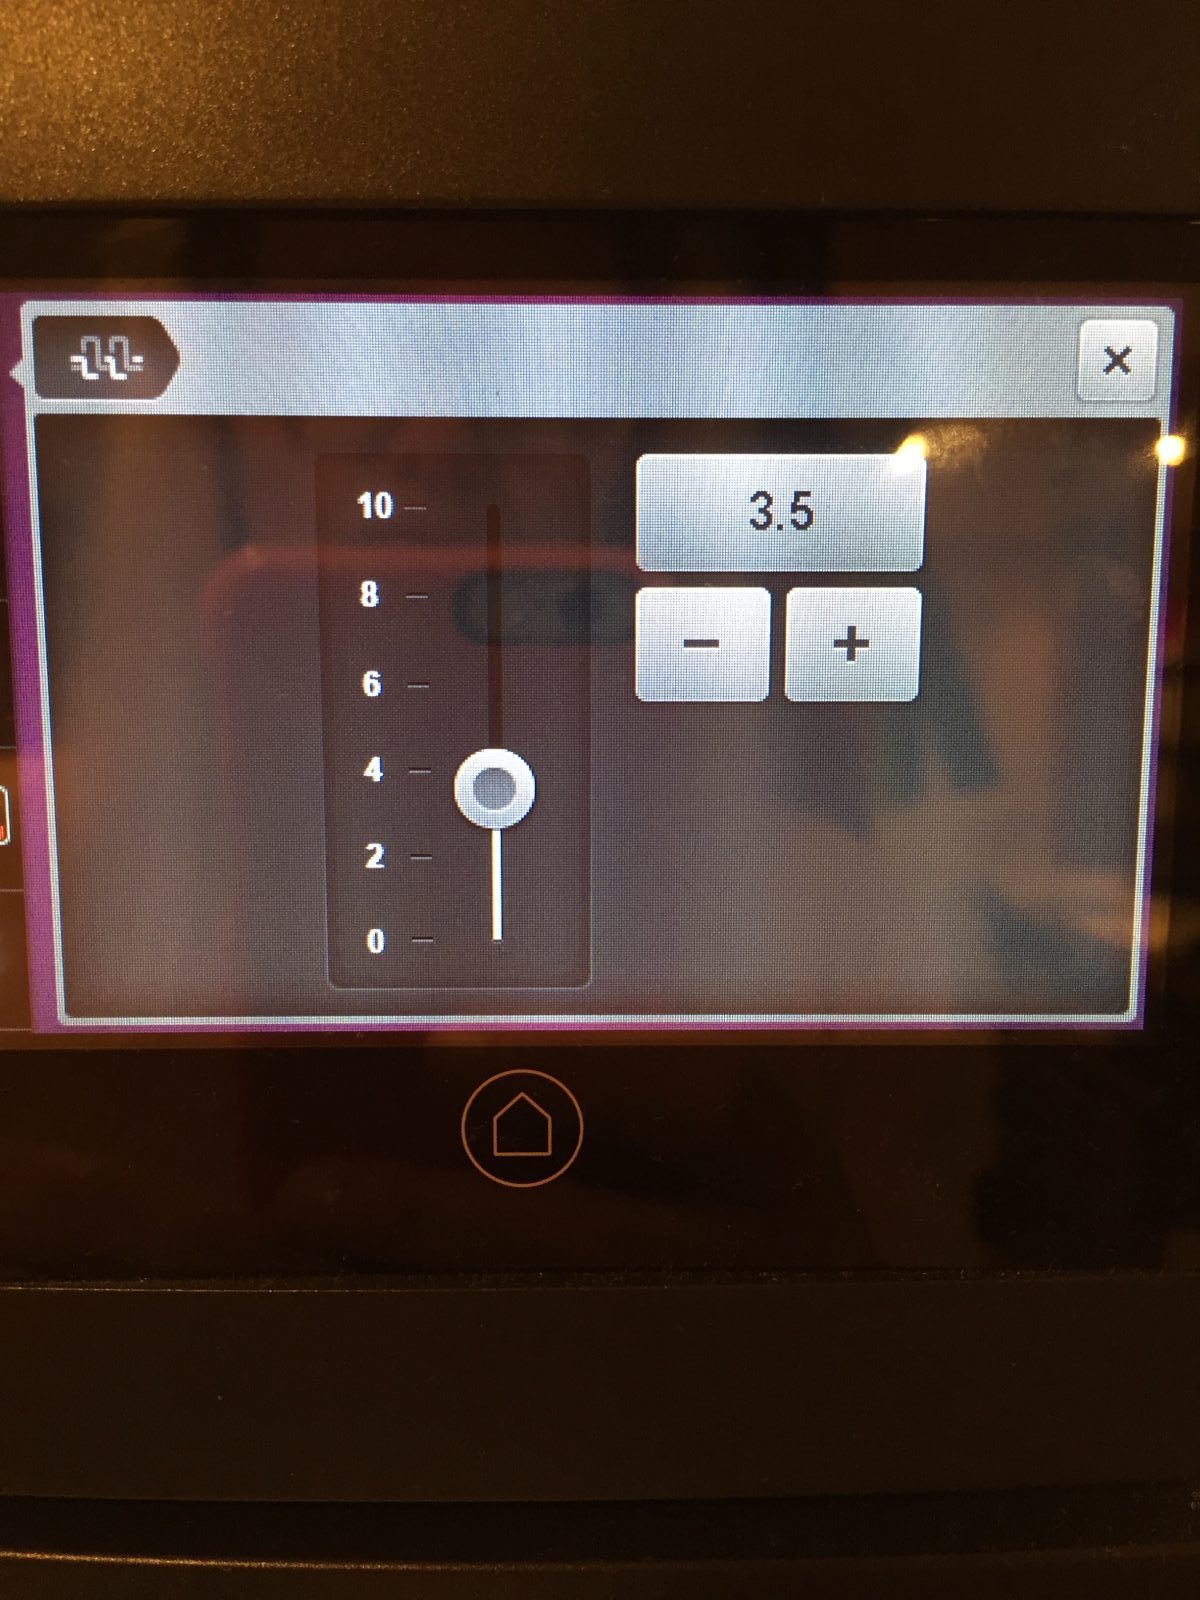
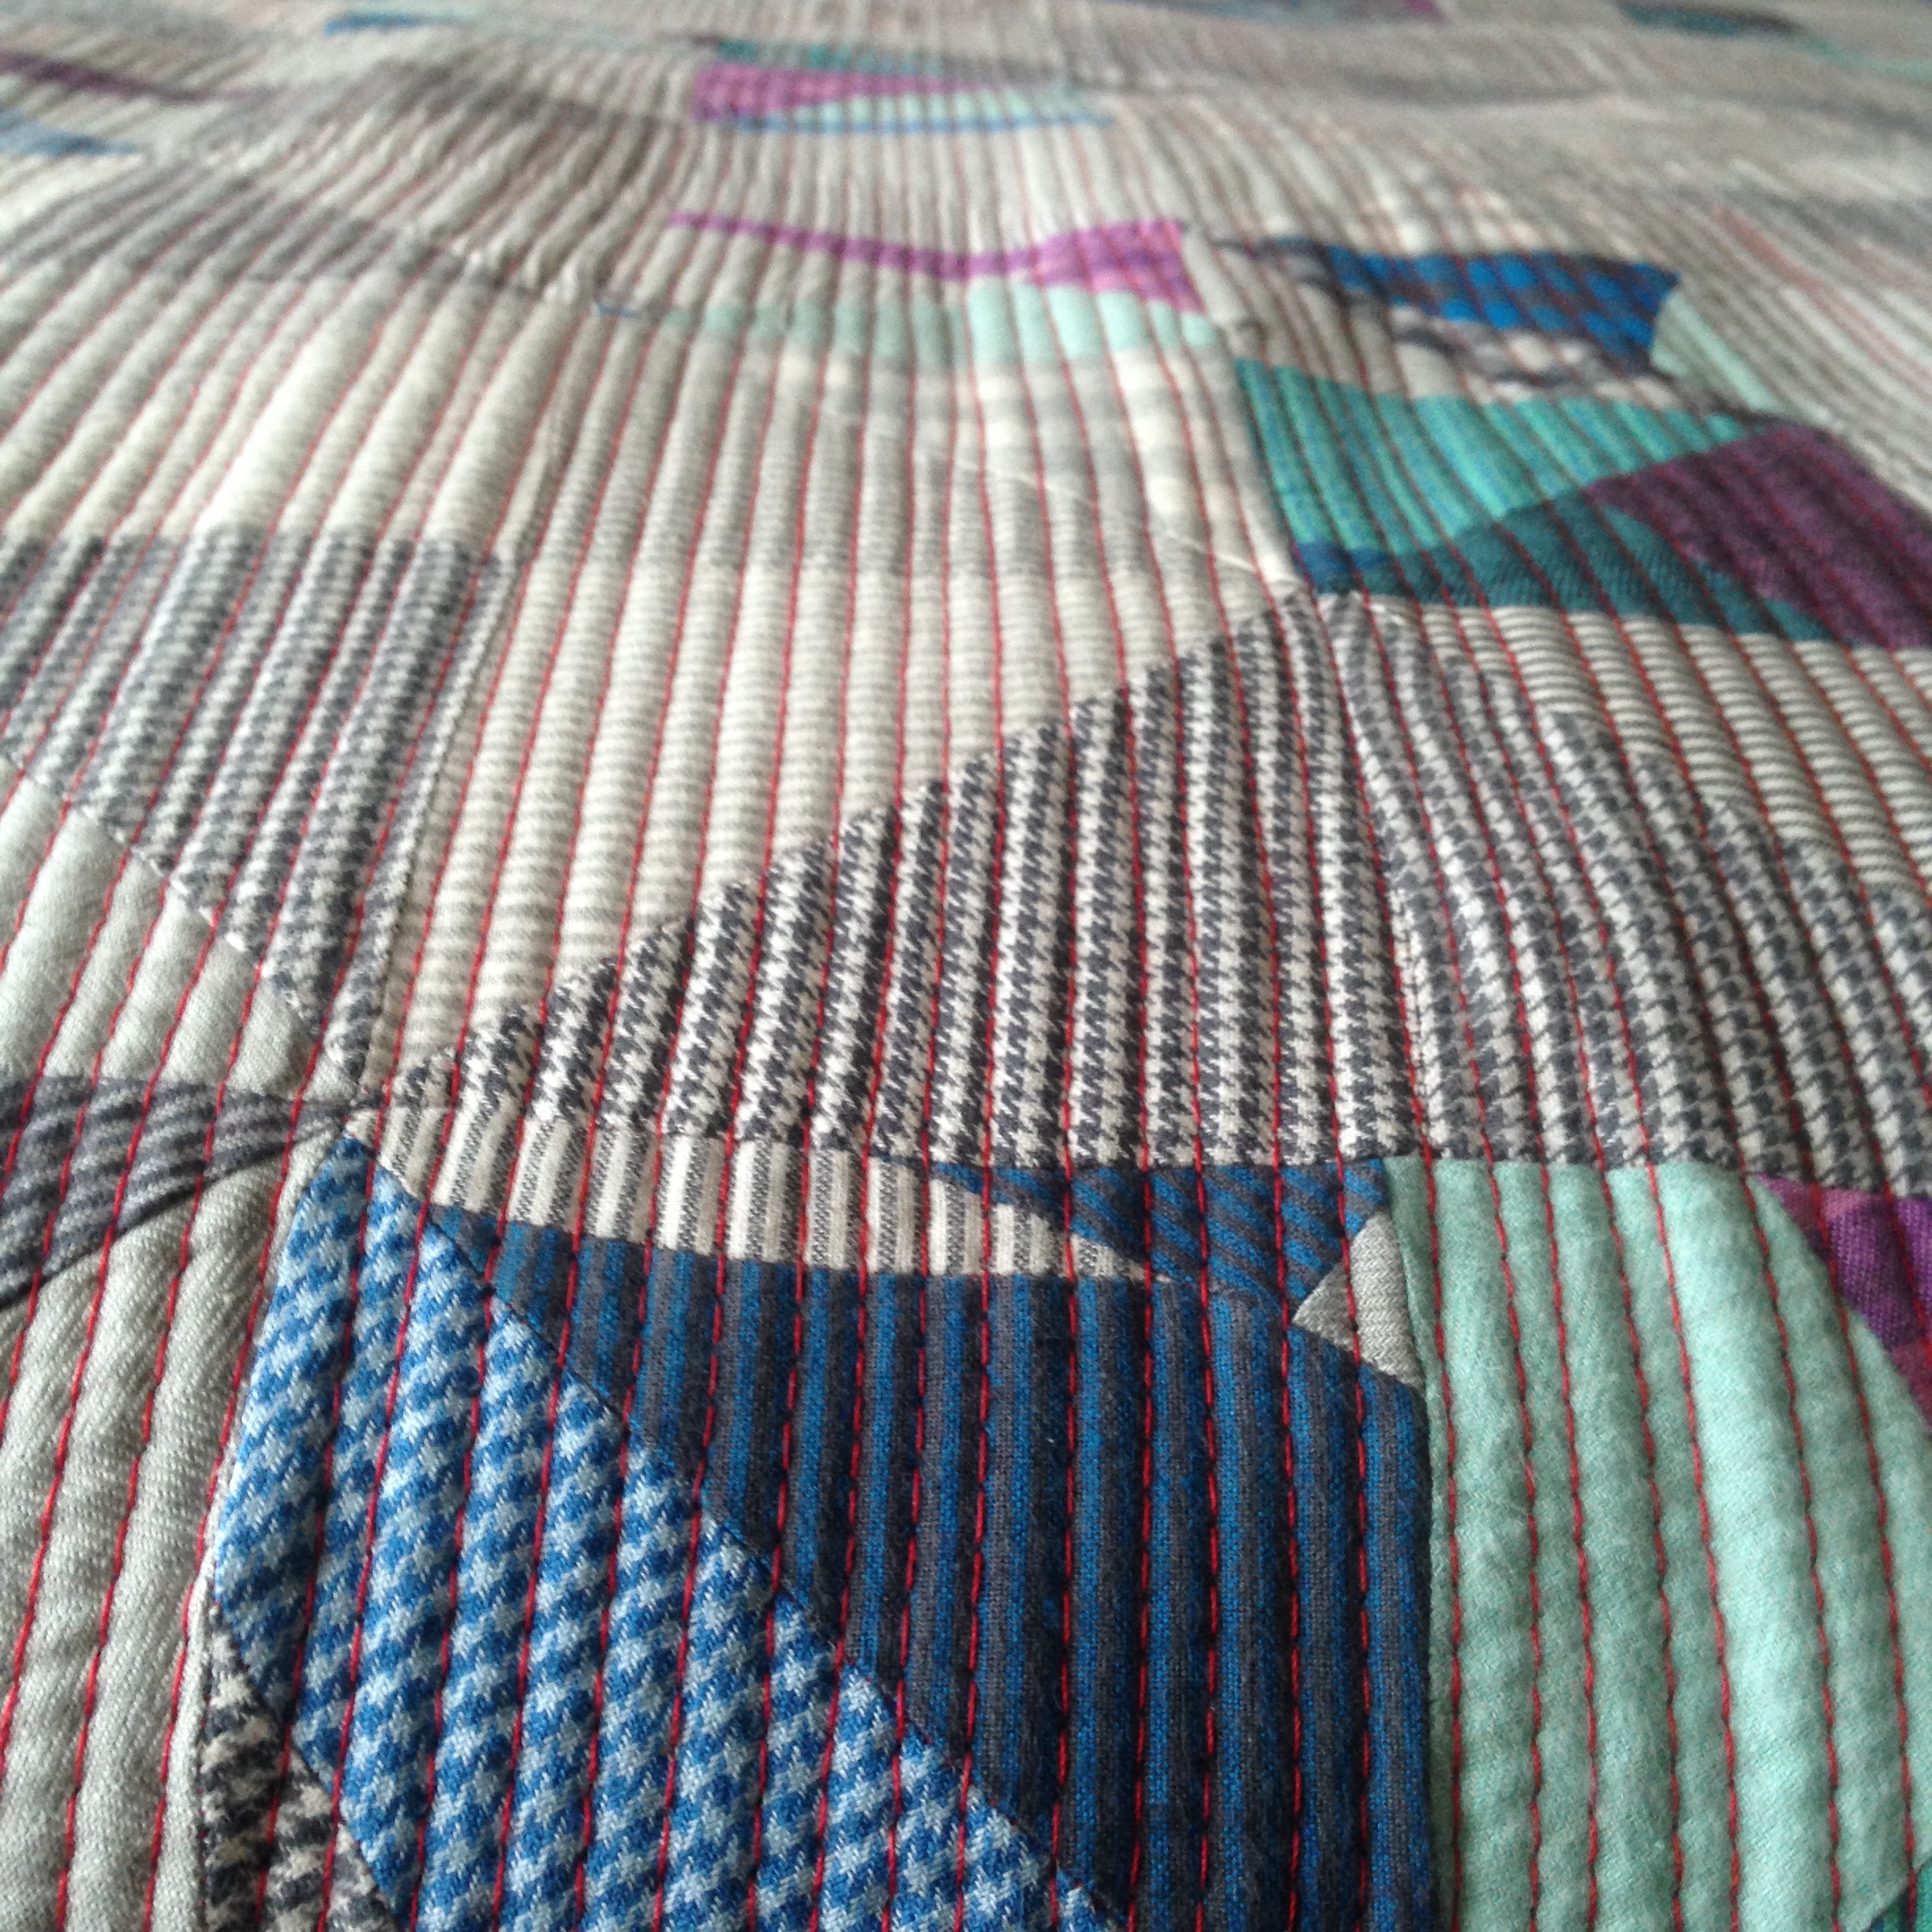
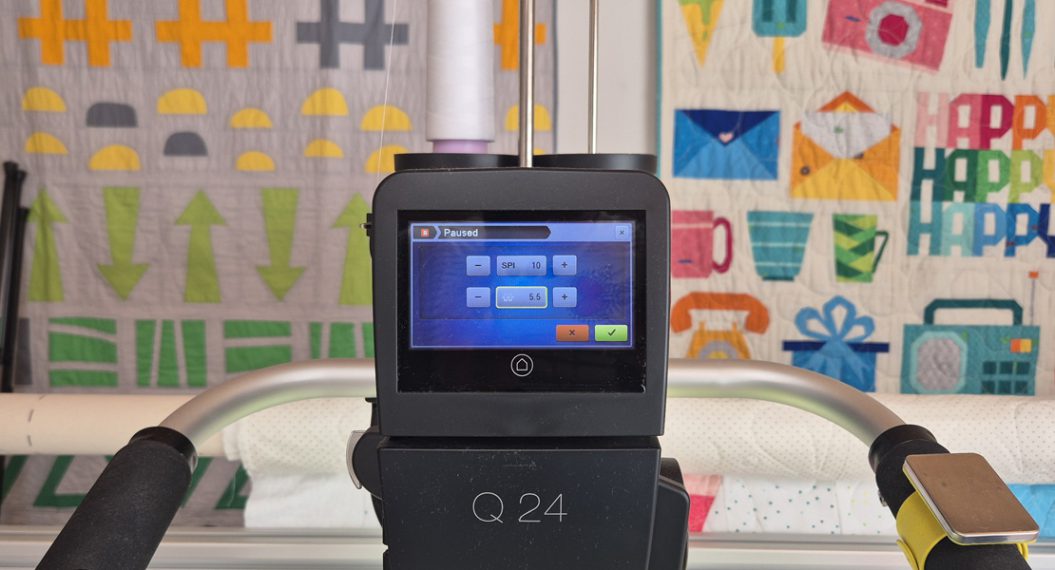
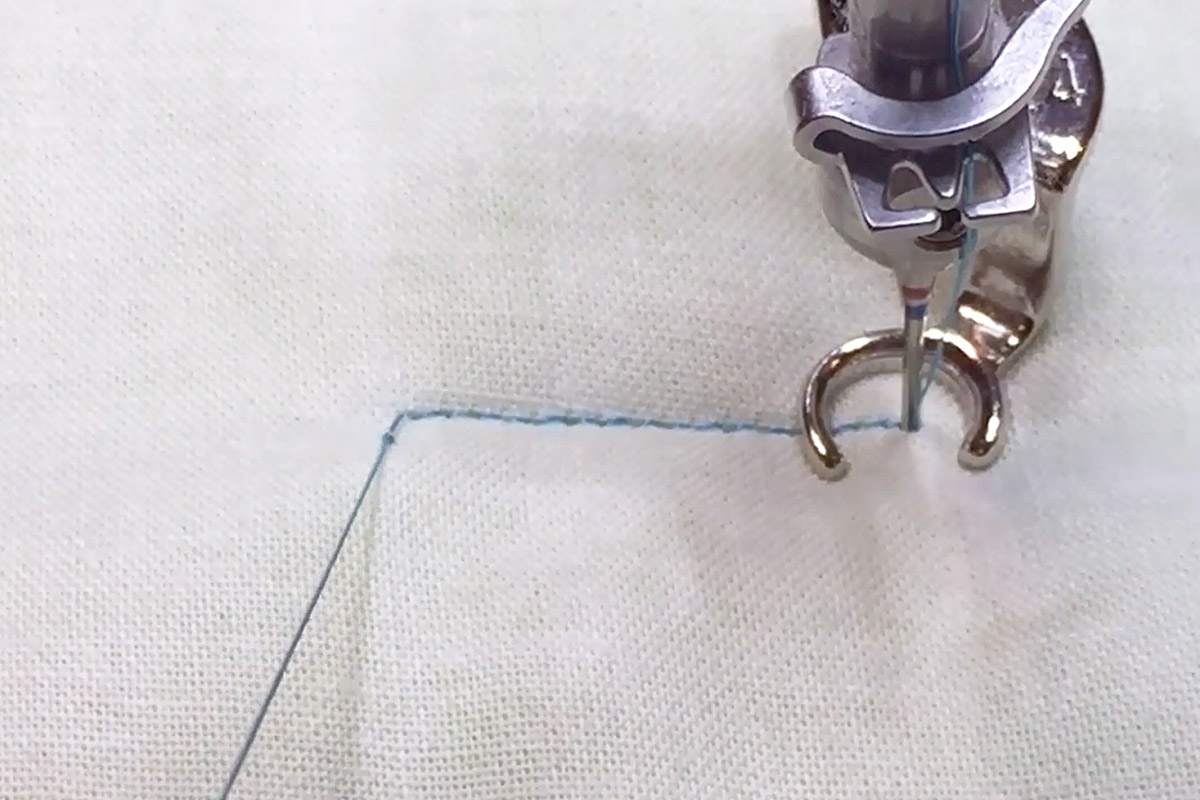
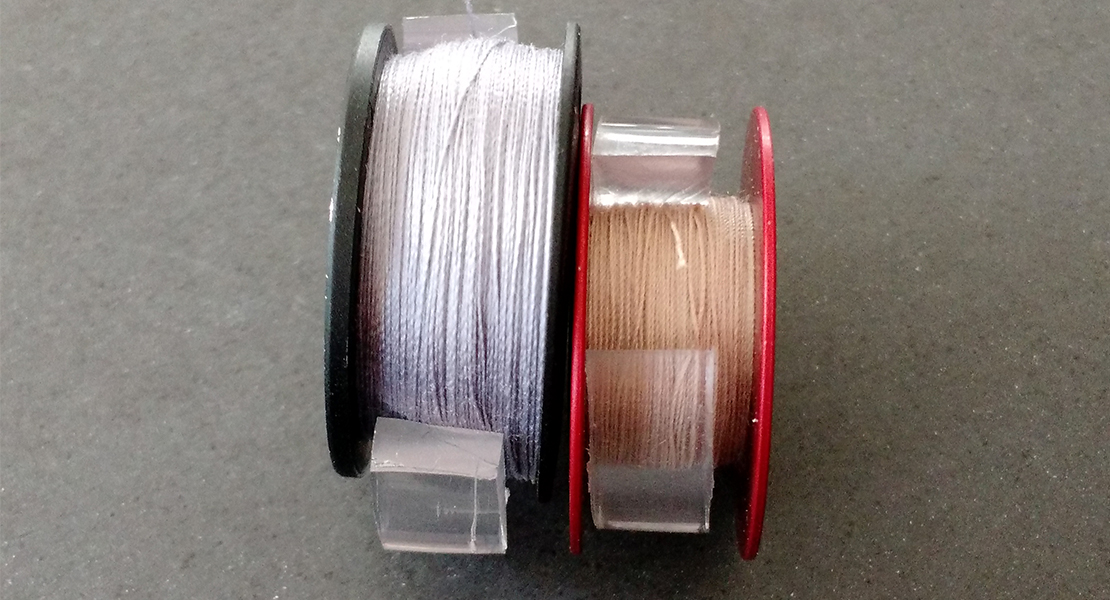
I have provided two examples of the tension appearing too tight on top. The picture above displays the black thread in between the white thread. The photograph below it depicts extreme tension issues. If you run into this issue, remove the stitches by simply completing a little snip and pull action. Now, if we were looking at the bottom of the quilt, it would be the opposite. We would actually need to tighten the top tension. Once we find the right location, BERNINA makes it very easy for us to adjust our tension. Pinpointing the exact location, easy peasy, just remember the number. Going up in numbers will tighten your top tension, and lowering your number loosens your top tension. Easy math right?
When I am presented with a tension issue I immediately take a deep breath. Allowing myself to get all worked up is not going to make things any easier. Ask yourself if you changed thread? Either bobbin thread or top thread? If that is the case perhaps you need to adjust the tension to compensate for a different thread. So what do we check for when we have tried to adjust the tension and we are still having problems?
Step 1: Change your needle! Believe it or not sometimes you just need a new needle. If that doesn’t resolve the problem there is a chance that it is the size needle being used. I like to use an embroidery needle 90/14 for most of my quilting. There are occasions when needing either a smaller or larger needle become apparent. It doesn’t hurt to experiment with both and see if one produce positive results.
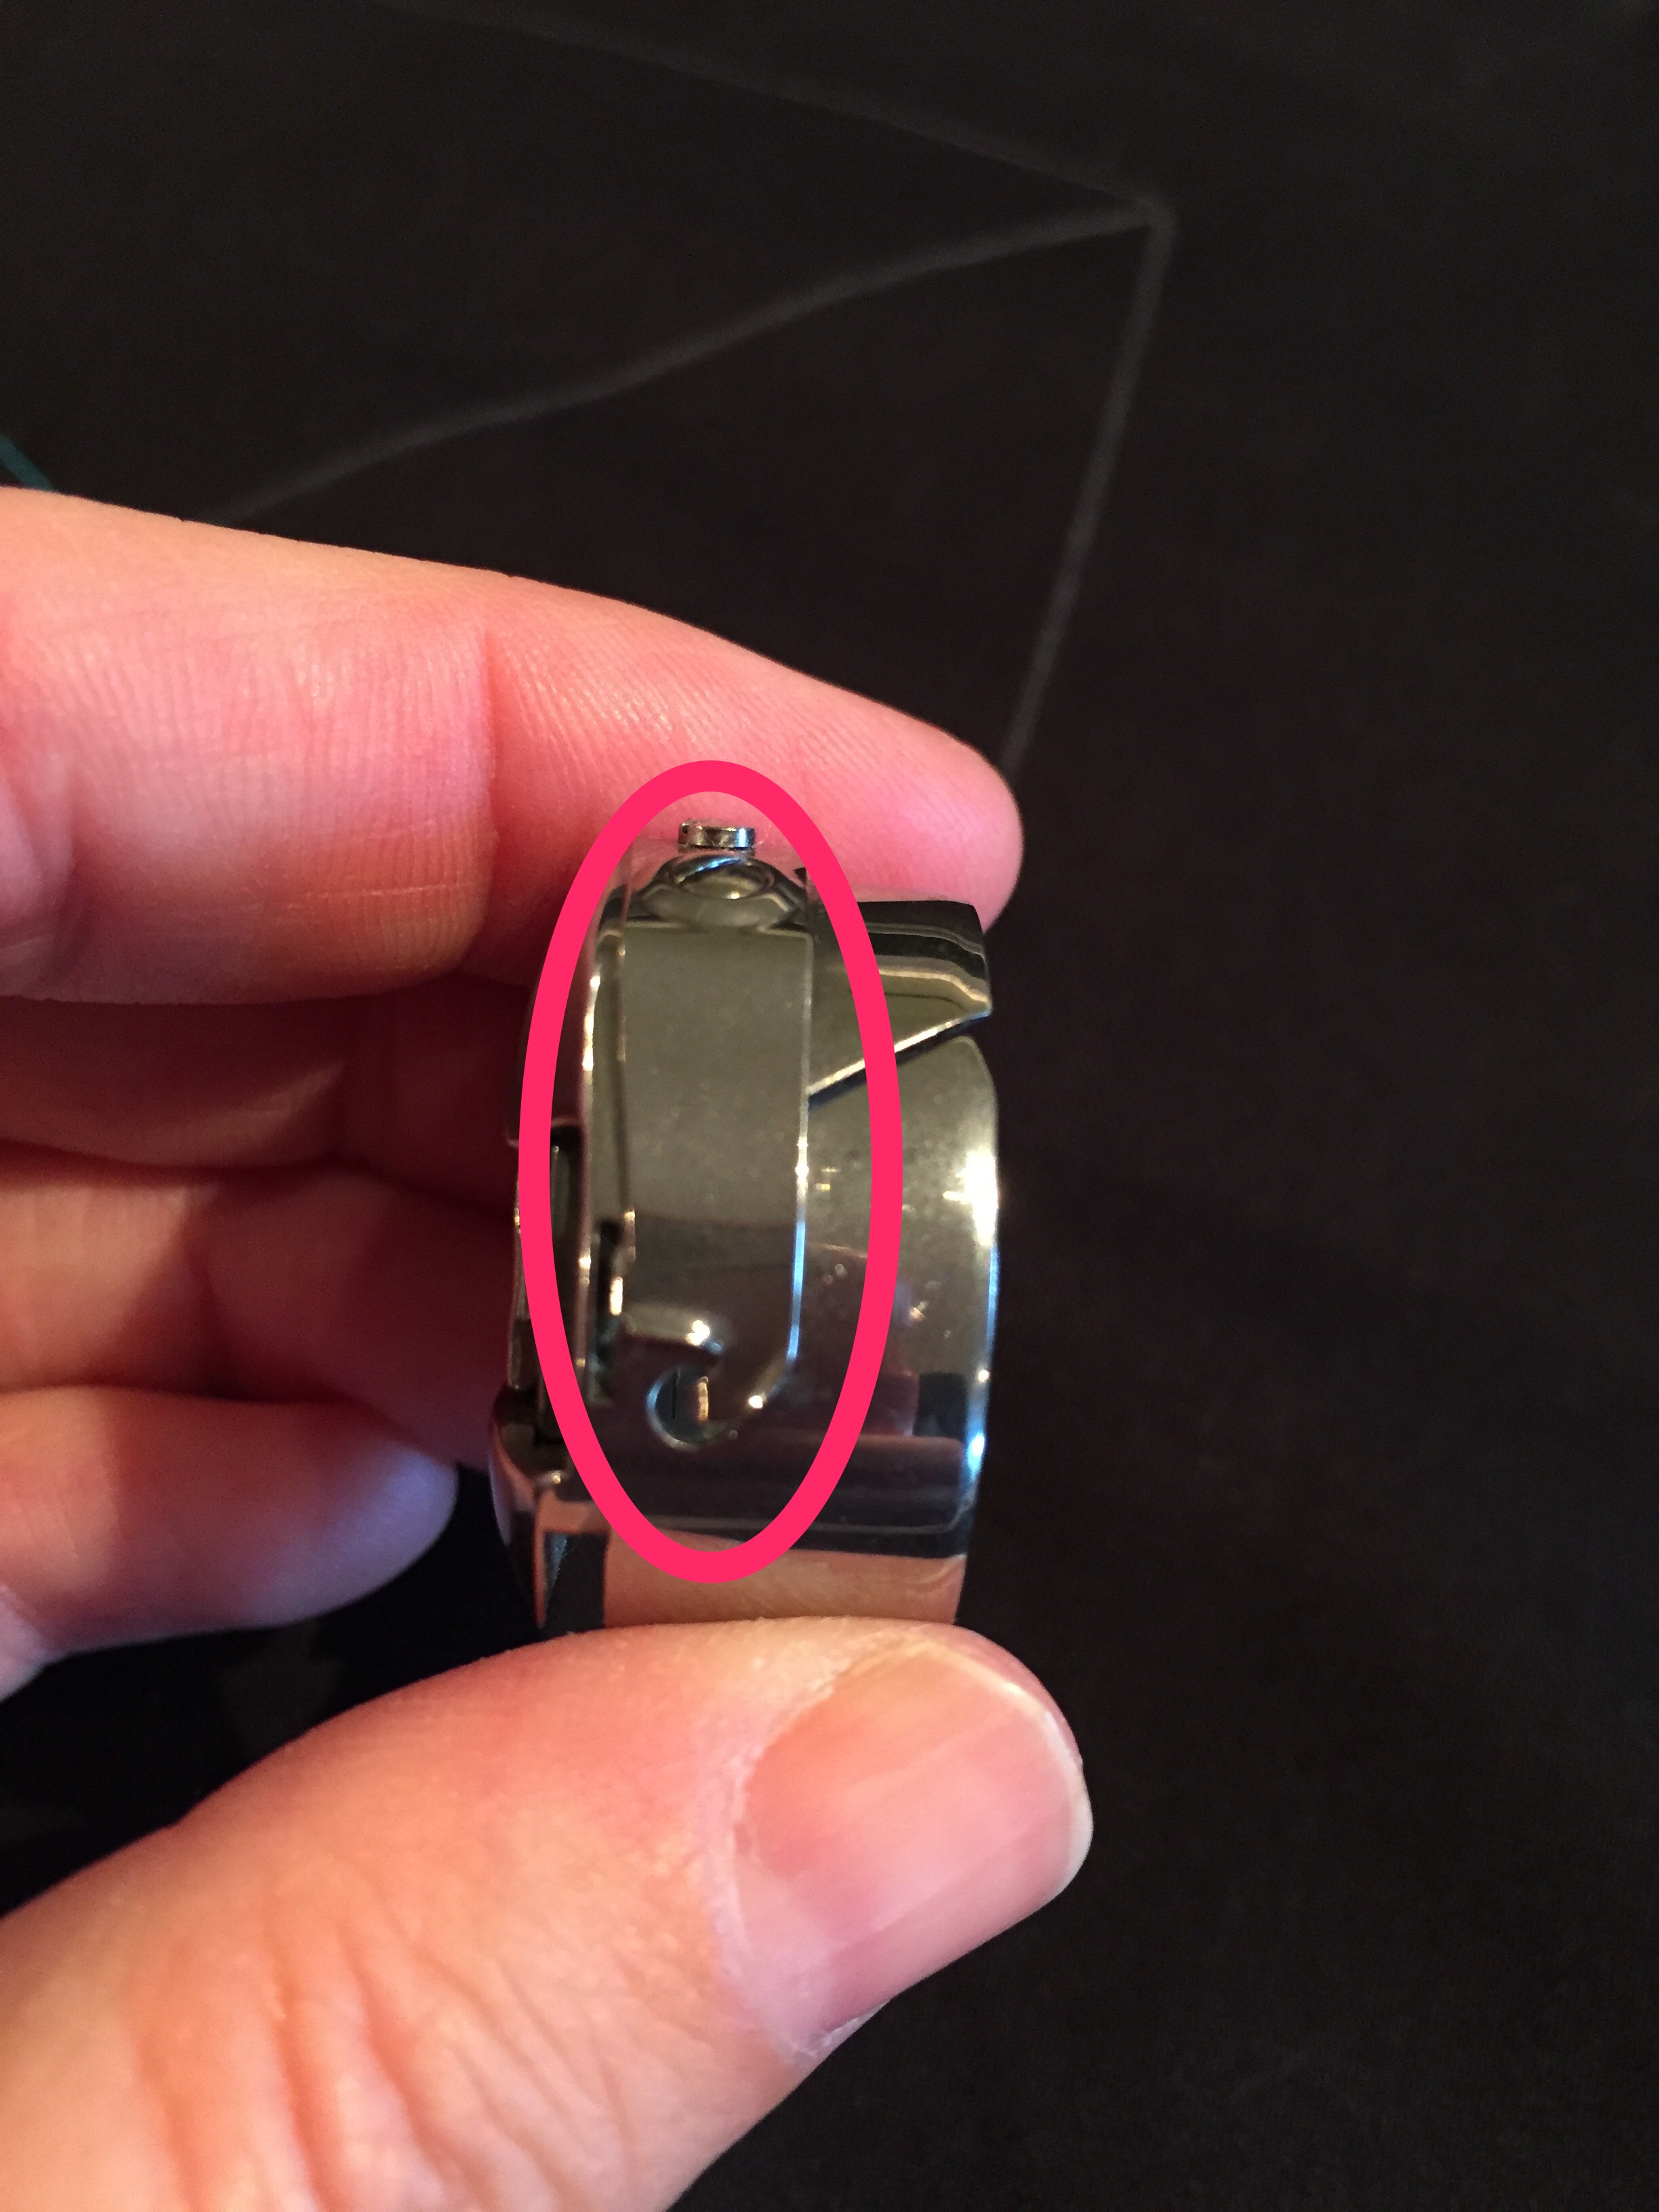
Step 2: Examine your bobbin case. Sometimes a buildup of lint can hide in your bobbin case. Even under the arm. This can cause major tension headaches. You can use a little canned air to clean out the bobbin. If you are doing this it is then a perfect time to give your bobbin area a thorough cleaning. A soft paint brush is a great tool to help assist in clearing the lint. Since you’re giving your bobbin case a little TLC applying a little dab of oil to your machine wouldn’t hurt either. Maintaining your machine properly is important, the better taken care of it is the better it will perform.
Step 3: Have you recently dropped your bobbin case on the floor? Getting banged up from accidentally falls can really affect your bobbin case. If you recall collecting your bobbin case from the studio floor you might want to consider replacing it with a new one.
Step 4: Check the bobbin. Perhaps your bobbin is wound incorrectly.
Step 5: Re-thread the machine. Yes, sometimes it is that easy.
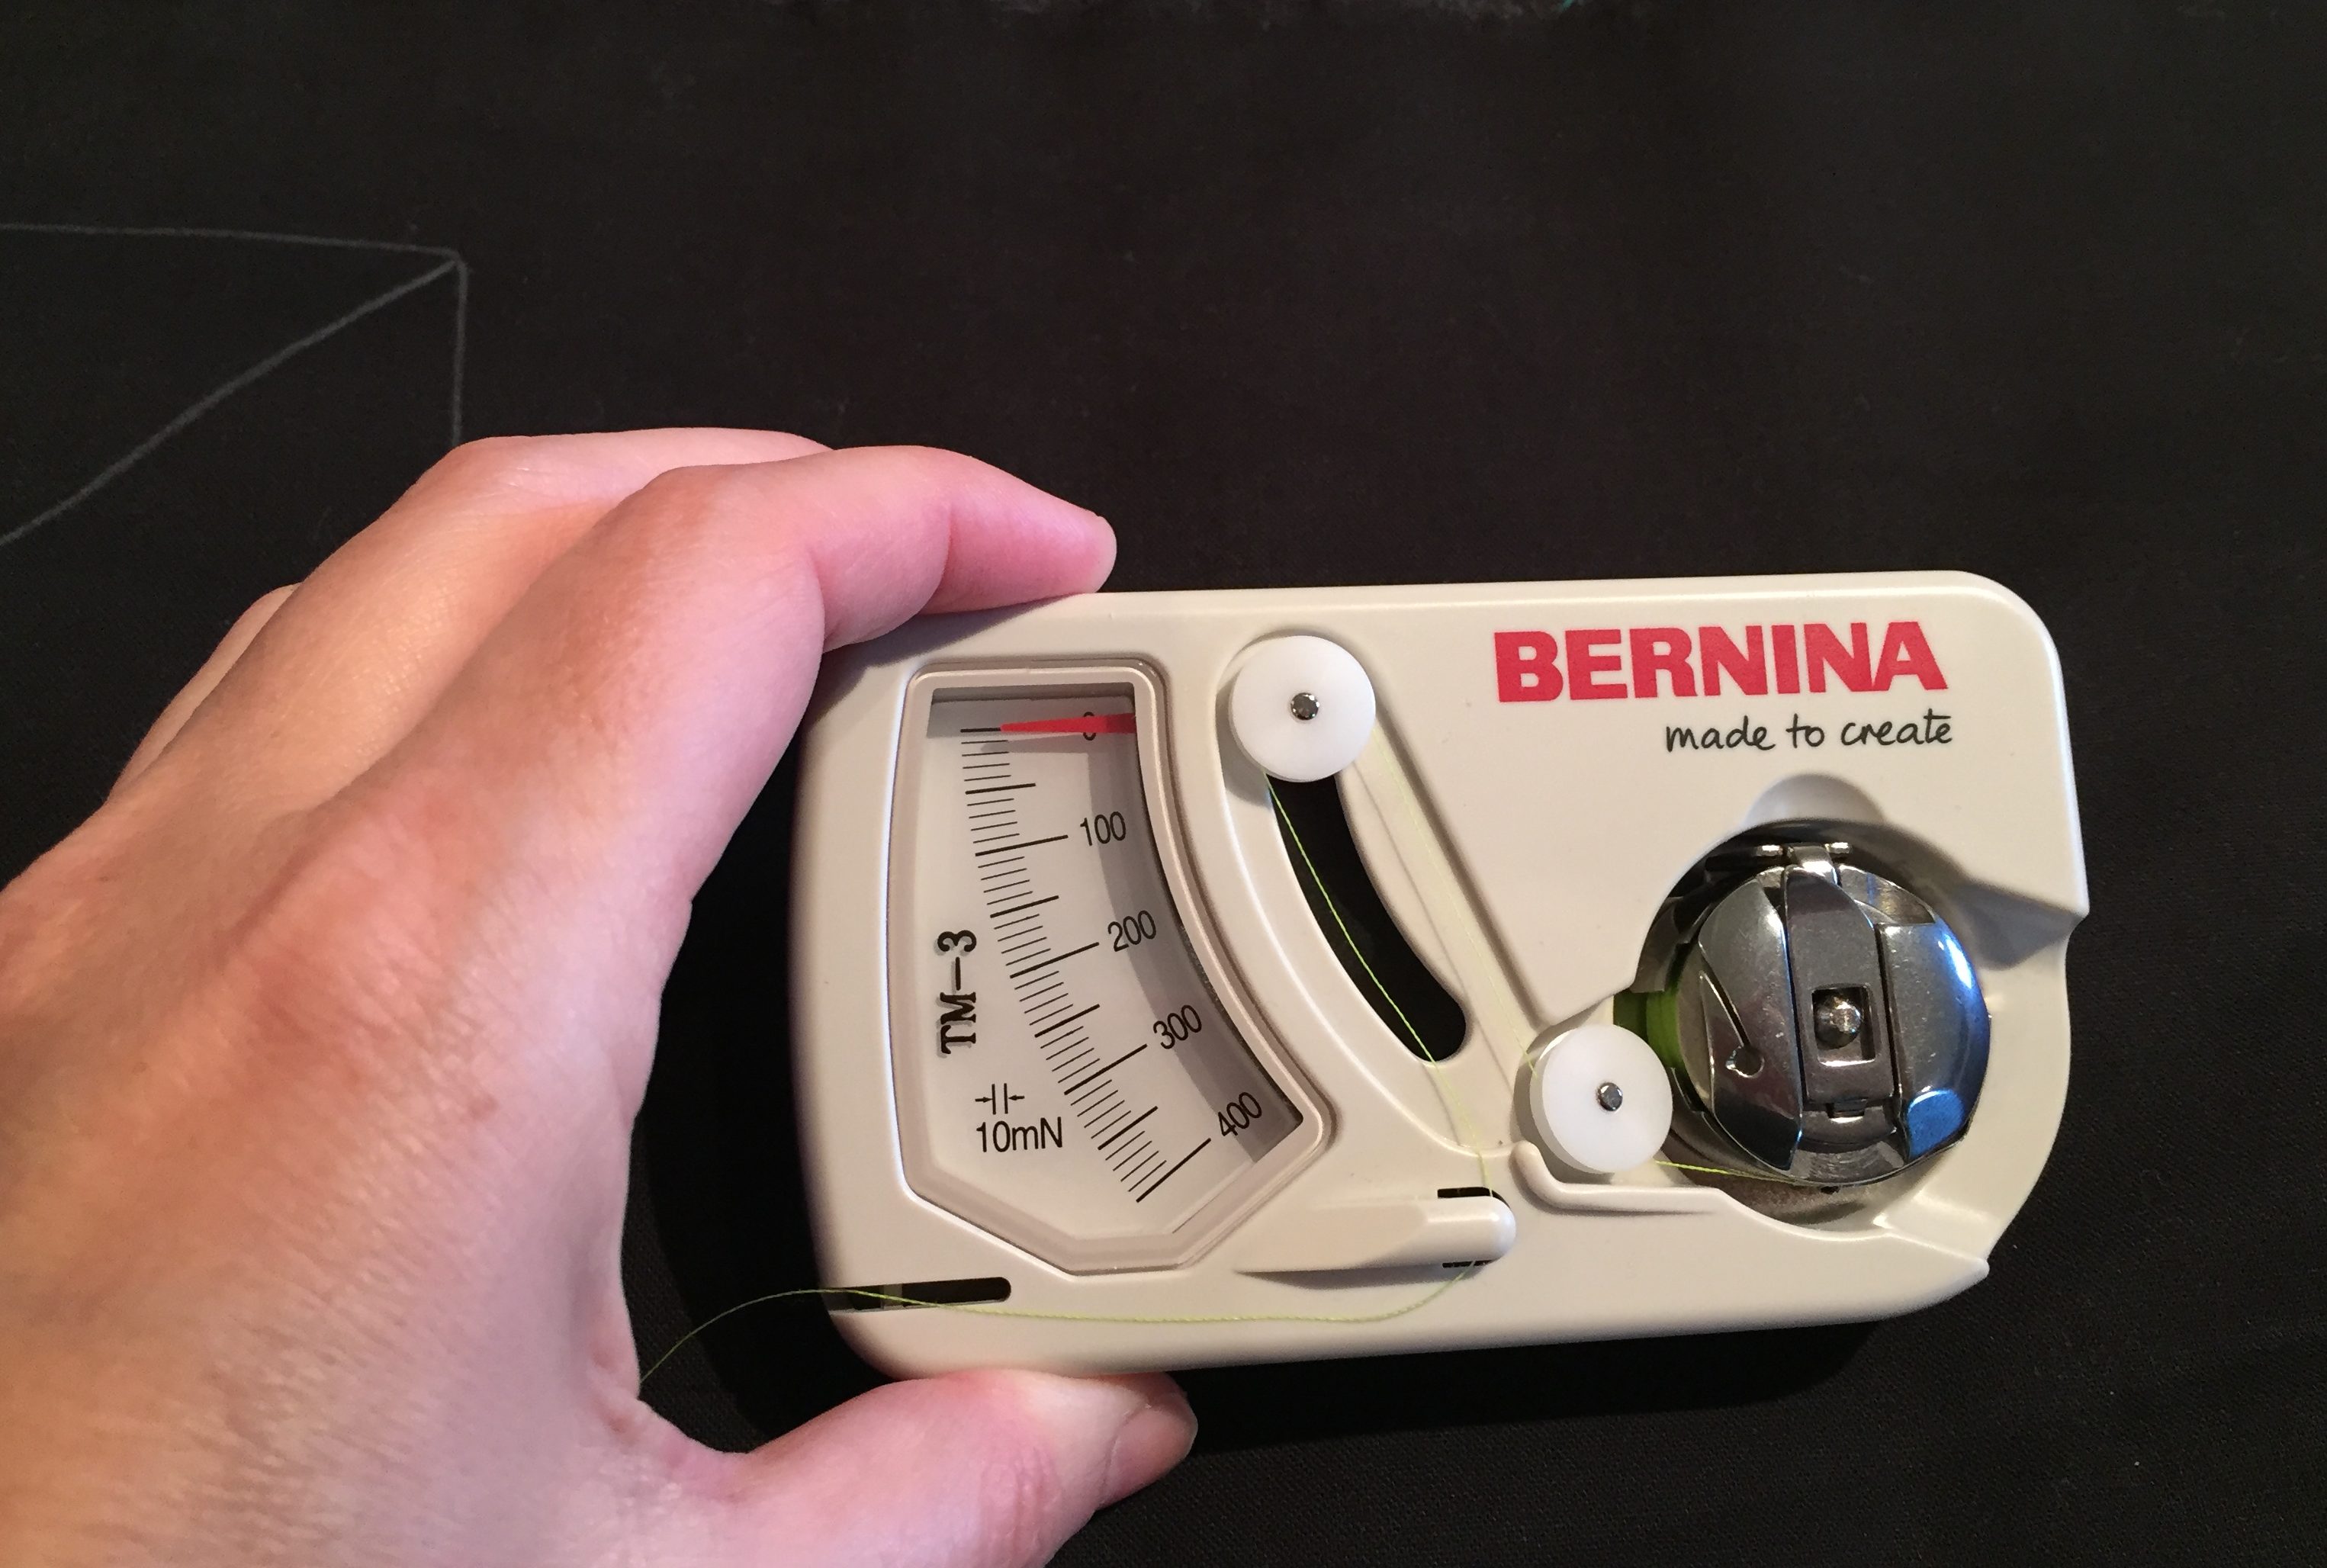
Step 6: There are times when your bobbin tension could be off. Did you recently switch to a heavier thread in the bobbin? Grab your BERNINA Tension gauge! Sometimes I run my thread a little looser if I am having issues with breakage, which is rare.
Step 7: Contemplate choosing a different thread. The thread could very well be the problem. Using a high quality thread makes a huge difference. If your thread is old, this could be another problem.
Step 8: Walk away from the entire situation. There have been numerous times I have had been confronted with tension challenges and chose to not let frustration take over my day. I removed myself from my studio and then attacked the matter the next day. And then it worked perfectly!
Tension doesn’t have to cause tension in us quilters. No, it’s definitely not something we want to execute on a consistant basis. However, I am hoping that if you methodically work through the checklist I have shared you’ll quickly find the source of your sewing tension!
What you might also like
10 comments on “Longarm Quilting Tip: Thread Tension”
-
-
It would mean that the top tension is tighter.
-
-
What top tension would you recommend bernina Q20 3.5 or 4.0 I seem to be having tension problems when getting near the end of the bobbin the tension tightens without me changing anything.
-
Are you using prewound bobbins or are you winding your own? It sounds like when you come to the end of your bobbin….. the thread is either wound tighter or looser than the rest of the bobbin. This would account for tension issues.
-
I am winding my own bobbins on half speed can’t get the prewound bobbins in NZ how do I overcome this problem thank you for your reply
-
Hmmm…. I’m thinking that the when winding the bobbin… it is tighter in the beginning of the wind. What thread are you using? I would also try winding faster and slower to see if this makes any difference. Do you use the low bobbin sensor?
-
-
-
I am experiencing the same issue and have since I bought my longarm two years ago. I’m using isacord thread and winding my own bobbins. I’ve replaced the bobbin case, I’ve had the bobbin winder repaired. I’ve replaced the winder with a different brand. I think it must be the thread. This is the first post I’ve read that has expressed the same issue I’ve been having. Did you get it resolved if you don’t mind me asking?
-
HI! Tension issues are so frustrating. Isacord thread is really an embroidery thread. It might just be that your machine doesn’t like it. I’ve had numerous machines…. 2 of the same brand and one would run a thread and the other wouldn’t. I know that really doesn’t help but as soon as I accepted it wasn’t going to work… I was much happier.
When you wound your bobbins…. how full did you wind them? Try only winding half the bobbin and see if that helps.-
Gosh it’s been awhile since this thread started. Pun intended.
So I believe the issue I was having was the backlash spring. The spring was set so that the bobbin sat too high above the edge of case. However that affected the tension I’m not sure. But halfway through each of my bobbins my tension would be almost double what it started. I pulled an entire bobbin through my tension guide and by the time I reached the end the guide was registering beyond 400 and it started at 100. After some relief of that issue, the problem has reoccurred. I have ordered some new springs to keep on hand. I’m really hoping this does the trick. Otherwise I’m back to square one all over again.
-
-
-
-
Hi don’t know what a low bobbin sensor is am trying winding the bobbin on fast if that doesn’t work i’ll try slow. Have taken the top tension to 3.5 seems to make a difference but haven’t come to the end of the bobbin yet. Thank you for all your help and suggestions
Leave a Reply
You must be logged in to post a comment.





This may seem like a really ridiculous question but does 4.5 mean that the top tension is tighter or looser?