How to make a Hooded Cape for Halloween
Hello there WeAllSew readers! My name is Melissa Mortenson and most days you can find me in my sewing room creating projects to share on my blog, the Polka Dot Chair. Today I’m excited to be with you teaching you how to make a simple hooded cape that would be perfect for a Halloween costume.
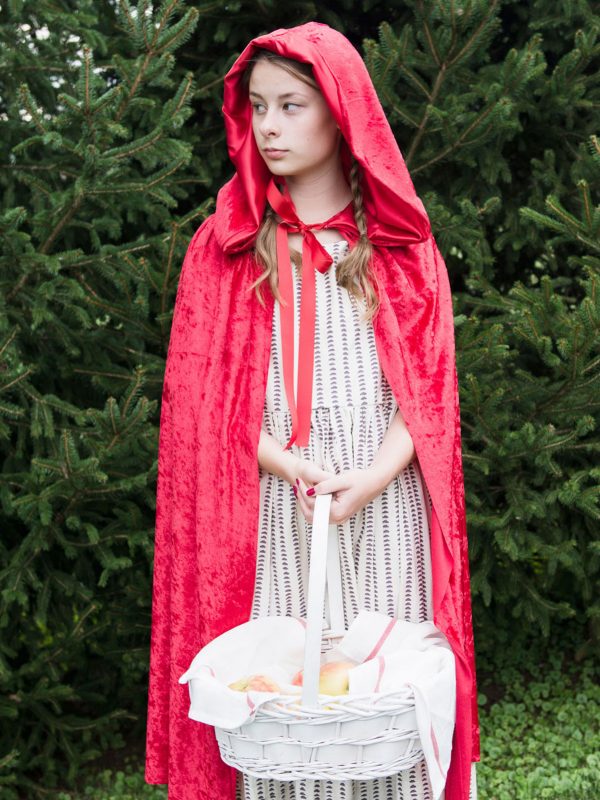
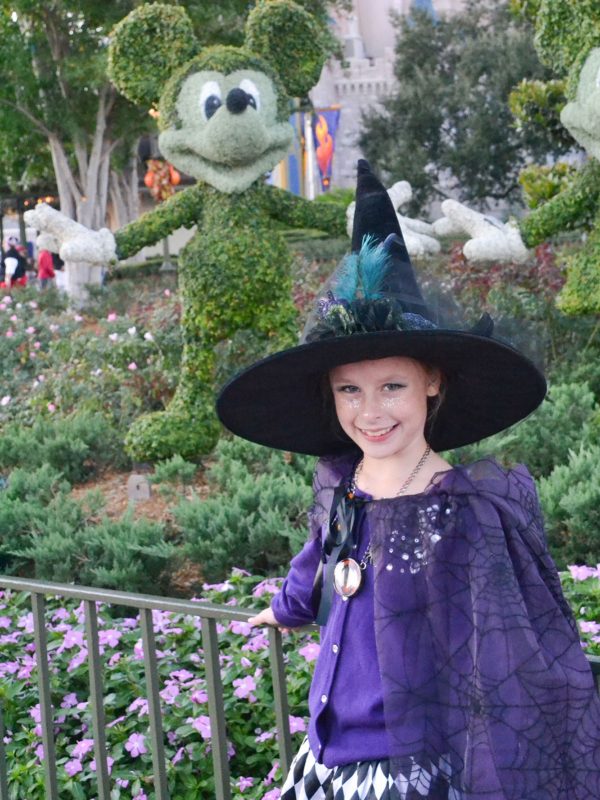
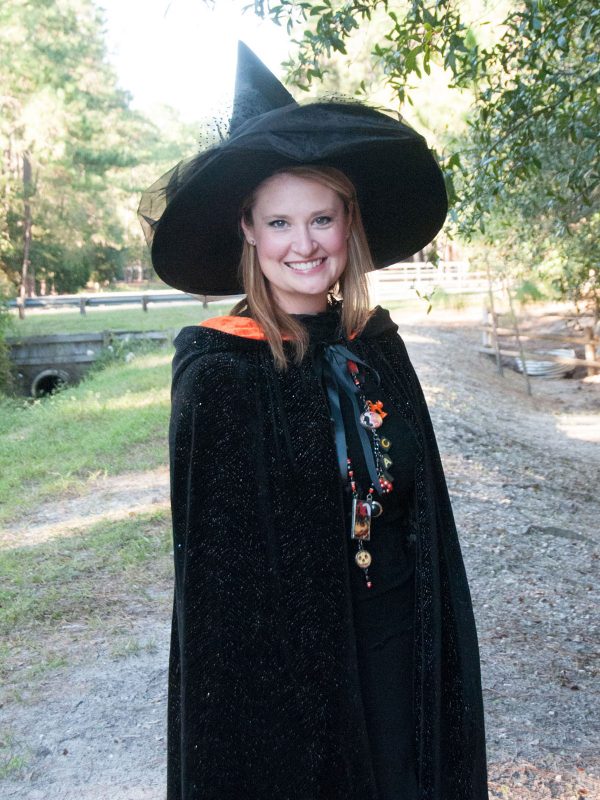
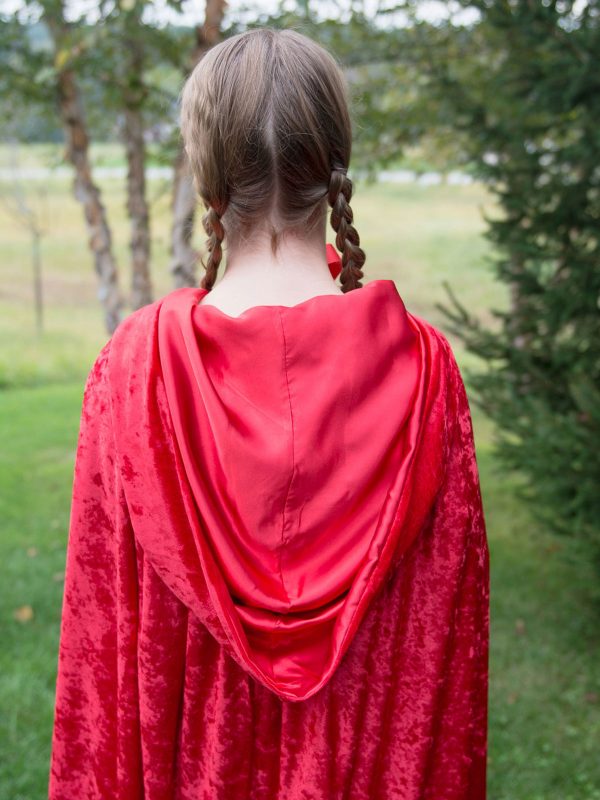
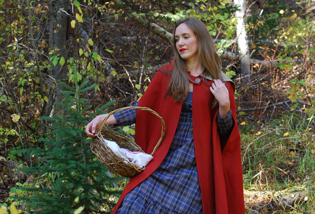
The cape that I made for today’s project is red, so naturally it would be great to use for a Red Riding Hood costume. However, this cape can be used for so many different costumes. I have used this same pattern in the past to create witches capes for my daughter and myself, and to create a black cape for my son’s Halloween costume.
This cape is custom drafted, but don’t worry, it’s really easy! All you need to do is a bit of math. The beauty of custom drafting the cape is that you can make it any size that you want. I used the same technique to make capes for adults and for kids.
A note about fabric choice. Since this is a Halloween costume I purposely chose a fabric (stretch velour) that did not fray and did not need to be hemmed. If you purchase another type of fabric, just be aware that you may need to finish the edges of your cape with a 1/4″ rolled hem. For more tips on sewing with Halloween Fabrics, check out this article that I wrote on the subject.
Before you go shopping for your materials you’re going to need to take a few measurements. For reference, my daughter is 5′ 4″ and is an adult x-small or small.
First, using your model as a guide (or if you are making the cape for yourself, have a friend help you with the measurements), measure from the nape of the neck down to the spot you’d like your cape to hit on the leg, and write down this measurement, this is your cape length measurement.
Next take a neckline measurement. The purpose of this measurement is to see how wide you need to make the cape so that it sits on top of your models shoulders properly. If the cape is too wide it will just fall off of your model, and if the cape is too narrow it won’t reach around to the front of their shoulders.
To take the measurement, place the beginning of the tape measure on the front of their shoulder (the spot that you’d like the cape to hit), then drape the tape measure around their back stopping at the same point on the opposite shoulder. Note the measurement. As you take this measurement, have the tape measure loose and let it “fall” across your models back as the cape would fall. Note: you are measuring around the back of your model. The tape measure should sit on their shoulders midway between the nape of the neck and the shoulder joint. You are not measuring the neck or the widest part of their shoulders. If you’re having trouble just imagine in your head how the cape will sit on their body.
Take the neckline measurement and multiply it by 1 1/2. For example, my daughter’s neckline measurement was 18″—multiplied by 1 1/2 that gives me a measurement of 27″. For reference, this number will be referred to as the hood measurement.
Now take the hood measurement and double it, so my next measurement would be 54″. This is the cape width measurement.
Write down your cape width x cape length measurements and your hood measurements, use these measurements to figure out how much fabric to buy. For example, my cape width was 54″ and length was 39″, so for the cape I would need 1 1/4 yards of 60″ wide fabric. My hood measurement was 27″, which is 3/4 yard of fabric.
Materials to make a Hooded Cape
- 2-3 yards of fabric for the main cape and hood depending on the size you are making
- 1/2 – 1 1/2 yards of fabric for hood lining (again, refer to size measurements taken above)
- 1 1/2 yards of ribbon
- Matching Thread
- Piece of fabric for neckline facing 2 1/2″ times the final neck measurement (for the hood) PLUS 1″ added (mine was 27″, so my neckline facing piece is 2 1/2″ x 28″)
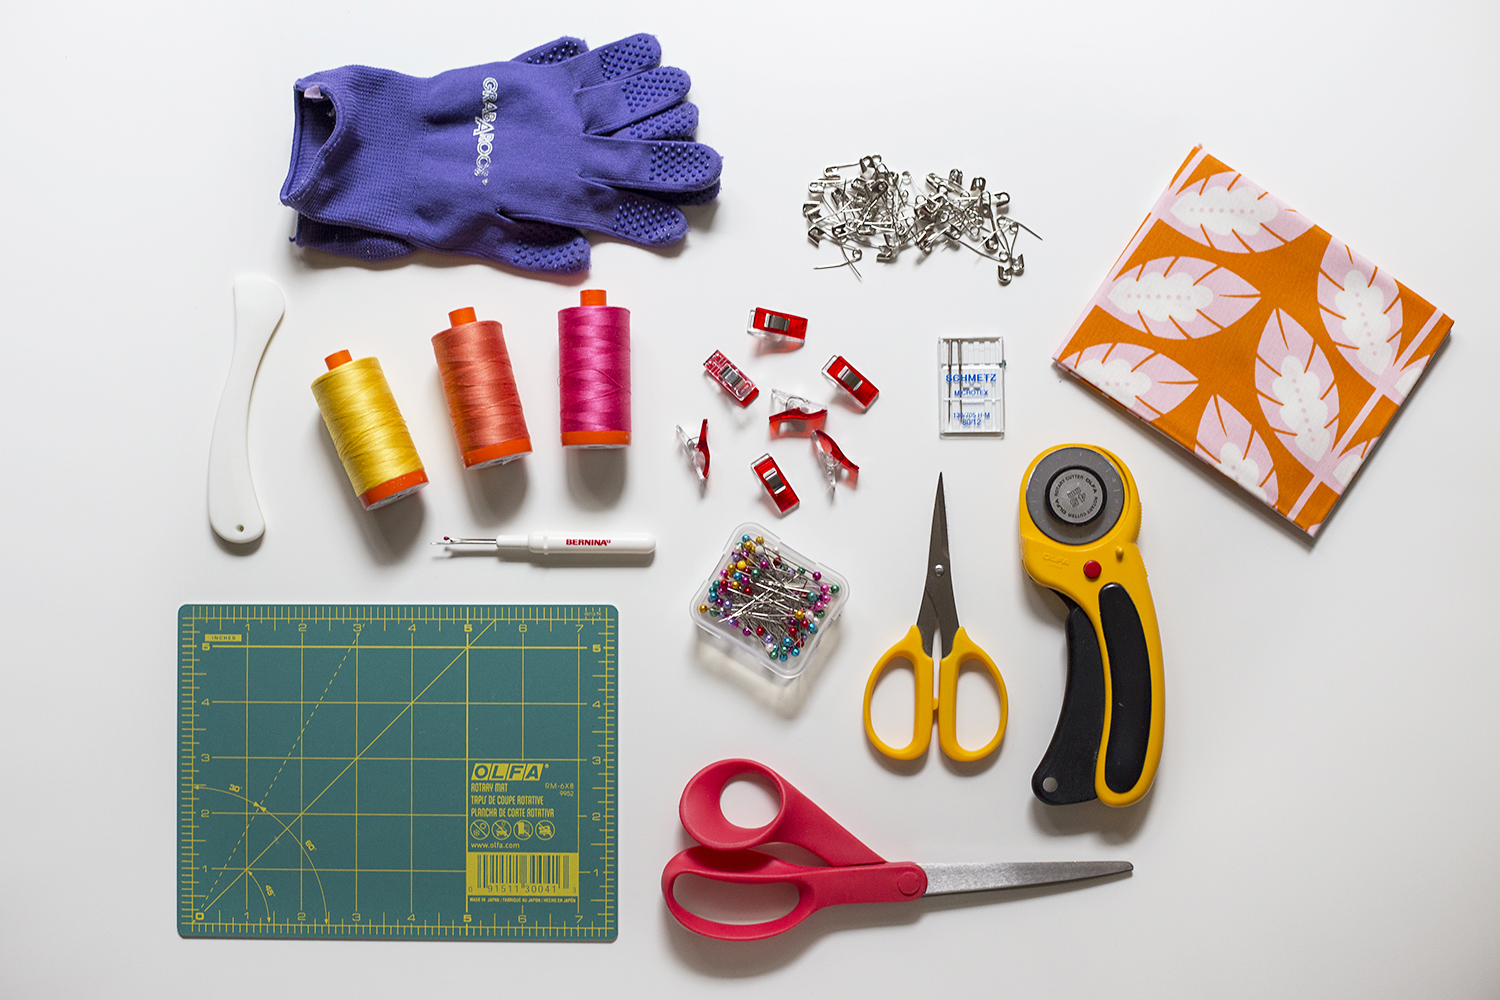
- Pins
- Pattern Weights
- Chalk
- Sewing machine (I use a BERNINA 770 QE)
- Reverse pattern foot #1D with Dual Feed
- Serger (I use a BERNINA 1300MDC)
First cut your cape piece. This piece will be the cape length measurement by the cape width measurement. Note: Many Halloween fabrics are 60″ wide, if this is the case I would just leave this piece at 60″ wide (instead of trimming it to 54″ wide) and not worry about cutting it smaller. If your doubled measurement is significantly more than 60″ you will need to cut two lengths of fabric and stitch them together to get the correct width.
Next cut your hood outside piece. It will be a square that is the hood measurement by the hood measurement (for example my piece was 27″ x 27″).
Next cut your hood lining piece the same size as your hood piece. I used a satin lining for my hood lining, you can use the same fabric if you like, it would also be very cute with a contrasting color fabric.
Begin by folding your square hood piece in half right sides facing. Mark the halfway point of the folded side and using a piece of chalk draw a rounded hood shape on your fabric. Don’t be intimidated, it’s not that hard, just picture in your head tracing around someone’s head from the back to the front of their head.
Cut the fabric along the line that you drew.
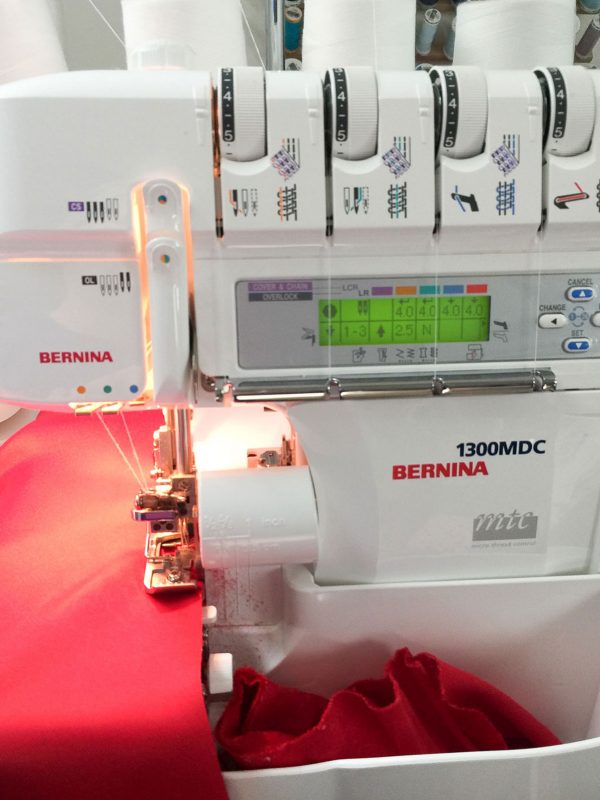
I have a serger that I used for most of my project, if you have one it’s great for this, if not you can use your regular machine. I had my serger set to 4 threads so that it serged and stitched a line all at the same time. Serge/Stitch around the cut edge starting at the fold and ending at the top. I recommend changing your serger thread so that it matches your fabric. I left mine white so that it would show up better in the instructional photos.
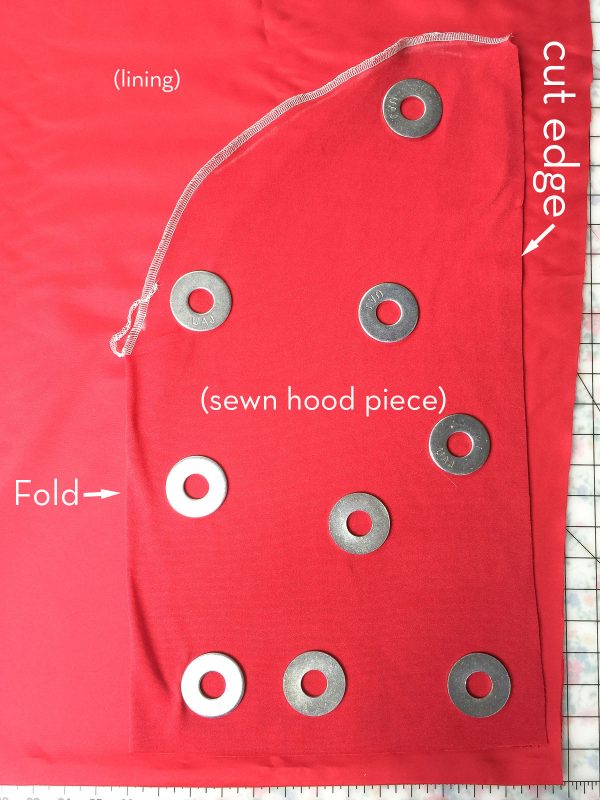
Using this piece as a guide, cut your lining piece the same size. I just laid my sewn hood piece on top of my folded lining fabric and weighted it down with pattern weights. I then cut around the outside of the hood leaving about 1/2″ for a seam allowance (note you do not need to cut the hood lining on the fold).
Sew/Serge the hood lining piece the same way that you stitched the hood piece.
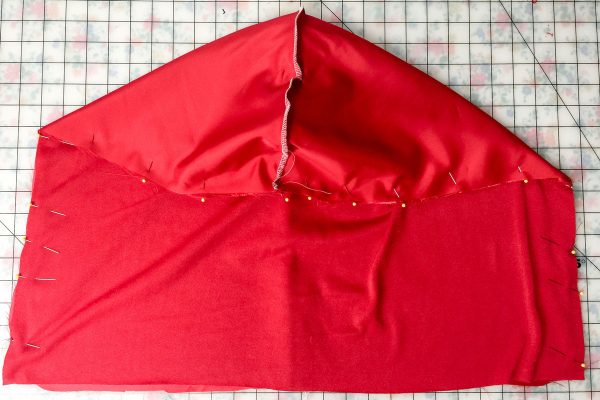
Pin the hood lining and hood pieces right sides facing along the front edge. Stitch/Serge in place using a 1/2″ seam allowance. Make sure that you match the center seam.
Set aside.
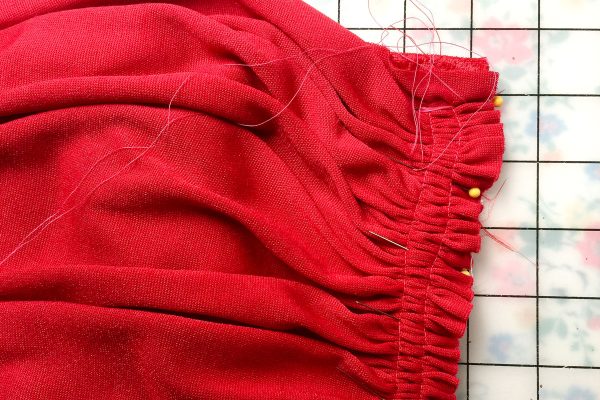
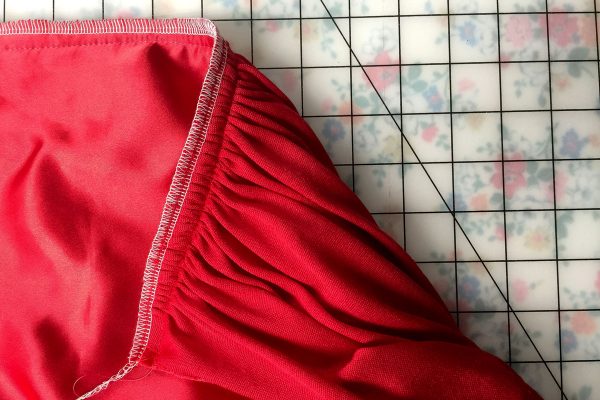
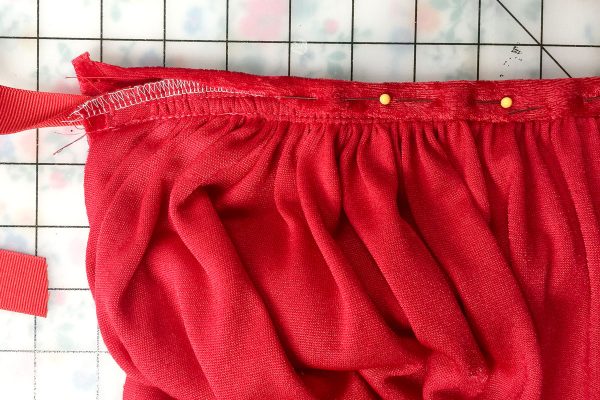
Set your sewing machine to a stitch length of 6. Run two rows of gathering stitches along the width of your cape piece (in my case this was the 54″ side). Pull up on the gathering stitches until the cape is the same length as the bottom of your hood piece. As you gather make sure that your stitches are even, and that you match the center of the cape with the center of the hood.
Pin well and stitch using a 1/2″ seam allowance. Serge or zig-zag the raw edge of the fabric.
Cut two pieces of ribbon each 20″ long. Pin one piece of ribbon to each end of the hood. The ribbon will be coming out from the edges of the hood, and will be pinned above the stitching line. Stitch in place with 2-3 lengths of stitching to ensure it is well secured.
Pin your neckline facing to the hood side of your neck seam, right sides facing. Fold under 1/2″ on the end of the facing before you start pinning. Stitch in place along the same stitching line you used to attach the hood to the cape.
Flip the neckline facing over and fold under the raw edge 1/4″ and pin to the cape. Hand stitch the facing in place.
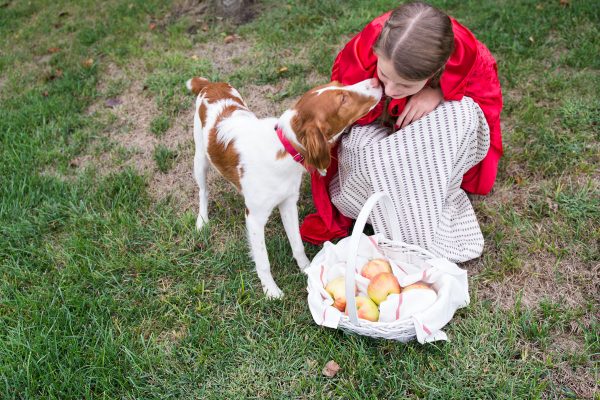
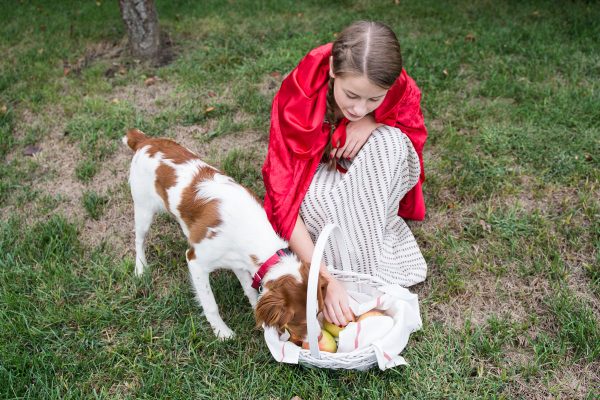
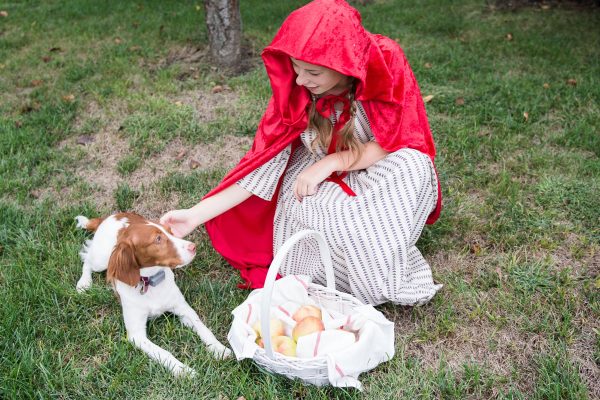
That’s it! I hope you enjoy it, it make a fun Halloween costume, even if the only “fearsome” beast that Red Riding Hood encounters is your family dog!
What you might also like
2 comments on “How to make a Hooded Cape for Halloween”
-
-
Do you leave the edges of the cape itself unfinished?
Leave a Reply
You must be logged in to post a comment.









The hood (neck kedge) ends up being much longer than cape neck edge following instructions. I must be confused on directions