Mini Bowl Filler Pillows with Holiday Embroidery
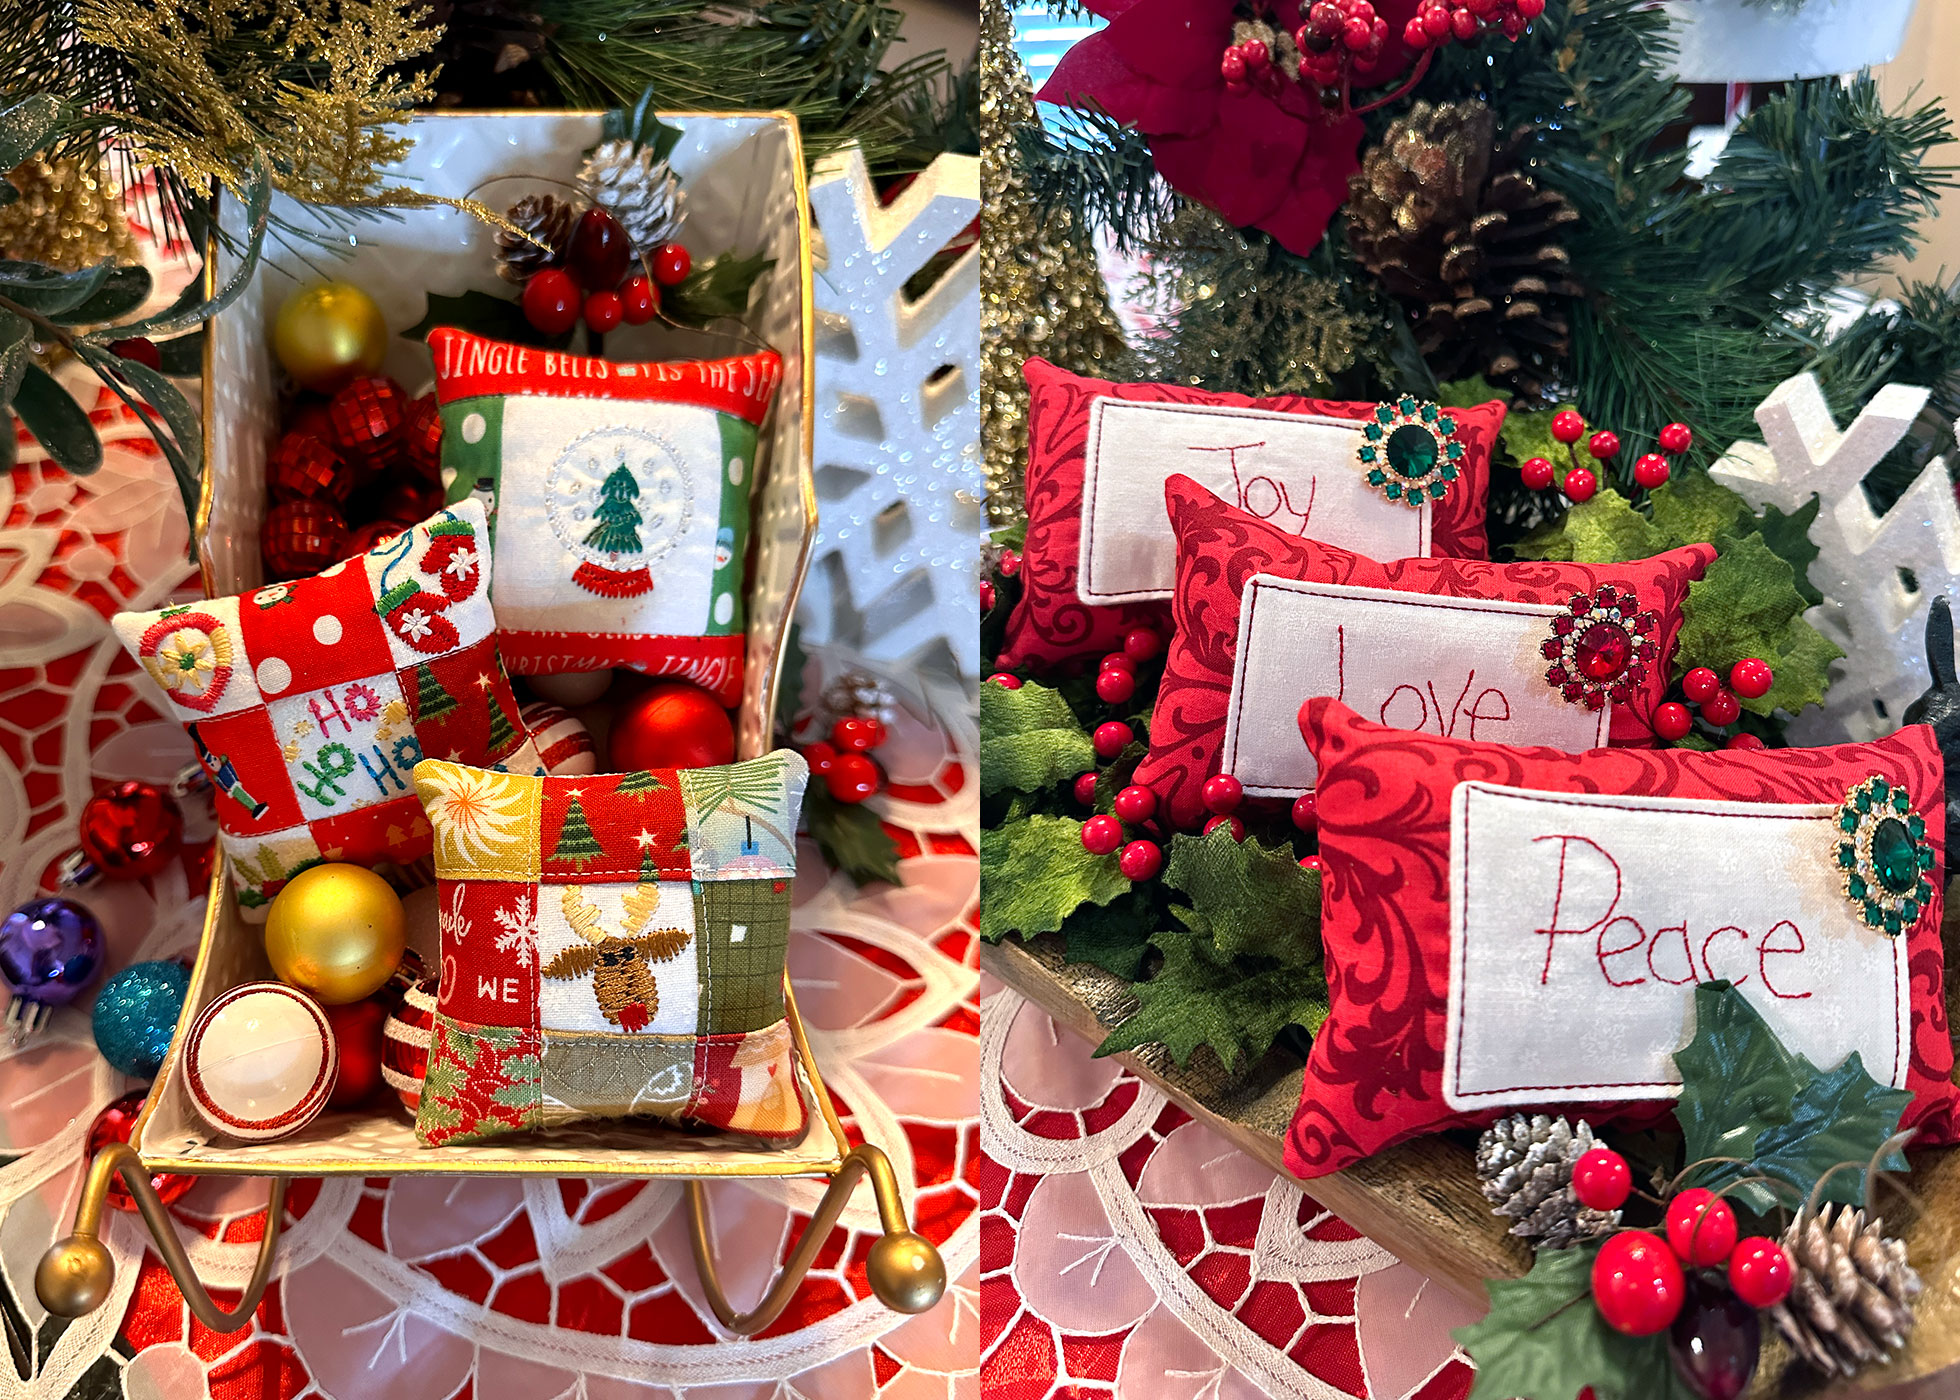
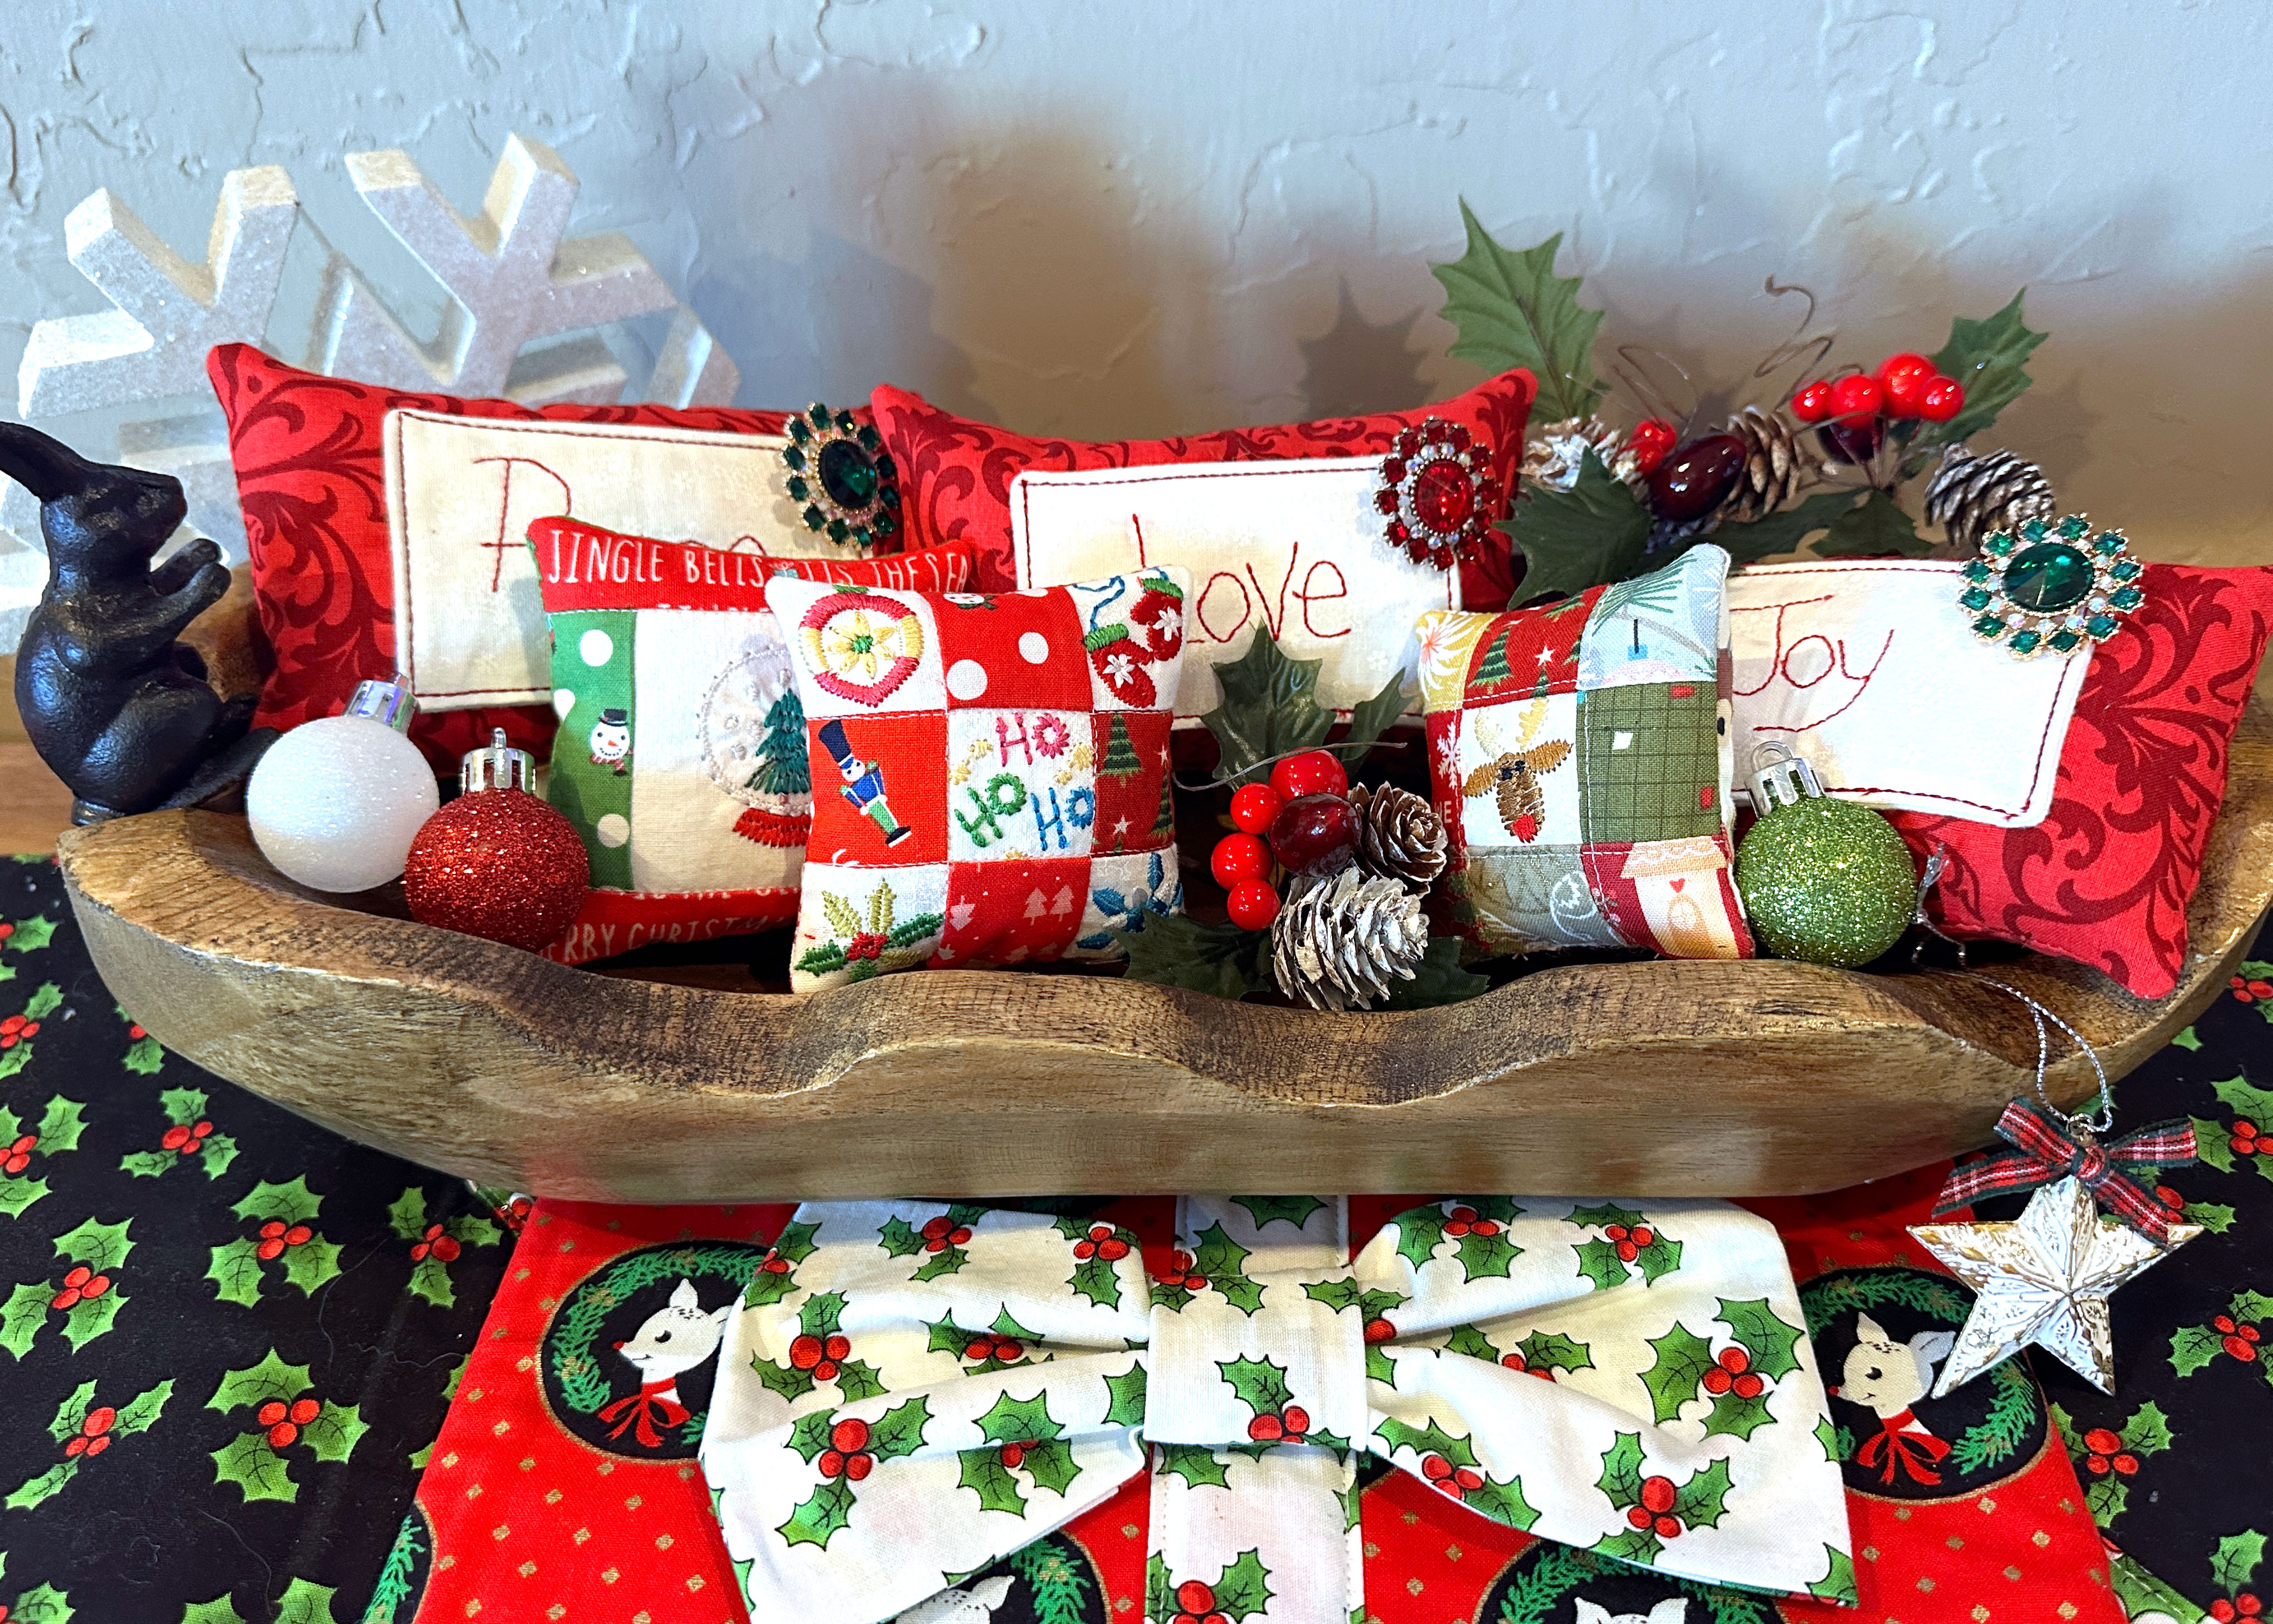
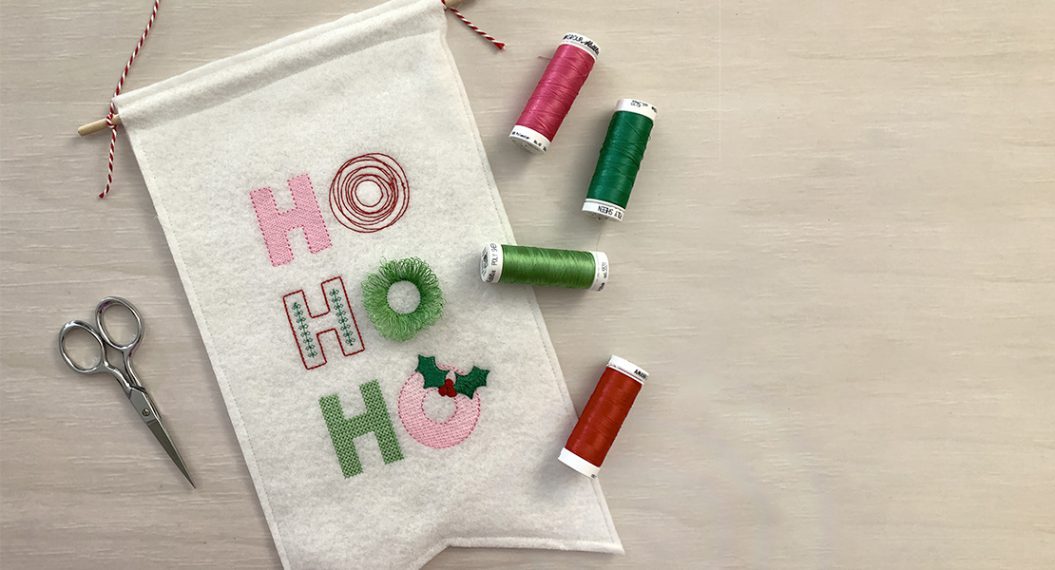
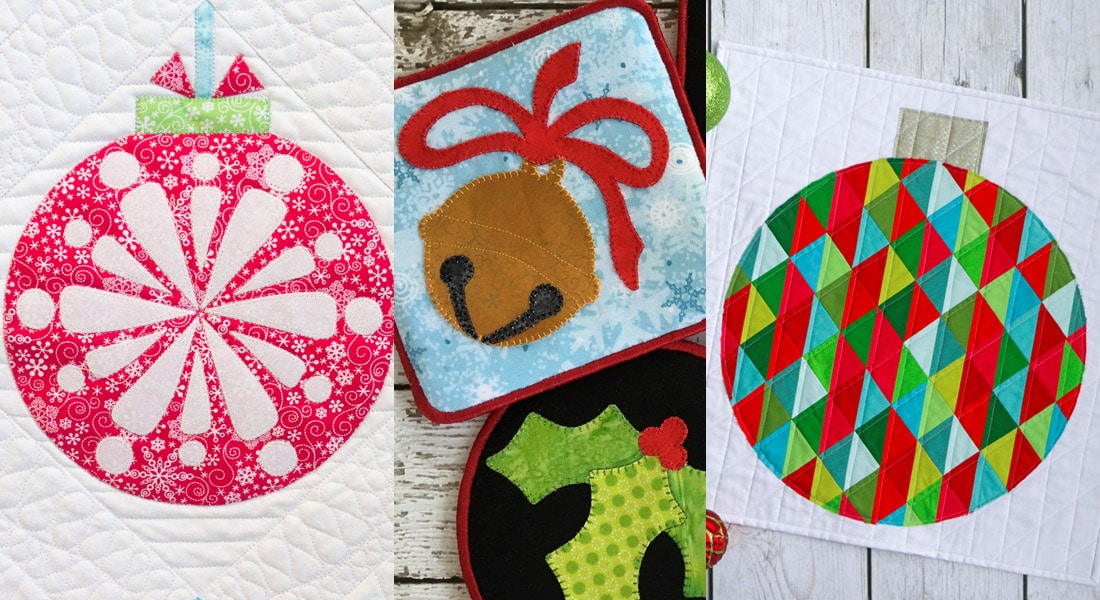
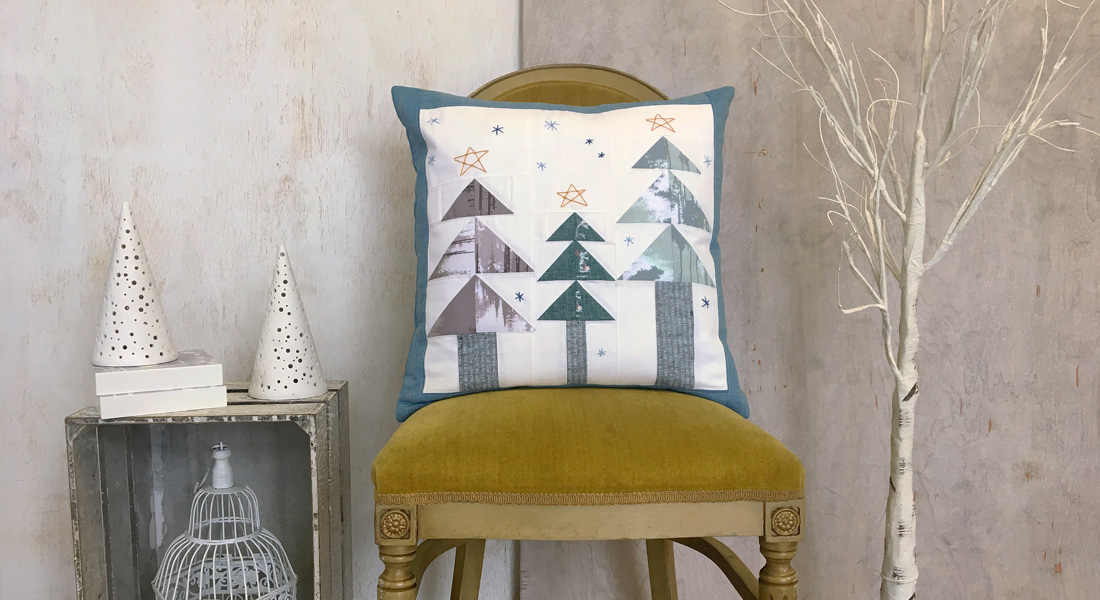
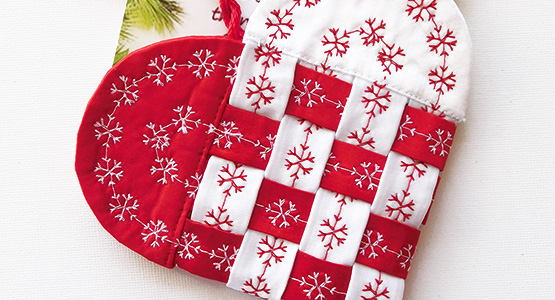
Christmas is my favorite holiday, and one where I go all out decorating our home for the season. Every year I buy – or sew – something new to add to my holiday decor collection. This year I combined my love of sewing with my new love of machine embroidery (Read about my experience as a first-time machine embroiderer) and designed these mini bowl filler pillows. They’re perfect to display together as a festive holiday accent. Just be aware their tiny size makes them irresistible to children and adults alike and you’ll find everyone picking them up for a closer look.
Hello everyone! It’s Sharon from Sharon Sews. You can connect with me on YouTube, Instagram and my blog, where I share sewing tips, projects, reviews, and fashion sewing ideas.
Materials to Sew the Mini Bowl Filler Pillows
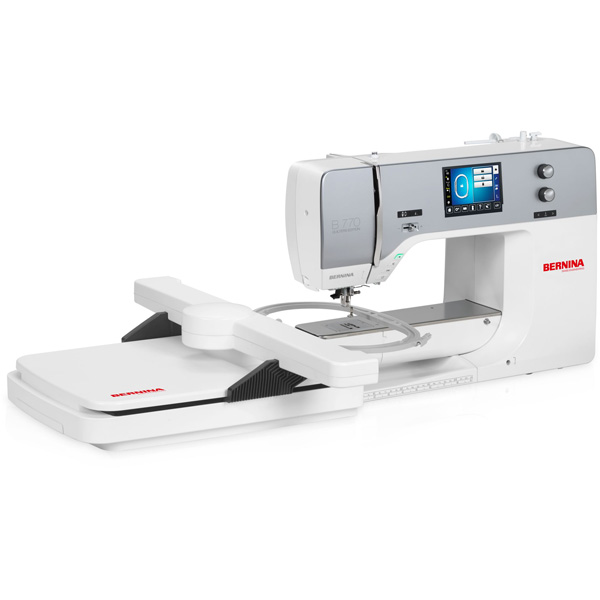
- Sewing and embroidery machine – I used my BERNINA 770 QE PLUS
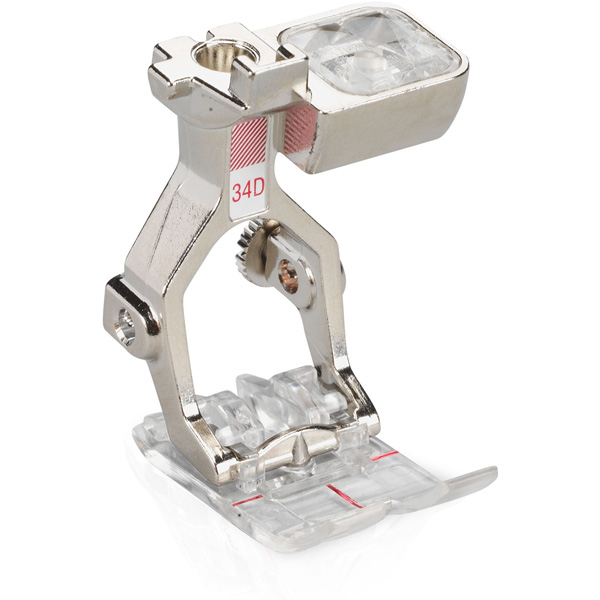
- BERNINA Reverse Pattern Foot with Clear Sole #34D, Patchwork Foot #97D, Edgestitch Foot #10D
- Quilting cotton
- White fabric for the embroidery designs – large enough to fit in the embroidery hoop
- Scraps for the front of the pillow – cutting dimensions listed below for each pillow design
- Fabric for the back of the pillow – cutting dimensions listed below for each pillow design
- Flannel to back the front of the pillow – cutting dimensions listed below for each pillow design
- Fiberfill stuffing
- Buttons for the word pillows
- Coordinating all-purpose thread
- Quilting ruler
- Rotary cutter and cutting mat OR scissors
- Hand sewing needle
- General sewing supplies
- Iron and pressing surface
Materials to Embroider the Mini Bowl Filler Pillows
- Embroidery module – I used my Embroidery Module L – with Smart Drive Technology
- Stabilizer – I used OESD Ultra Clean & Tear
- Temporary fabric spray adhesive – I used OESD 505 Temporary Spray Adhesive
- Small embroidery hoop
- Embroidery foot #26
- 80/12 embroidery needle
- Bobbin thread – I used OESD expert embroidery bobbin thread 60 wt
- Embroidery thread – I used Isacord embroidery thread, colors based on individual designs
- Embroidery design – I used designs from the Tiny Holiday collection and Frosty Frolics, all provided by OESD
- Small scissors to snip threads – I used the Straight Micro Tip Scissors from Sookie Sews
General Sewing Instructions for the Mini Bowl Filler Pillows
Press fabrics before cutting. When you cut your fabric pieces you can fussy cut to show off a certain part of your fabric.
All seam allowances are a scant 1/4″.
Nest the seams to match the seams when creating the mini pillow tops. To do so, press the seams in opposite directions. I press toward the darker fabric if possible. Then place the two blocks right sides together and match the seams. I like to insert a pin right at the seam line to verify I have the seams matched, and the pin holds the seam in place as I sew.
Before beginning embroidery, clean and oil your sewing machine. Attach the embroidery module, install the embroidery foot and needle, put on the straight stitch plate, lower the feed dog, and insert a bobbin with embroidery bobbin thread.
If you need a refresher on hooping fabric, BERNINA has a video available showing the steps.
Before sewing the mini pillows, remove the embroidery module, install the #97D Patchwork Foot, insert a 75/11 universal needle, and raise the feed dog.
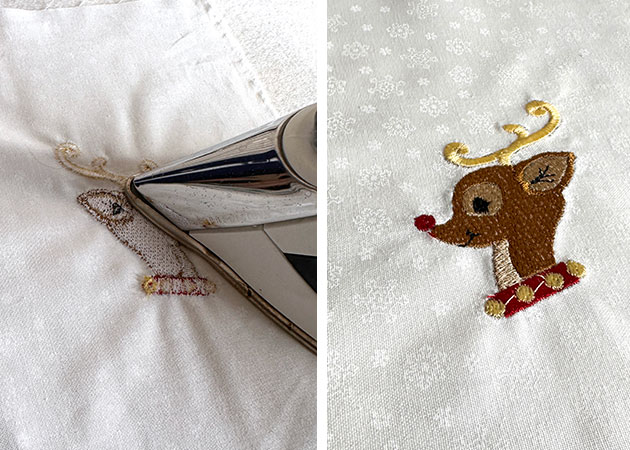
Optional: When done embroidering the designs, press them using OESD’s Perfect Embroidery Press Cloth, which helps press puckers out of the embroidered fabrics and prevents the embroidery texture from getting crushed. You place the design face down on the press cloth and press the wrong side. This Rudolph design is the Reindeer from the Christmas Charms collection (provided by OESD).
Mini Bowl Filler Pillows with Embroidered Holiday Designs
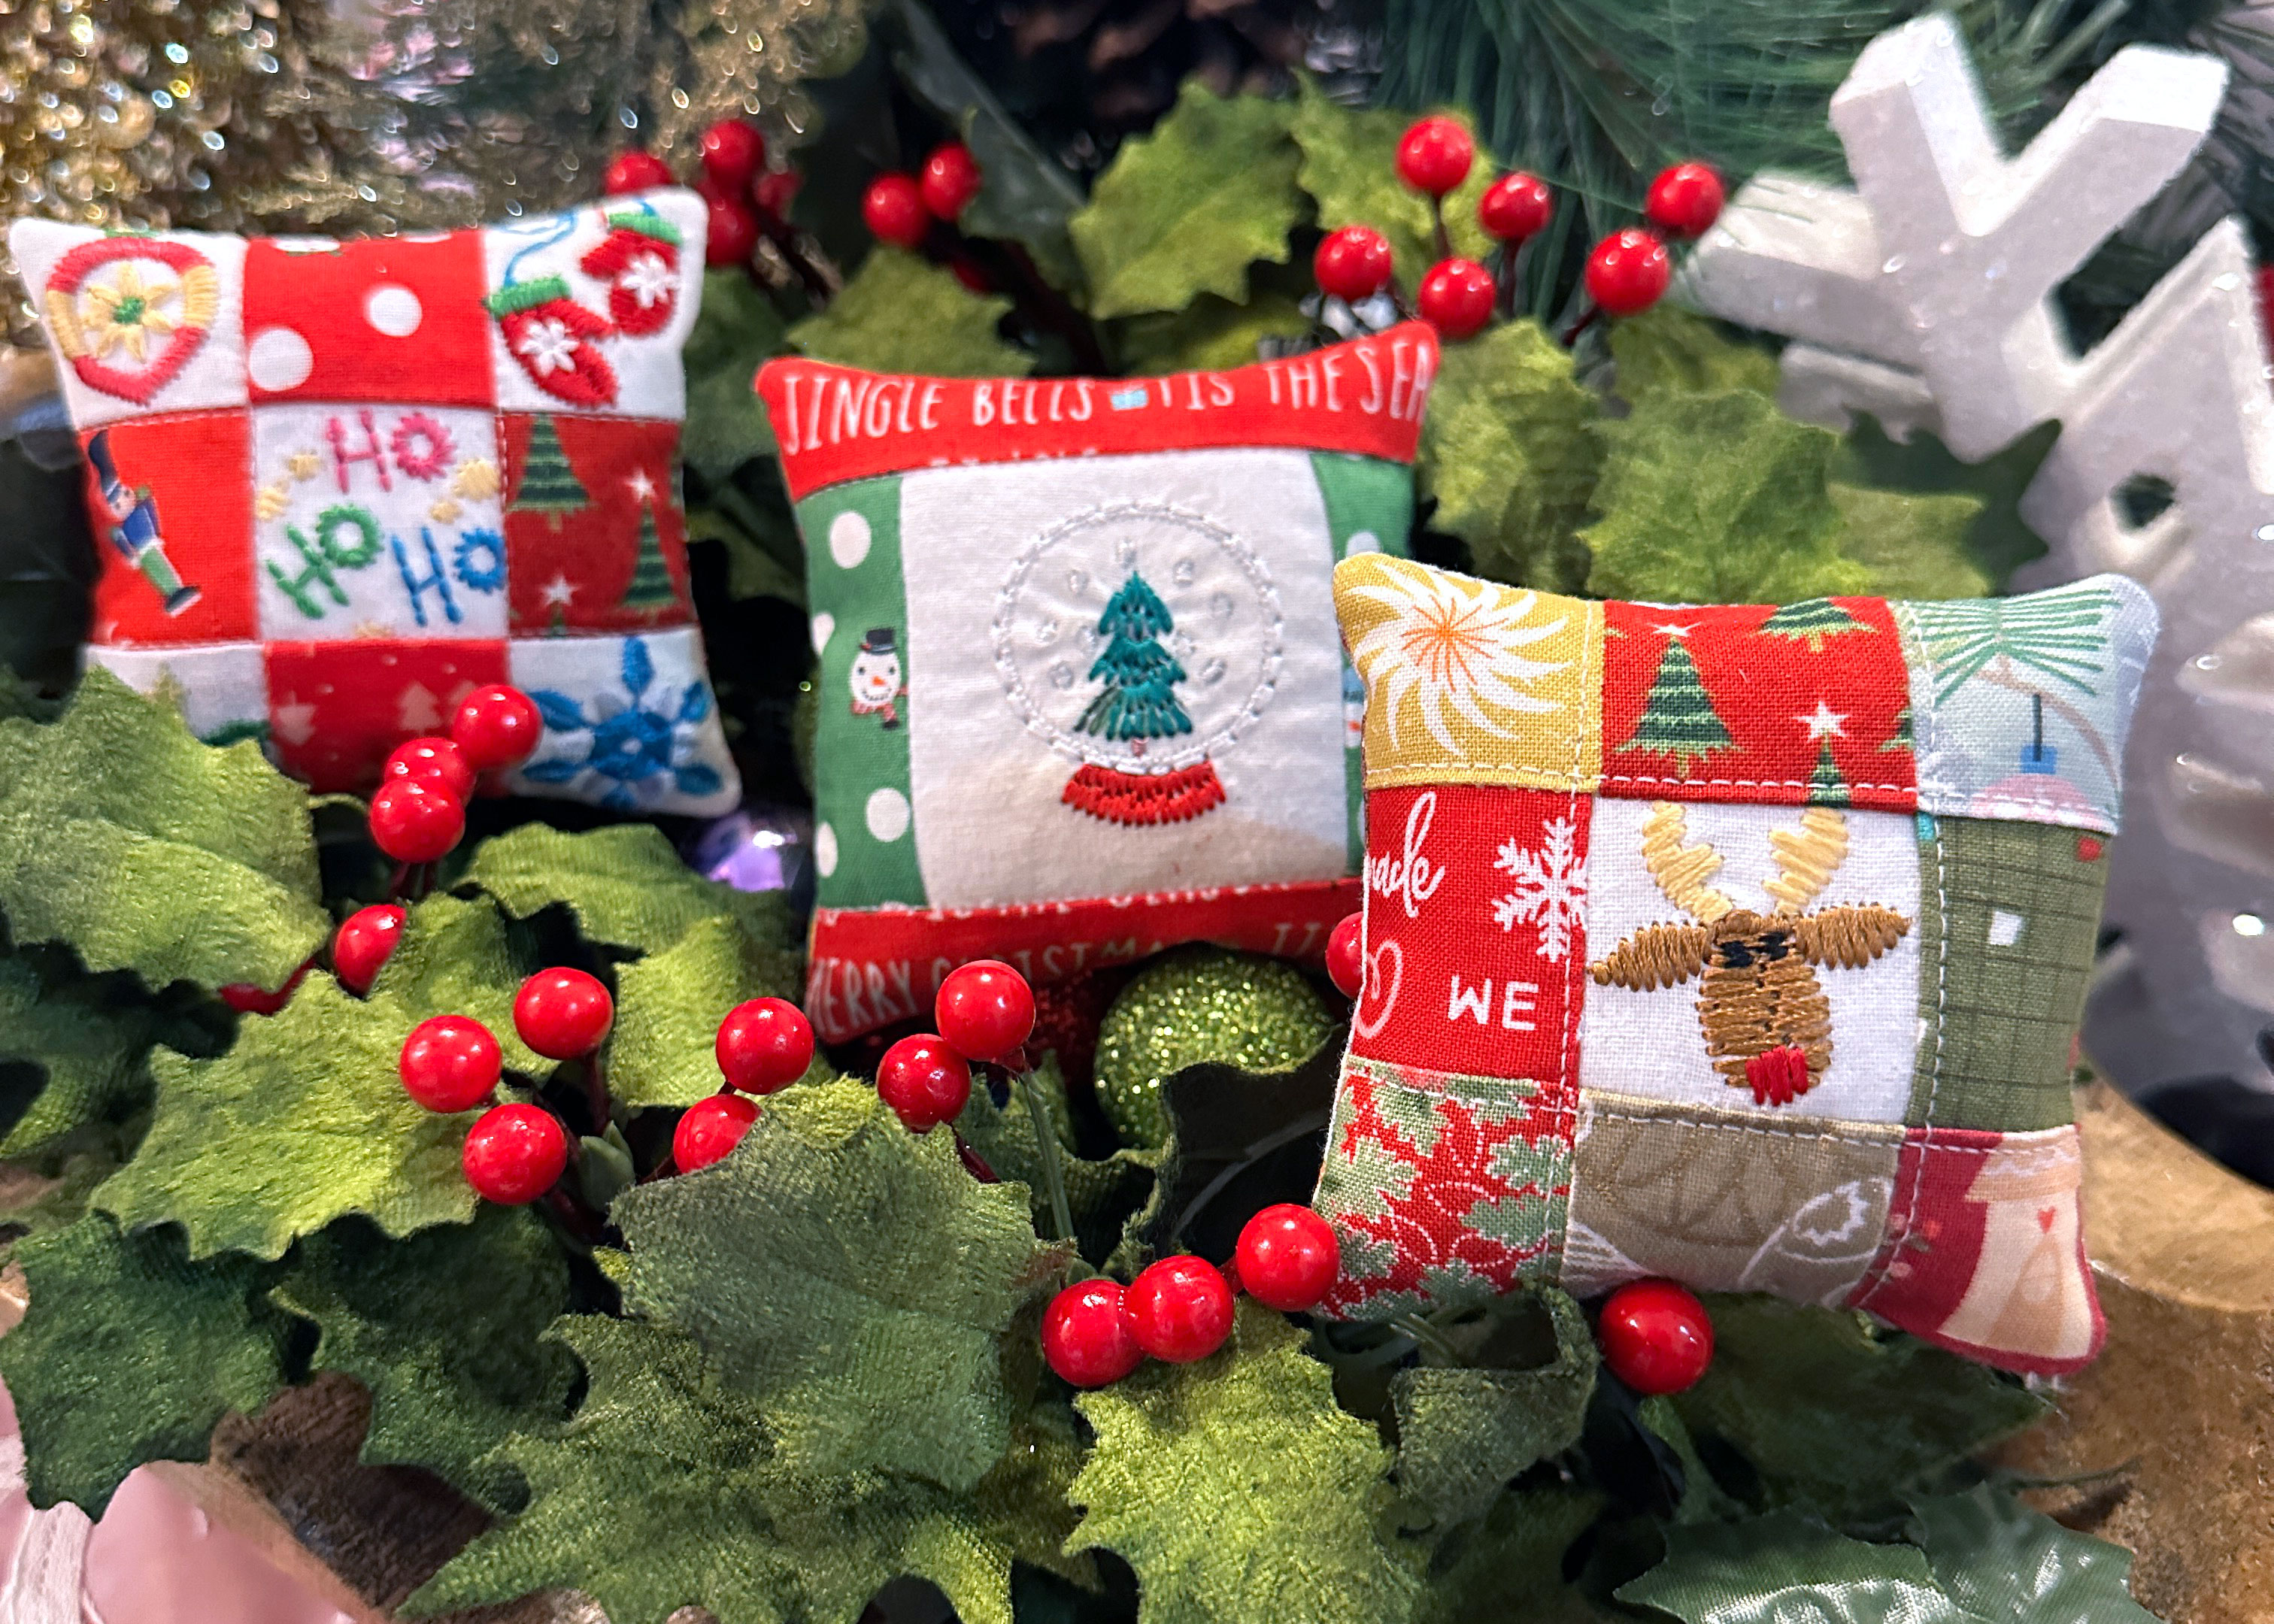
The finished size of the Rudolph pillow and the Five Designs pillow is 3″ x 3″ and the Snow Globe pillow is 3-1/2″ x 3-1/2″. The finished size could be slightly smaller or larger depending on how accurate the fabric is cut and the seams are sewn.
Rudolph Mini Bowl Filler Pillow
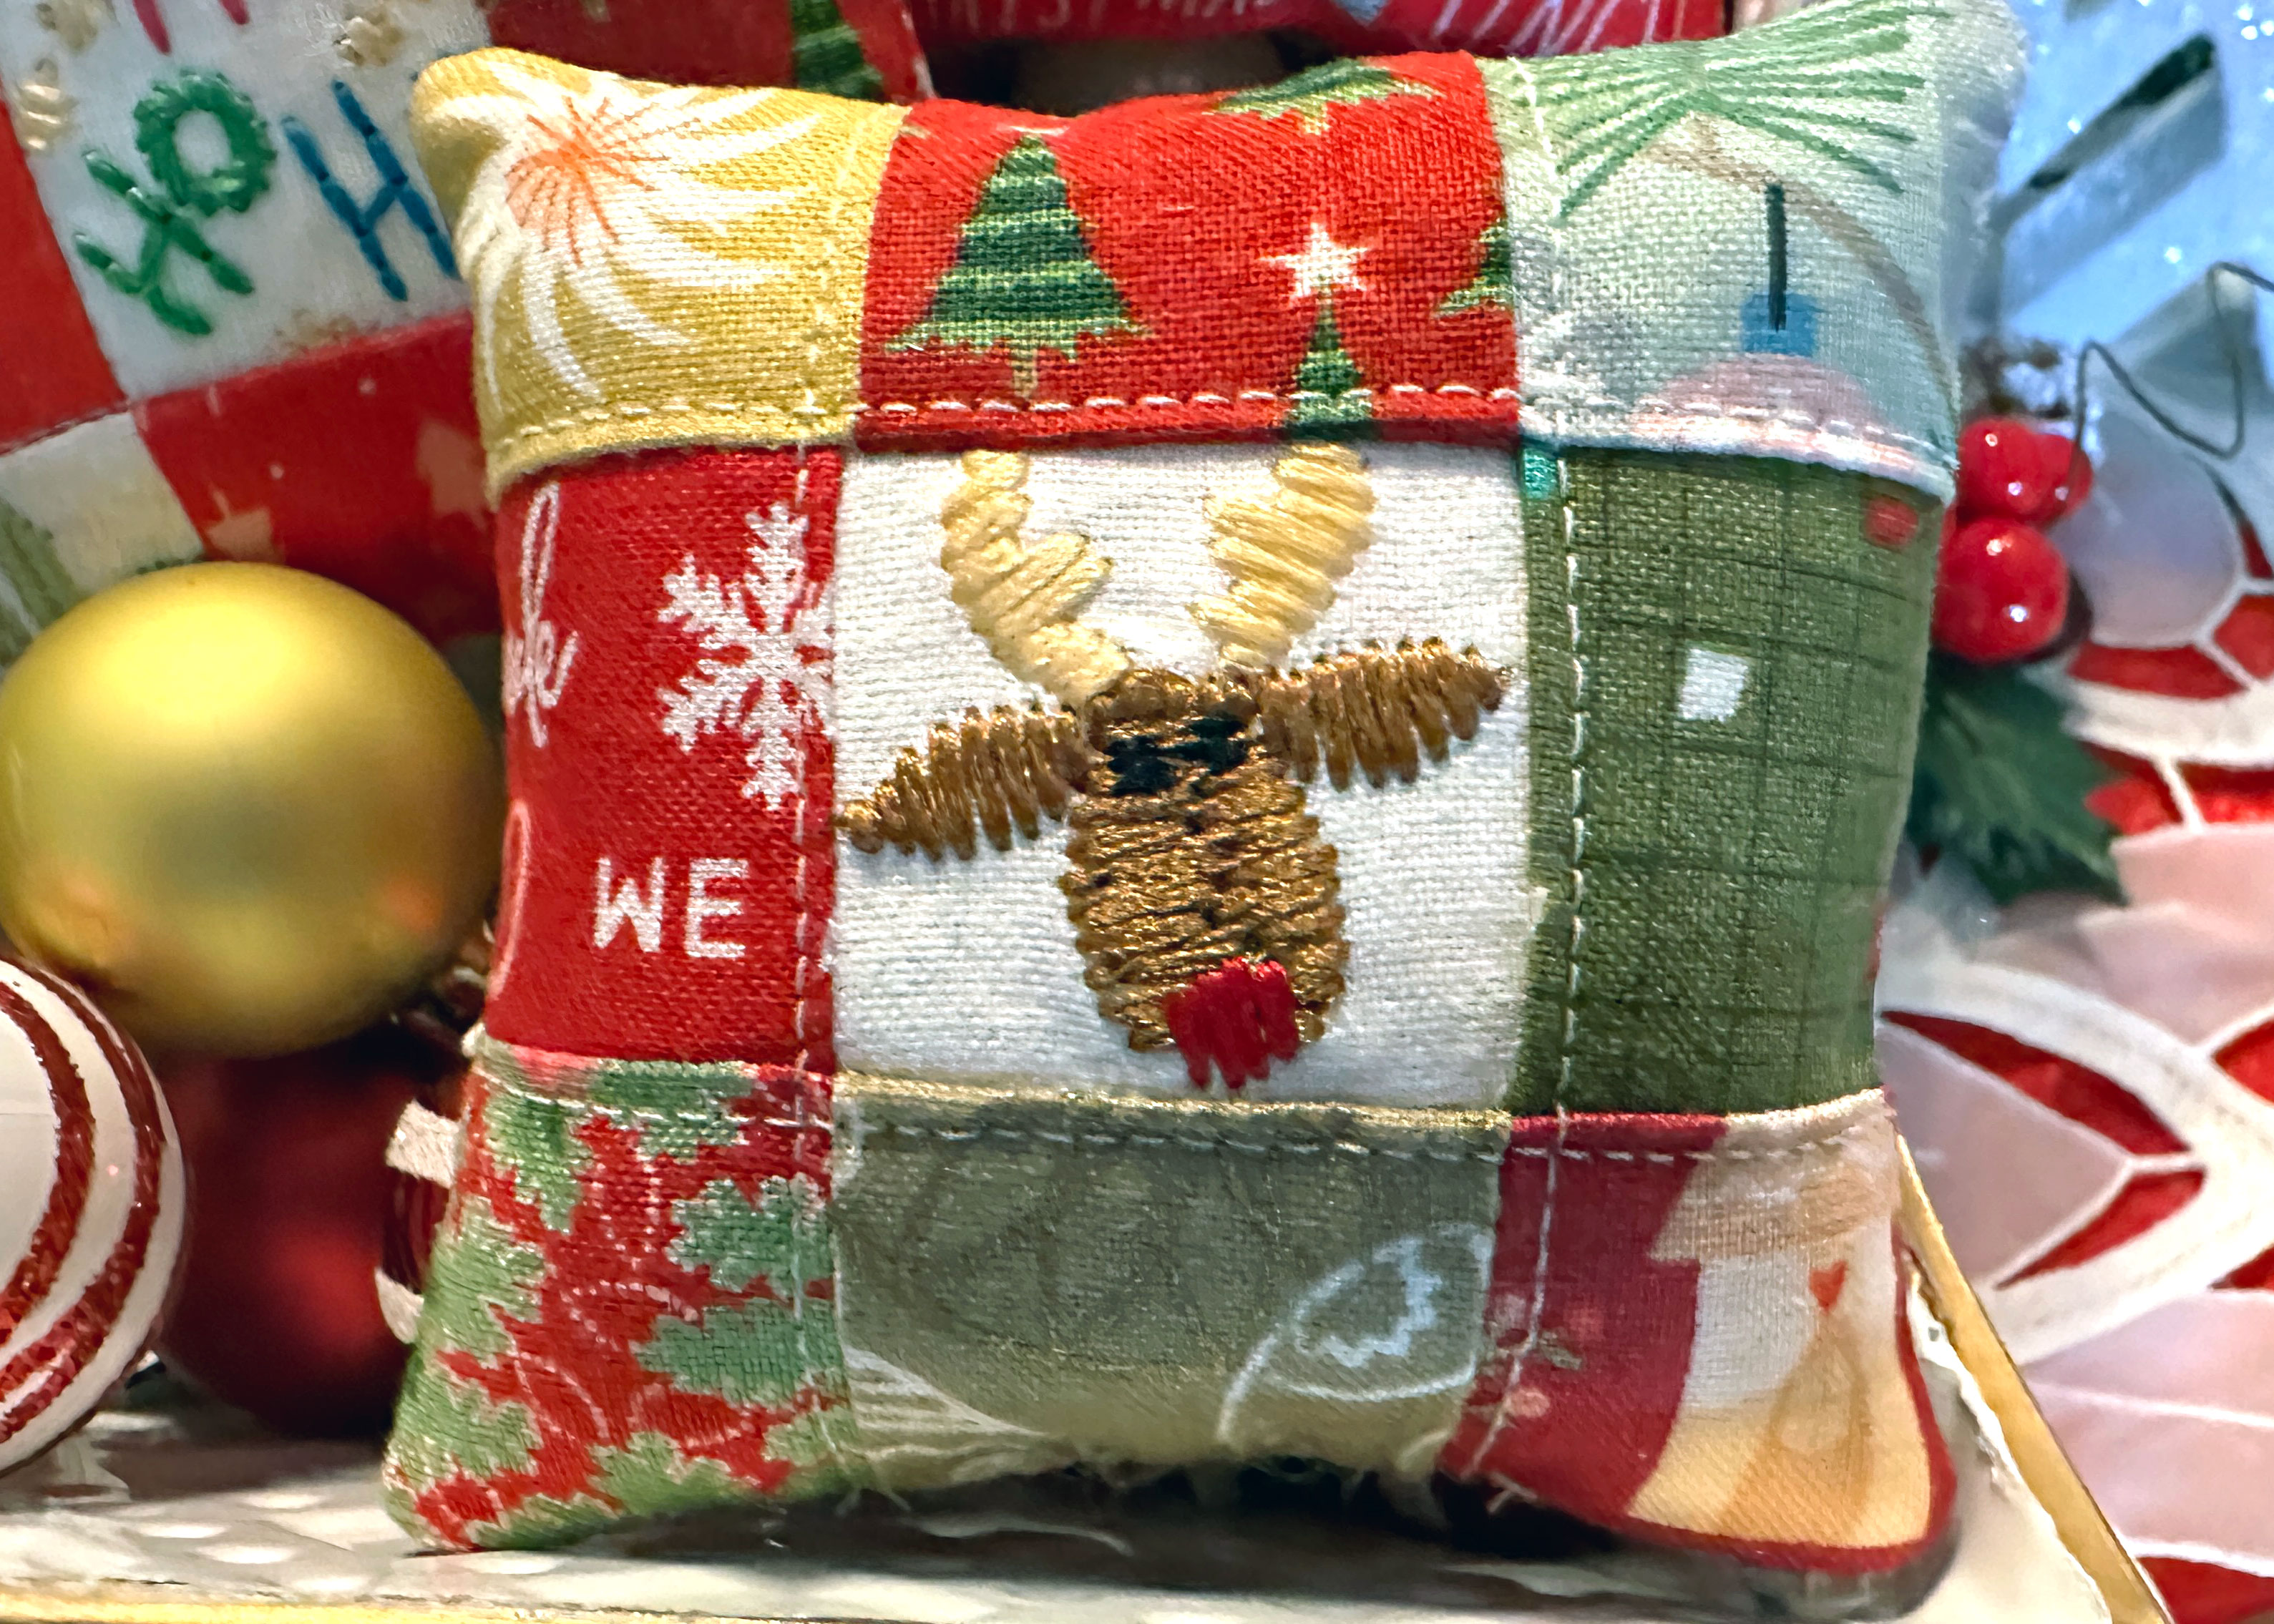
I embroidered Rudolph (from the Tiny Holiday collection from OESD) to use in the center of this mini pillow.
Rudolph has a special place in my heart. My father would drive my siblings and me around our small city on Christmas Eve so we could search for signs of Rudolph pulling Santa’s sleigh high in the night sky. We loudly belted out Christmas carols, including “Rudolph the Red-Nosed Reindeer“, while looking out the frosted car windows hoping to be the first to spot the famous red-nosed reindeer. We would shout excitedly when we spotted Rudolph’s nose blinking in the sky and beg our father to quickly drive home as Santa had surely stopped and left gifts for us. It wasn’t until I was an adult that I realized Rudolph’s nose was actually the red light on top of the city’s water tower! So of course my collection of mini bowl filler pillows had to include Rudolph.
Cut the fabric for the Rudolph Mini Bowl Filler Pillow
- (1) White fabric large enough to fit in the small embroidery hoop
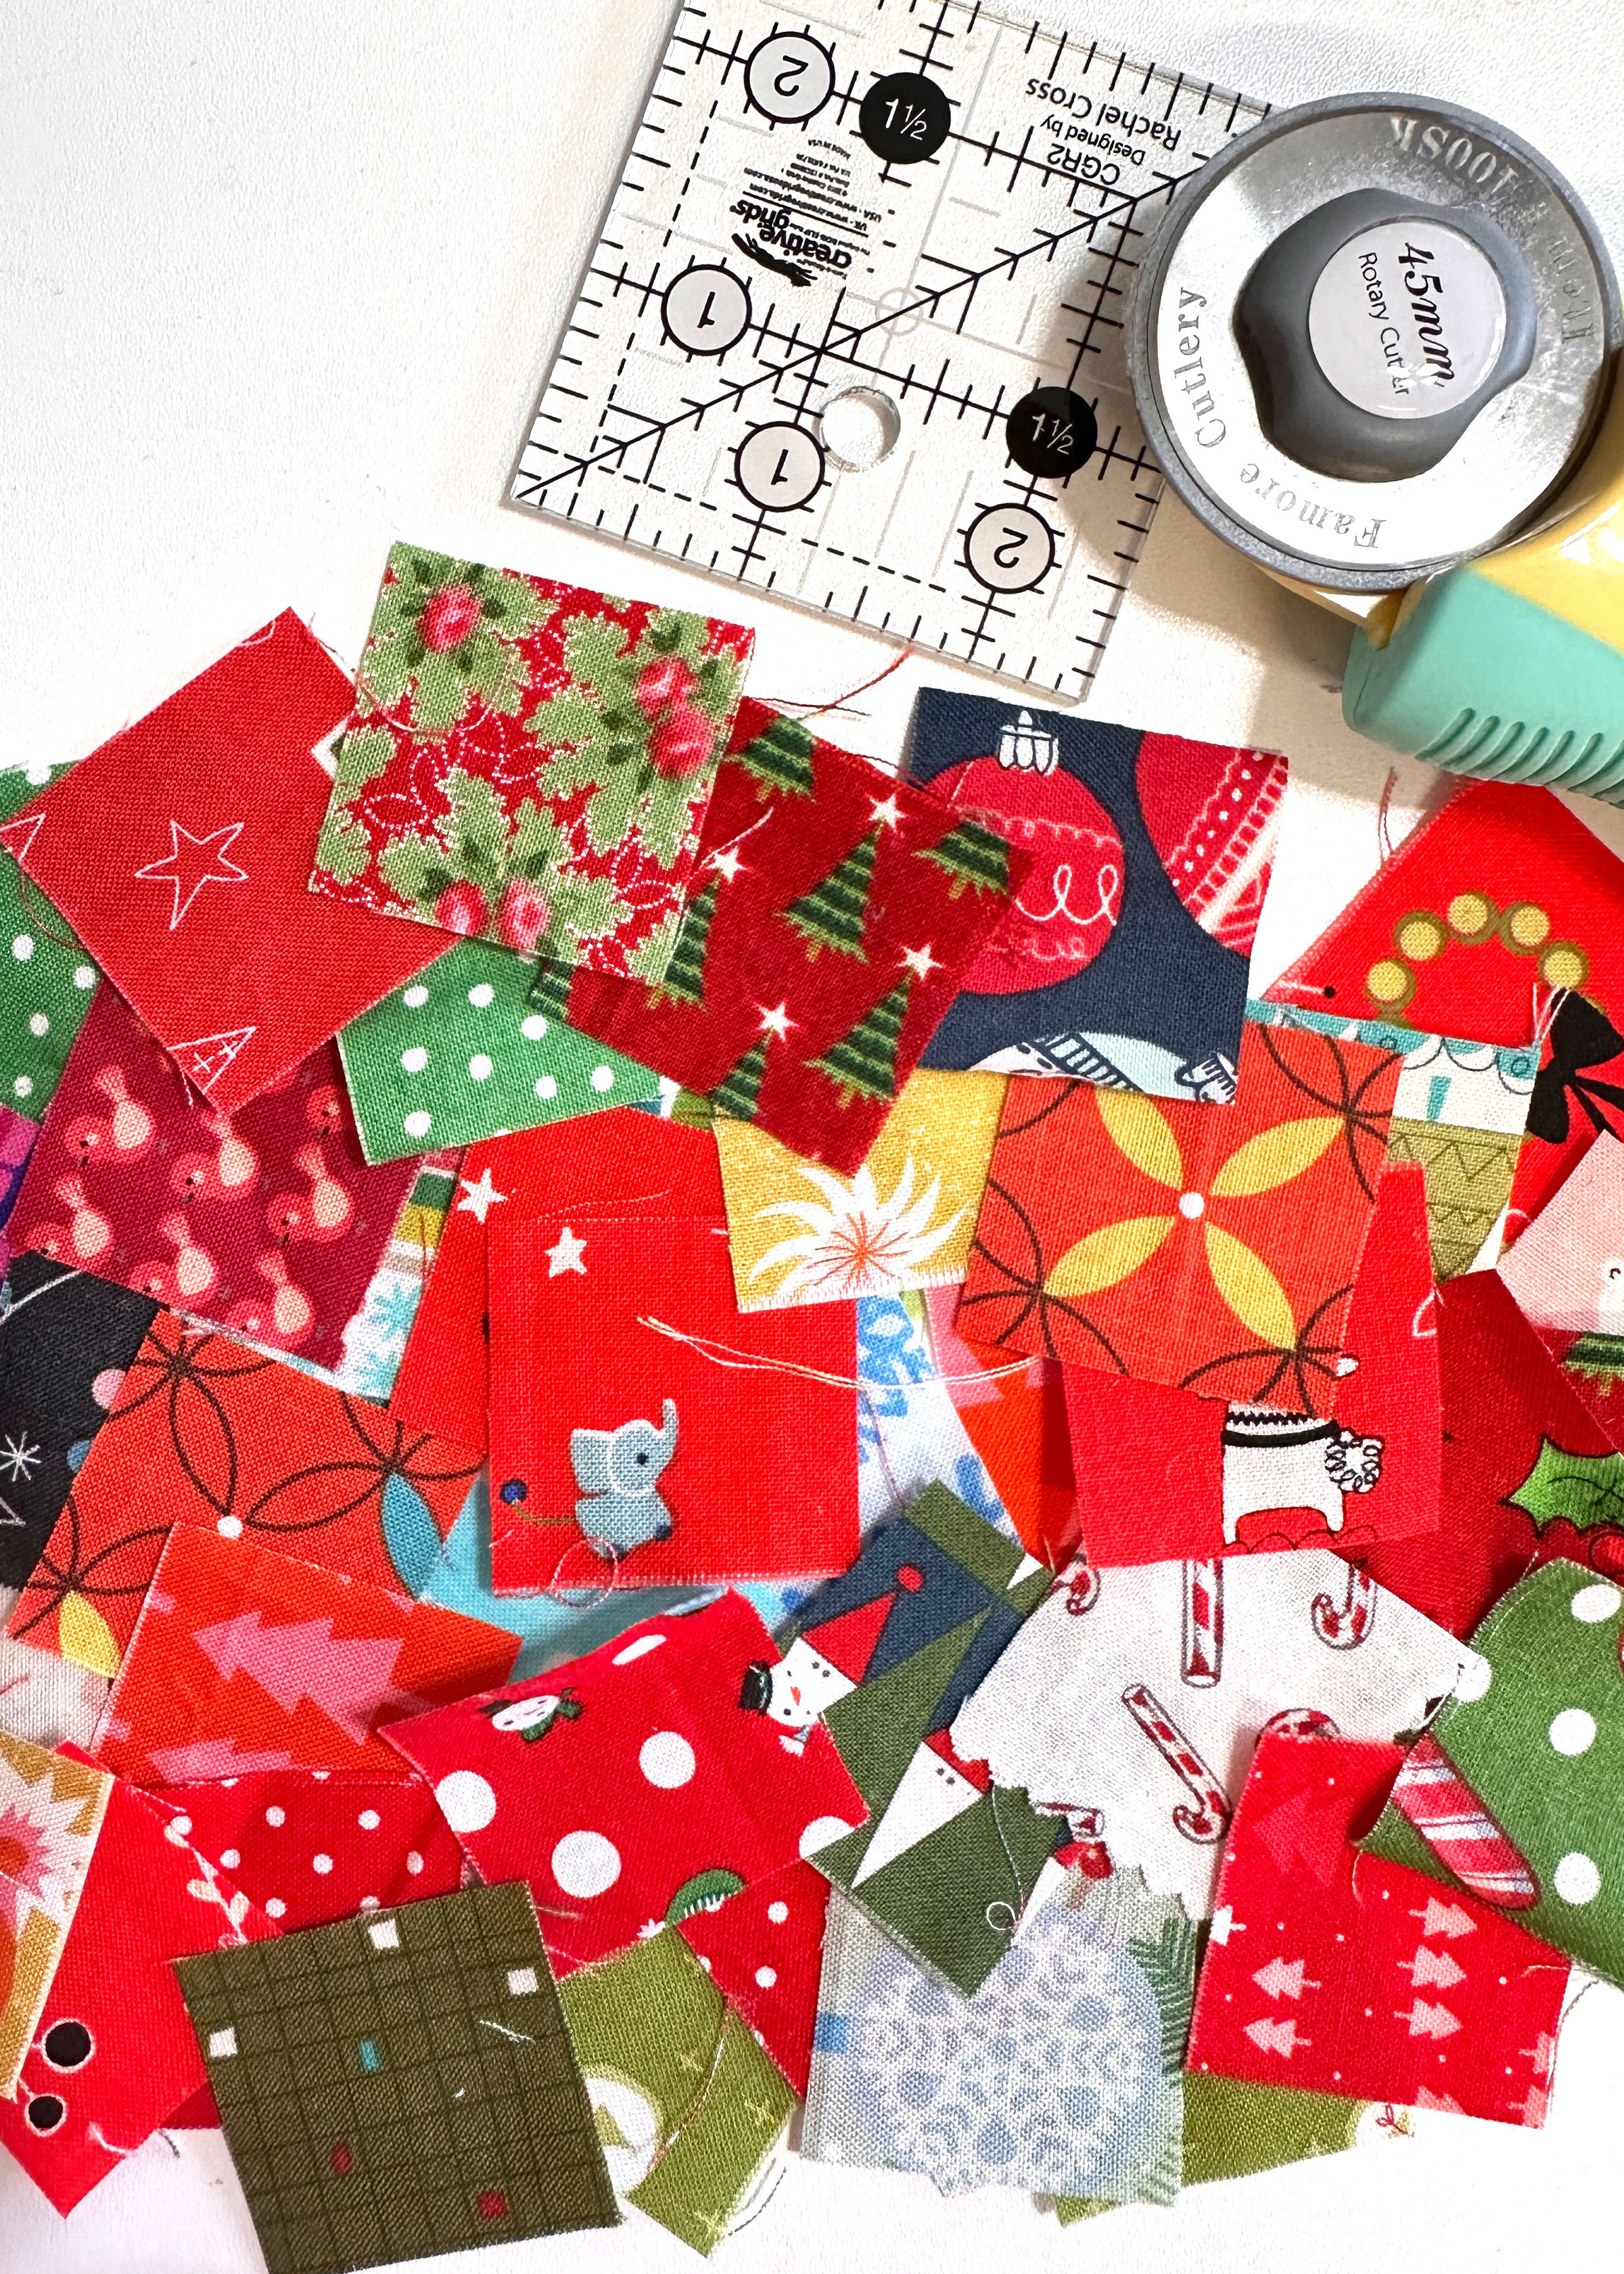
- (8) 1-1/2″ x 1-1/2″ squares of various holiday prints
- (1) Flannel 3-3/4″ x 3-3/4″
- (1) Back of pillow 3-1/2″ x 3-1/2″
Embroider and Sew the Rudolph Mini Bowl Filler Pillow
The size of the Rudolph design does not need to be adjusted as it will fit inside the 1-1/2″ x 1-1/2″ square.
Apply stabilizer to the back side of the white fabric using temporary spray adhesive, then hoop the fabric in the small hoop.
Verify the design is centered, and press the green “Go” button, changing the thread colors when prompted.
Once the design is done stitching, remove the hoop and the fabric, then carefully remove the stabilizer from around the design. Cut a 1-1/2″ x 1-1/2″ square with Rudolph in the center. Put the excess white fabric in your scrap box for another project.
Sew the Rudolph Mini Bowl Filler Pillow
Cut a variety of 1-1/2″ x 1-1/2″ squares using Christmas-themed fabrics.
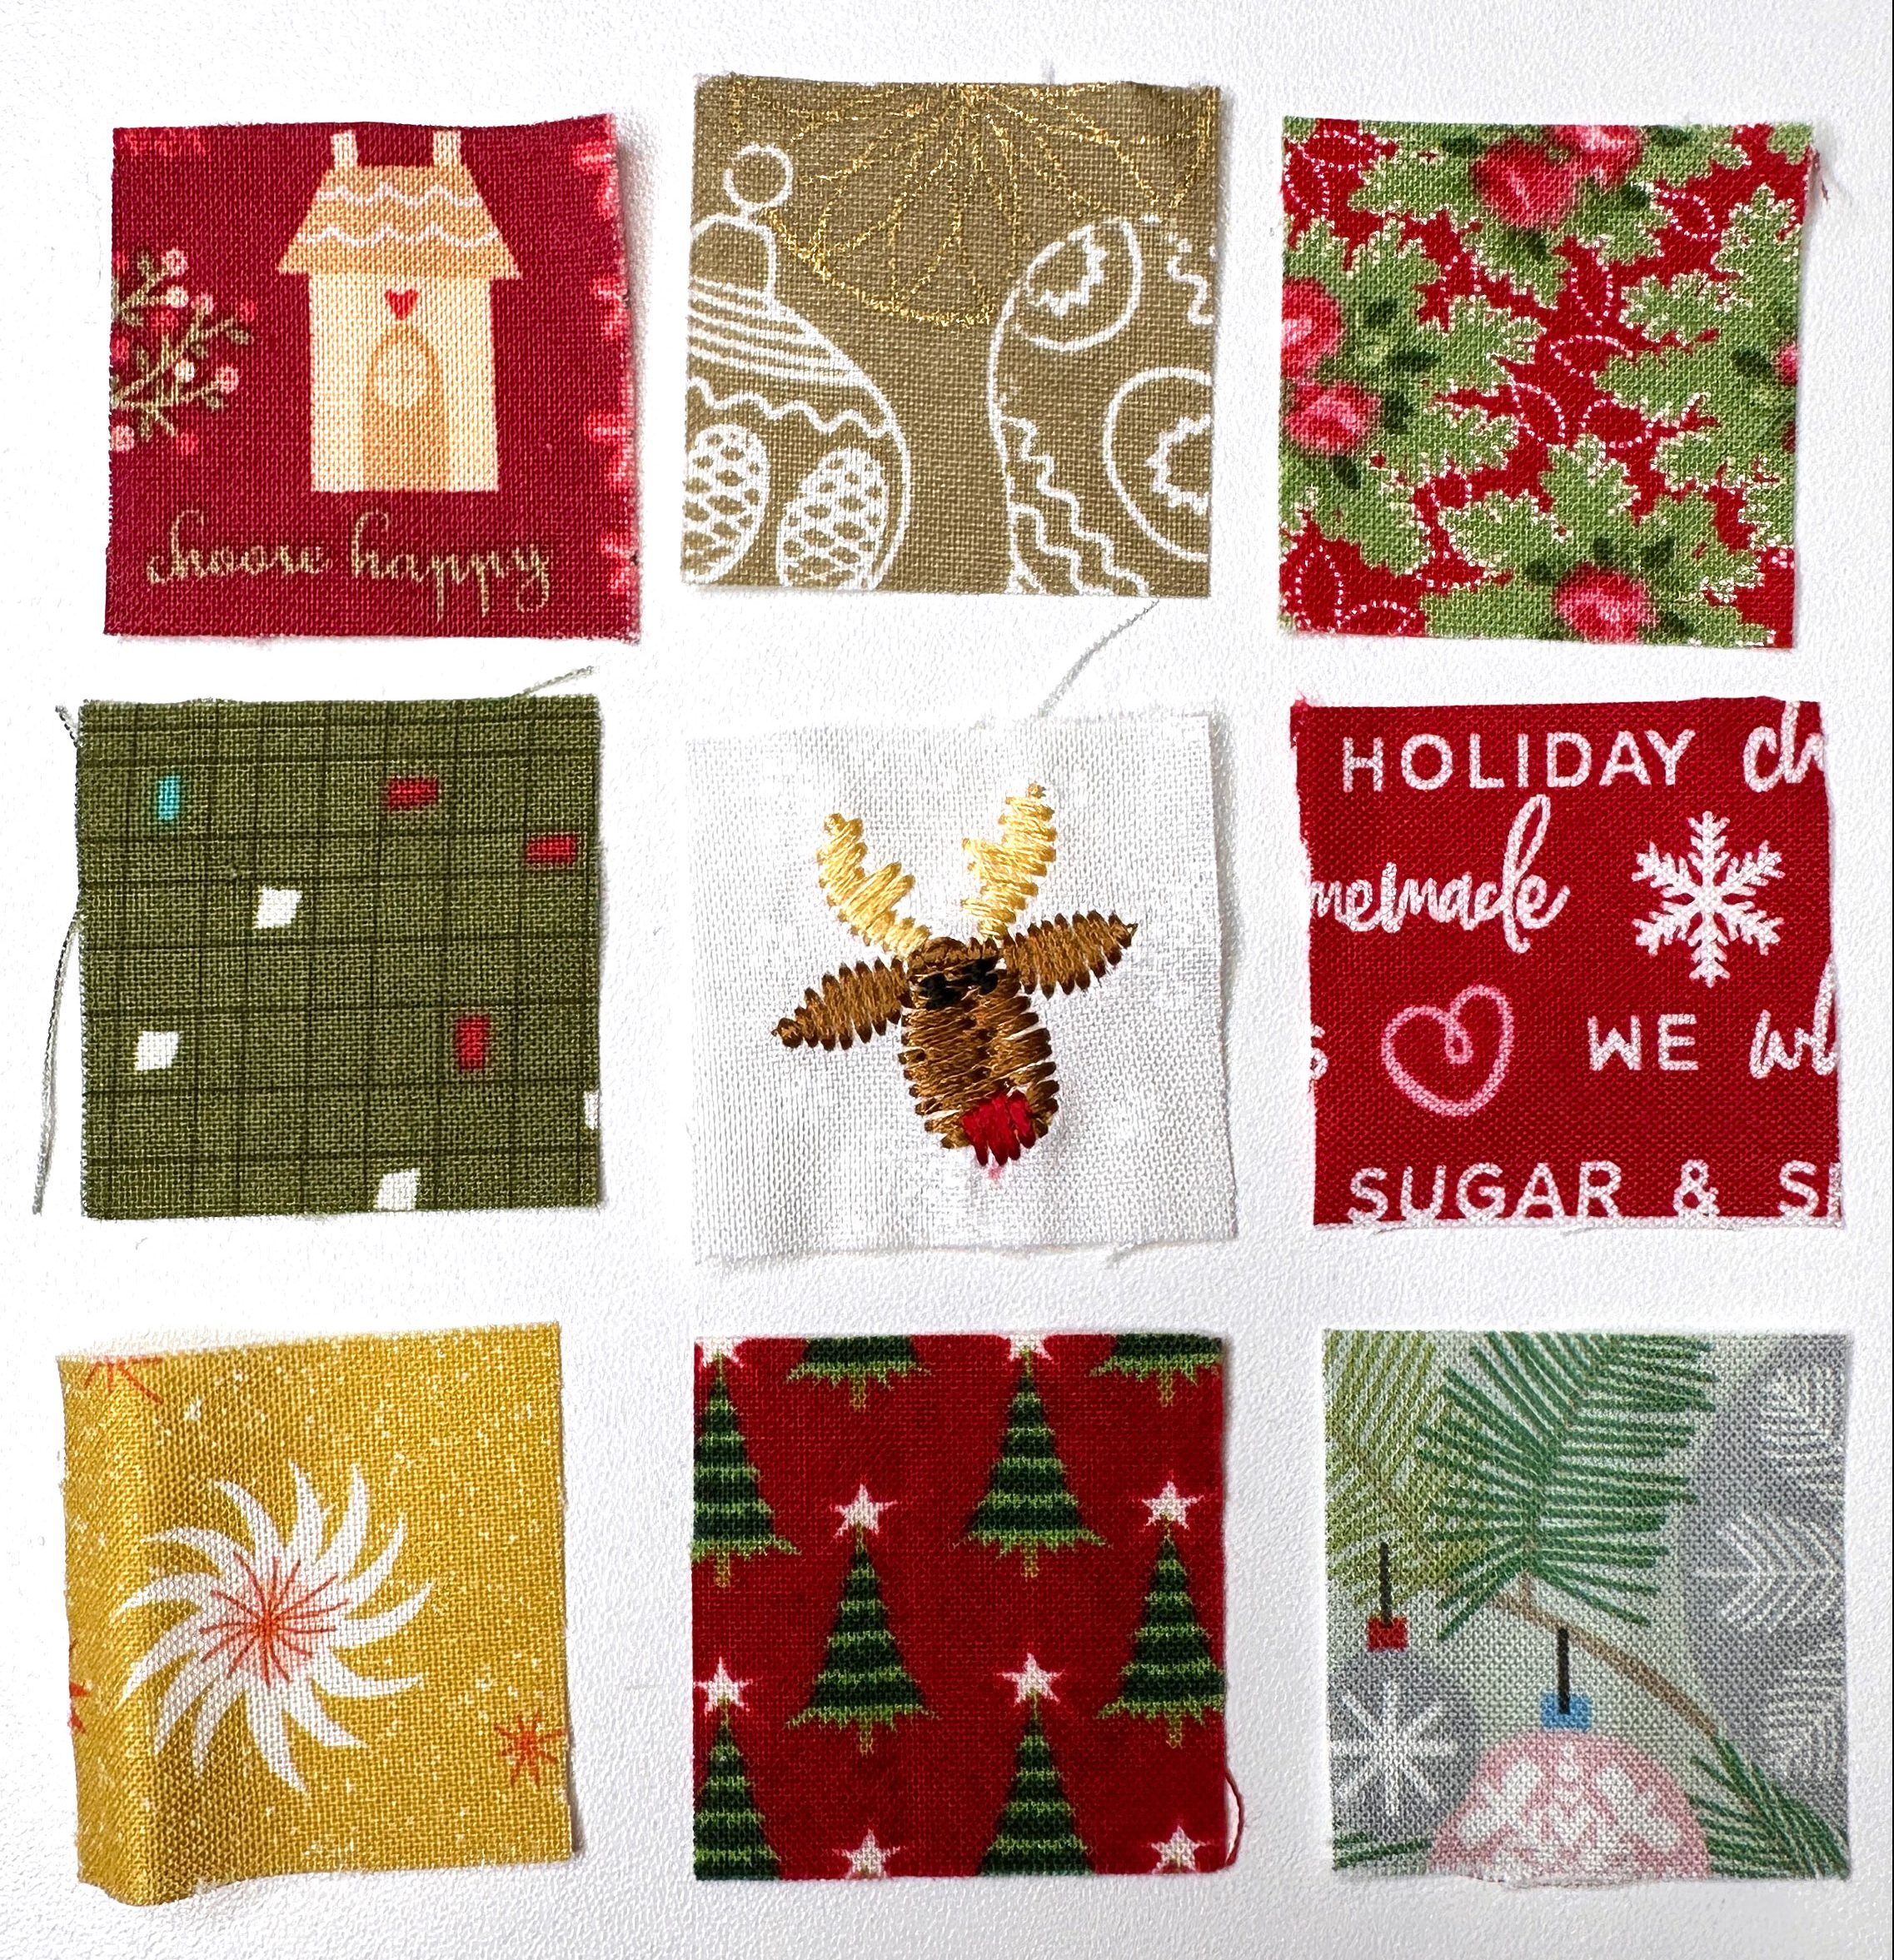
Arrange eight of the 1-1/2″ x 1-1/2″ pieces of fabric in a square grid, with the Rudolph square in the middle.
Sew the top row of squares together and press. Sew the middle row of squares together and press. Sew the bottom row of squares together and press.
Sew the rows together, matching the square points at each corner, and press.
Spray one side of the flannel with temporary adhesive and place the pillow top on the flannel with the right side facing up.
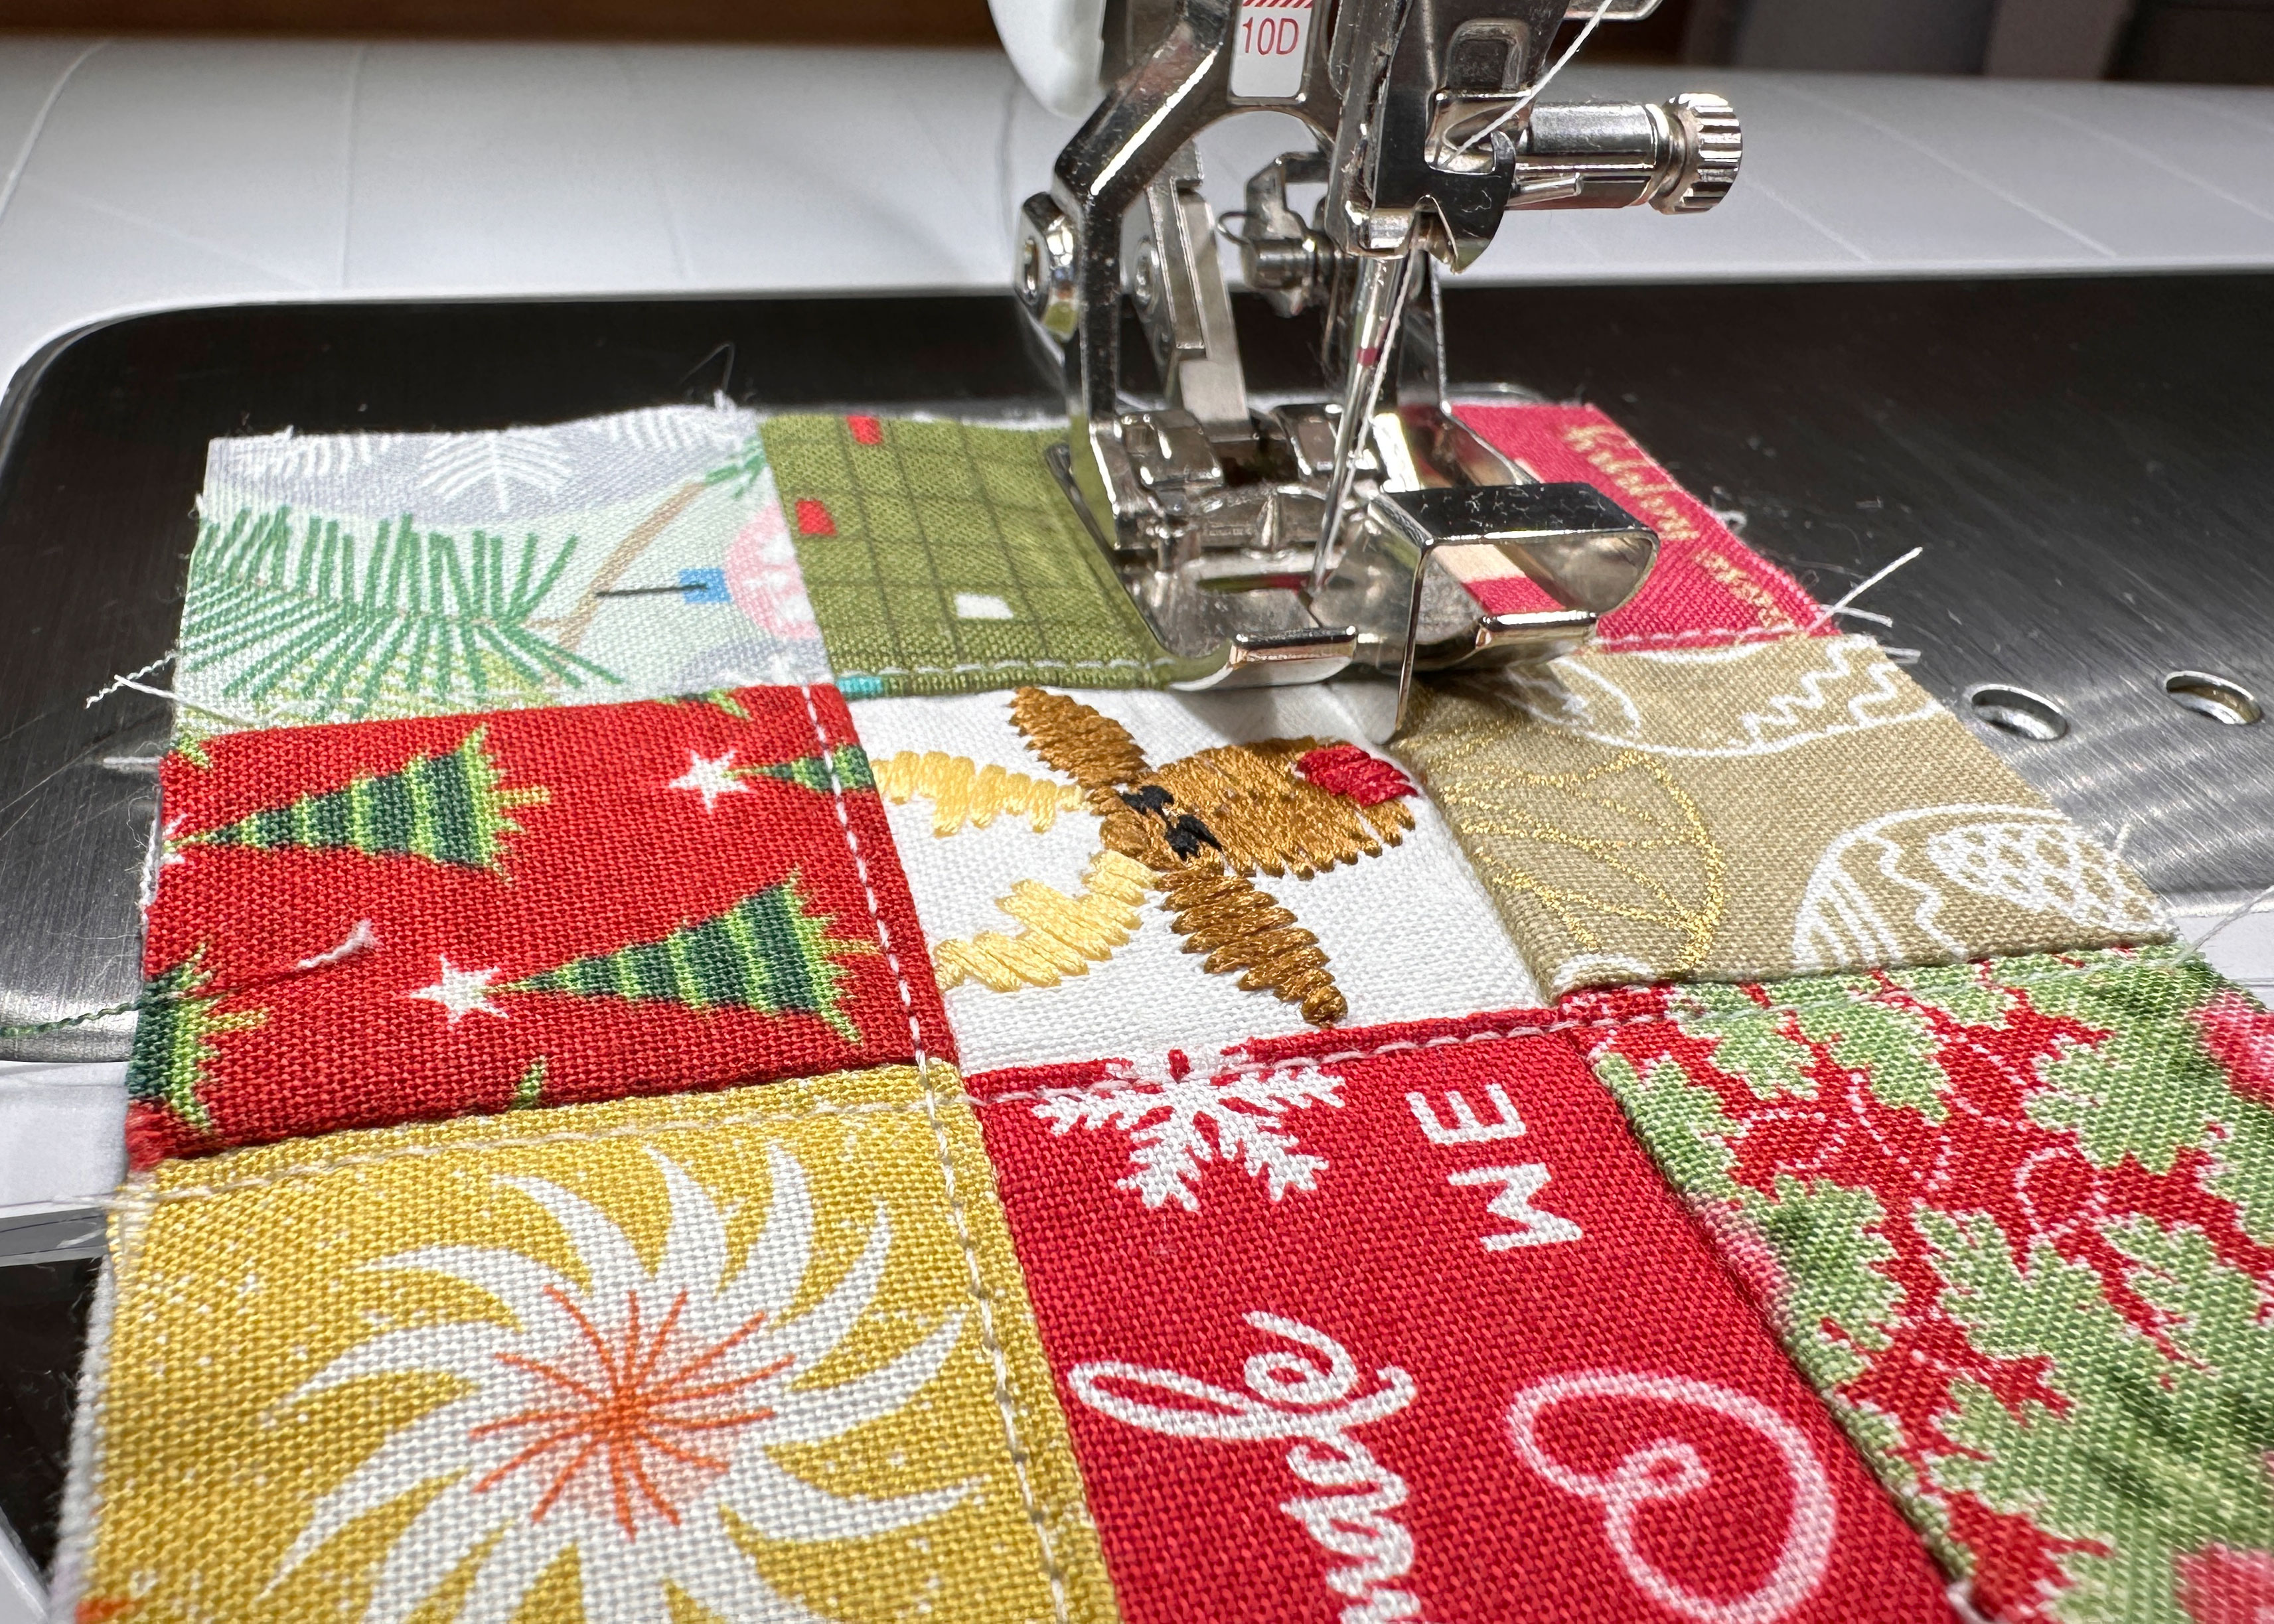
Stitch 1/8″ along each seam using the Edgestitch Foot #10D (one of my absolute favorite feet!)
Using a long machine stitch, baste a scant 1/4″ on the four outer edges. Trim the excess flannel from around all four edges.
Place the pillow top and back right sides together matching raw edges. Pin or clip, then sew around the four pillow edges leaving about a 1-1/2″ opening on the bottom edge for turning.
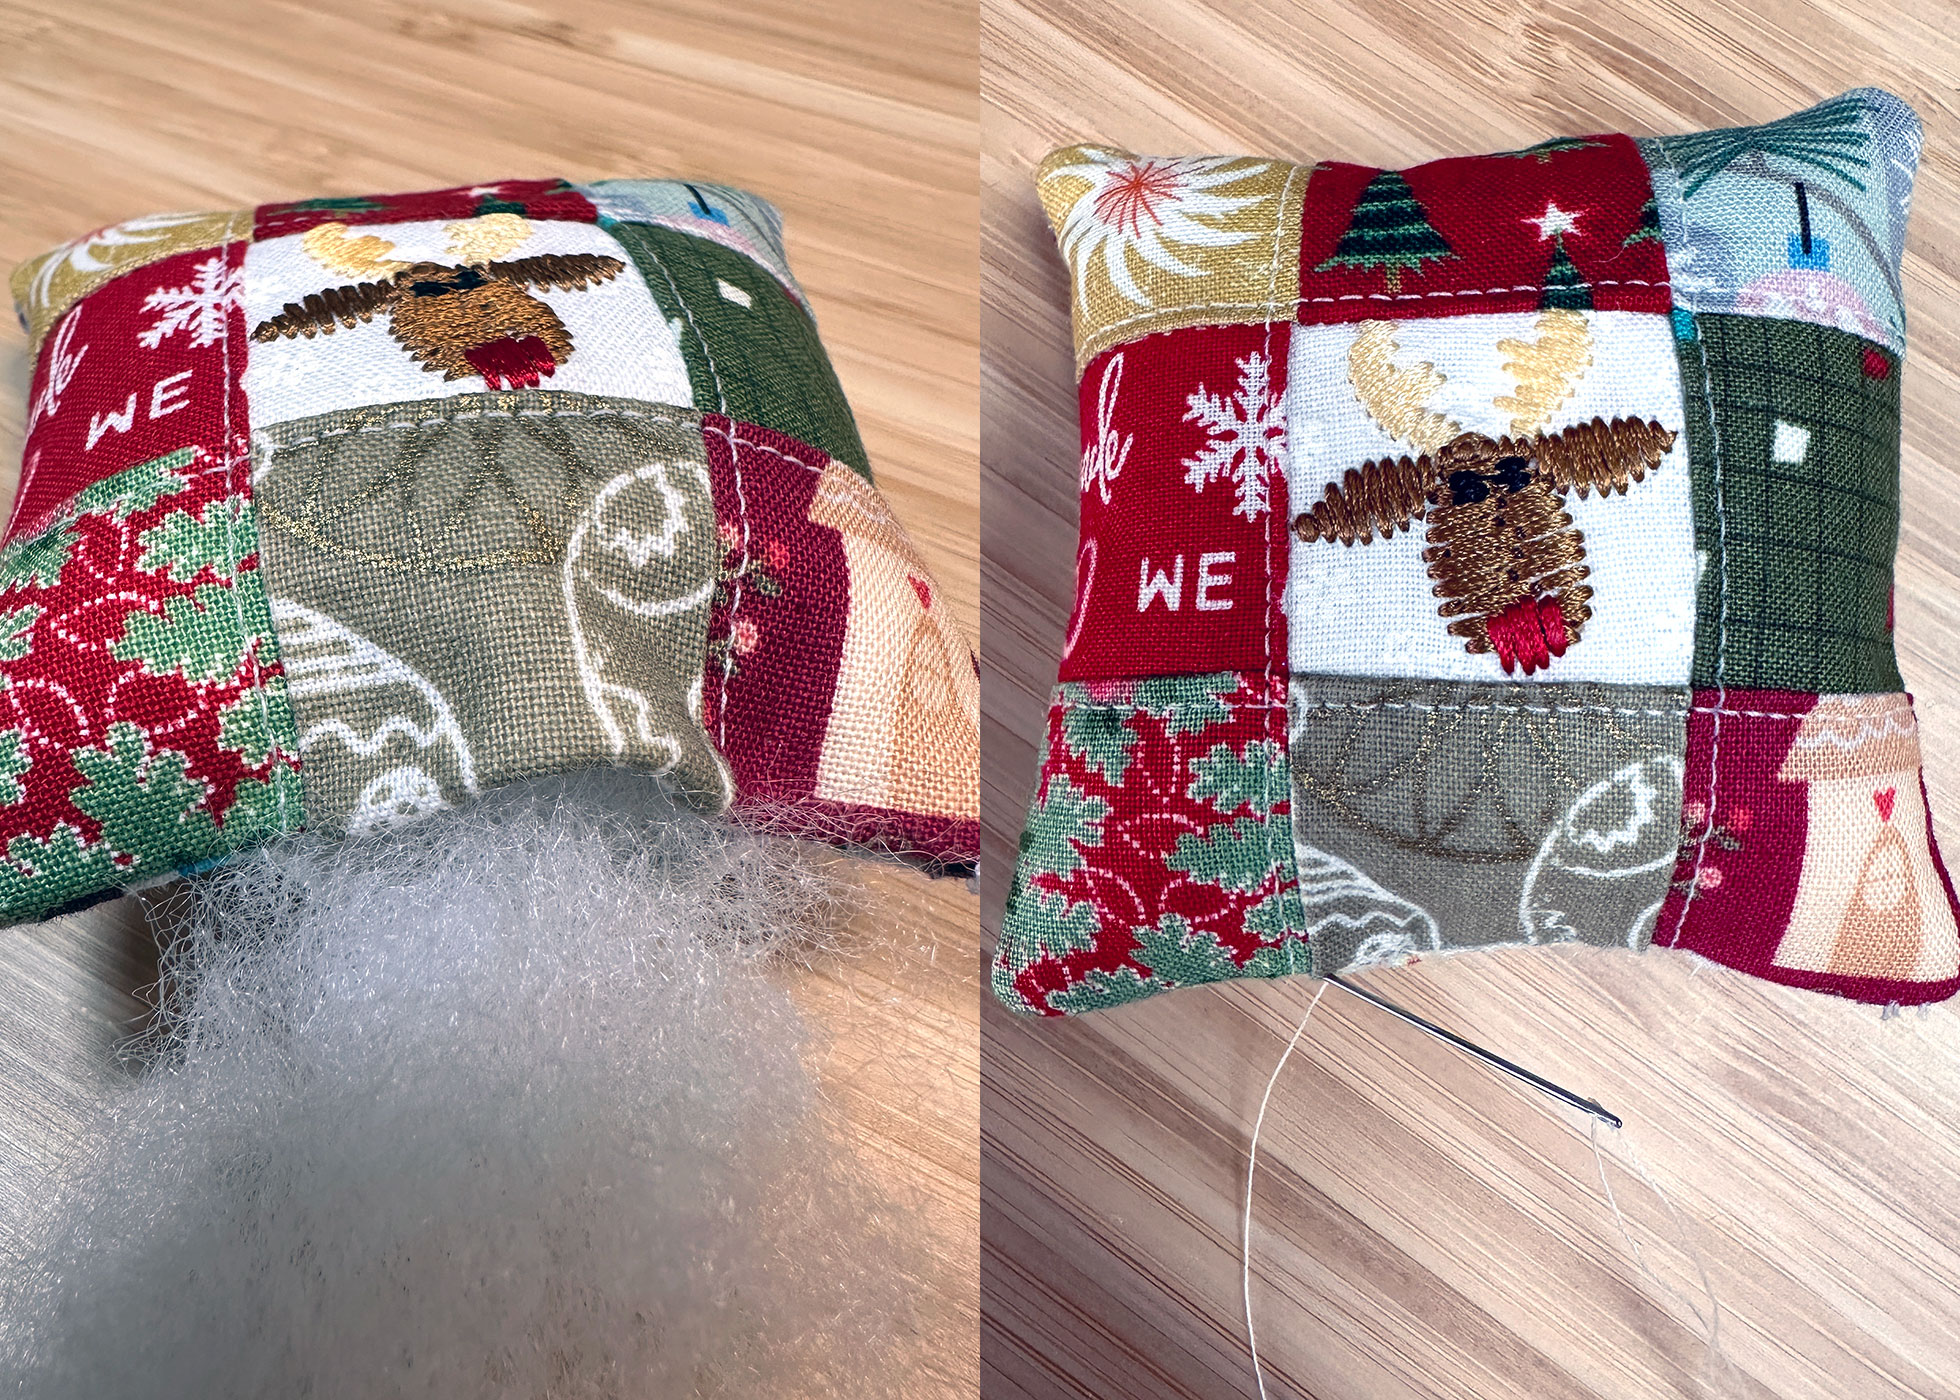
Turn right side out through the opening and carefully push out the corners using a point turner. Fold the opening edges to the inside by 1/4″ and press.
Fill with fiberfill stuffing, then hand stitch the opening closed.
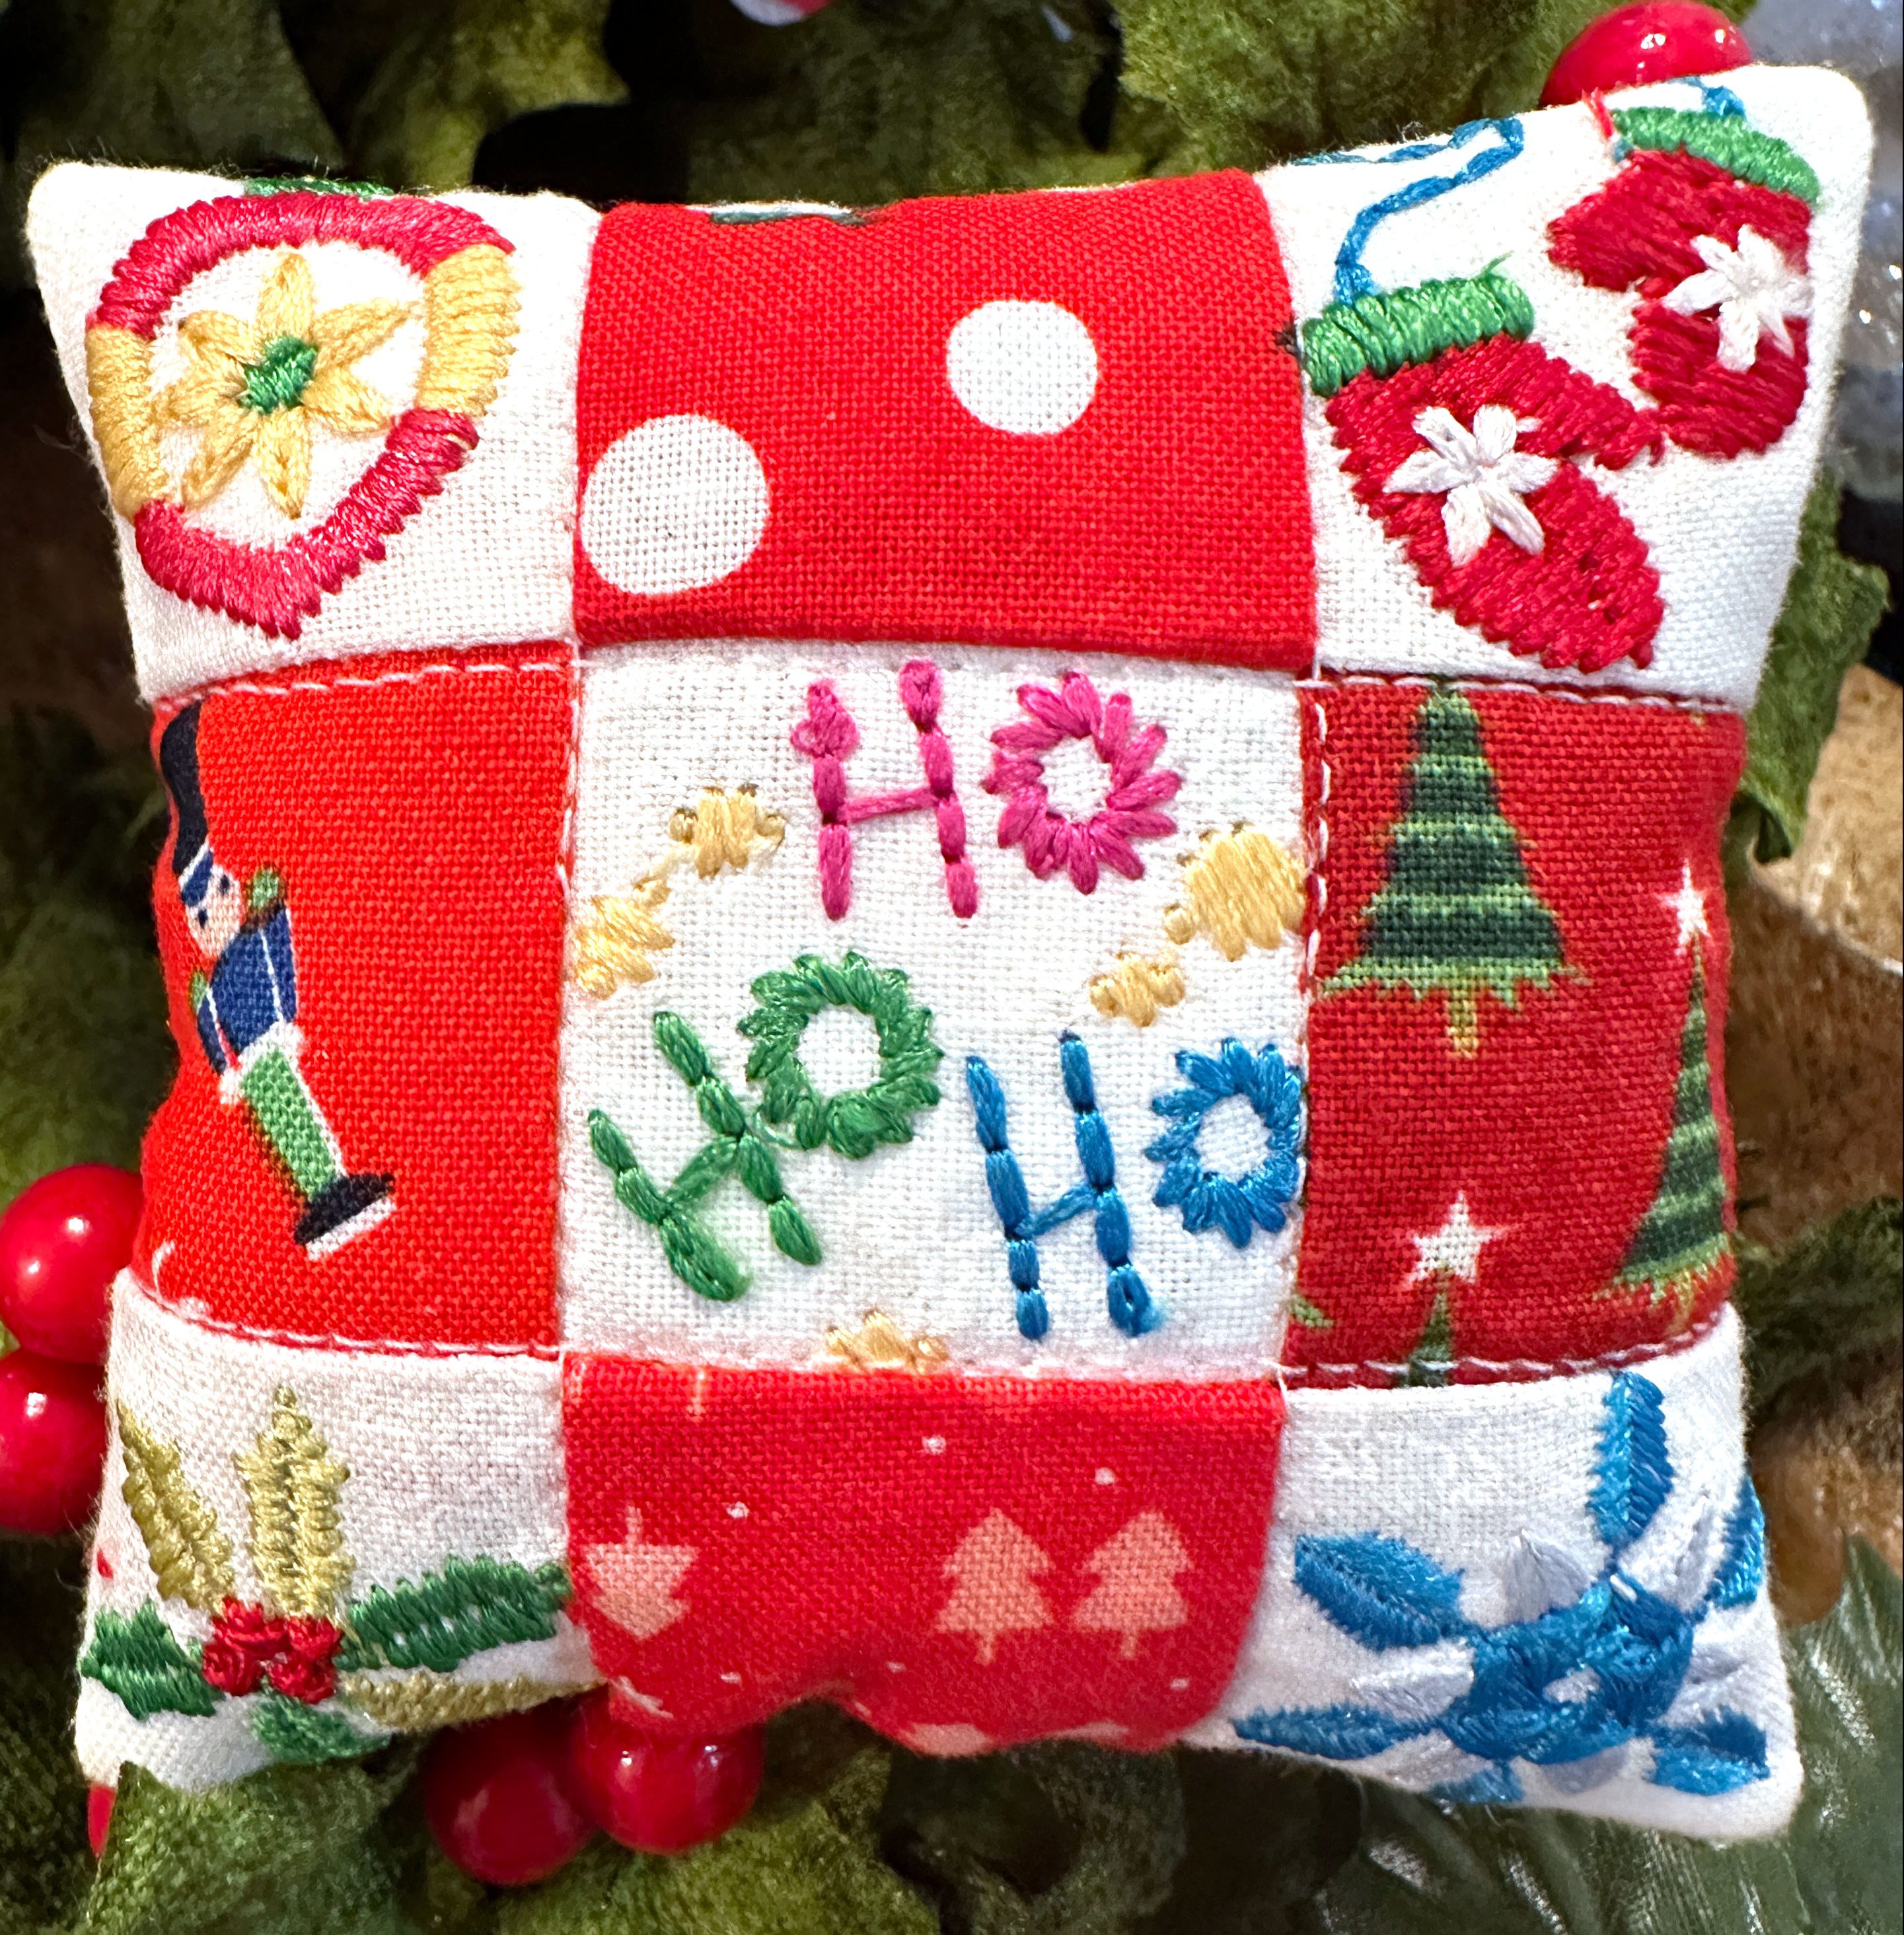
Five Holiday Designs Mini Bowl Filler Pillow
I embroidered five designs for this mini bowl filler pillow, however, you can use five different designs (like mine), five identical ones, or even embroider nine mini designs and eliminate the holiday-themed fabric.
Cut the fabric for the Five Holiday Designs Mini Bowl Filler Pillow
- (5) White fabric large enough to fit in the small embroidery hoop
- (4) 1-1/2″ x 1-1/2″ squares of various holiday prints
- (1) Flannel 3-3/4″ x 3-3/4″
- (1) Back of pillow 3-1/2″ x 3-1/2″
Embroider the Five Holiday Designs
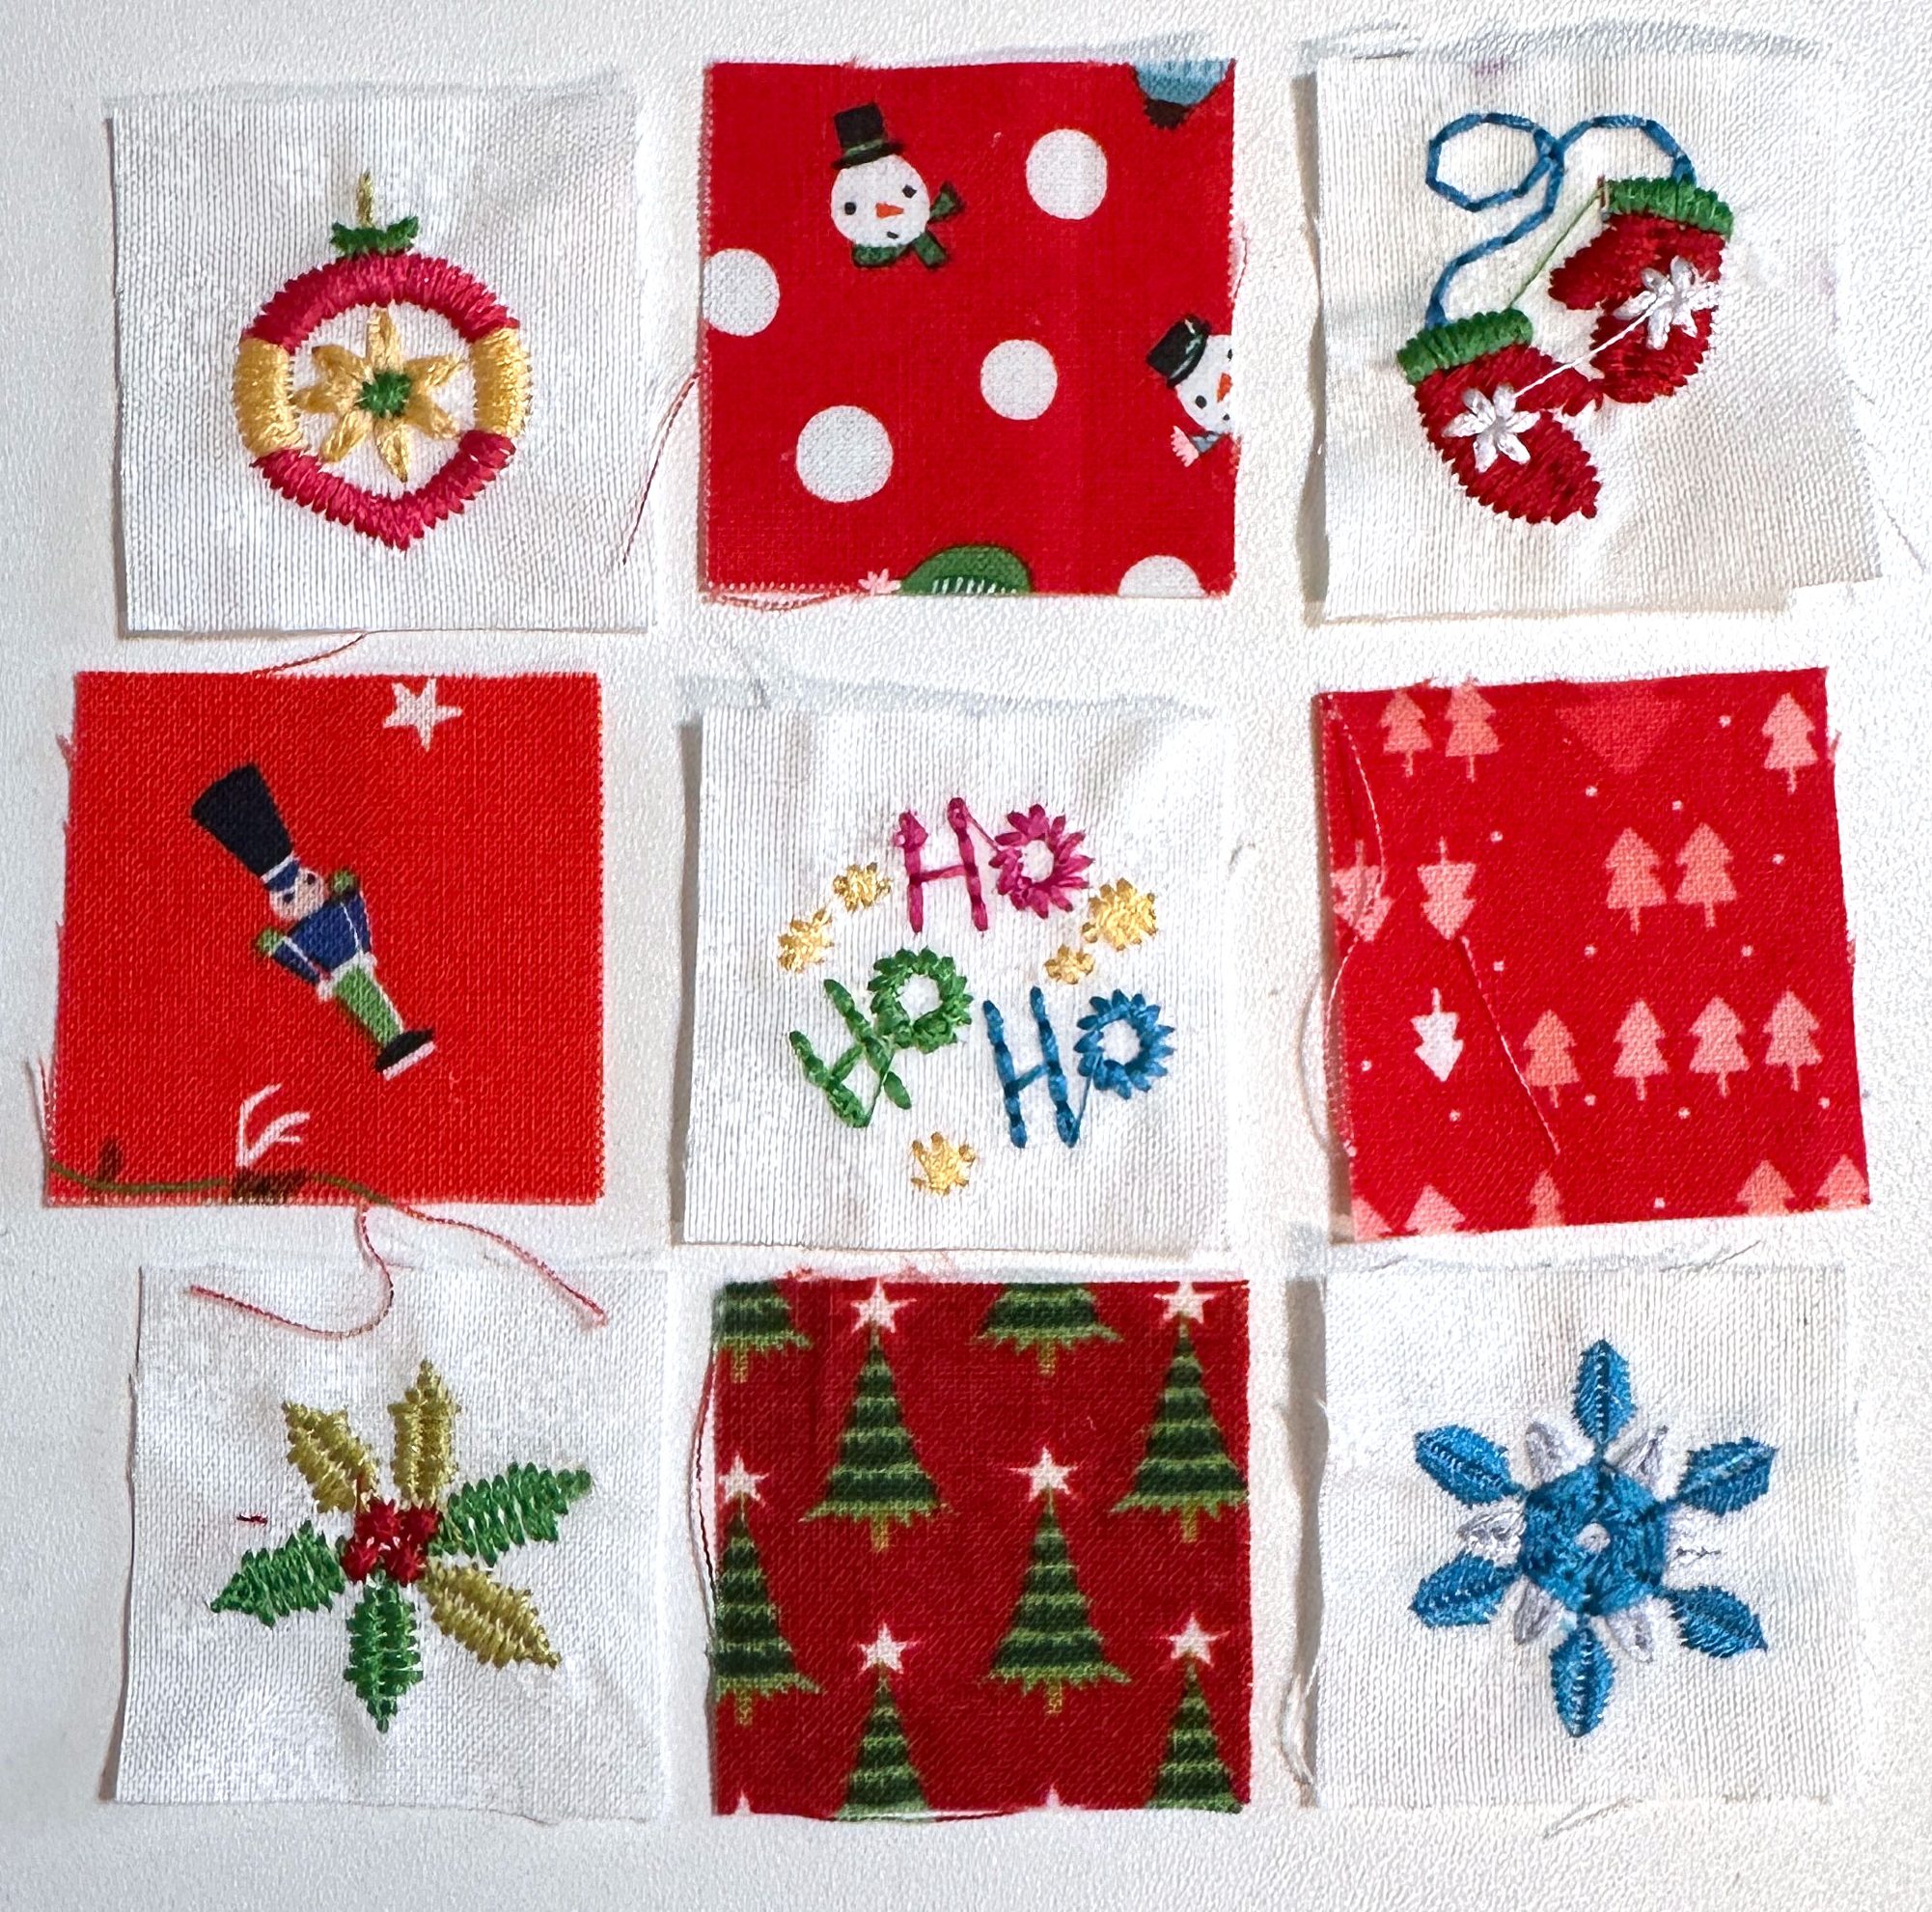
The five designs for this pillow – Ornament, Mittens, Ho Ho Ho, Snowflake, and Poinsettia are from the Tiny Holiday collection from OESD.
For this mini pillow some of the embroidered designs need to have the size and density decreased so they fit in the 1-1/2″ x 1-1/2″ square.
To resize a design, with the design open select the “i” icon, select the change motif size icon, and use the multifunction knob to decrease the size.
To change the stitch density, open the design, select the “i” icon, select the embroidery stitch density/type icon, and use the stitch length knob to lower the density. Touch the green check box to confirm.
- Ornament – decrease the size to 77% and the density to 85%
- Mittens – decrease the size to 75% and density to 85%
- Ho Ho Ho – no change; embroider as designed
- Poinsettia – decrease the size to 85% and the density to 85%.
- Snowflake – no change; embroider as designed
Apply stabilizer to the back side of the white fabric using temporary spray adhesive, then hoop the fabric.
Verify the design is centered, press the green “Go” button and change the thread colors in the design when prompted.
Once the design is done stitching, remove the hoop and the fabric, then carefully remove the stabilizer from around the design. Cut five 1-1/2″ x 1-1/2″ squares with each design in the center. Put the excess white fabric in your scrap box for another project.
Sew the Five Holiday Designs Mini Bowl Filler Pillow
Arrange four of the 1-1/2″ x 1-1/2″ fabric pieces and the five embroidered squares in a square grid, with an embroidered square in the middle and on each corner.
Sew the top row of squares together and press. Sew the middle row of squares together and press. Sew the bottom row of squares together and press.
Sew the rows together, matching the square points at each corner, and press.
Spray one side of the flannel with temporary adhesive and place the pillow top on the flannel with the right side facing up.
Stitch along each seam using the Edgestitch Foot #10D.
Using a long machine stitch, baste a scant 1/4″ on the four outer edges. Trim the excess flannel from around all four edges.
Place the pillow top and back right sides together matching raw edges. Pin or clip, then sew around the pillow edges leaving about a 1-1/2″ opening on the bottom edge for turning.
Turn right side out through the opening and carefully push out the corners using a point turner. Fold the opening edges to the inside by 1/4″ and press.
Fill with fiberfill stuffing, then stitch the opening closed by hand.
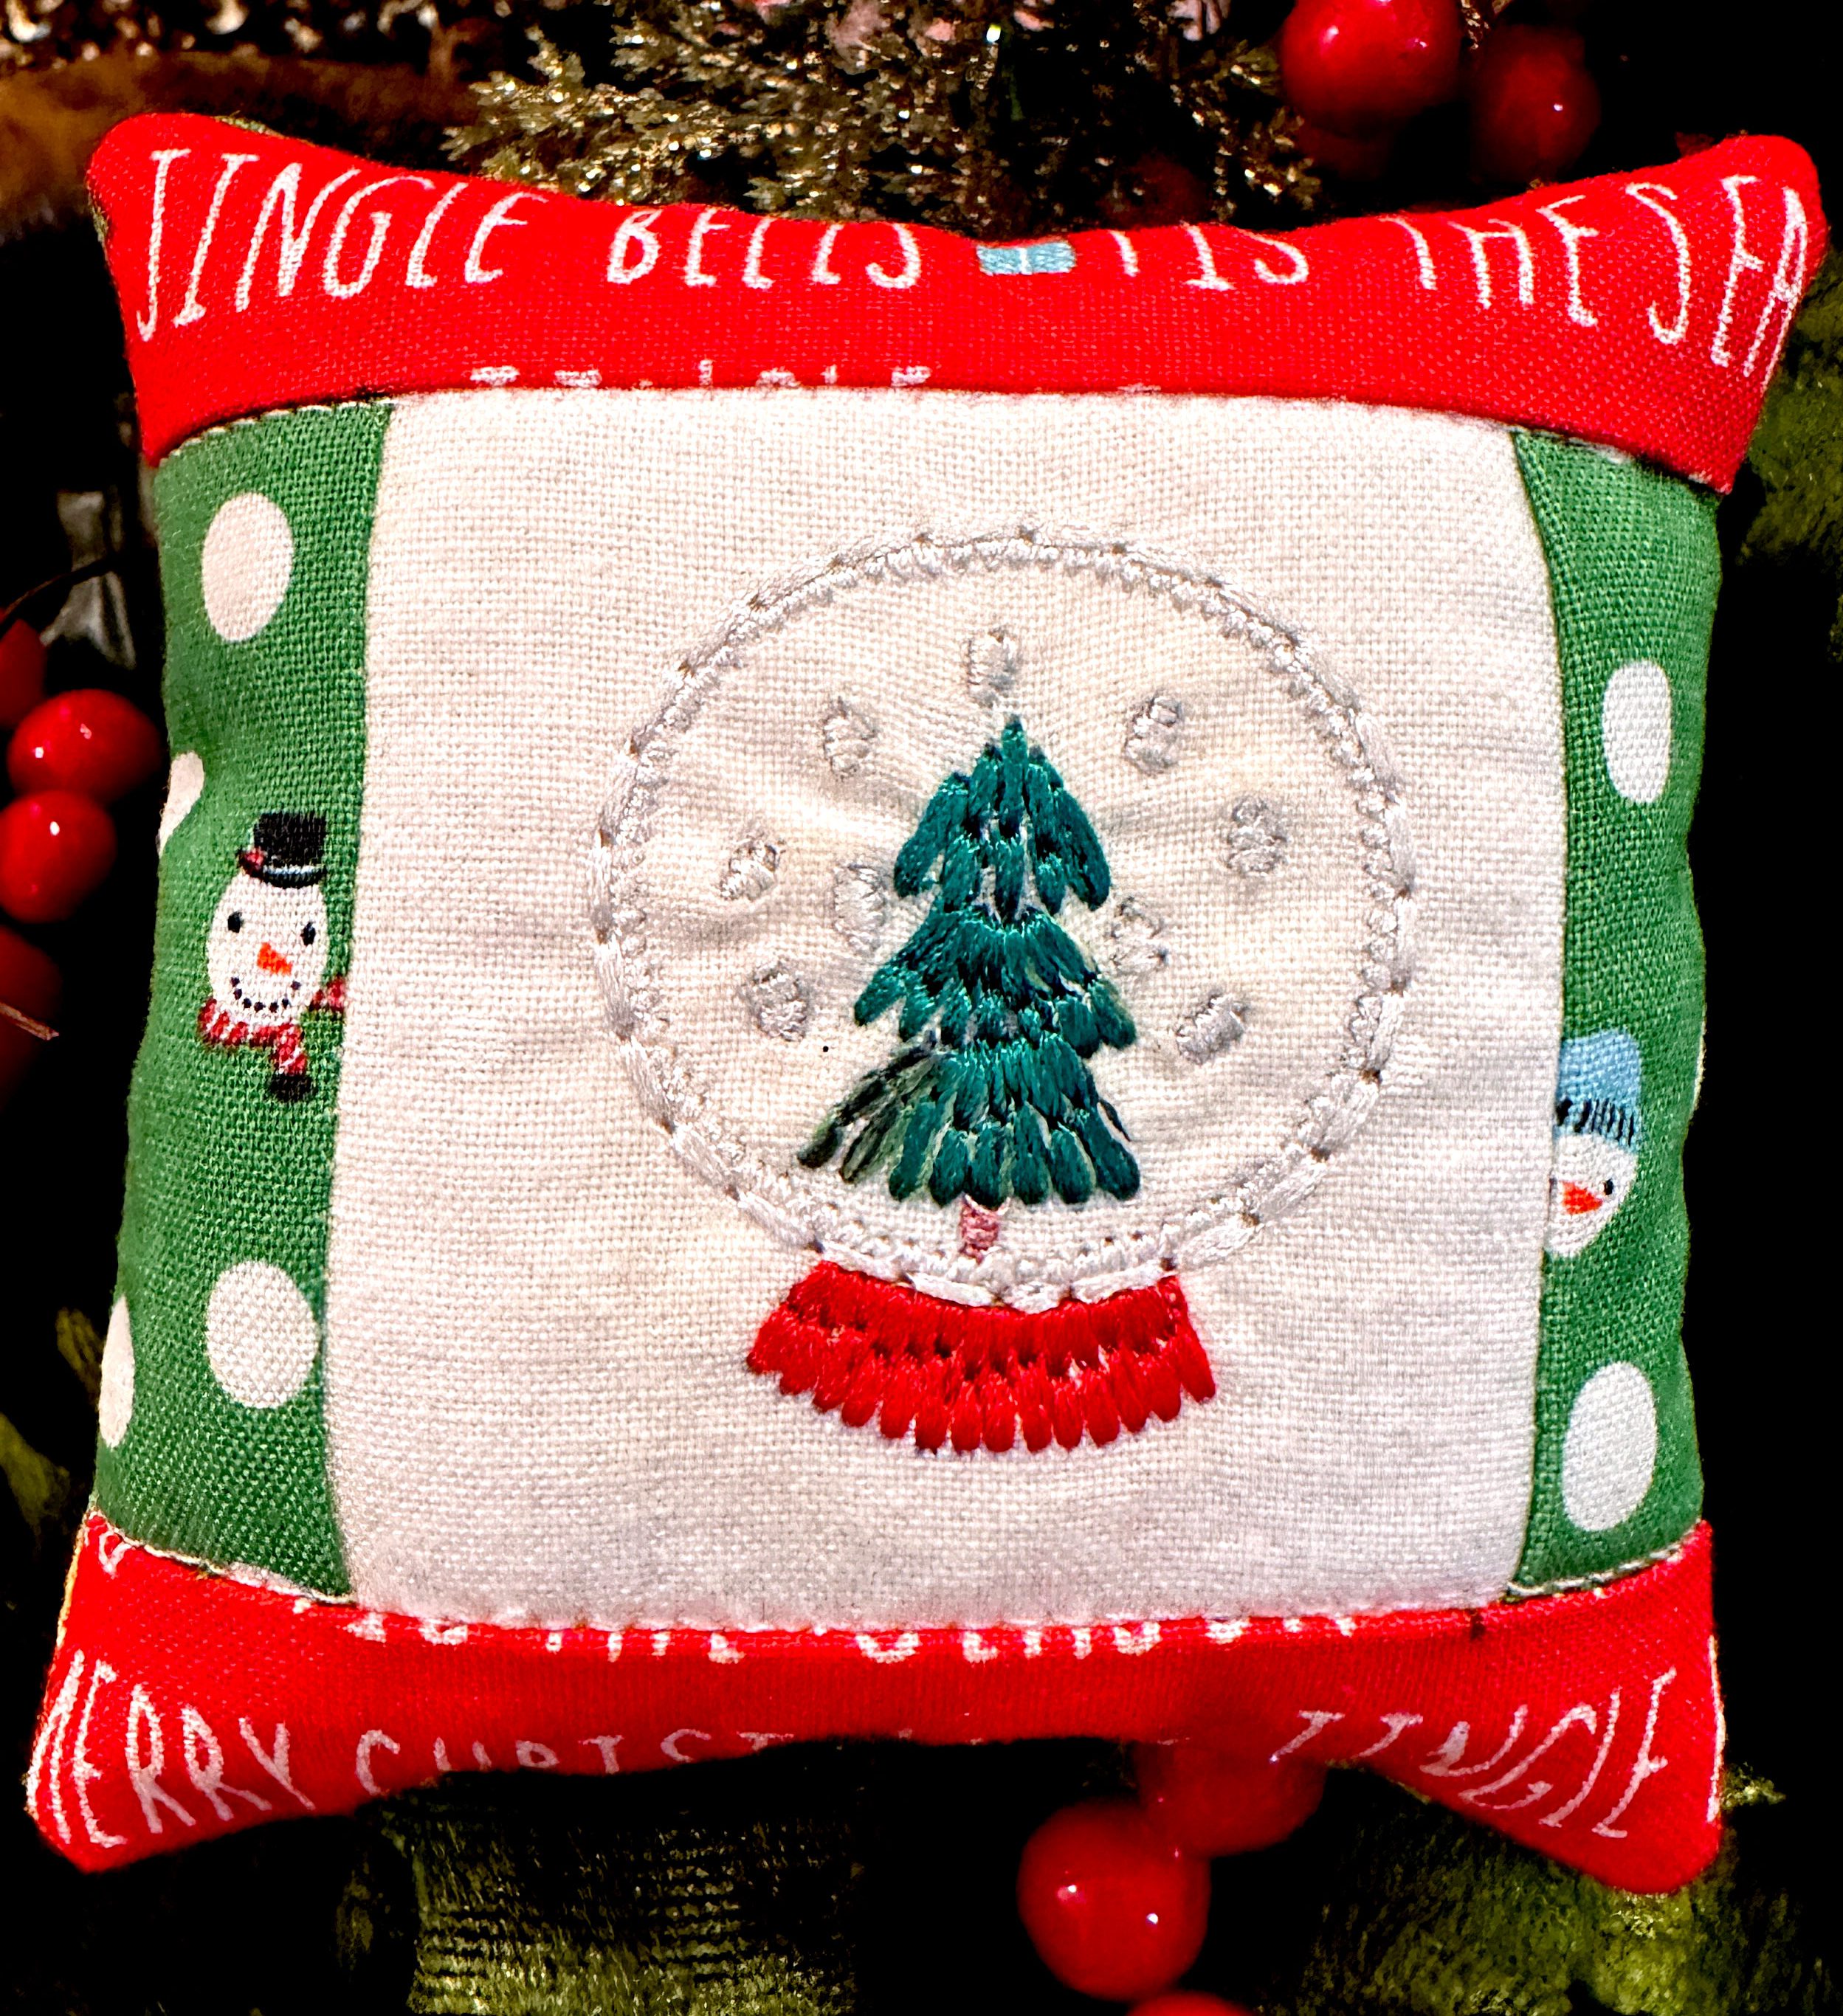
Snow Globe Mini Bowl Filler Pillow
Cut the fabric for the Snow Globe Mini Bowl Filler Pillow
- (1) White fabric large enough to fit in the small embroidery hoop
- (2) Green 1-1/4″ (w) x 2-1/2″ (h)
- (2) Red 4″ (w) x 1-1/4″ (h)
- (1) Flannel 4-1/4″ x 4-1/4″
- (1) Back of pillow 4″ x 4″
Embroider the Snow Globe
The Snow Globe is from the Tiny Holiday collection from OESD.
Apply stabilizer to the back side of the white fabric using temporary spray adhesive, then hoop the fabric.
Verify the design is centered, and press the green “Go” button. When prompted, change the thread colors for the design.
Once the design is done stitching, remove the hoop, remove the fabric, and carefully remove the stabilizer from around the design.
Cut the white fabric to 2-1/2″ x 2-1/2″ with the snow globe in the center. Put the excess white fabric in your scrap box for another project.
Sew the Snow Globe Mini Bowl Filler Pillow
Sew one green fabric to the left side of the snow globe square and sew the other piece of green fabric to the right side of the snow globe square. Press the seams towards the green fabric.
Sew the red fabric to the top of the snow globe unit, and sew the other piece of red fabric to the bottom of the snow globe unit. Press the seams towards the red fabric.
Spray one side of the flannel with temporary adhesive and place the pillow top on the flannel with the right side facing up.
Stitch in the ditch along each seam, using the Edgestitch Foot #10D.
Using a long machine stitch, baste a scant 1/4″ on the four outer edges. Trim the excess flannel from around all four edges.
Place the pillow top and back right sides together matching raw edges. Pin or clip, then sew around the pillow edges leaving about a 1-1/2″ opening on the bottom edge for turning.
Turn right side out through the opening and carefully push out the corners using a point turner. Fold the opening edges to the inside by 1/4″ and press.
Fill with fiberfill stuffing, then stitch the opening closed by hand.
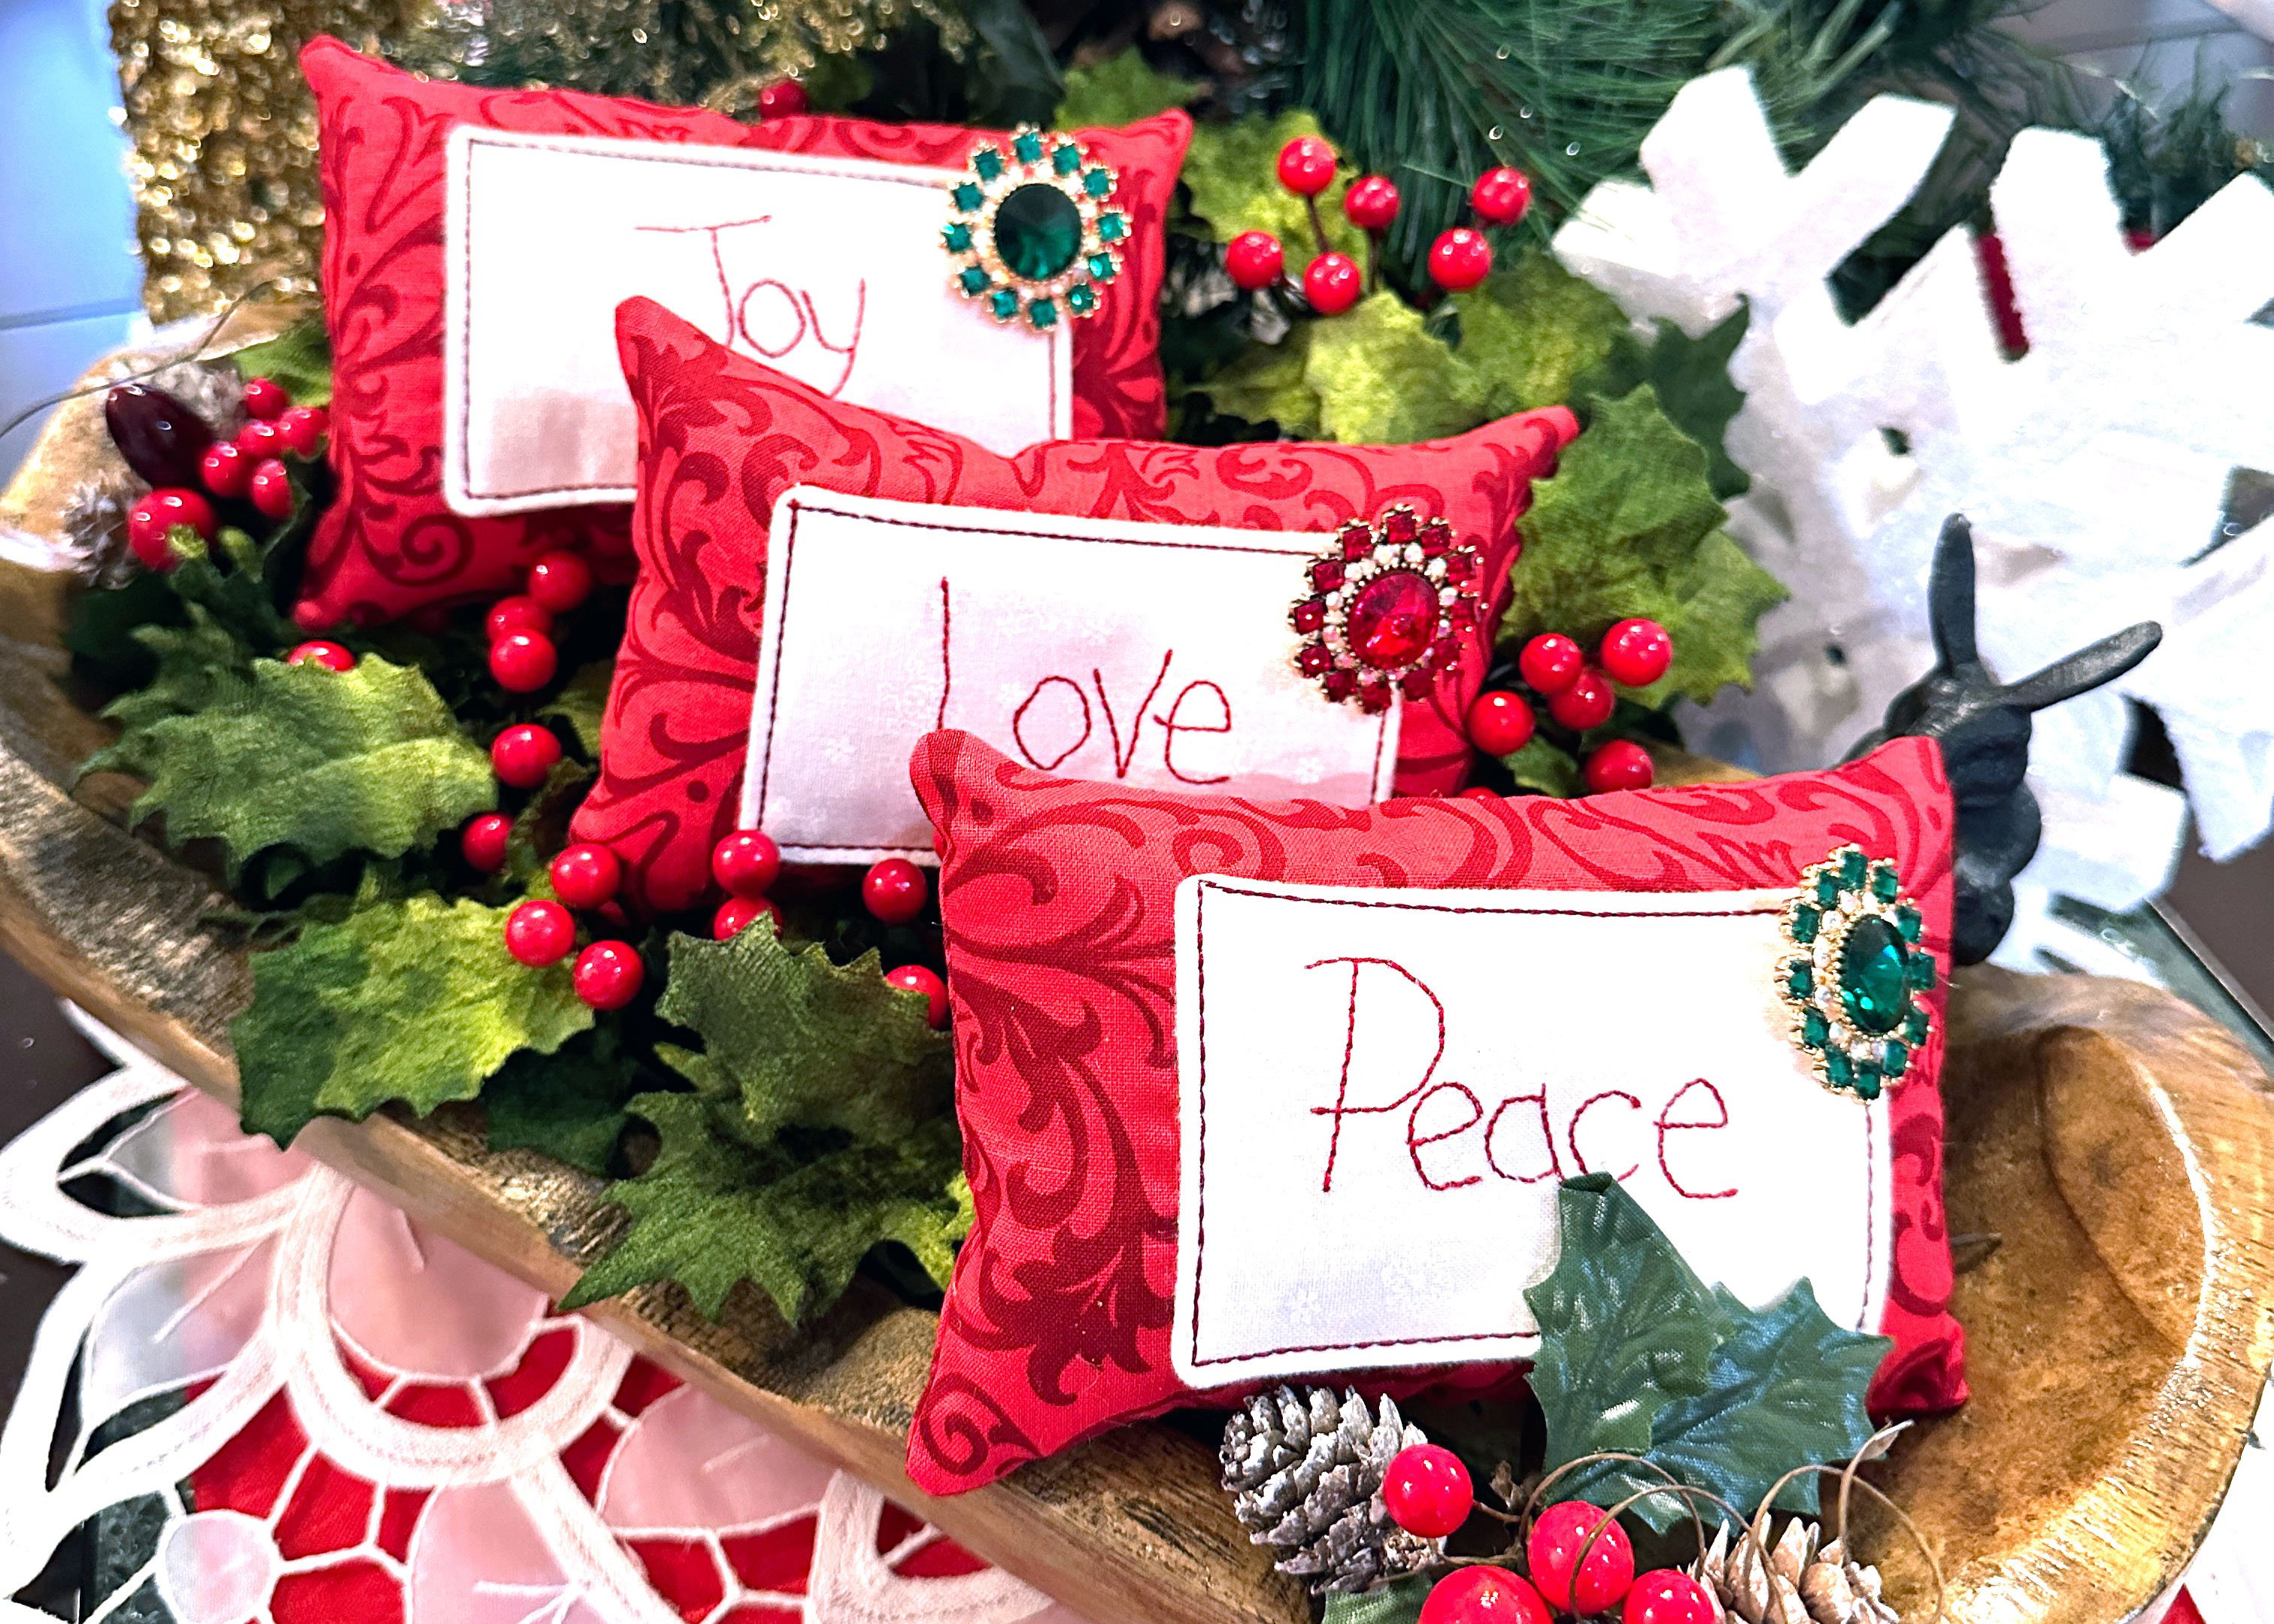
Peace, Love, and Joy Mini Bowl Filler Pillows
The finished size of the Peace, Love, and Joy pillows is 6″ x 3-3/4″.
Cut the fabric for the Snow Globe Mini Bowl Filler Pillow
- (3) White fabric large enough to fit in the small embroidery hoop
- (6) 6-1/2″ (w) x 4-1/4″ (h) red print for the front and back of the mini pillows
- (3) Flannel 3-3/4″ (w) x 2-3/4″ (h)
Embroider the Words Peace, Love, and Joy
The words Peace, Love, and Joy are from the Frosty Frolics collection from OESD.
Apply stabilizer to the back side of the white fabric using temporary spray adhesive, then hoop the fabric.
Verify the design is centered, and press the green “Go” button.
Once the design is done stitching, remove the hoop, remove the fabric, and carefully remove the stabilizer from around the design. Set aside the excess white fabric for another scrappy project.
Sew the Peace, Love, and Joy Mini Bowl Filler Pillows
Cut the fabric for each word – Peace, Love, and Joy – to 3-3/4″ (w) x 2-3/4″ (h)
Place the Peace fabric and flannel right sides together matching raw edges. Pin or clip, then sew around all four sides leaving a 2″ opening on the bottom edge for turning. Turn right side out and gently push out the corners. Press, turning in the opening edge 1/4″ to the inside. This opening will be stitched closed when the rectangle is stitched to the red fabric in the next step.
Center the Peace rectangle on top of one of the red fabric rectangles and pin in place. Use the triple stitch (stitch #6 on my BERNINA 770 QE PLUS) and edgestitch around all four sides. The Edgestitch Foot #10D is perfect for this step.
Repeat for the Love and Joy fabric pieces.
Optional: Eliminate the flannel, finish the four edges of the white word fabric with pinking shears (like these Ugly Christmas Sweater Ornaments) and then stitch to the mini pillow.
Place the pillow top and back right sides together matching raw edges. Pin or clip, then sew around the pillow leaving about a 2″ opening on the bottom edge for turning.
Turn right side out through the opening and carefully push out the corners using a point turner.
Fold the opening edges to the inside by 1/4″ and press, then fill with fiberfill stuffing and hand stitch the opening closed.
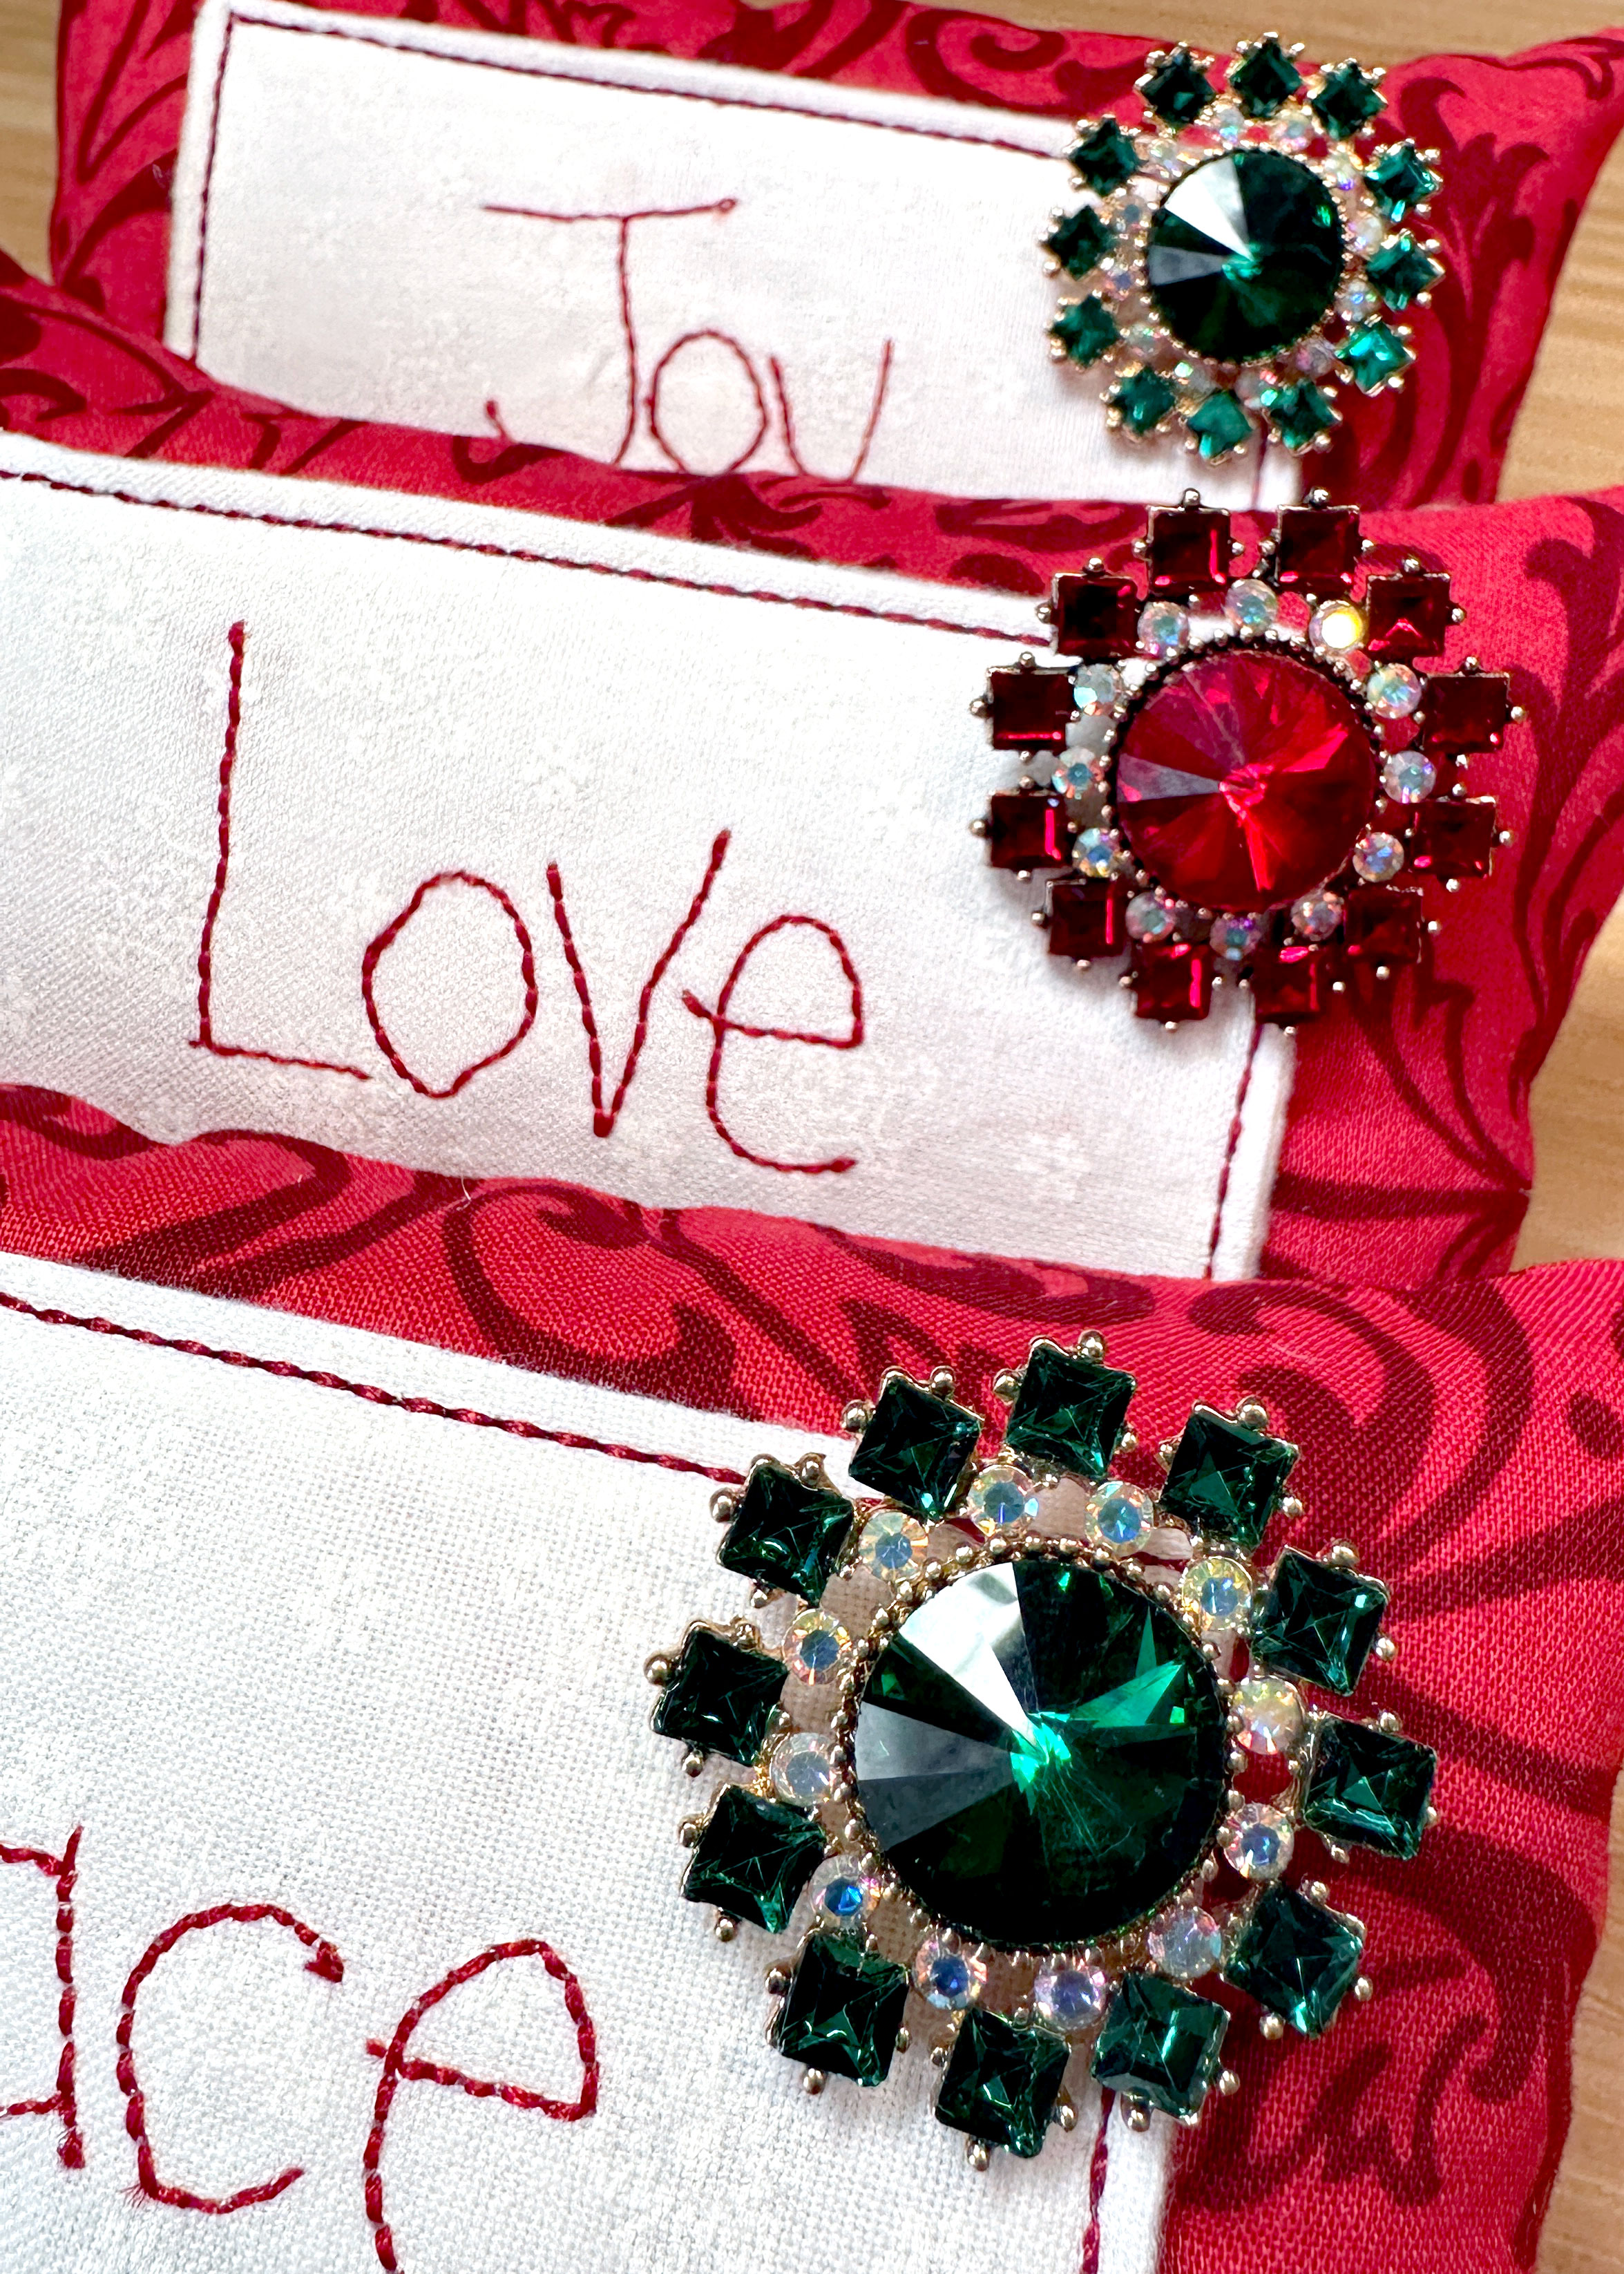
Sew a decorative button to the upper right corner of the words, adding a bit of sparkly bling to the mini pillow.
Embroider and stitch a set of three, place in a decorative container, add some greenery or other holiday decor and voila! You have a mini decorative accent that will bring a smile of delight to everyone who sees them.
Sew a set for yourself, and sew a set to give as a gift. Be sure to tag me (@TheSharonSews) and BERNINA (@berninausa) on Instagram when you sew yours!
