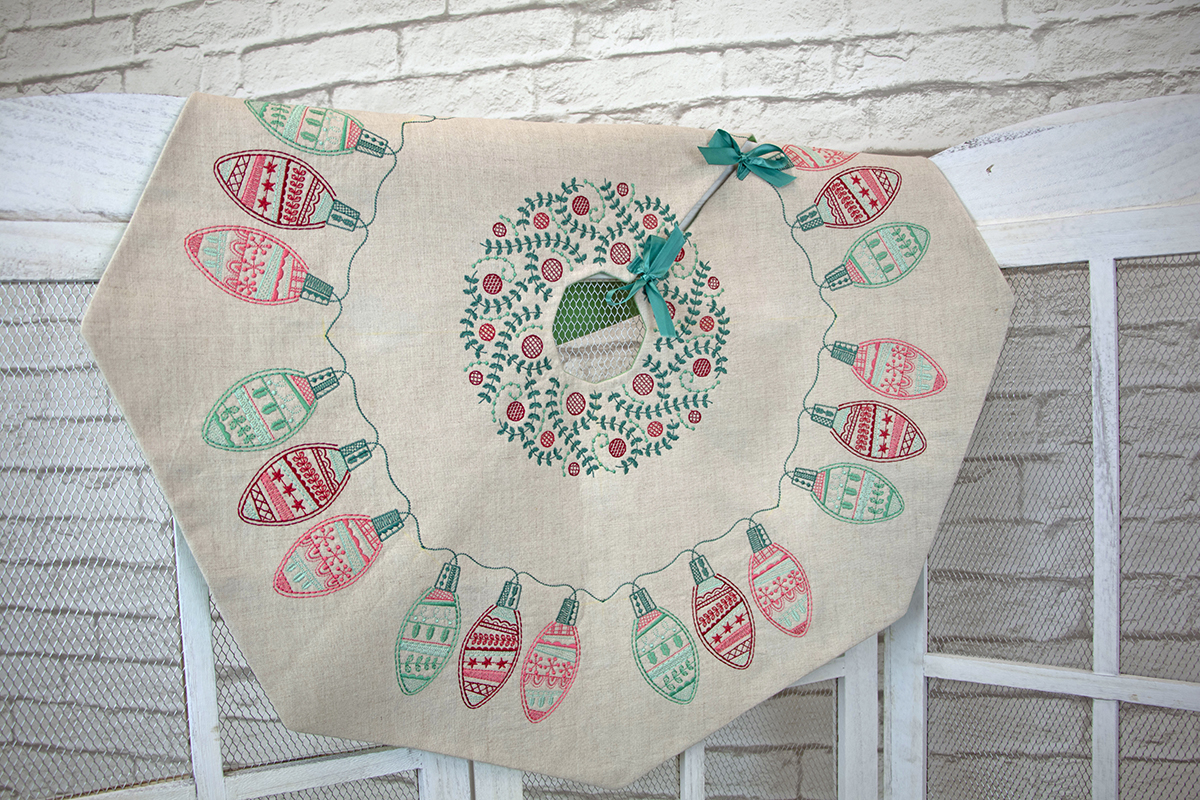
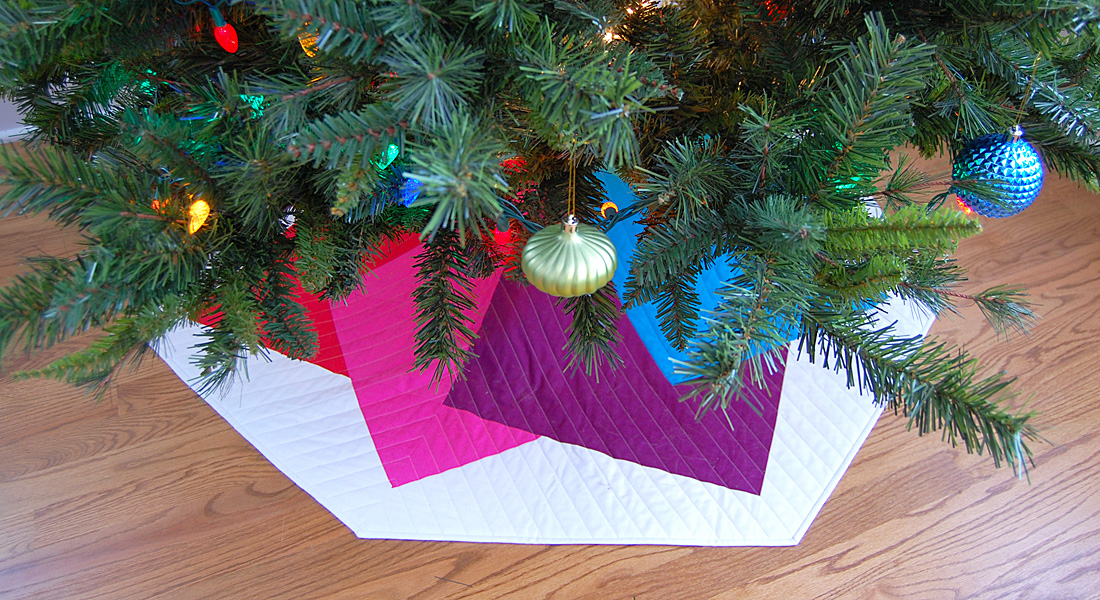
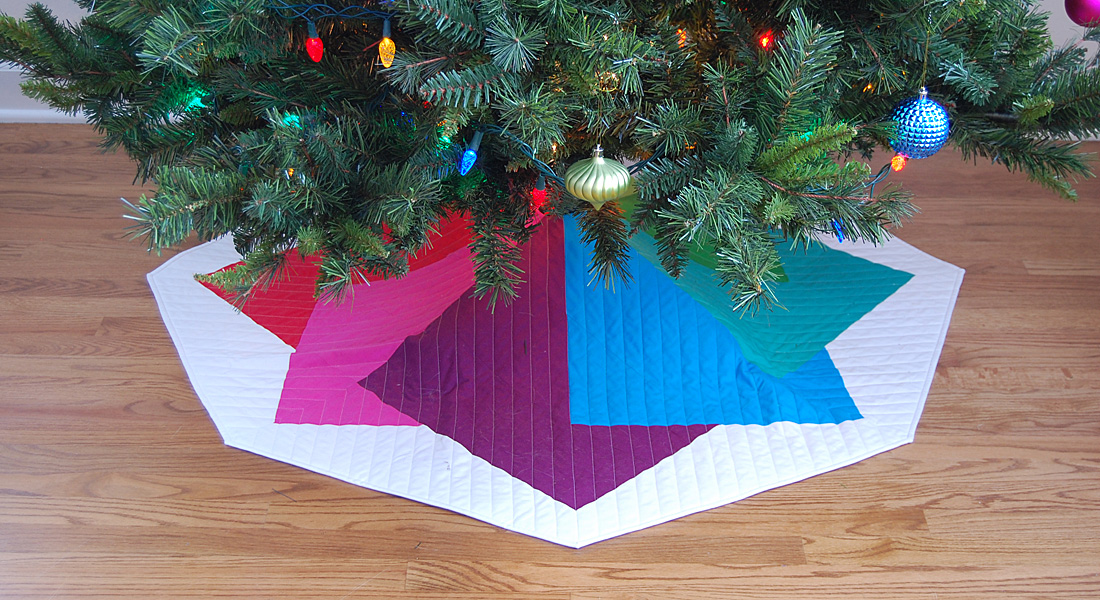
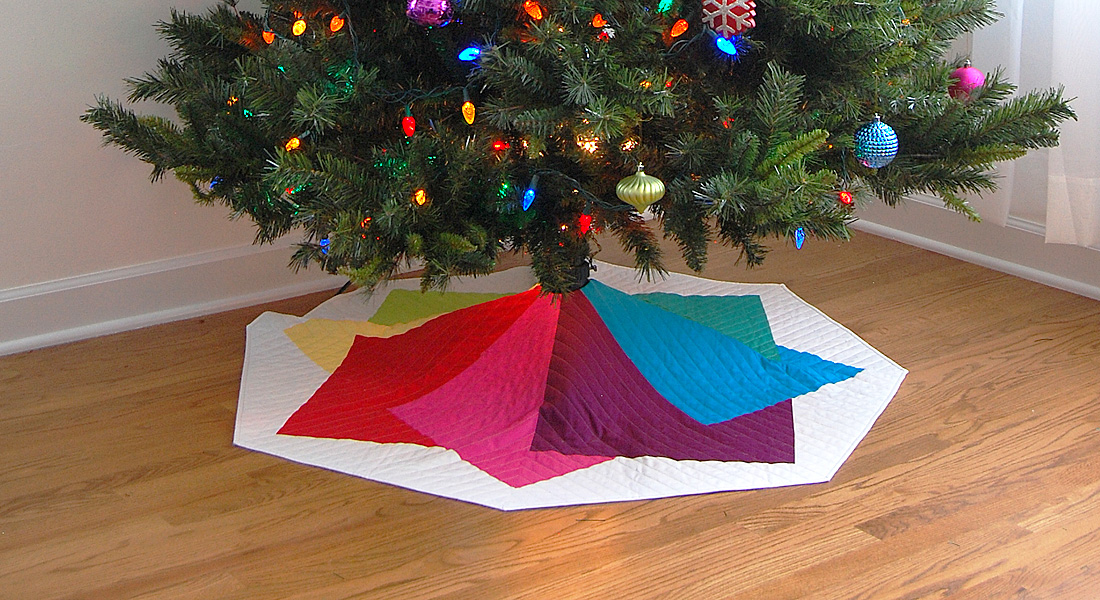
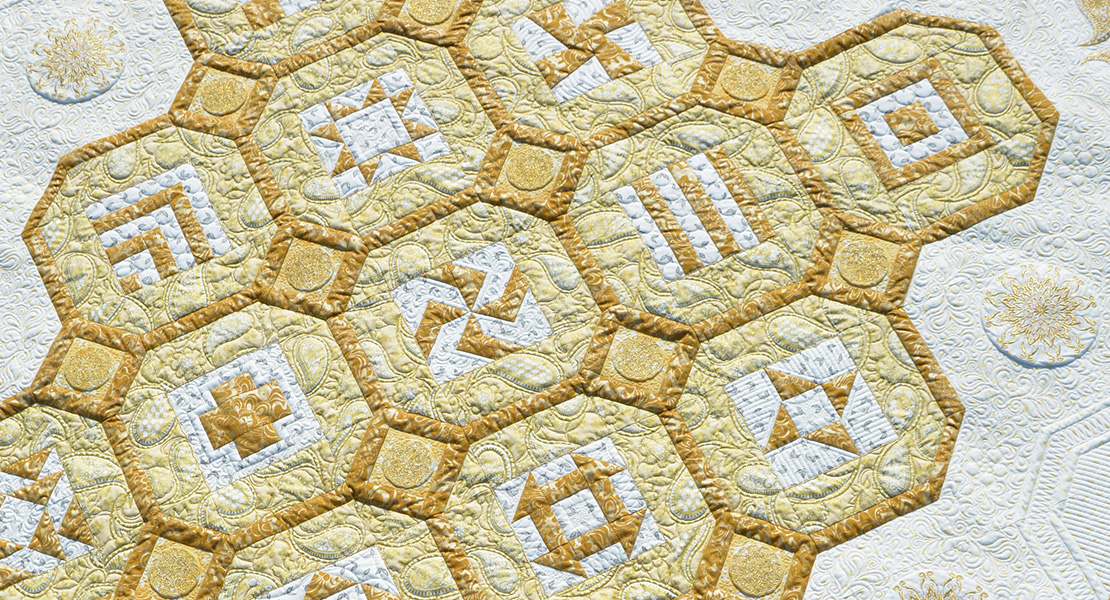
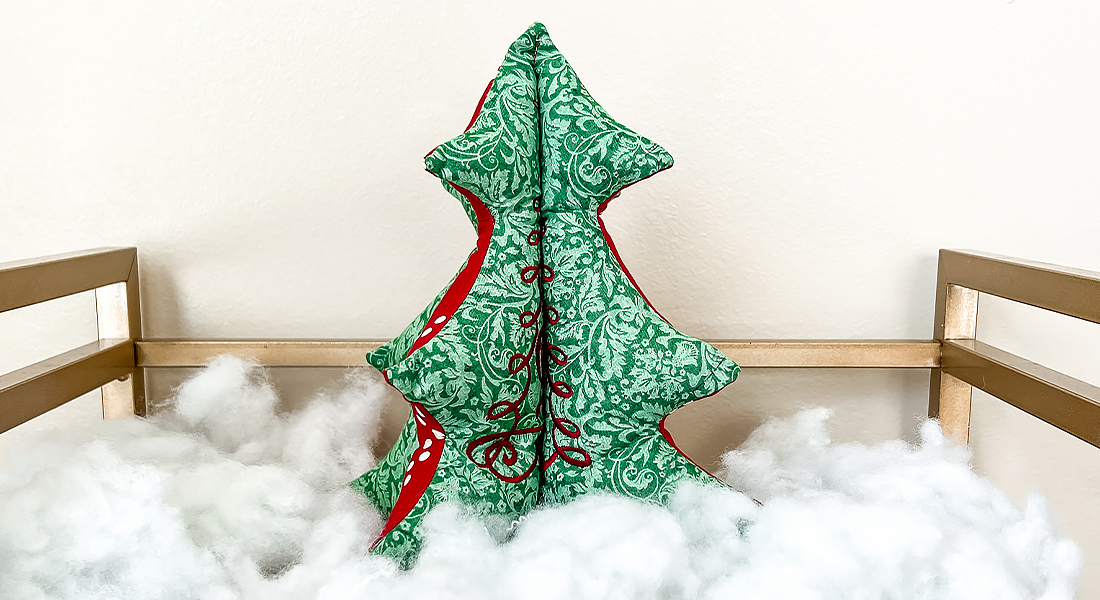
Octagon Tree Skirt

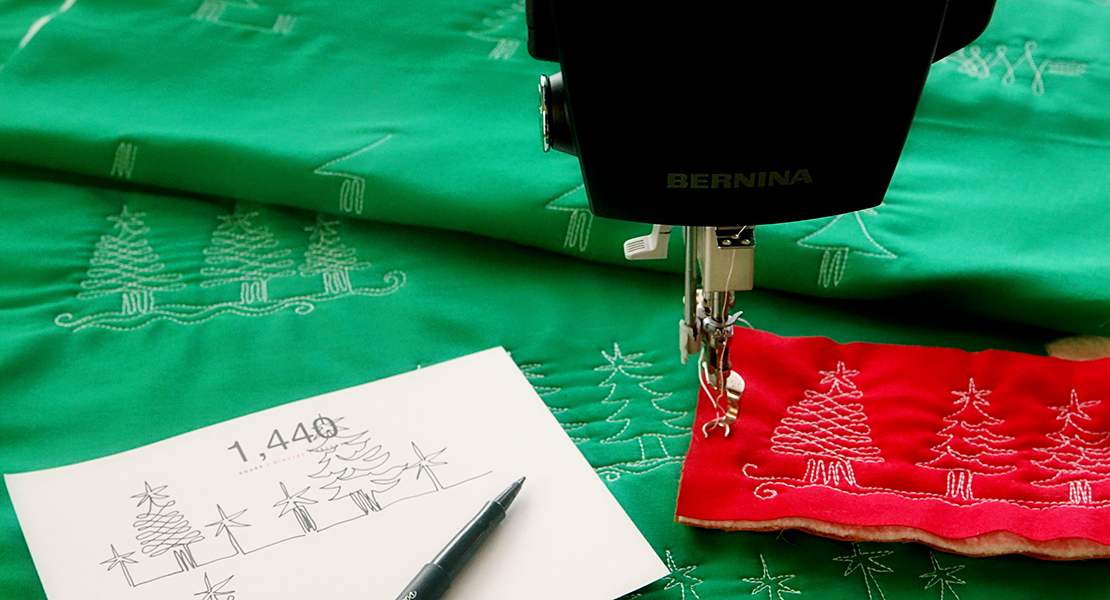
The Christmas tree isn’t completely decorated until it puts on a skirt! Tree skirts are the perfect canvas for showing off your embroidery skills. This project, featuring designs from BERNINA Exclusive Design Collection #82023 Holiday Stitches, is a perfect way to dress up your tree. The whimsical stitches and fun colors give the project a modern aesthetic with a nod to traditional hand embroidery. With the help of Pinpoint Placement and large embroidery hoops, this is a quick project that requires minimal sewing skills. Enjoy this fun project you’ll use for years to come.
Materials to Embroider a Tree Skirt
Stabilizers
- OESD Fusible Woven
- OESD Fuse and Fleece
- OESD StabilStick Template Sheet (optional)
- Heat2Go or StitcH2O topper (recommended)
Fabrics
- 1-yard linen fabric (trimmed to 36” square)
- 1-yard backing fabric (trimmed to 36” square)
Designs
- Visit SiteOESD Holiday Stitches Design Collection
- 82023-13 (light string) size 6.15” x 4.18”
- 82023-25 (wreath) size 9.81” x 9.88”
Embroidery Supplies
- Isacord threads per design chart
- OESD Expert Point and Press Tool (optional)
- Hoops to accommodate design sizes
- Fabric marker
- Ruler, minimum 15” long
- Fabric shears
Instructions to Embroider a Tree Skirt
Step 1:
Press top fabric with spray starch.
Apply Fusible Woven to the entire back of the fabric according to package directions. Overlap Fusible Woven by 1/8” as necessary.
Step 2:
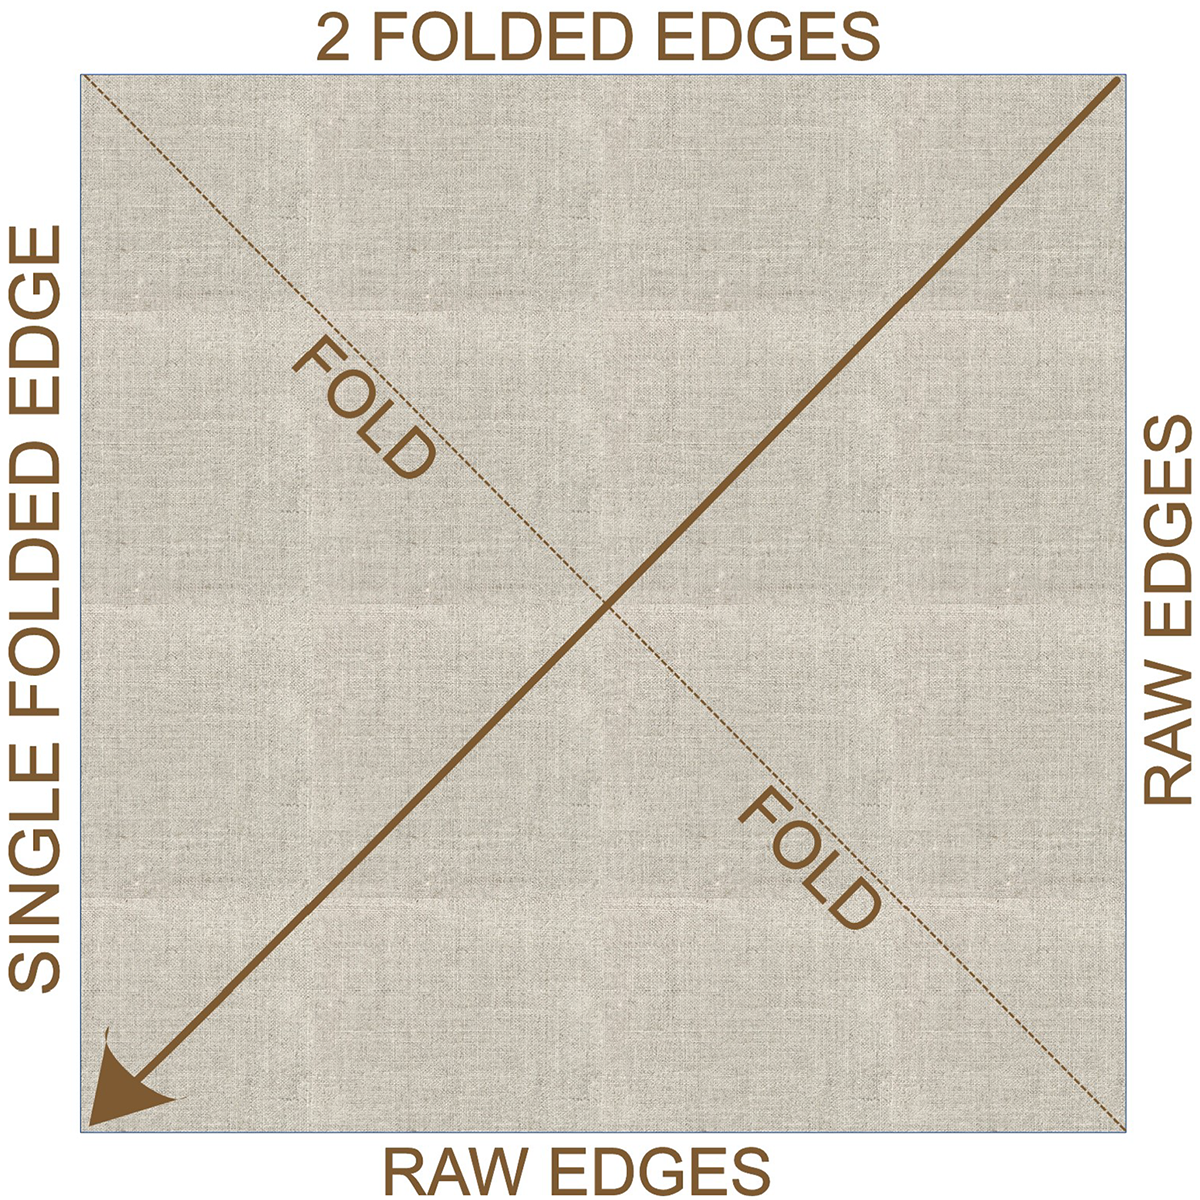
Fold the fabric in half wrong sides together. Press the fold to make a crease.
Fold in half again, making a square as shown in the diagram. Press the folds to make a crease.
Take the top folded layer at the corner with two raw edges (top right in the diagram) and fold it to the opposite corner. Press the fold to crease.
Step 3:
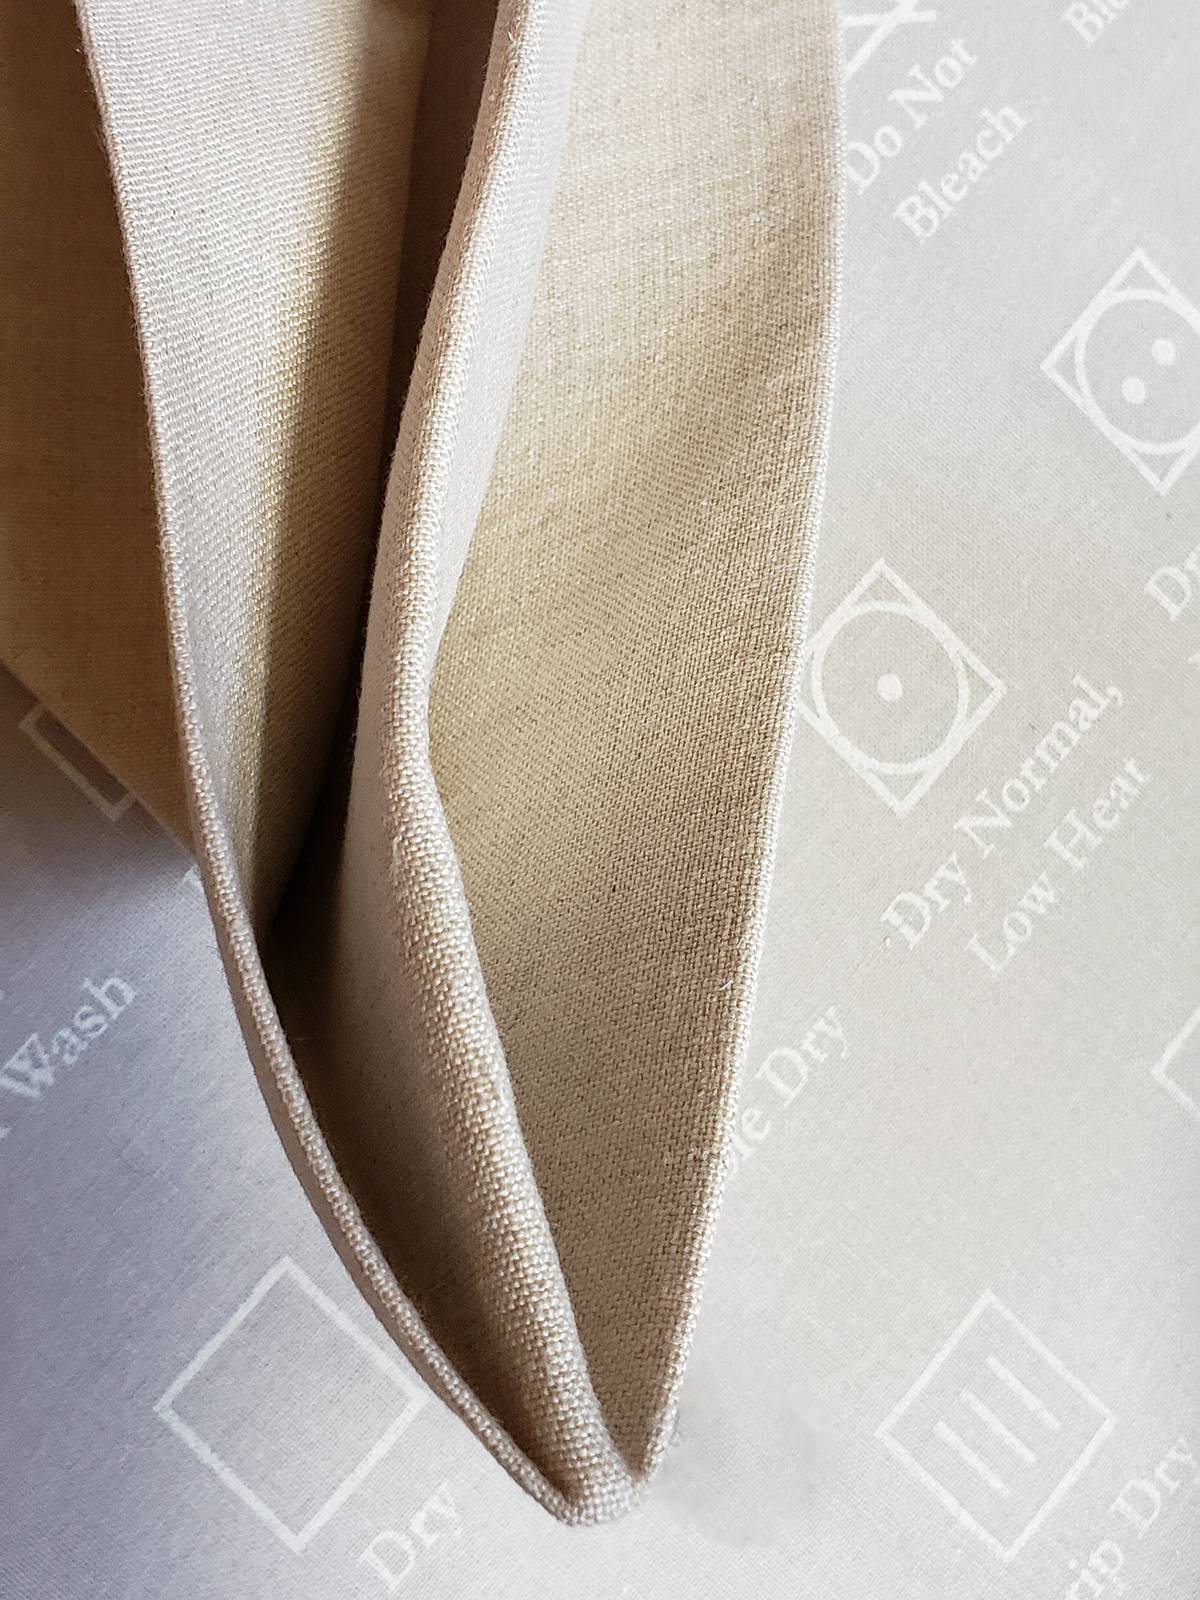
Flip the fabric over to the other side and fold the remaining folded/raw edge corner together to the opposite corner. Press the fold to crease. This should result in one large triangle.
The folds at the center point of the fabric should look like the image.
Step 4:
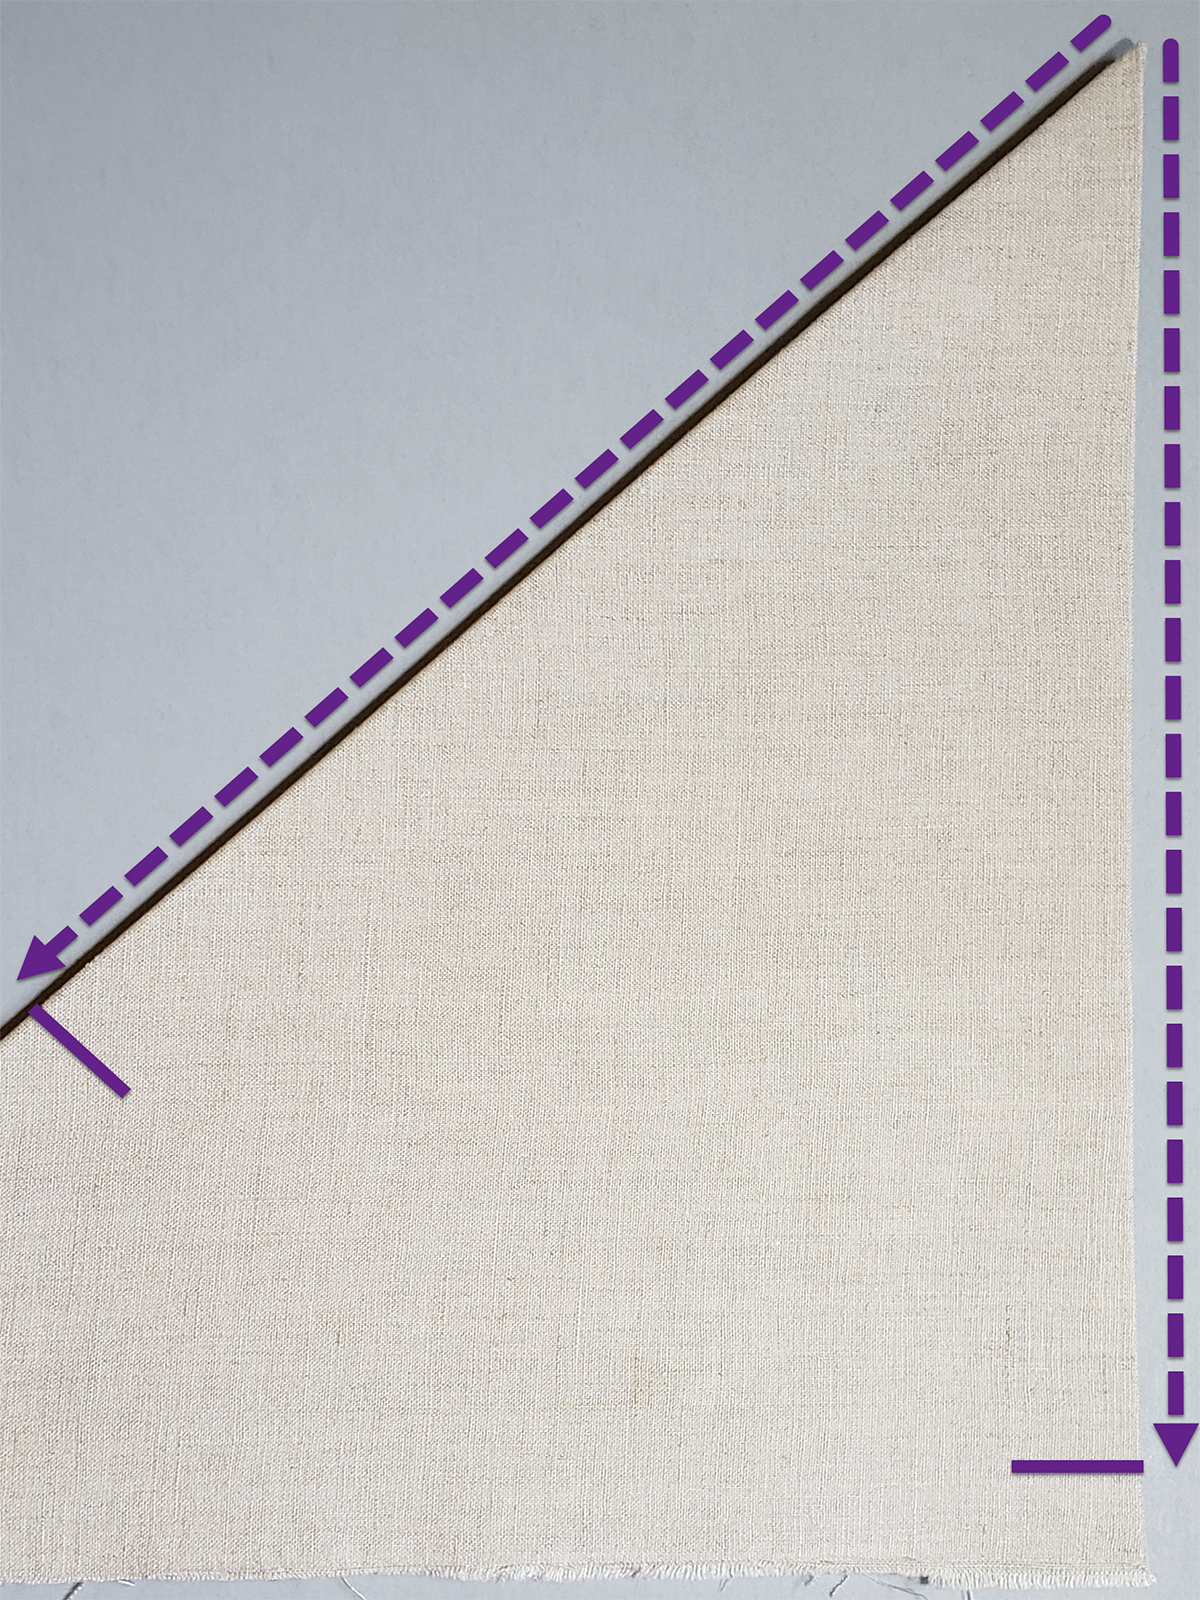
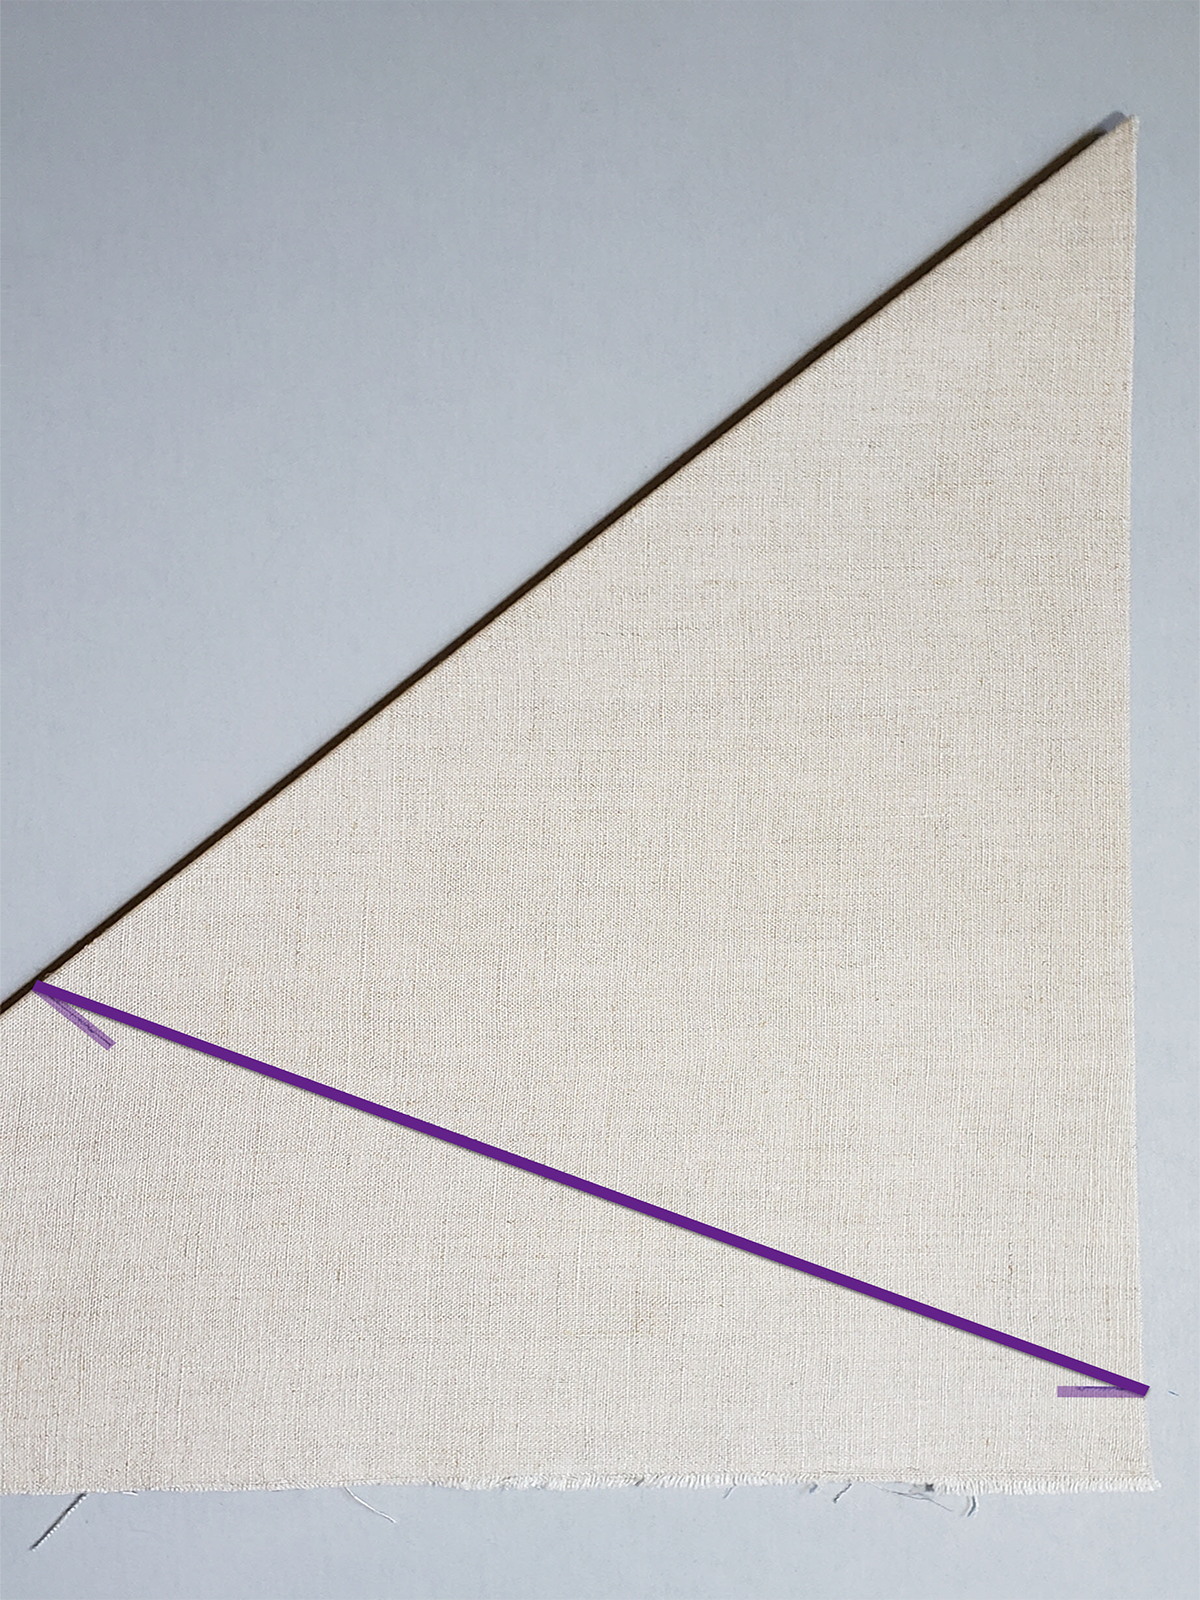
From the center point measure down 15” on each fold. Mark as shown.
Step 5:
Mark a line connecting the two points at the fold as shown.
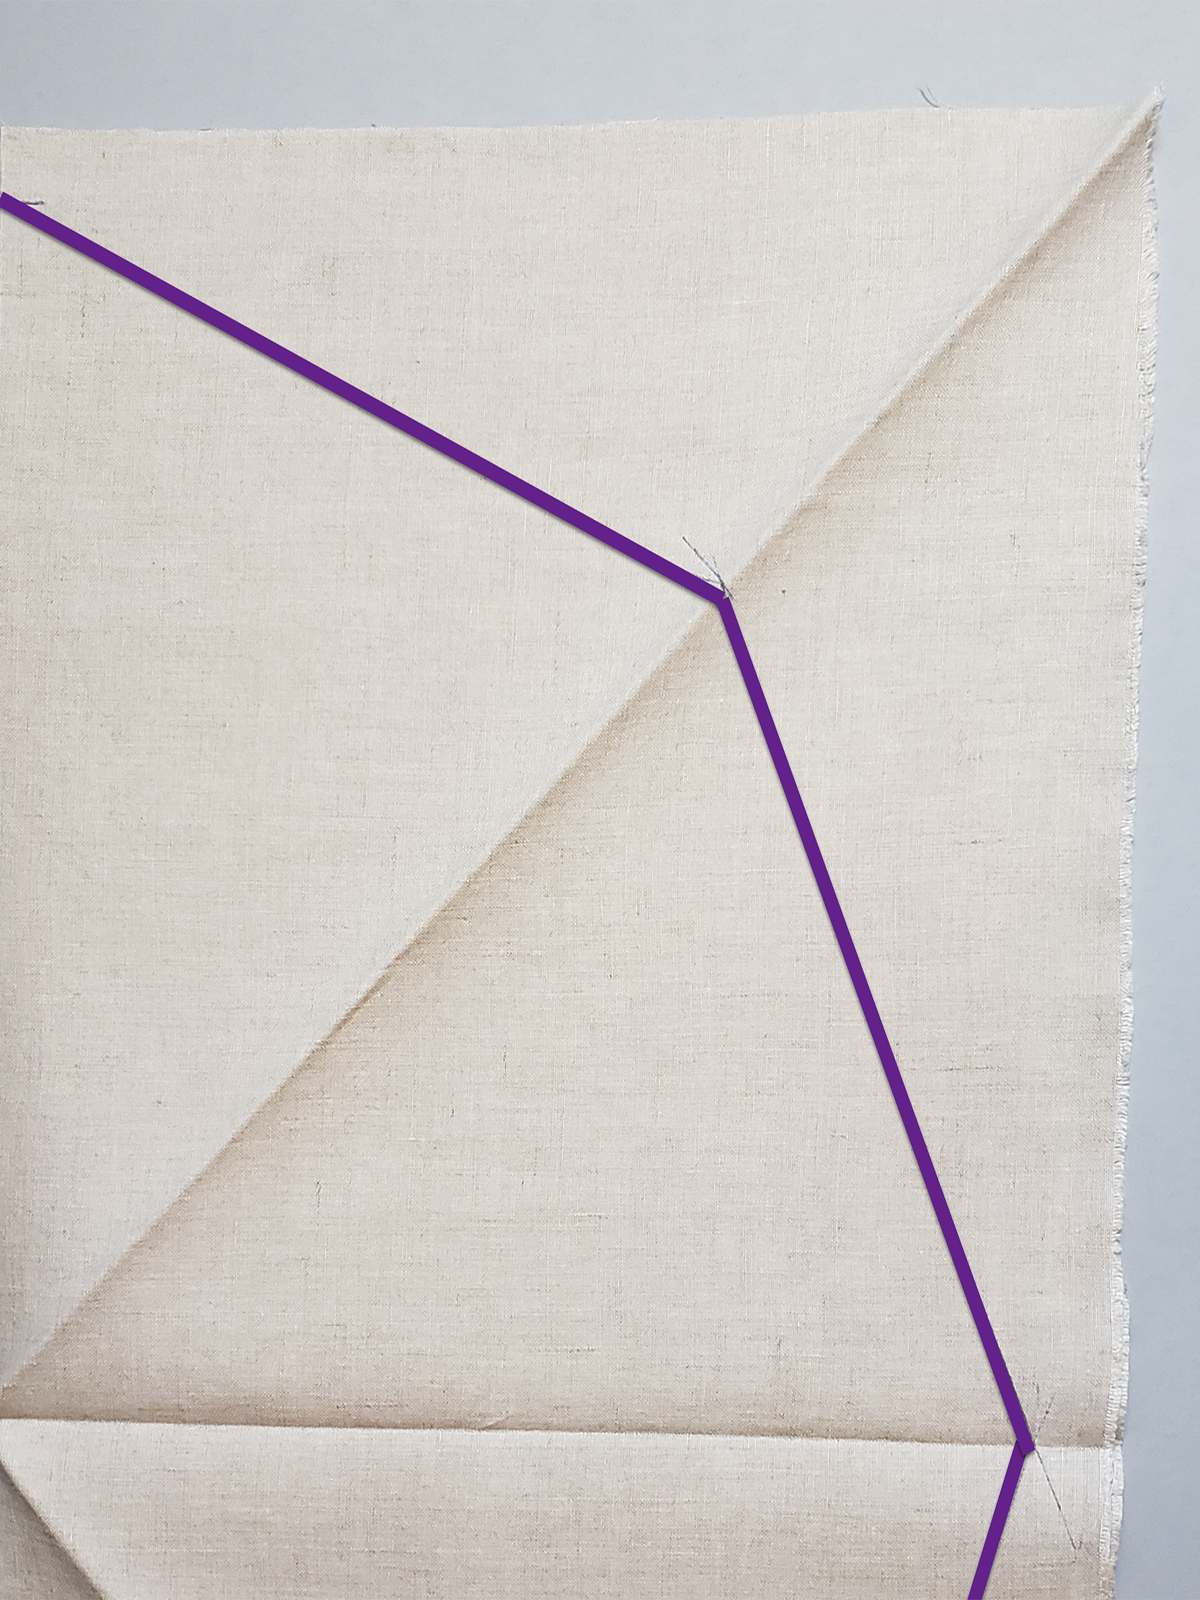
Step 6:
Repeat Steps 4 and 5 for each of the eight segments of the fabric. The lines should connect as shown.
Step 7:
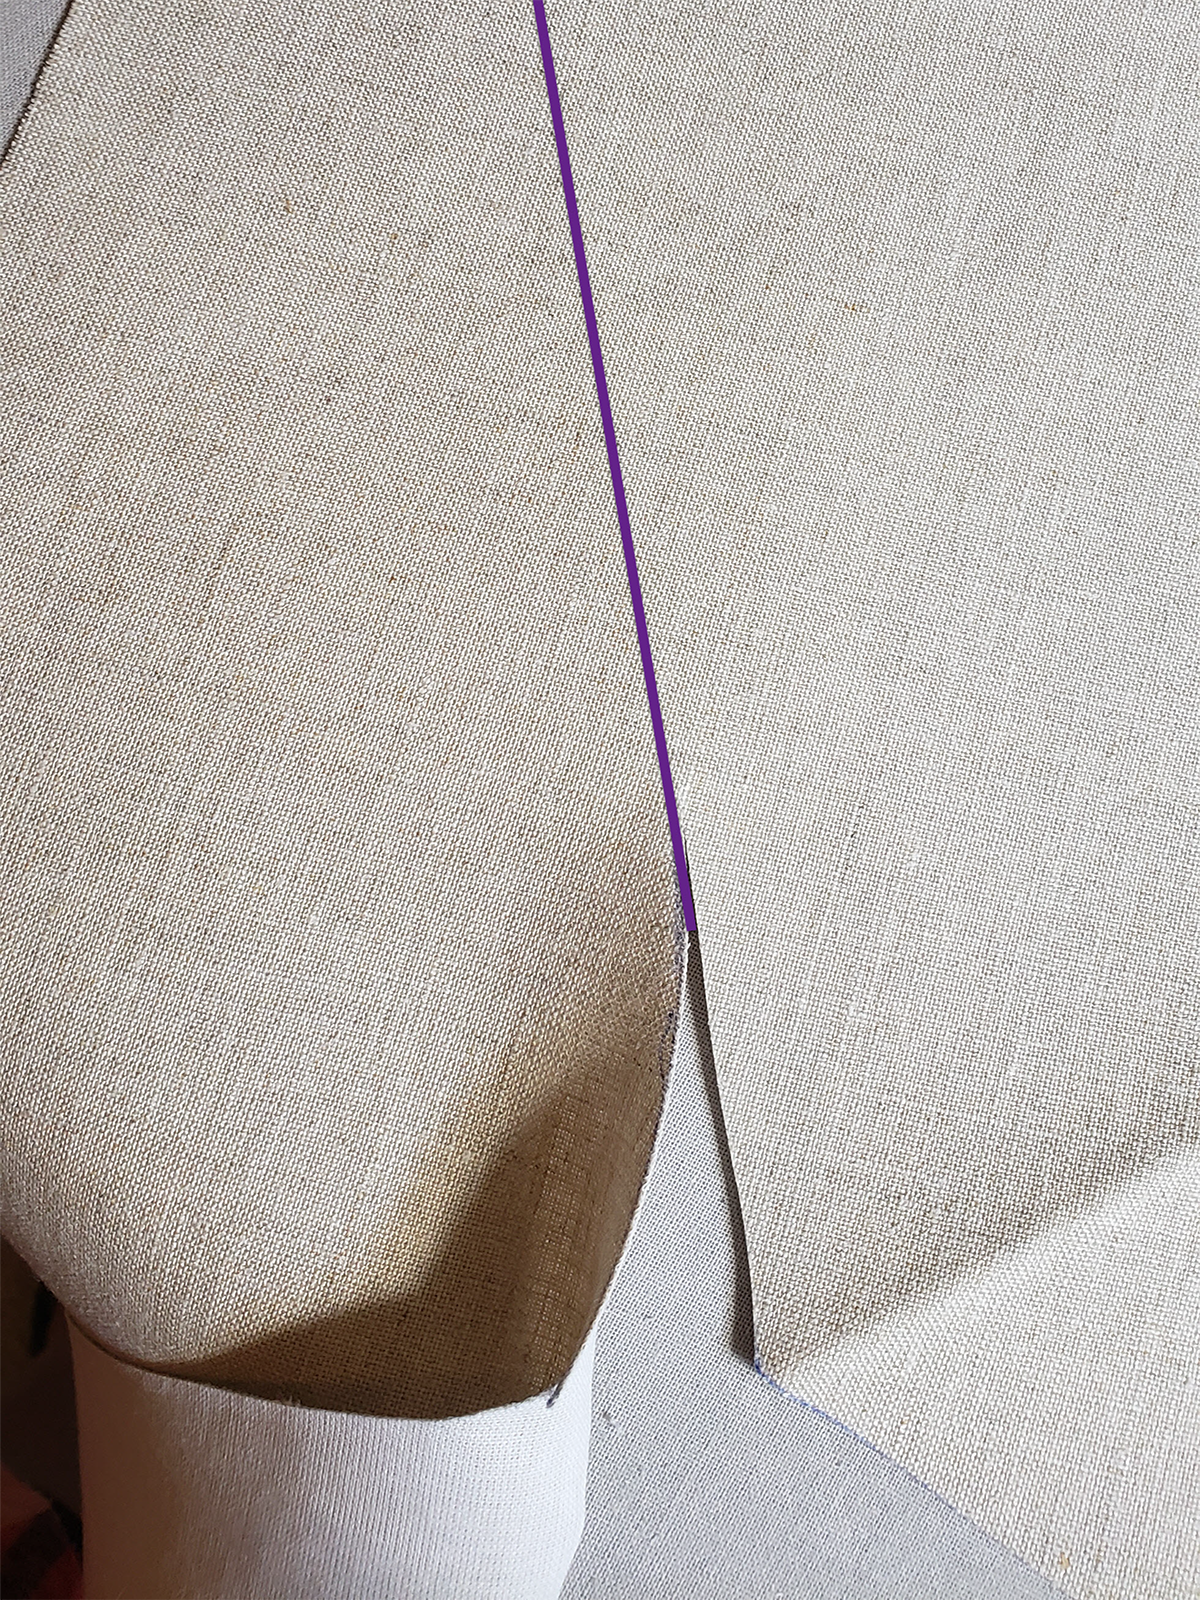
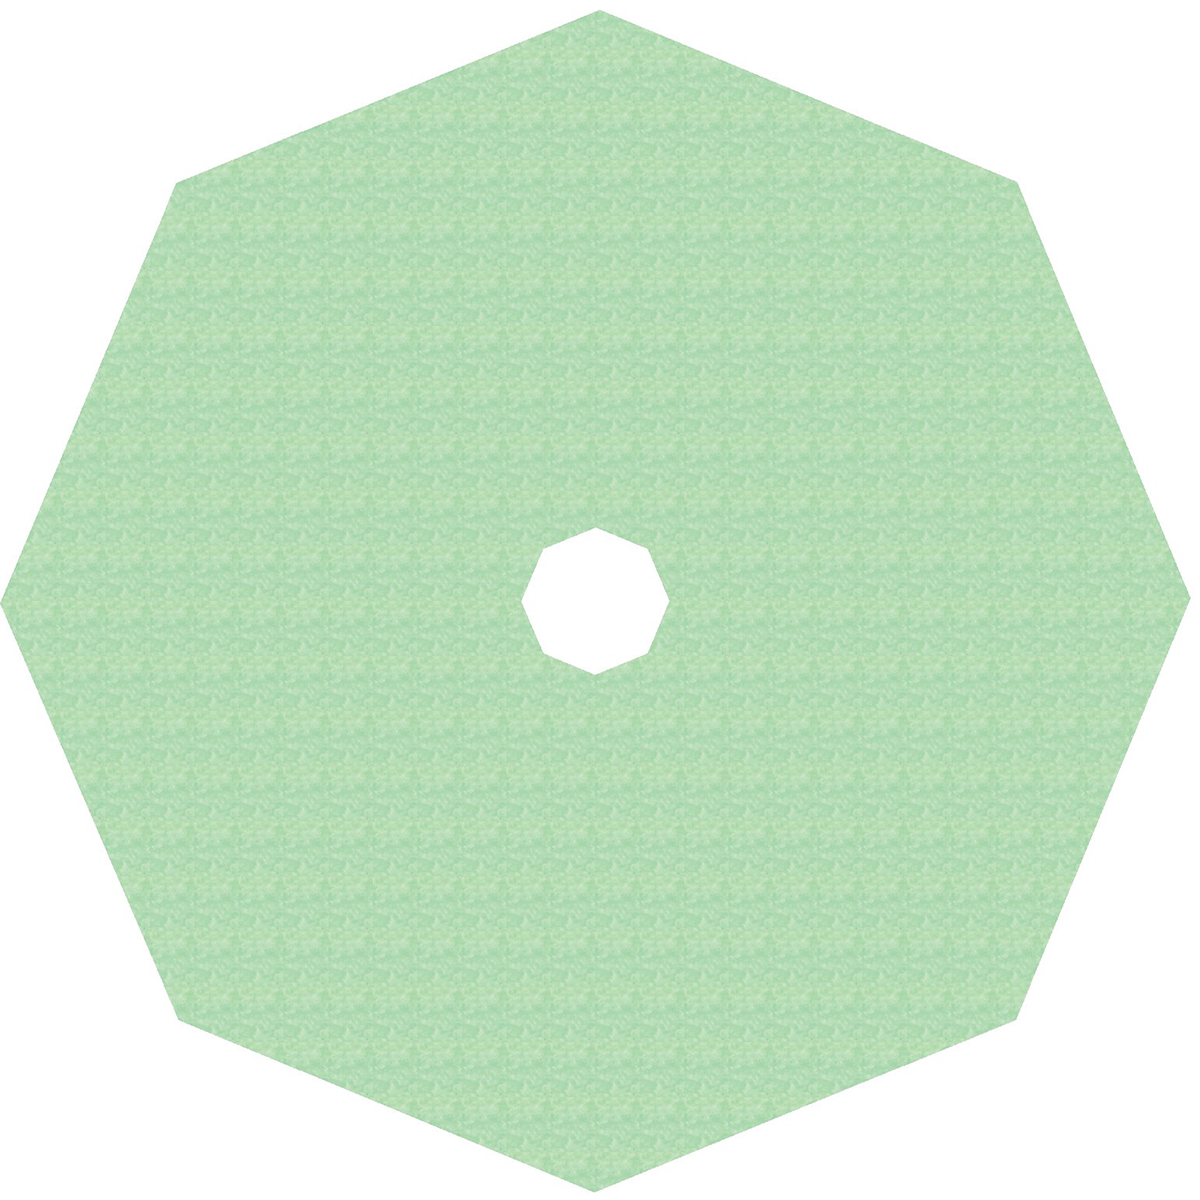
Trim away the excess fabric in each section to create an octagon.
For best results, trim one layer of fabric at a time.
Step 8:
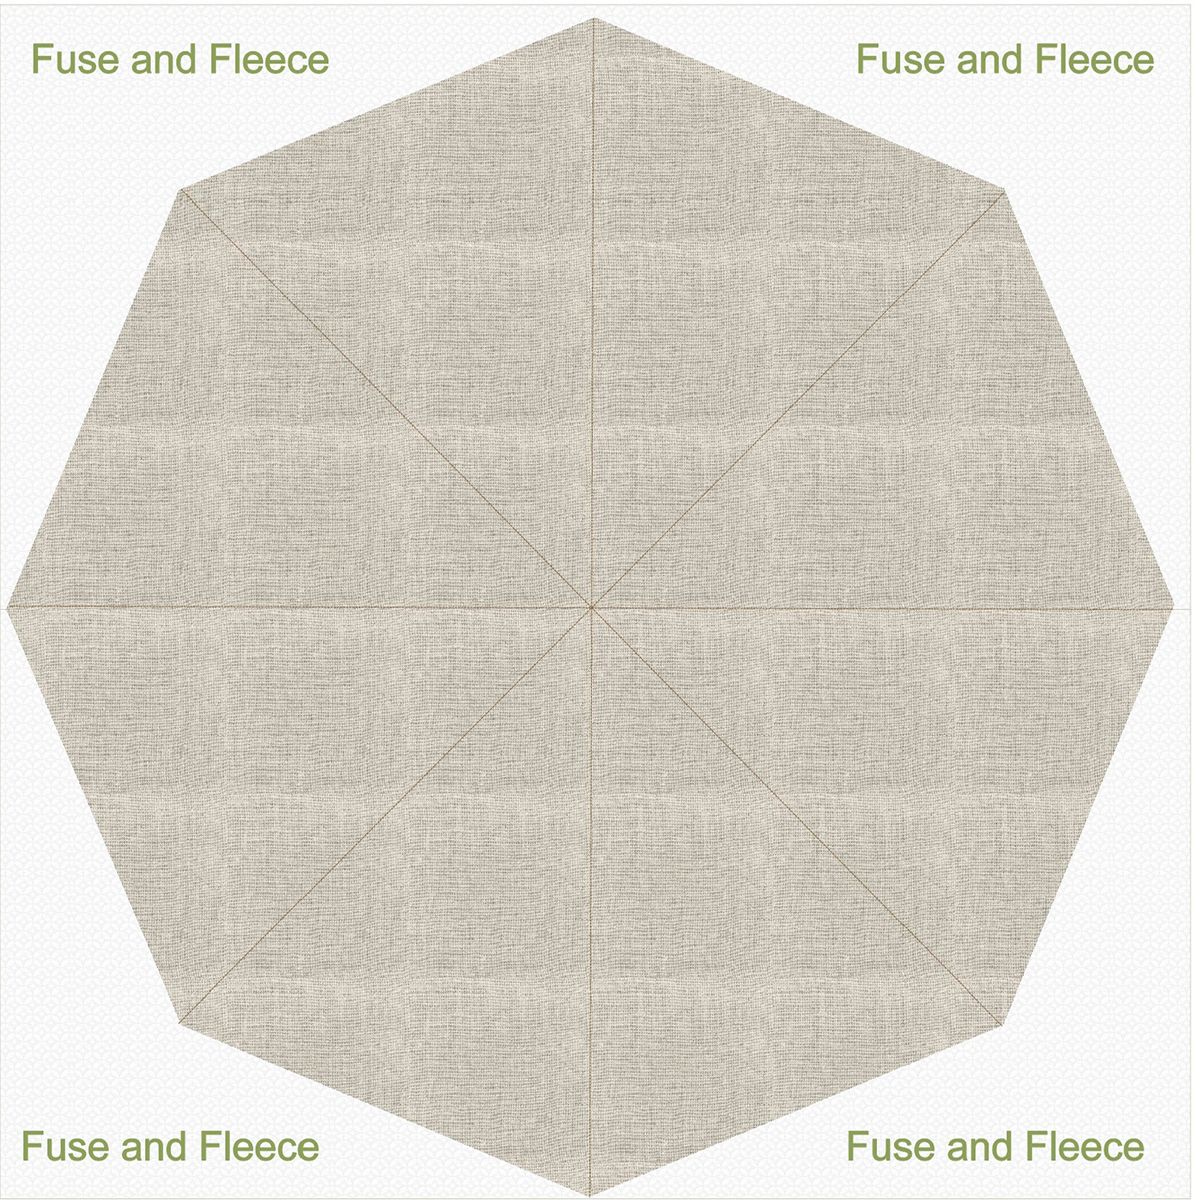
Cut strips of Fuse and Fleece stabilizer 32” long. The number of strips needed will depend on the width of the Fuse and Fleece.
Apply the Fuse and Fleece to the back of the fabric following the package instructions. A Teflon pressing sheet may be helpful to avoid fusing the stabilizer to the ironing board.
The Fuse and Fleece should extend beyond the edge of the fabric as shown. Do not trim away the excess. It will act as an extension of the fabric (like a lead cloth) if needed when hooping.
Step 9:
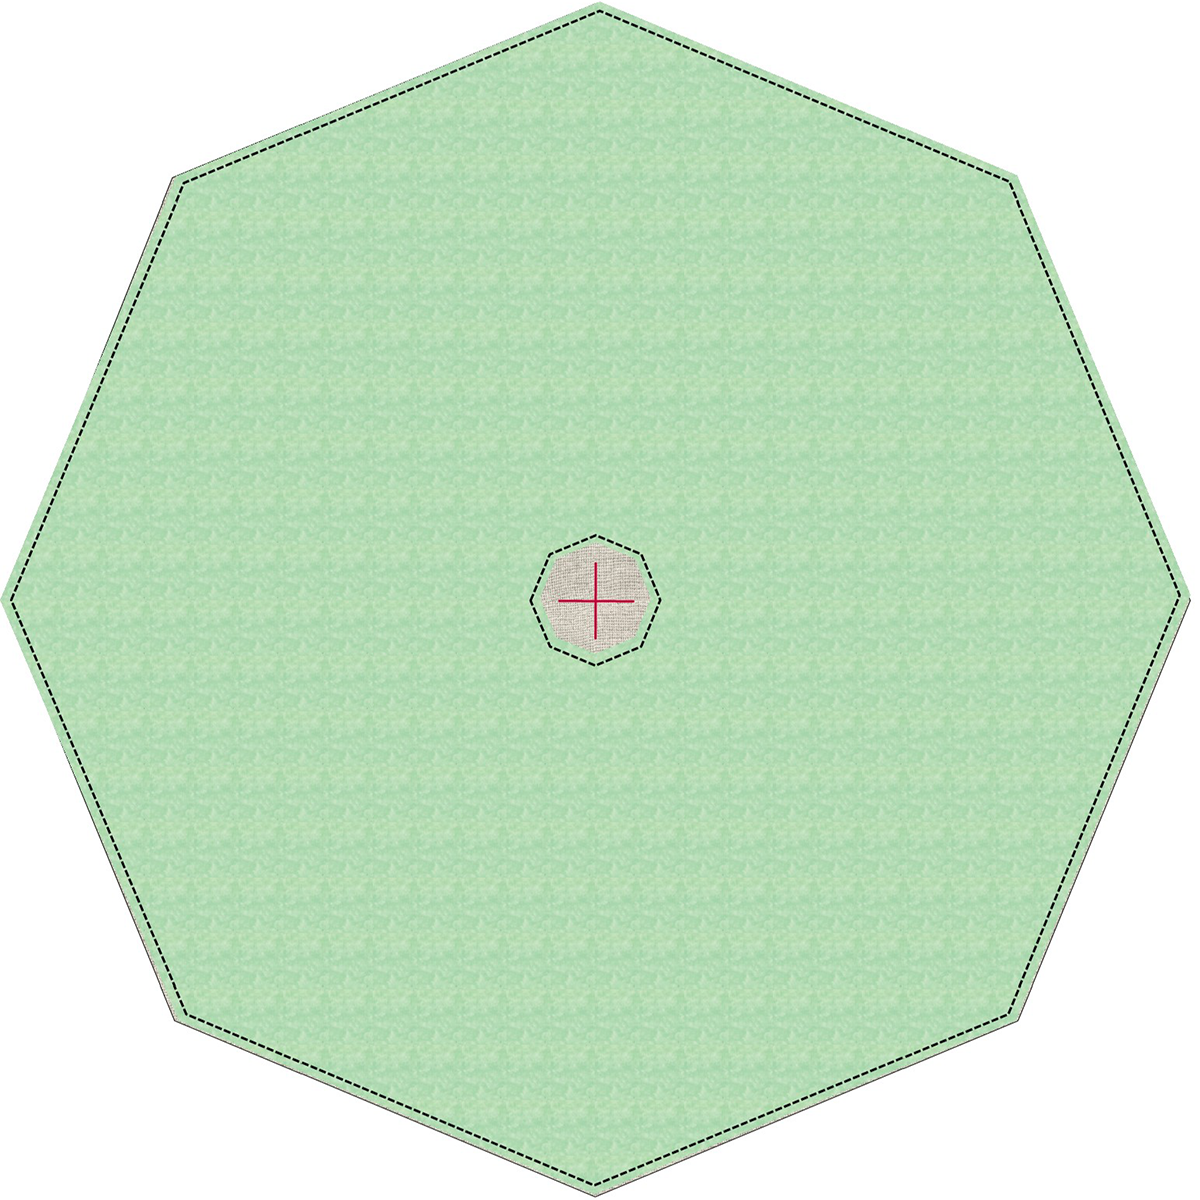
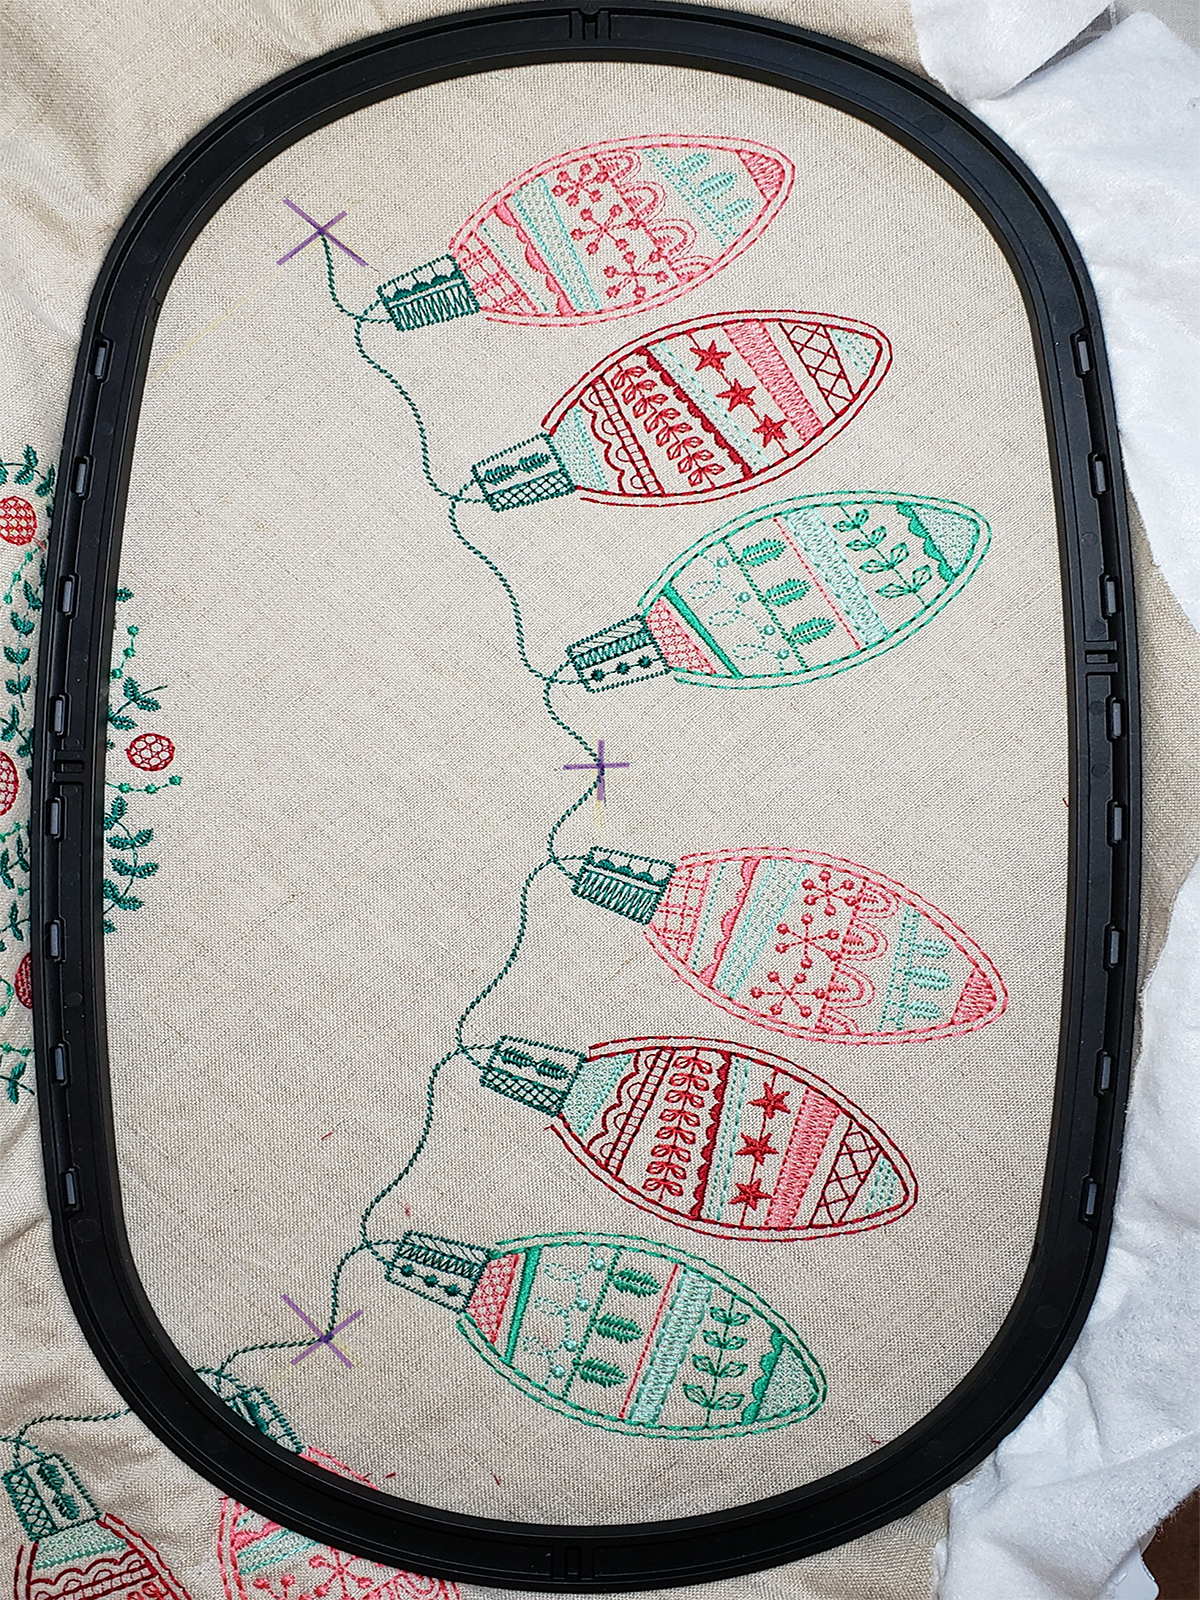
Mark the center of the fabric with a cross-hair for placement of the center wreath design.
Measure down each crease from the center crosshair 9” and mark a cross-hair for the light string starting and ending points. The crosshair is where the designs will connect.
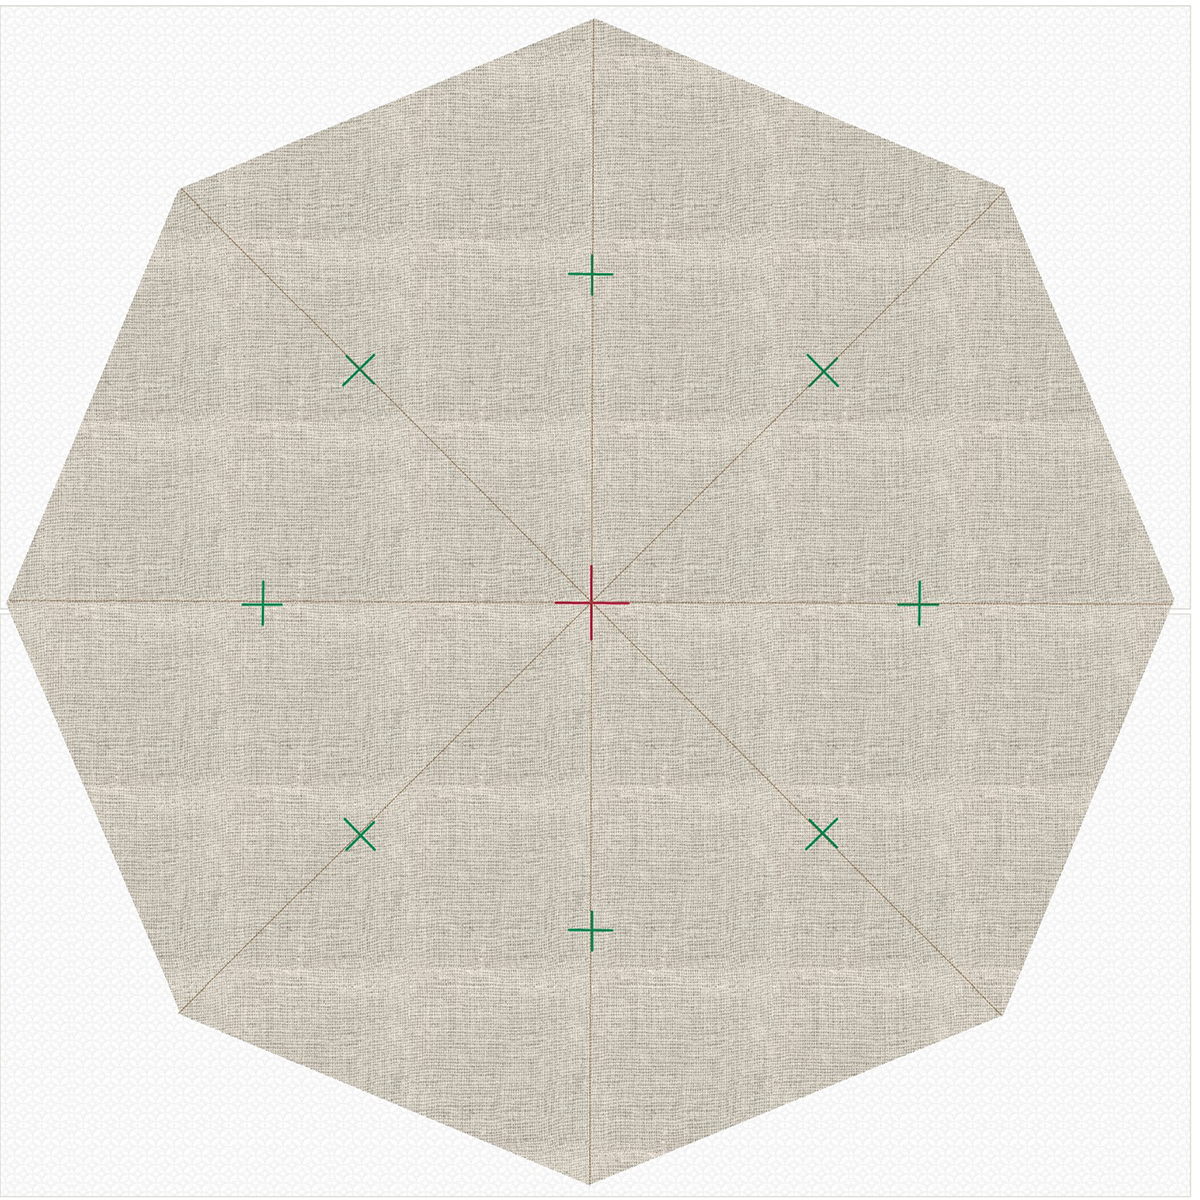
Step 10:
The image shows the placement of each design on the fabric with the marked crosshairs.

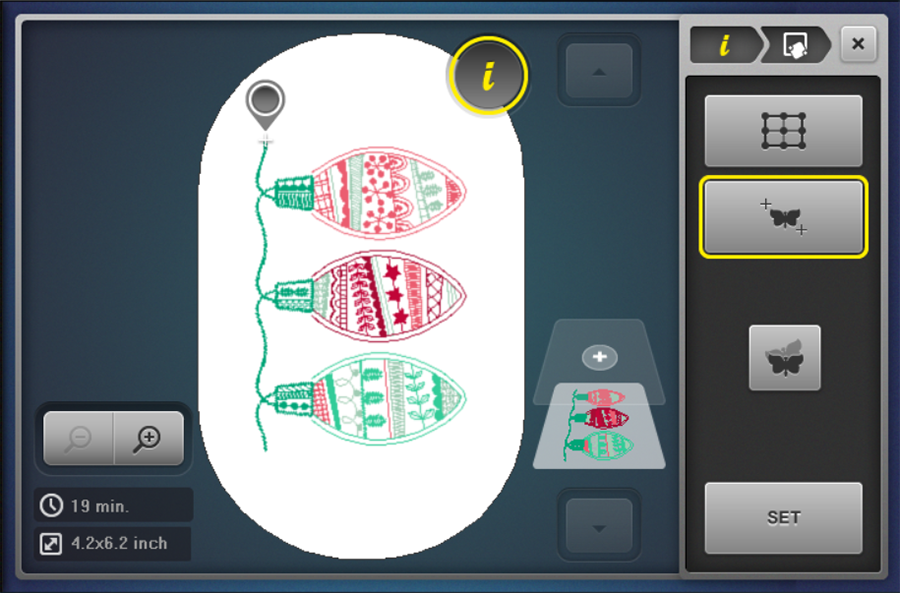
Step 11:
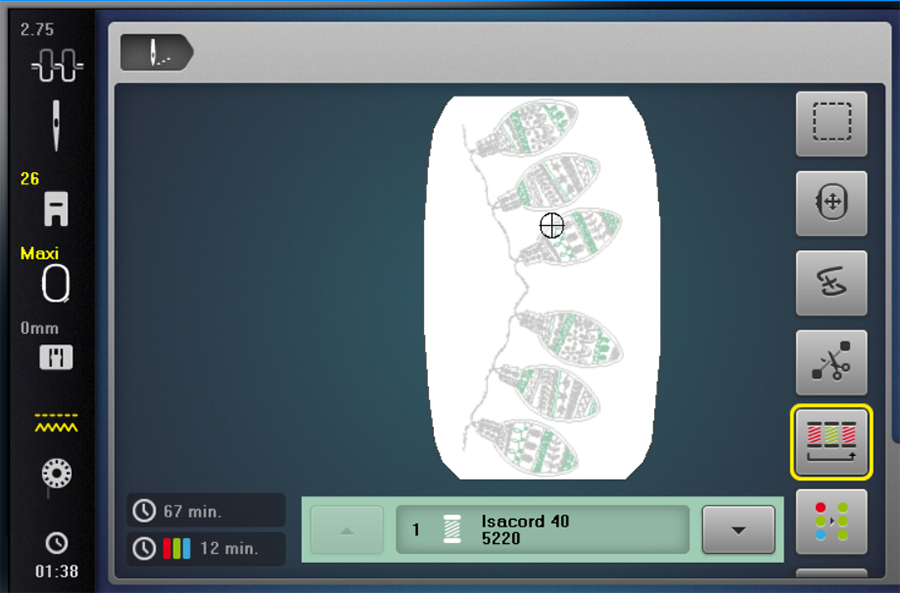
Load the wreath design 8023-25 on the machine screen.
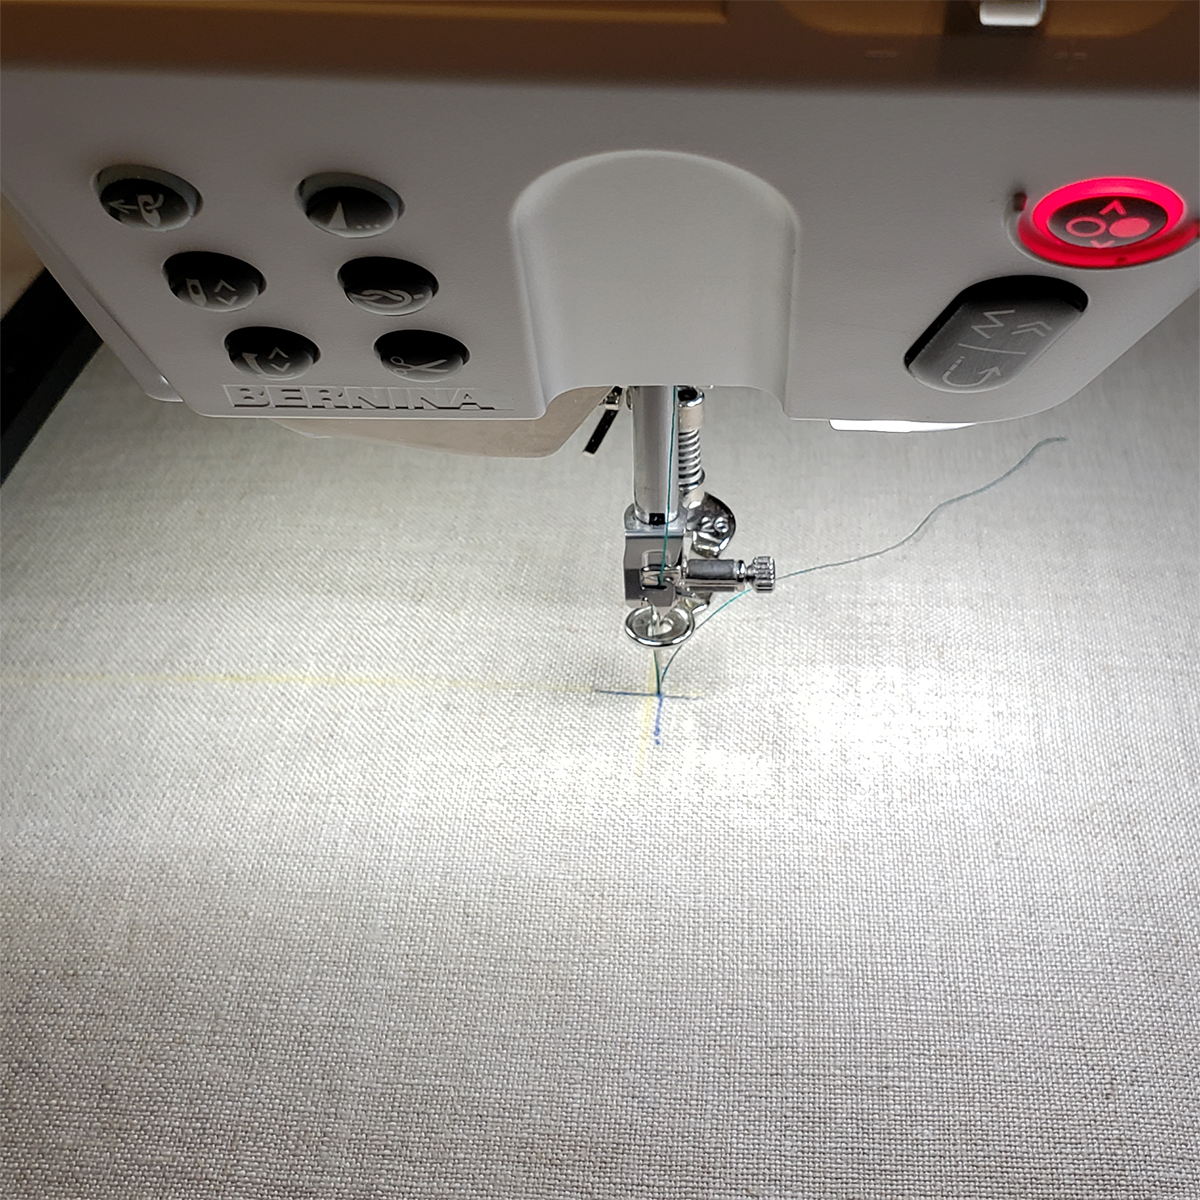
Hoop the fabric with the center crosshair near the center of the hoop. Position the hoop so that the needle, when lowered, is in the center of the crosshair as shown.
Step 12:
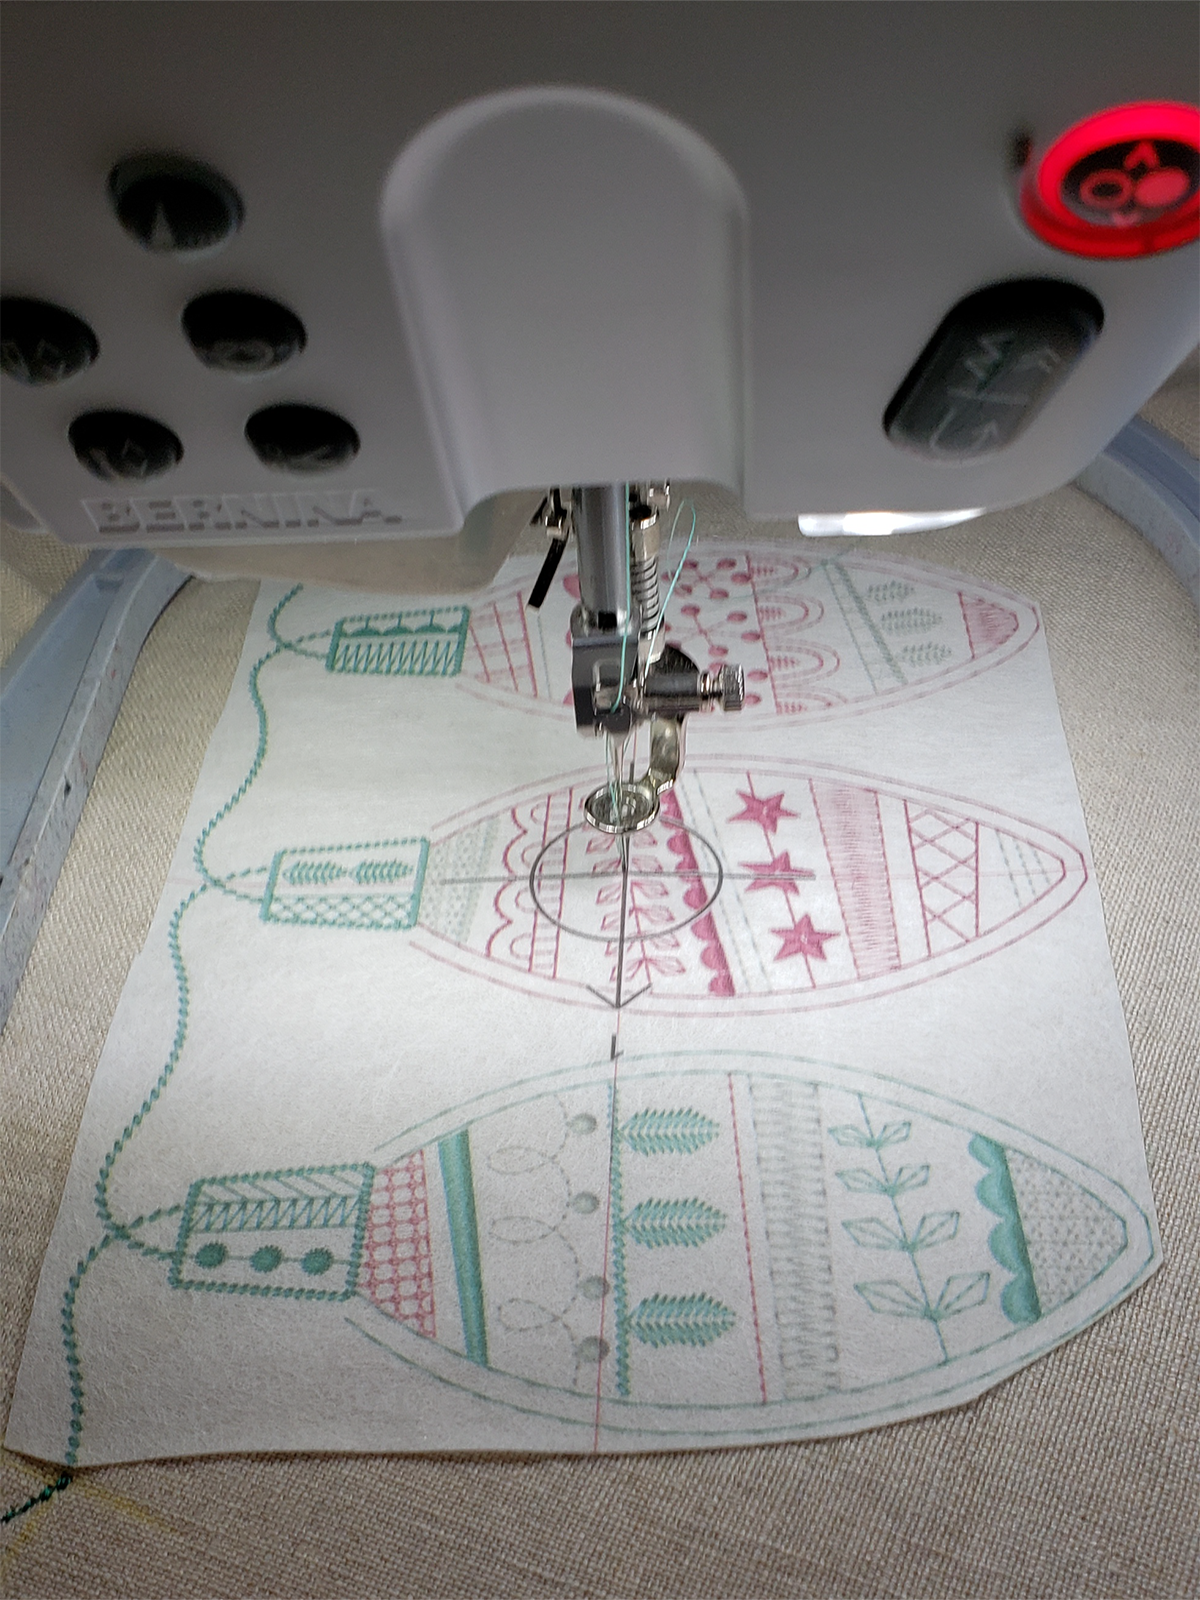
Cover the design area with topper and tape in place to hold.
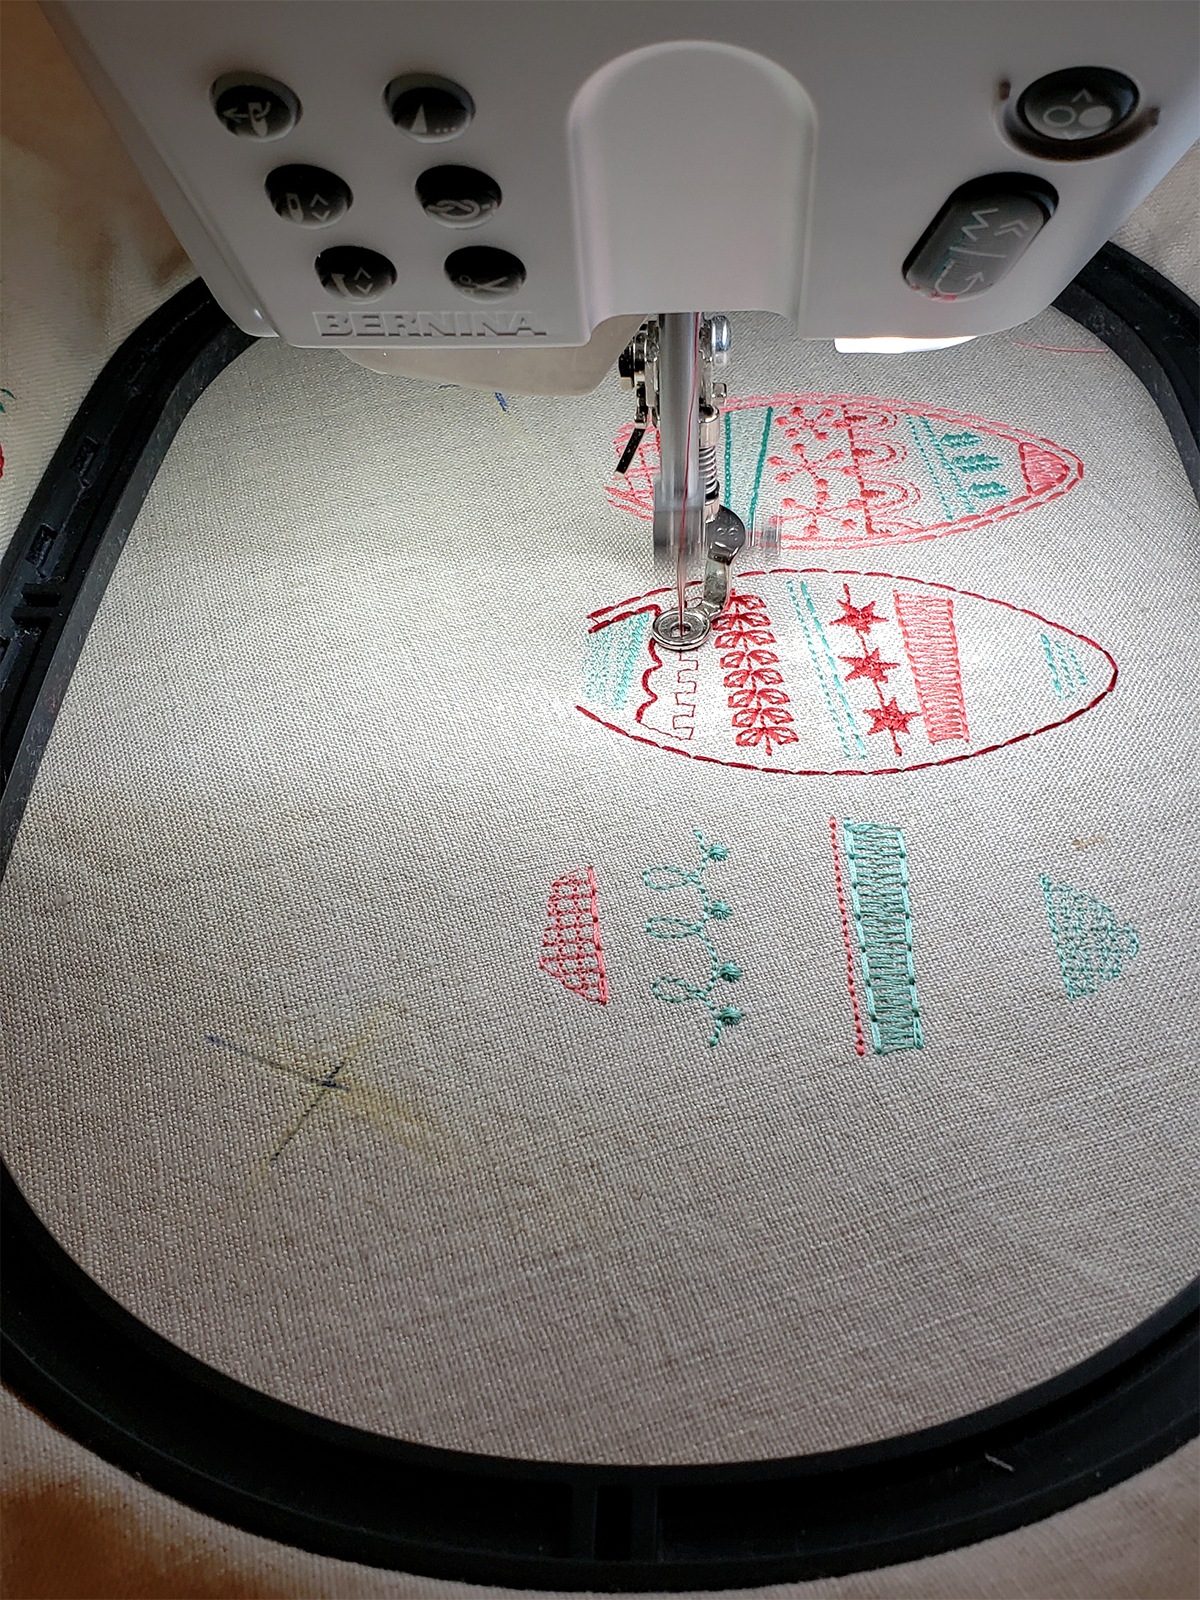
Stitch the design changing thread colors as required.
When finished, remove the fabric from the hoop. Remove excess topping.
Step 13:
Load design 82023-13. If necessary, rotate the design to display as shown.
Note: The following steps use the Pinpoint Placement which is a feature available on the B 880 PLUS, 790 PLUS, 700, 590, and 500. If using another machine, skip to Addendum A for an alternate method of positioning.

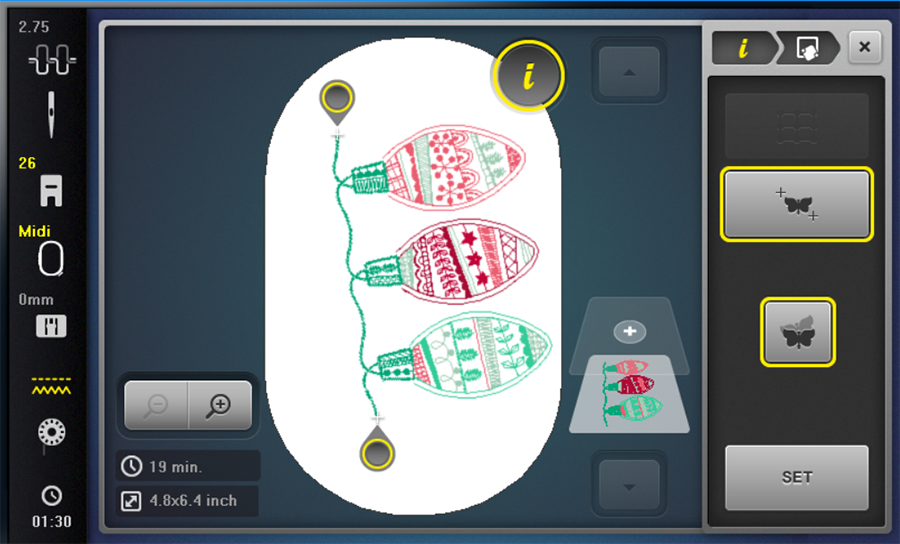
Step 14:
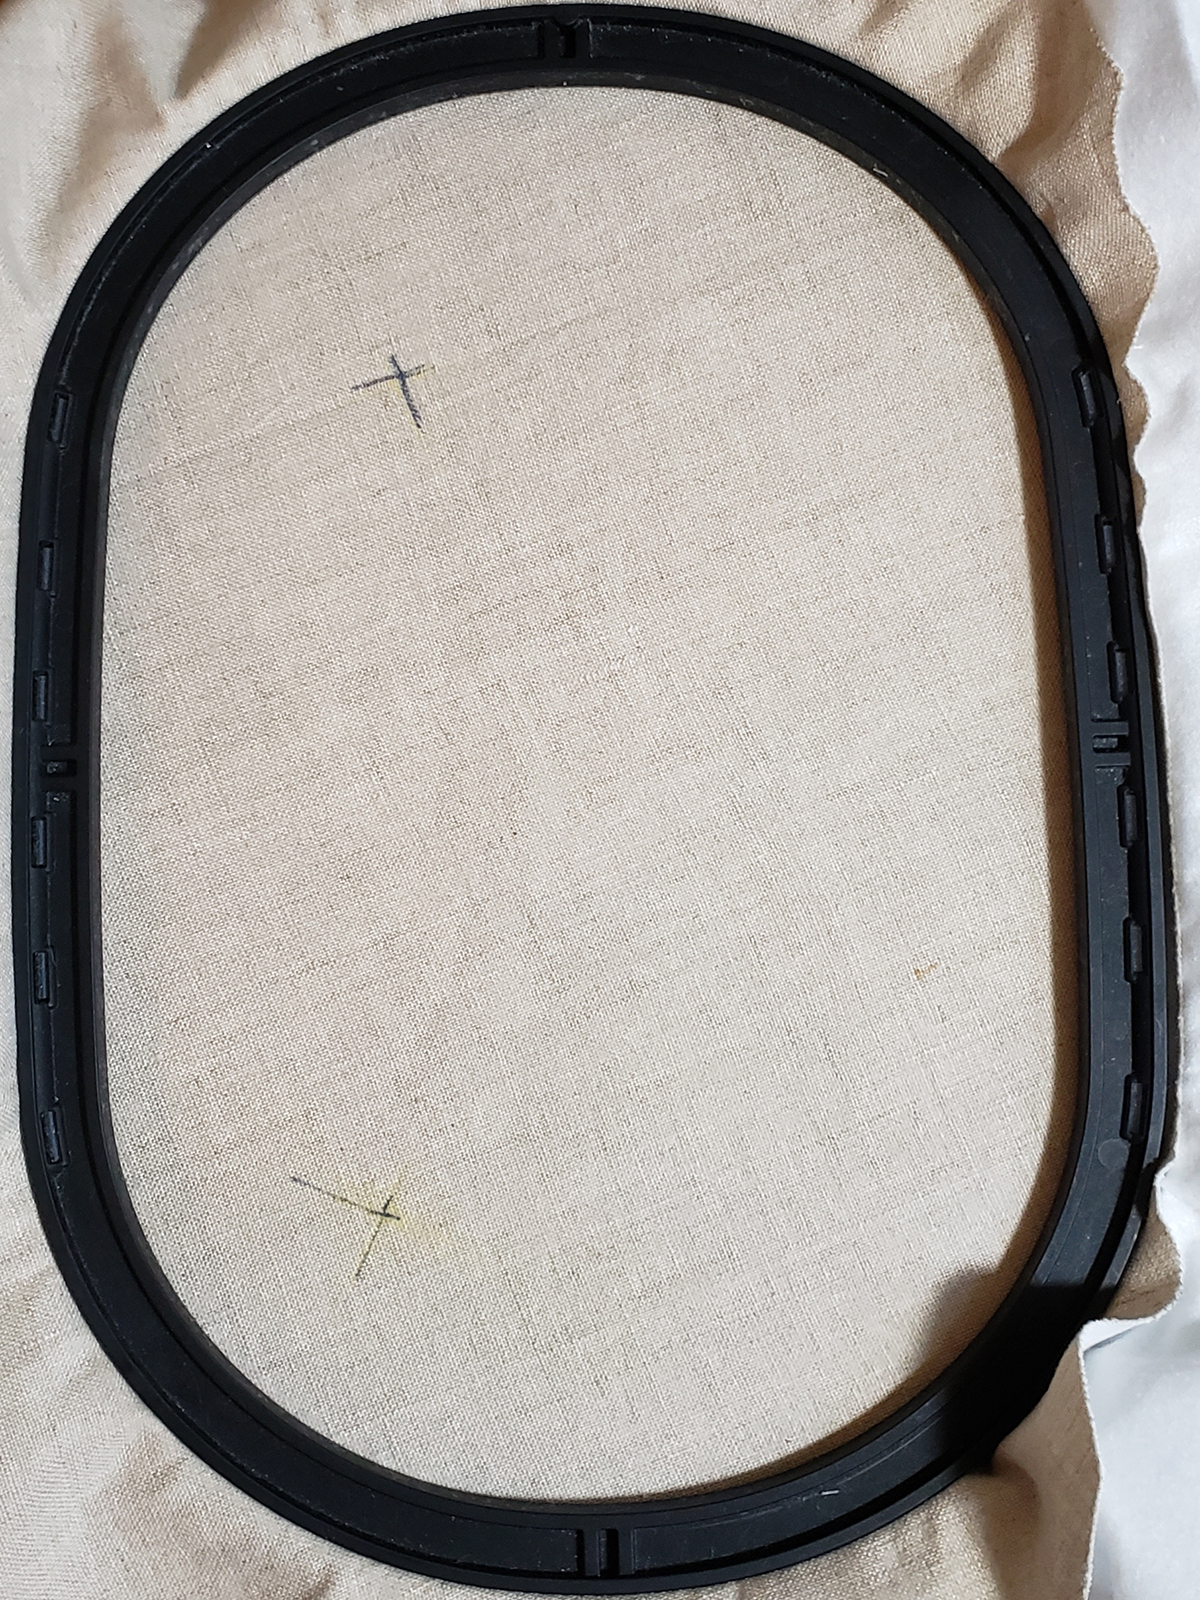
Hoop the fabric to include two of the previously drawn crosshairs. Position so that they are close to the bracket side of the hoop as shown. Attach the hoop to the machine.
Step 15:
In the Information display, select the Pinpoint Placement icon. Select the Free Point Positioning icon.
Touch the screen above the uppermost stitch of the design to designate the first positioning dot.
The dot will turn dark gray and the needle will move to that relative position. Use the Multi-function knobs to position the needle directly over the mark on the hooped fabric. Drop the needle to check the accuracy. Adjust if necessary.
Touch the Set icon to confirm the setting. The dot will be encircled with yellow.
Step 16:
Touch the screen below the bottommost stitch of the design to designate the second positioning dot. The machine will move the needle to that relative position on the hooped fabric.
Use the Multi-function knobs to position the bottom crosshair on the fabric directly under the needle. Drop the needle to check the accuracy. Adjust if necessary.
Press the Set icon and the dot will be encircled with yellow. Touch the Close icon to exit the Information display.
Note: The Pinpoint Placement feature has resized the design to fit perfectly between the two crosshairs.
Step 17:
Move from editing to stitching mode by touching the OK (needle) icon. Stitch the design changing colors as prompted.
When complete, remove the hoop from the machine and the fabric from the hoop.
Step 18:
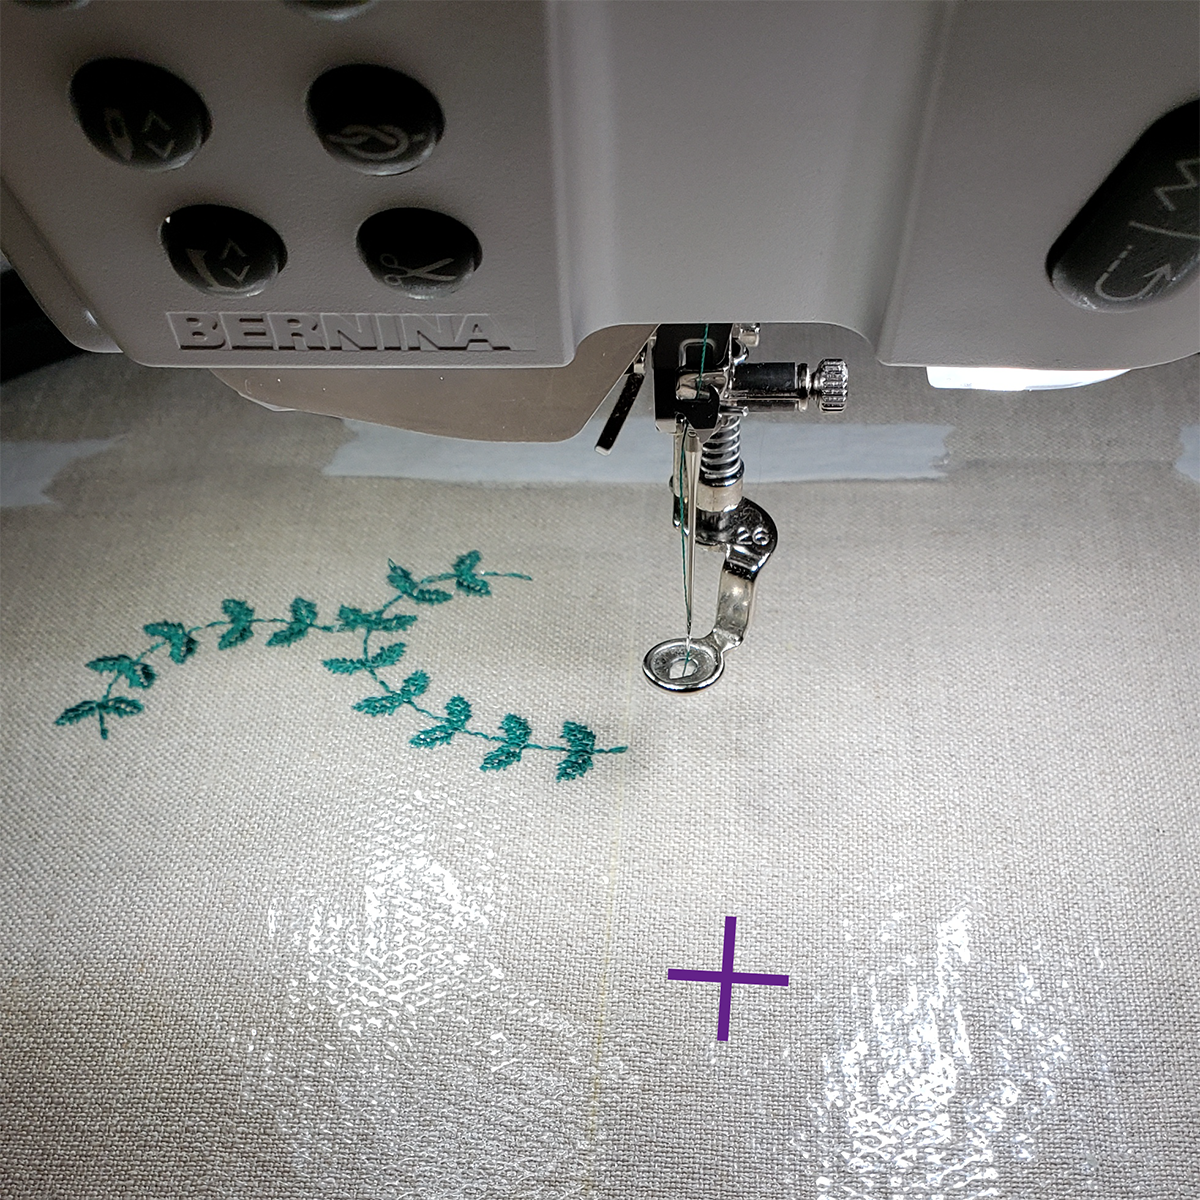
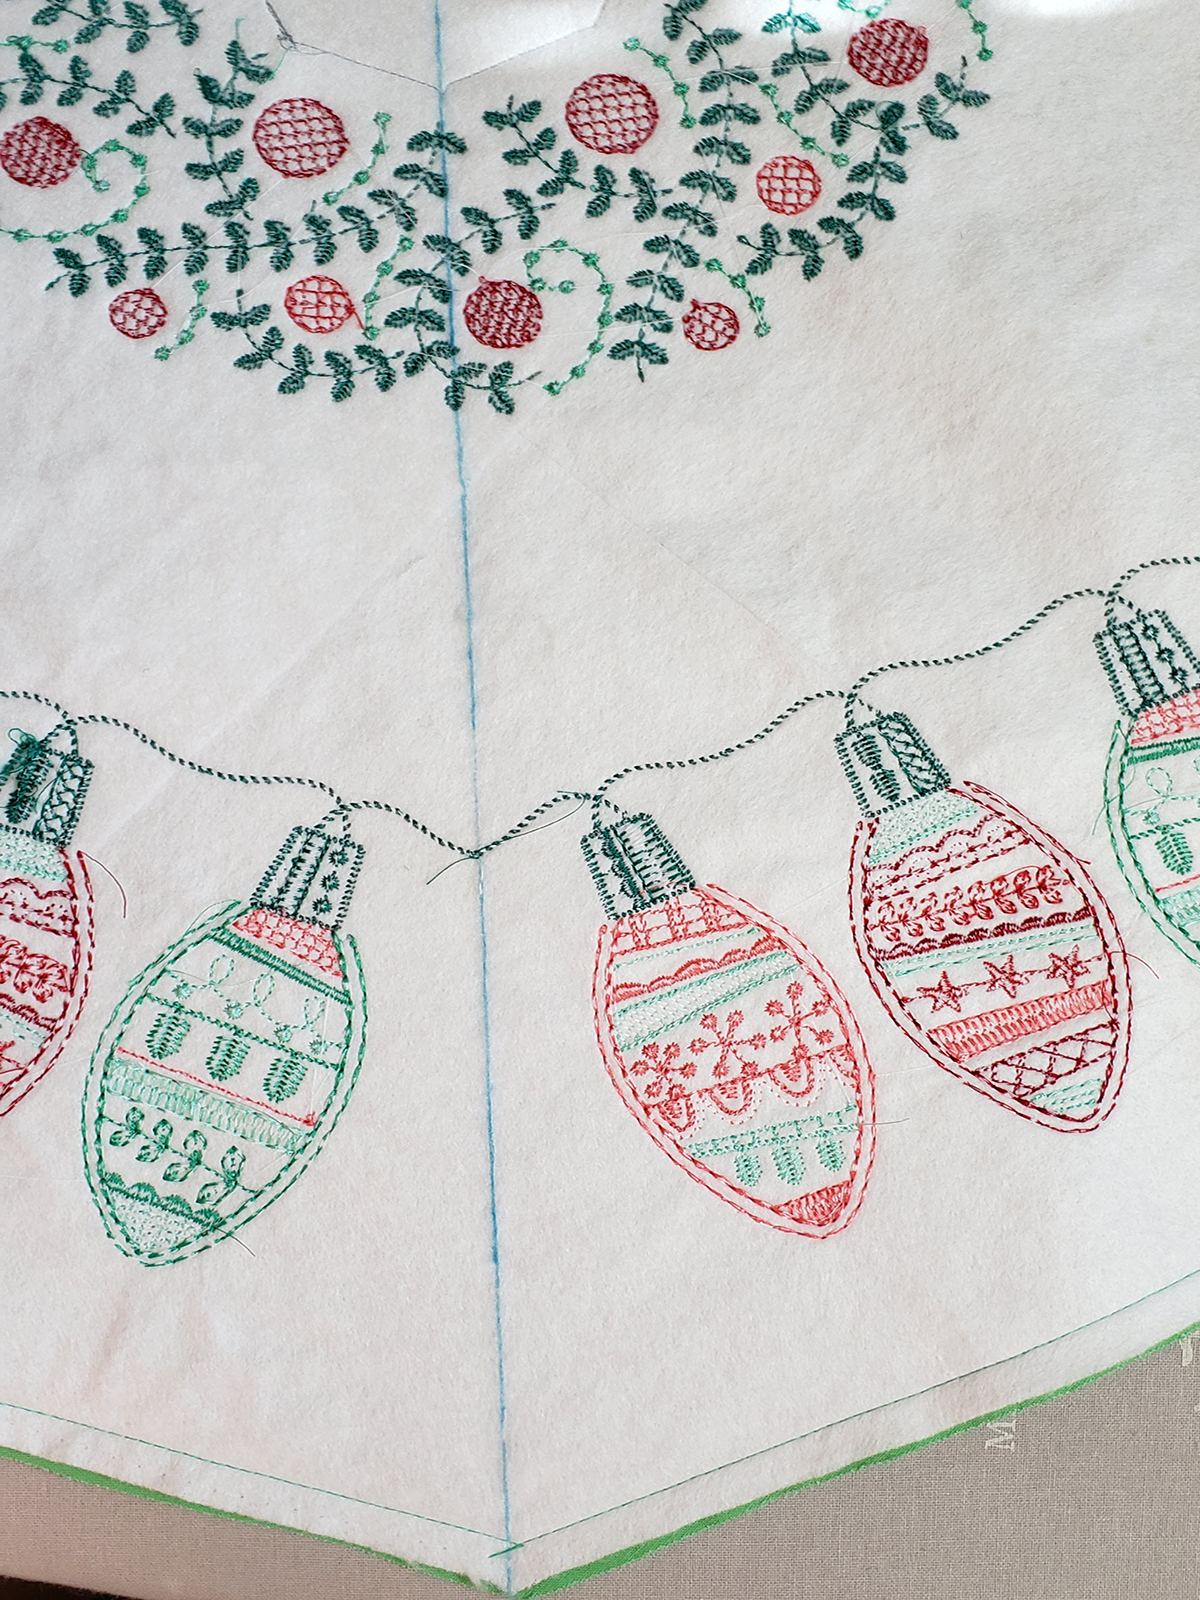
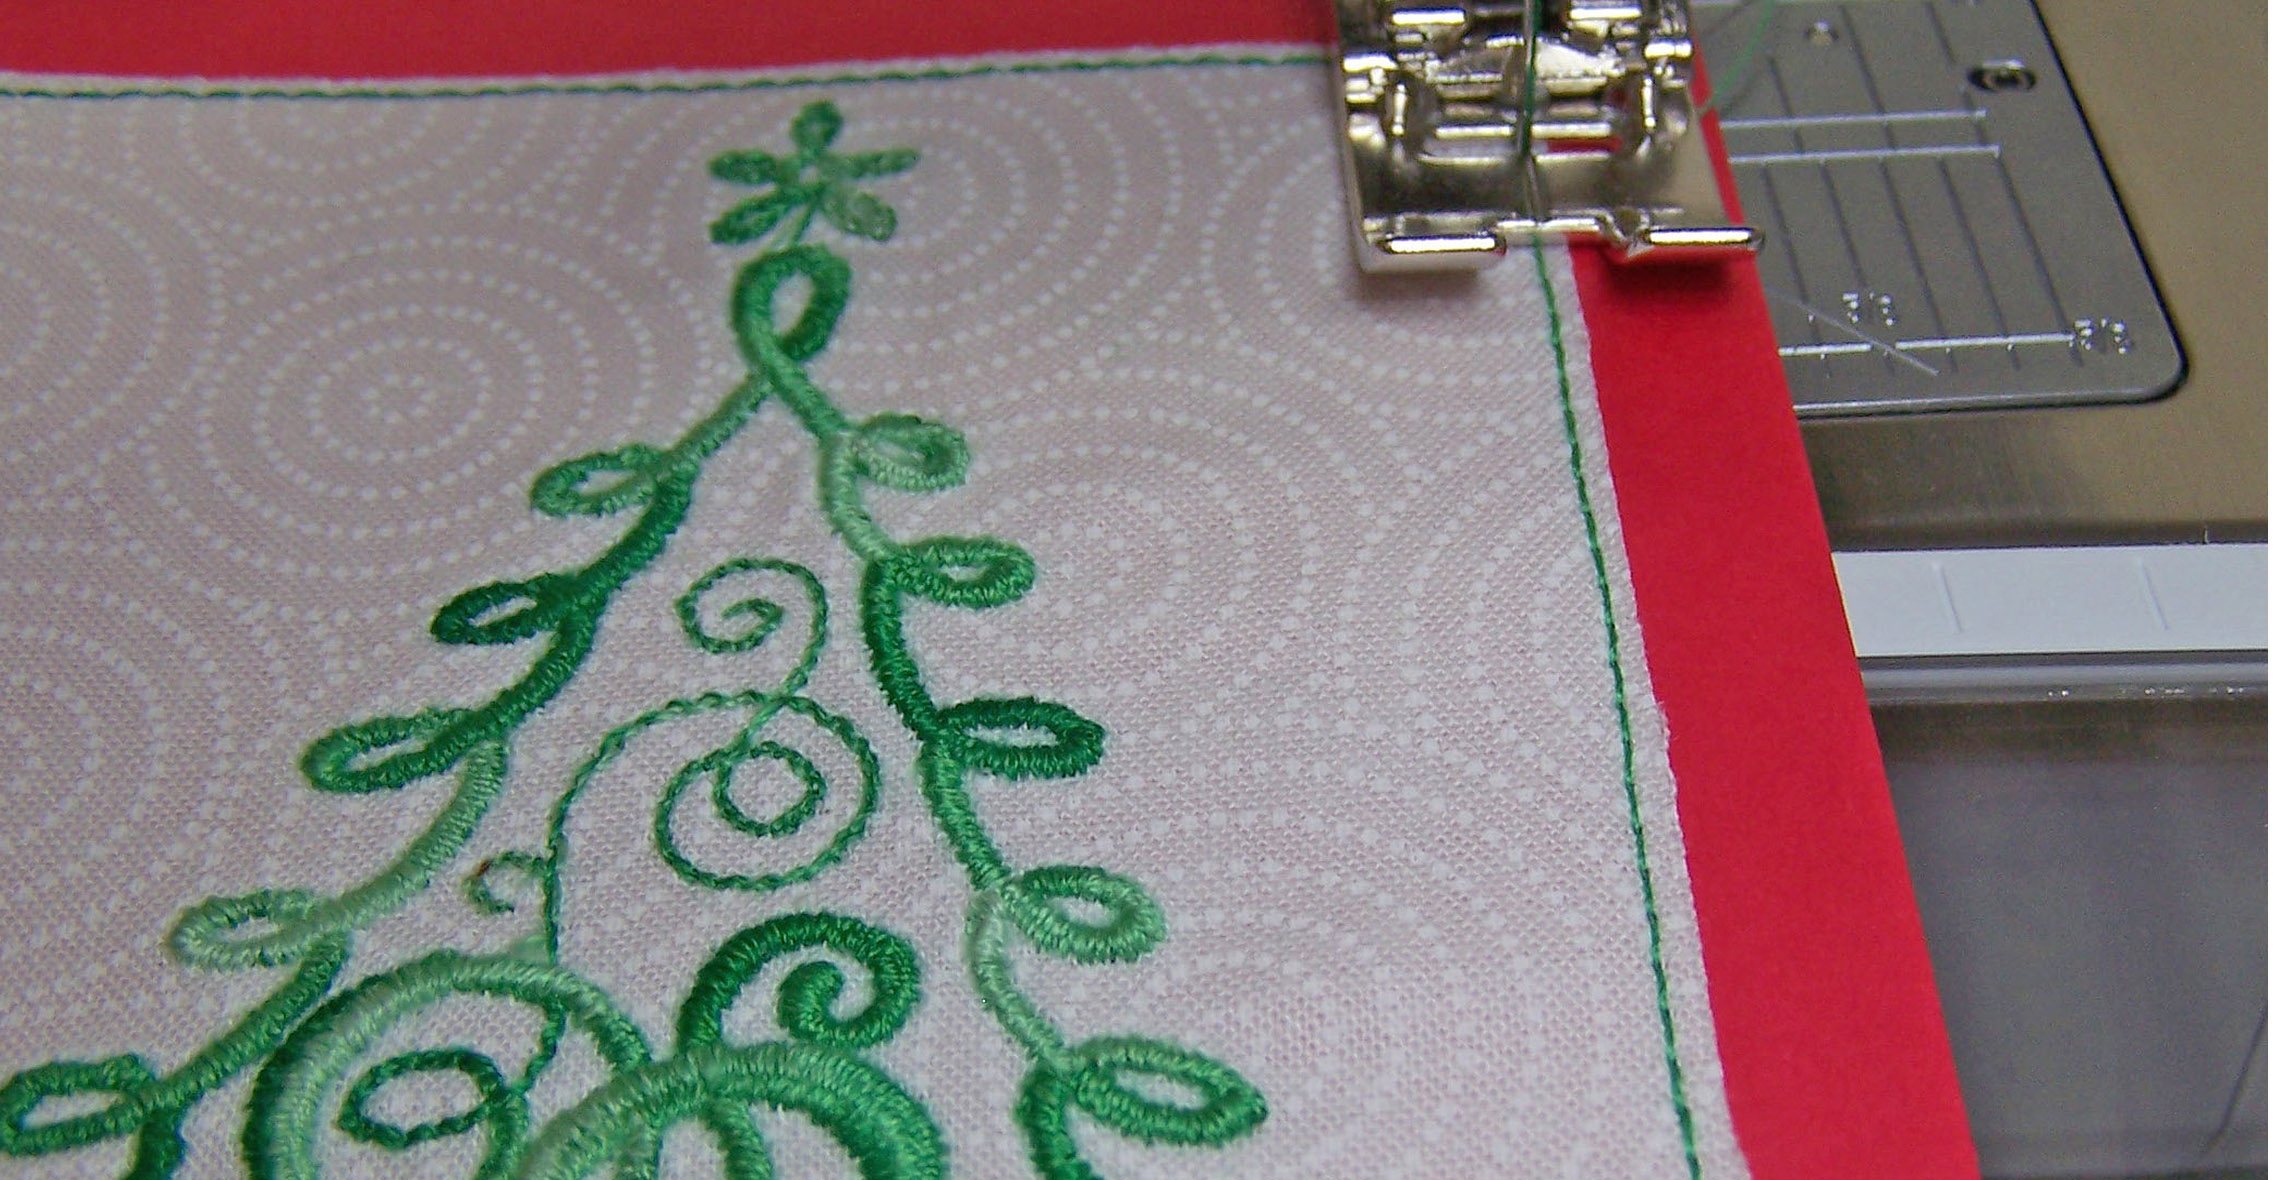
Repeat from Step 14 for the remaining designs with two exceptions:
- When connecting to the previous design, connect to the last stitch of the design instead of to the drawn crosshair as shown below. This will ensure perfect, stitch-to-stitch alignment!
- On the last design, connect both points of the design to the stitches of the designs on either side.

Want to save time? It is also possible to stitch two of the designs in one hooping with a Maxi, Mega, or Jumbo hoop. Proceed to Addendum B for those instructions.
Step 19:
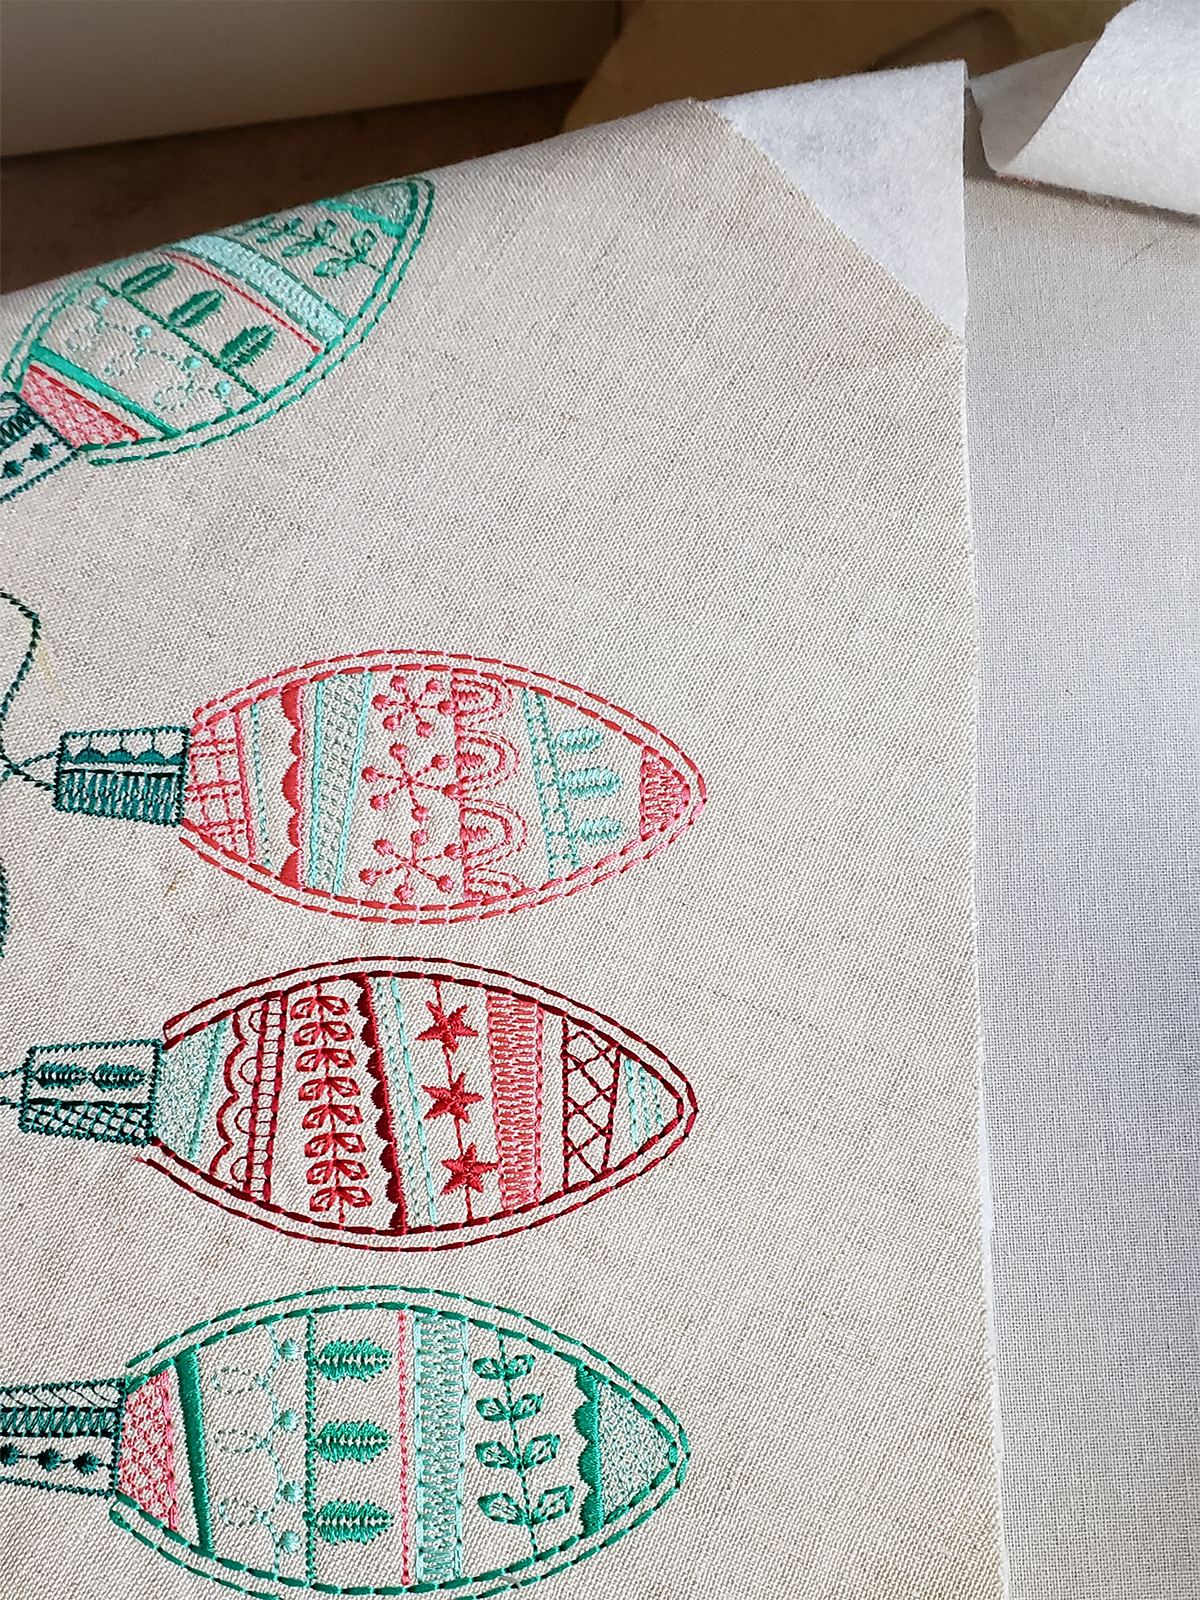
Remove Topping from the fabric. Remove all crosshair marks on the fabric and press.
Trim away the excess Fuse and Fleece along the edge of the fabric as shown.
Step 20:
To cut the backing fabric, repeat Steps 2-7 for the backing fabric; or alternatively, place the embroidered fabric on a flat surface and use it as a pattern, tracing around the edges onto the backing fabric. Trim away excess fabric.
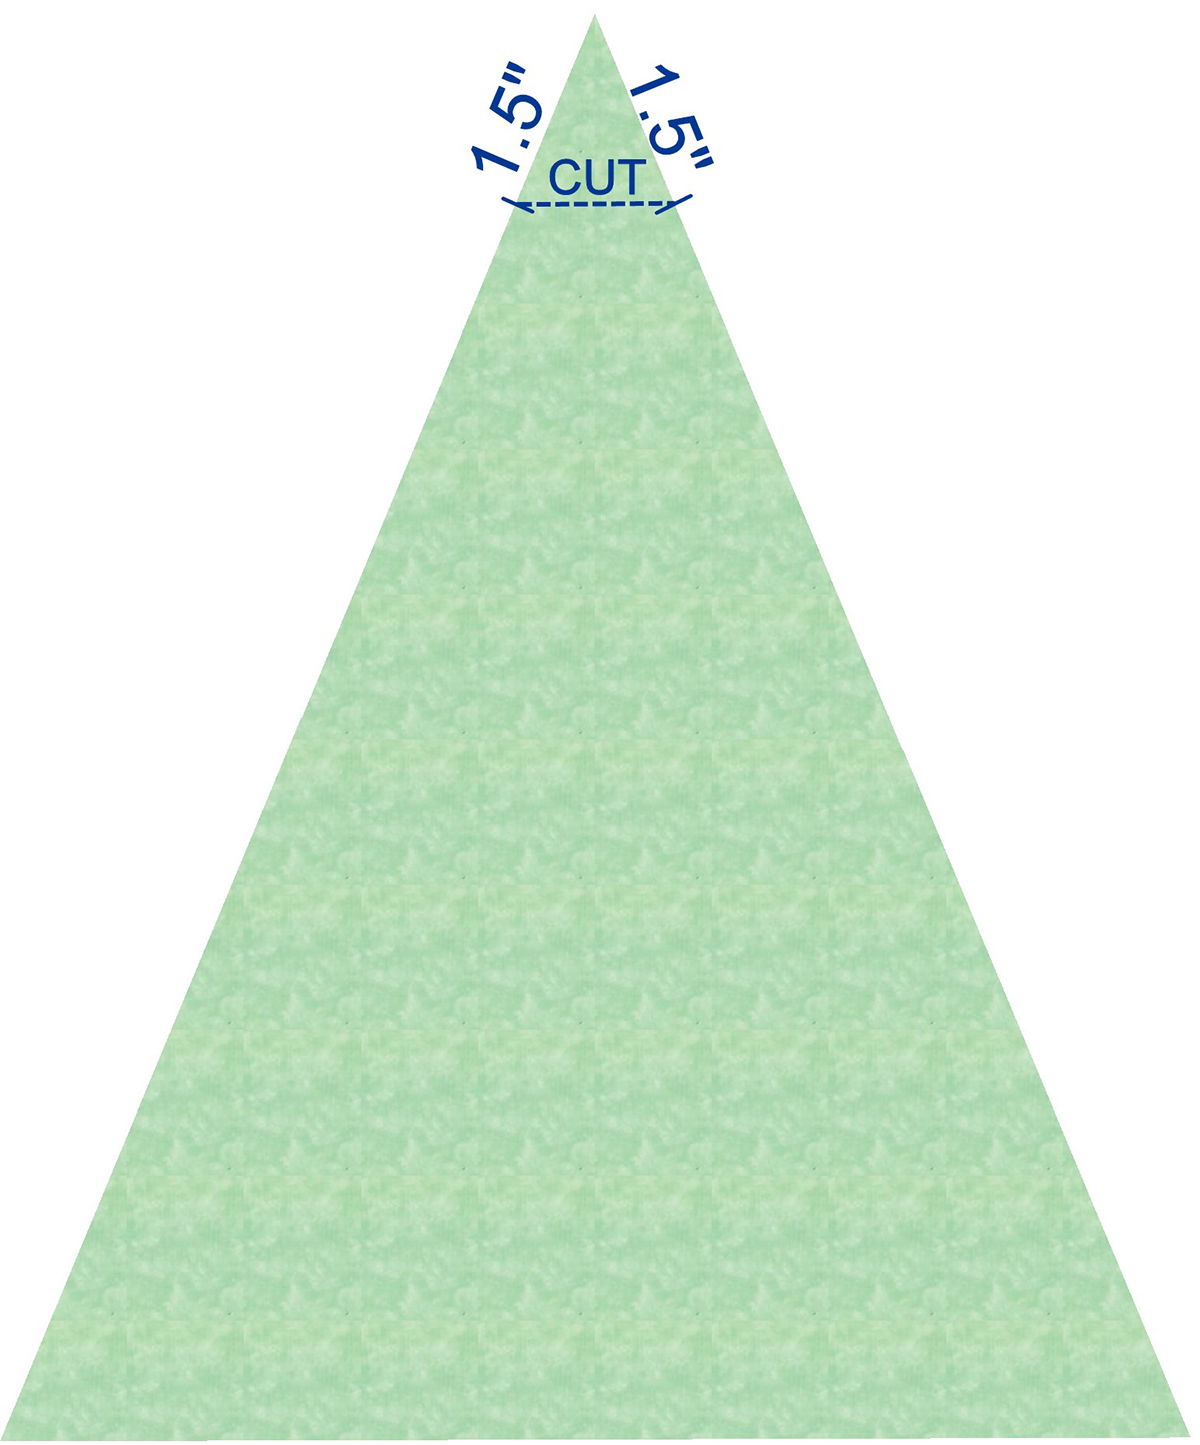
Fold the backing as described in Step 2. (If it has already been trimmed, match the points of the octagon as it is folded.) Press folds to crease.
Mark 1 1/2” from the center point on each crease. Cut point to point as shown. This creates an octagonal opening for the tree trunk.
Step 21:
Press the backing. Lay the backing over the tree skirt, right sides together. Pin outer edges and inner opening.
Step 22:
Stitch the inner opening and outer edges using a ¼” seam allowance.
Step 23:
On the wrong side of the skirt front, mark a line from the center of the skirt to the outer edge using the junctions of the designs and the previously pressed creases as a guide.
Step 24:
Stitch 1/8” away from the drawn line on one side.
On the other side, stitch 1/8” away from the drawn line but leave a large opening for turning the skirt right side out. For best results, backstitch on each side of the opening.

Step 25:
Cut apart the tree skirt on the drawn line.
Trim fabric in the center opening to ¼”. Clip into each inner corner. Trim each outer corner to remove bulk.
Turn the tree skirt right side out. Use the Expert Point and Press Tool to facilitate turning corners and points. Press well.
Press under seam allowance on both sides of the opening. Secure with hand stitching or fusible tape.
Add ribbon or the closure of your choice to hold the opening together when used.
Addendum A: Instructions without Pinpoint Placement
Step A1:
Using ArtLink 8 (free downloadable embroidery software program) or BERNINA Embroidery Software 8.1, increase the size of the design proportionally to 112º. Print a template of the design onto a StabilStick Template Sheet. Trim template.
Position the template so the upper and lower ends meet at their crosshairs marked on the fabric.

Step A2:
Hoop the fabric with the template in place.

Step A3:
Use the template crosshair to position the hoop under the needle. Rotate design if necessary.
Remove the template and set aside! Note: The template may be reused for each hooping.
Stitch the design.
Repeat for all eight designs.
Return to Step 19 for completion instructions.
Addendum B: Multiple Designs in One Hooping
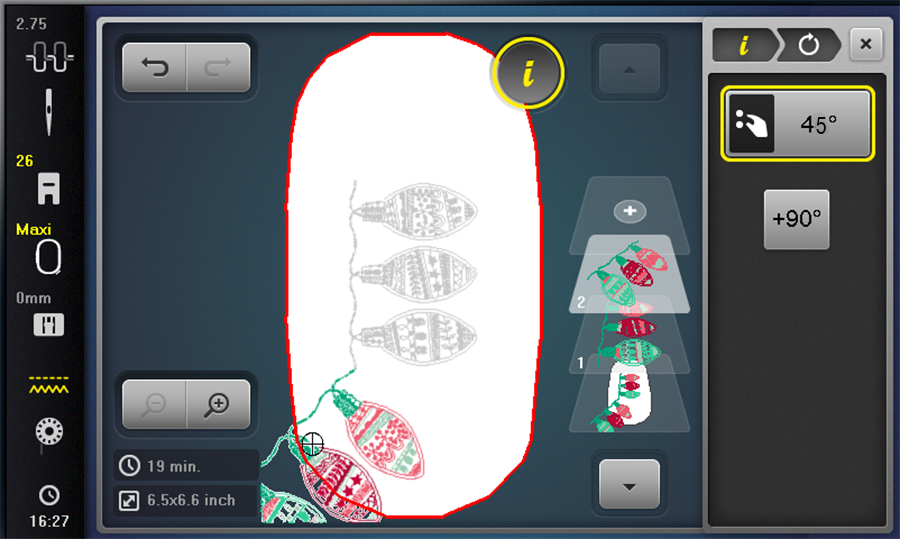
Step B1:

In the Information display, select Duplicate. Two designs are now displayed on the screen and the second one is selected.
Select the Rotate Icon. Using the Multi-function knobs, rotate that design 45º as shown.
Move the rotated design down to connect with the original design at its bottommost point. Use the Zoom tools to verify placement. Zoom back out.
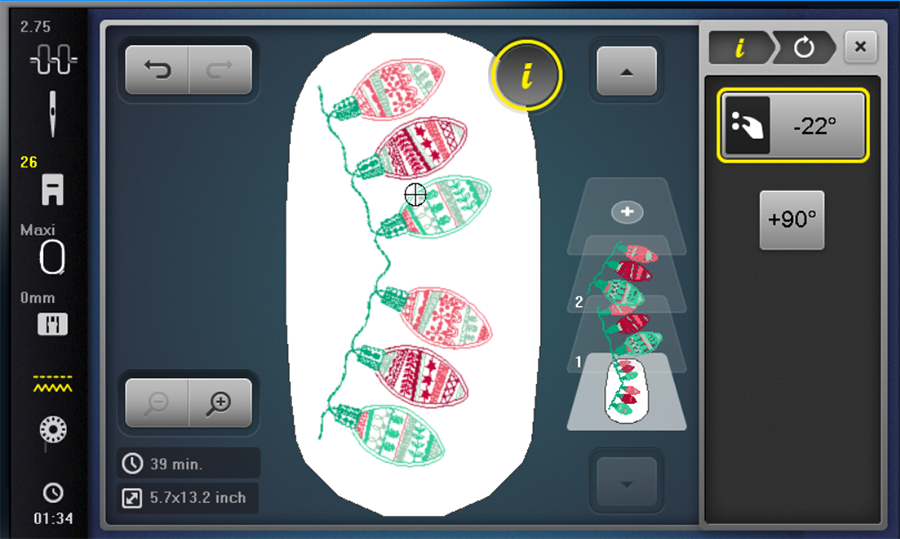
Step B2
Select both designs by clicking on the bottom layer in the Layer Panel.
Select the Rotate icon. Rotate the design -22º.
Move the rotated design back into the sewing area of the hoop as shown.
Step B3
Exit the Information display and select the OK (needle) to move to stitching mode.
To save time in thread changes, click on the Color Resequence icon (highlighted in yellow below) to combine colors.
Step B4
When hooping the fabric, include three of the crosshairs within the hoop as shown.
When positioning the designs with Pinpoint Placement, still select the uppermost and bottommost points to align with their respective crosshairs.
Return to Step 19 for completion Instructions.
Used Products


What you might also like


4 comments on “Octagon Tree Skirt”
-
I put it out again this year and still think i am so clever to have completed this tree skirt.
-
How do I obtain these embroidery designs? I was able to download the instruction sheet, but don’t see how to obtains the design files for my 880. Thanks,
-
Hello! Thank you for your comment.
The designs can be purchased individually from OESD:
• 82023-13 (light string) size 6.15” x 4.18”
• 82023-25 (wreath) size 9.81” x 9.88”The full collection is available for purchase as well: OESD Holiday Stitches Design Collection
We hope this helps! Happy stitching!
-
Leave a Reply
You must be logged in to post a comment.

This is super cute!!