Pintuck Headband Tutorial
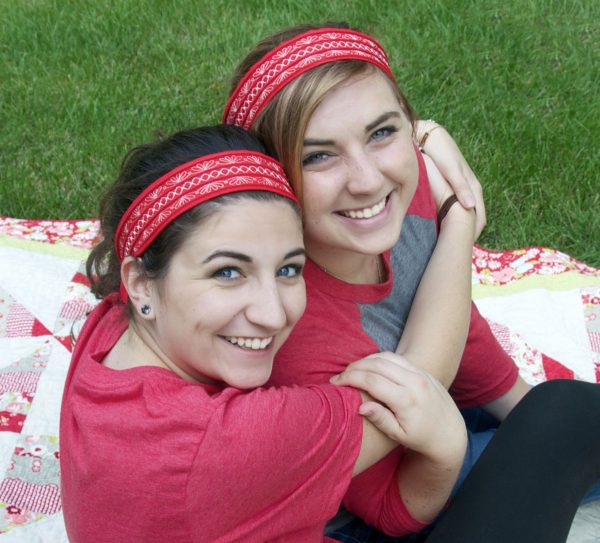
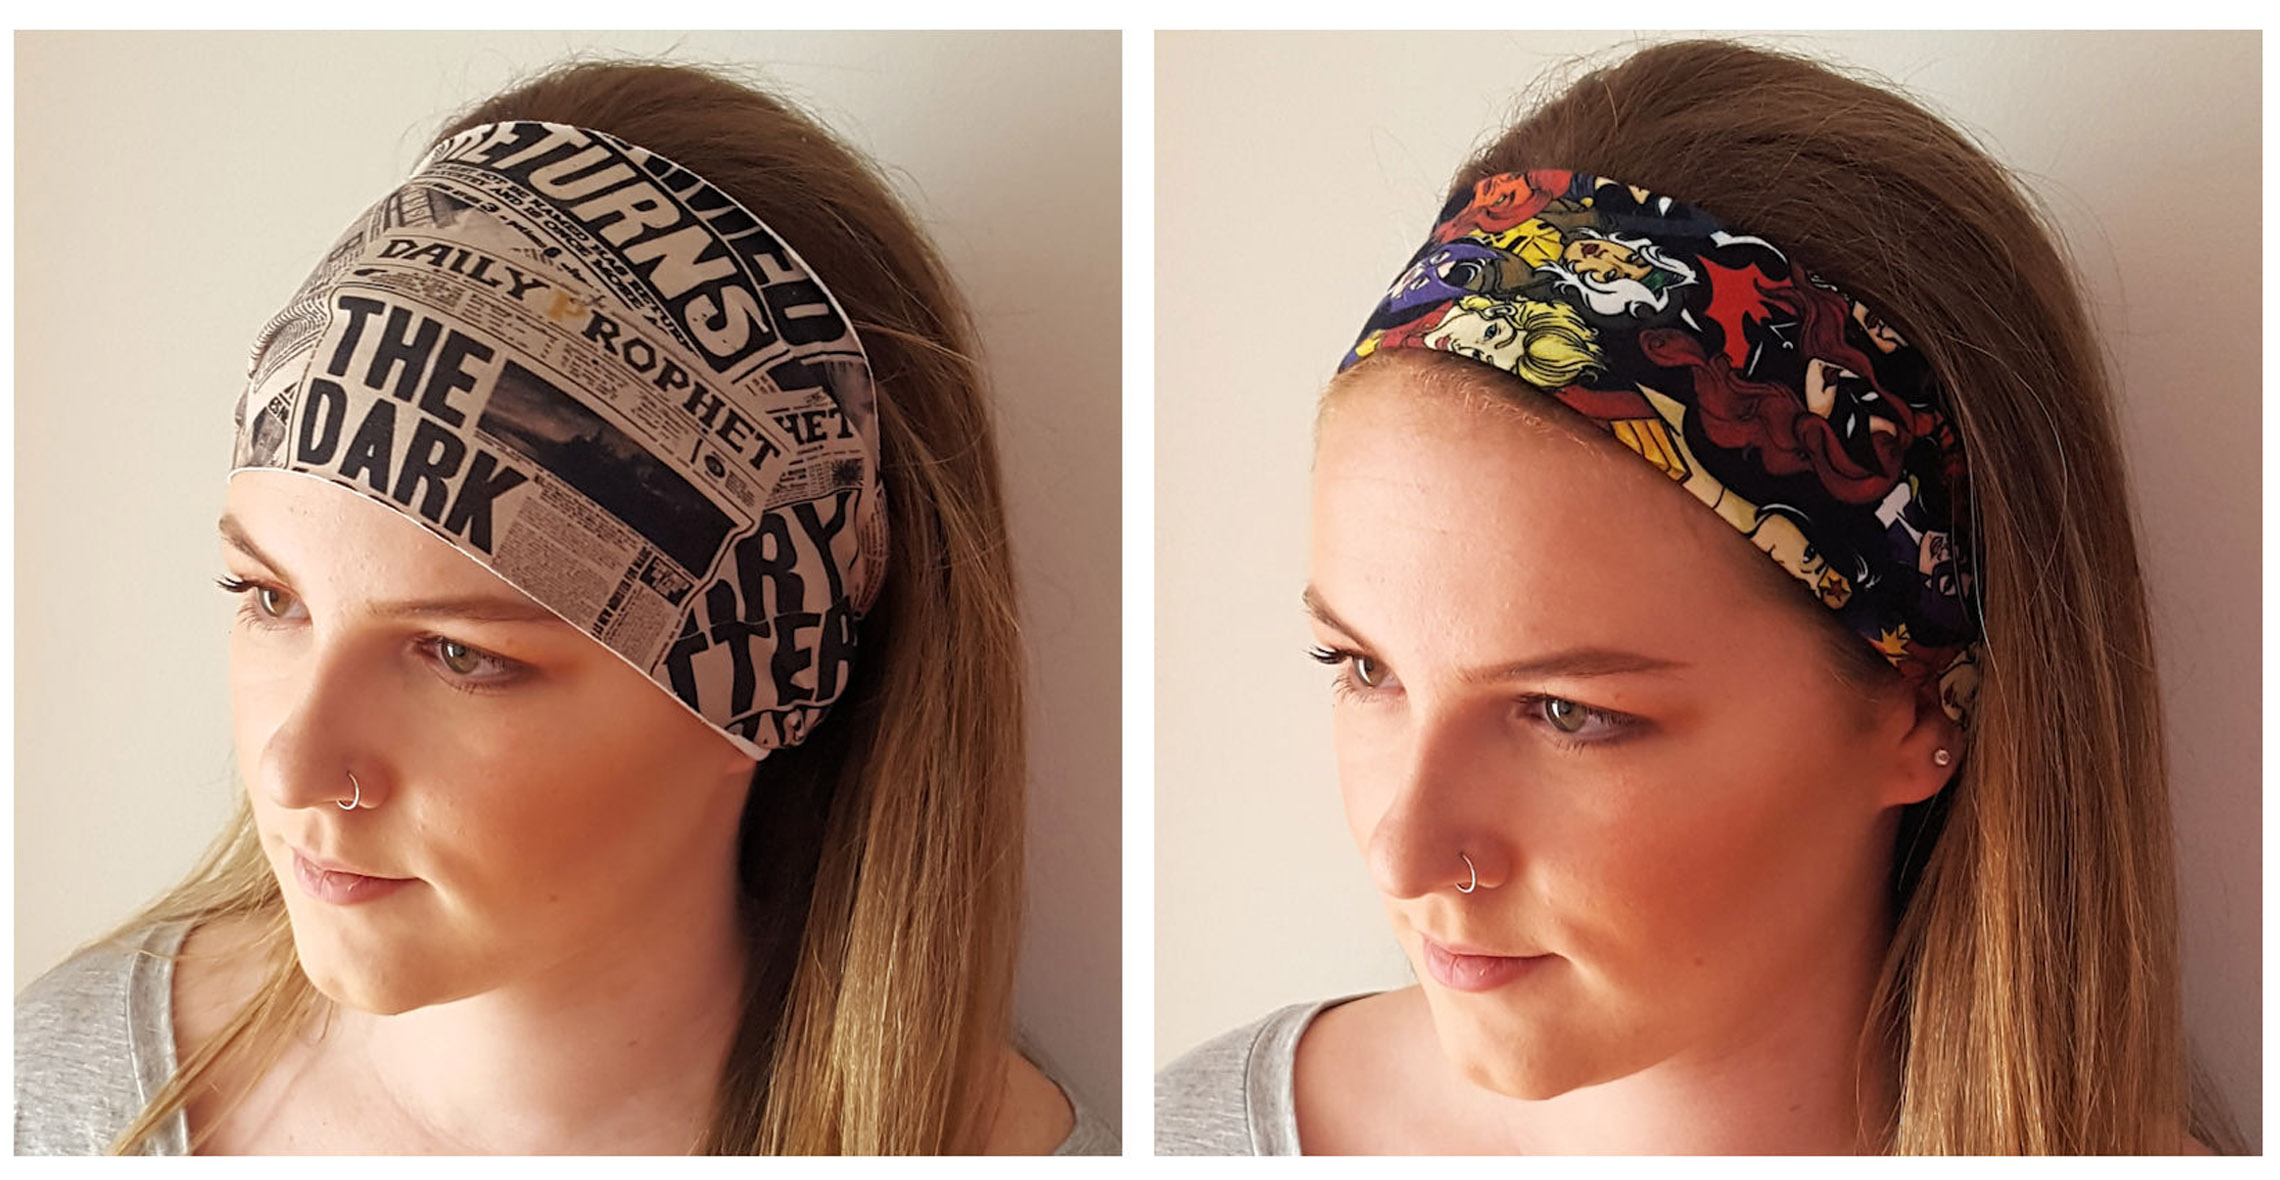
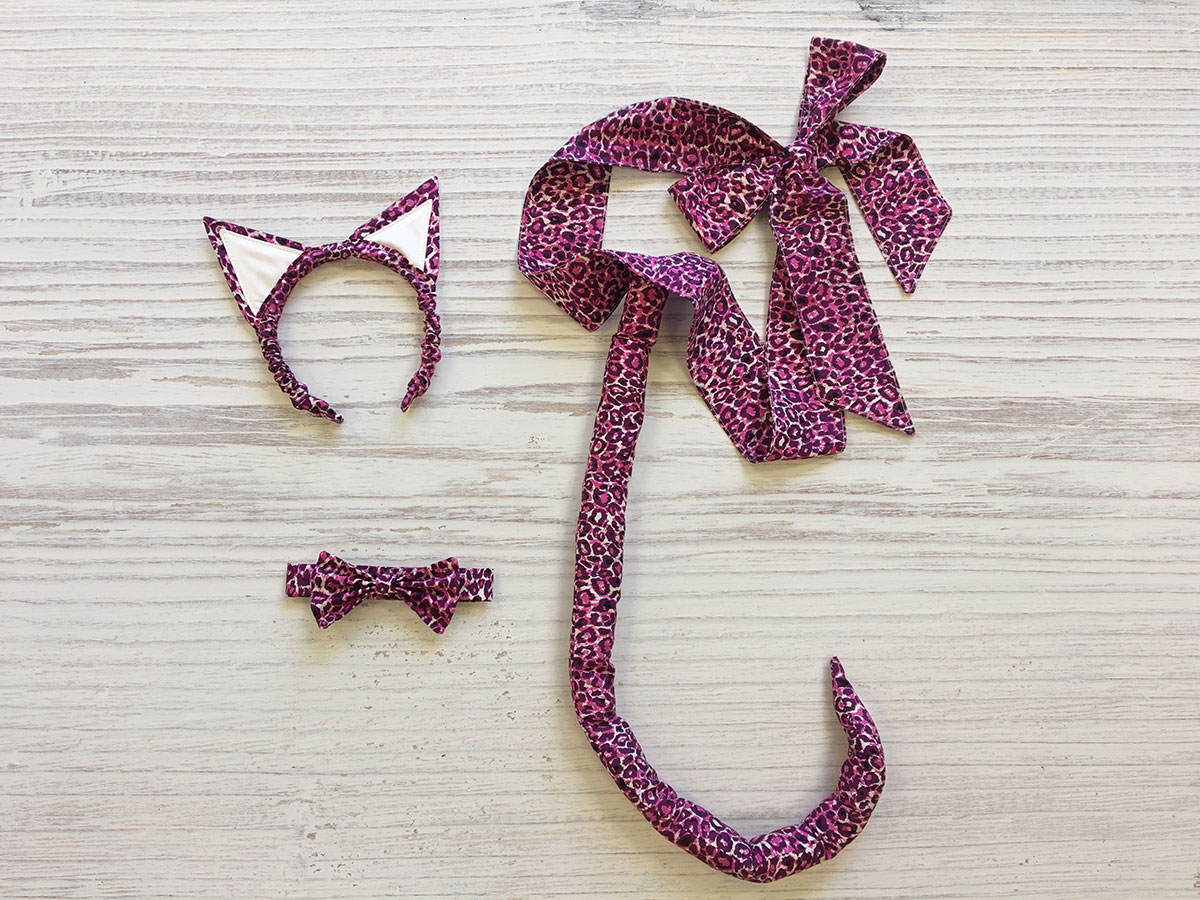
Hi there! I’m Christine Conner from Amélie Scott Designs. My daughter Katie and I recently attended the “Feet Retreat” at the BERNINA Creative Center. In addition to learning how to use about 36 different presser feet, we came up with this fun and easy project. Katie is going to make her college friends headbands for gifts this year in her school colors. Maybe you have some friends that would love a pintucked headband? Learn to make one with this Pintuck Headband Tutorial!
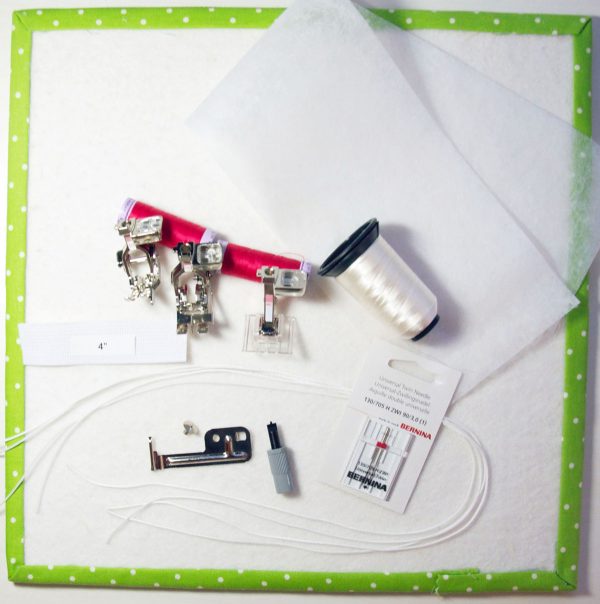
Materials to make a Pintuck Headband:
- 4.5″ x 32″ strip of fabric
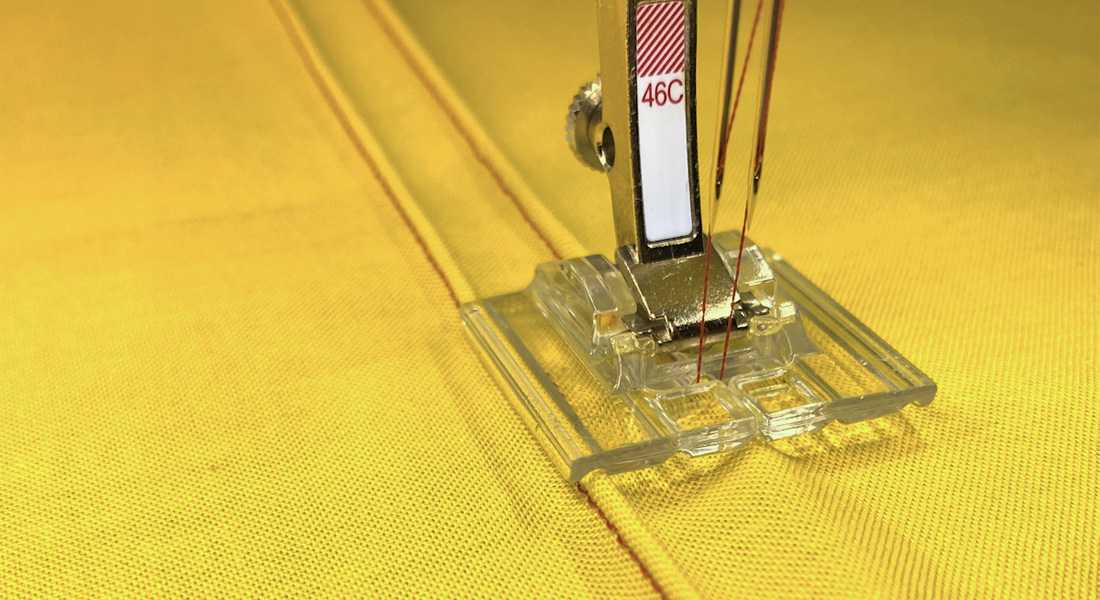
- Pintuck and decorative stitch foot with clear sole #46C
- Pintuck attachment
- Patchwork foot with guide #57/#57D
- Edgestitch foot #10/#10C/#10D
- Elastic 1″ wide (4” strip)
- 1/16″ or 1.5mm piping cord (4 cuts 26” long)
- Two threads for pintucks to match fabric
- Thread for decorative stitching
- 3.0mm twin needle
- 9mm or 5mm stitch plate
- Tear away stabilizer (4.5” x 20”)
- Water soluble marking pen
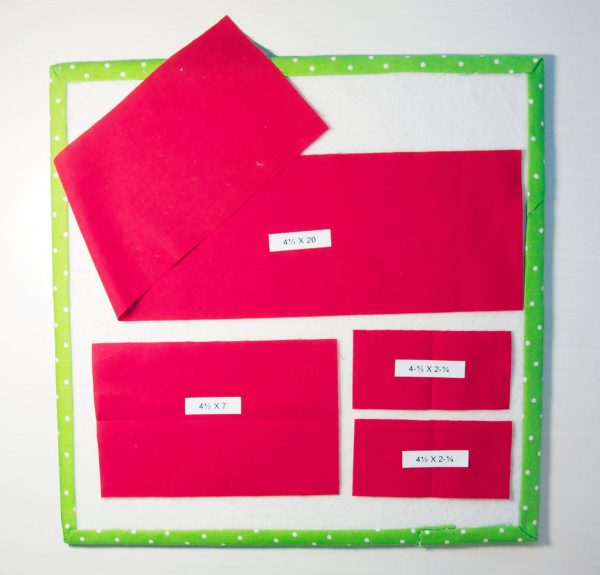
Fabric Cutting Instructions for a Pintuck Headband
- Cut one 4.5″ x 20″ rectangle for the headband
- Cut one 4.5″ x 7″ for the elastic sleeve
- Cut two 2.25″ x 4.5″ rectangle
- Cut a 4″ long piece of elastic
Making the Pin Tucks with Cording
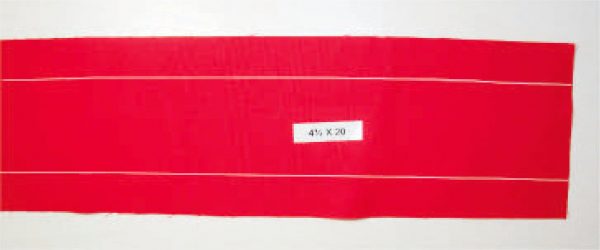
Starting with the 4.5″ x 20″ headband rectangle, use a water soluble pen to mark a line 1″ from both long edges. These 1″ edges will be the back of the headband, so you don’t want to stitch here.
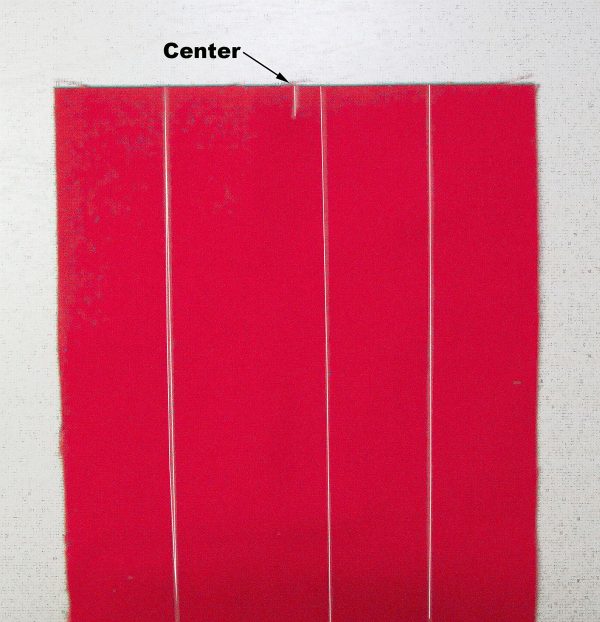
Make a small mark to indicate the center of the width of fabric on both sides, and then use your ruler to draw a line down the full length 1/4″ to the right. This line is where your first pin-tuck will be stitched.
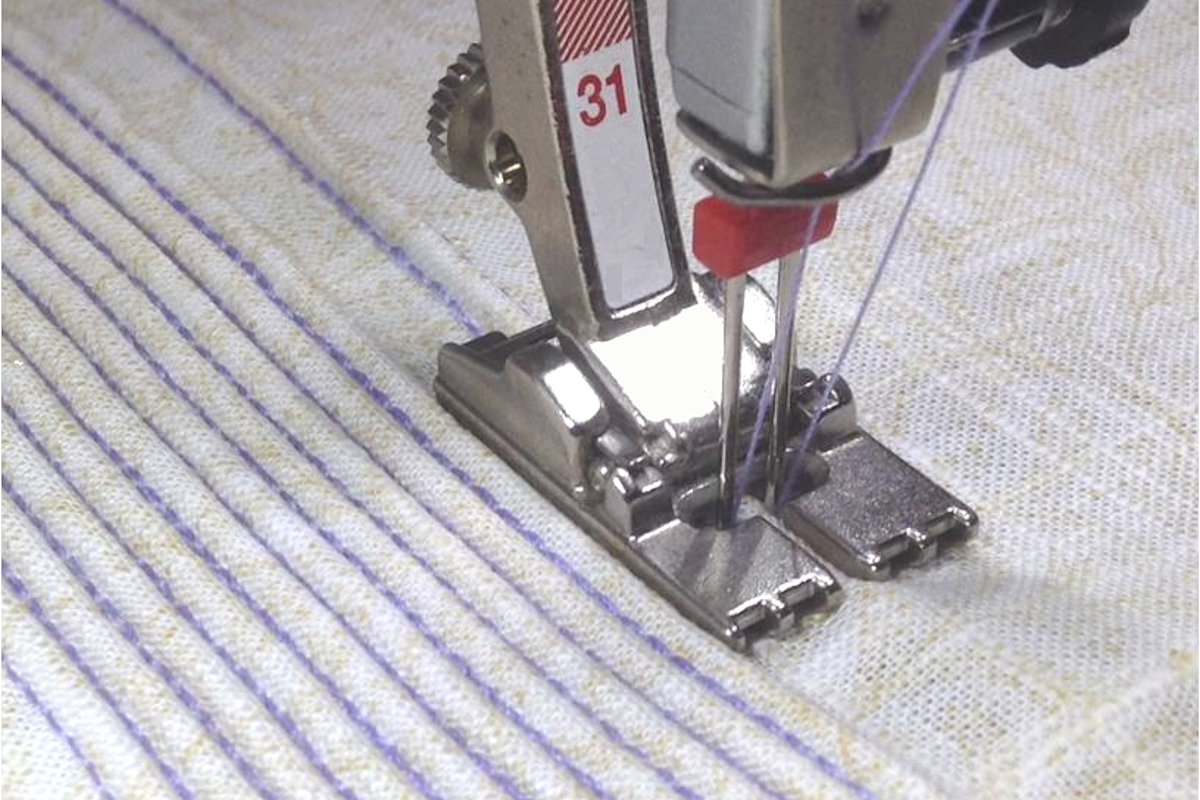
Attach the Pintuck and decorative stitch foot with clear sole #46C to your machine, and a 5mm or 9mm stitch plate. Insert a 3.0mm twin needle in your machine.
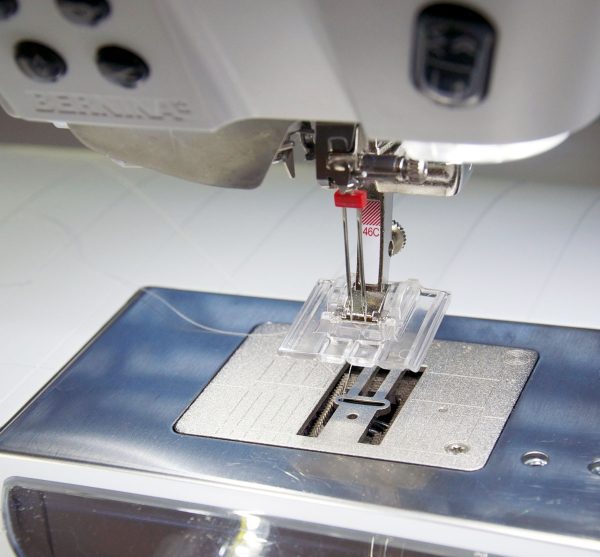
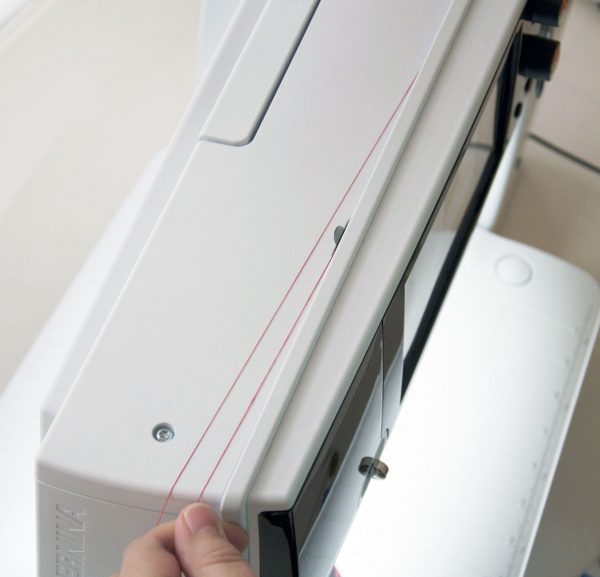
Place two spools of thread on your machine that match your headband fabric. Follow your machine’s instructions for threading a twin needle. Remember, one thread will go on one side of the tension disc and the second thread will to go on the other side. The tension disc on the BERNINA 880 is on top of your machine.
Attach the Pintuck accessory to your needle plate.
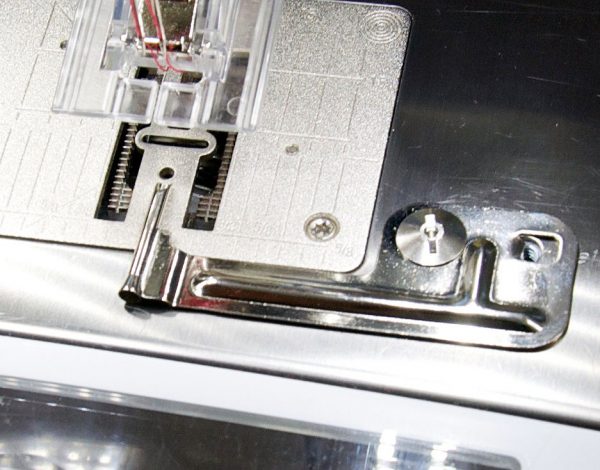
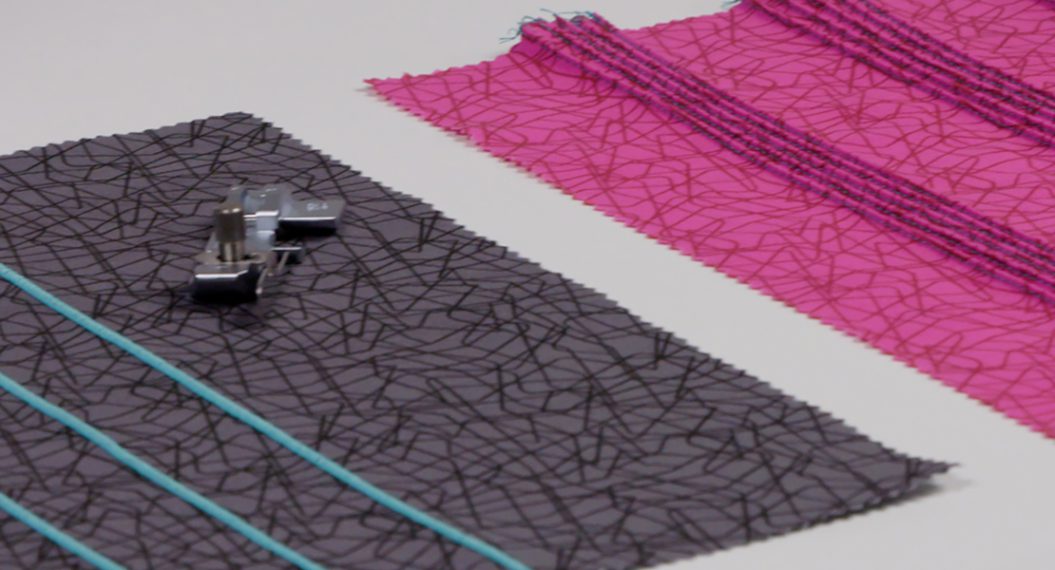
Bring the bobbin thread up to the top. Thread one 26″ cord through the cord guide on the Pintuck accessory.
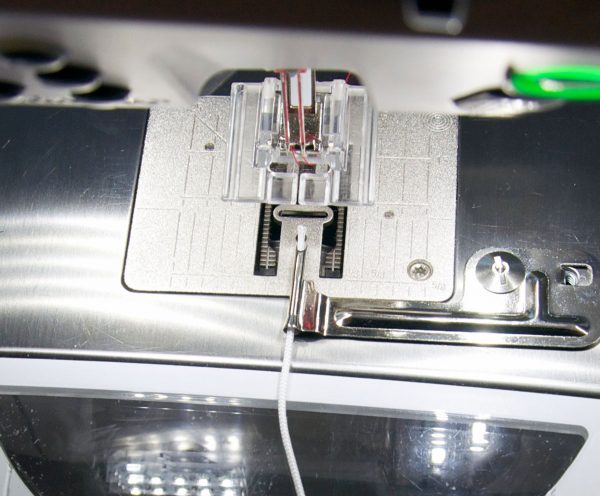
Be sure to start stitching on the fabric; you will trim the headband later to 18″ in length. Hold the bobbin thread, top thread, and cording when you first start stitching. Sew one pintuck down the line you just drew. Stitch slowly! When you finish the pintuck, lift the presser foot, and cut the thread and extra cord with scissors.
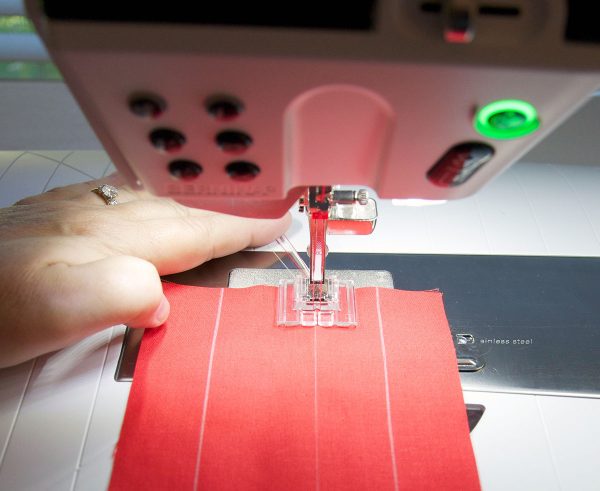
Thread another piece of cording through the cord guide of the Pintuck accessory. Place the pintuck you just stitched under the far left groove on the foot. Sew another pin tuck.
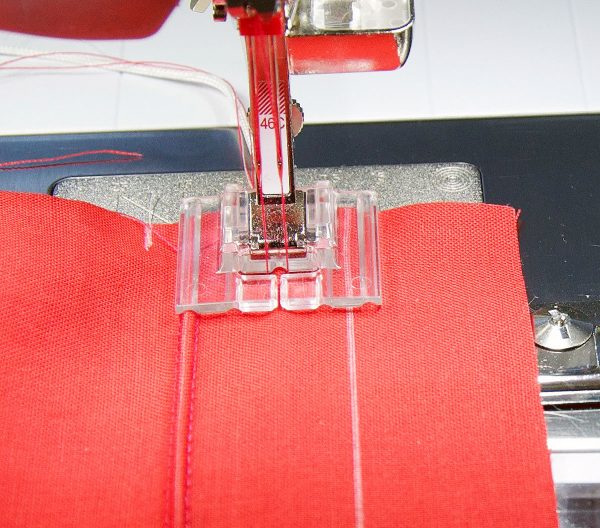
Now place the first pintuck in the groove on the far right side of the foot. Stitch another pintuck. Repeat to stitch one more pintuck. You will have 4 pintucks when you are done. You can trim the threads and cords even with the fabric, but don’t trim the fabric yet.
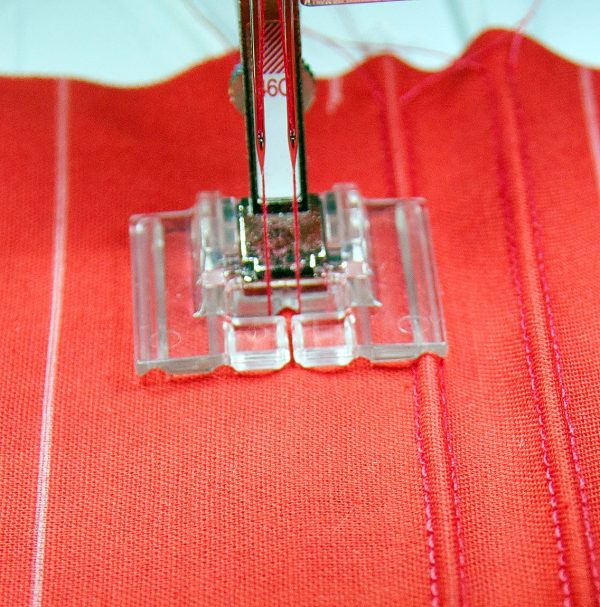
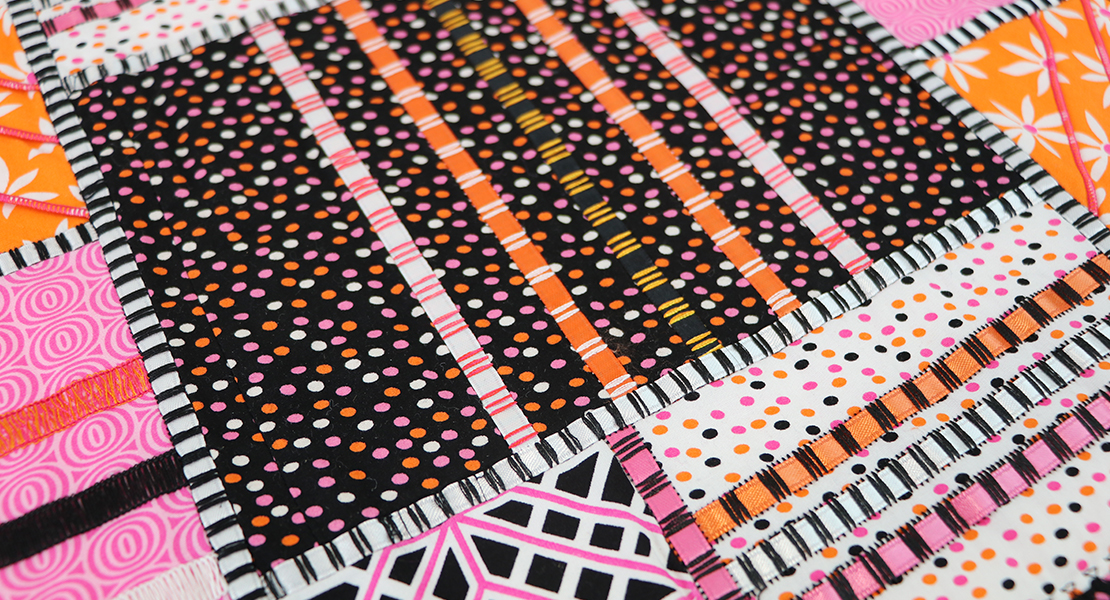
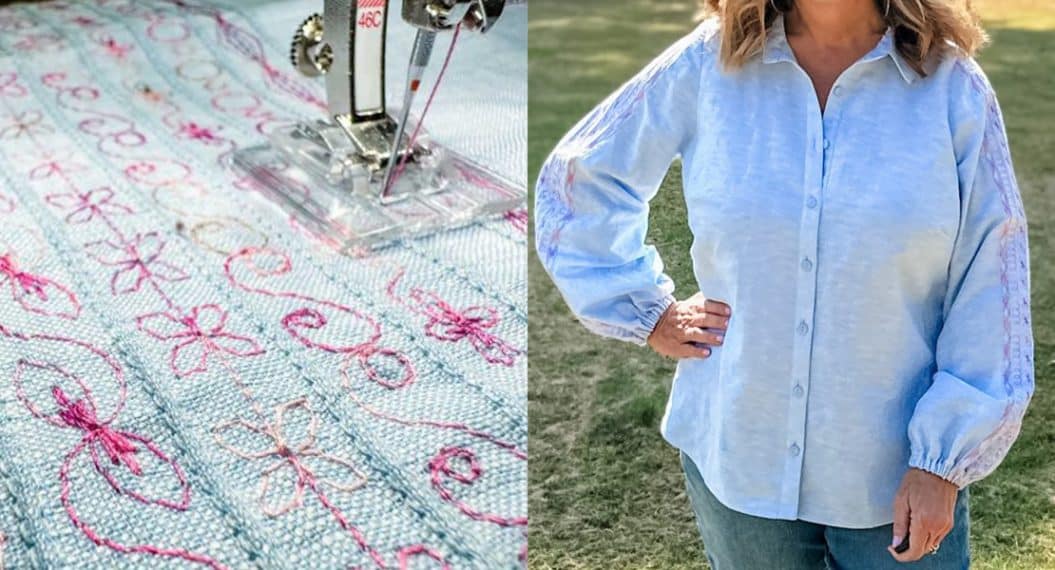
Keep Pintuck and decorative stitch foot with clear sole #46C on, but change your machine back to a single needle. Remove the Pintuck accessory. Thread your machine with the thread you would like to have for the decorative stitching. Chose a decorative stitch. I have selected Decorative Stitch #302 from my BERNINA 880 in the photo. Place the piece of tear away stabilizer under the area to be stitched. Place the two center grooves of the presser foot over the two middle pin tucks. Sew the decorative stitching in between the two middle pin tucks.
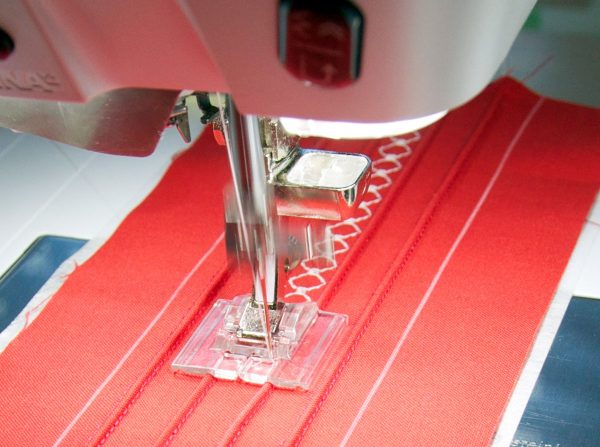
Repeat with the other two spaces to add decorative stitching. For the other two spaces I choose Ornamental Stitch #646 on my BERNINA 880. Remove stabilizer when you are finished. Press if needed. Trim piece to 4.5″ x 18″.
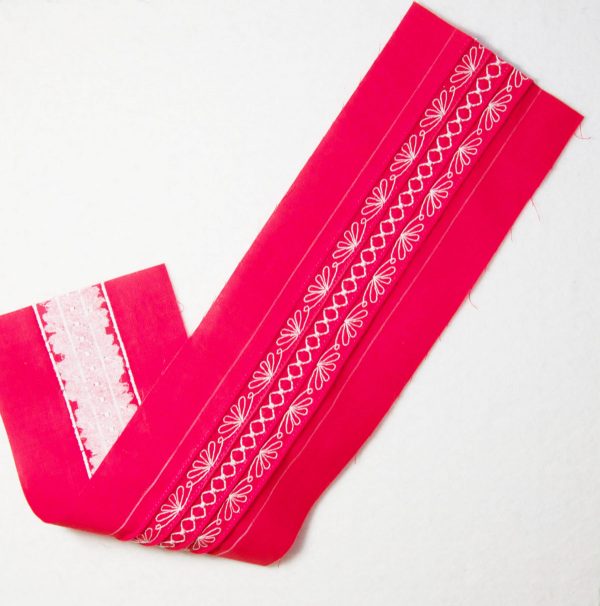
Assembling the Headband
Note: All seams are 1/4″
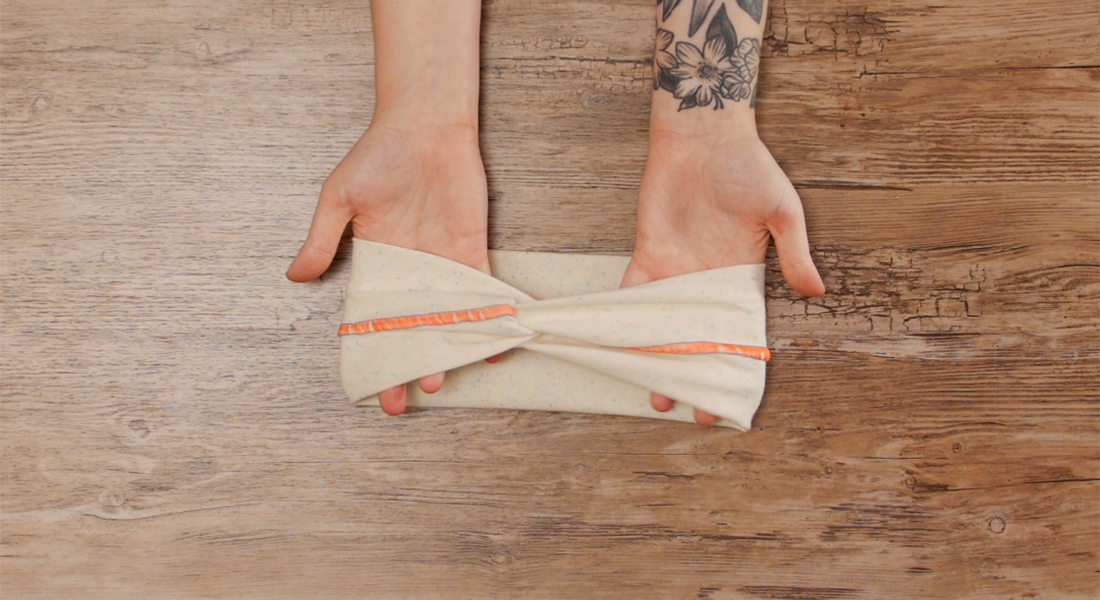
Bring the long sides of the pintuck fabric together so that the right sides are together. Pin in place. Attach the Patchwork foot with guide #57 on your machine. Sew a seam down the long side of the headband. Secure stitch at the beginning and end. Press the seam open.
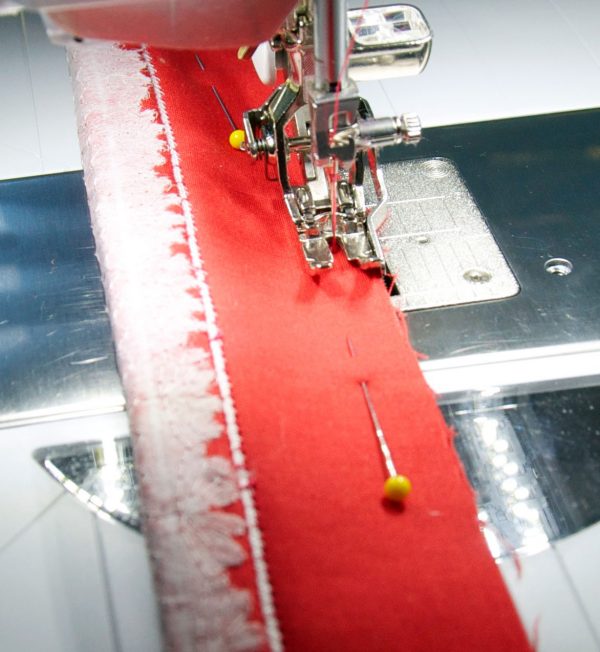
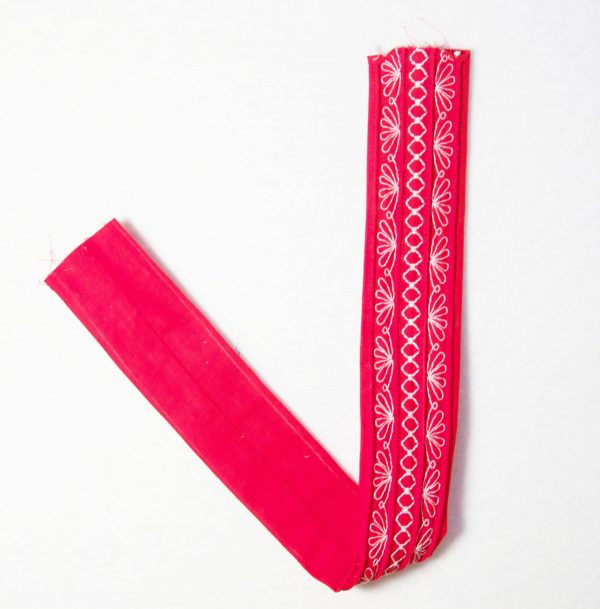
Flip right side out. (See our cool trick on the video at the bottom of the post.) Press so the seam is in the back.
Making the elastic sleeve
Note: Many headbands use a piece of elastic to fit the headband to your head, but I thought it would be neat to cover the elastic in the same fabric as the headband.
Take the 4.5″ x 7″ rectangle for the elastic sleeve. Fold the length in half with right sides together, and sew a seam. Secure stitch the beginning and the end of the seam.
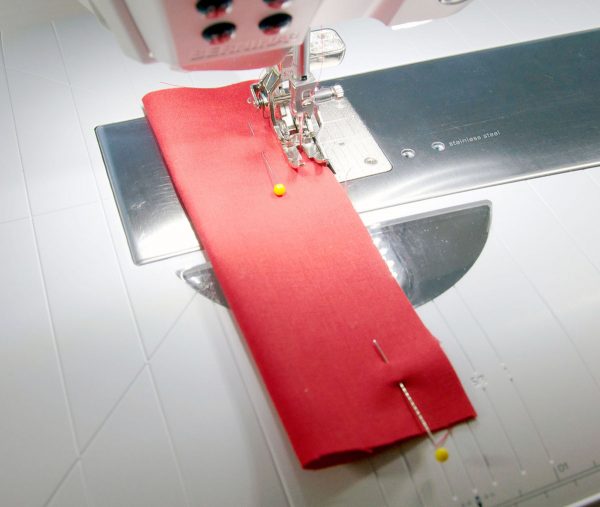
Press the seam open, and turn right side out. Press, making sure the seam is in the middle.
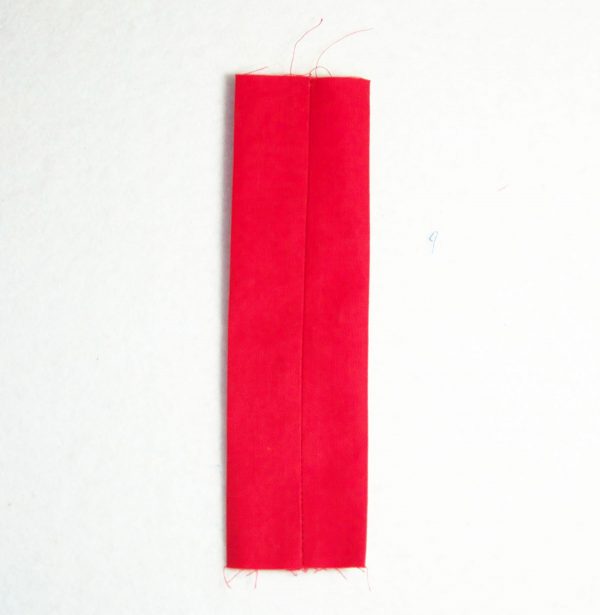
Slide the 4″ piece of elastic into in the middle of the sleeve. Obviously the elastic will be too short, but just make sure one edge of the elastic is lined up with one of the raw edges of the tube.
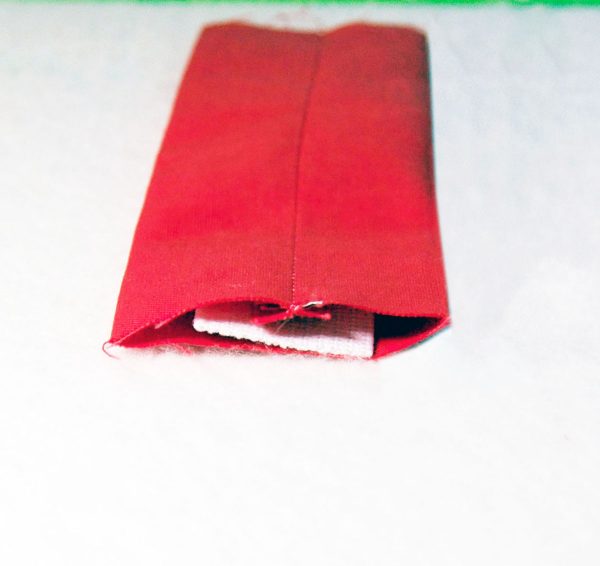
Stitch the raw edge with the elastic closed.
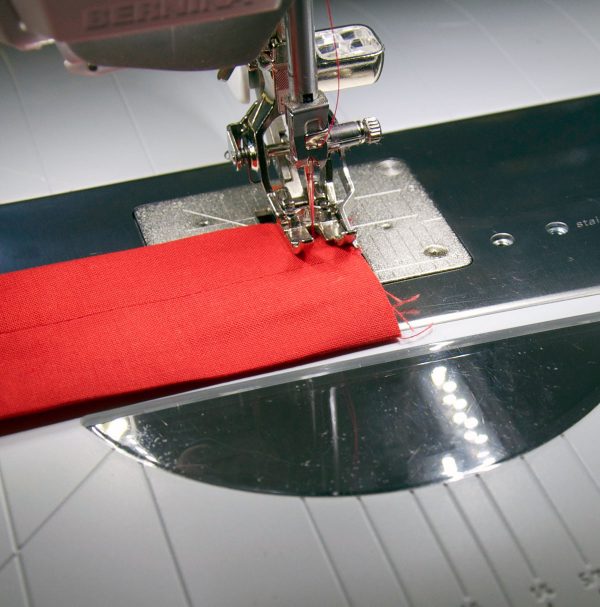
Scrunch up the fabric so that raw edges and the elastic on the other side are also aligned. Pin in place. Again, stitch in place with a seam. Set aside.
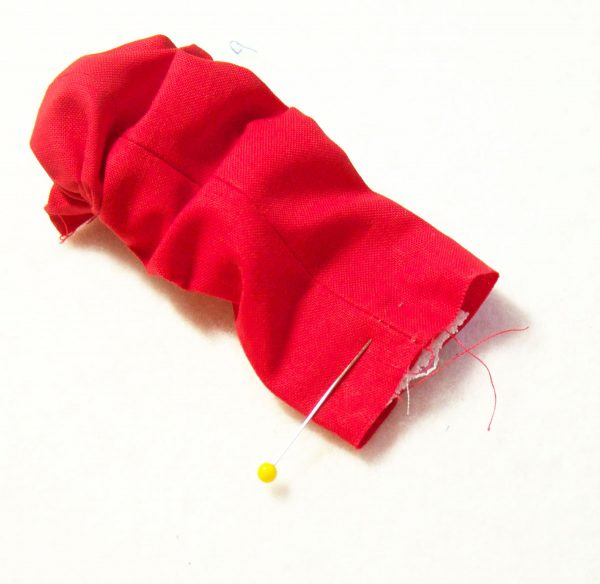
Making a cuff to hide the raw edges
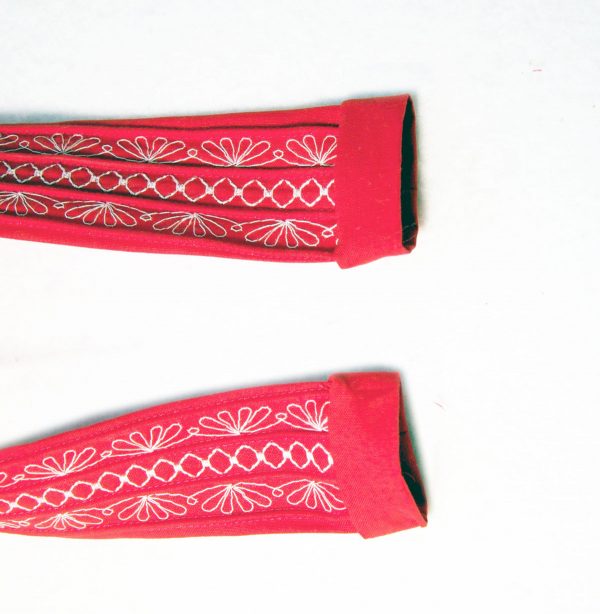
Using the 2.25″ x 4.5″ strip, bring together the two widths, with right sides together. Stitch a seam. Secure the stitch at the beginning and end of the seam. Press the seam open. Turn right side out. Repeat with the other 2.25″ x 4.5″ strip.
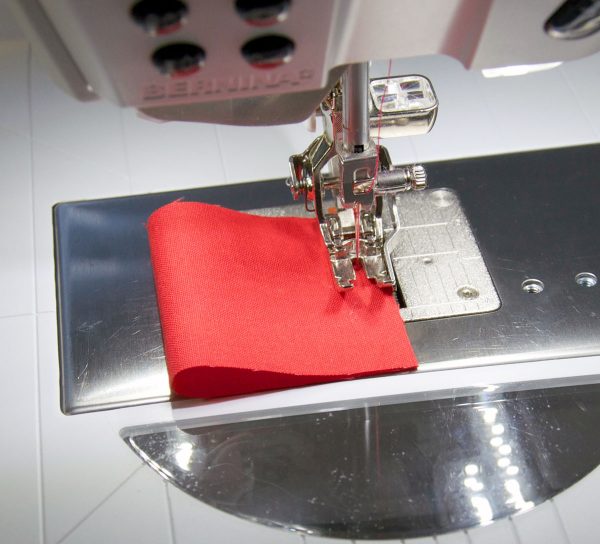
Roll one edge up so that the seams are together. The seams will be touching, and one edge will have a fold and the other edge will be two raw edges. (It looks like a napkin ring)
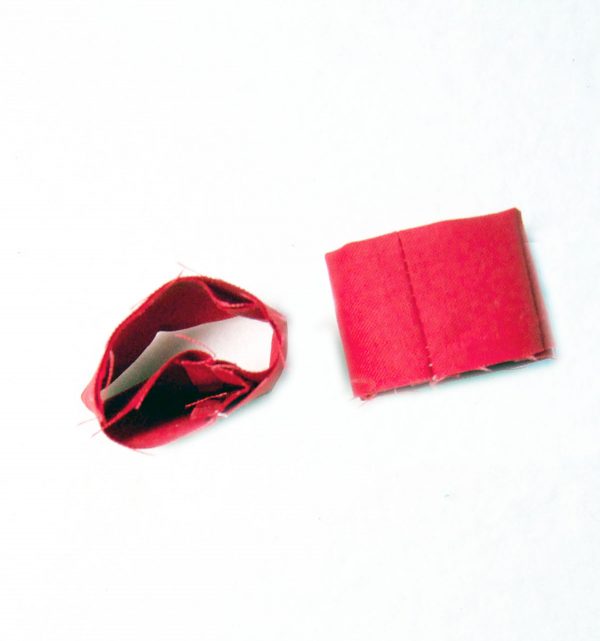
Place the cuff over the width of the decorative headband so the raw edges of the headband and the cuff are lined up and the seam is in the back. Sew a seam, securing both ends.
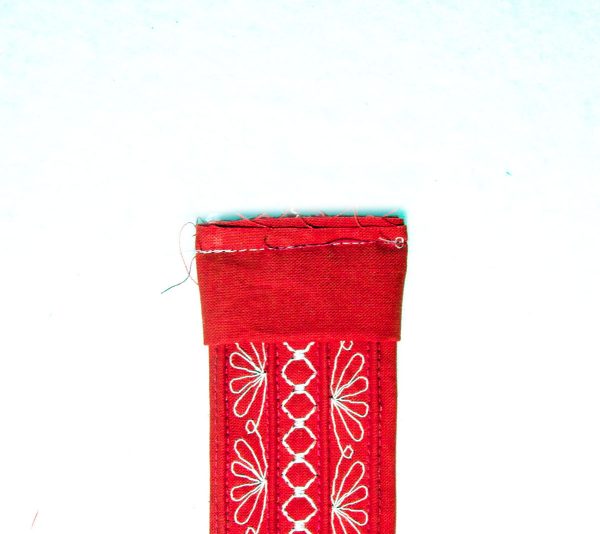
Fold the cuff over the seam. Press. Repeat with the other side and cuff.
Adding the Elastic Section to the Headband
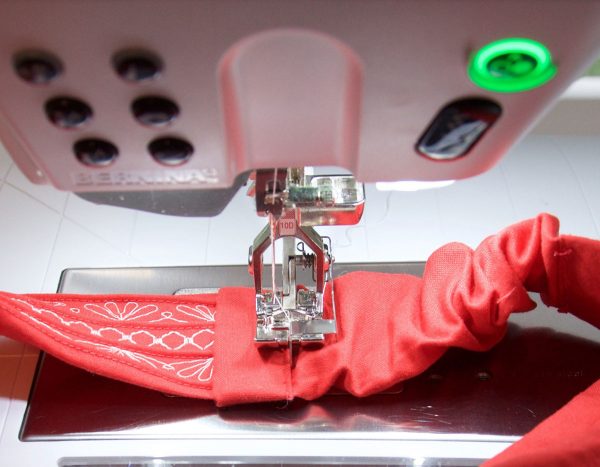
Attach Edge Stitch Presser Foot # 10 to your machine. I used a triple stitch number # 6 for a nice topstitch look, and I moved my needle position to the left -5. Push back the extra fabric on one side of the elastic sleeve. Insert it into the cuff on the headband. Pin to hold in place. Edge stitch to secure.
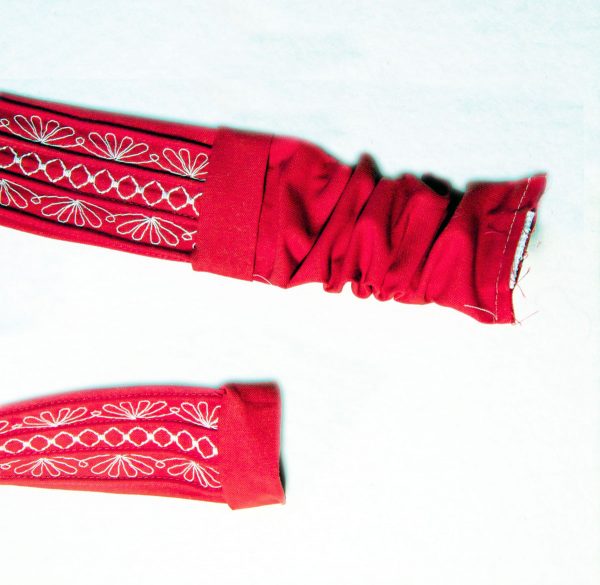
Repeat with the other side.
Now, Enjoy!


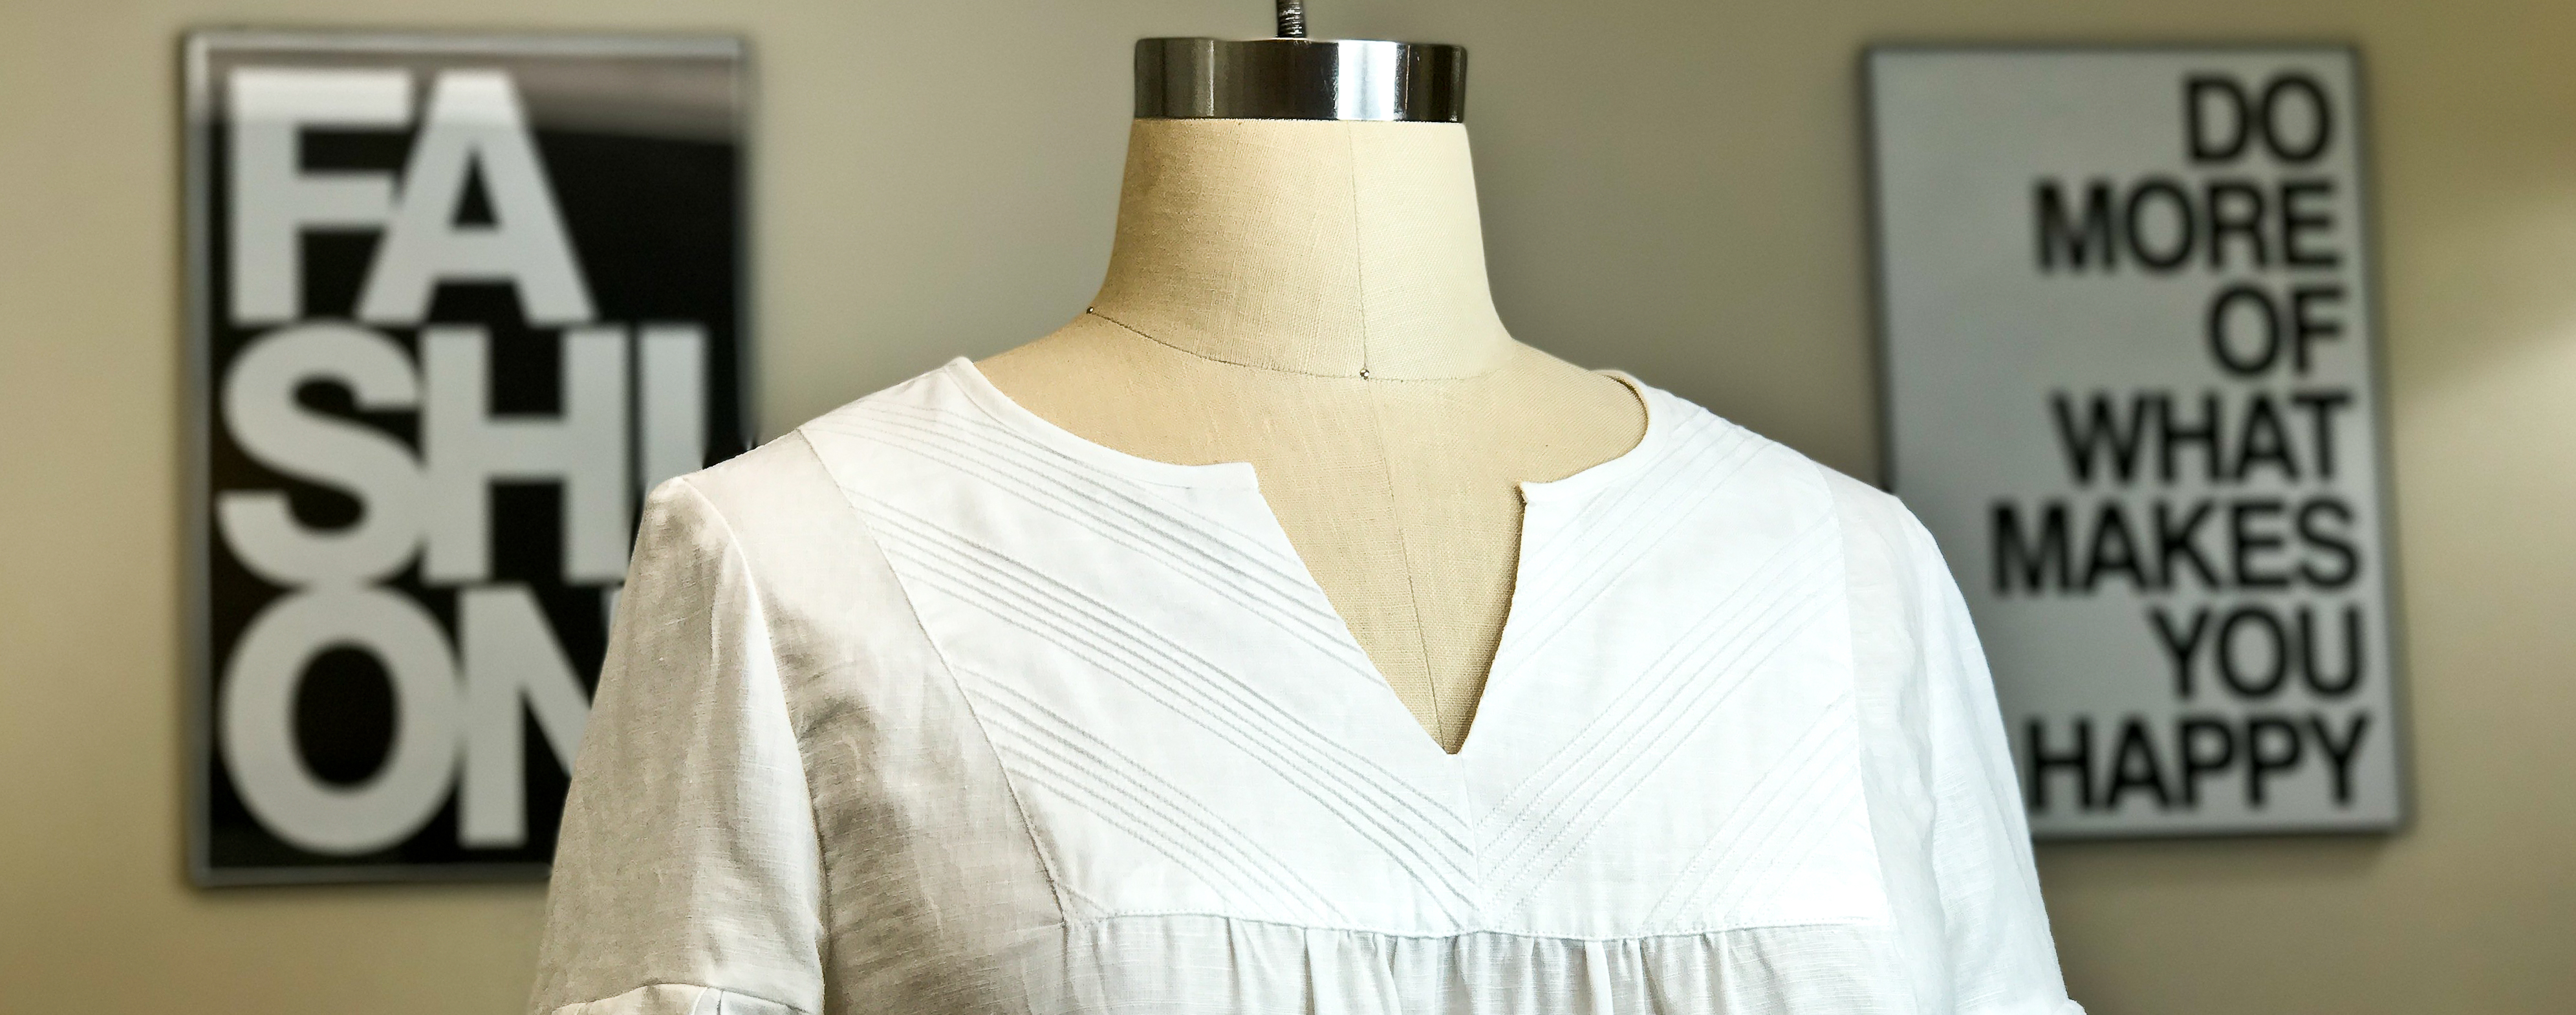


Excellent! Gives me some ideas about using my 46C foot. Nice gifts for your friends!
thanks for the video tutorial.