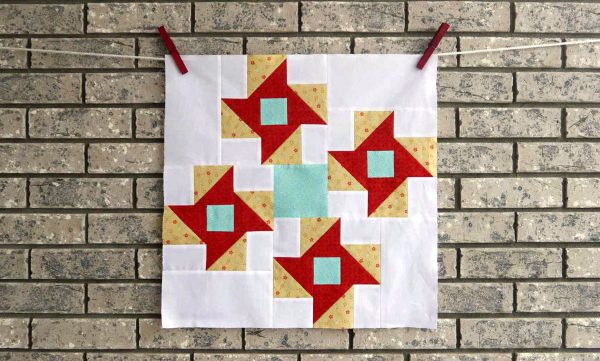
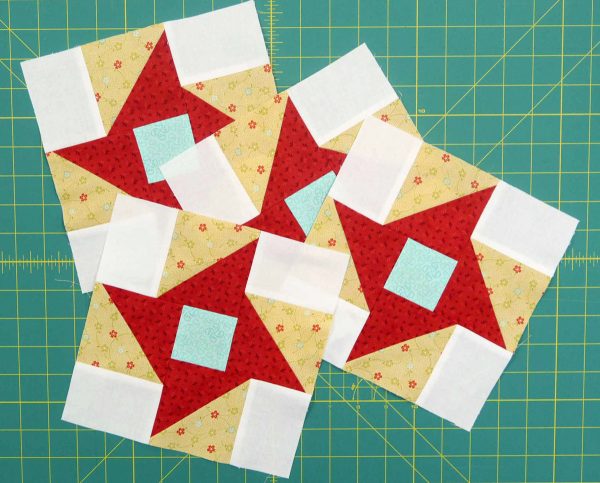
Quartered Star Block with Partial Seams
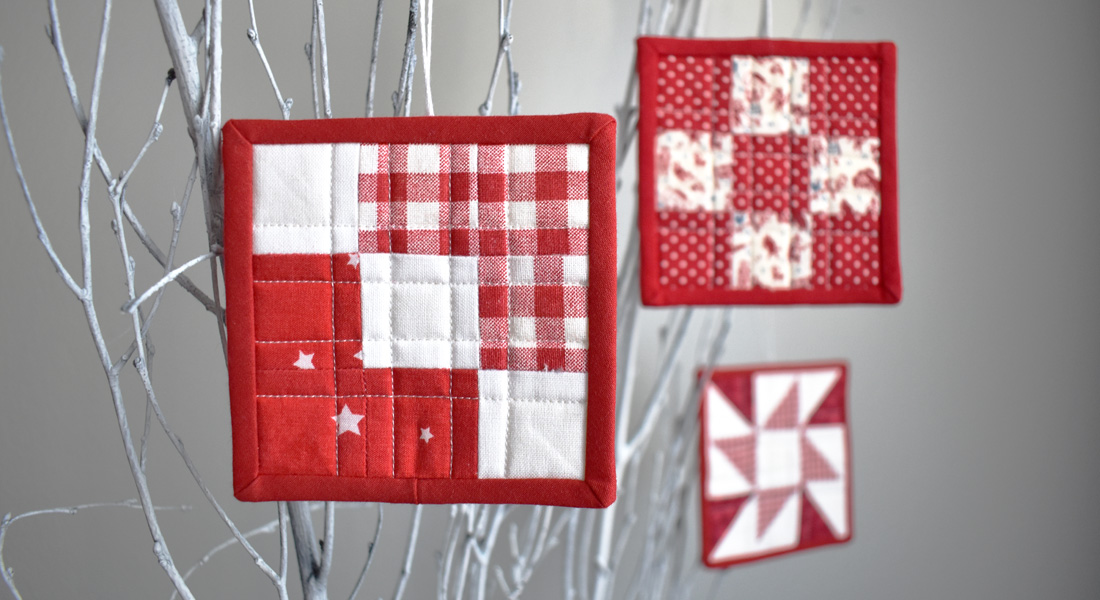
Hi, my name is Kari Carr from New Leaf Stitches and I’m here today to tell you that I’m…partial to partial seams. As a designer and teacher I often hear people say they are intimidated by new techniques such as this. My wish is that after this project, you’ll have the confidence to tackle any project, whether the partial seam is used with a square, rectangle or hexagon. Learn how to make this variation on a Quartered Star block that includes partial seams.
A partial seam is needed when the pieces attached to the center shape extend past the beginning shape. A partial seam is just that, partial. You begin by stitching “part” of the first seam, continuing to add pieces to each side and end by attaching the last piece and stitching the last “part” of the first seam. And believe me, just because the shape might look difficult and it sounds confusing right now, it will all make sense shortly. You will get to practice the technique 5 times; 4 in each of the pinwheel blocks and again when those blocks are set around the large blue square.
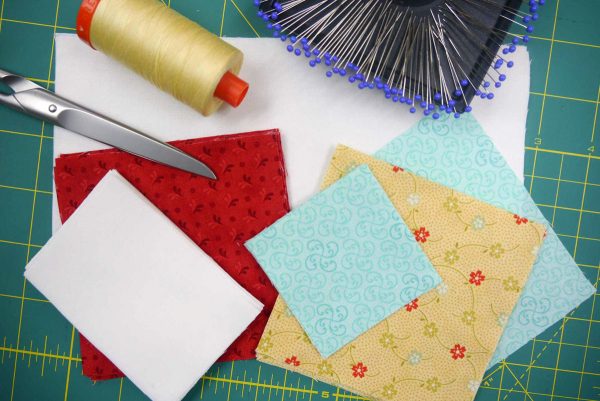
Materials to make 20″ x 20″ quilt with partial seams:
- White – 1/3 yard
- Red – Fat Quarter
- Yellow – Fat Quarter
- Blue – Fat Eighth
- Backing – 2/3 yard
Binding – Fat Quarter - Batting – 24″ x 24″
- Clearly Perfect Angles
- Basic quilting supplies
Cutting
White: 1 strip, 3 ½” x WOF (Width of fabric); subcut into 16 rectangles, 3 ½” x 2 ½”
1 strip, 4 ½” x WOF; subcut into 4 rectangles, 4 ½” x 8 ½”
Red: 2 strips, 4″ x WOF; subcut into 8 squares, 4″ x 4″
Yellow: 2 strips, 4″ x WOF; subcut into 8 squares, 4″ x 4″
Blue: 4 squares, 2 ½” x 2 ½”
1 square, 4 ½” x 4 ½”
Construction
Half-square triangles
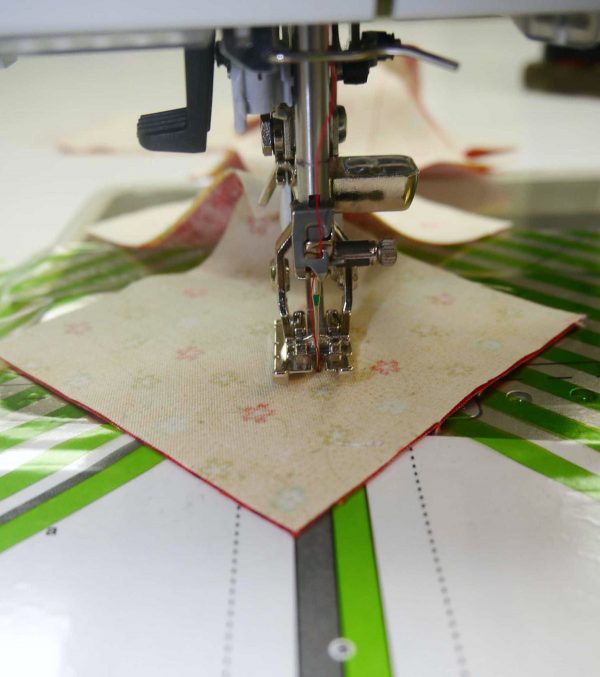
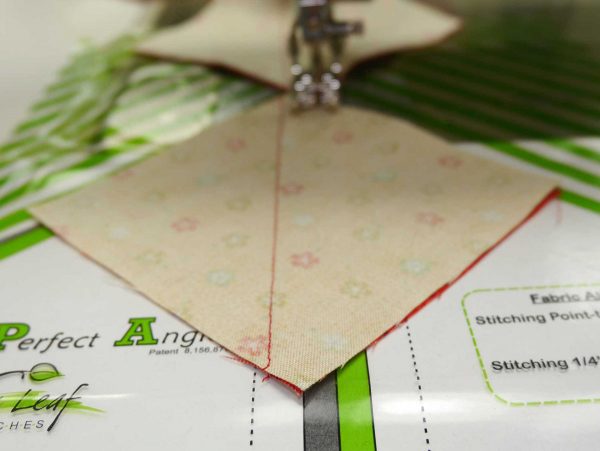
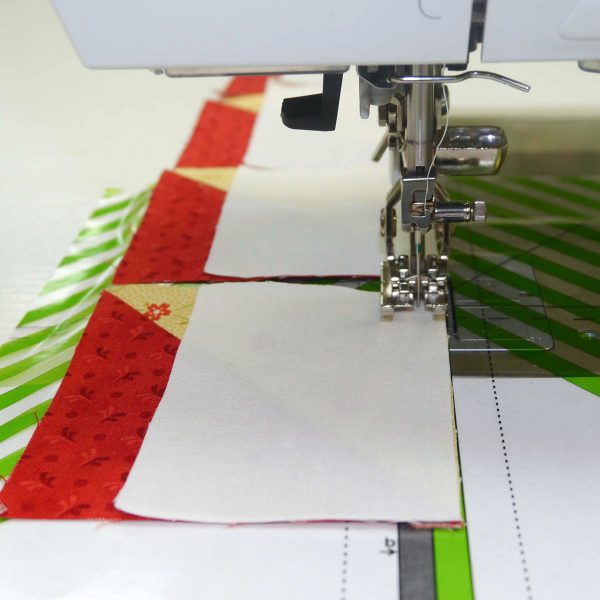
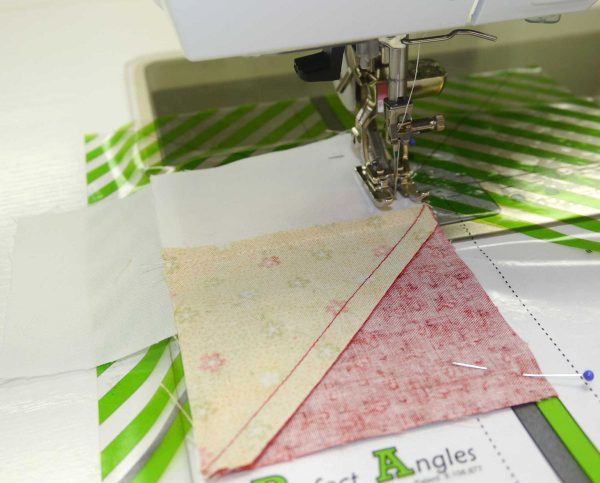
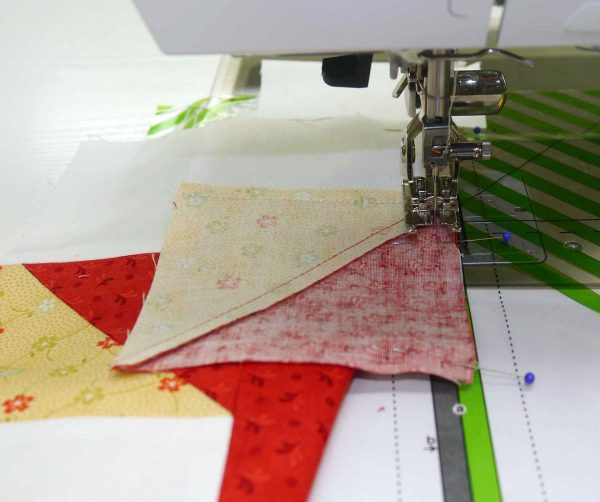
With right sides together, pair the red and yellow squares. Stitch a seam ¼” from the points on the diagonal, using the “gray-band alignment” (b) on the Clearly Perfect Angles.
Rotate the squares and stitch a second seam ¼” from the points. You will notice that you do NOT need to draw lines with the template.
Cut the pieces apart between the two seams. Square the half-square triangles to measure 3 ½” x 3 ½”.
Side pieces
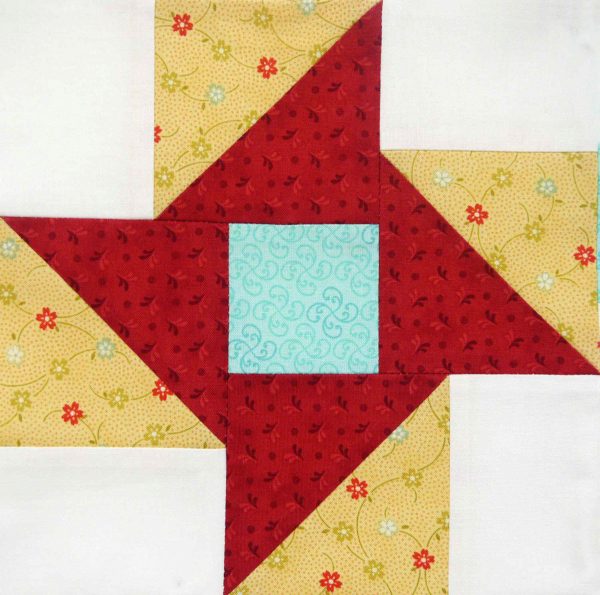
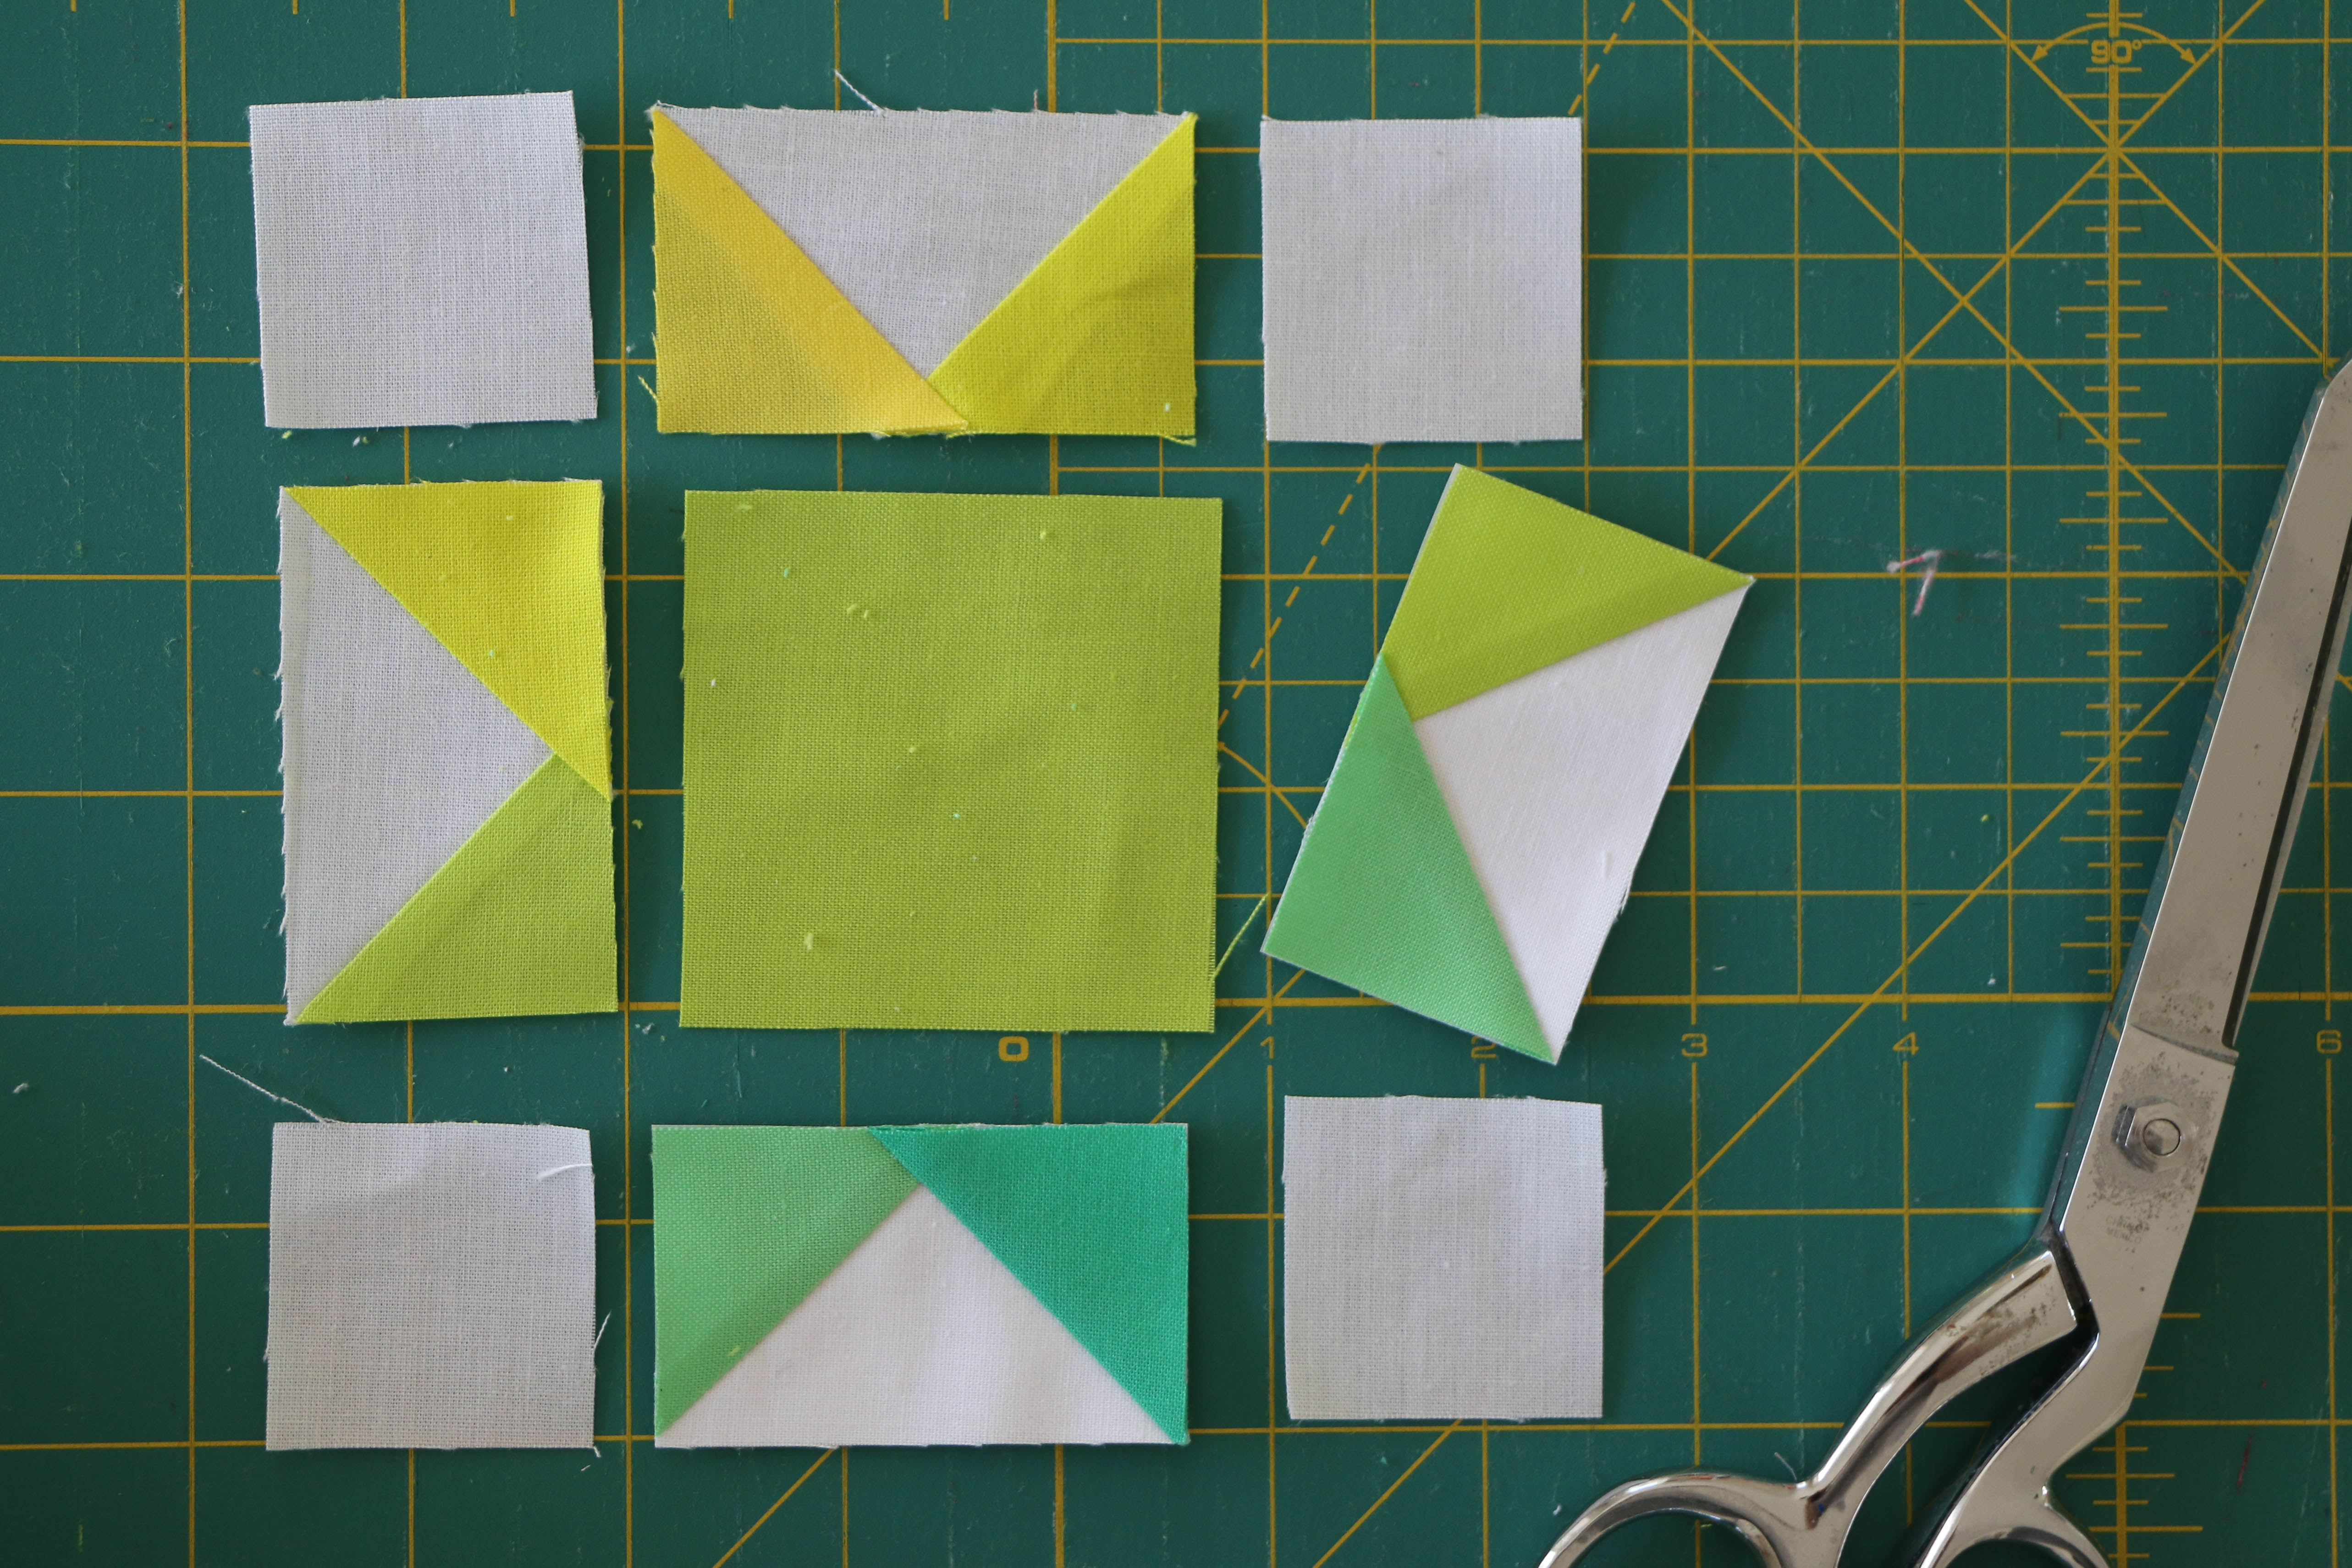
Add a white 3 ½” x 2 ½” rectangle to one side of each of the half-square triangles from Step 1 as illustrated in the picture.
Partial seams
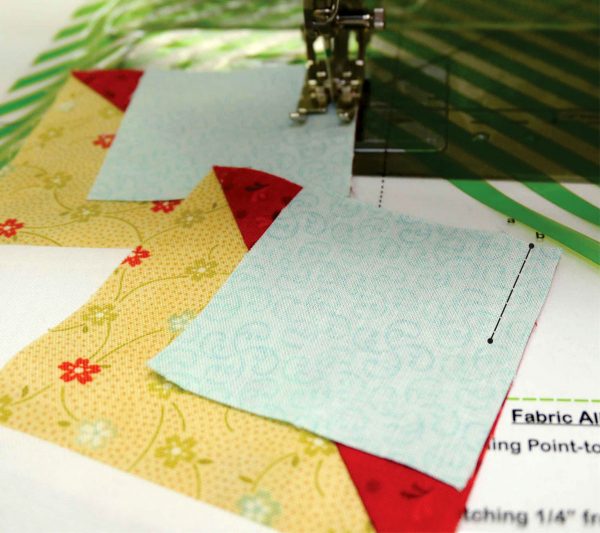
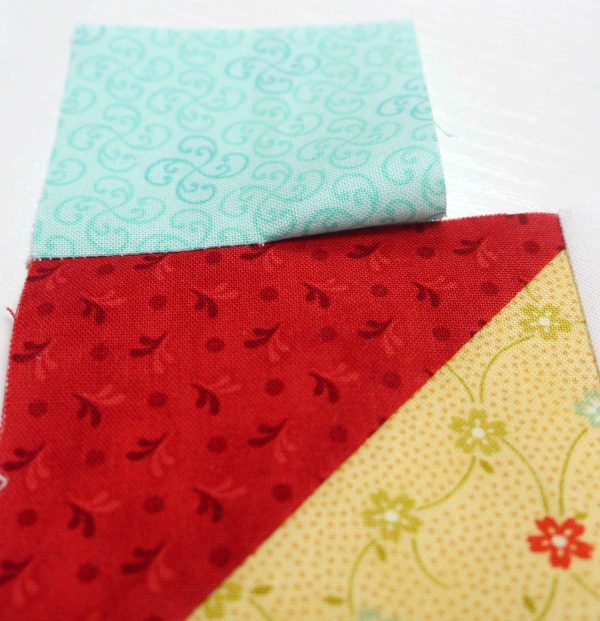
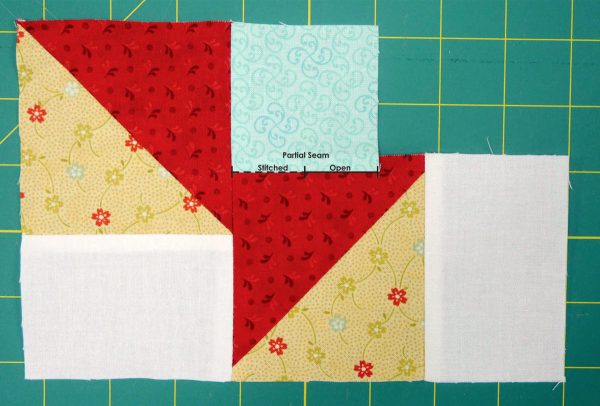
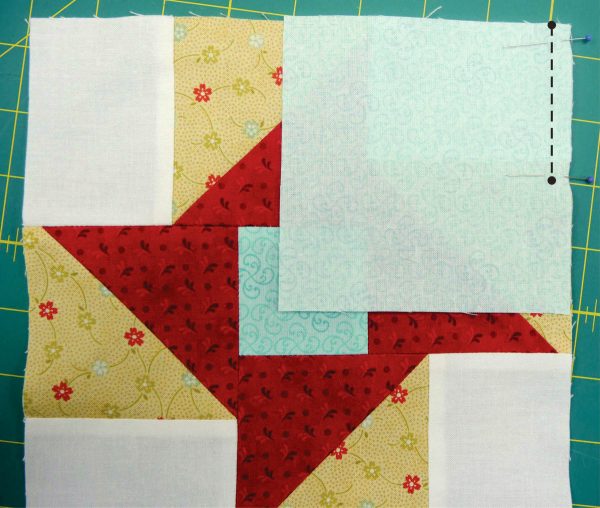
With right sides together, place a small blue square on the red corner of the half-square triangle unit. Stitch a ¼” seam approximately half-way into the block. Backstitch.
Here’s a close-up of how your pieces should look at this point.
Add a second unit from Step 2, stitching the whole length of the side.
Notice where the partial seam is located after the second round has been added.
Add the third round, keeping the fabric from previously sewn piecing free from the seam.
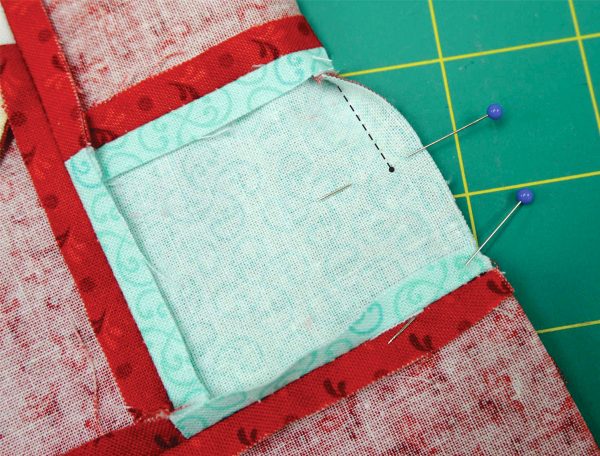
You’re now ready to finish the last “part” of the partial seam.
Pin your block. Start stitching from the original stitching line to complete the block.
Make four blocks in the same manner.
Putting it Together
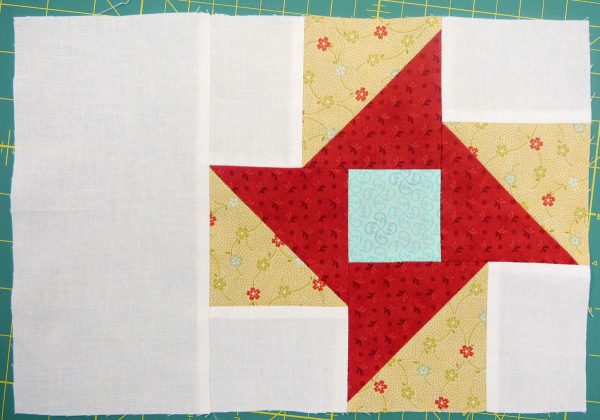
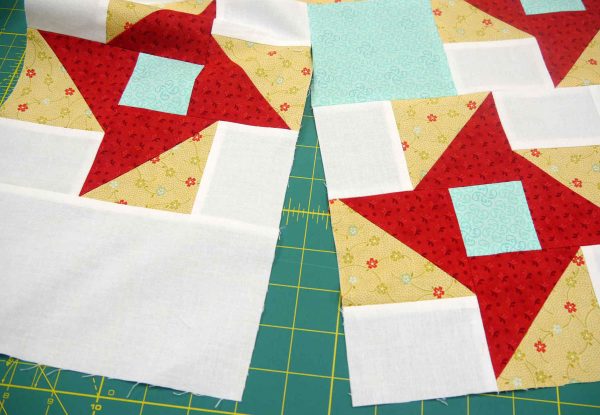
Add a large white rectangle to one side of each of the four blocks.
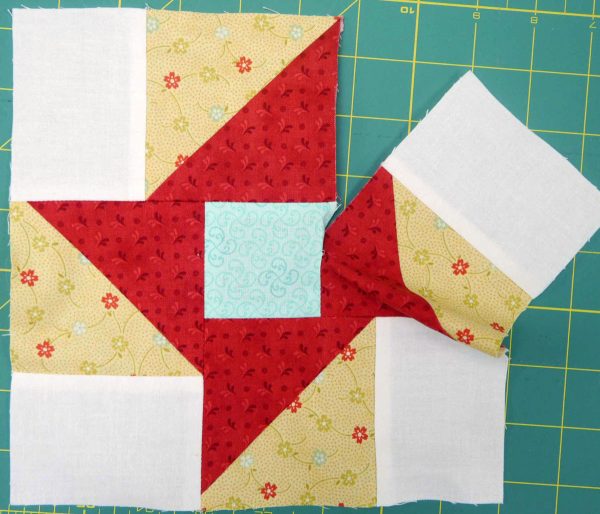
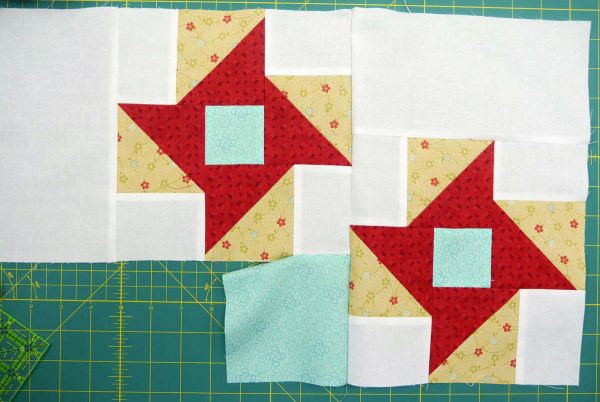
In the same manner that the small blocks were constructed, add the large blue square to one of the blocks as illustrated. Stitch a partial seam half way, ending with a backstitch.
The first round will look like this.
Continue adding the blocks around the blue center square, ending by completing the partial seam.
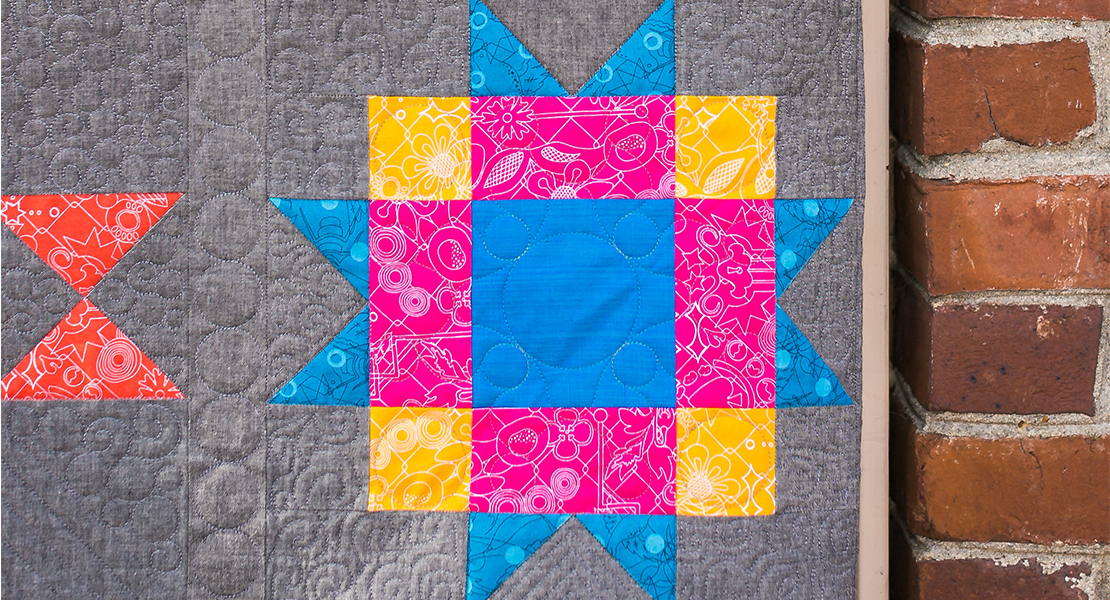
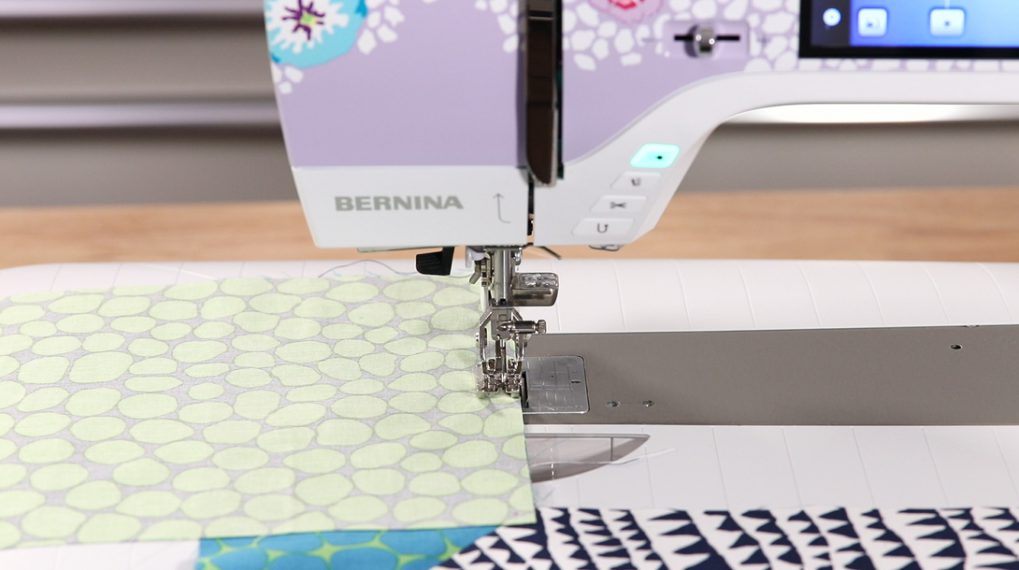
To finish this project, layer batting between the top and the backing. Using the BERNINA Stitch Regulator or Walking foot #50, quilt the layers together. Bind with the fabric of your choice and ENJOY!
Are you partial to partial seams now, too? I’d like to invite you to follow me on my blog, Facebook and Instagram to see what I might be partial to next. Happy stitching everyone.
