Quick Stitch Sampler Book
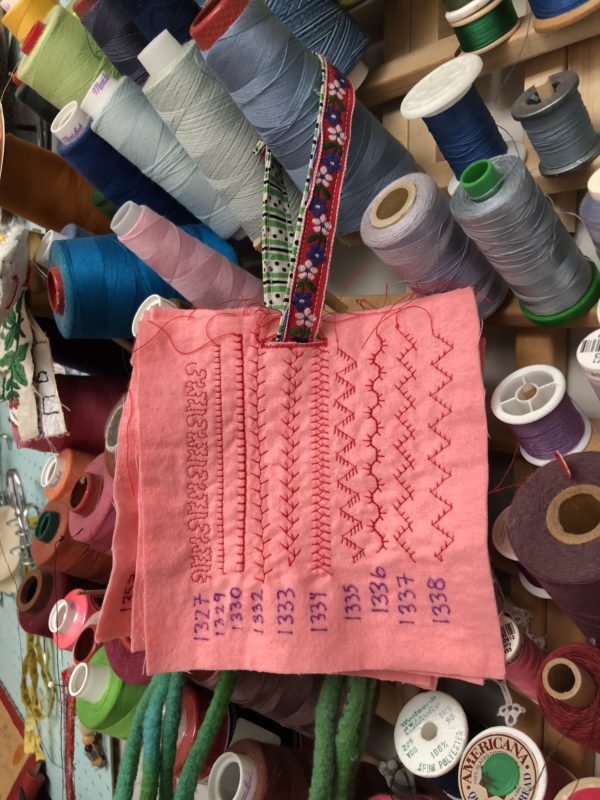
One of the most fun features of a lot of BERNINA machines is their huge catalog of decorative and functional stitches. However, they can seem pretty daunting, especially when you’re staring at the screen. I find they are a lot more approachable if you’ve tried them out, and can reference them on a piece of fabric. I designed a little stitch book as a place to keep your experiments. Spend a day stitching them all out, or do a few at a time as your projects dictate. Either way, this expandable book leaves room for more stitches and experiments, you could even try stitching them on different fabrics and adding those to the book as you go. This open ended project is perfect for new machine owners who are getting to know their new BERNINA.
Materials to Make A Quick Stitch Sampler Book
- Fabric (I used cotton flannel)
- Fusible Interfacing (I used Fabric Flex by Pellon)*
- Rotary Cutter*
- Cutting Mat*
- Ruler
- Thread*
- Permanent Marker
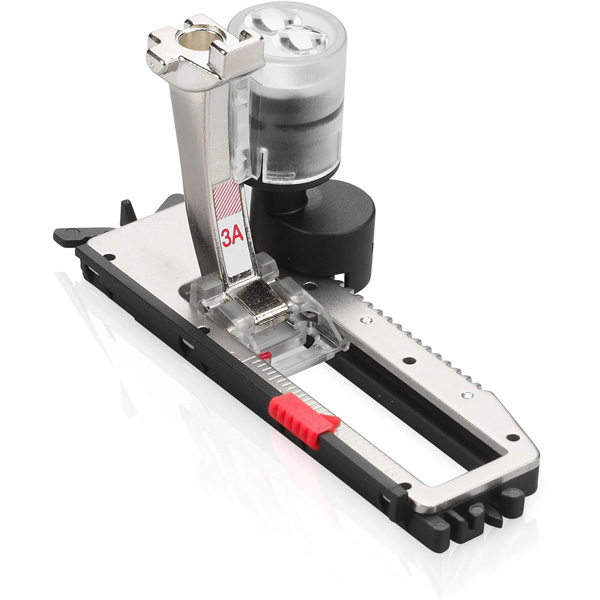
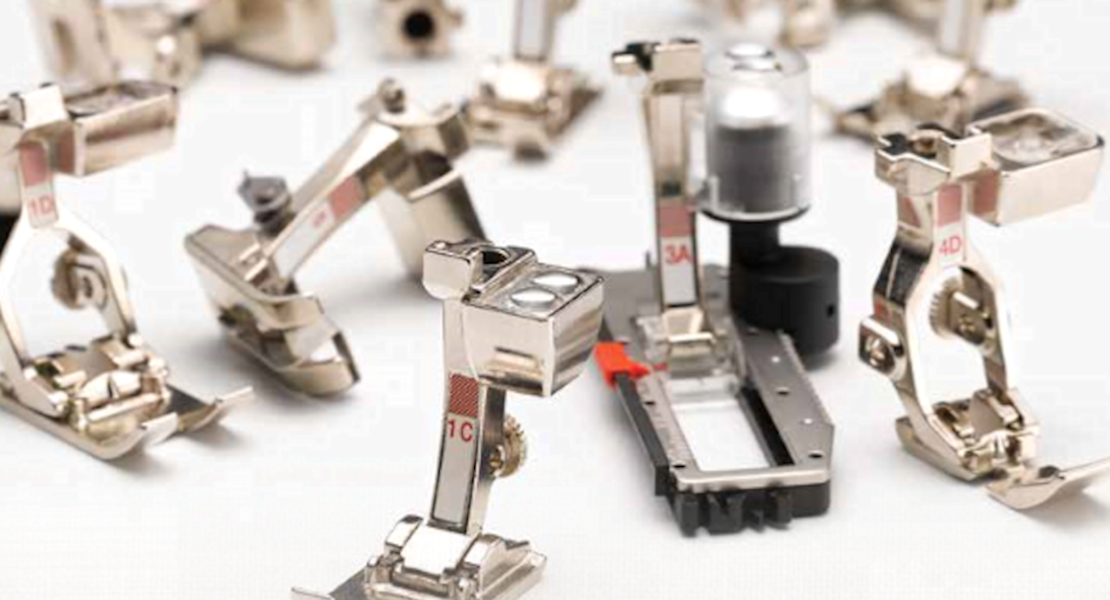
- Buttonhole foot #3 or #3A
- X-Acto Knife or Buttonhole Cutter
- One sew on snap*
- Hand Sewing Needle
- Hand Sewing Thread
*These supplies generously donated by Brewer Sewing. Thanks, Brewer!
1. Iron interfacing onto the back of your fabric. I started with a half yard.
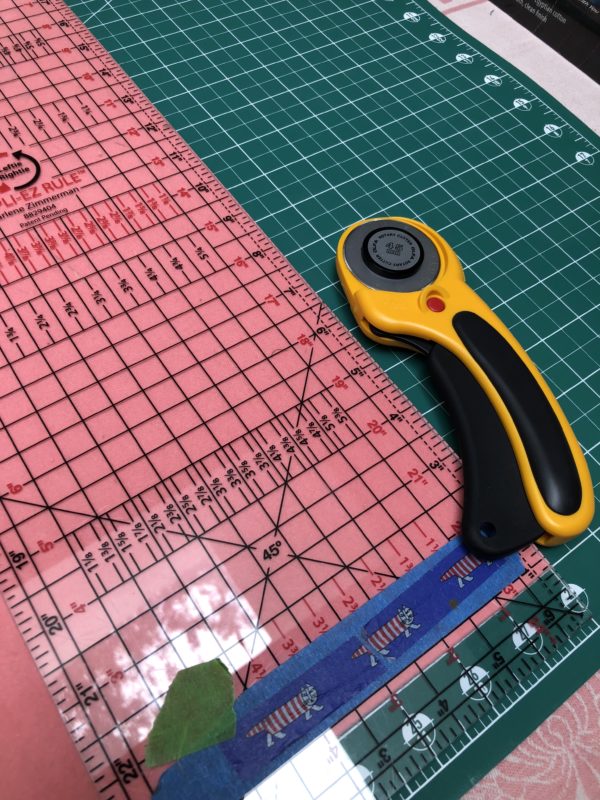
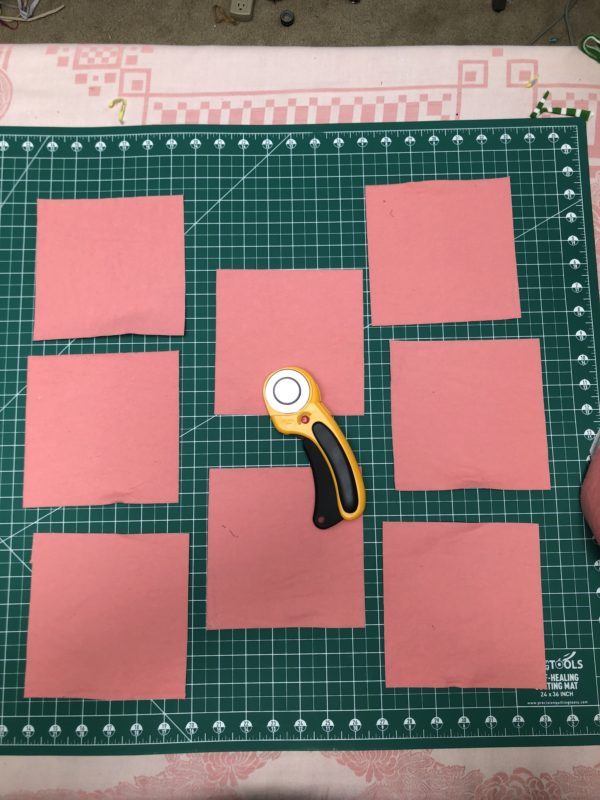
2. Cut the fabric down into similar sized squares using a rotary cutter. These do not need to be exactly the same, but if you like that kind of thing, feel free to measure! Mine are approx 5″ x 6″.
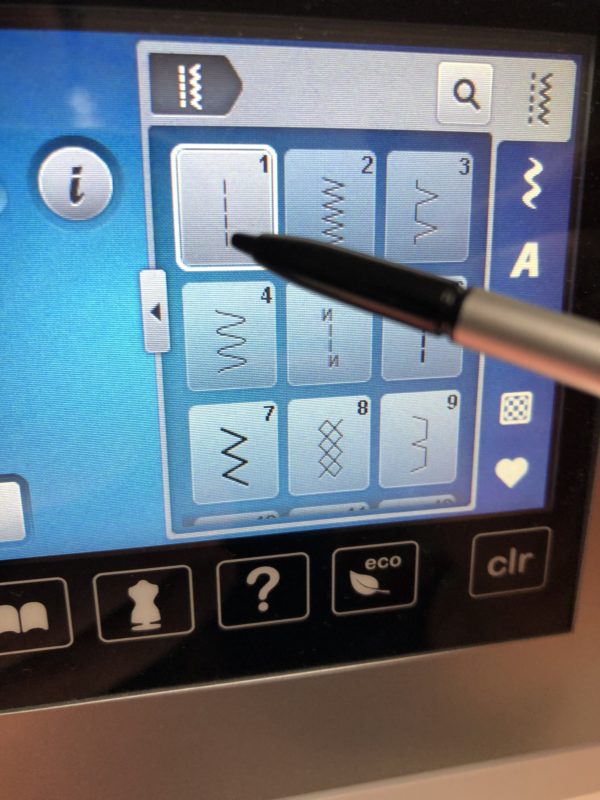
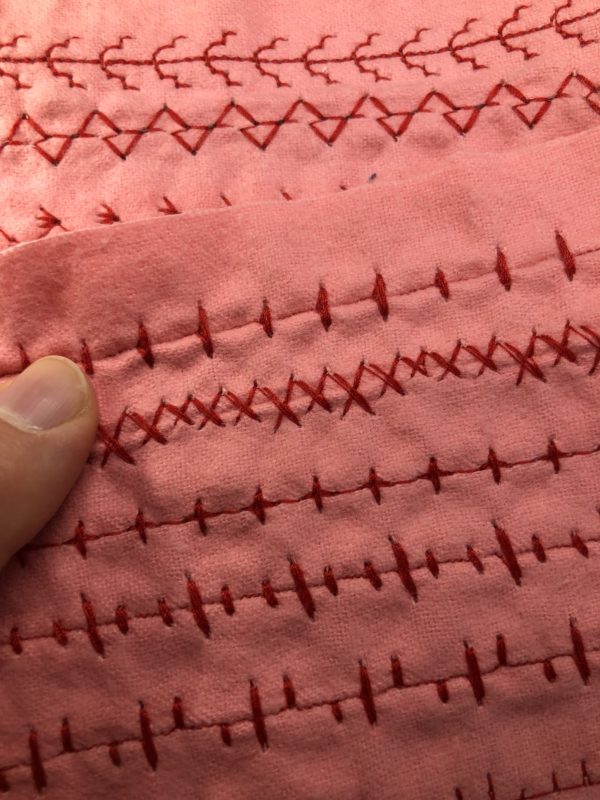
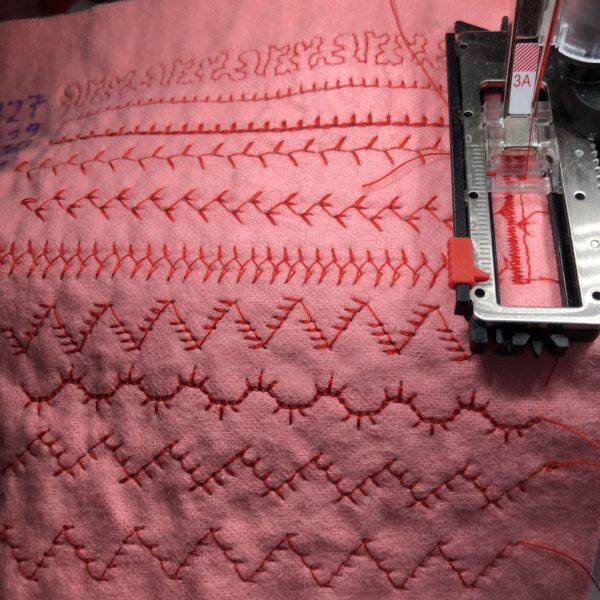
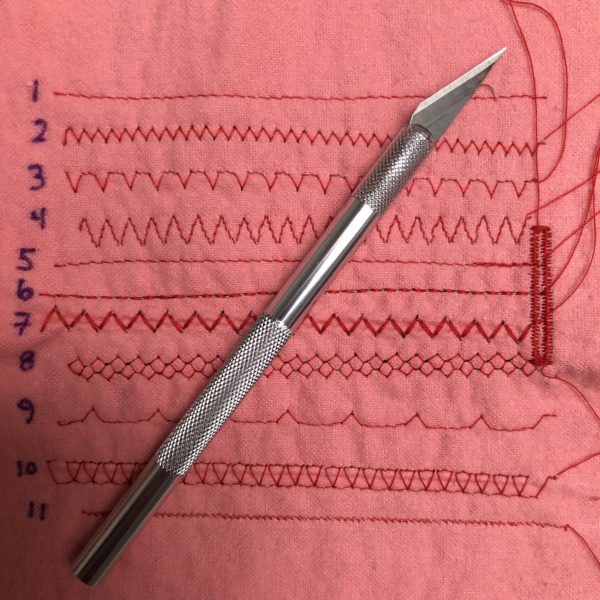
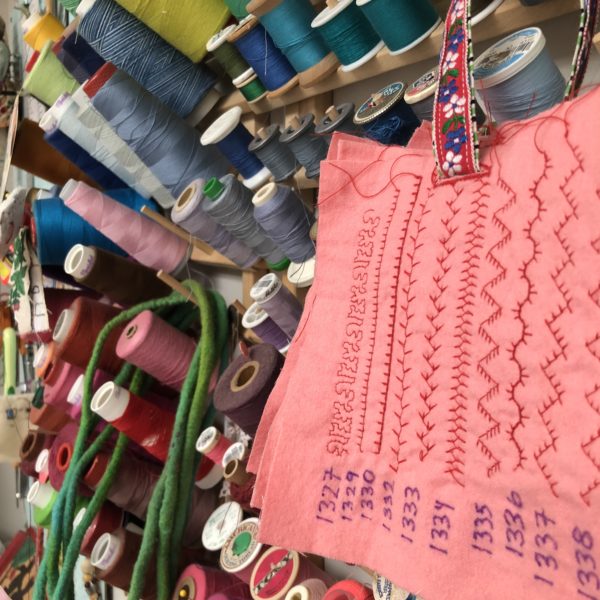
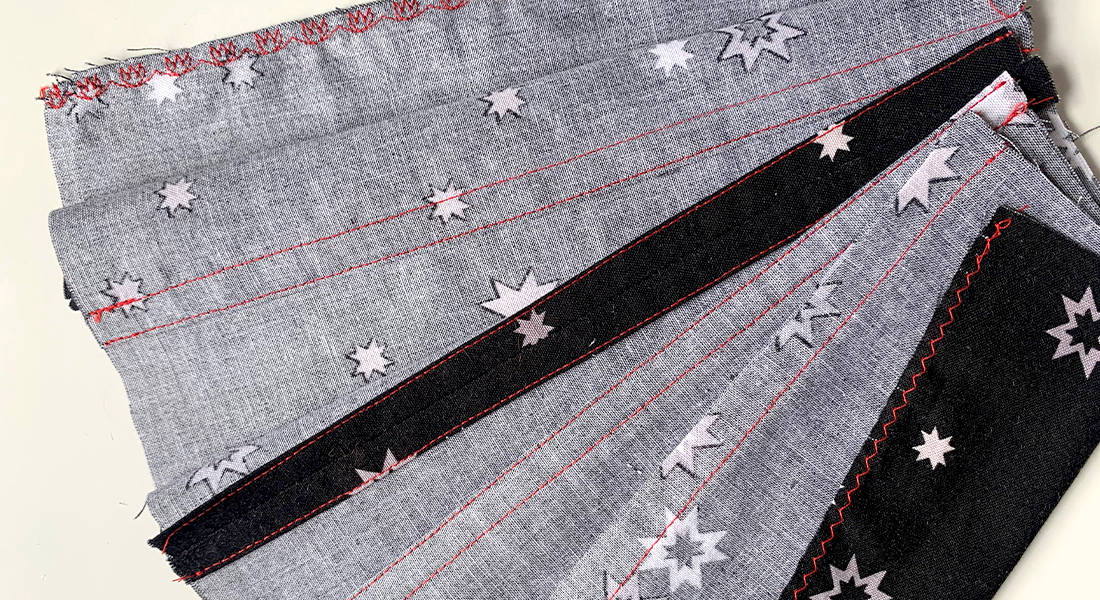
3. Begin stitching! I started with the opening screen, stitching the straight stitch, zig zag, and zig zag variations.
Even though some of the stitches are functional and others are decorative, I take the approach that ALL the stitches can be used in decorative ways. I like to think of the sewing machine as a drawing tool, and all the different stitches as different ways of making marks. I recommend trying out all the stitches, even the ones you think you won’t like.
After finishing each stitch, I marked the number off to the left with permanent marker so I can find it again in the future.
4. When you’ve got a little pile of stitch experiments, get out your buttonhole foot. Using the Buttonhole Foot (3A) stitch a one inch button hole onto each square in the same spot (I stitched mine in the middle along the right edge).
Use an X-Acto Knife or a Buttonhole Cutter to open up the buttonholes.
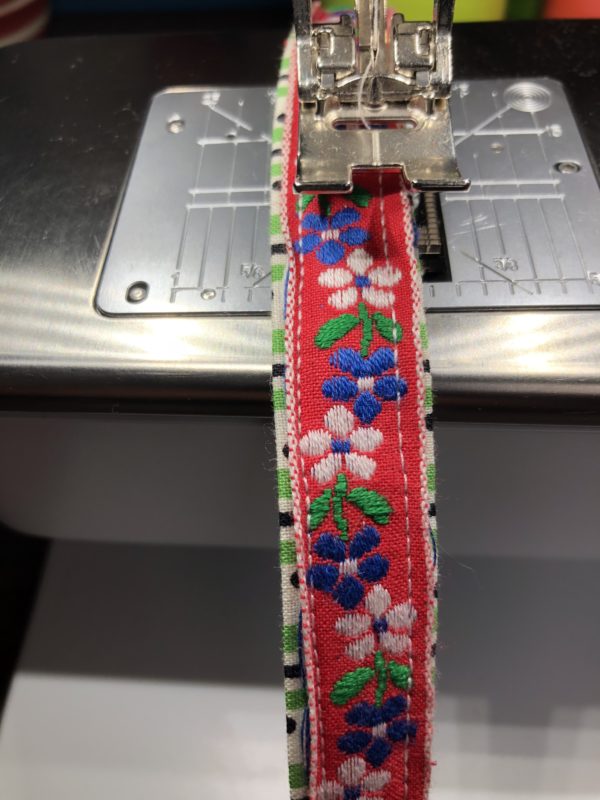
5. Make the binding strap. Cut a two-inch wide piece of fabric, and iron in the raw edges on both sides, turning over ¼ inch. Fold the whole thing in half and iron in place. Sew the edge together. I added ribbon to one side to make the strap a little sturdier and to add more embellishment, because as far as I’m concerned, more is more.
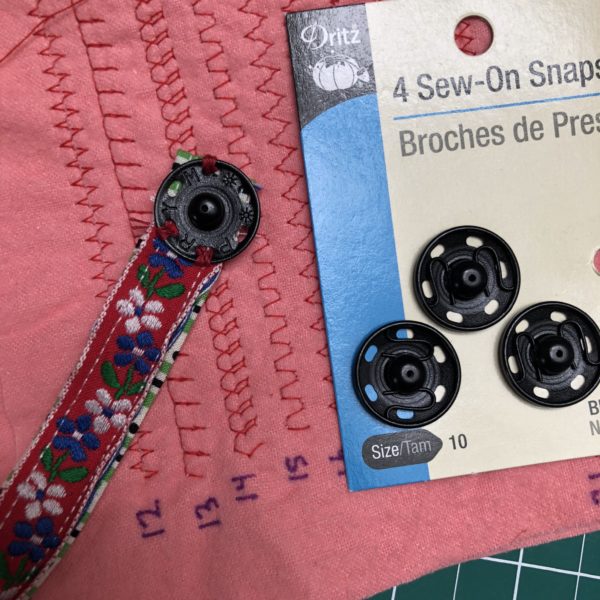
Sew the snap. Using a hand sewing needle, sew the snap in two pieces to opposite ends of the strap.
Thread the strap through the buttonholes, and snap shut. As you create more stitch samplers, you can add them as you go. I made my strap pretty long (10″) to allow for many additions.
Please note: you can see here that I did not snip any threads or worry to much about these little samplers being perfect. They have raw edges and imperfections. Think of this project as a rough warm up sketch, a great way to try out the stitches, but not an invitation to obsess and worry about details. It’s about experimenting and getting to know your machine. Try to relax into it and enjoy the process.
What you might also like
6 comments on “Quick Stitch Sampler Book”
-
-
Brilliant idea. Thanks. So timely too as I am getting to grips with my new 830!
-
I have just recently received a 770QE from my husband as a present. It is a dream machine but i am still learning.
-
-
This is a great idea! When I got my Bernina, I created a cheat “shirt”. I used an old white button down collar shirt and put sample stitches all over it. I used a pen, like this example, to reference the stitch number. There are so many wonderful stitches in these machines having a sample of some version to work from is extremely helpful.
-
Hello there
Do you have a tutorial for the Bernina 1008? I still learning how to use her =)
-
You can download the manual of your BERNINA 1008 from bernina.com.
Enjoy!
-
Leave a Reply
You must be logged in to post a comment.

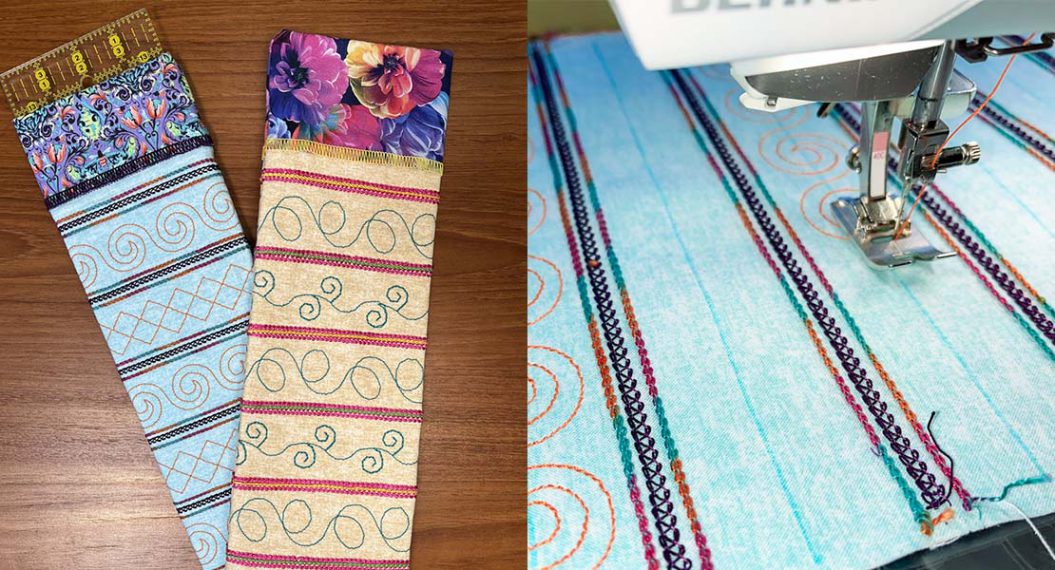




I make up an exercise book with all the stitches in, numbered and in order, for every machine I have. The big difference is that I do every stitch twice, once in white polycotton (no stretch) and once in white fabric that has 100% stretch (I use a soluble self-adhesive interface). This is because when sewing stretchy fabric, I need to know which stitches I can use, especially decorative ones, without them feeling all tight and uncomfortable in clothes. I don’t want them to snap either when the clothes stretch!
Although I used an exercise book, that was only because it was to hand. I considered using a ring binder, or index cards would probably have been best.