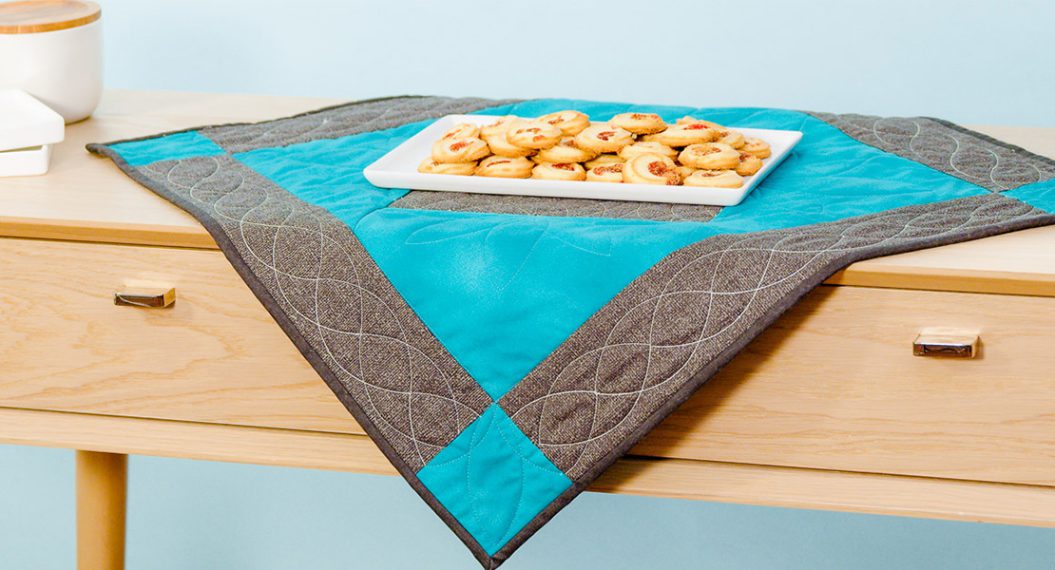
Quilting Basics: How to Secure Quilting Stitches
Whether you are beginning or ending a line of quilting stitches, the stitches must be secured to keep them from coming undone. In this post I’ll teach you how to “pack the stitches,” a technique in which the first few stitches – or last few, if at the end of a line – are placed very, very close together.
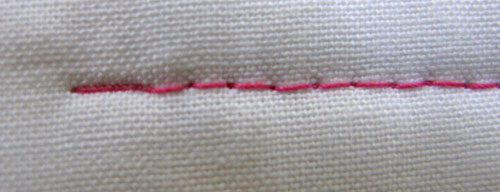
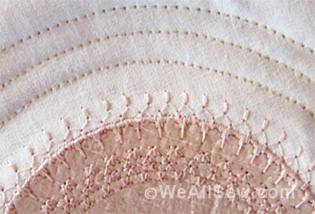
Note that this is not the same as stitching in one place, which would create a hole in the quilt.
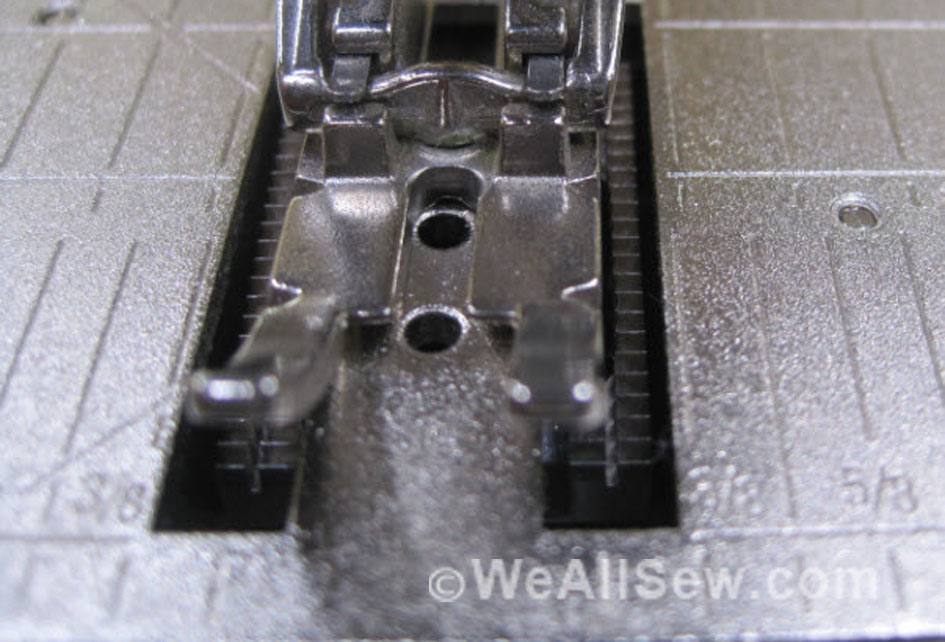
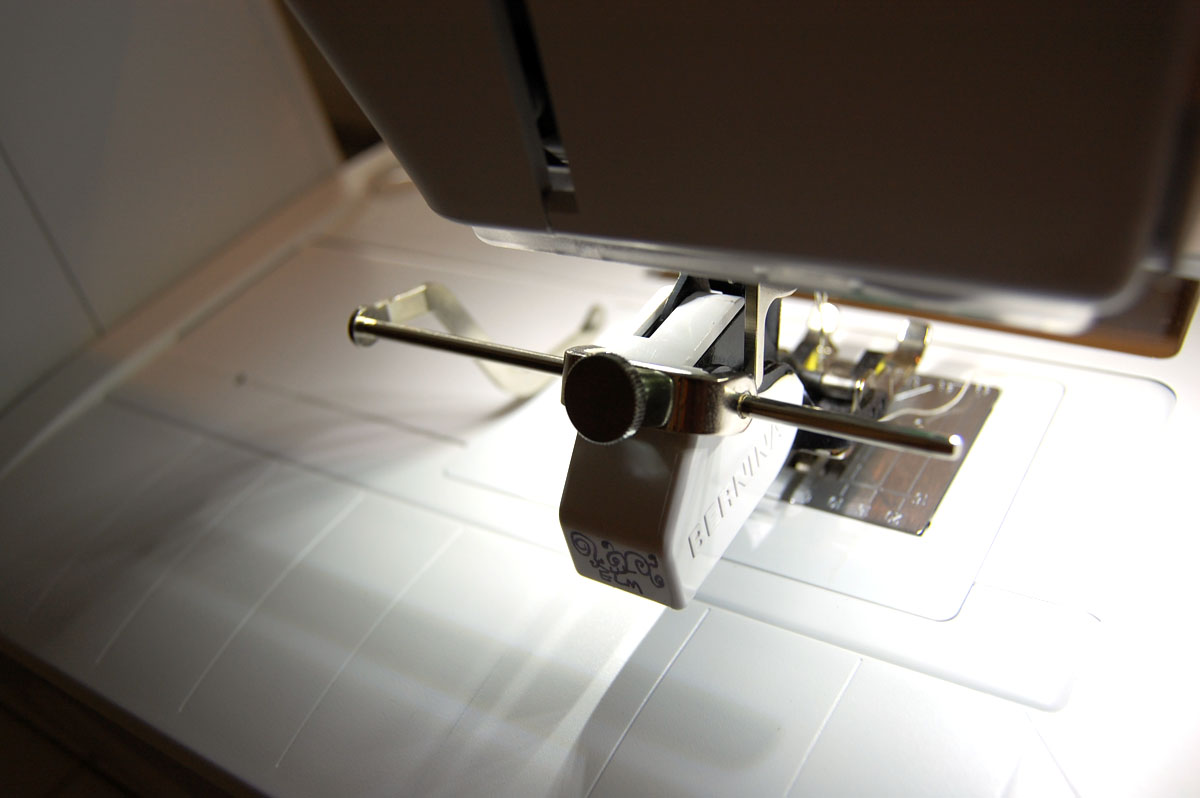
To set up your sewing machine for this, first select the stitch you will be using for quilting. In this example I have used straight stitch #1 and set the length to 3 mm.

Select zigzag stitch #2 and set the width to 0 mm; this turns the zigzag into a straight stitch. Then set the length to 0.5 mm to make a very short stitch.
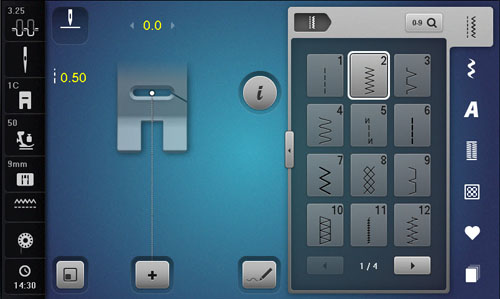
Now, because of something called Temporary Altered Memory on your BERNINA sewing machine, you can toggle between these two stitches, using stitch #1 for quilting and #2 for securing at the beginning and end. Your machine will remember these settings as long as it is not turned off.
Tip: All electronic and computerized BERNINA sewing machines have temporary altered memory, including the 1130, 1230, 1530, 1630, activas, virtuosas, auroras, artistas, 2 Series, 3 Series, 5 Series, 7 Series, and 8 Series. Some models also have a Personal Program for saving customized stitches even when the machine is turned off.
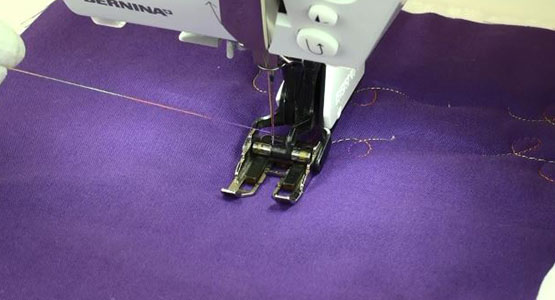
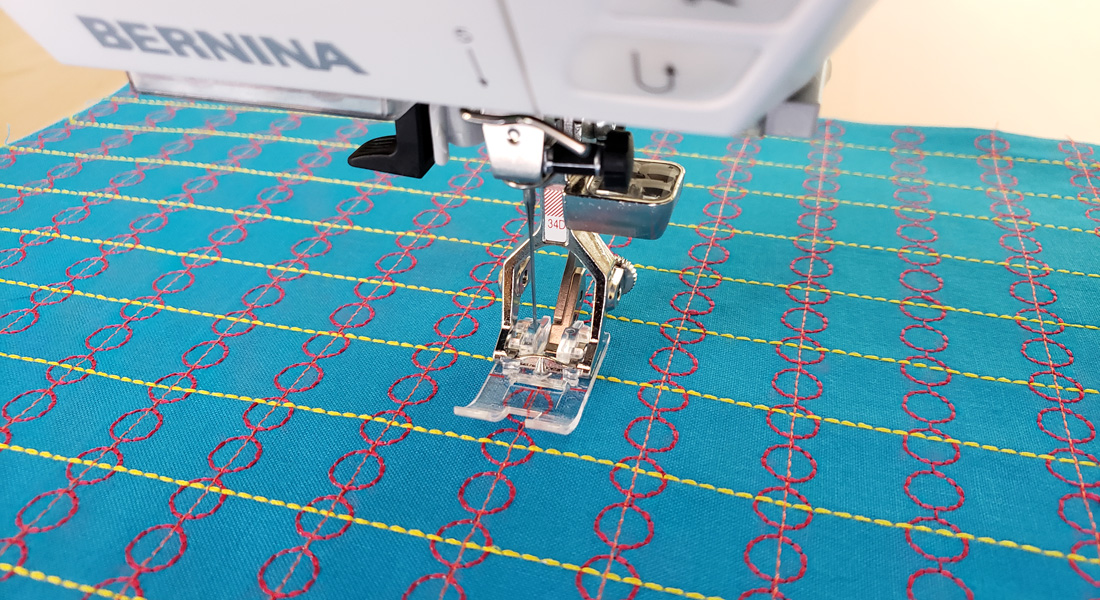
When beginning to quilt, select stitch #2 (as set up for securing). Lower the needle into the fabric, then raise it again, pulling up the bobbin thread. Now both the needle thread and the bobbin thread are on the top surface of the quilt.
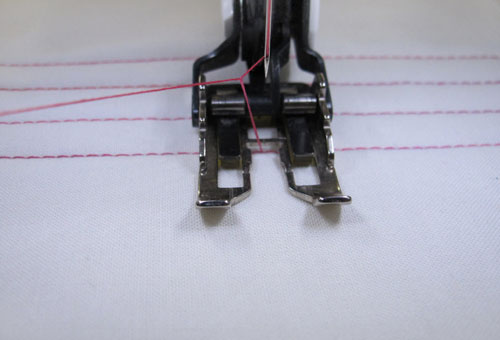
Stitch a short distance with the securing stitch, then select stitch #1 (as set for quilting) and stitch a row of quilting. As you approach the end of the row, switch to stitch #2 and secure the end.
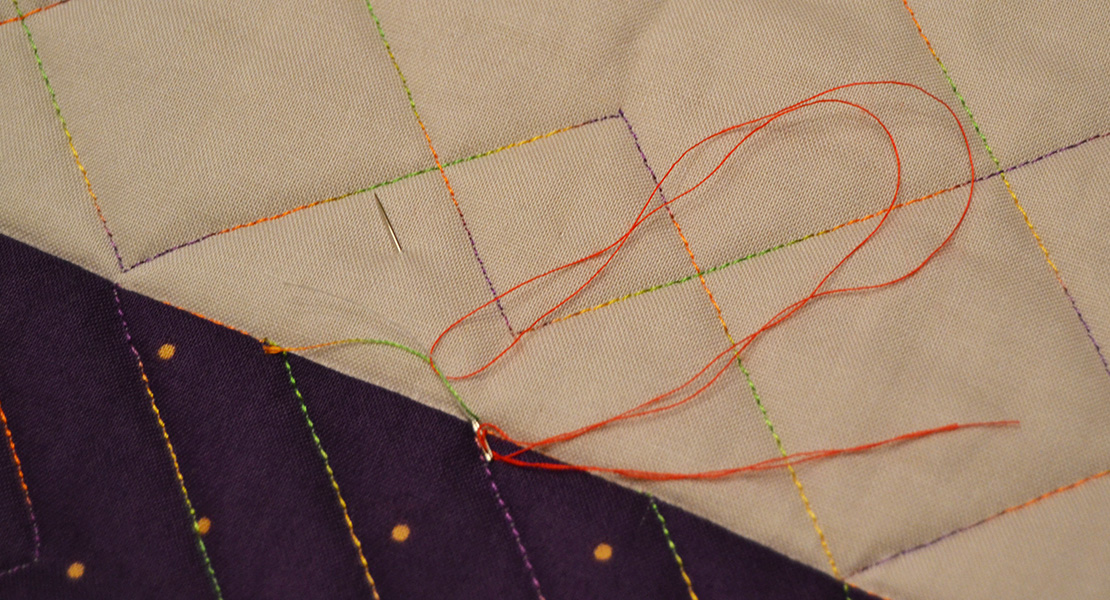
At this point the stitches are secure and you may cut the thread tails. However, you may want to bury the thread tails between the layers of the quilt, especially if you will be entering the quilt in a show.
To bury the thread tails, thread them through the eye of a hand sewing needle and run the needle in the same hole where the row of stitching began. Run the needle between the quilt layers and into the row of quilting.
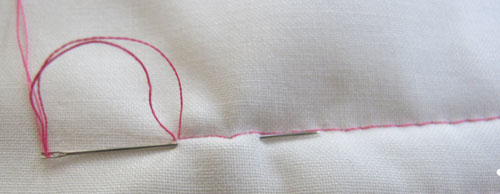
I do the same with the threads at the end of the row of stitches, except I like to pull both threads to the back of the quilt.
Stay tuned for more Quilting Basics tips from Nina McVeigh here on WeAllSew later this summer – Jo