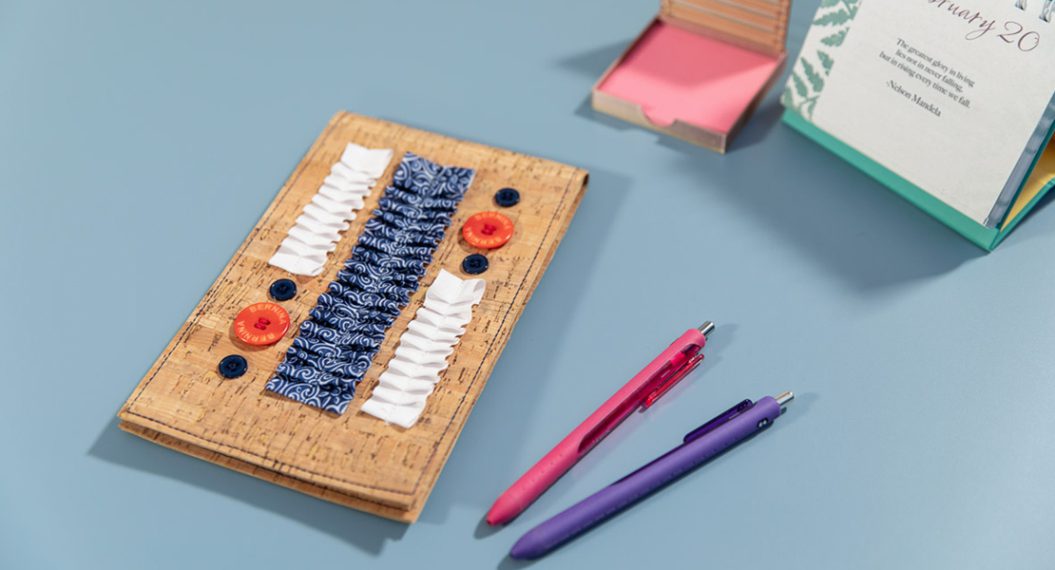
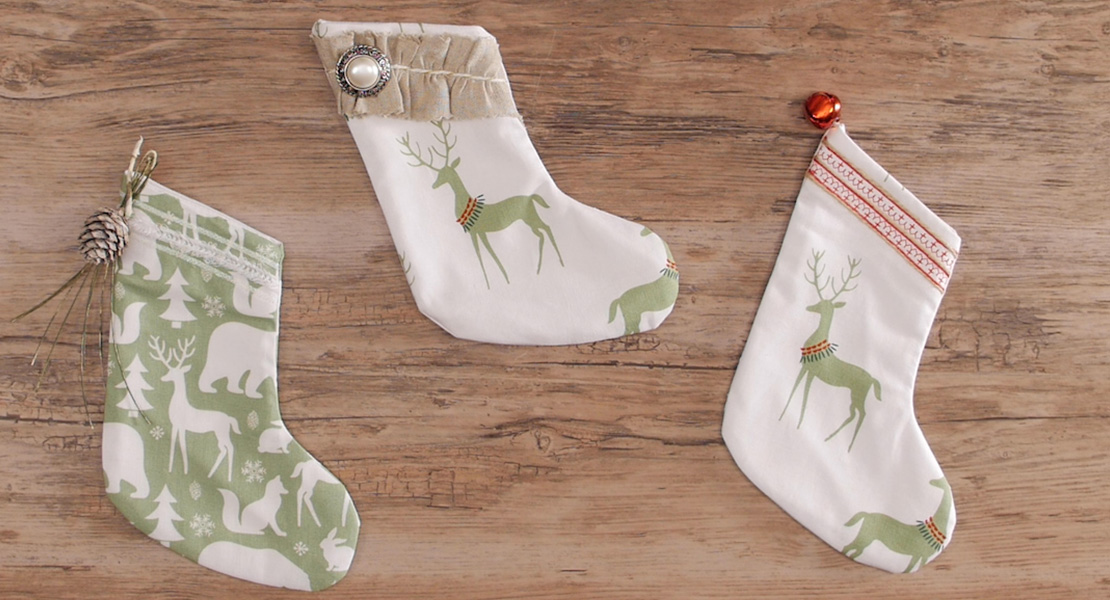
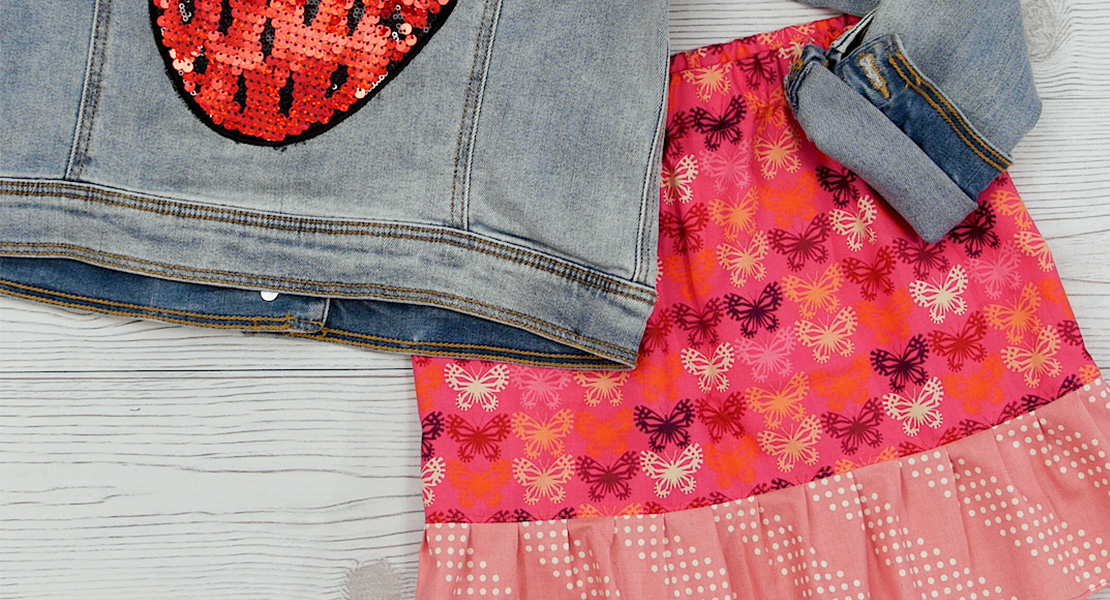
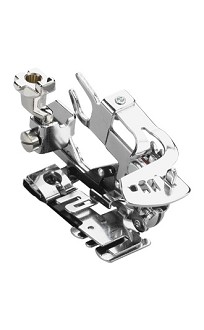
Ready to Ruffle: Ten Tips for Ruffler Attachment #86
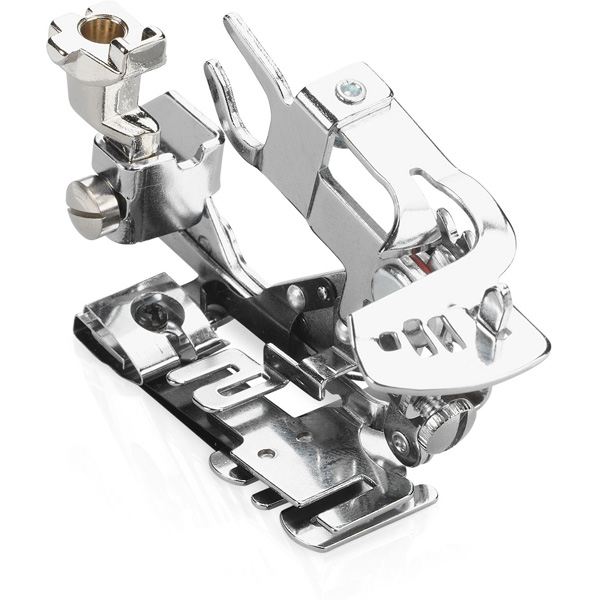
An unusual-looking device, the Ruffler Attachment #86 is easier to use than it looks. It only does one thing (with several variations) so it’s quick to learn and fun to use. Ruffler #86 is great for creating long lengths of gathered and pleated fabric for garment and home decorating projects. These tips will help you use Ruffler #86 and you’ll be ready to ruffle!

Tip #1
When you attach the ruffler, place the U-shaped arm on the needle bar so that the ruffler moves up and down with the needle.
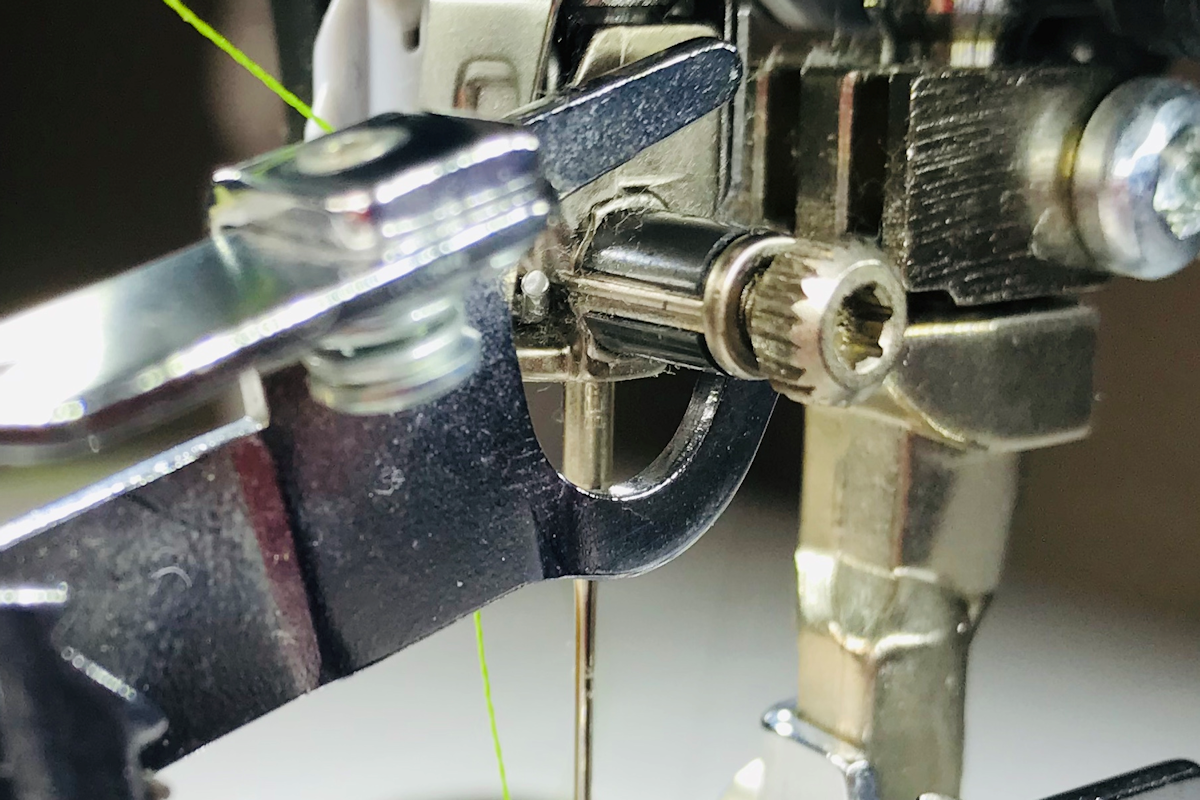
Tip #2
Use the Freehand System (knee-activated presser foot lifter) when attaching the ruffler to the machine. The extra lift and the lowering of the feed dog gives a little more room to maneuver the U-shaped arm into place while sliding the shank onto the cone.
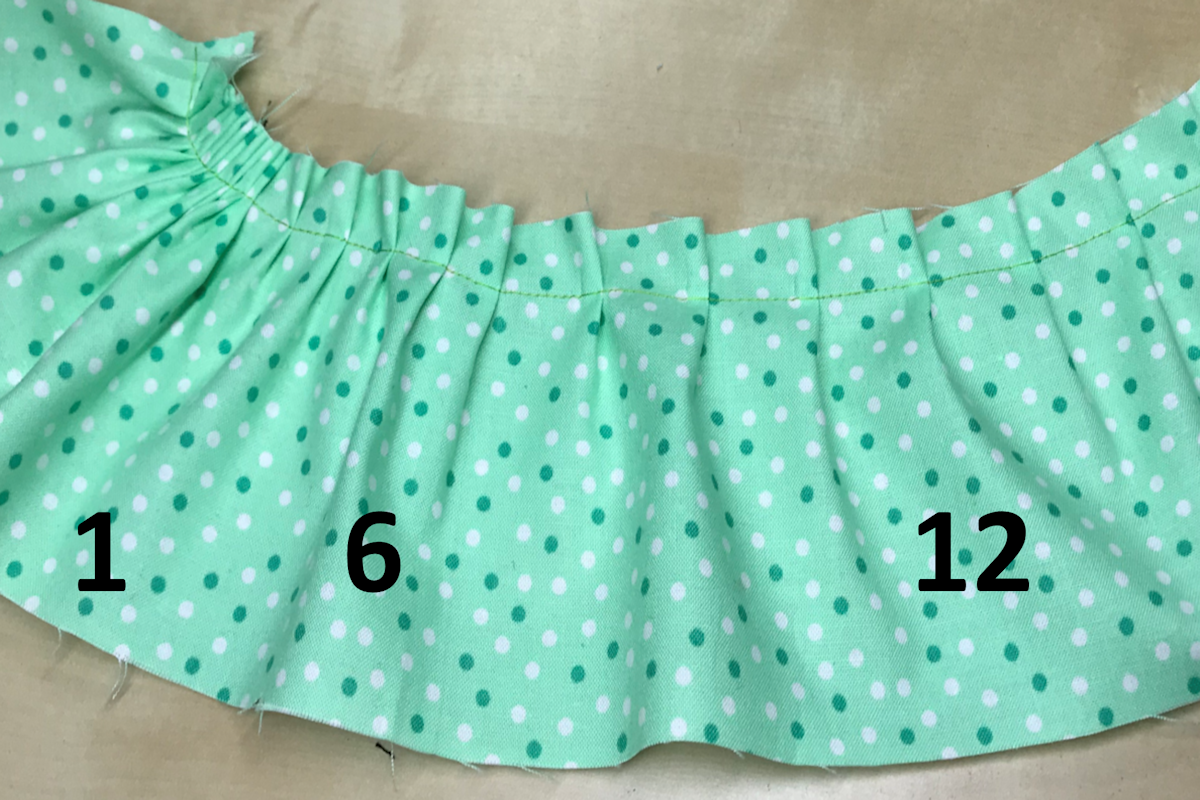
Tip #3
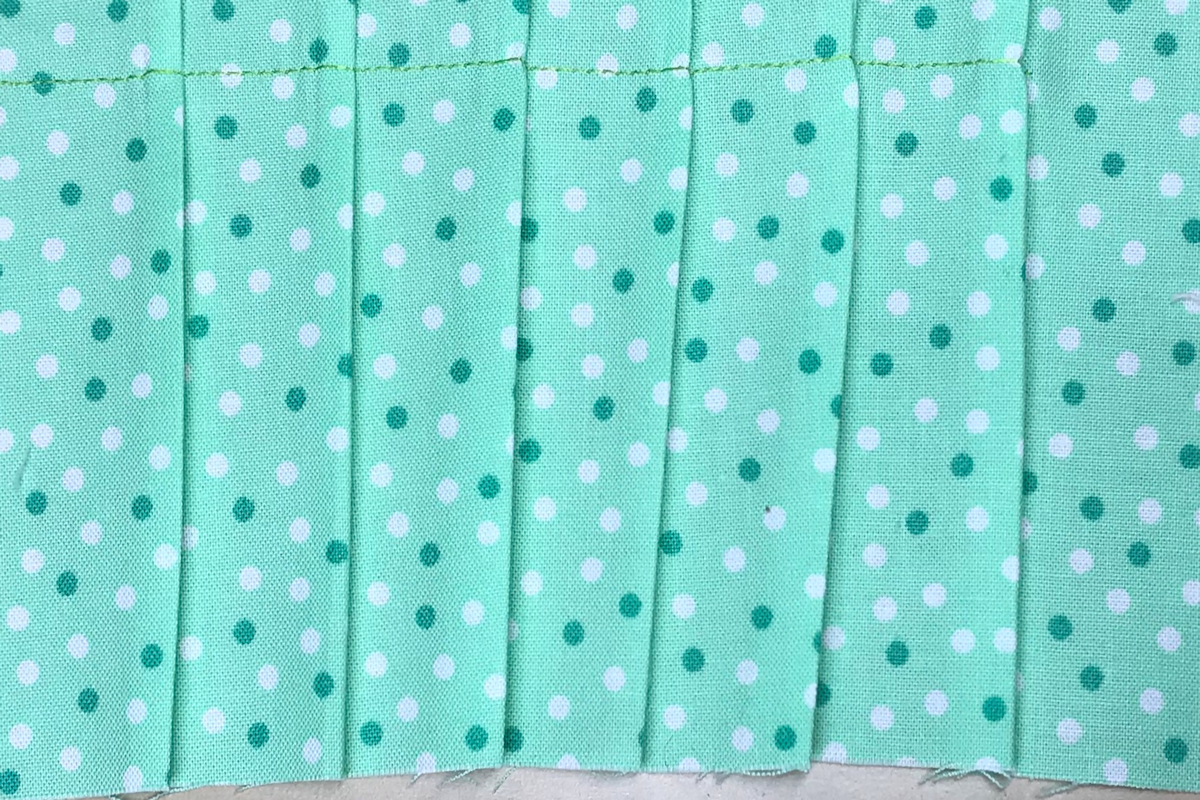
The frequency of the pleats depends on the finished look you want. Set the amount of pleating or gathering by using the lever on the front of the ruffle.
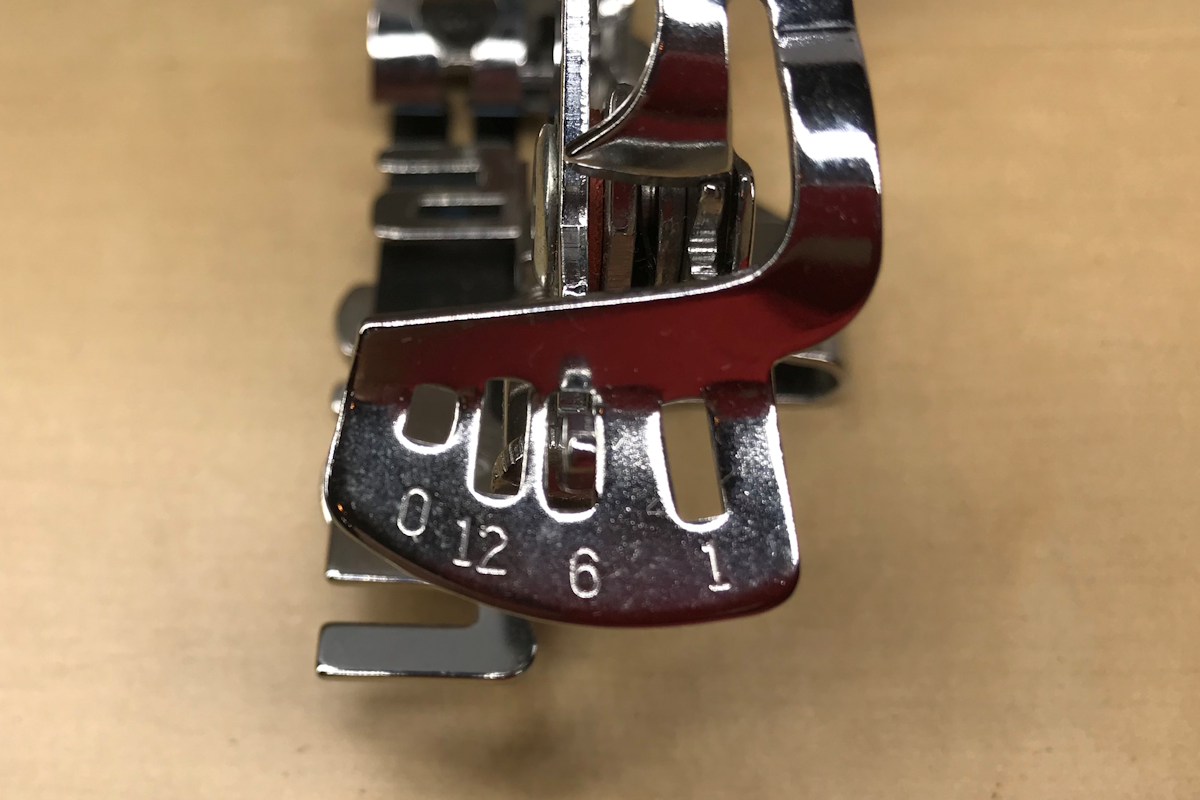
- Setting 1—a pleat every stitch—this setting resembles tight gathers, especially when combined with shallow pleats
- Setting 6—a pleat every sixth stitch—can be pressed to form knife pleats
- Setting 12—a pleat every twelfth stitch—can be pressed to form knife pleats
- Setting 0—no pleats (useful when short non-pleated areas must be sewn between sets of pleats, eliminating the need to remove and reattach the ruffler)
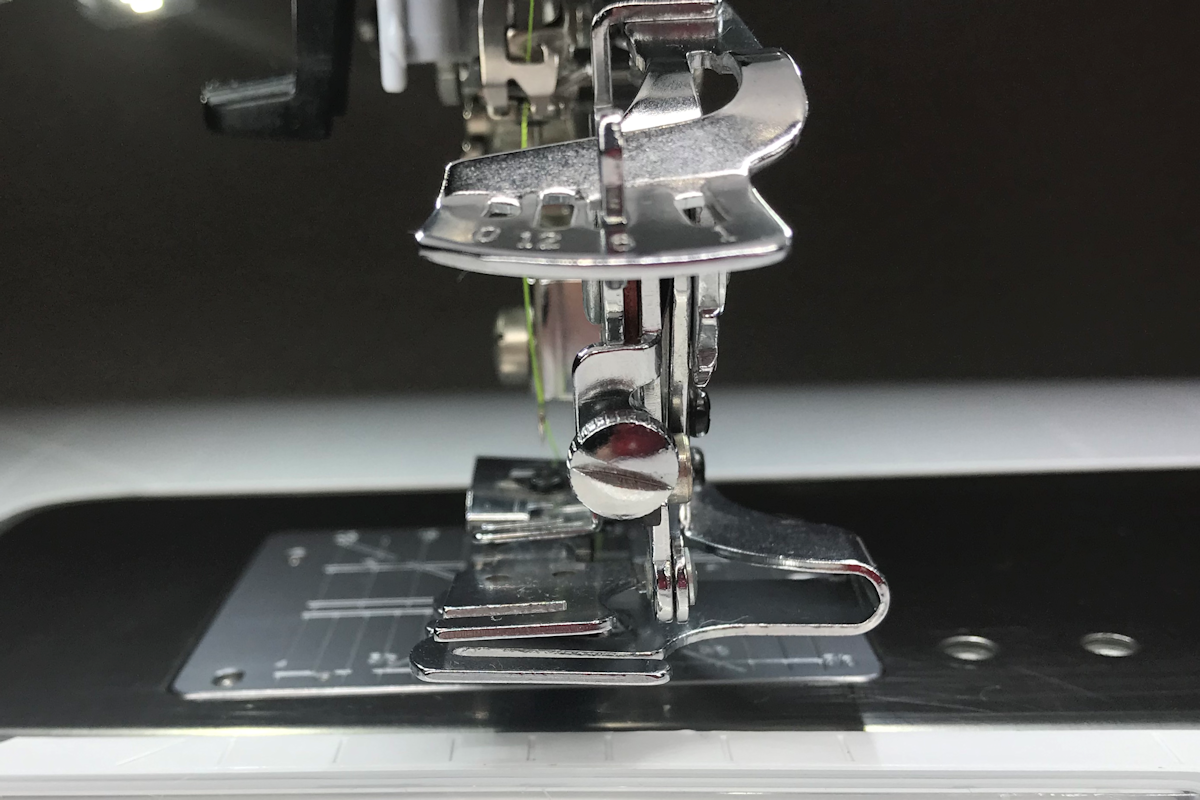
Tip #4
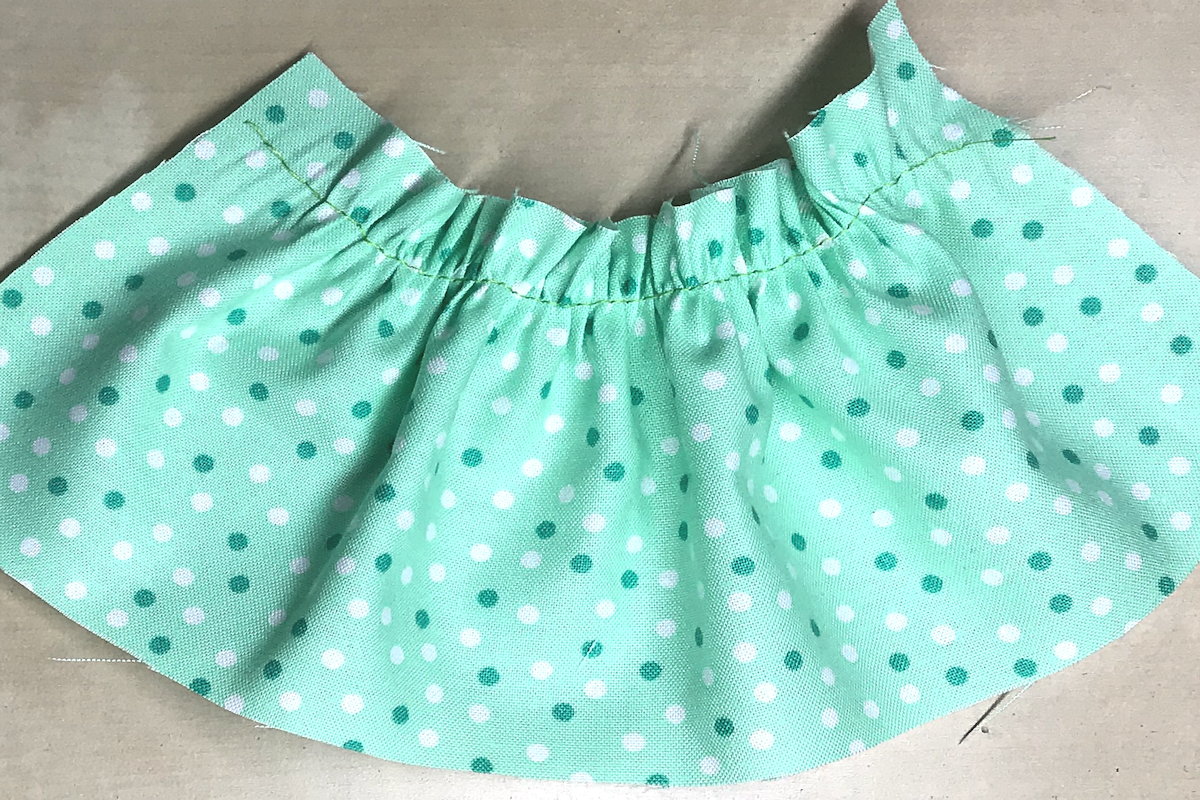
Change the depth of each pleat by adjusting the screw on the front of the ruffler. Turn the screw clockwise for deeper pleats, counterclockwise for shallower pleats. Deep tucks give a pleated look and shallow tucks give a gathered look.
Tip #5
For a knife pleated look, set the screw as far as possible clockwise (deep) and set the lever at 12. Press the pleats after stitching.
Tip #6
For a more traditional gathered look, set the screw as far as possible counter clockwise (shallow) and set the lever at 1.
Tip #7
Adjusting the stitch length can also affect the look of the gathered fabric. Set the stitch length between 2mm and 5mm. A longer stitch length gives a softer, looser look to the gathered/pleated edge and a shorter stitch length results in a tighter, fuller edge.
Tip #8
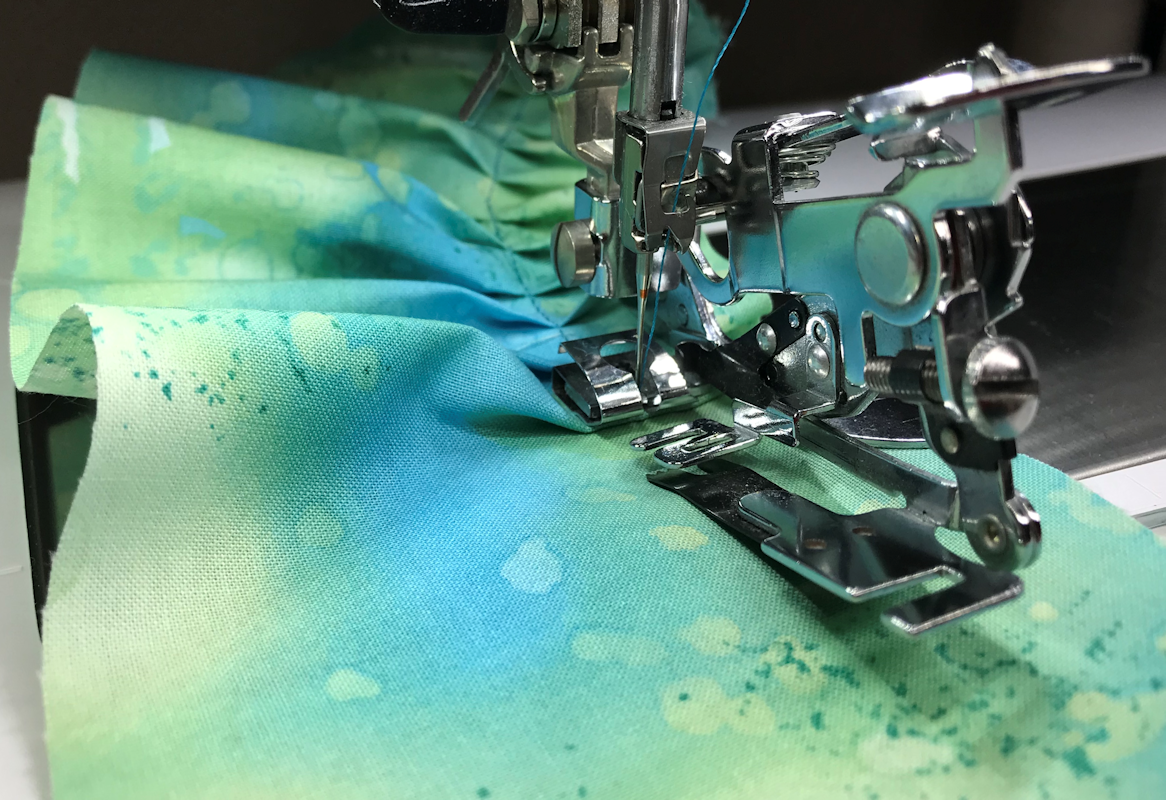
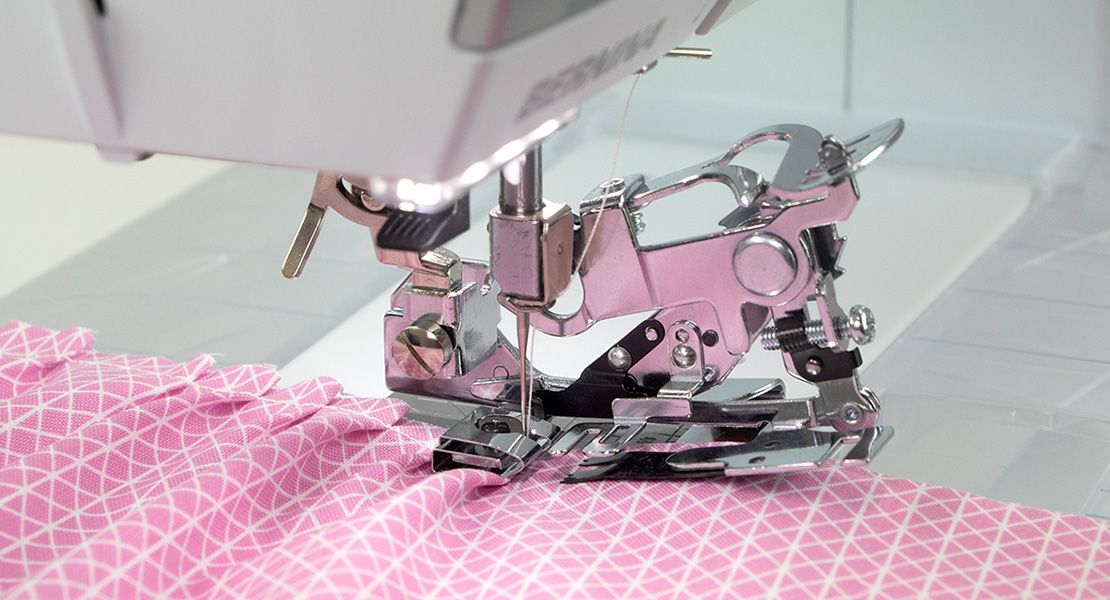
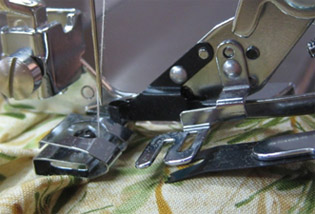
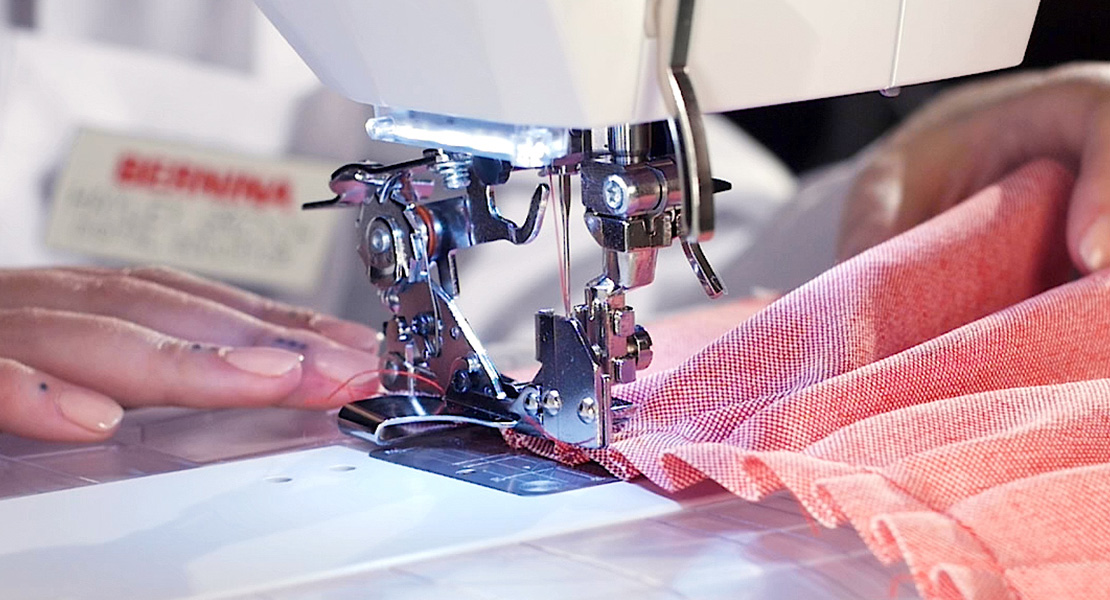
Place the fabric between the separator and ruffler blades, positioning it under the needle to start. Note: The ruffler does not “pick up” the fabric at the start. The fabric must be under the needle so the ruffler can make a pleat and move the fabric.
Tip #9
Once the fabric is between the blades and under the needle, it cannot be pulled back out because it is being held in place by a series of teeth at the end of the ruffler blade. Remove the fabric from the side or out the back of the ruffler.
Tip #10
Stitch at a slow speed (medium or below) to allow the ruffler to “push and pull” the fabric as needed.
If you’re wondering just how fine or how heavy a fabric can be to use with the ruffler, check out our Will it Ruffle? post here!
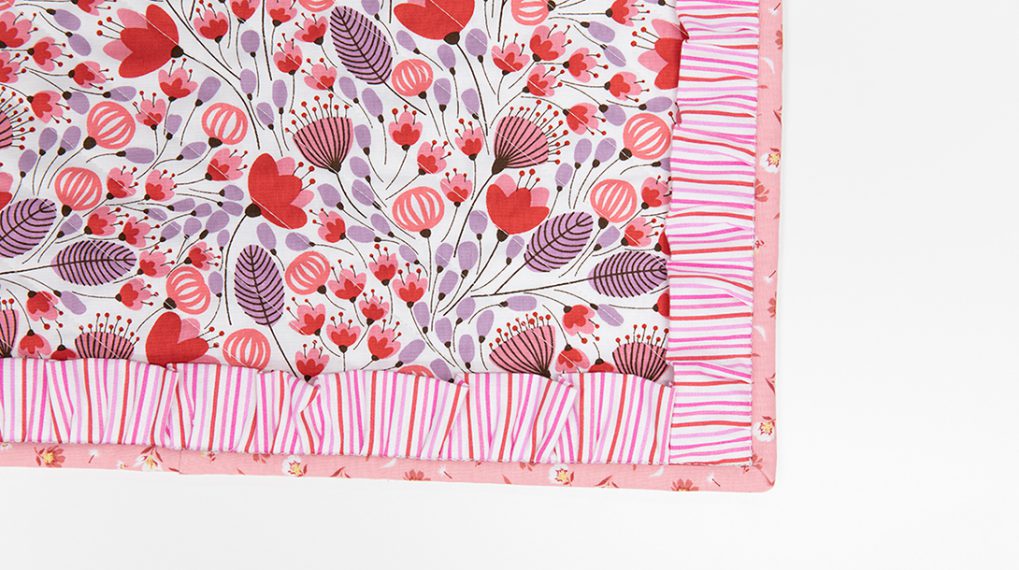
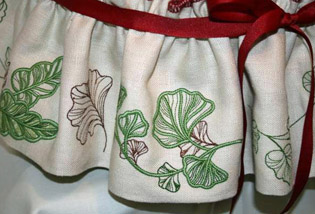
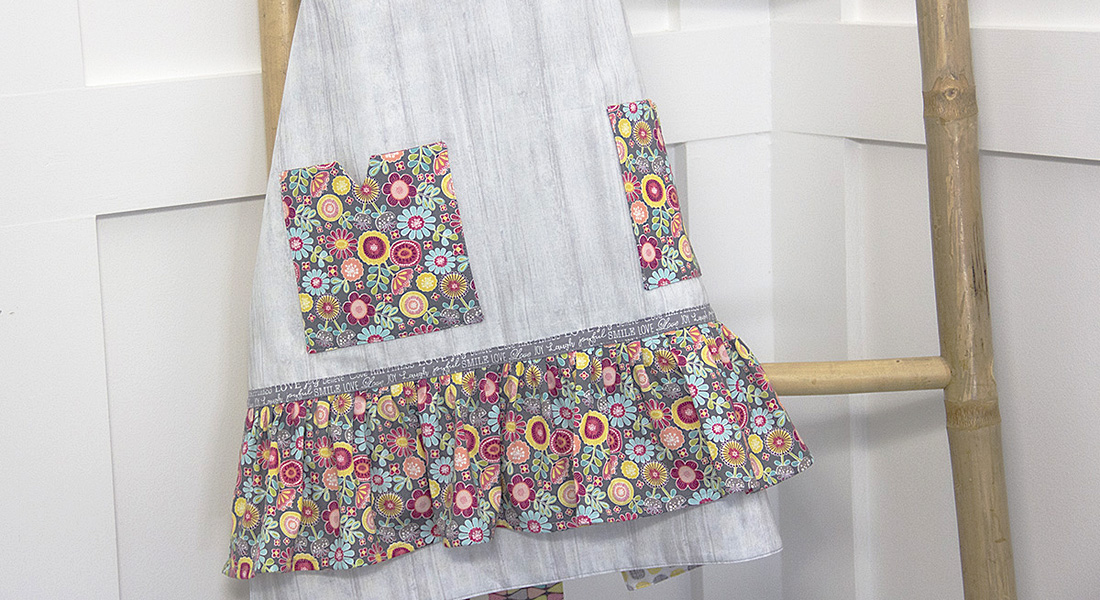
See how easy it is to sew ruffles on an edge using the ruffler with our Ruffle Hem Skirt tutorial here.
To read more about the BERNINA Ruffler #86, see The Big Book of Feet at your local BERNINA store.
Used Products
What you might also like


3 comments on “Ready to Ruffle: Ten Tips for Ruffler Attachment #86”
-
-
Thank you sooo much for these helpful tips. I have been wanting to use this foot more often and didn’t know how to guage the ruffles. Now I can gather like crazy in no time at all!
-
Thank you sooo much for these helpful tips. I have been wanting to use this foot more often and didn’t know how to guage the ruffles. Now I can gather like crazy in no time at all!
It would be great if we were able to save or print these types of tips for suture reference.
Leave a Reply
You must be logged in to post a comment.
I do own this foot, and have used it on occasion, but I thought your demos and explanations were very good.
If someone just purchased this foot this would make it very easy to understand. Thanks