Rolled Hems on the Overlocker
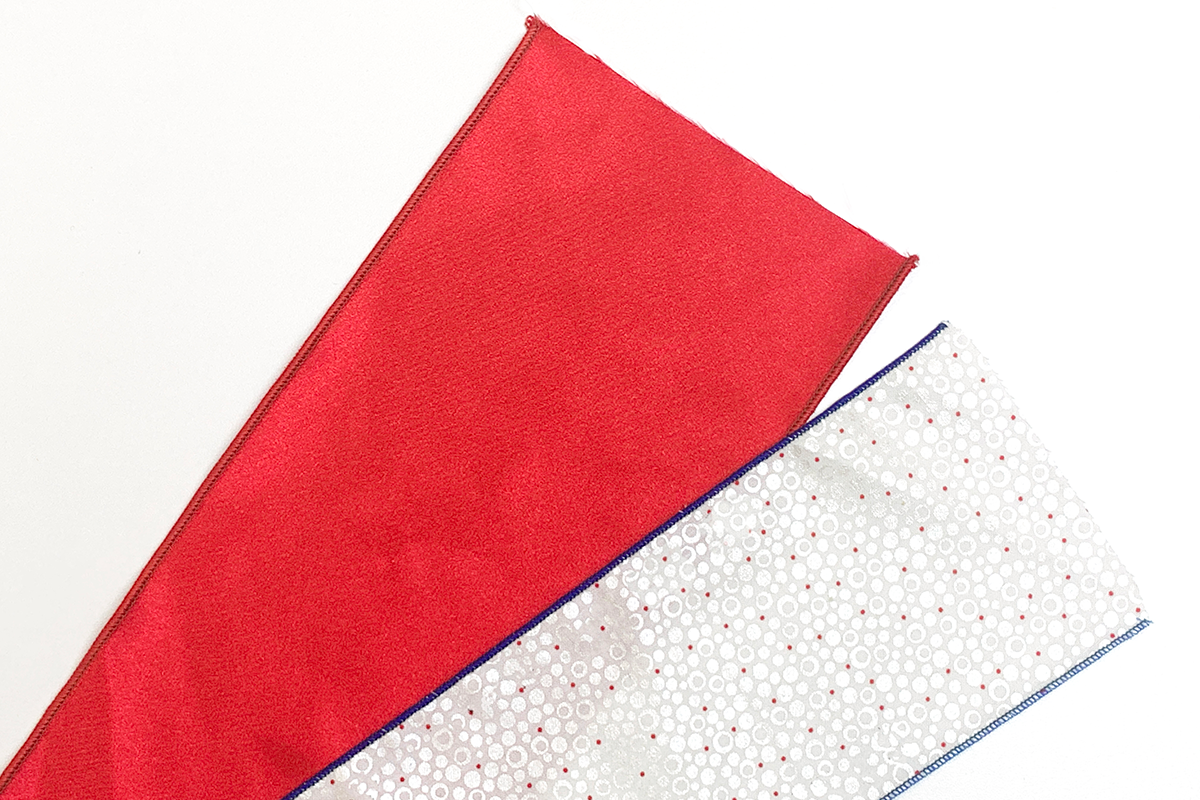
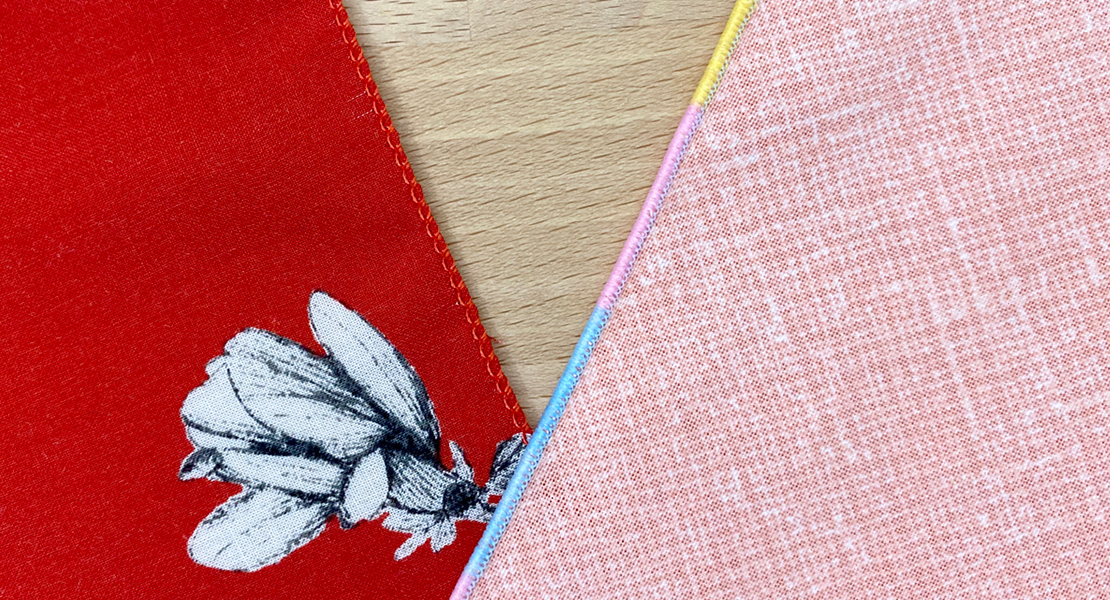
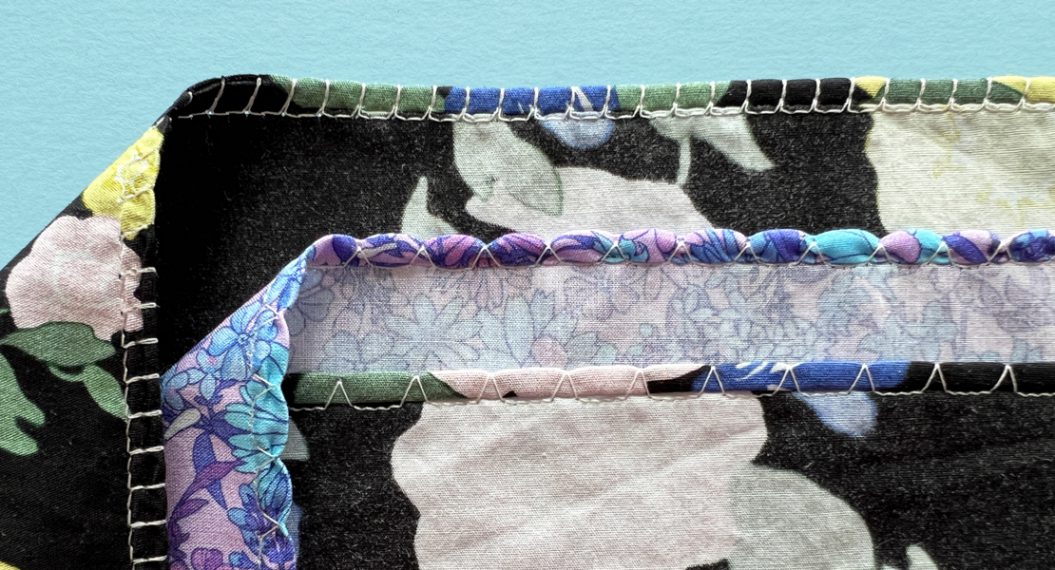
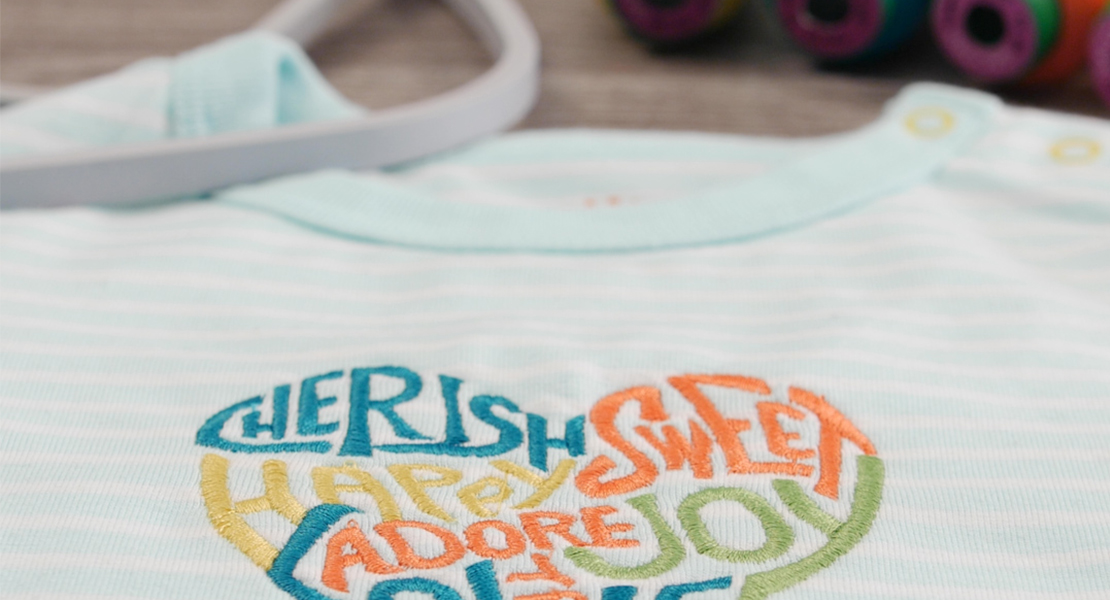
The single stitch that sets the overlocker apart from a sewing machine is the rolled hem. This beautiful stitch is easy to achieve and lends itself to many decorative applications and threads.
This lesson will expand on how to use differential feed to create a stretching effect on the fabric which results in a beautiful lettuce edge finish. Did you know that the standard presser foot for the L 4 Series has a built-in tape guide? It works perfect for adding fishing line to the rolled hem stitch.
Supplies for Rolled Hems
- BERNINA L 460
- Standard Presser Foot
- BERNINA L 460 Machine Manual (page 30, 36)
- Fabric:
- (1) Cotton: 4”x 10”
- (3) Jersey Knit: 4”x 10”
- (1) Spandex Knit: 4”x 10”
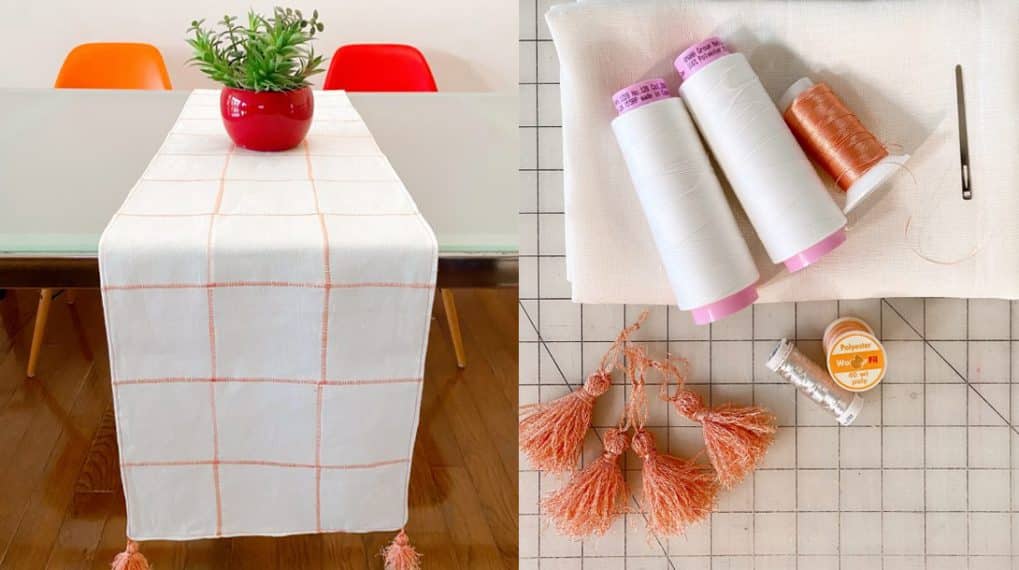
- Fishing Line (Mine was 30lb. OmniFlex by Zebco)
- Seracor Thread (color order for threading: blue, red, and green)
- Maxi-lock Stretch thread or Woolly Nylon
- 80/12 Universal needle
Setting up a Rolled Hem
With just a few basic set-up changes on the machine, you can create a beautiful rolled hem.
Stitch Selection Lever
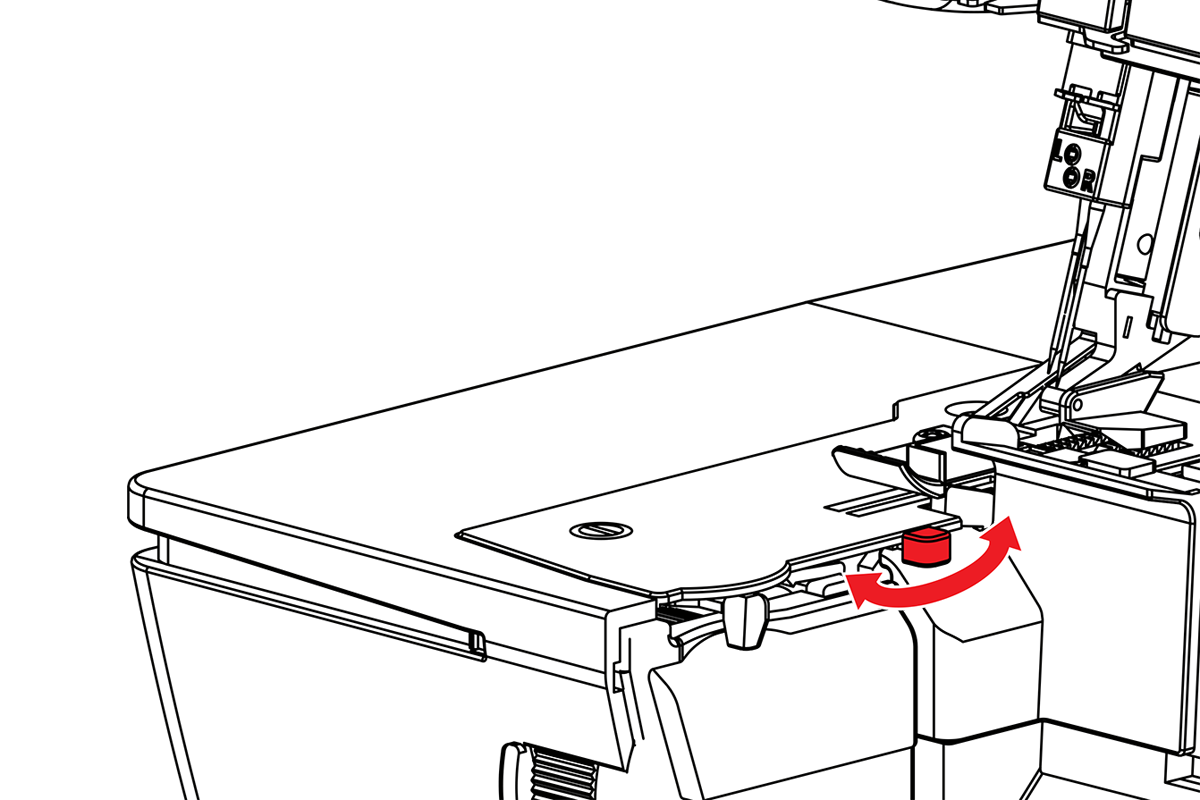
The stitch selection lever is located on the stitch plate (not to be confused with the Micro Thread Control). For rolled hems or narrow stitches, removing the stitch finger allows for very narrow seams and the fabric edge to roll. Move the stitch selection lever to position 1 to activate the rolled hem.
Cutting Width
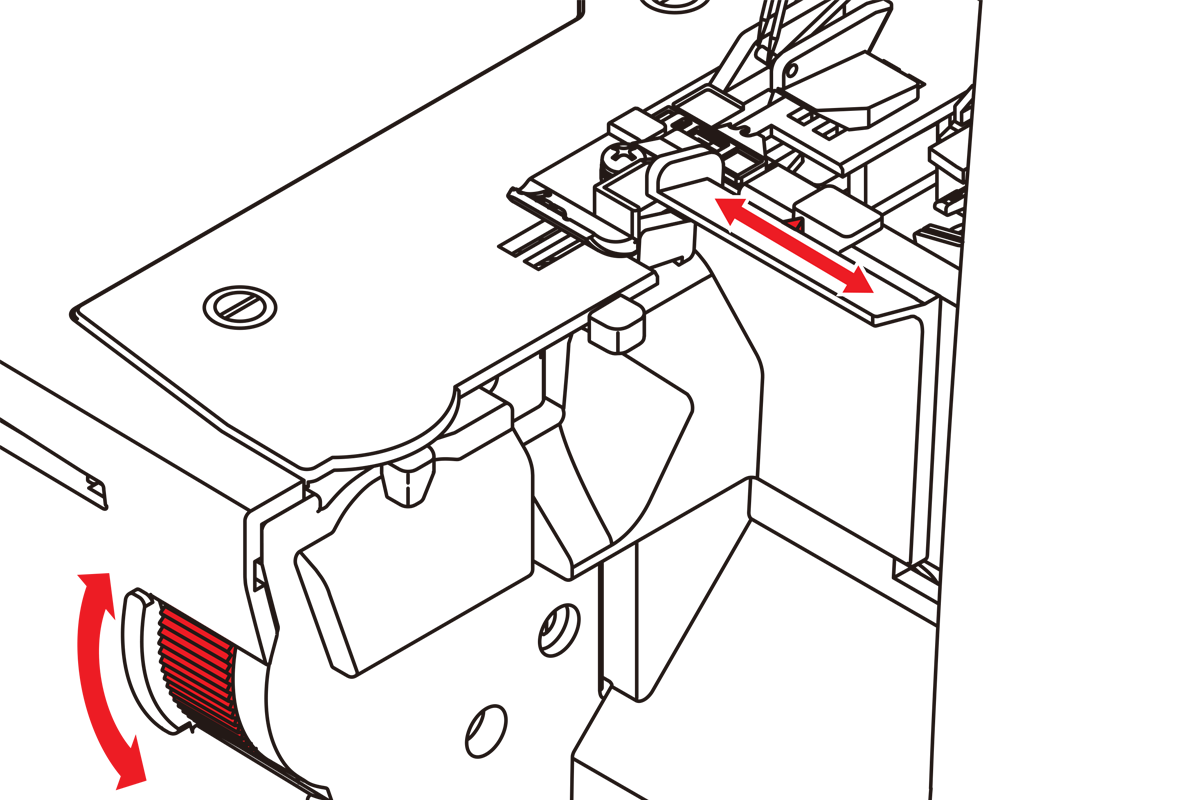
The cutting width dial is located on the front of the machine bed and the cutting width indicator is on the looper cover near the presser foot. Adjust the cutting with to 5 mm (results in 3 mm stitch when using the right needle).
Stitch Length

The stitch length knob is located on the right hand side of the machine. There is a range for rolled hem, indicated by the letter “R” with a box around it. Depending on your fabric and thread, the stitch length should be set within this range. To begin, set the dial at the letter “R” and adjust as needed.
Thread Tensions
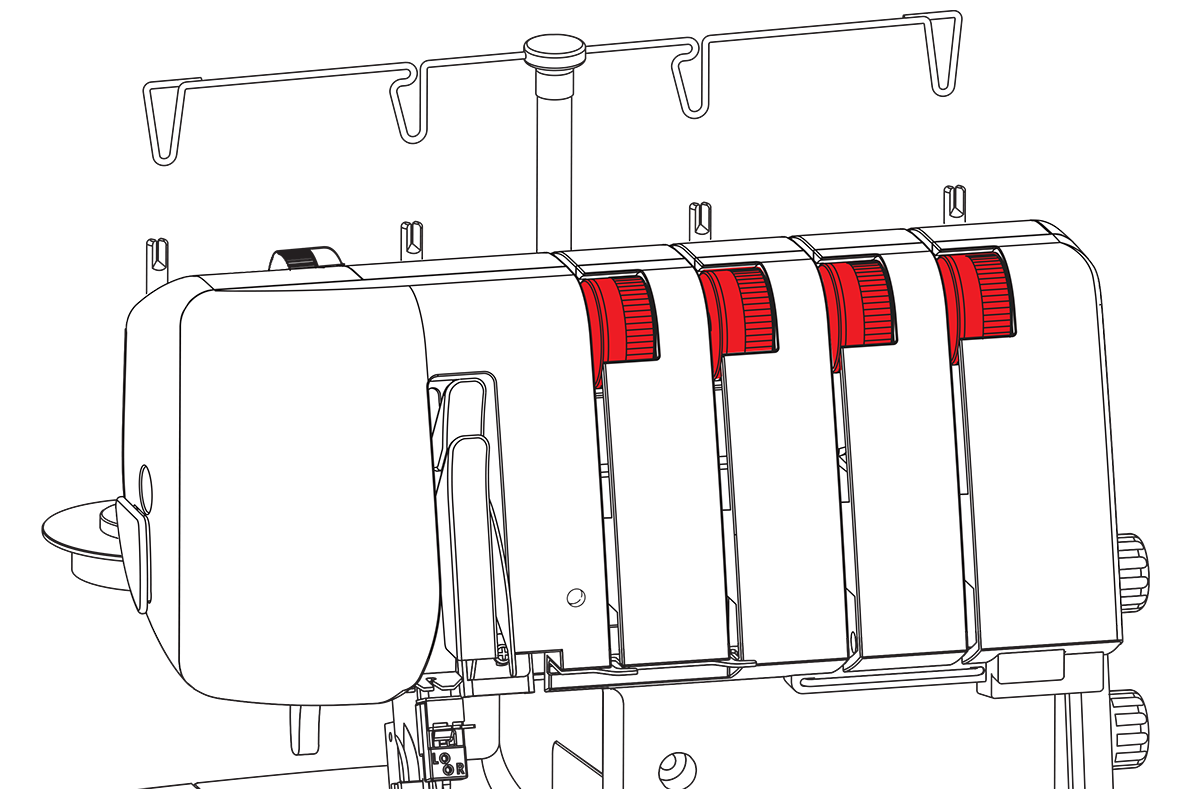
The thread tension dials are across the front of the machine. For 3-thread rolled hem applications, loosen the right needle slightly and tighten the lower loooper so that it pulls the upper looper thread around the fabric edge. Place your decorative or textured nylon thread on the upper looper—this is the thread you will see the most.
Tip: Take the stitch plate off the machine to see how the stitch finger functions with the lever, as well as the Micro Thread Control.
Take notes as you stitch through the following samples:
Sample 1: Cotton Fabric
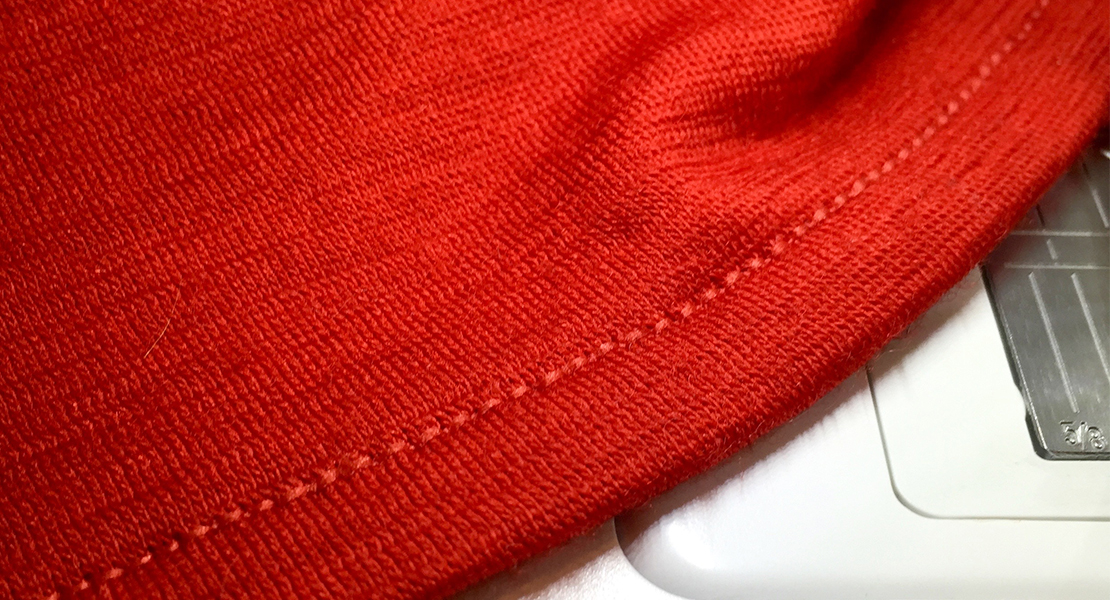
Begin with the machine set to the standard 3-thread rolled hem and sew along one long edge (10”). Adjust the stitch length and tensions as needed to achieve a desired look.
Sample 2. Jersey Knit
Using the same settings as above, sew the length (10”) of a piece of jersey knit fabric. Were the results the same? What did you notice?
Sample 3. Jersey Knit – Differential Feed Change
Furthermore, adjusting the differential feed to 0.7, a stretched effect can be achieved. This works best with knit fabrics that stretch and recover.
Sample 4. Jersey Knit with Lettuce Edge
To really enhance the look of the lettuce edge, stretch the fabric manually as you sew. Use the same settings as before. This takes some practice, as the machine needs to be doing the moving. Do NOT stretch against the machine. Hold the fabric behind the foot and stretch it out in front of the foot, allowing the machine to move the fabric evenly underneath the foot.
Sample 5. Spandex with Fish Line
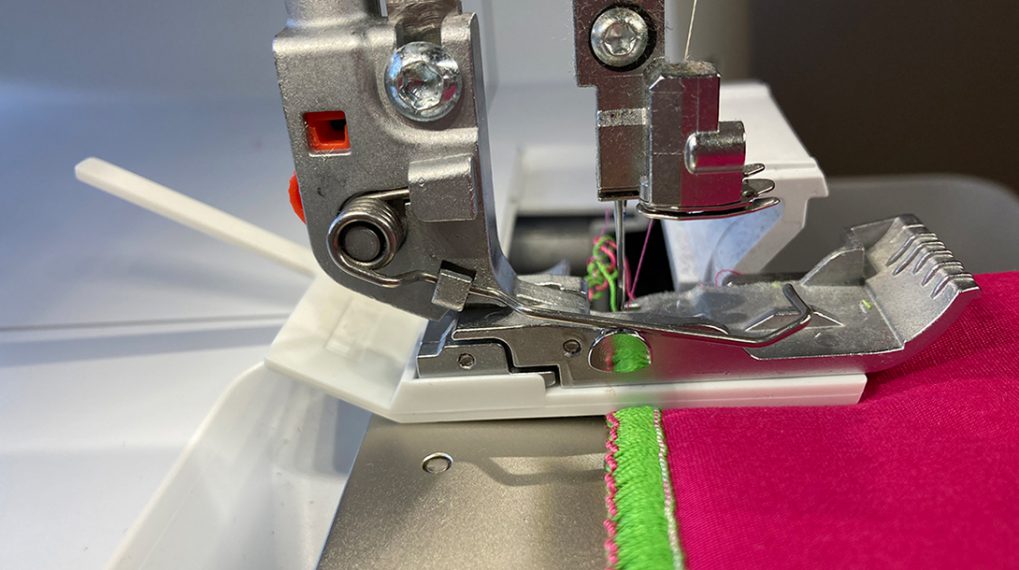
To really enhance the scalloped lettuce edge effect, add some fish line into the rolled hem stitch. To do this, use the adjustable guide on the standard presser foot.
Loosen the screw and move the metal guide until a small square opening is visible on the right side of the foot. Thread the fish line into this opening. It is easiest to do this by removing the presser foot.
Once threaded, attach the foot back to the machine and begin sewing the rolled hem, making sure to encase the fish line. Place the fabric under the foot, in front of the blade and take a few stitches to secure the seam along the fabric edge.
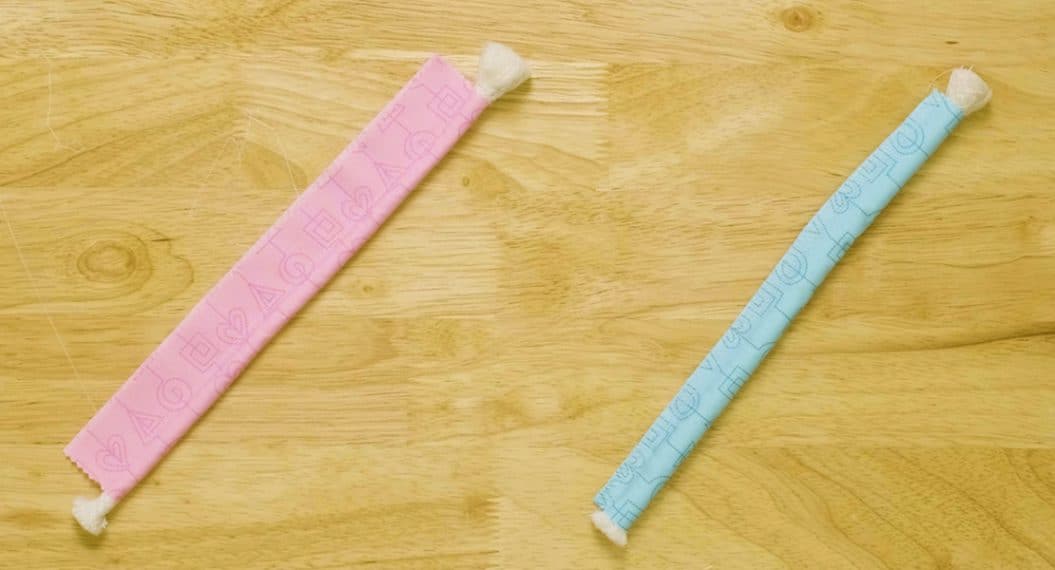
Once the rolled hem is well established in the fabric complete the seam ending with a long tail and extra fish line.
Tip: Secure the seam into the fabric carefully at the beginning and end the seam with a long tail. This will help ensure that the stitches do not fall off the edge of the fabric.
BERNINA Made to Create Studio Online Lessons: Overlocker/Serger
Used Products

What you might also like


4 comments on “Rolled Hems on the Overlocker”
-
-
Your demonstrations are terrific and very informative. I would love a demonstration on rolled hem on a sheer fabric! I have many a problem with the stitching separating from the fabric. Not sure which setting I have wrong.
-
Great demo. These videos are perfect learning tools, especially when not able to attend in-person classes.
-
This was the most fantastic machine I have seen in quite sometime. I am absolutely mesmerized by the many unique things it can do. What a fabulous addition to my craft room and ease of completing many projects in less time.
Leave a Reply
You must be logged in to post a comment.
Absolutely thrilled with these great lessons. I just bought my first serger 460 a few months back but have only made some PJ’s and masks….can’t wait to try some new projects….keep ‘em coming