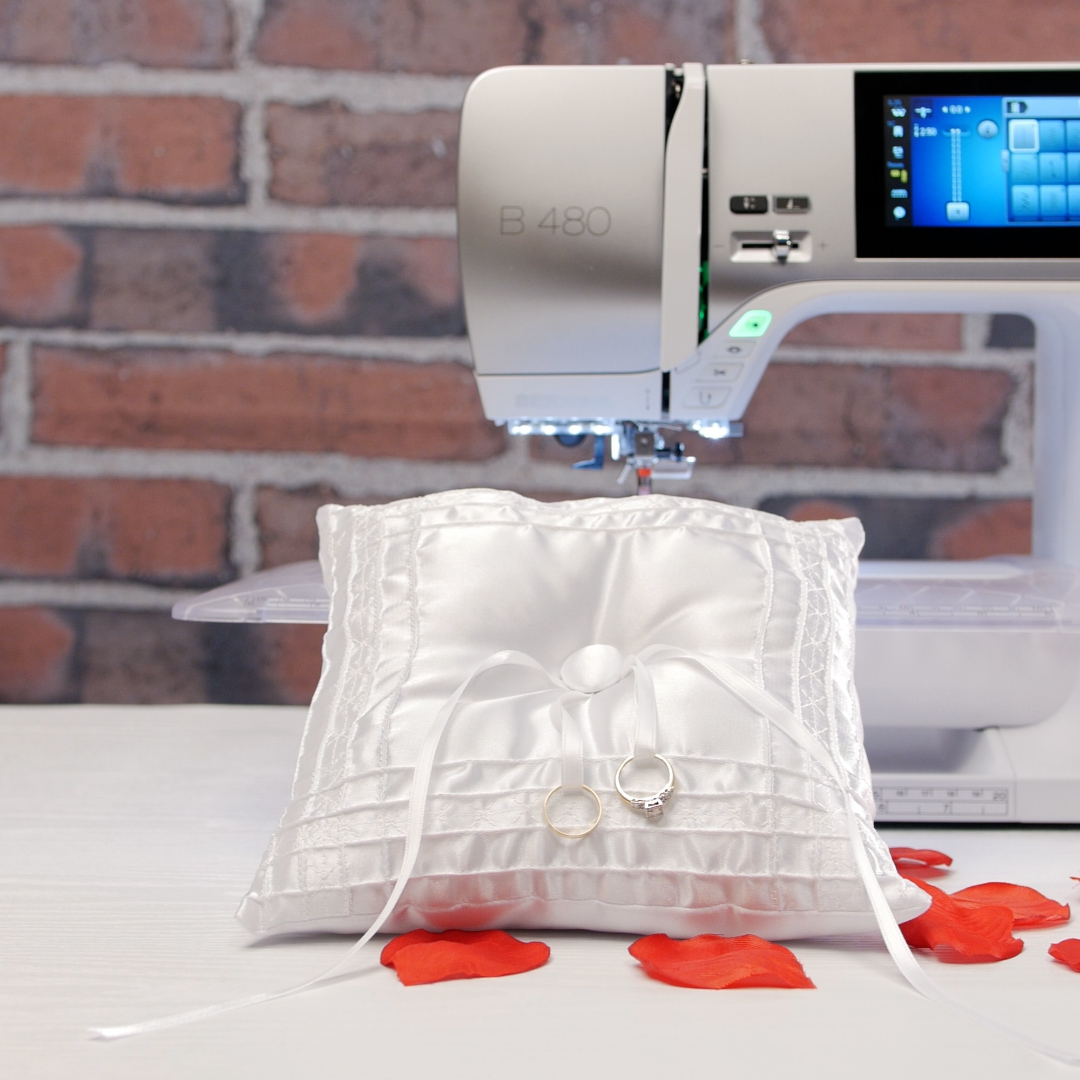
Sew a Custom Ring Bearer Pillow
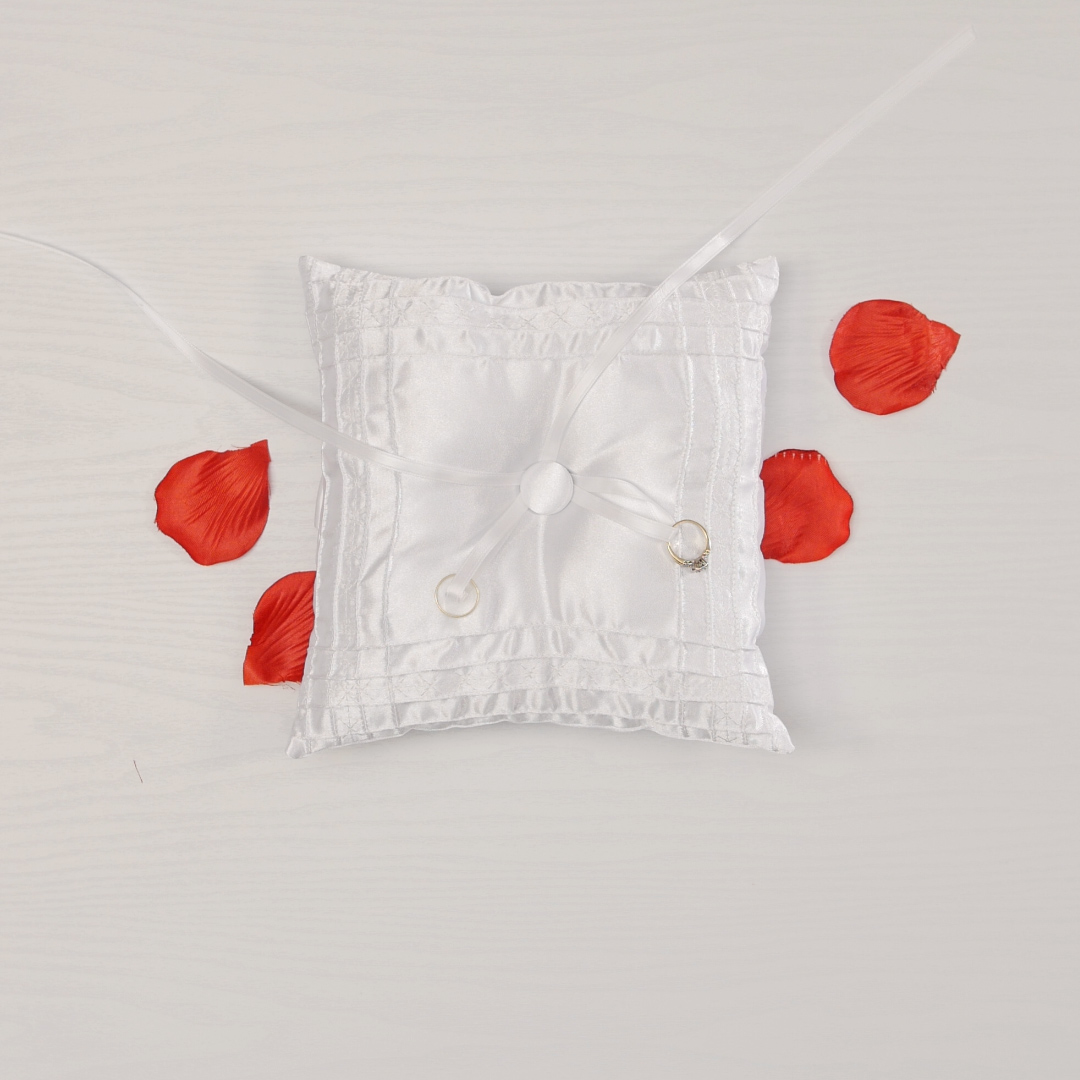
Although many-a-wedding has been postponed and rescheduled during this crazy time, it does not mean that you cannot surprise the happy couple with a one-of-a-kind ring bearer pillow. I have been a part of 10(!) weddings, with more to be expected, and each one of the couples received one of these pillows.
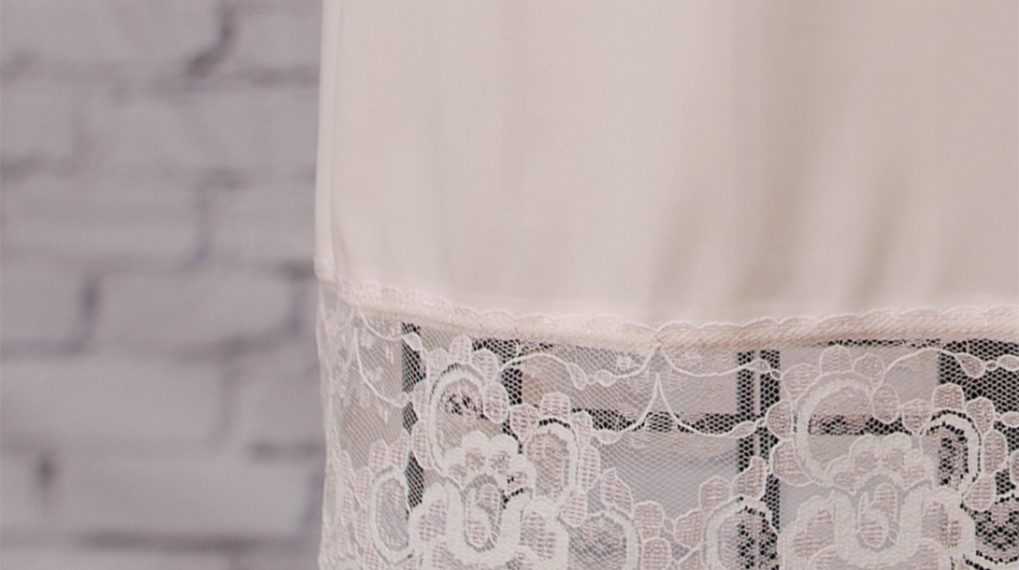
The decorative features of this mini pillow are created in two different steps, but using the same presser foot. It is the power of the Pintuck and Decorative Stitch Foot #46C! This foot is designed to work with twin needles to create pintucks in one step, while also being designed to use the pintucks to create even rows of decorative stitching in a second step. It is easy to get the elegant look of both pintucks and decorative stitches with this one foot!
As you are working through this project, feel free to add or take away anything that you do not desire. Remember, this is for the happy couple! Make it fit them!
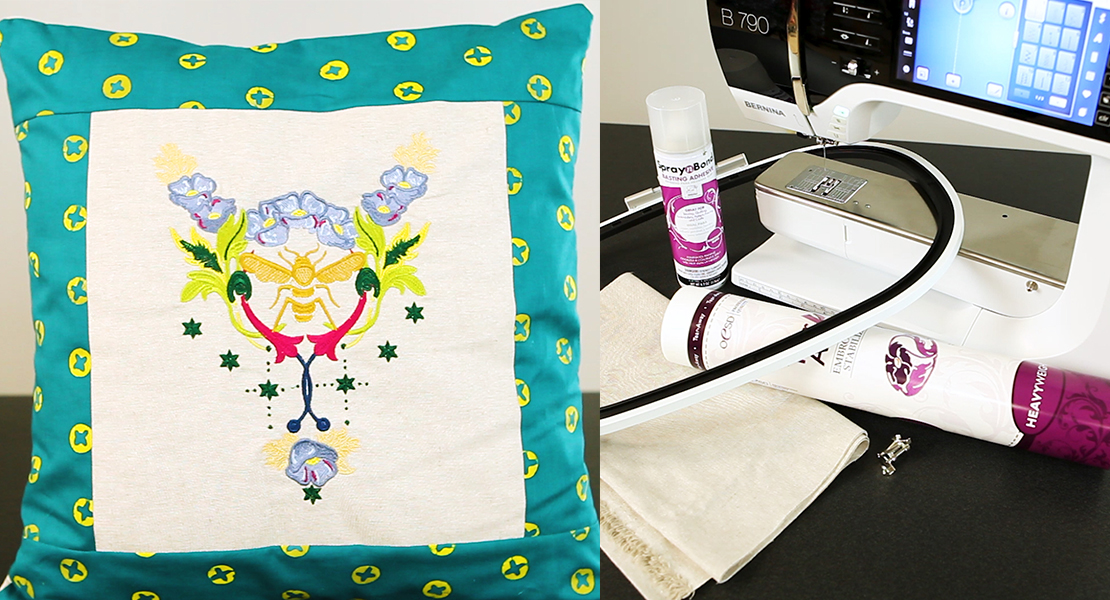
Supplies to Sew a Custom Ring Bearer Pillow:
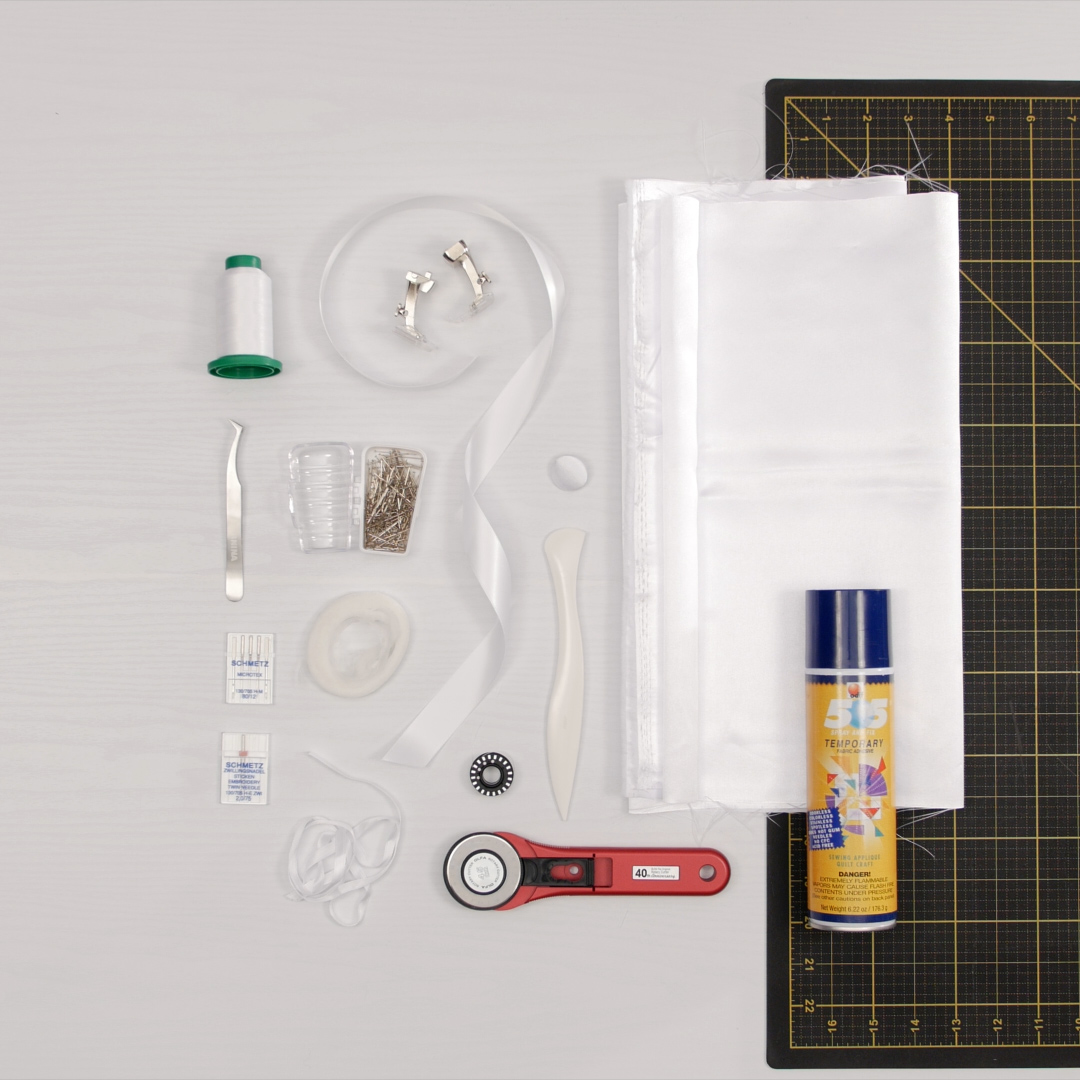
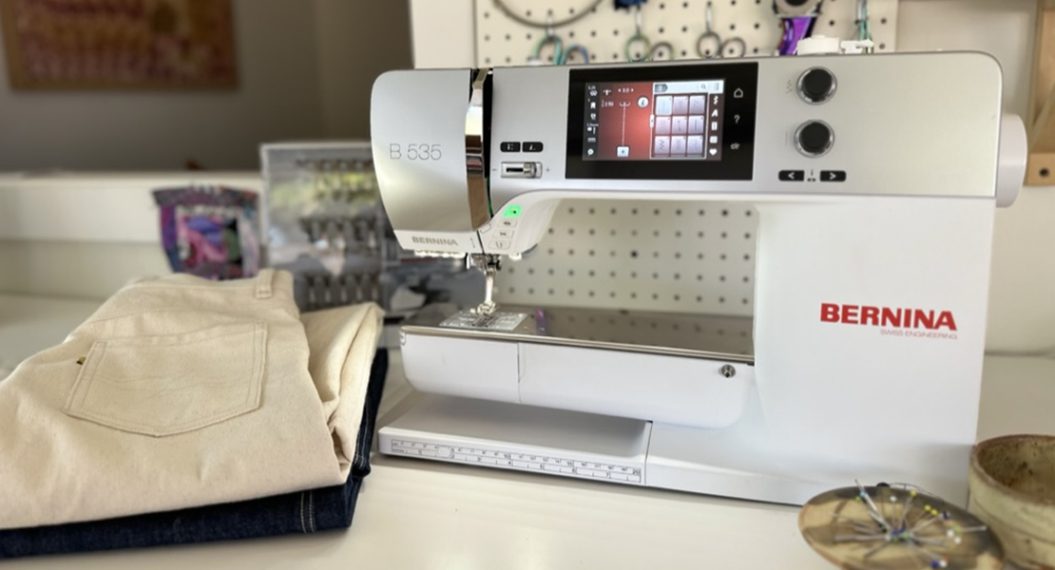
- BERNINA 480
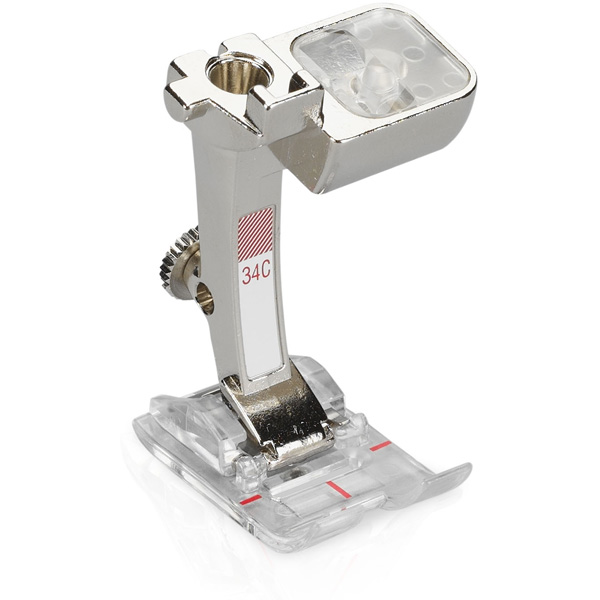
- Reverse Pattern Foot with Clear Sole #34C
- Pintuck and Decorative Stitch Foot with Clear Sole #46C
- Schmetz Embroidery twin needle, Size 2.0/75
- Schmetz Microtex needle, Size 80/12
- Hand sewing needles
- Satin fabric
- Ribbon of desired width, non-wired
- I used two different widths – one ¼” in width on top to tie the rings and one 1” in width for a holding strap on the bottom
- Covered button
- Isacord thread
- OESD Heavyweight Tear Away Stabilizer
- 505 Spray Adhesive
- Fabric marker
- KAI scissors
- Point turner
- Rotary cutter
- Ruler
- Silk pins
- Poly-fil Fiberfill
- Stitch Witchery
Preparation to Sew a Custom Ring Bearer Pillow
First, the satin fabric, ribbon, and stabilizer should be cut. Two pieces of fabric are needed for the body of the pillow. For the top cut an 11” square, and for the bottom cut a 10” square. You have to allow for the take-up of the pintucks on the top piece, and that is why it is cut bigger than the bottom.
For the ribbon that will be used to tie the rings on top, cut a 30” piece. I chose to make mine a little bit longer so that the ribbons would cascade over the edges of the pillow. And cut a 10” piece of ribbon for the ribbon handle on the bottom of the pillow.
For the stabilizer, cut an 11” square, or a piece that is 11” x width of the roll.
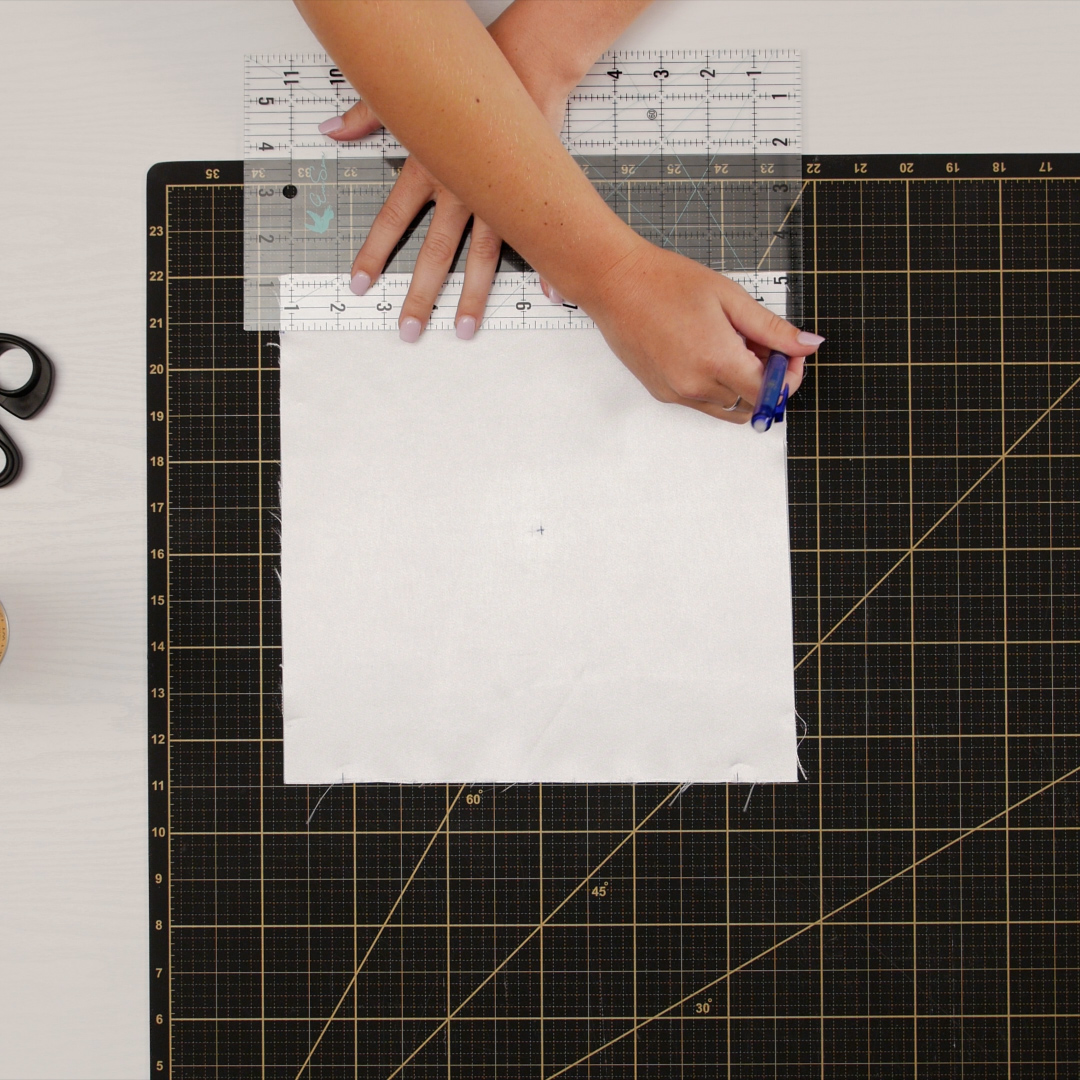
Using a FriXion pen (or marker of choice) and a ruler, mark the centers of both the top and bottom pillow pieces. These points will be used when tacking on the top ribbon, as well as the covered button. On the top piece only, mark sewing lines 1 ¼” from both edges on each side. These will serve as starting and ending points for the first rows of pintucks.
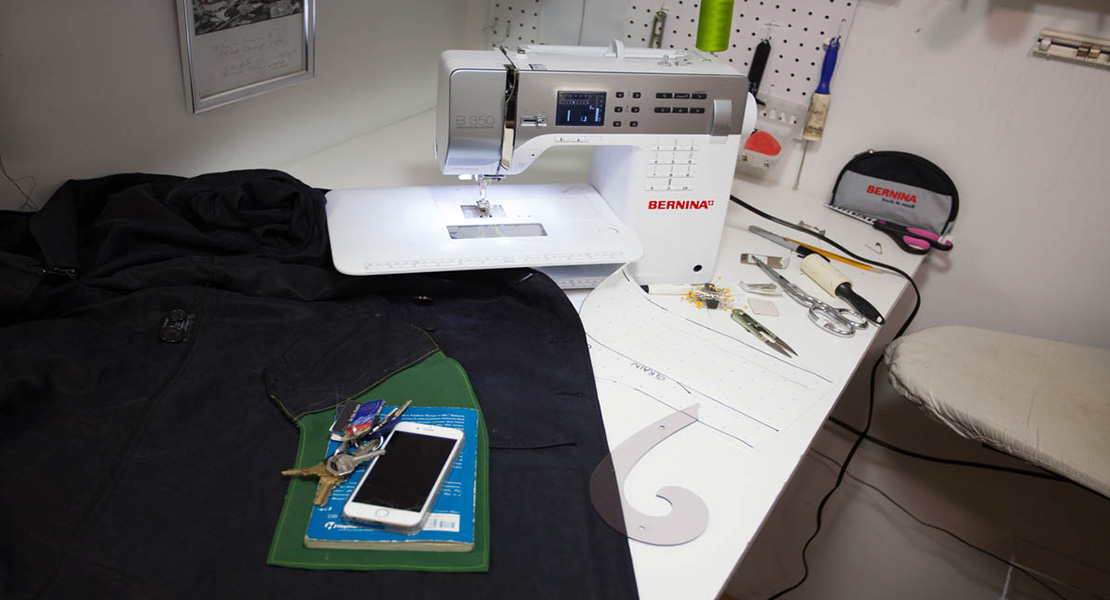
Setting Up Your Sewing Machine to Sew a Custom Ring Bearer Pillow
It is almost time to sew, but first, the machine should be set up properly! Attach Foot #46C to the machine, then insert the twin needle. If you prefer a different width of pintuck, whether wider or narrower, change the size of the twin needle you are using. In my testing, I found that using an embroidery-type twin needle worked best with the satin fabric.
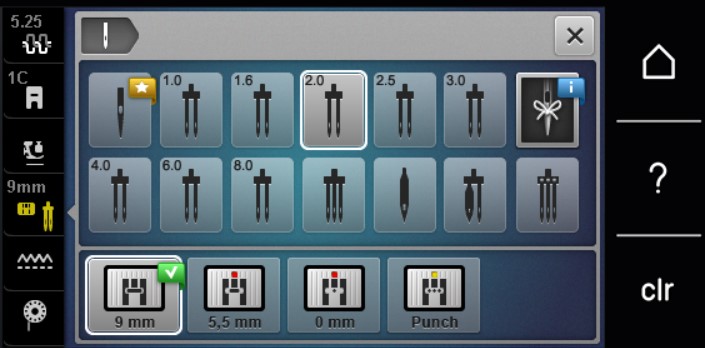
There are a couple of security features that can be set on the machine to ensure safe sewing. Anytime you are sewing with a twin needle, be sure to have the 9.0 mm stitch plate on the machine. Once this is on the machine, open the Stitch Plate Security/Needle Security menu on the left-hand side of the screen. In this menu, the stitch plate should be set to the 9.0 mm plate by default, but the twin needle size should be selected according to whichever one is being used. Once this change has been made, the icon on the screen will now be yellow, signifying that the security feature has been changed to reflect what is being sewn with.
Another major step that needs to be completed before sewing can occur is threading the machine for twin needles. A video of this can be found in the Tutorials menu. The video can be paused by simply touching on-screen.
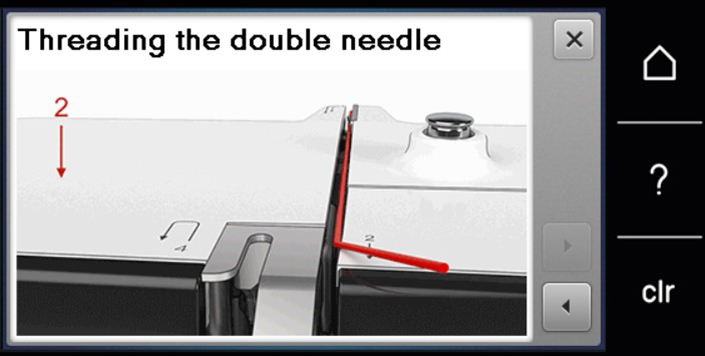
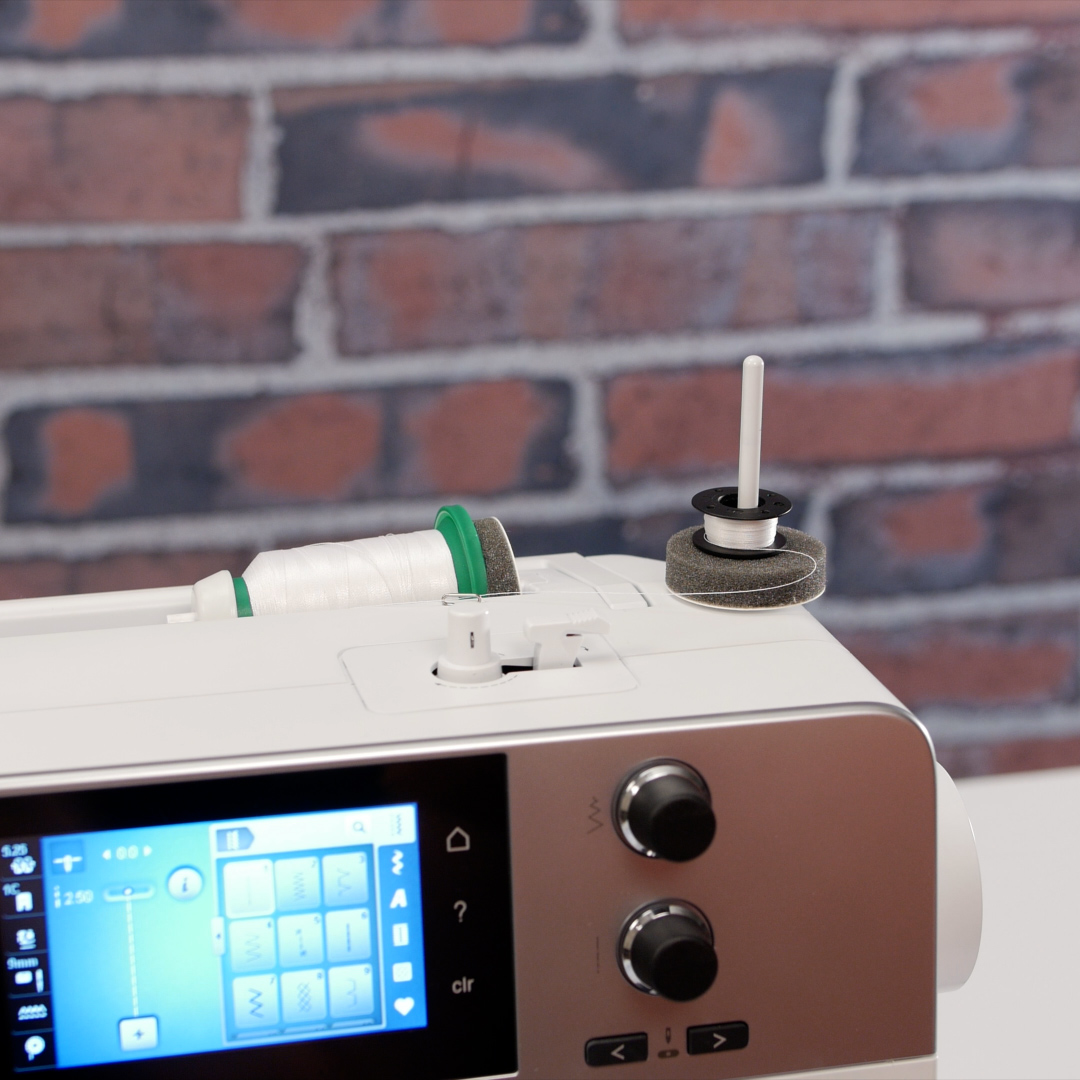
The important thing when threading for a twin needle is that the threads are separated at the tension disk. Using two spools of thread and both spool pins, thread the first thread guide normally. Once at the tension disk, put one thread on the left side of the disk, and one on right. Reference the video above to see the thread separation!
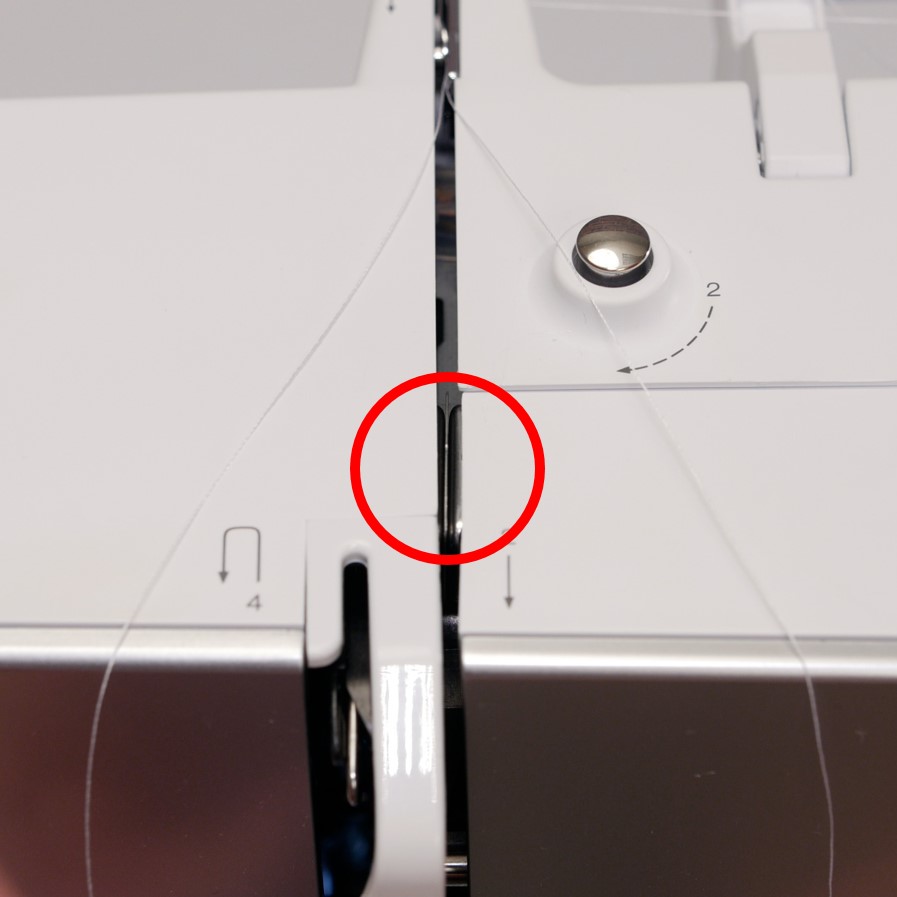
Continue threading the machine normally, but be sure to thread each needle eye manually. Use the needle threader that came with your machine if needed. If you do not have a second spool of thread, simply wind some of the thread onto a bobbin.
Last, but not least, increase the stitch length to 2.75. Always do a test sew to make sure everything is set correctly. If you are not liking the look of the pintuck on the satin, try increasing the tension slightly.
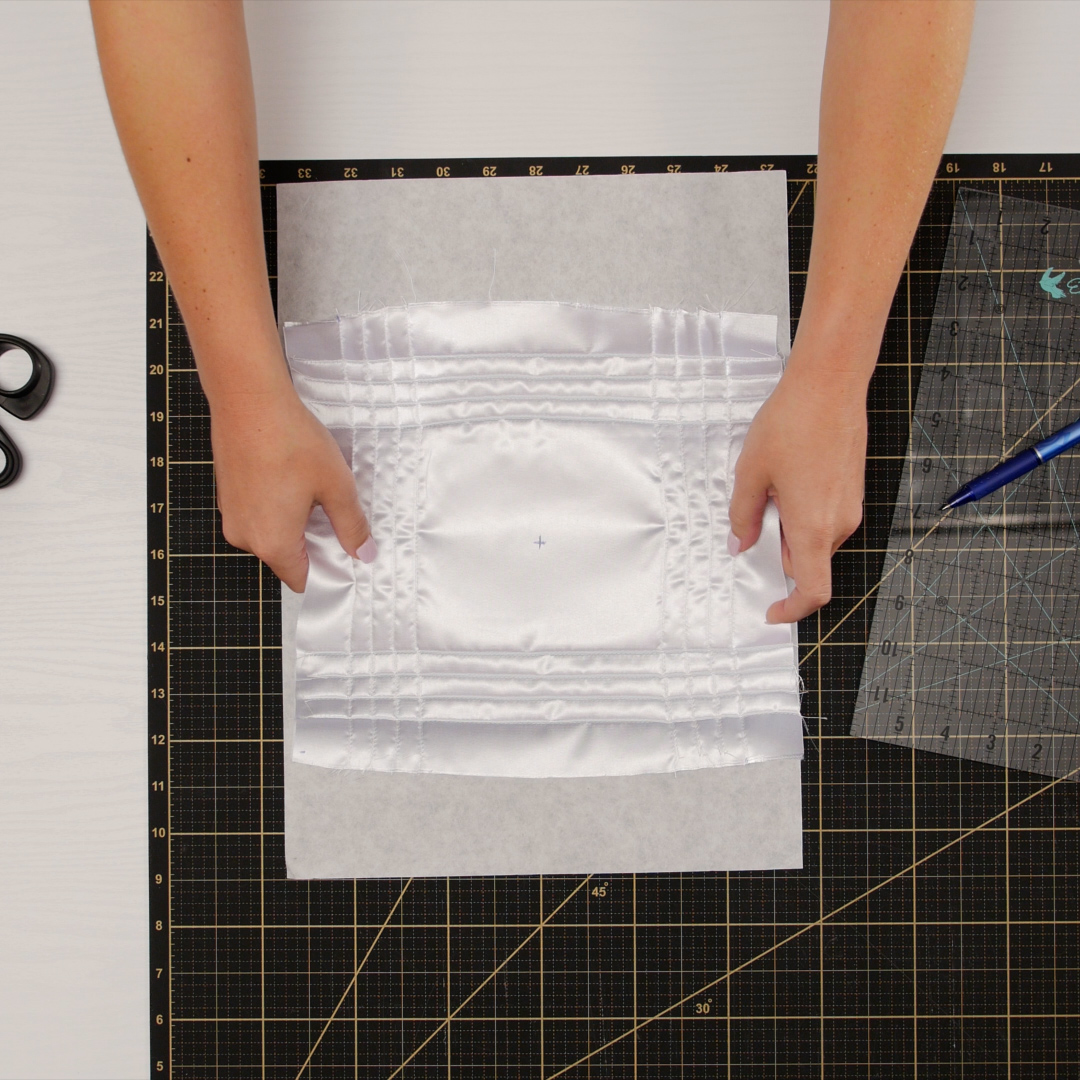
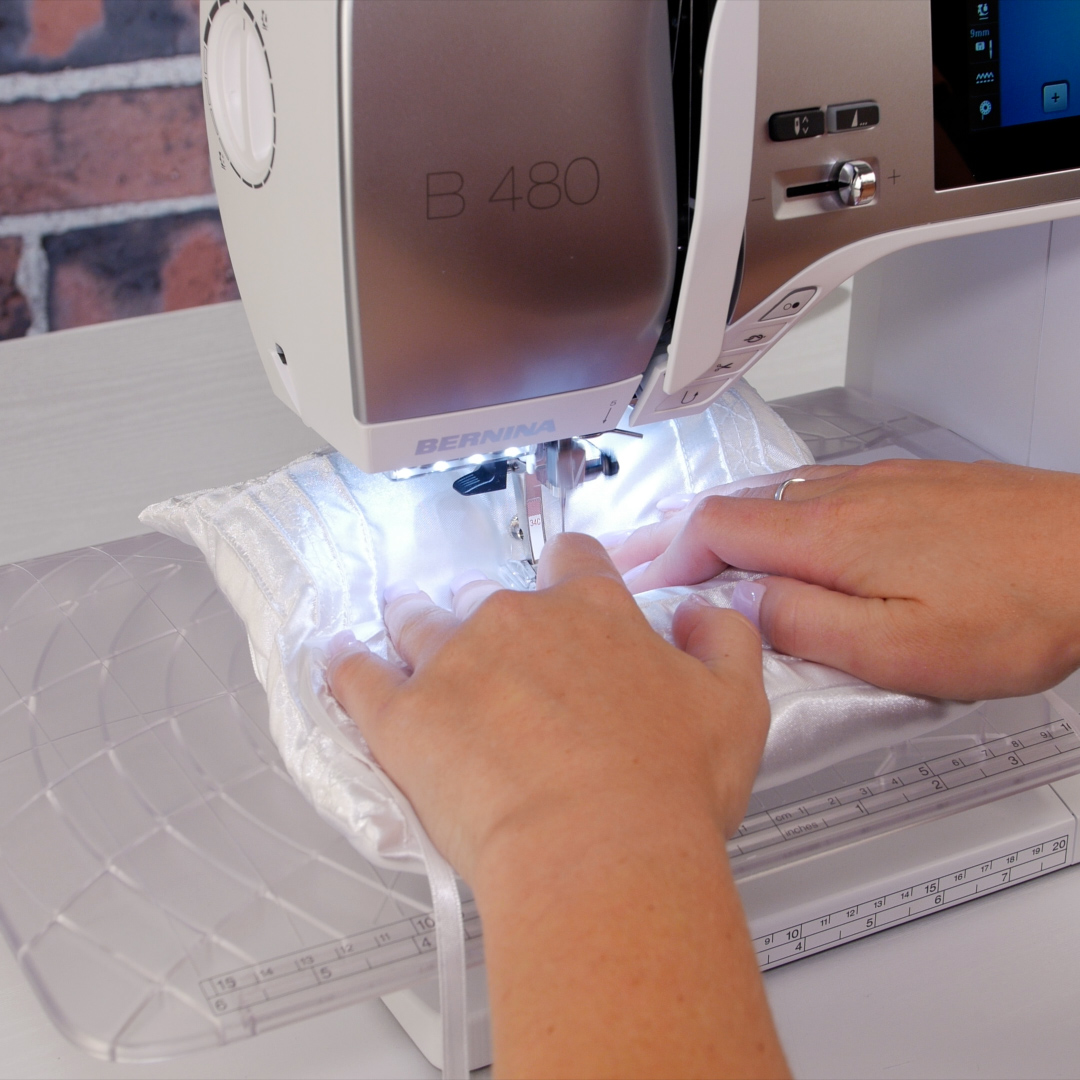
You are now ready to sew! Beginning on one side, align the twin needle with the marked starting point. Be sure to begin stitching on fabric. Use the measurement markings on the Slide-on Table of the machine to ensure that the piece is staying straight as the pintucks are being stitched.
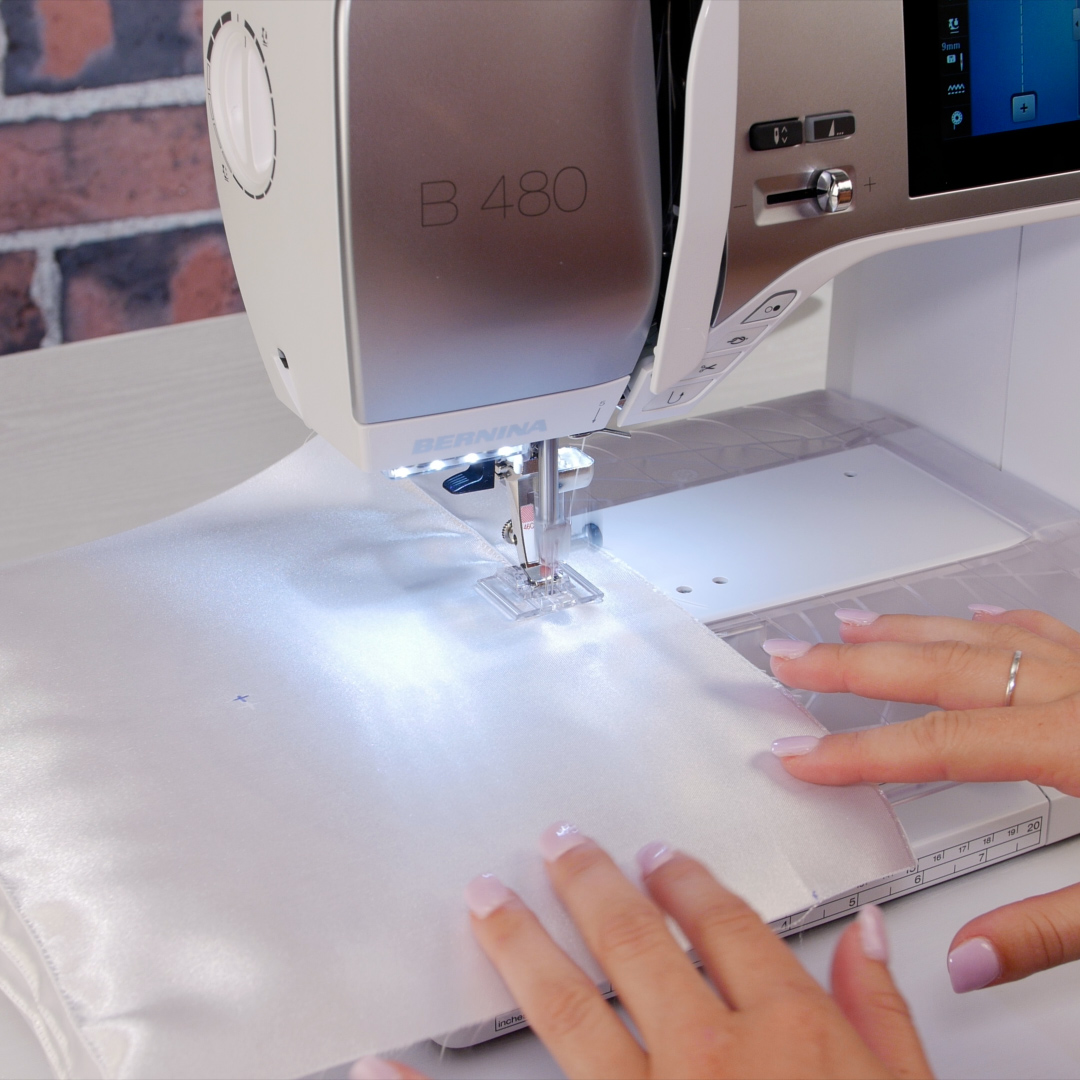
Once at the end of the piece, end the stitching and cut the threads. Move the piece back to the top where the stitching began. Depending on what side of the top you began stitching on, move the fabric over so that the next pintuck will be closer to the center of the pillow top. The #46C foot is perfect for aligning the next row. All you need to do is position the first pintuck into the outer groove on the sole of the presser foot. The first pintuck should fit snuggly into the groove, ensuring the next row of stitched pintucks are evenly spaced.
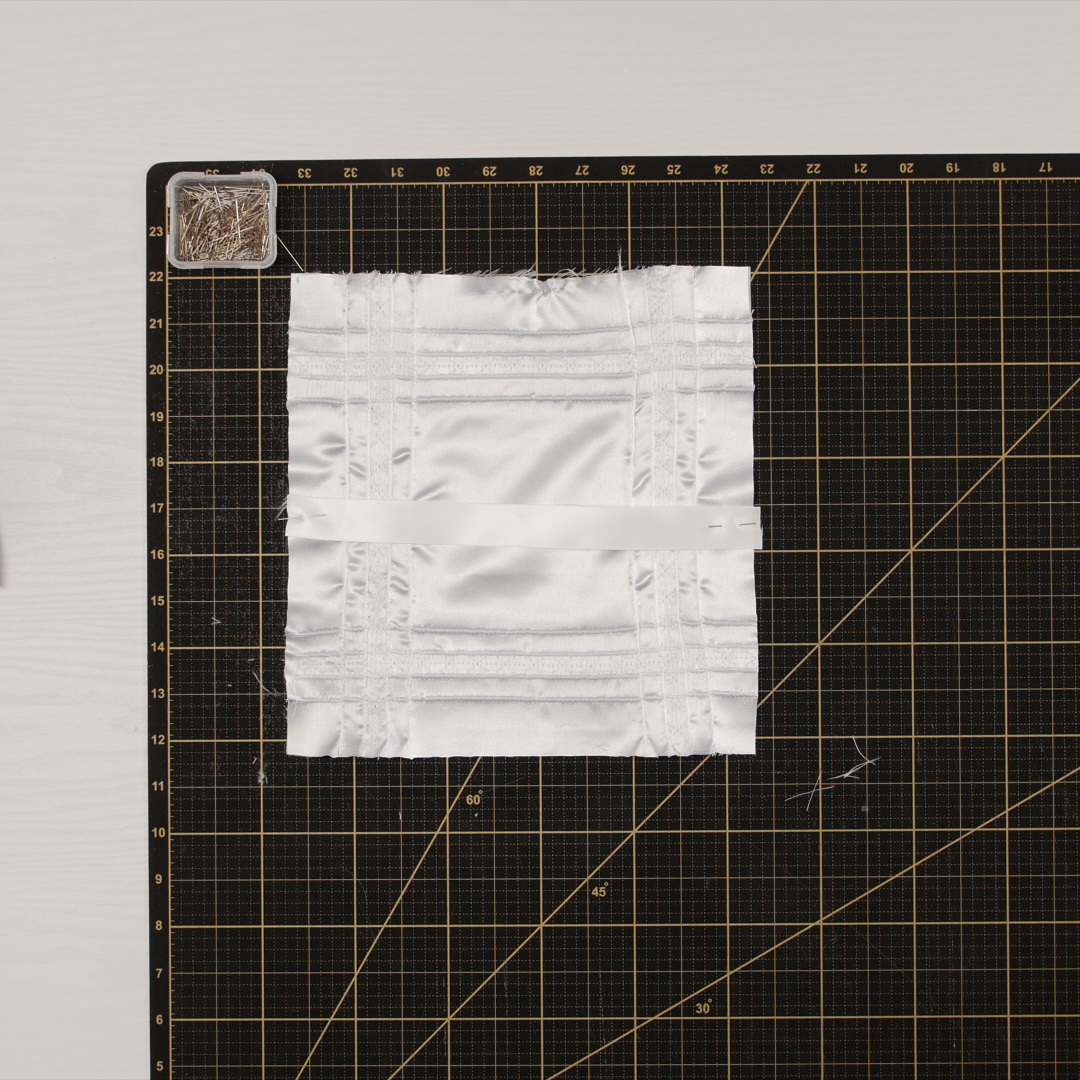
Stitch four rows of pintucks on each side, for a total of eight pintucks running vertically and eight pintucks running horizontally. Be sure to stitch them all in one direction, starting on the same side of the piece and ending on the same side.

Once all the pintucks have been sewn, take the cut piece of stabilizer and layer it to the back of the pillow top. To secure it, use 505 Temporary Adhesive spray, being sure to spray on the stabilizer only.
For decorative stitching, switch out the twin needle for a single needle. I found that a Microtex needle works well. It makes clean penetrations through the fabric without snagging. Remove one spool of thread, and change the needle type in the Needle Selection menu. Do keep the 9.0 mm stitch plate on the machine.
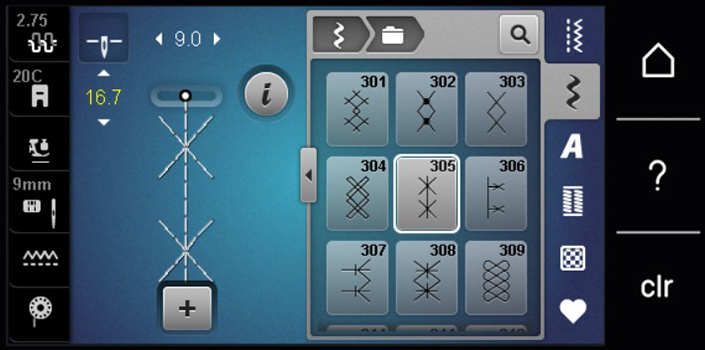
In the Decorative Stitches menu of the B 480, select Stitch #305 and increase the stitch length to 16.7. I found that this stitch length fits my taste, but be sure to do a test sew before stitching on the pillow top.
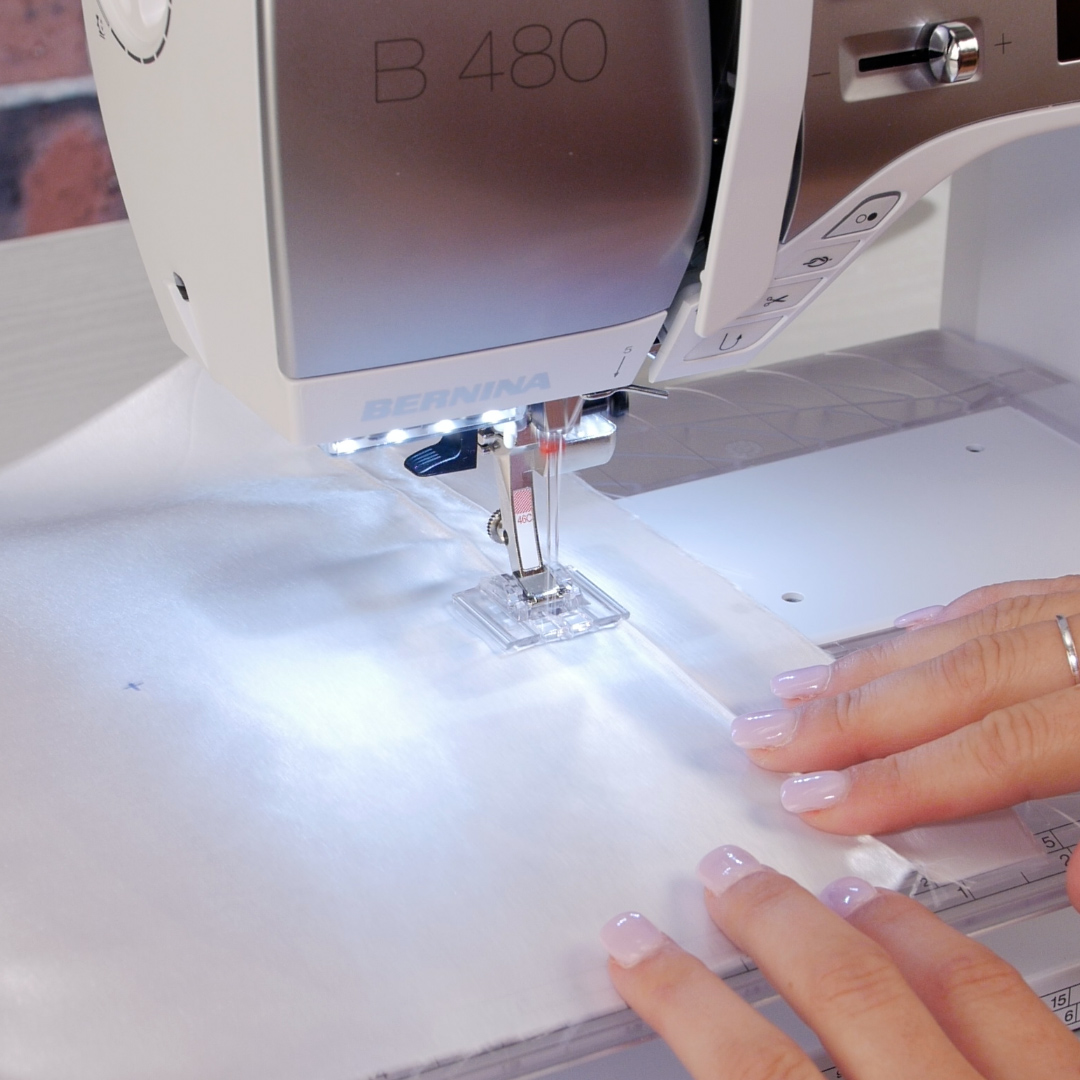
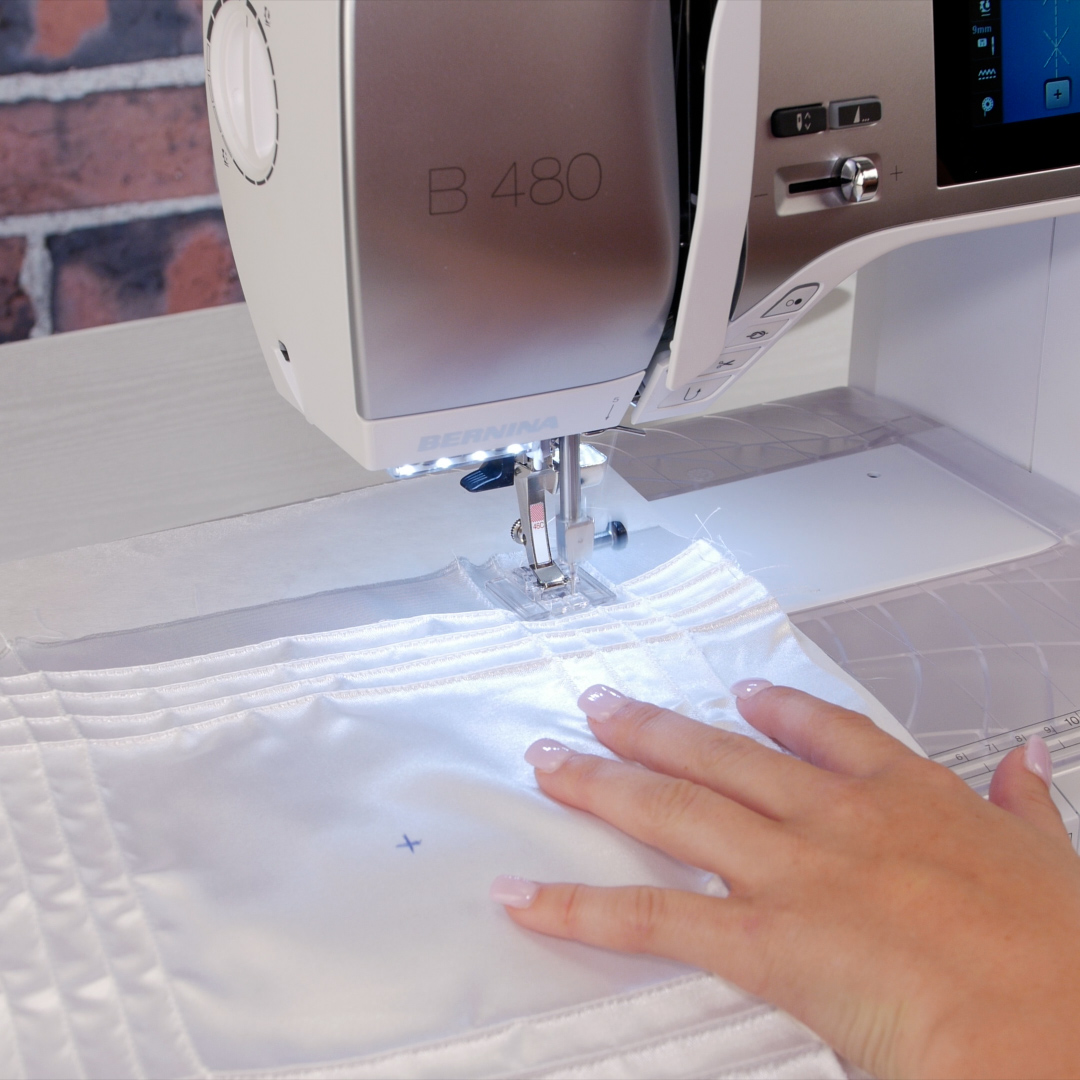
The two middle pintucks on each side will form the center rows used for the decorative stitching. The decorative stitching will be added to that row on all four sets of pintucks. The second function of this presser foot will give us alignment so that the decorative stitching will be in the center of the pintucks. Move the stabilized pillow top under the presser foot, making sure that the pintucks align with the grooves on the bottom of the foot. Once aligned, begin stitching. Slow the stitching speed when crossing over the horizontal pintucks on both sides. Repeat in the center rows of each set of pintucks.
Ring Bearer Pillow Assembly
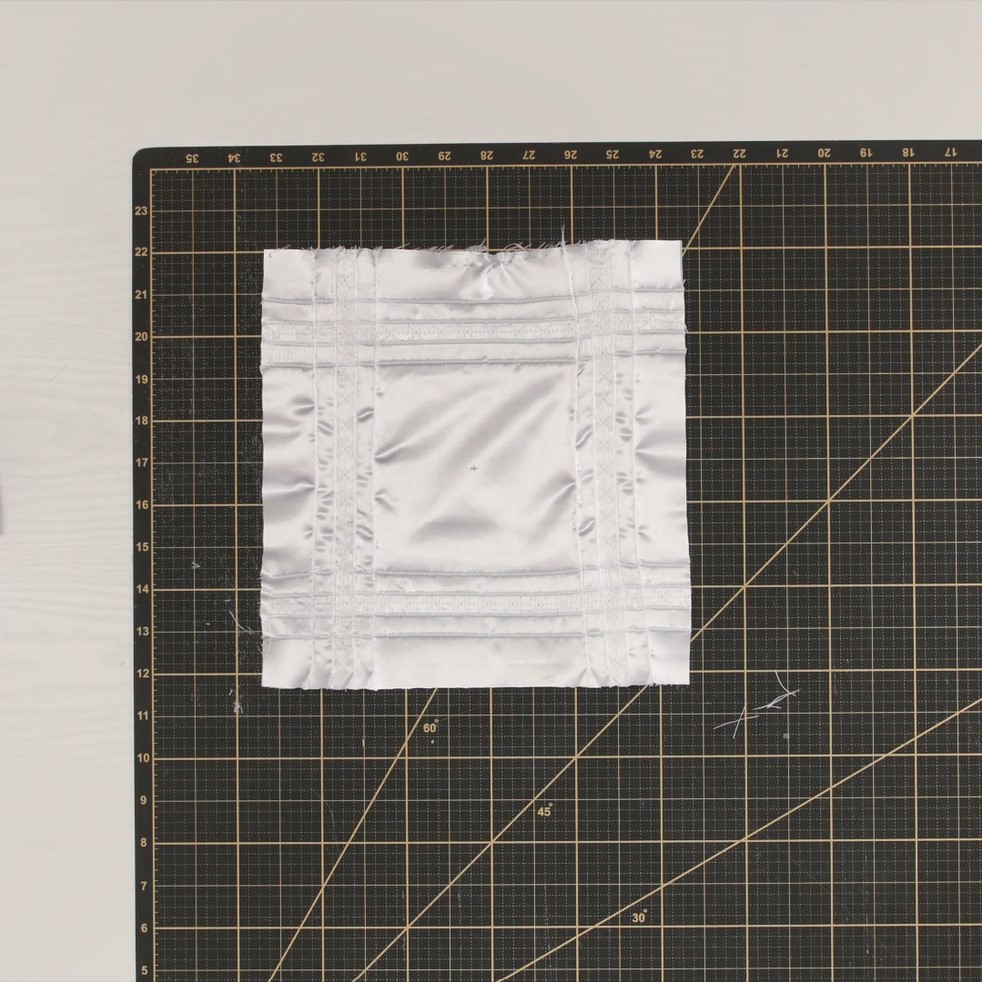
With the decorative stitching complete, the pillow is now ready to take shape. First, carefully remove the tear away stabilizer from the back. Then, square up the pillow top. Trim up the edges so that they are 1” away from the first pintuck on each side. The top should now be a 10” square to match up with the pillow bottom.
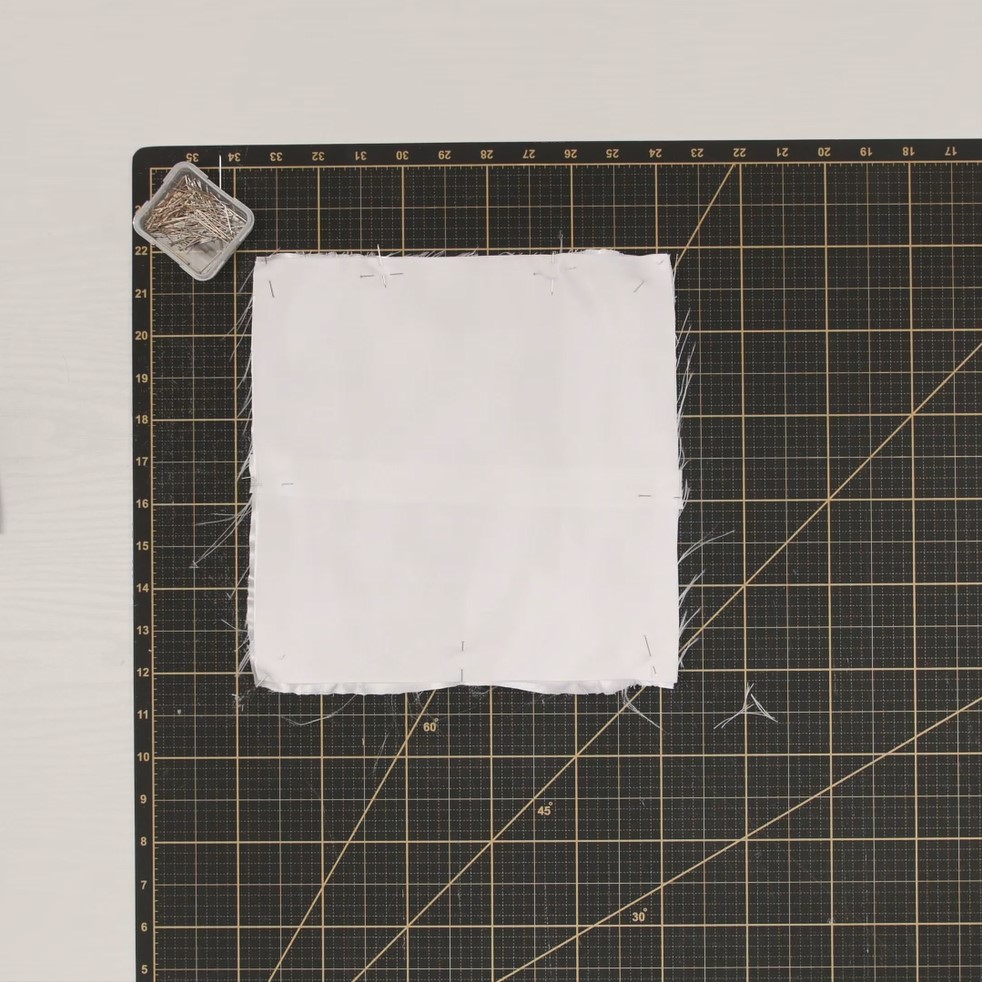
Place the pillow top right side up. Grab the 10” piece of ribbon that is to be used for the handle and pin in place first, making sure that the head of the pin is on the outside. Use satin pins to prevent snagging.
Once the ribbon is in place, layer the pillow bottom piece right side down. Pin in place. Mark a 4” opening so the pillow can be turned right side out after it is sewn together. It is easiest if this opening is on a side without the ribbon handle and set between two sets of pintucks. You can see in the image below that I marked my opening with two sets of double pins.
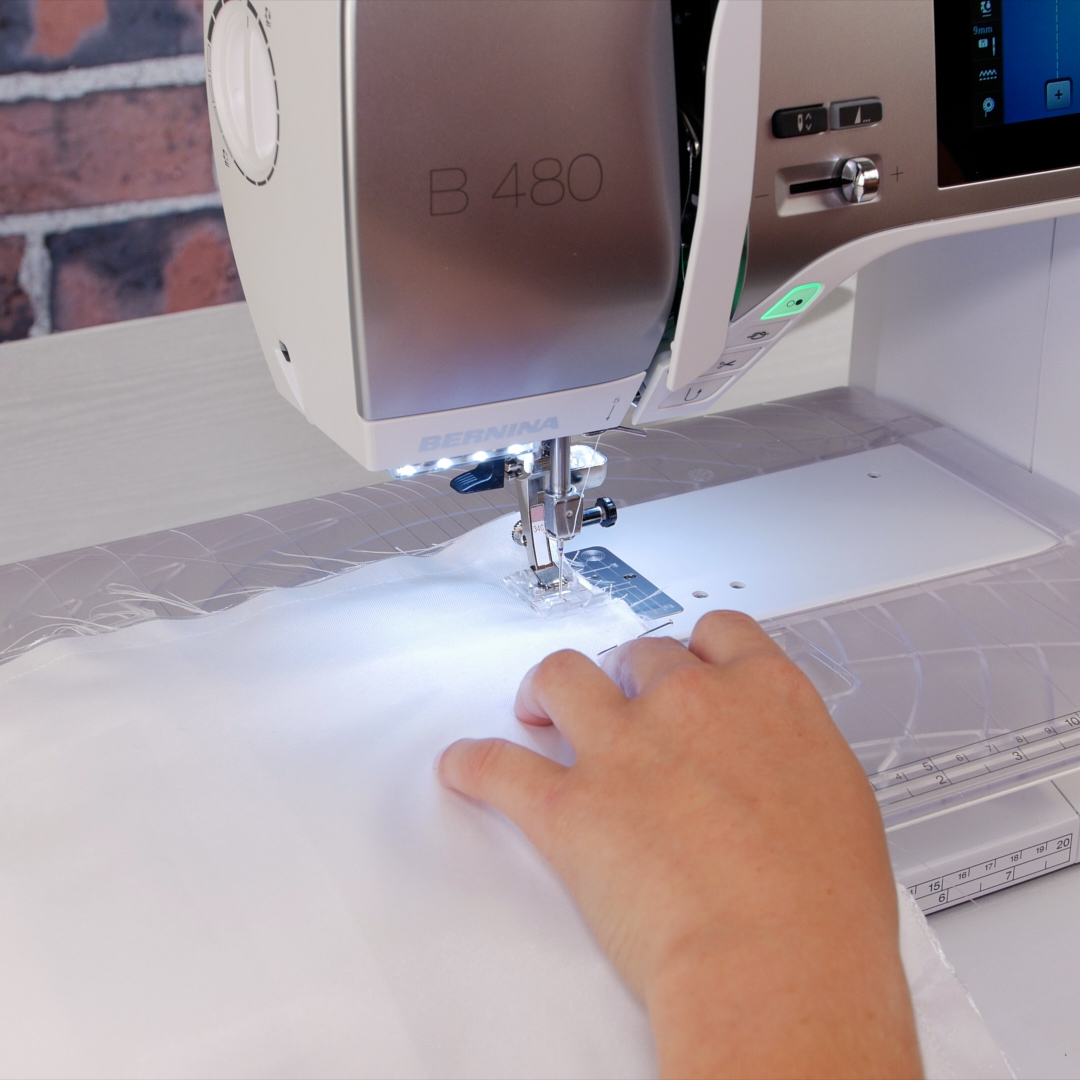
Attach Reverse Pattern Foot with Clear Sole #34C to the machine. This presser foot provides better visibility when pivoting around the corners of the pillow. Select Straight Stitch #1 on-screen.
Using a ½” seam allowance, begin stitching on one side of the marked opening. Secure the stitch by backstitching. Stitch all the way around the pillow, pivoting at the corners.
With the pillow still wrong side out, clip the corners. Then flip the pillow right side out. Use a point turner to fully push out the corners. Gently stuff the pillow using Poly-fil.
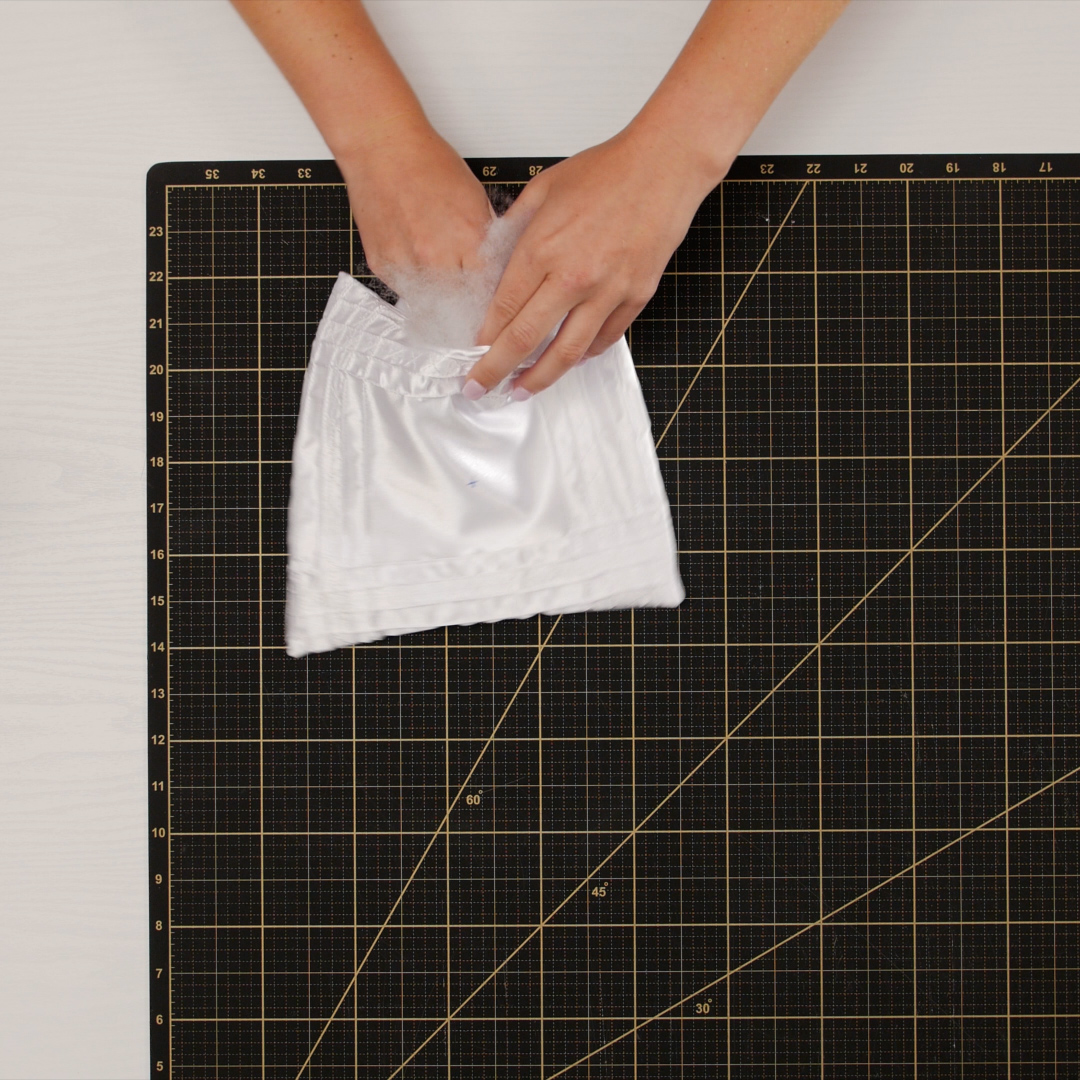
When the pillow is stuffed to satisfaction, hand sew or whipstitch the opening closed. Feel free to press the raw edges to the inside first. I added a bit of Stitch Witchery to keep the stuffing inside while I was hand sewing.
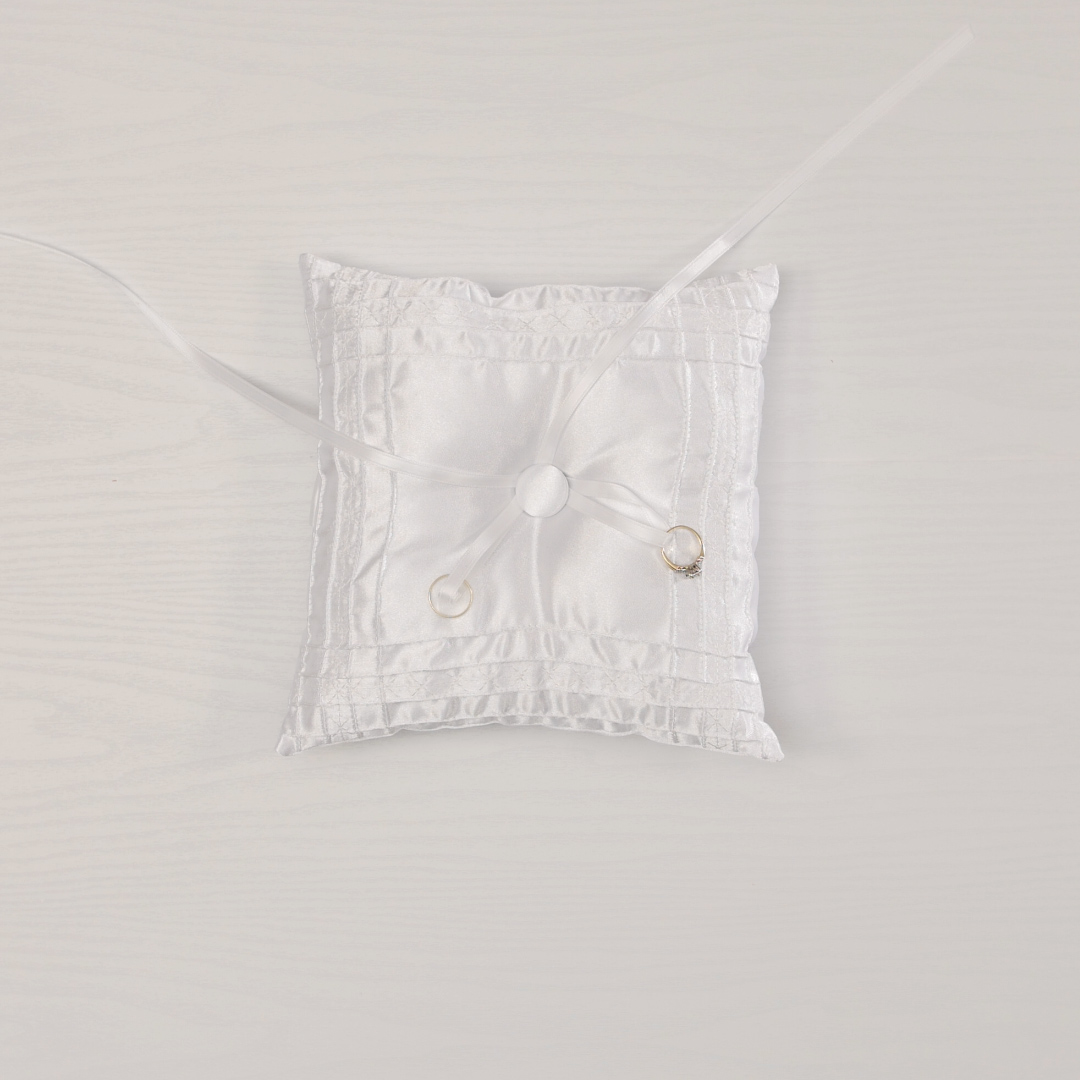
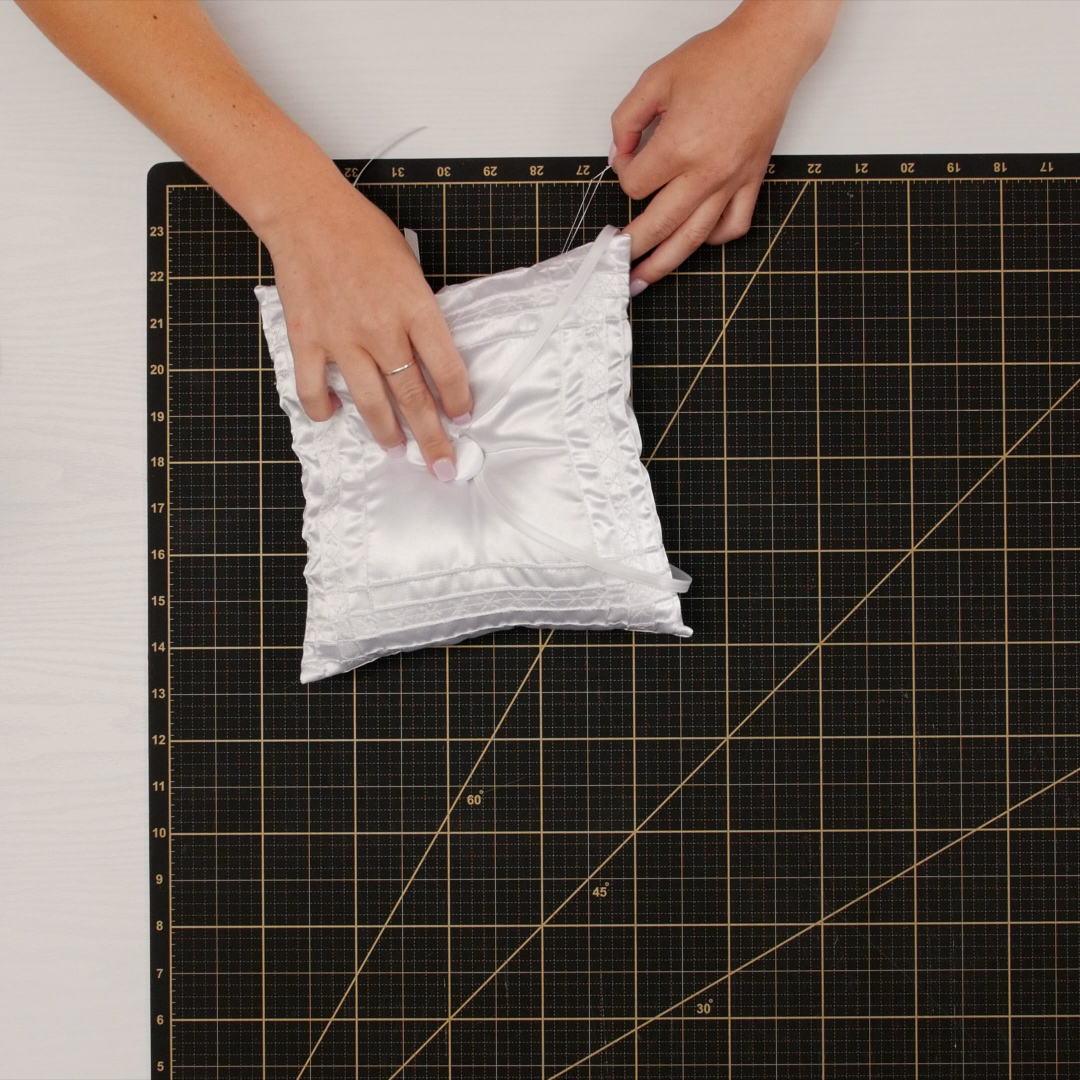
The final steps are to sew on the top ribbon and covered button. The ribbon can be sewn on at the machine. Select Button Sew-on Stitch #60, which can be found in the Buttonhole Stitch menu. Increase the stitch width to 5.0 mm. Using the marked center for alignment, position the pillow under the presser foot. Manipulate the stuffing to the outsides of the pillow, and make sure to move the ribbon handle on the back out of the way of stitching. Bring in the ribbon, center it on the mark, and stitch in place by pressing the Start/Stop button on the front of the machine.
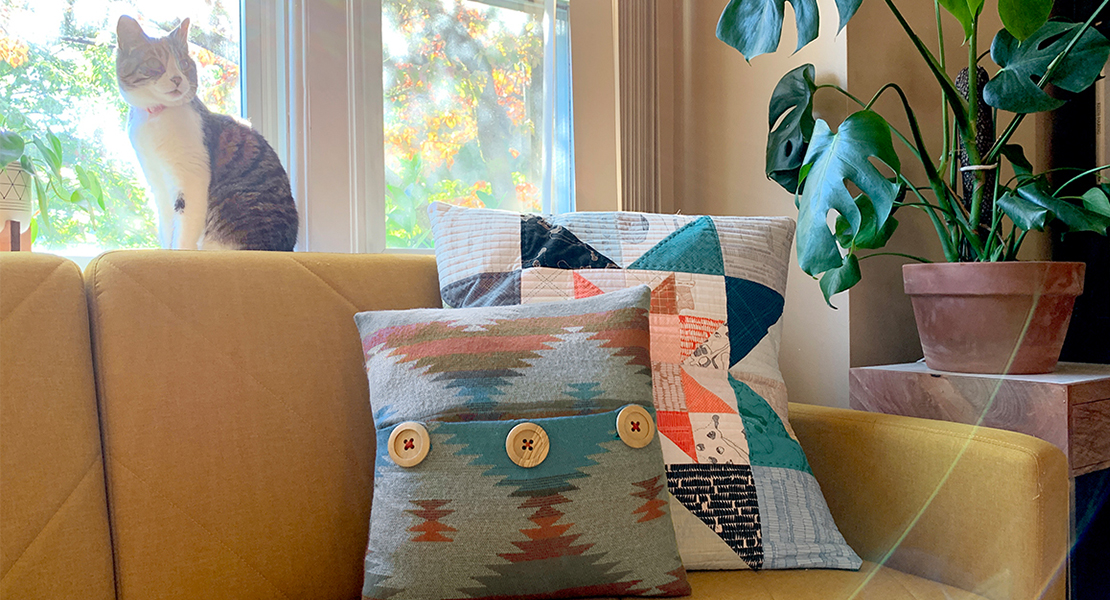
The last step is to hand sew the covered button in place in the center of the pillow. Kits for making covered buttons can be found at most sewing or craft stores. I used my scrap satin fabric to cover mine for a cohesive look. Sew through both layers of the pillow, using the marked center points on the top and bottom as guides.
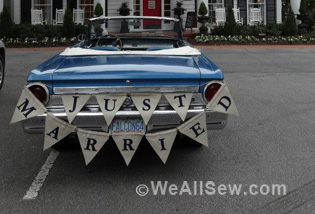
All that is left to do is watch the pillow walk down the aisle on a very special wedding day!