Sunrise Baby Quilt: Bind It!
Nearly done! This week Erika has absolutely fabulous instructions for stitching a double-fold, mitered-corner binding to your quilt. Don’t let all those descriptive terms scare you! “Double-fold” means you’ll be wrapping a double layer of fabric around the edges; this is especially good for a baby quilt, like this one, which will be used and laundered a lot – that double binding is durable! And “mitered” just means the corners have a pretty diagonal fold, rather than over-lapping “square” ends. Not only are mitered corners prettier, they’re also simple to do once you know how.
On with the show! Here are this week’s instructions:
Week Three Recap
• Layer the backing, batting, and pieced top.
• Pin-baste the layers together.
• Quilt parallel to piecing lines.
Week FOUR: Bind the edges.
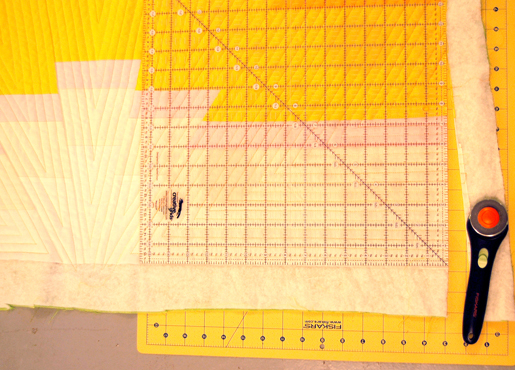
Step 1) Square the quilt.
Line up an acrylic quilting ruler or straight edge with the very edge of the quilt top.
Using a rotary cutter and mat, cut off the extra batting and backing extending beyond the ruler.
Repeat for the remaining three sides.
Step 2) Make the bias binding strip.
From the binding fabric, cut five 3”-wide strips across the grain from selvage to selvage.
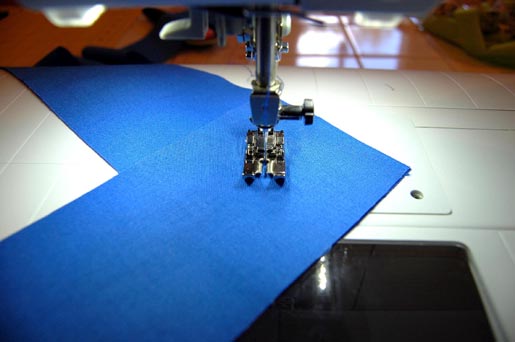
Set up your machine with 100% cotton thread, a 2.5 mm-long straight stitch, and a straight stitch or all-purpose foot (BERNINA Jeans Foot #8 or Reverse Pattern Foot #1/1C/1D).
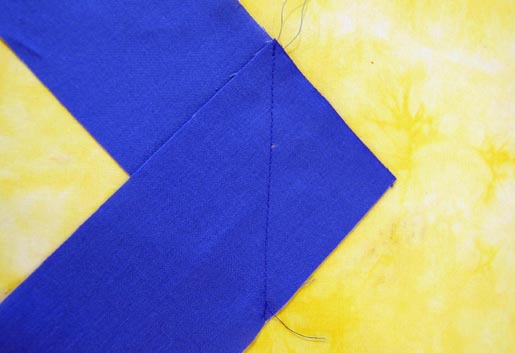
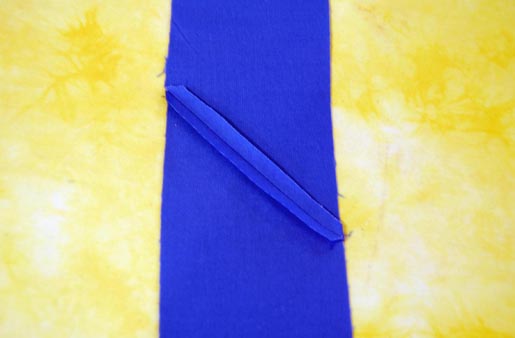
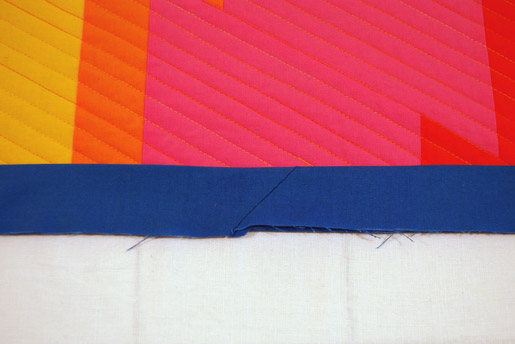
Place two strip ends right sides together at a 90°angle. Stitch from corner to corner.
Repeat, sewing strips together to make one long piece.
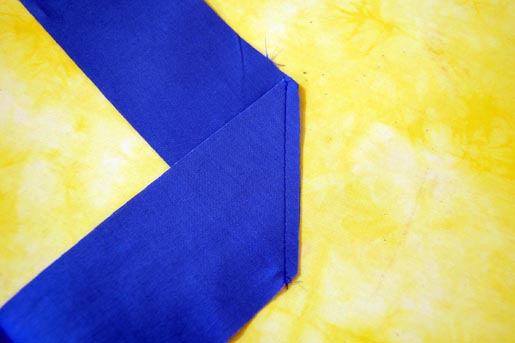
Trim all seam allowances to ¼ʺ wide.
Press seam allowances open.
Tip: Joining the strips at an angle reduces bulk at the seamline when the binding is folded later.
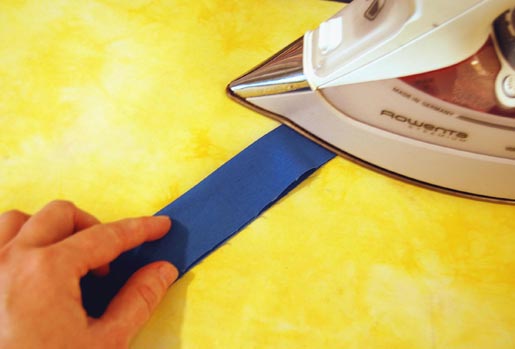
Fold the binding in half lengthwise, wrong sides together. Press.
Step 3) Apply the binding.
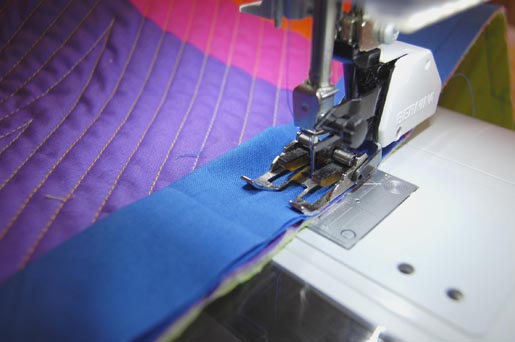
Set up your machine with a walking foot and a thread color that matches the binding.
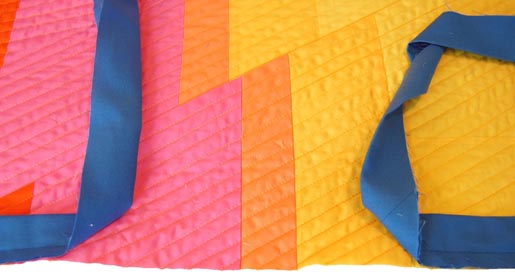
Starting in the middle of one edge of the quilt front, match the raw edges of the folded binding with the raw edges of the quilt, leaving a tail of binding about 10ʺ‒12ʺ long.
Hold the binding in place with one pin where you will begin stitching.
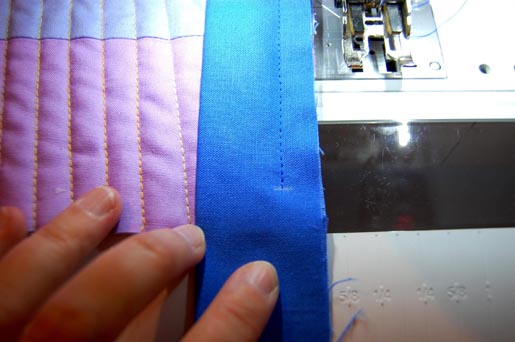
Attach the binding to the quilt, stitching 1/2ʺ from the raw edges, using the side of Walking Foot #50 as a guide.
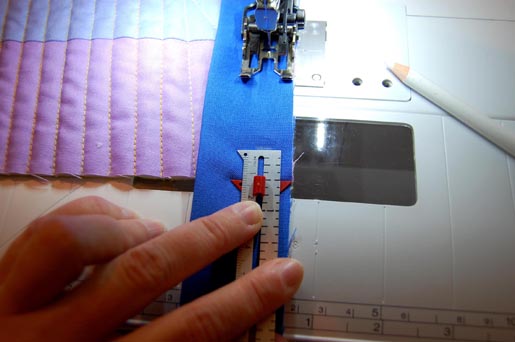
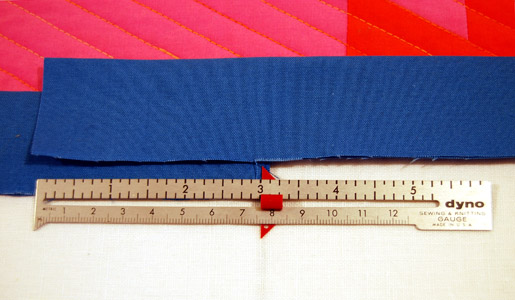
As you approach the corner, mark a line 1/2ʺ from the edge, using a seam gauge or ruler and a fabric marker or pencil to find the exact stopping point.
Stop stitching at the 1/2ʺ mark.
Tip: If your machine has a needle stop down feature, engage it when approaching corners and sew just one stitch as a time.
Backstitch a few stitches.
Slide the quilt out from under the foot and clip the thread tails.
Turn the Corner
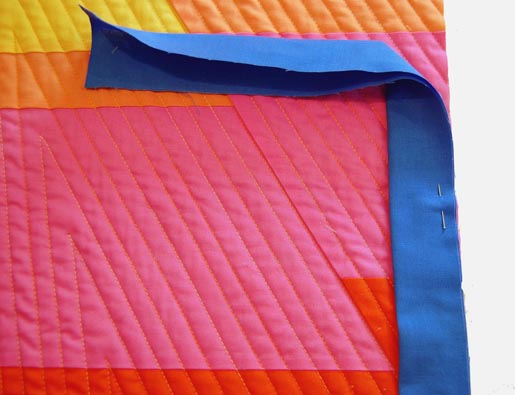
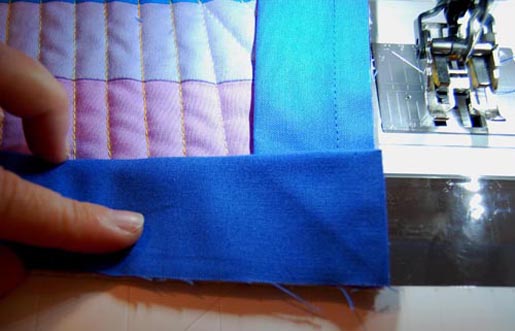
Fold the free end of the binding over 90° to the right.
Fold the binding back over the corner of the quilt, keeping the folded edge exactly even with the corner of the quilt. Pin.
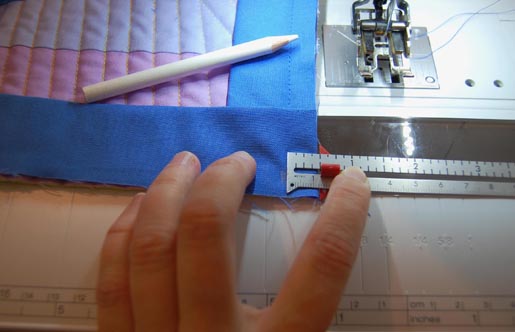
Mark 1/2ʺ from the corner of the quilt as before, but this time from the other edge of the corner.
Turn the quilt 90° and continue stitching down the next line, starting at the 1/2ʺ mark, sewing forward and back a few stitches to secure the threads.
Repeat until all corners are mitered and stitched.
Join the Ends
Stop stitching about 10ʺ‒12ʺ from the spot where you began attaching the binding, leaving a 10ʺ‒12ʺ tail of binding.
Overlap the binding tails.
Trim them to overlap exactly 3ʺ, centered in the middle of the unbound section of the edge.
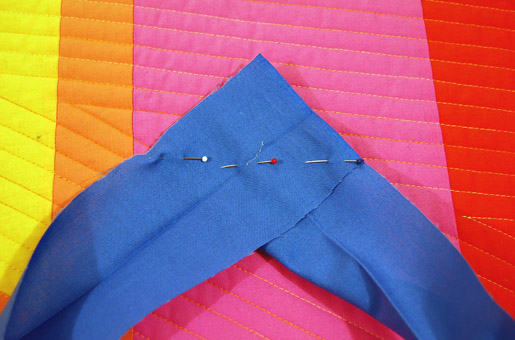
Open the ends of the binding, placing the tail ends right sides together on a 90° angle just as in step three.
Pin to hold the binding tails in place.
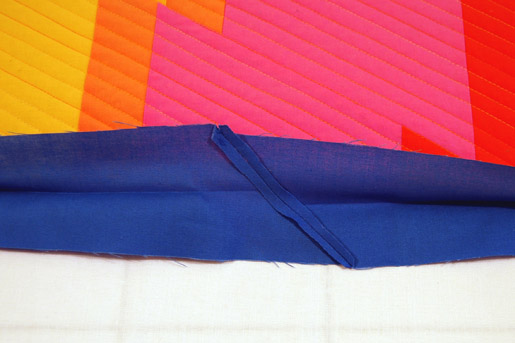
Stitch binding from corner to corner.
Trim seam allowances to 1/4ʺ and press them open.
Fold the binding back in half.
Finish stitching the binding to the quilt edge.
Fold the binding around to the back of the quilt, working each corner carefully to create the miters.
- Fold one side of the corner over; finger press.
- Fold the other side of the corner over, overlapping the other side to create the miter.
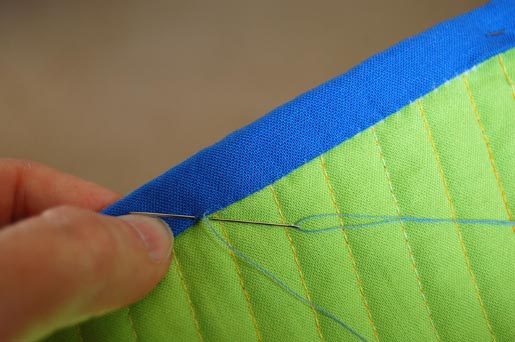
Secure the binding to the back of the quilt with matching thread using small hand stitches.
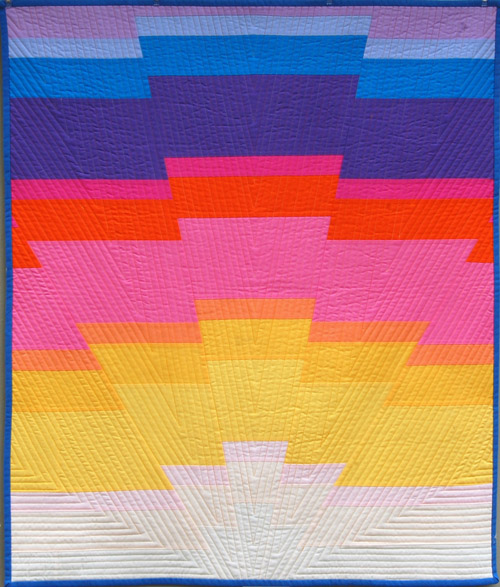
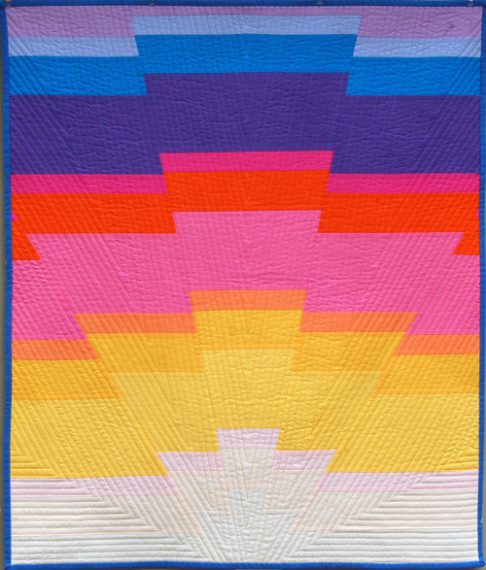
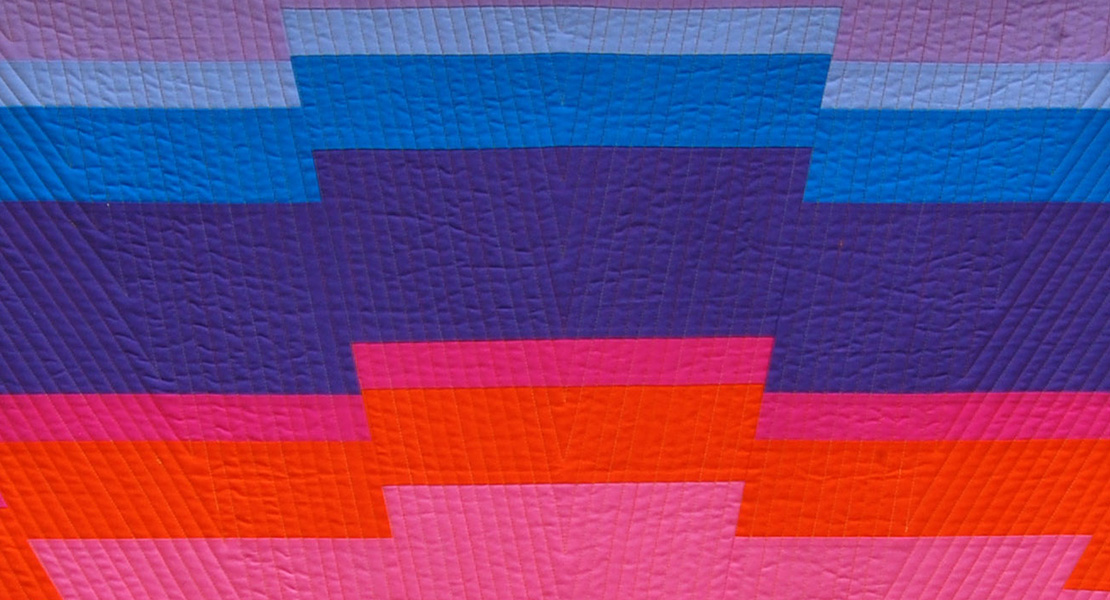
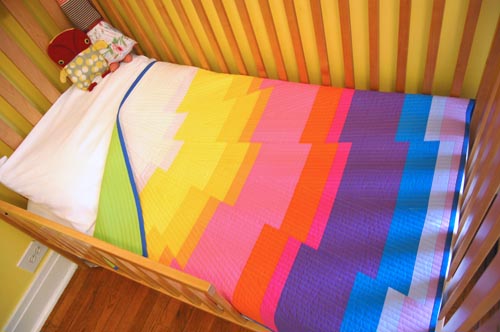
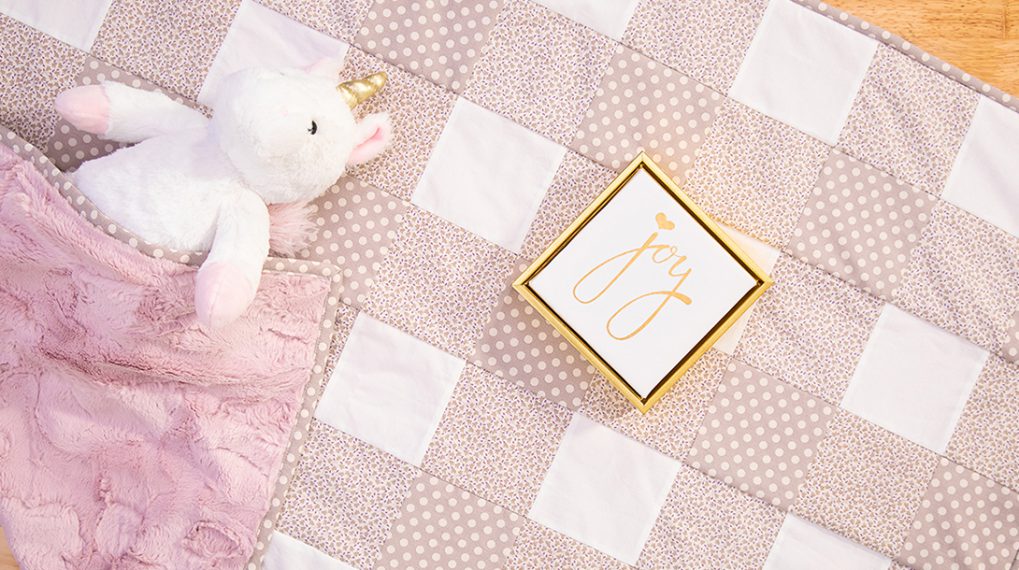
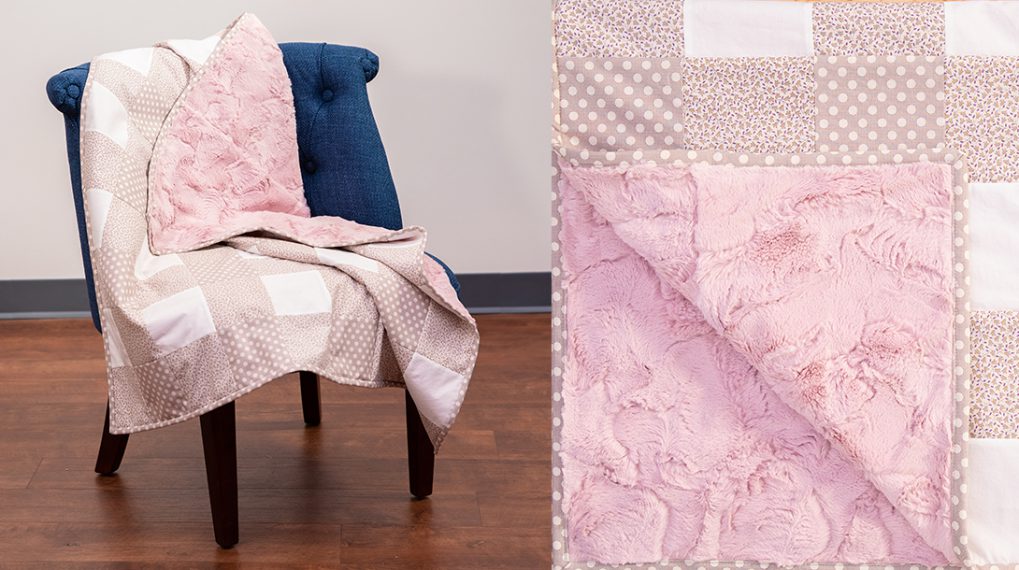
Admire your completed Sunrise Baby Quilt!
Join us again next Tuesday, March 26. “But why? My quilt is finished, isn’t it?” Well, yes, but we have more Sunrise Baby Quilt fun in store for you!
Missed a week?
What you might also like
2 comments on “Sunrise Baby Quilt: Bind It!”
-
-
Pingback: WeAllSew « https://weallsew.com
Leave a Reply
You must be logged in to post a comment.





This is a neat quilt!