Tips and Tricks by Brand Ambassador Leni Levenson Wiener
I am not really a traditional quilter anymore, but this week I have been making a quilt for my son and his fiancé as a wedding gift (we quilters have to do that, right!?!). Along the way I used a couple of gadgets that came with my wonderful BERNINA (I am using the BERNINA 750 QE but the goodies come with all the models) that I previously didn’t use to full advantage.
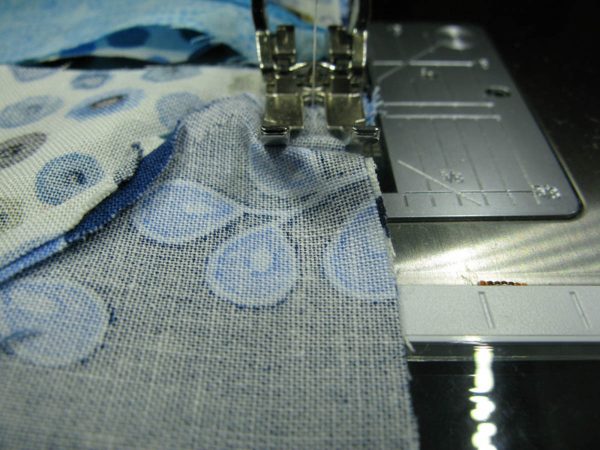
The first is the BERNINA Free-Hand System (FHS) or Presser foot lifter. Yes, the FHS is that metal stick that connects to the front of the machine and extends down beside your right leg. In the past I have used it when doing quilt stitching that involved a lot of pivoting. But I discovered it is also great for chain piecing.
Here is the BERNINA Free-Hand System on the front of the machine:
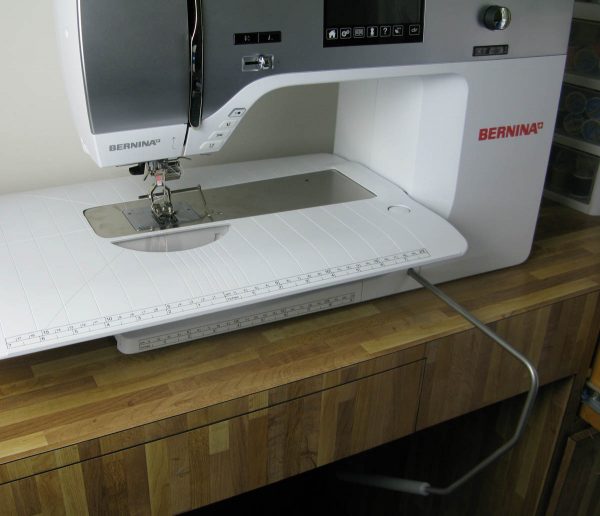
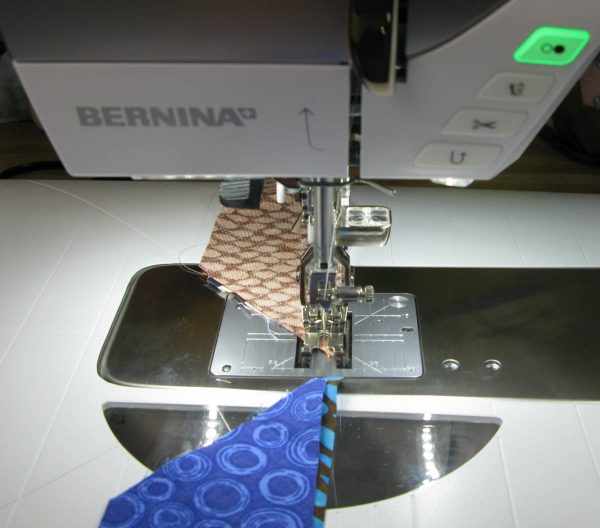
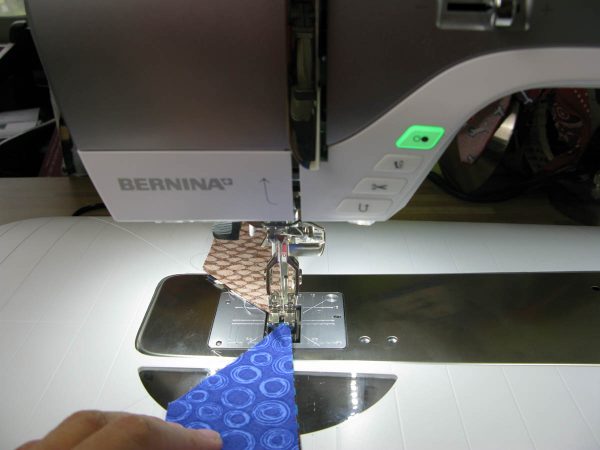
When you press it with your knee, it lifts the foot until you release. While chain piecing these quilt blocks, I discovered that the simple rhythm of using the knee lift at the end of each piece as it transitioned into the next in the chain was easier than letting the feed dogs catch it.
Nice.
In addition, when those little puckers start to build up in front of the foot as you sew, just a slight lift with your knee releases the pucker and off you go.
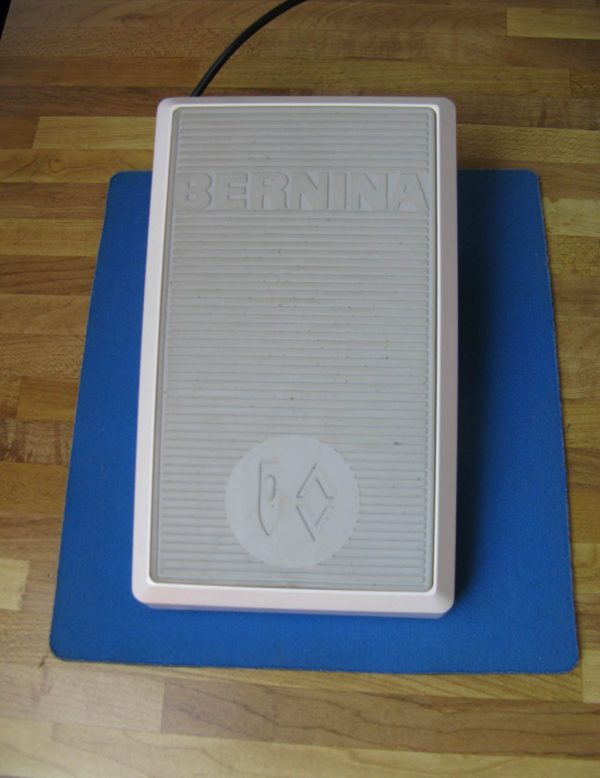
Next tip, and maybe many of you know this already, is the mouse pad. Yes, the old mouse pad I no longer use next to my computer is terrific under the foot pedal of my sewing machine. It prevents the foot pedal from moving around while I work.
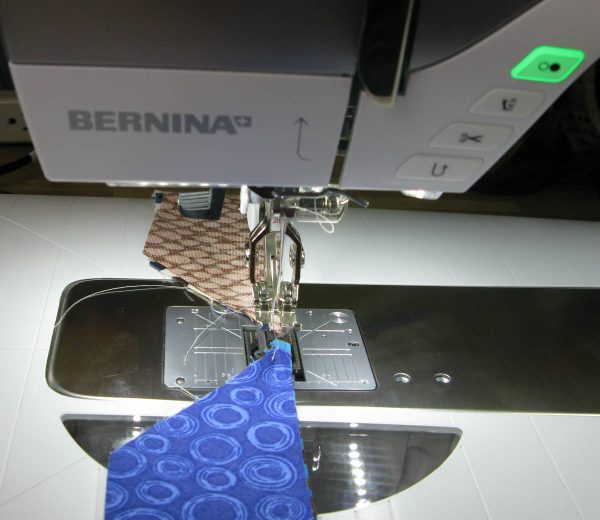
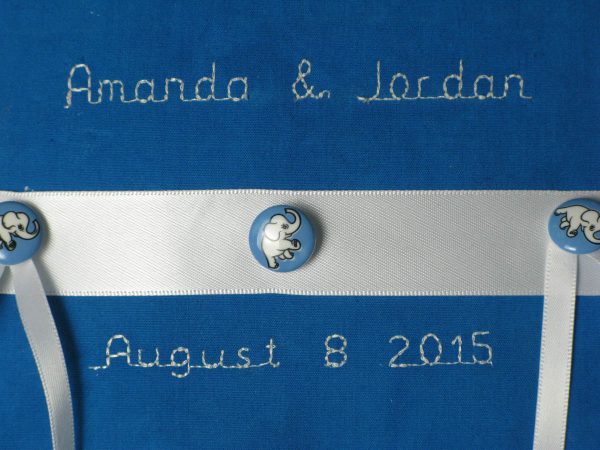
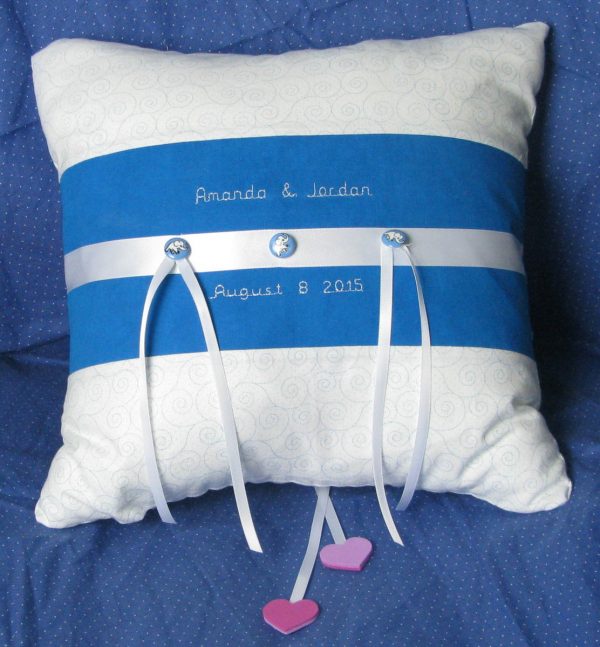
Finally, I have never used the lettering function on the machine (my old machine didn’t have it) but had a great time with it making labels. Here is what I discovered for keeping more than one line of lettering straight and equidistant—that BERNINA right- or left-handed seam guide most people either don’t use at all or use for grid stitching is a great way to line up the rows of lettering. The first line was done using the edge of the plate as the guide.
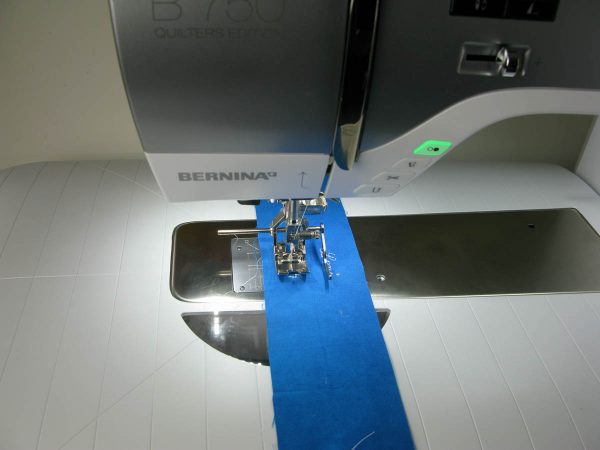
Subsequent lines of lettering were lined up with the BERNINA seam guide running along the top (or bottom) of the line of lettering.

Easy!
Another tip is to do the lettering first, then trim the label to size—much easier than figuring out how to center it.
I hope these tips and tricks are helpful. They definitely make my sewing experience a lot more fun! Once the quilt is finished, my BERNINA 750 QE and I are going to make the gown for the wedding. Wish me luck!


What you might also like


2 comments on “Tips and Tricks by Brand Ambassador Leni Levenson Wiener”
-
-
I bought my 530 a year ago, and love it. Just joined your site, and an excited for new (and old) tips on quilting.
Leave a Reply
You must be logged in to post a comment.

1st time on site, enjoyed what I have seen so far