Tips for Selecting & Preparing Your Embroidery Hoop
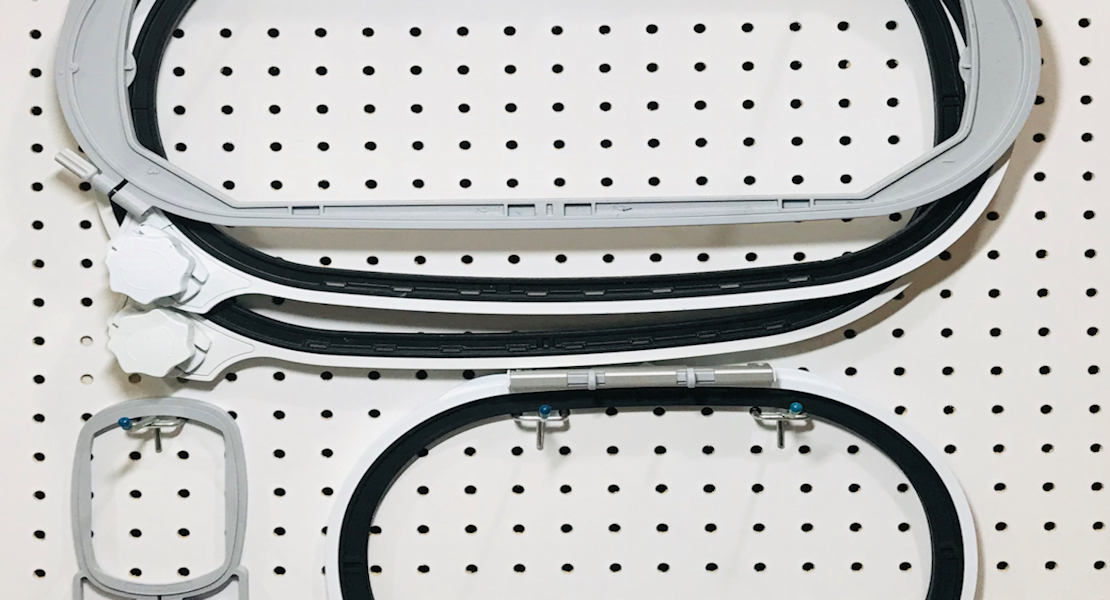
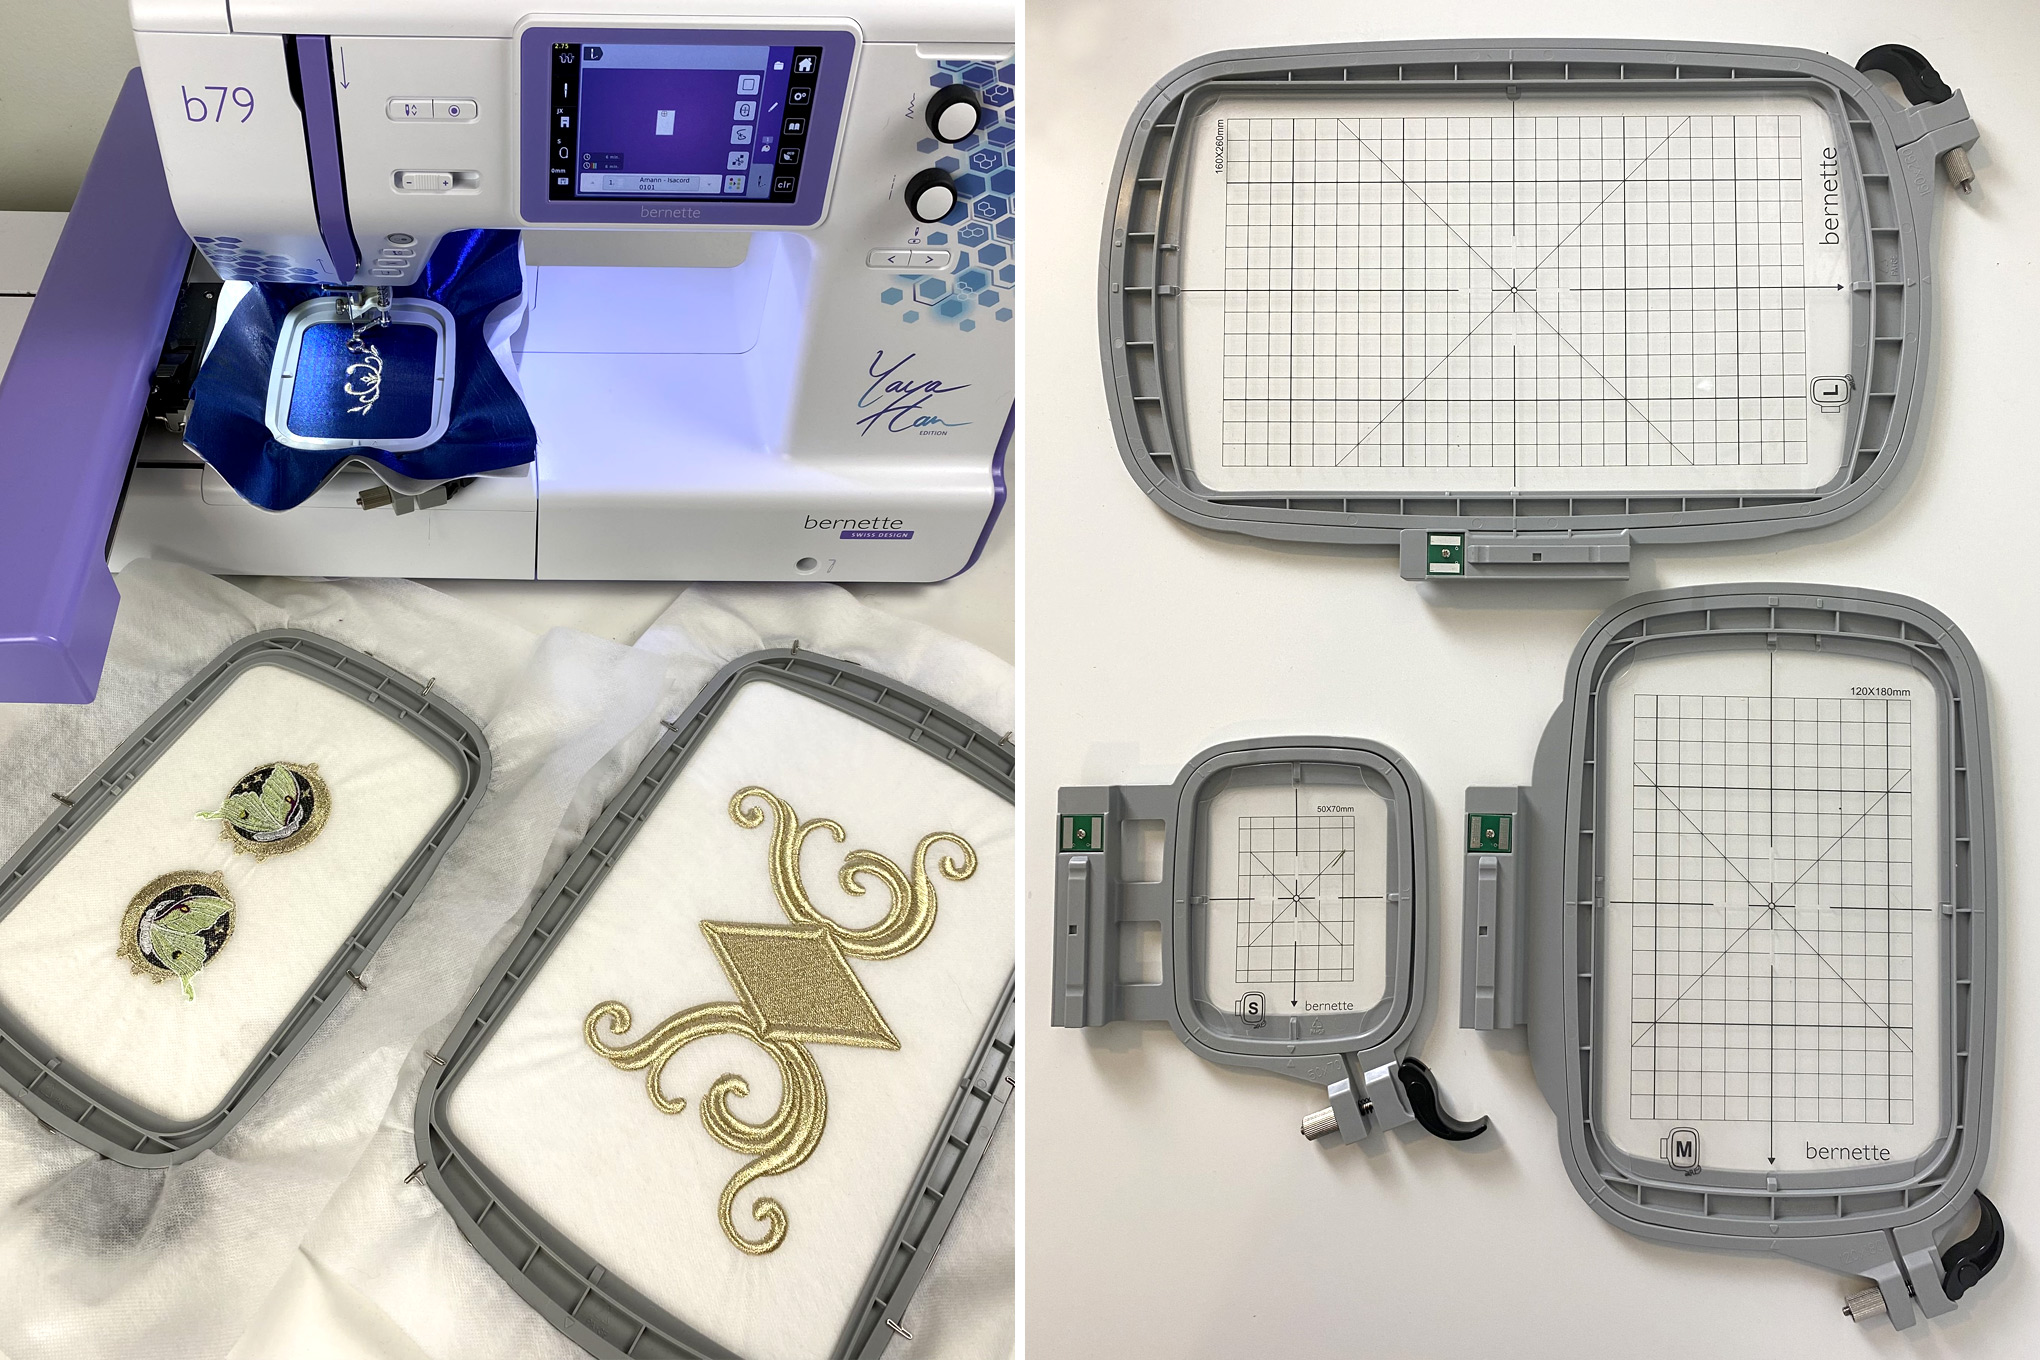
Hi everyone! It’s Dessi-Desu and I’m here to talk about some things to keep in mind when selecting which size hoop to use for your embroidery projects. As a cosplayer, the world of BERNINA and bernette opened up the possibilities with how large of an area I could embroider. I have recently been using the bernette 79 Yaya Han Edition, which comes with three hoop sizes to select from. Included with the machine is a small, medium, and large hoop. This same selection of hoops is also included with the bernette 79. If you have made the exciting leap to a machine with a larger embroidery area, you might be wondering why you need all these hoops of varying sizes, if you have the larger one to use. Each hoop, whether large or small, has a role to play, depending on what is best for your embroidery project.
Material Efficiency
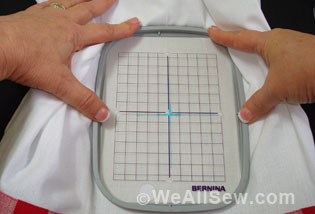
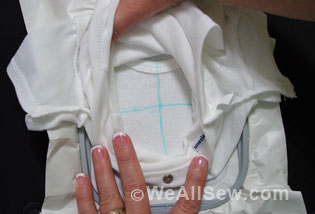
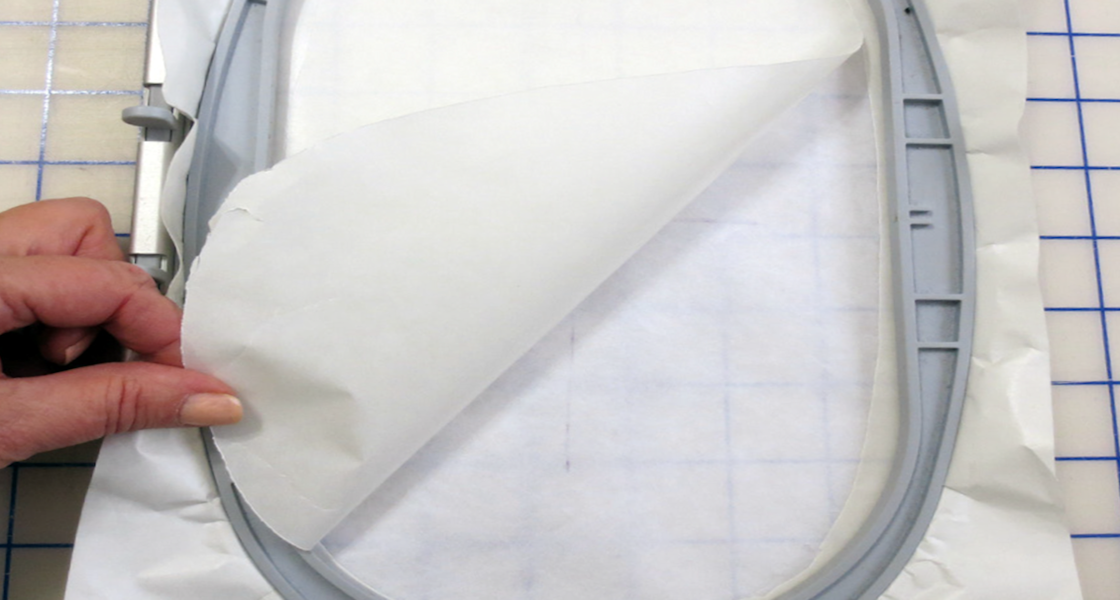
The first thing to keep in mind is material efficiency. Stabilizers are an investment for your projects, so it is important to keep in mind that you are not creating unnecessary waste by placing a small embroidery project in too large of a hoop. However, enough excess stabilizer outside your hoop is necessary in order to ensure your stabilizer is secure within the hoop. Your stabilizer should be cut slightly larger than your hoop when preparing everything for hooping. In addition, stabilizers are sold in varying widths, so if you are working with a larger hoop be sure you purchase a stabilizer wide enough to have adequate excess stabilizer surrounding your hoop.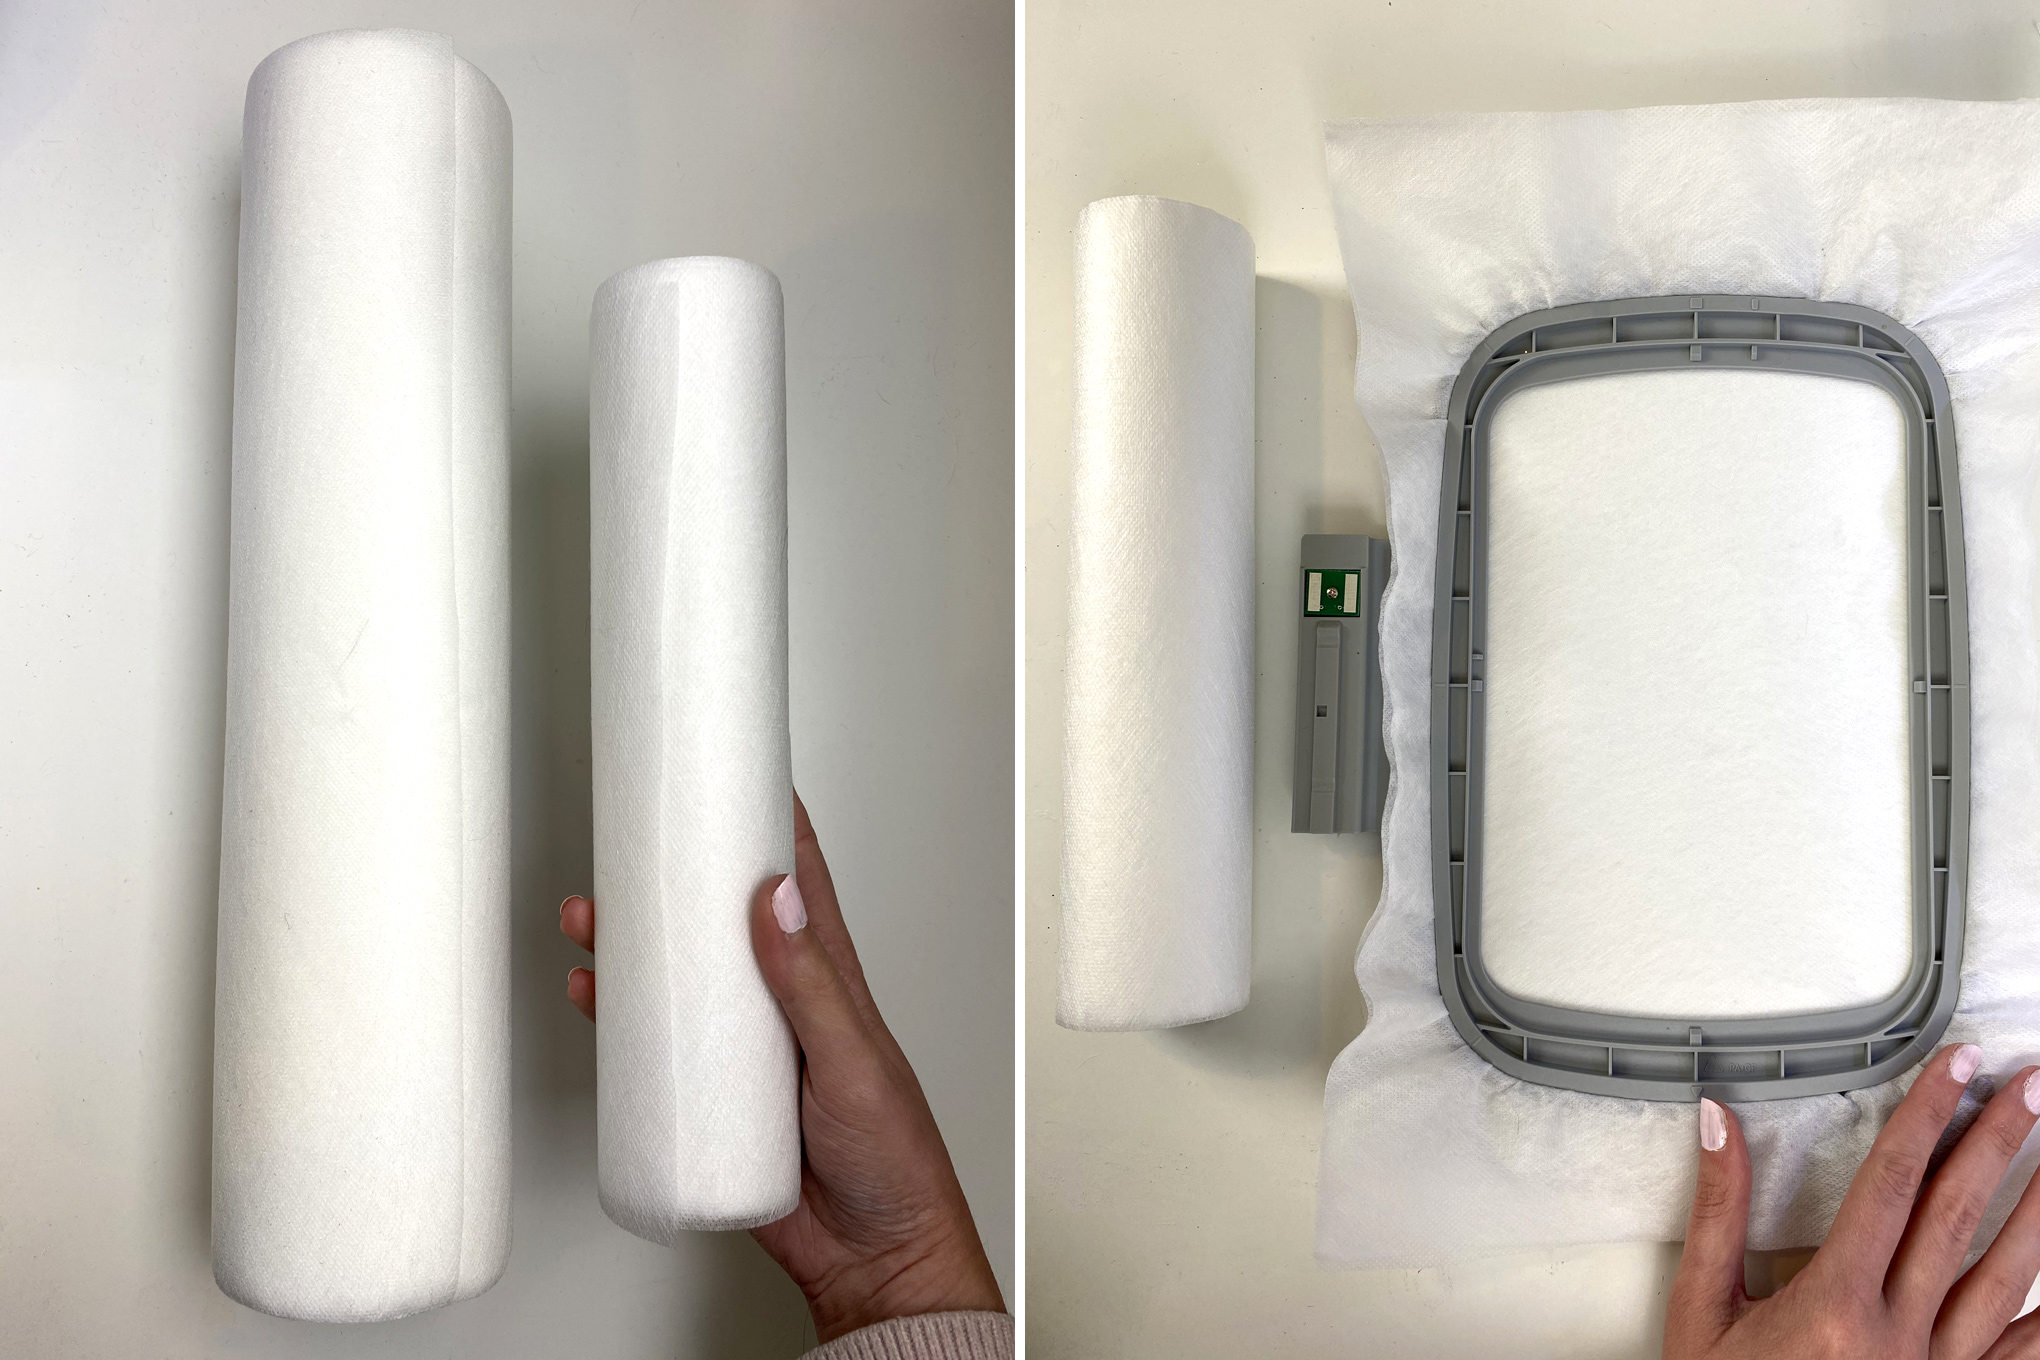
The Natural Shifting of Your Materials
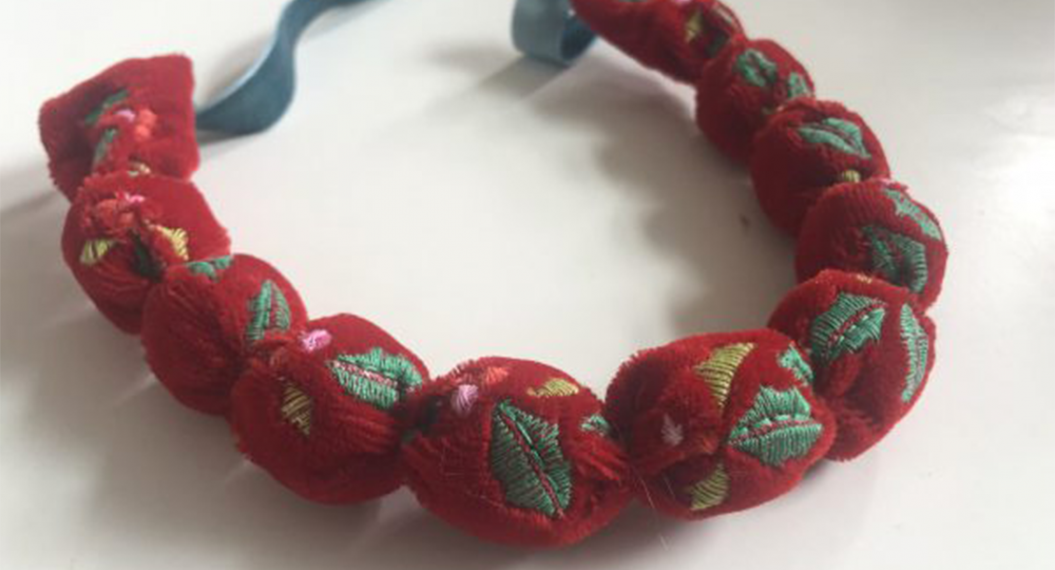
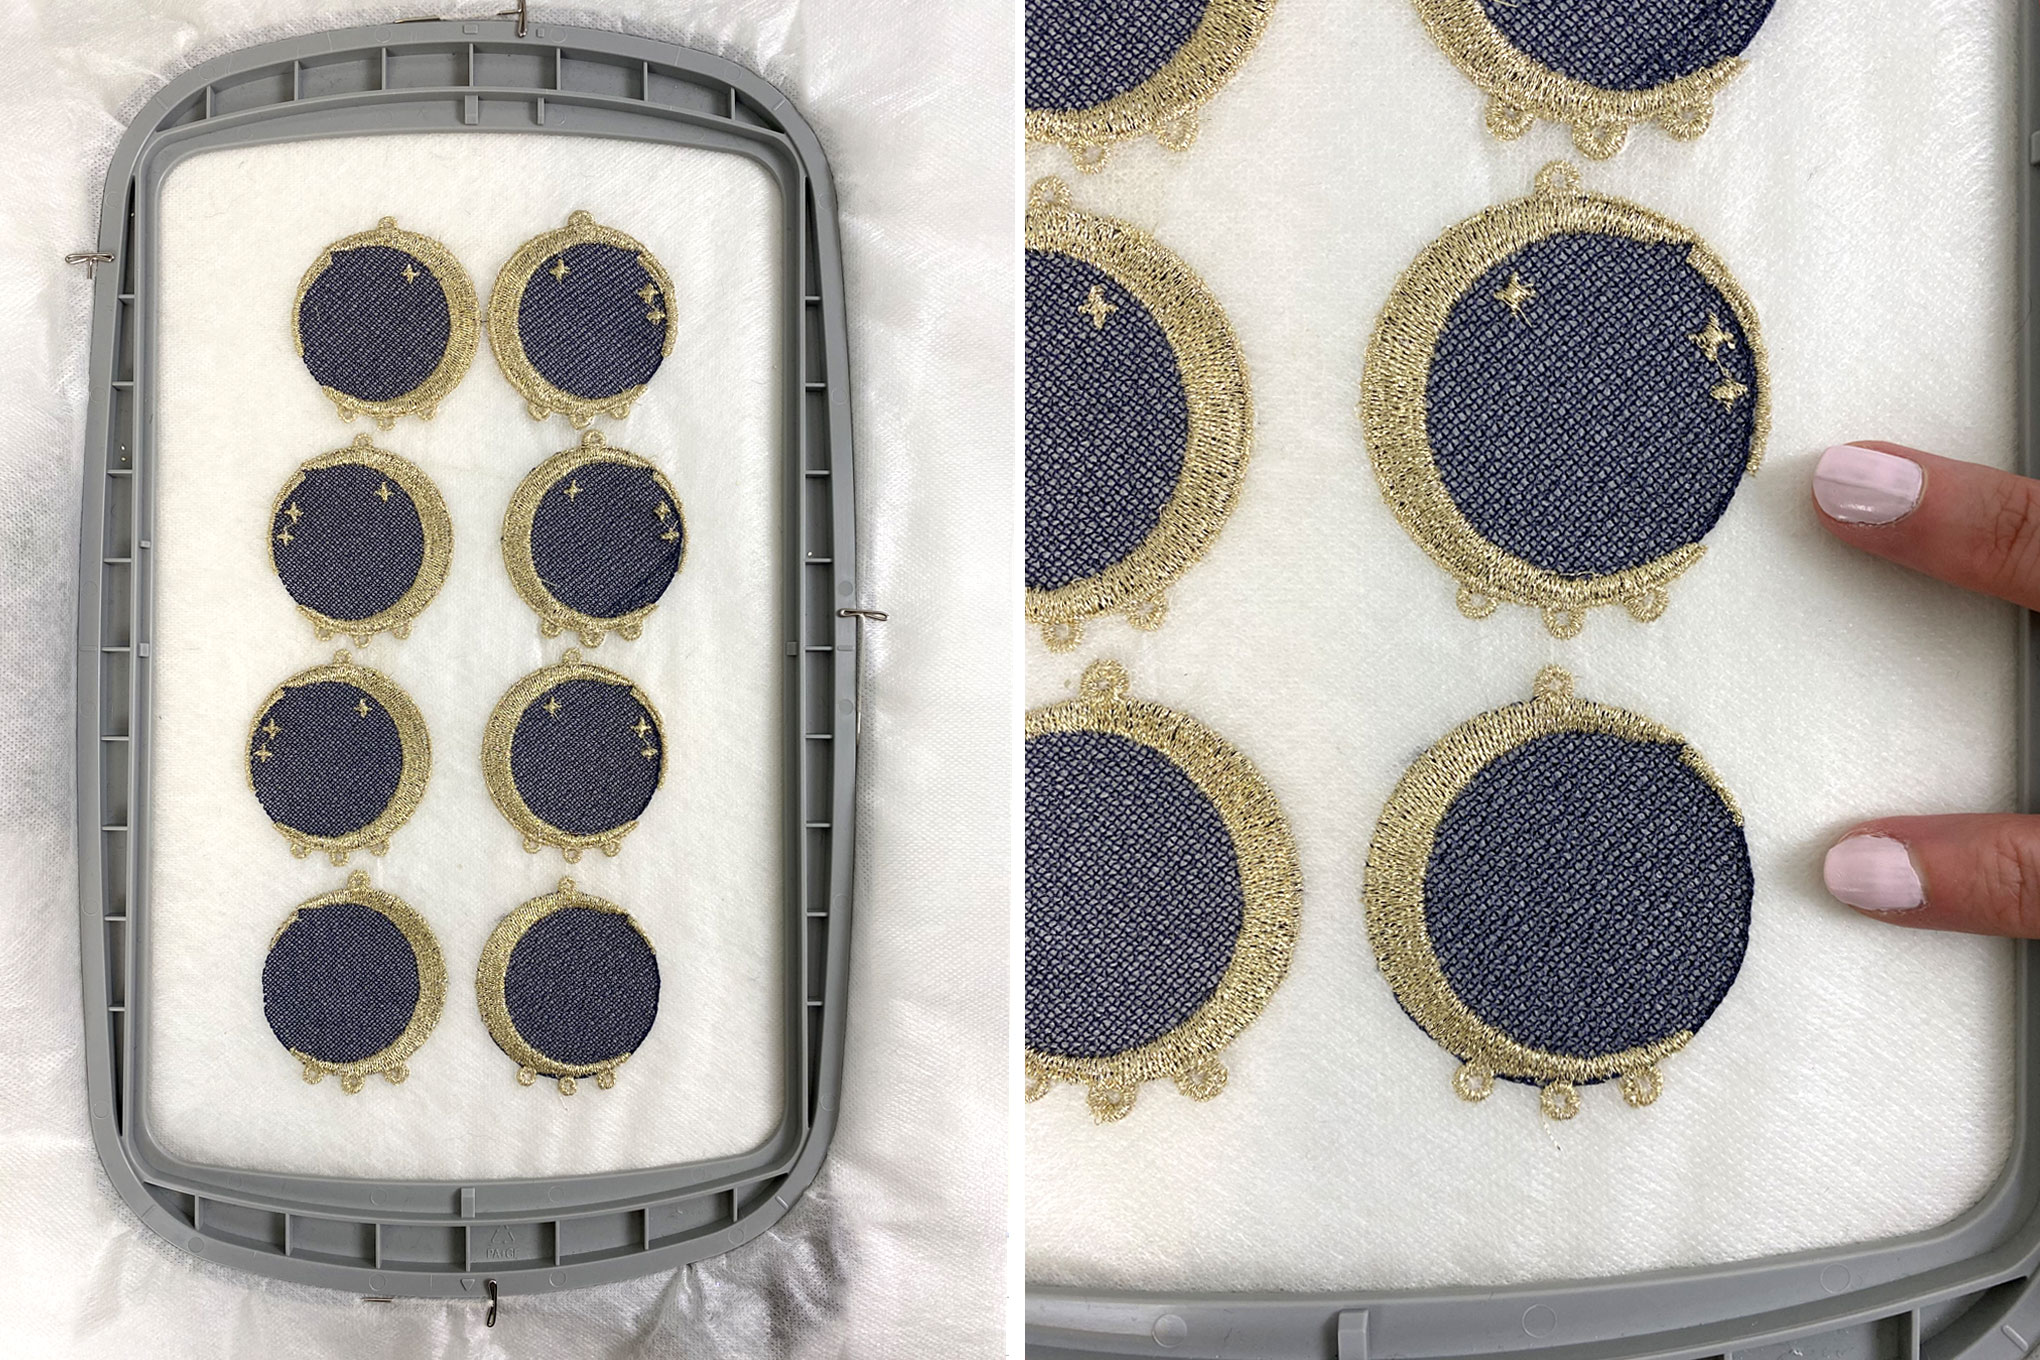
Another reason it is important to use the correct size hoop in proportion to your project is the natural shifting that occurs when your machine is embroidering your design. As I have learned in my own experience, a smaller design within a larger hoop can show noticeable shifting. If there is too much space surrounding your design inside the hoop, it is difficult to keep everything nice and tought. You can see here and learn from my own mistake on some embroidered earrings I was working on. I thought I was being time efficient with stitching out multiple pairs in the large hoop, but it would have been a smoother process to have just done less within a smaller hoop.
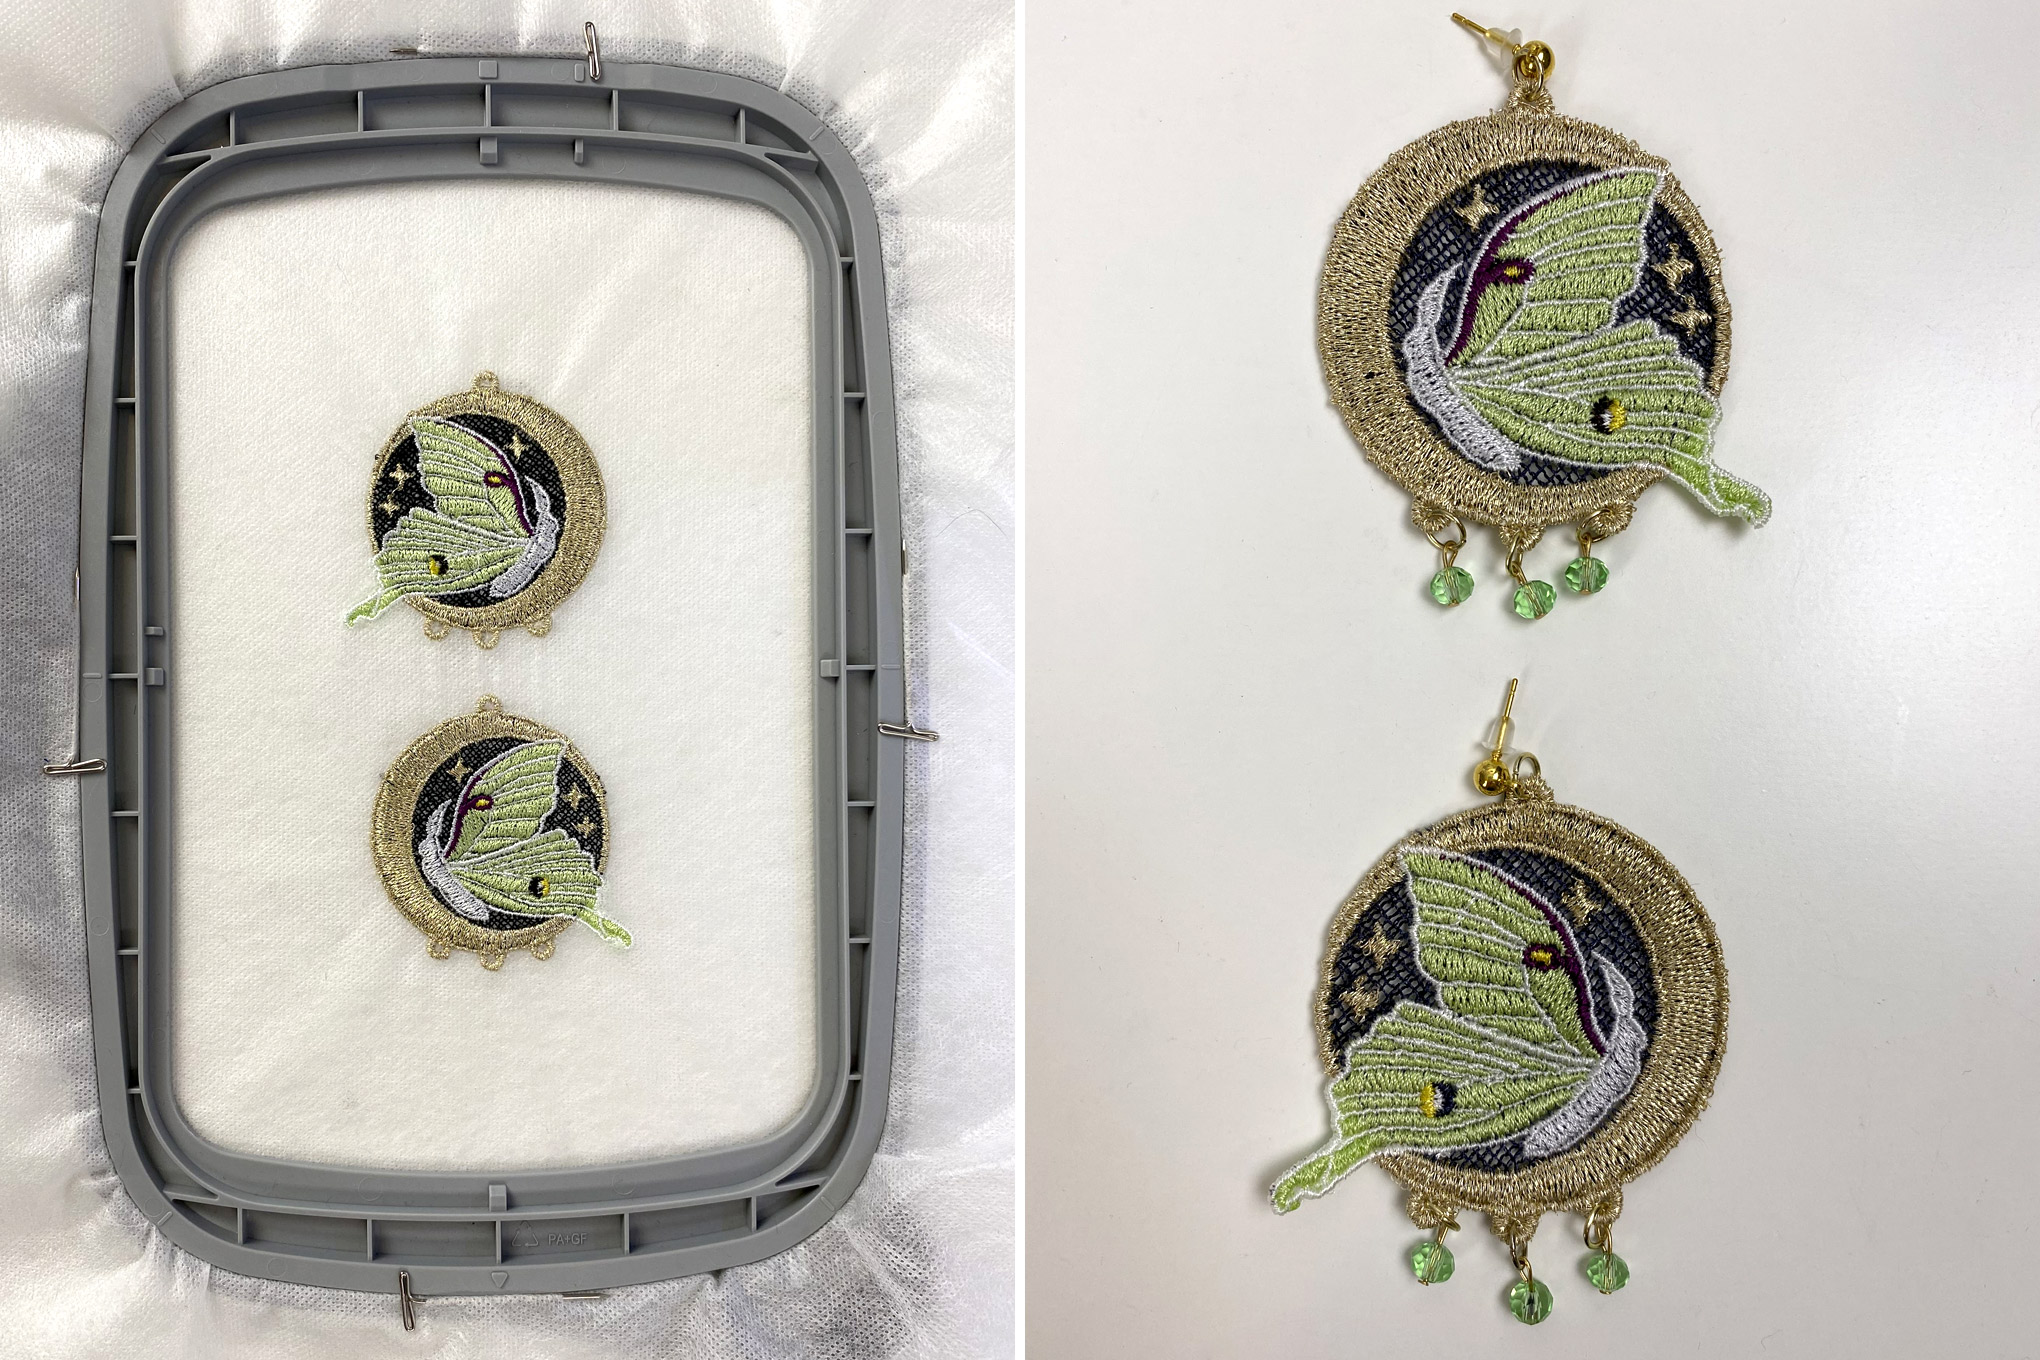
I did eventually get it though after learning from my mistake!
Securing a Large Hoop Project
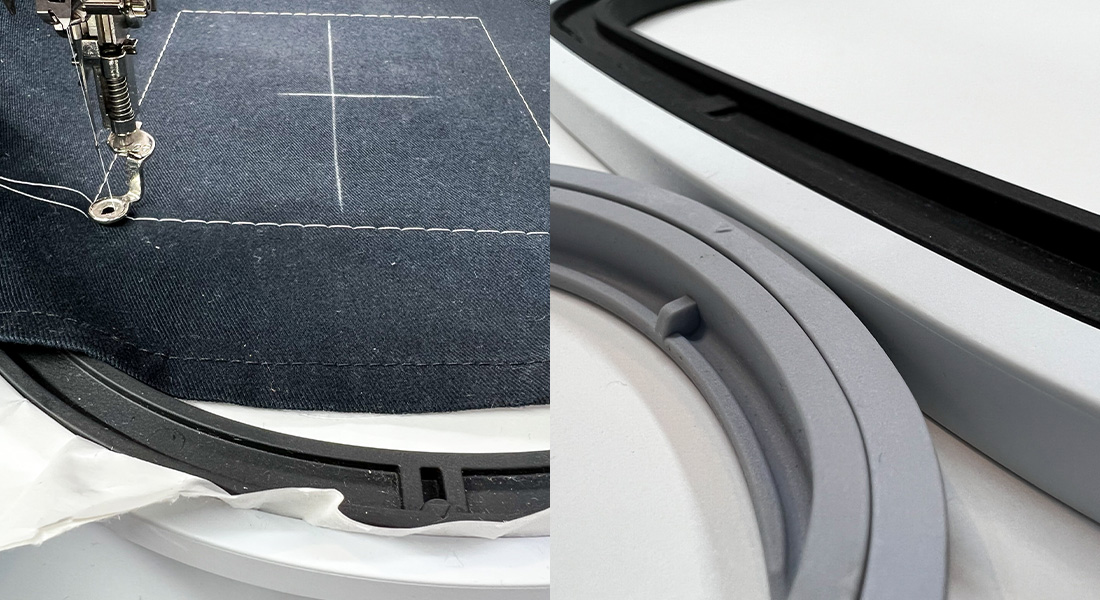
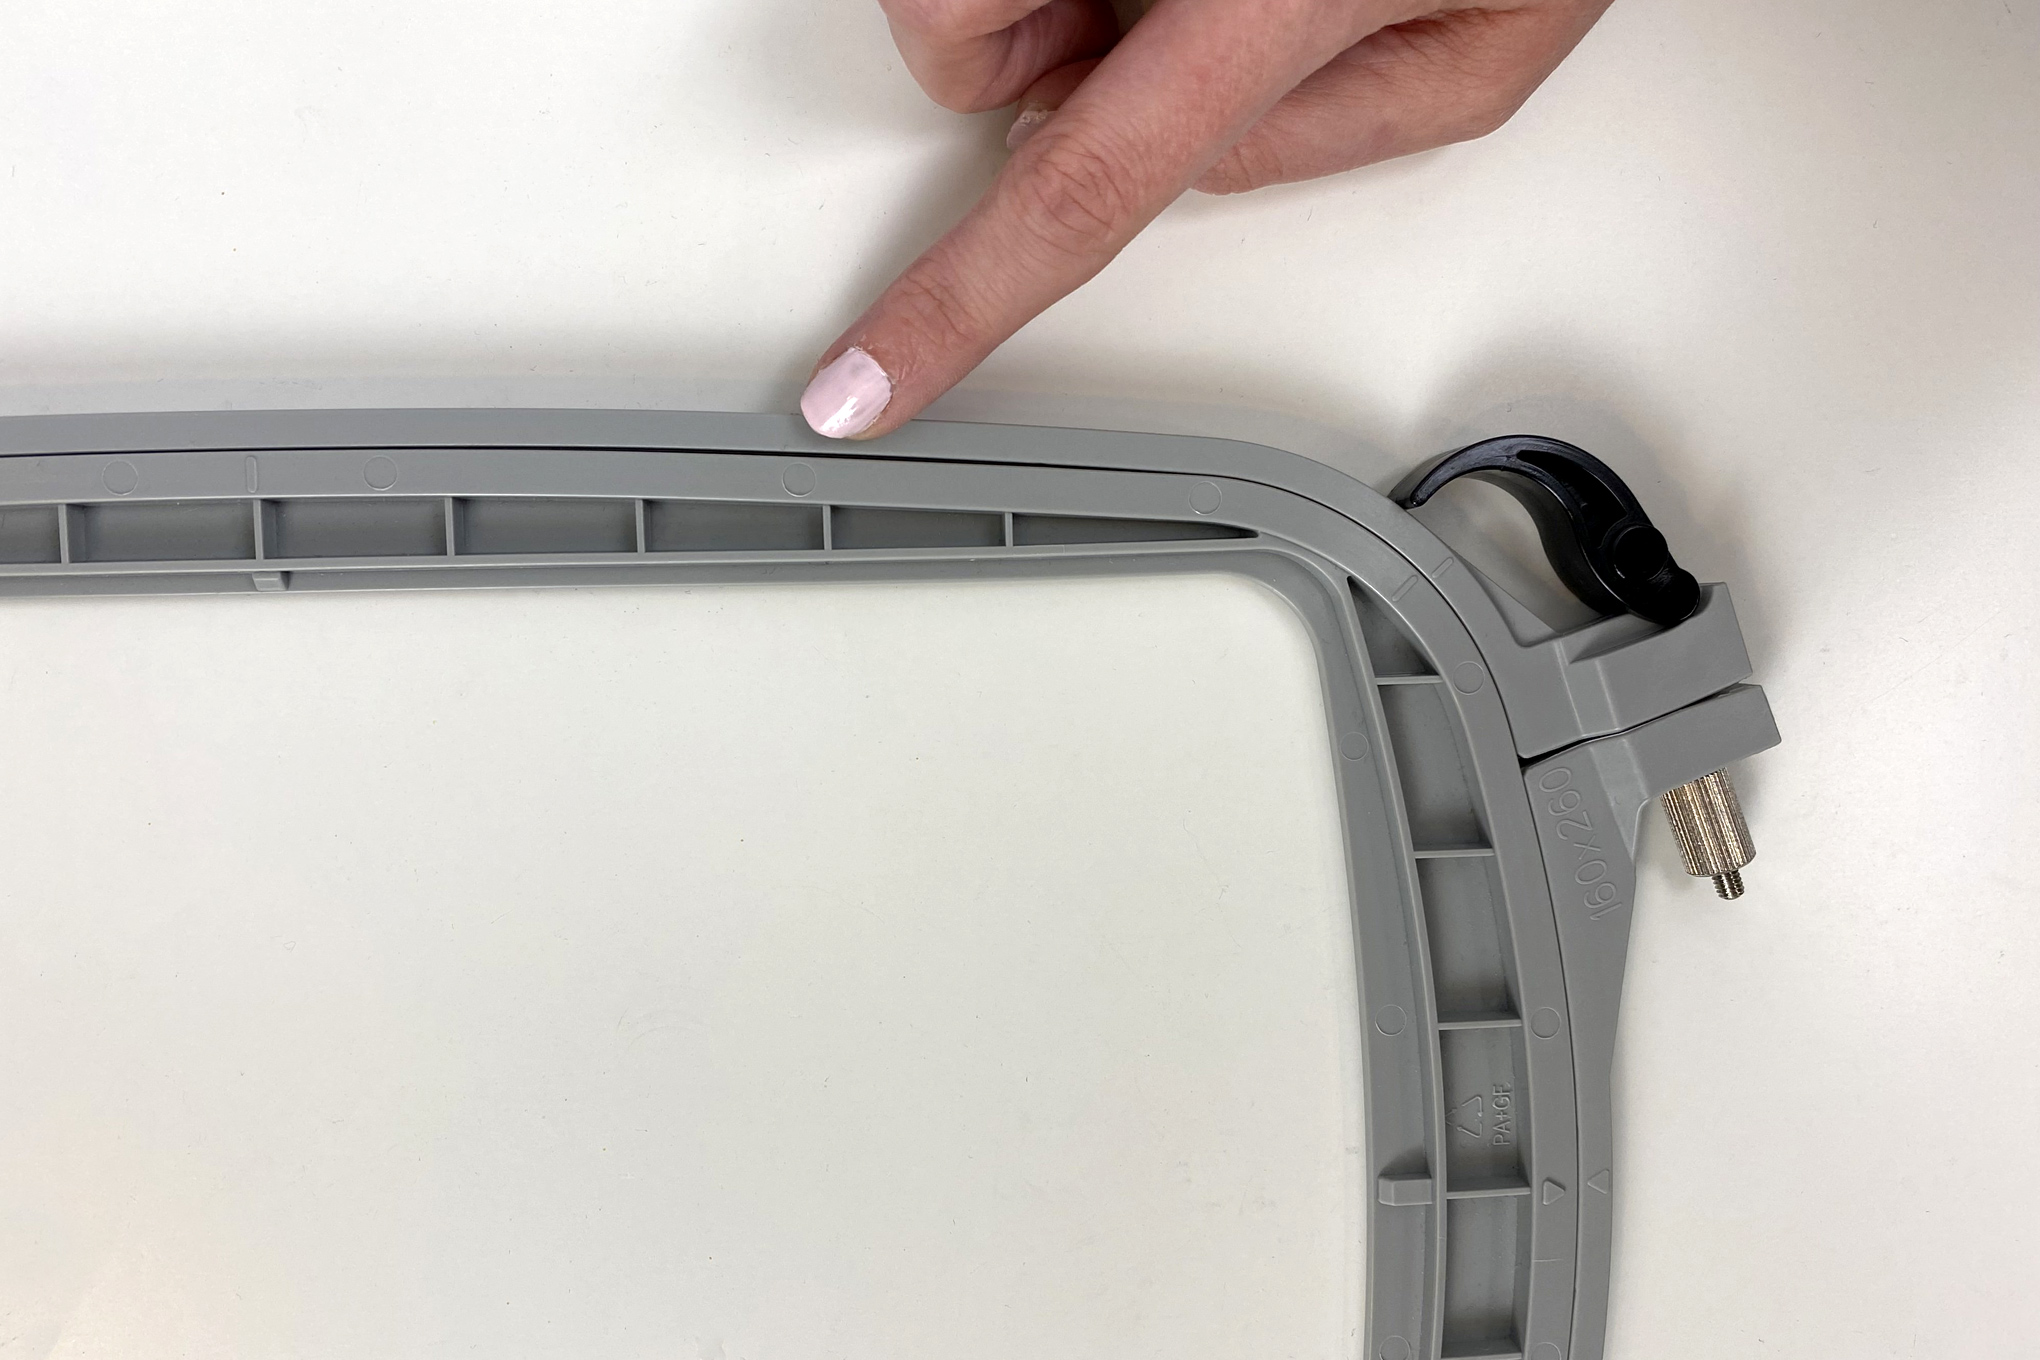
Working with a large hoop is exciting, but it does require some additional care when preparing one. You may notice when tightening the large hoop that the sides may not look as snug as the top and bottom of the hoop. You can see that with the space still visible on the sides, which just happens naturally when tightening a large hoop.
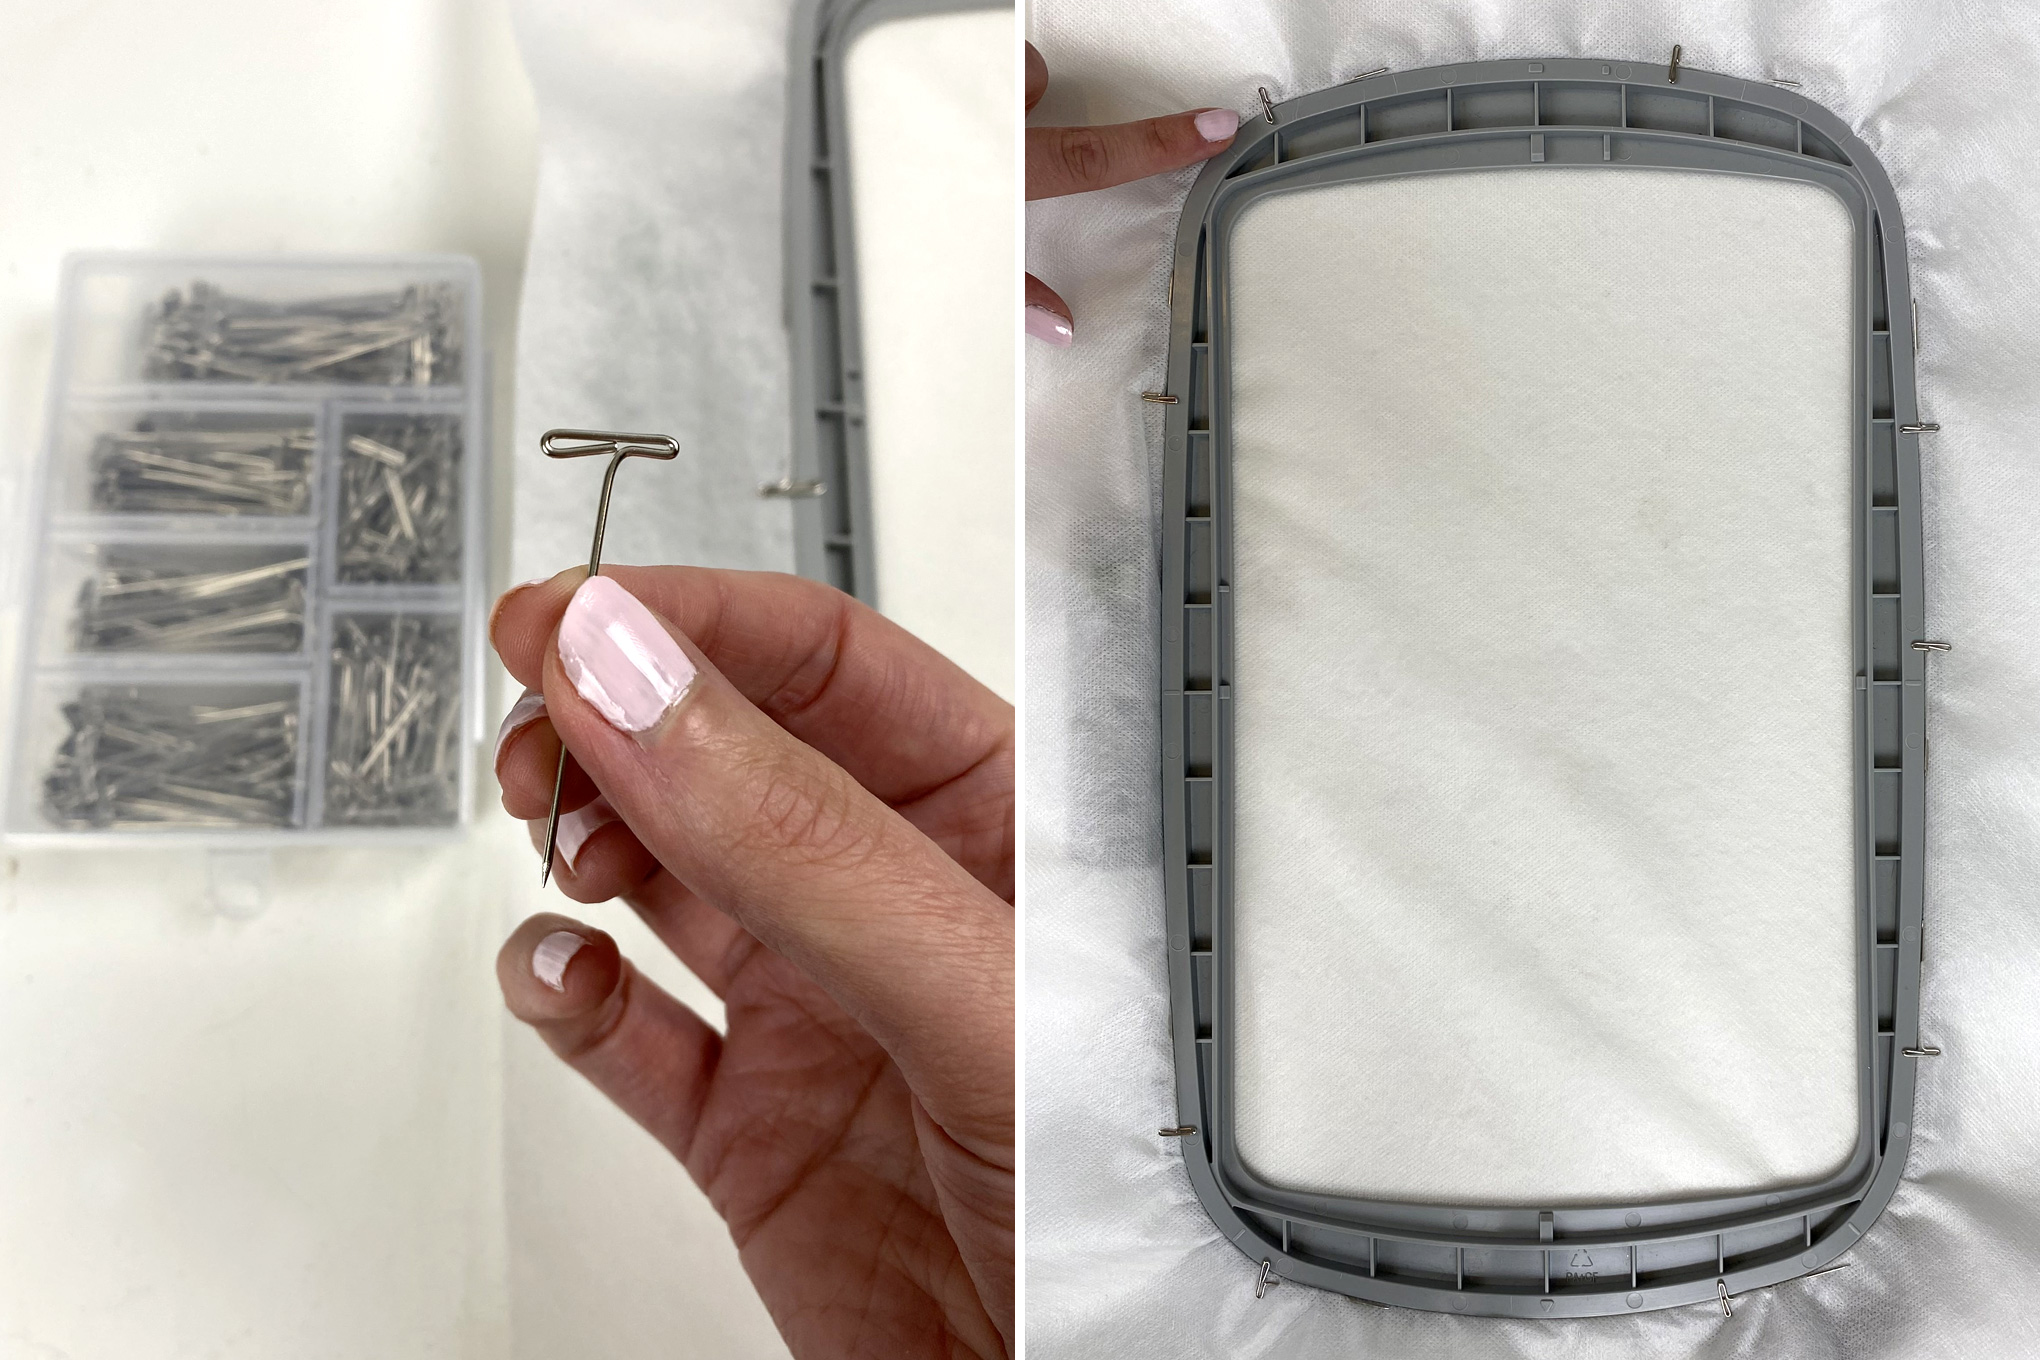
For designs that require a large hoop, you can use T-pins to keep the stabilizer from slipping. Simply pin through the stabilizer along the edge of your hoop as shown and your stabilizer will be kept nice and tight within the hoop. Thank you to Tough Kitten Crafts for this tip, which I learned from her Freestanding Lace Butterfly Shadowbox Tutorial here.
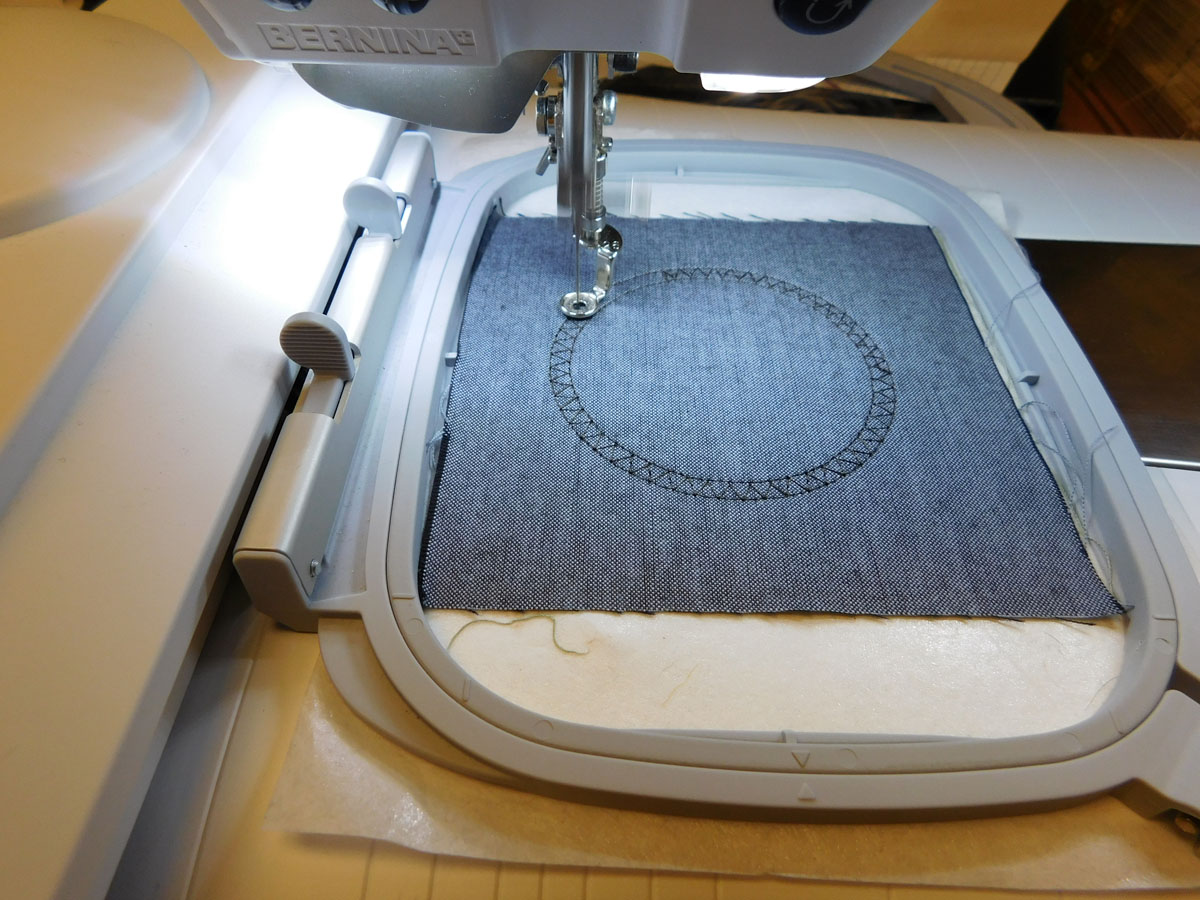
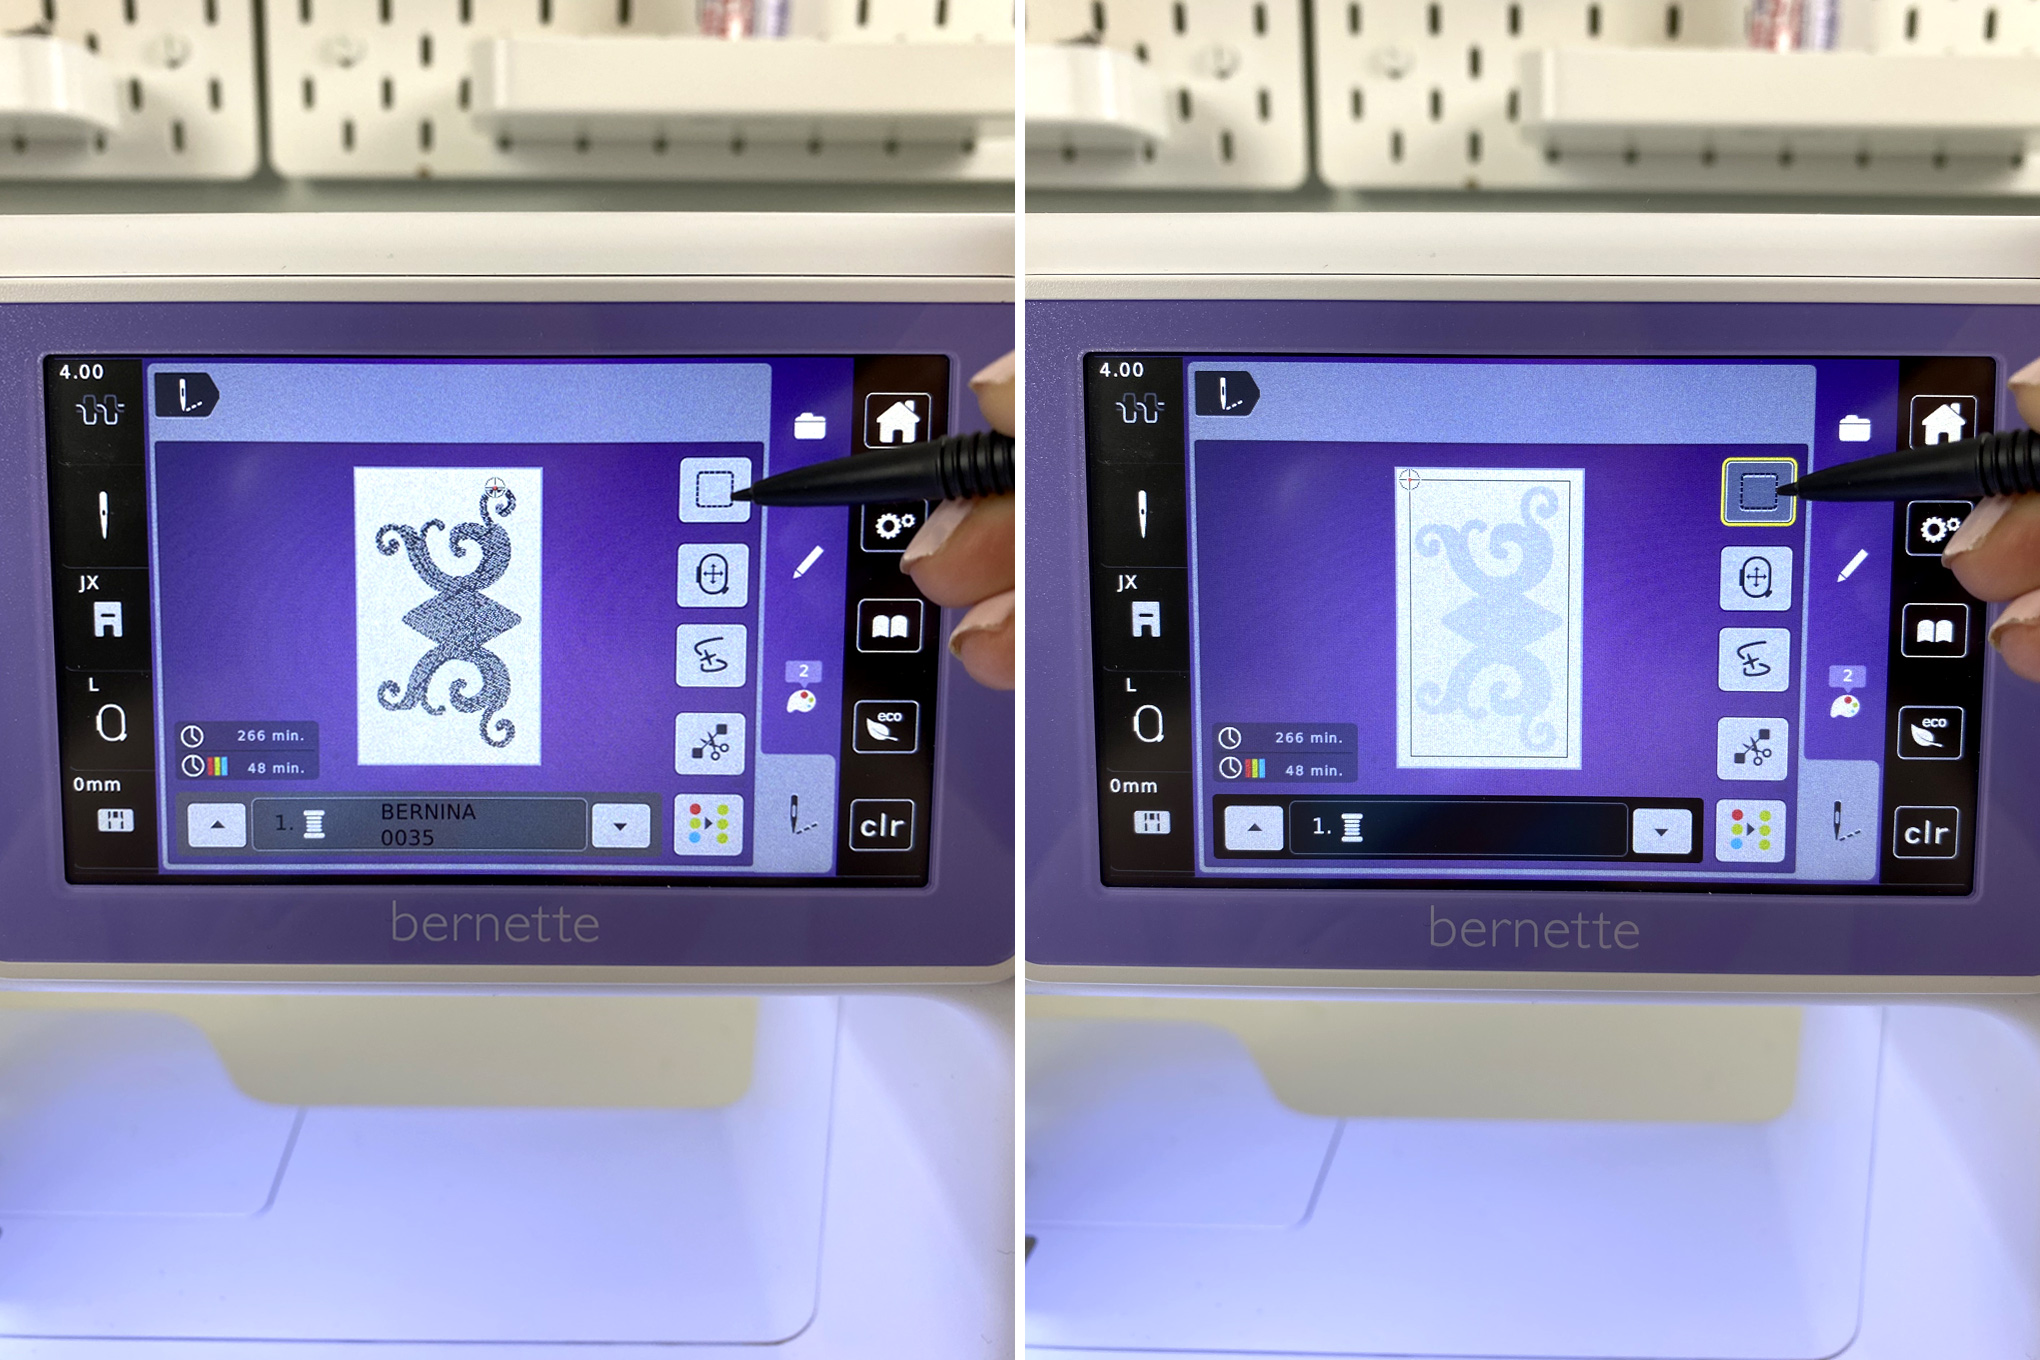
For embroidery that requires a large hoop, adding a basting stitch may also help prevent slipping. You can easily add a basting stitch around your design on the bernette 79 by selecting the first option in your embroidery menu.
Using Your Software to Help Select a Hoop
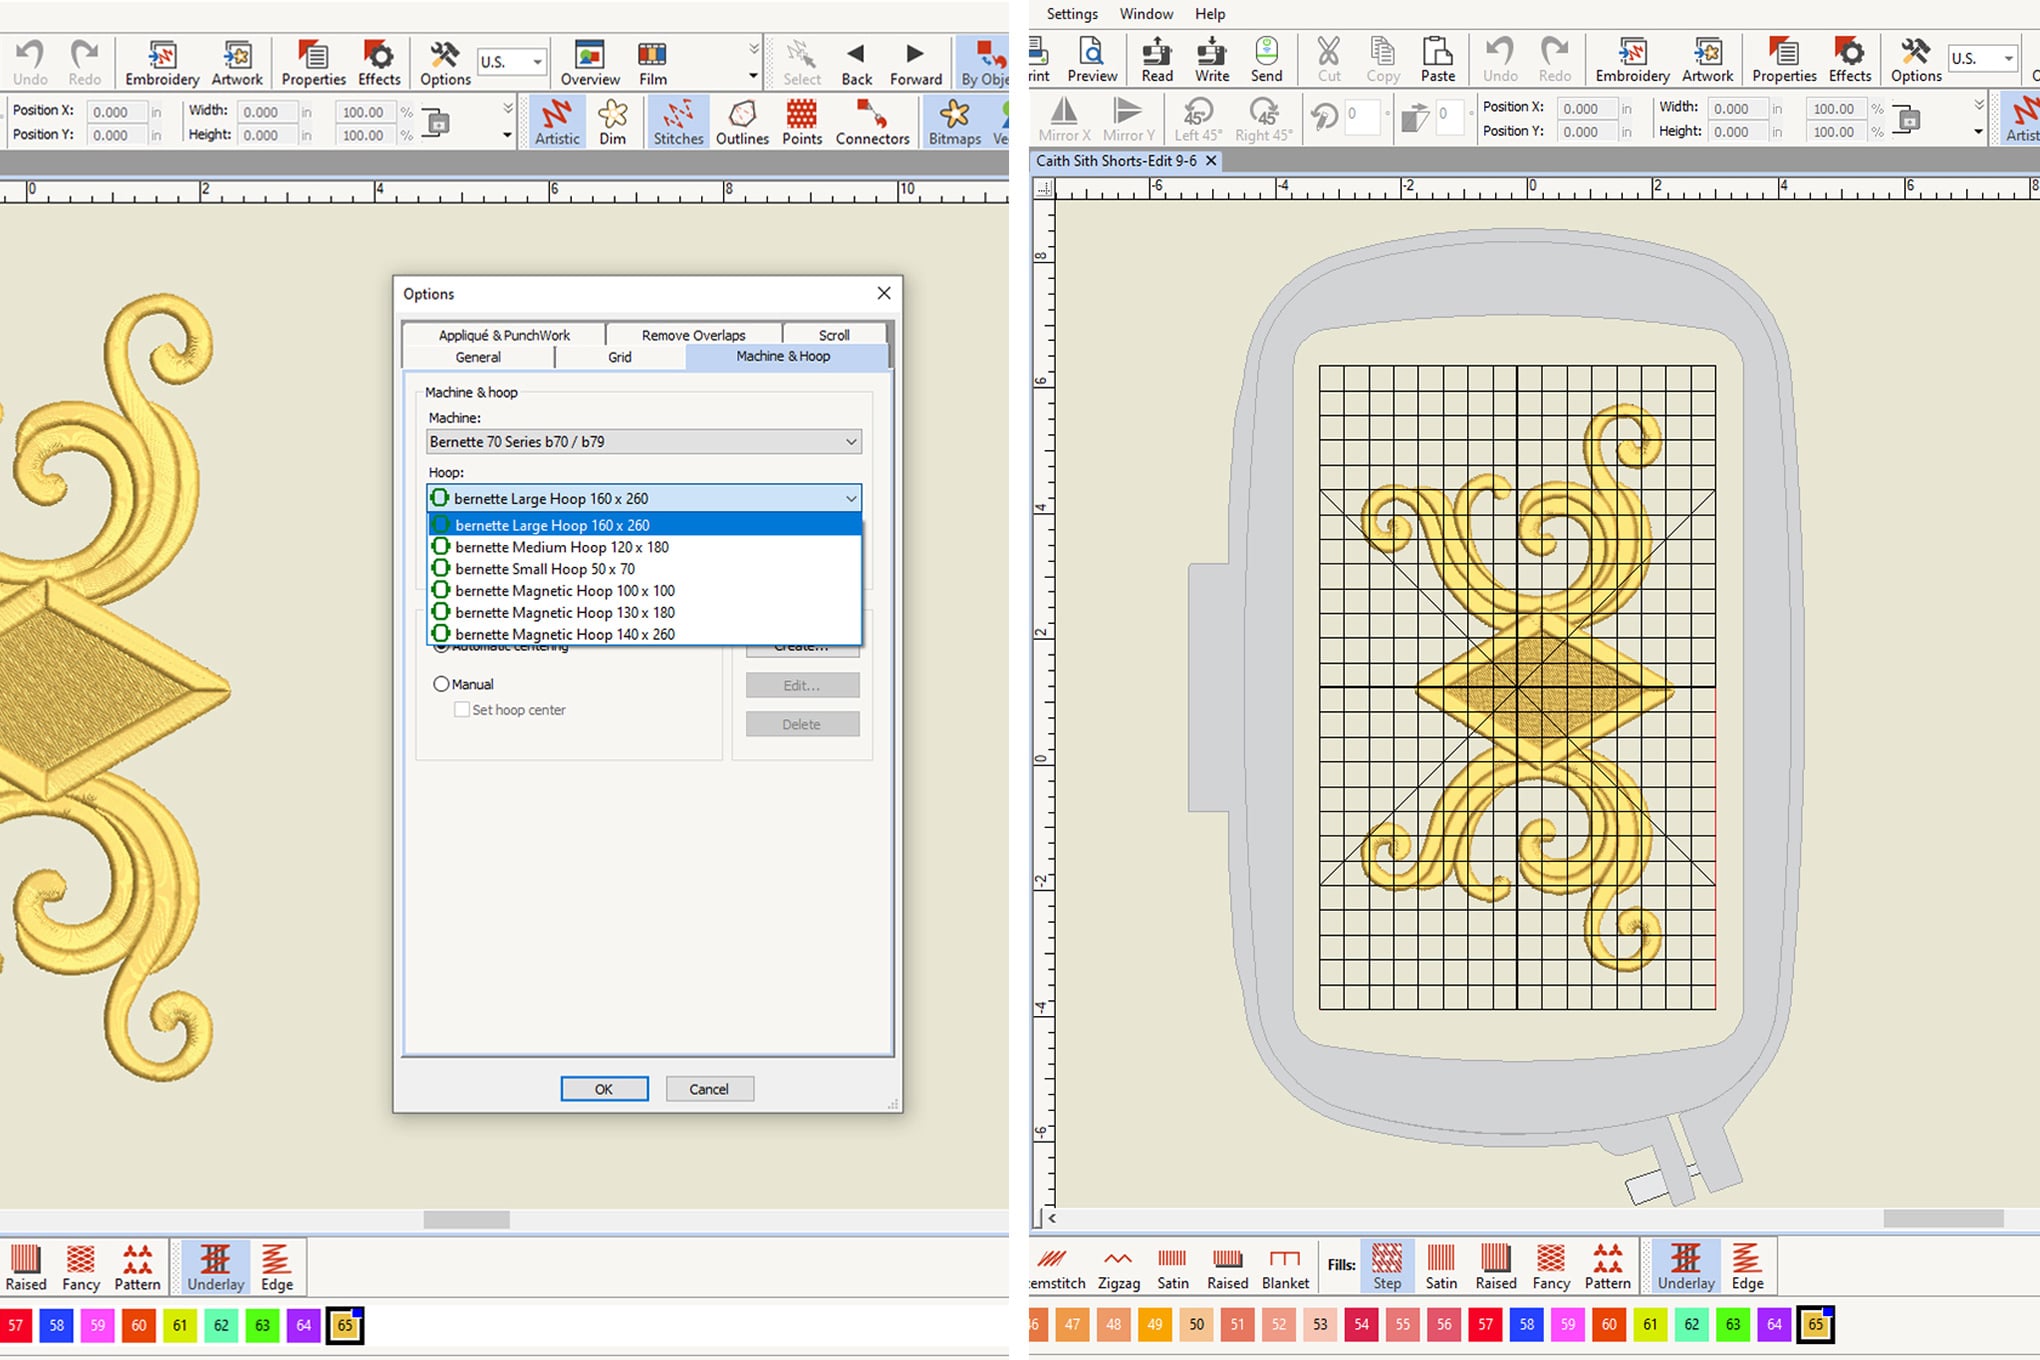
If you are digitizing your own designs, the BERNINA Creator 9 Software also makes it very simple to preview which hoop your design will fit best within. By selecting your machine under the hoop menu you can select from the available hoops compatible with your machine to be sure you are using the best hoop option for your embroidery project.
I hope these tips help with your embroidery journey. If you have your own helpful tip to keep in mind for hoop selection, feel free to comment below! To see what else I am up to, you can follow me on Instagram, TikTok, and Facebook.


