Tips for Tension Testing
This past spring, Australian quilt artist and teacher, Jenny Bowker, was teaching at the Empty Spools seminars in California. Jenny is a friend, and a few years previous we had agreed to do a quilt exchange. I stopped by her classroom to give her the photo quilt I had made for her.
She called me over to see what she was demonstrating for her students. Jenny was explaining that when you change fabric, batting, thread, needle size etc., it can affect the balance of your stitches. Many sewers are hesitant to change their tension settings from the factory settings because if it is working, even if the stitches are not perfect, they don’t want to risk messing up the tension even more.
However, what do you do when the factory setting isn’t giving you the best results? The suggested factory setting is an average setting, but if you switch to a tighter weave fabric like a batik, or change battings, or switch from a cotton to a silk or polyester thread, the recommended factory setting may not accommodate the materials you are stitching.
Jenny’s simple tension test empowers you to understand how to adjust your thread tension to get balanced stitches. And it lets you know where to change the setting for optimum results. It works with all sewing machines. Many stitch issues can be resolved by adjusting the top thread tension.
Materials for Tension Testing
- 1 Fat Quarter White Muslin
- 1 Fat Quarter of batting (Ever Sewn: Needle Punch 100% Polyester Batting)
- Temporary Fabric Adhesive (505 Spray and Fix)
- Contrasting Threads
Equipment for Tension Testing
- BERNINA zig-zag sewing machine (BERNINA 770 QE)
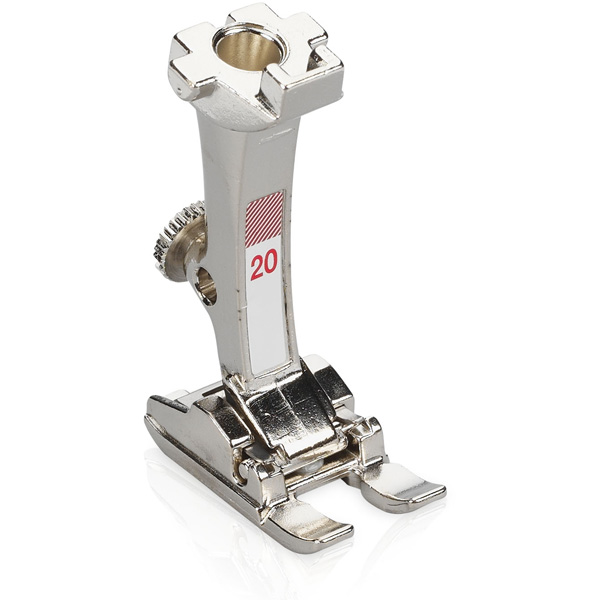
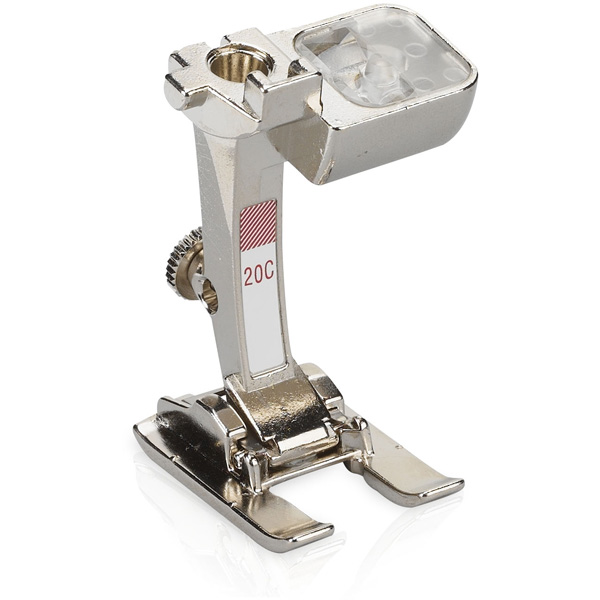
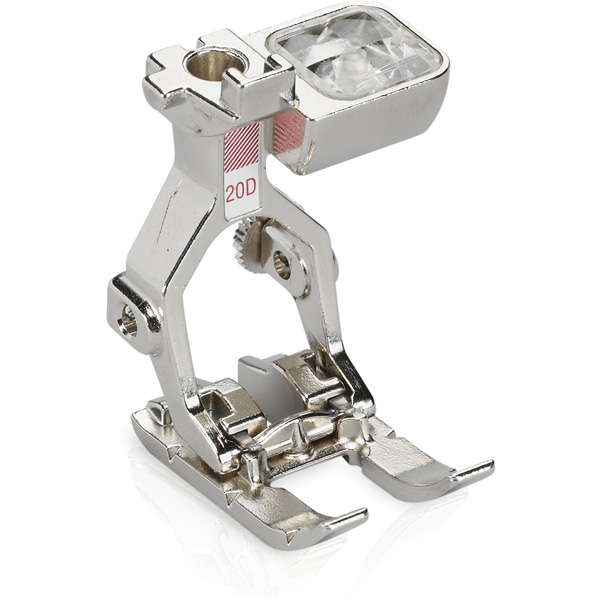
- Open Embroidery Foot 20, 20C or 20D
- Rotary Cutter
- Cutting Mat (Quilter’s Select)
- Iron (Panasonic NI-WL600)
- Colored pencil or quilters’ marking pencil
The higher the upper thread tension, the tighter the upper thread, which means that the bobbin thread is pulled up to the top of the fabric. When the upper thread tension is low, the upper thread is loose, and the bobbin thread is pulled up less.
Make a test sample of the materials you want to use in your quilt. For the purposes of this tutorial, I used white muslin on both sides of my quilt sandwich, with a polyester bat. I used a temporary fabric adhesive to hold the layers together. My preferred needle was a 70/10 topstitch needle and polyester thread. I chose contrasting colors for my top thread and bobbin thread, so you could easily see the stitches in the sample: green for my top thread and orange for my bobbin thread.
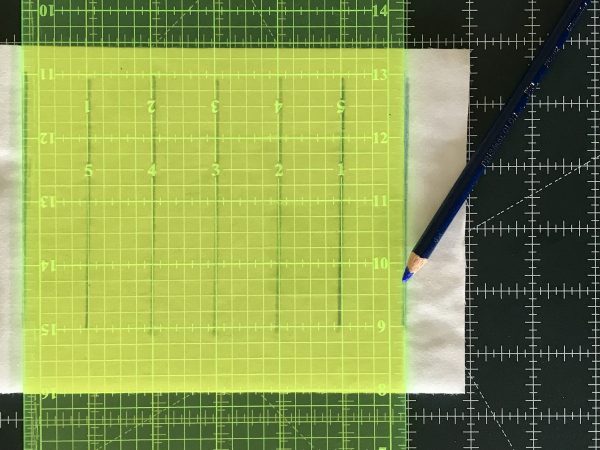
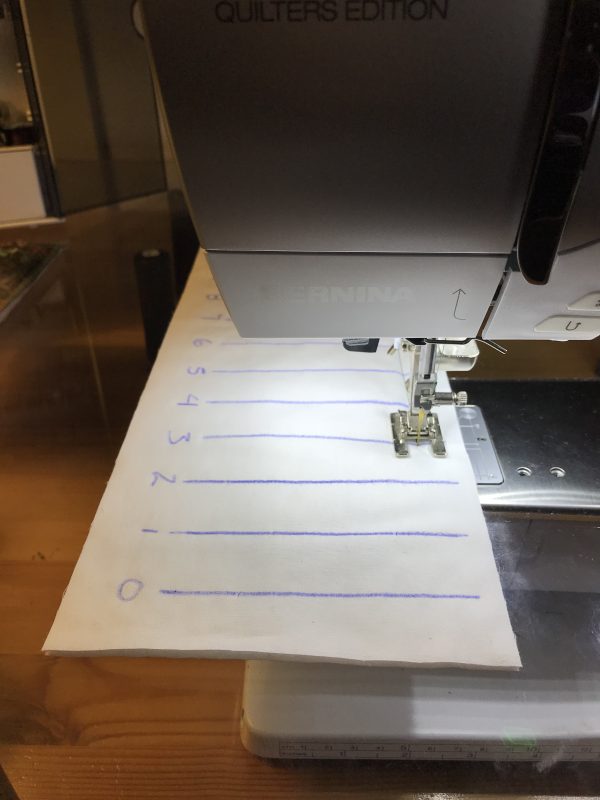
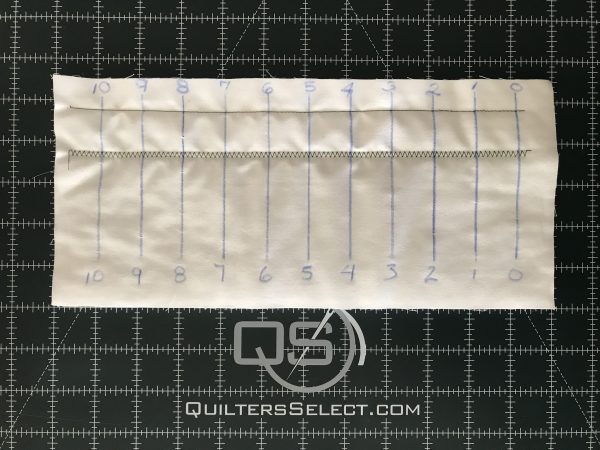
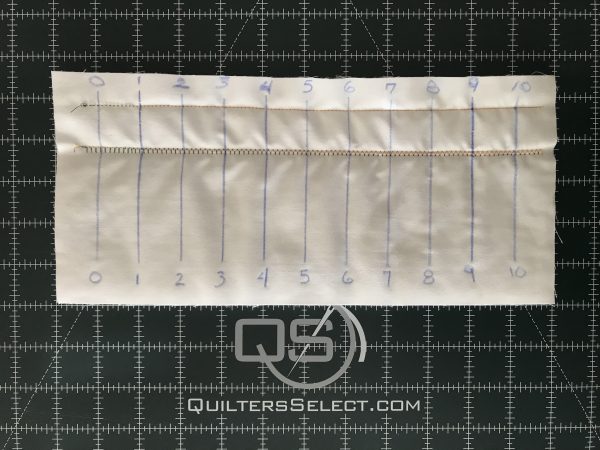
With a colored pencil or quilter’s marking pencil, draw a series of vertical lines on your sample. You can number each line according to the top thread tension settings. My sewing machine is BERNINA 770 QE. It easily allows me to change the top thread tension from 0 to 10. Thus, I marked 10 lines on the sample one inch apart.
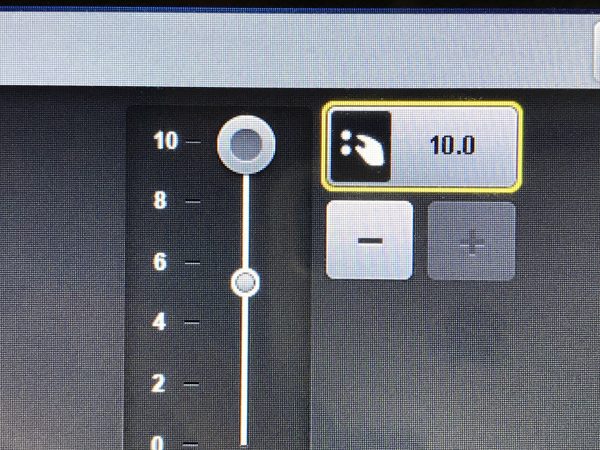
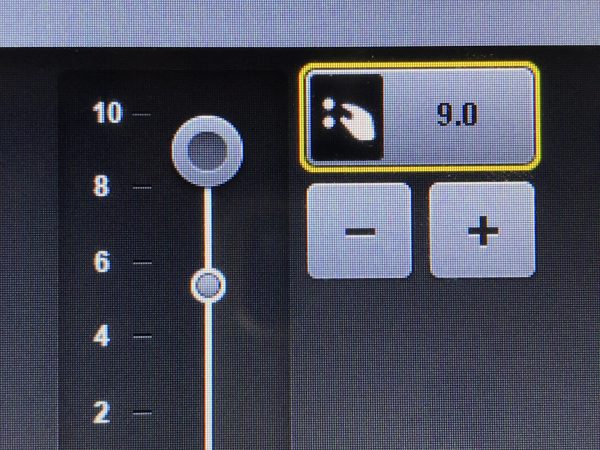
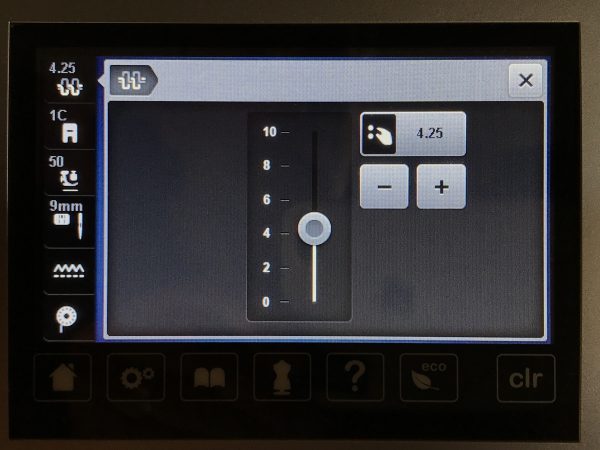
Changing top thread tension on the BERNINA Seven Series machines is done by touching the icon for “Adjusting the upper thread tension” on the display screen. Touching it pops open a window where you can adjust the tension, either by moving the slider or pressing the -/+ icons.
On sewing machines without a display window, the top thread tension may be adjusted by a dial or knob through which the top thread passes. Again, it will have numbered increment settings.
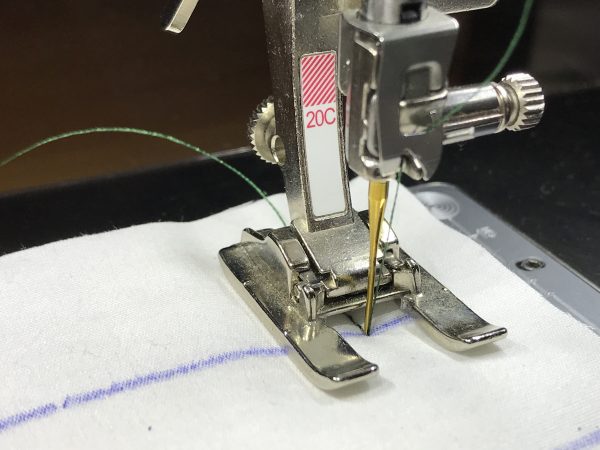
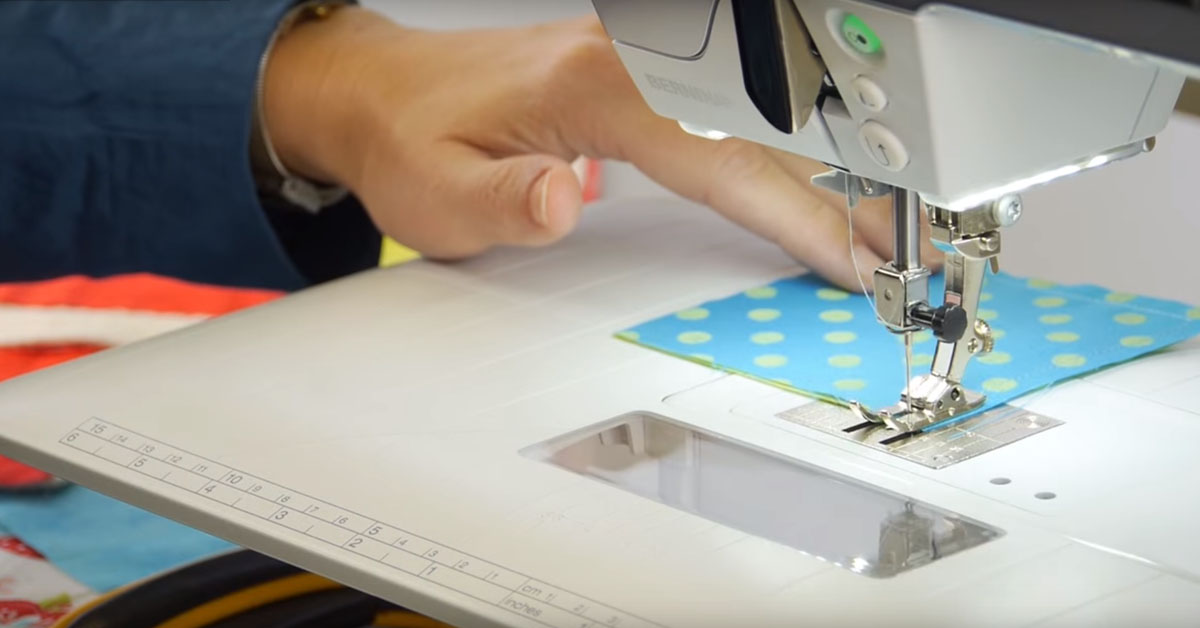
For this test, I used the Open Embroidery presser foot #20C because it allowed me to see each line as I stitched up to it.
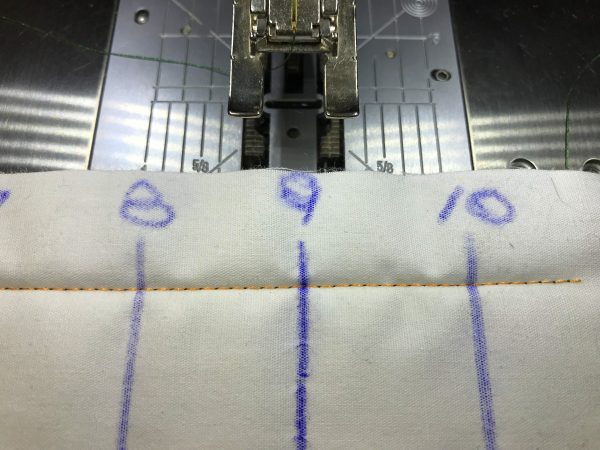
My first series of stitches were a straight stitch. The recommended factory top tension setting is 5.25 but I started with a top thread tension of 10 and stitched at that setting until I reached the line marked 10. At that point I dropped down to 9. I dropped my top thread tension each time I hit the next line, all the way down to 0.
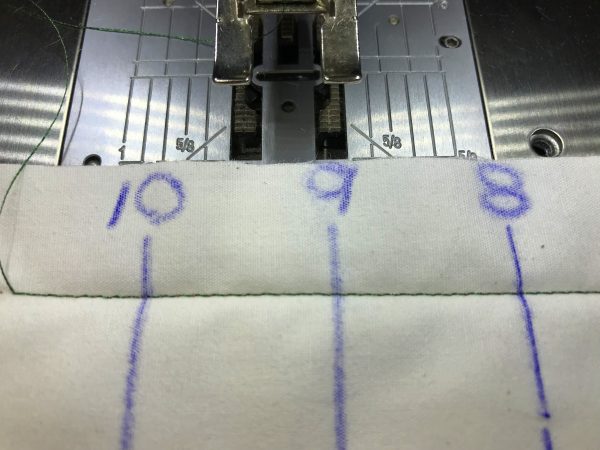
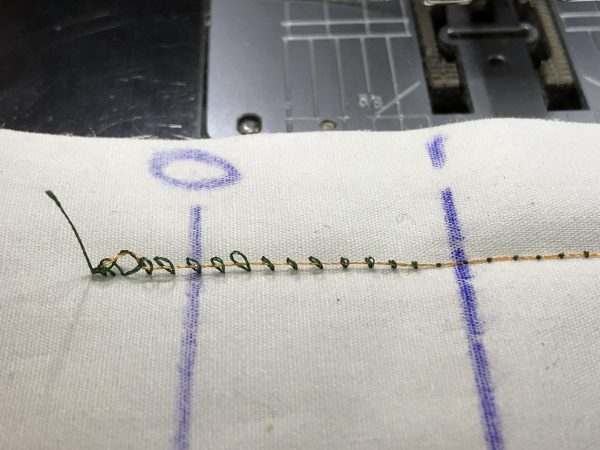
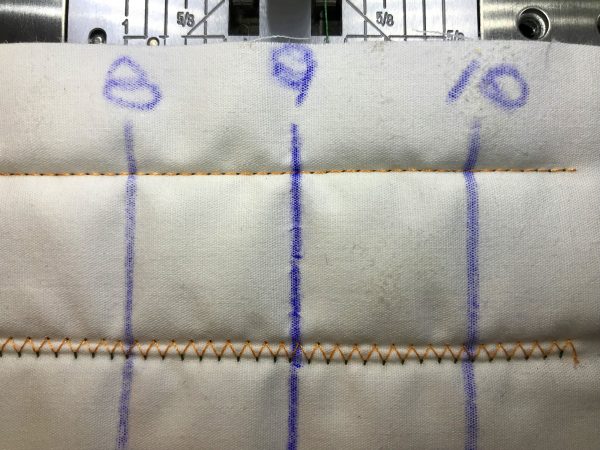
When I inspected the stitches, I didn’t see a greater variation until I got way off the factory recommendation. The top thread gets noticeably tight when the setting hits the 8.
You really see how the orange bobbin thread is pulled to the top when you flip the fabric sandwich over to the back side.
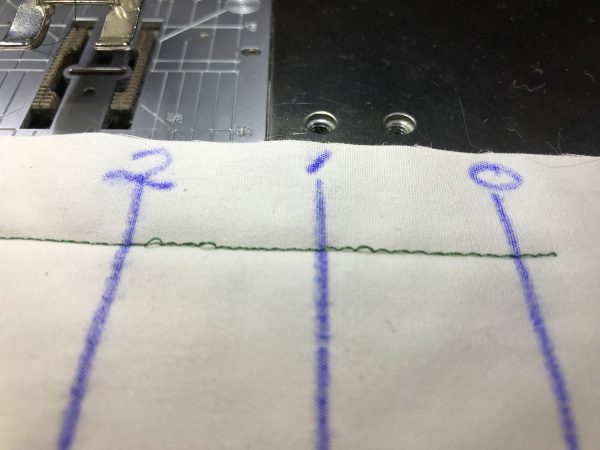
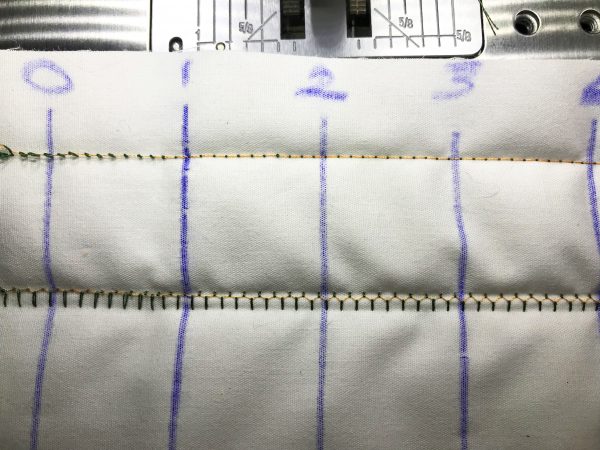
What is very noticeable is when you lower the upper thread tension. On the top side you can see loose stitches at 2 and below.
Flip the sandwich over, and the green top thread is not pulling at all on the orange bobbin thread.
There is a wider range of acceptable stitches on both sides of the factory setting of 5.25 for tension on the top thread on my BERNINA 770 QE. This surprised me. I talked to BERNINA Customer Service about it.
They explained that the both the 500 and 700 series machines have “reactive, adaptive” tension. The computer software is so sophisticated in these sewing computers that it was correcting for the out of normal top thread tension I had dialed into the machine.
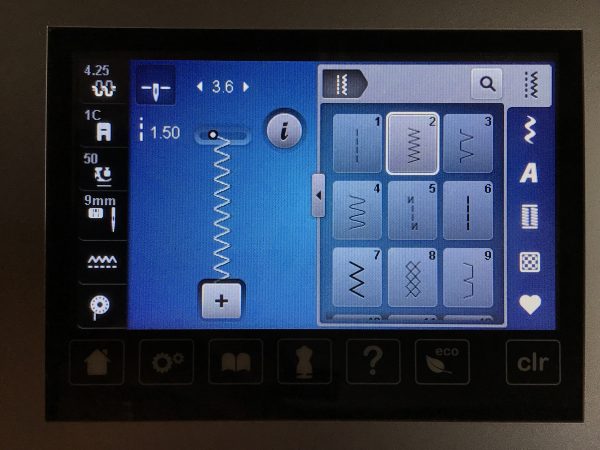
I repeated Jenny’s Tension Test with the number 2 zigzag stitch.
The zigzag stitch is considered a standard stitch and most sewers would not think of owning a sewing machine that did not have it. While the zigzag stitch is today considered a classic, it is a more complicated stitch than a straight stitch. The factory setting for the top thread tension is 4.25.
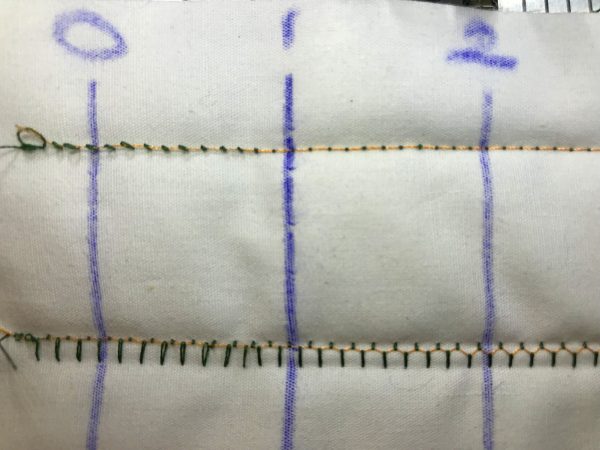
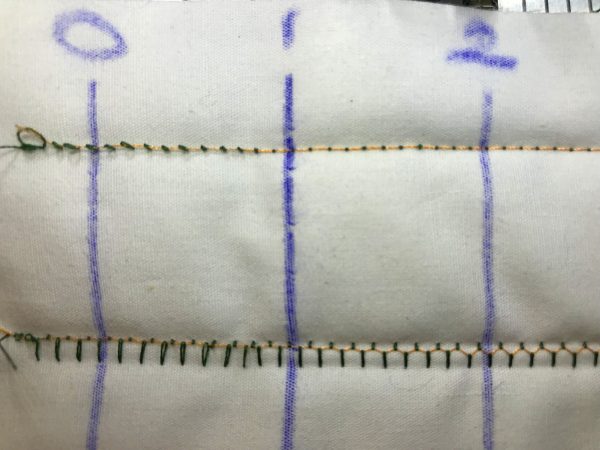
From the top of the fabric sandwich you see almost no variation, but when you turn it over you see a steady progression off the factory setting. The top and bobbin threads are even at 4.
As the top thread tension rises to 10 you see the top green thread pulling tighter until all you see on the bottom of the tester is orange thread.
As the top tension decreases the green top thread gets noticeably looser, starting at the 2 setting.
And it is unusable at 1 and below.
Jenny’s Tension Test gave me a greater appreciation for my BERNINA sewing computer and how hard it works to give me a balanced stitch. It also showed me that even if I was using another BERNINA without the “reactive, adaptive” top thread tension control, I can easily find what is the best tension for my combination of fabric, batting and thread. Simply stitch out a test sample, look at the stitches and then dial in the right top thread tension.
What you might also like
8 comments on “Tips for Tension Testing”
-
-
And what about bobbin tension and factory settings?
-
Just change the tension with your tension dial
-
I’ve made adjustments on both the top and bottom threads. I have the older Bernina 570 QE.
I wonder how to get the bobbin back to factory settings to start over.
-
Advice needed. I am sewing with a 770. I am having tension issues when doing FMQ, particularly ruler work.
I lower the feed dogs. If I put the stitch length to zero, the machine adjusts the tension. However my stitches are poor on the back.(Usually not eye last but just one bit better.) Clearly I am doing something wrong. Do I override the machine’s tension or set a different stitch length? (Generally, I am using cotton fabrics with a cotton/poly blend batting.)-
I have a770 qe too and I have tried everything but still have eyelashing on the back of my quilt when free motion quilting. I have cleaned the machine, using aurifil thread, new needle. I either have top thread showing or eyelashing on the bottom of quilt. Help?
-
-
I have great tension on my Bernina 770QEE, but absolutely none for the embroidery. I have rethreaded the machine several times and tried increasing the tension in the screen and still no tension. I’ve alsi tied a couple different bobbins. If anyone has a suggestion please share. Thank you. Thank you
-
Just purchased a B435. I intend to attend some of the classes but would like to start using the machine now.
How do I adjust the thread tension so that the thread under the fabric (the fabric that the touches the stitch plate ) does not loop loosely?
Leave a Reply
You must be logged in to post a comment.






And how would you do this with a 440QE?