Tips For Stitching with Seam Guides
Learn how to use seam guides for spacing out stitches with precision in this post from award winning quilter, Charlotte Warr Andersen.
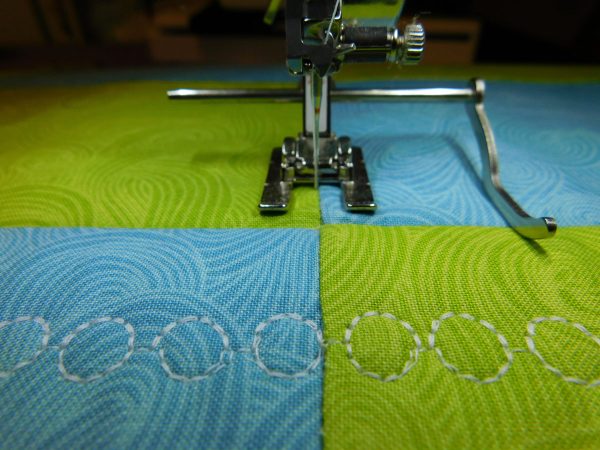
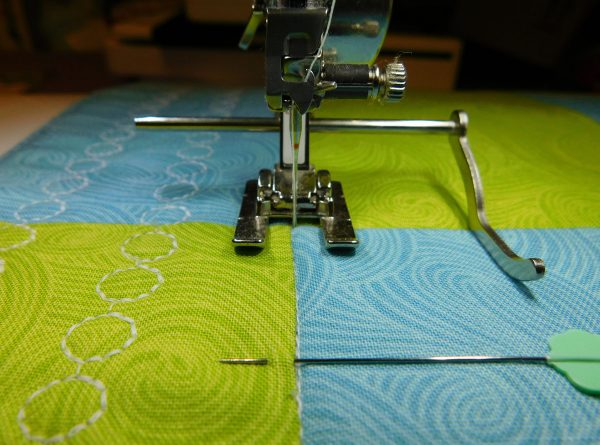
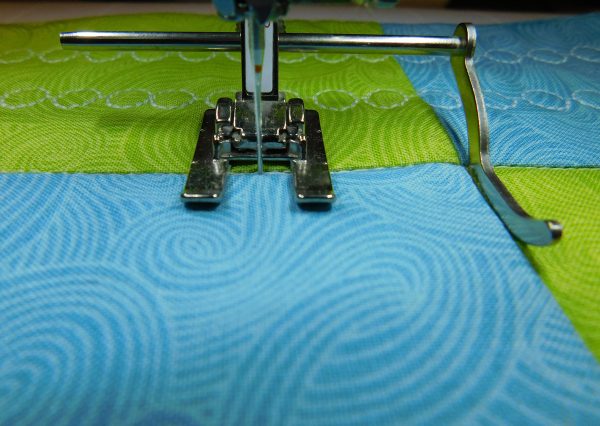
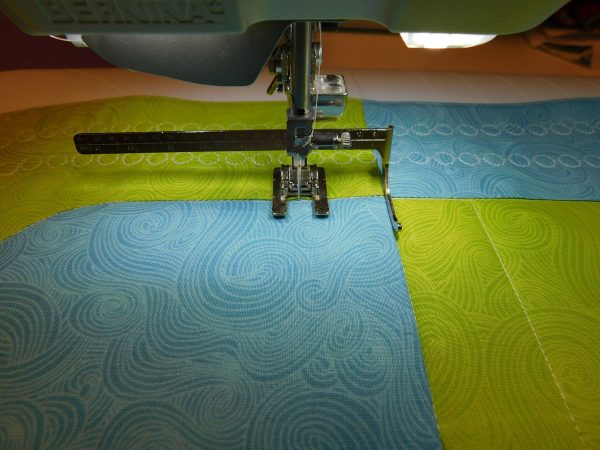
There is a handy-dandy tool that came in the accessories package with your BERNINA sewing machine. You may have used it extensively, or you may have looked at it once or twice and wondered, “What the heck is this for?” Personally I’ve been using this wonder tool since I got my very first BERNINA. If you’re not familiar with it I hope to persuade you that this could become one of your favorites, too.
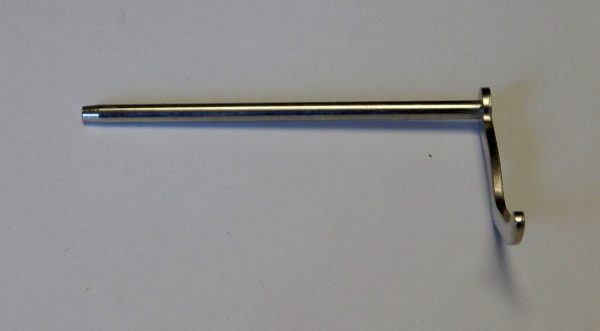
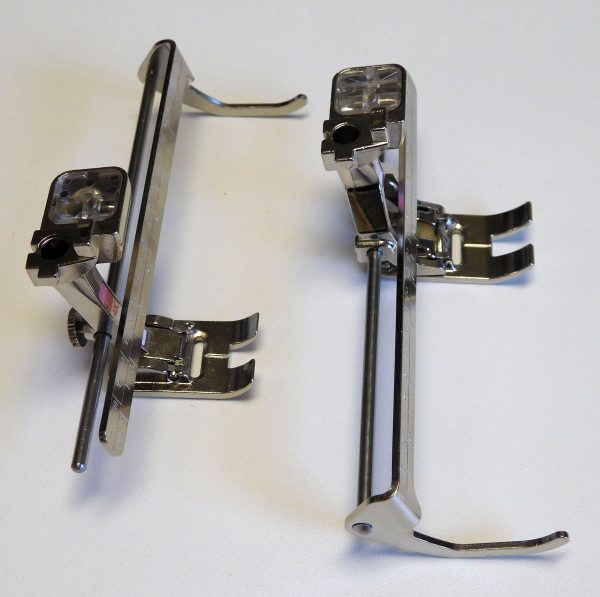
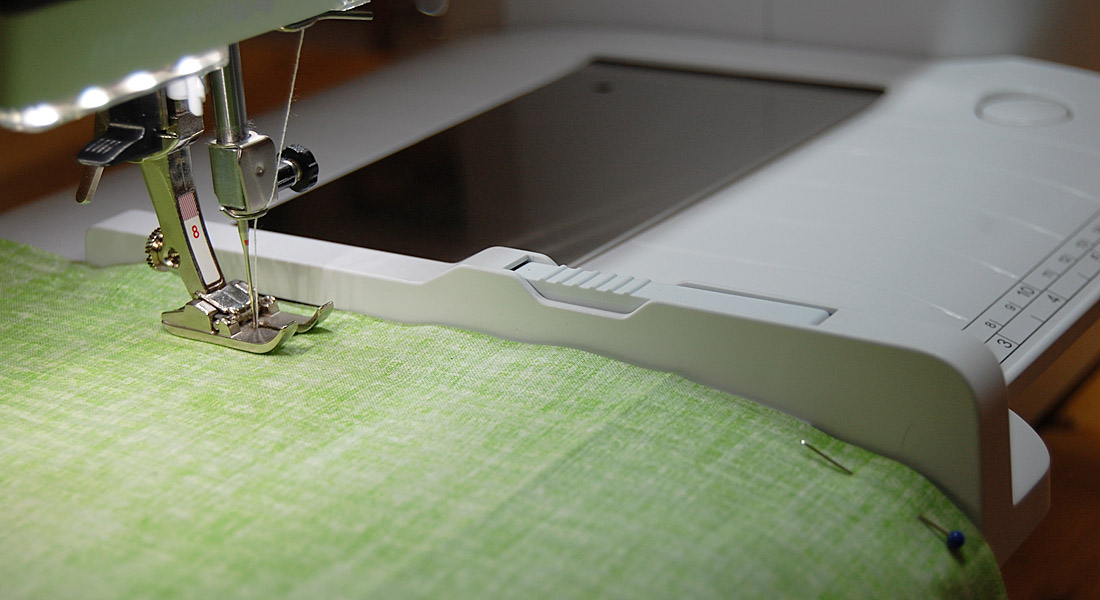
In your accessories package there should be an angled piece of metal that looks something like this. This seam guide goes to the right (your right) of the presser foot. (It can go on the left side but it does not operate as smoothly on that side.)
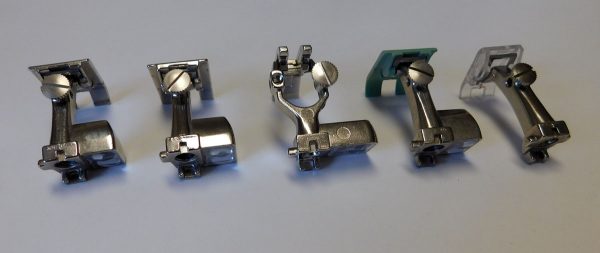
Look on the back of any of your presser feet. If it has a hole in the back of the foot and a protruding thumb screw like these feet, for example, you can expand the possible uses of the foot by utilizing the seam guide.
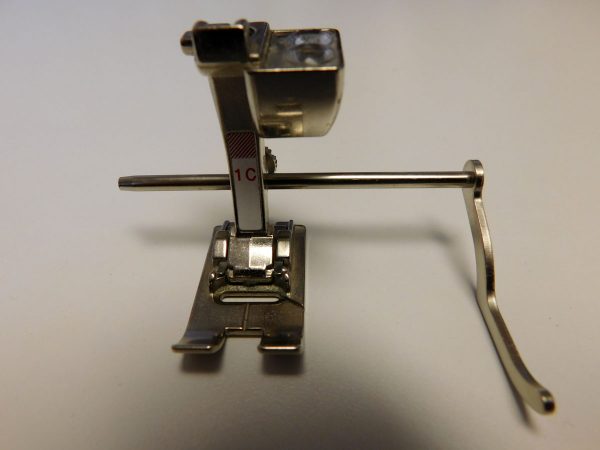
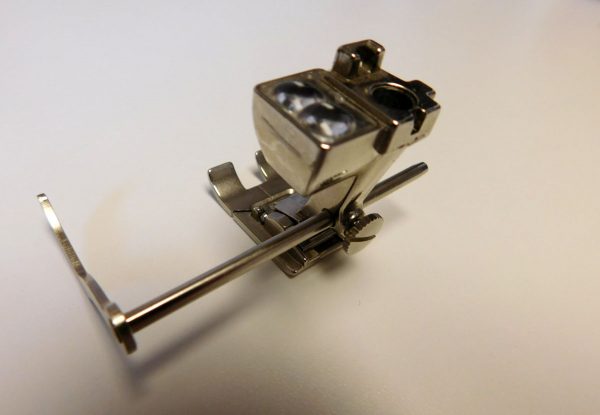
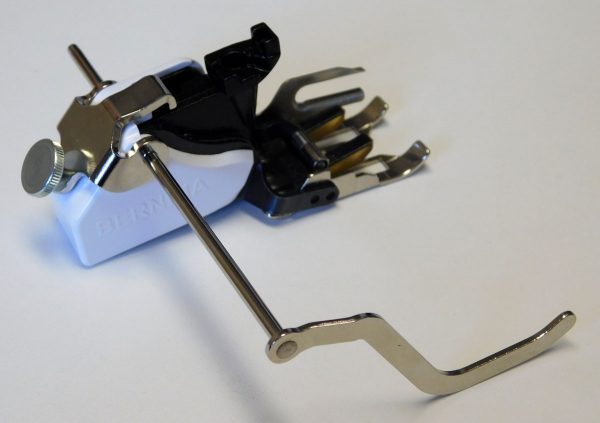
To insert the seam guide loosen the screw on the back of your chosen foot until the long round part of the seam guide will slide through the hole. Tighten the screw down when you have the seam guide at the desired length.
Here is the view from the back.
The seam guide from the accessories kit will extend to a maximum of around 2 3/8″. There are longer seam guides available, however.
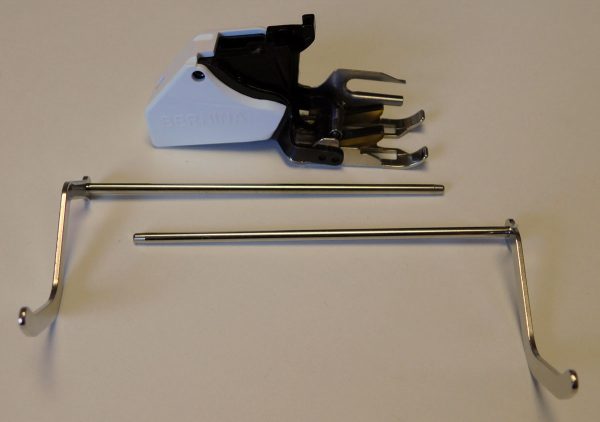
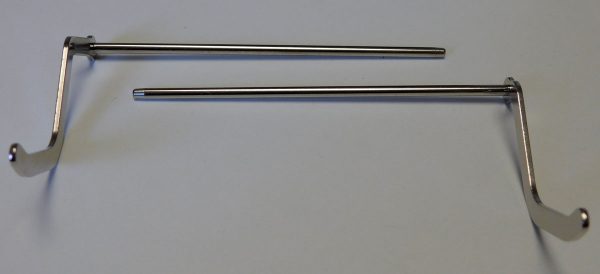
If you have purchased a BERNINA Walking foot #50 it comes with 2 seam guides. One goes on the right side of the foot and one goes on the left side.
These seam guides will extend to 3 7/8″ so with the extra length and 2 different extensions one has much more flexibility.
If you are not interested in having a walking foot but still want these longer seam guides you can order them from your BERNINA store.
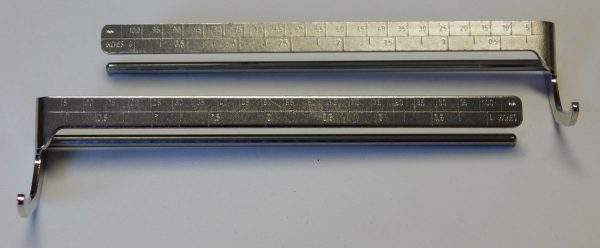
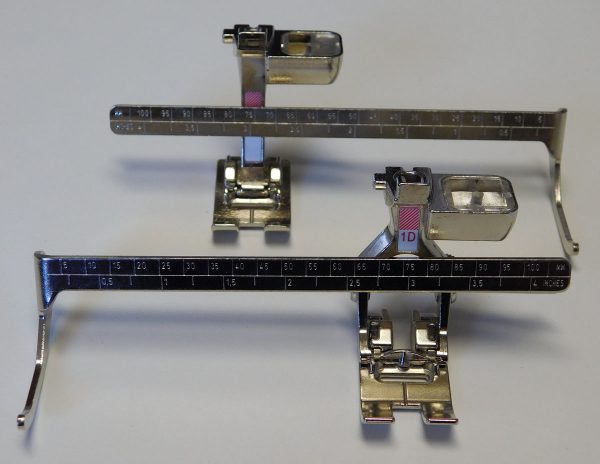
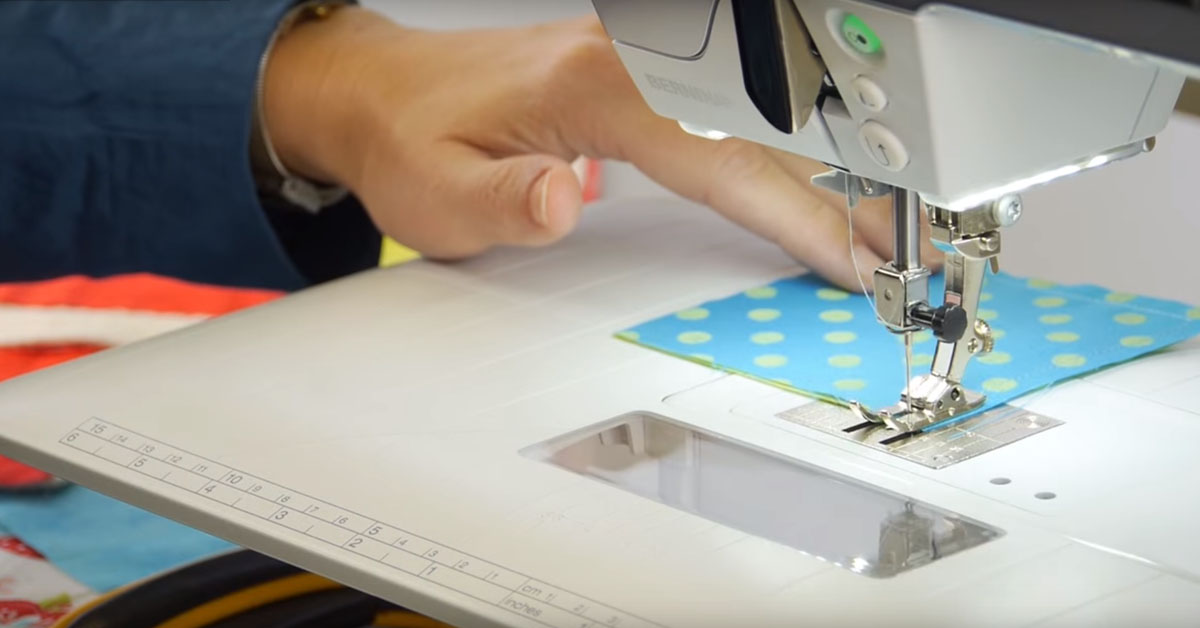
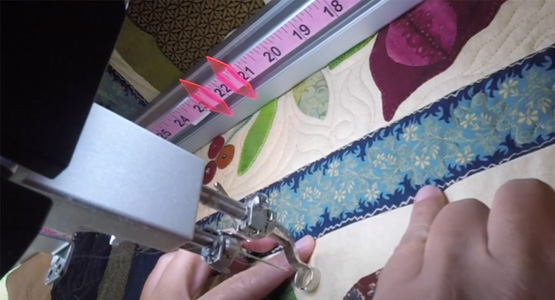
An even more deluxe option is the seam guides with scale. When you order this accessory from your BERNINA store you will get a box with a right and left seam guide each having a built in scale or ruler that attaches just like the other seam guides.
The ruler sits in front of the presser foot and gives accurate measurements for spacing. These guides also give you just a bit more length—almost 4 ¼”. All of these seam guides will fit on presser feet that have the screw on the back.
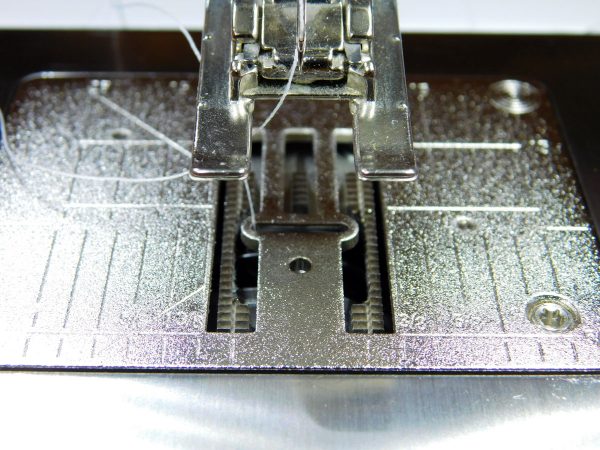
Why is a seam guide needed? All sewers are familiar with a machine’s throat plate. It has measurements in 1/8″ increments in most cases up to 1″. You’ve probably used these measurements many times for various sewing tasks.
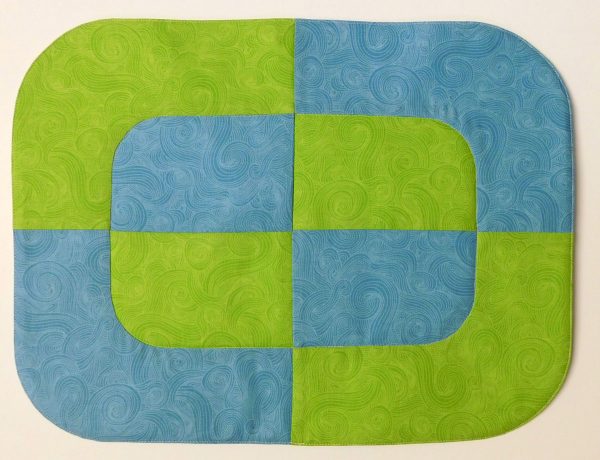
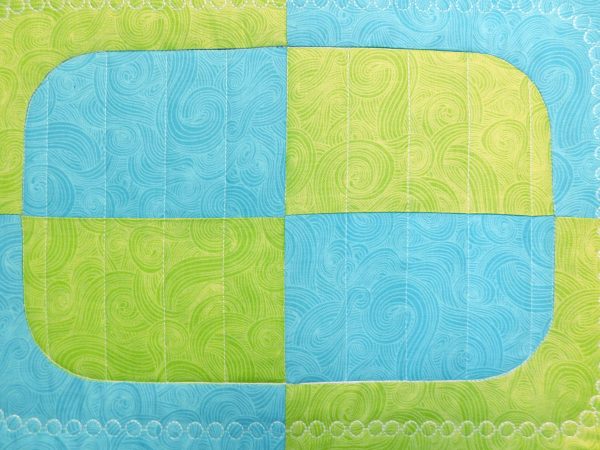
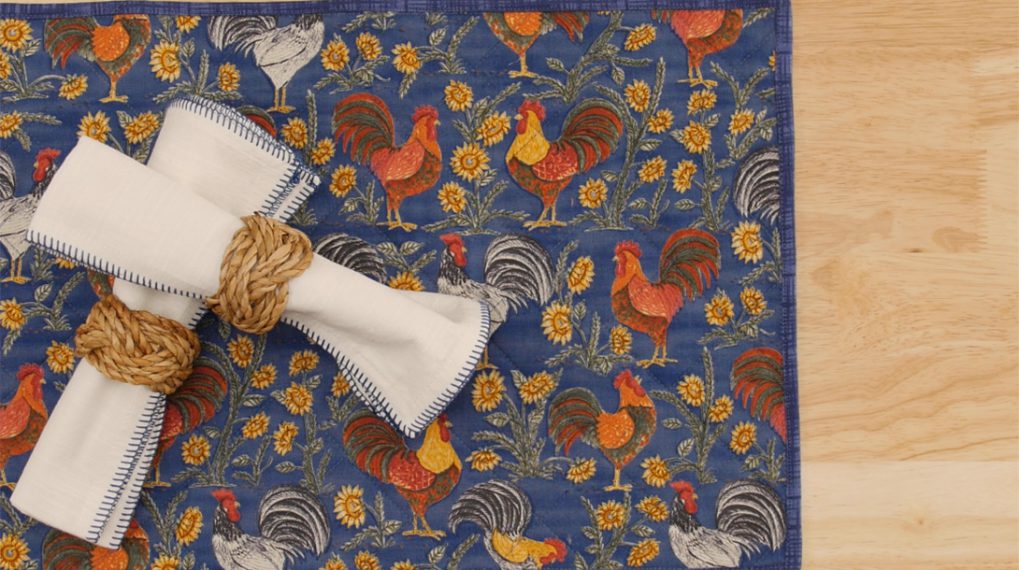
Let’s say I want to do some decorative stitching. I am using a simple placemat as an example.
When I put the placemat on the machine bed it covers the throat place and I can no longer see the throat plate measurements.
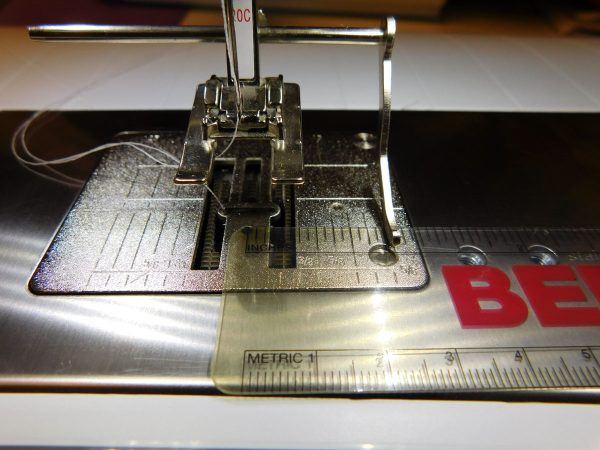
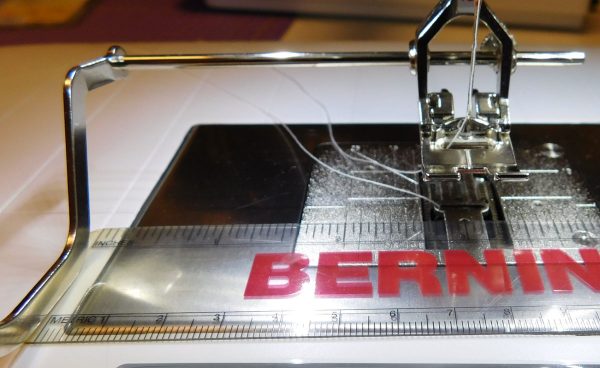
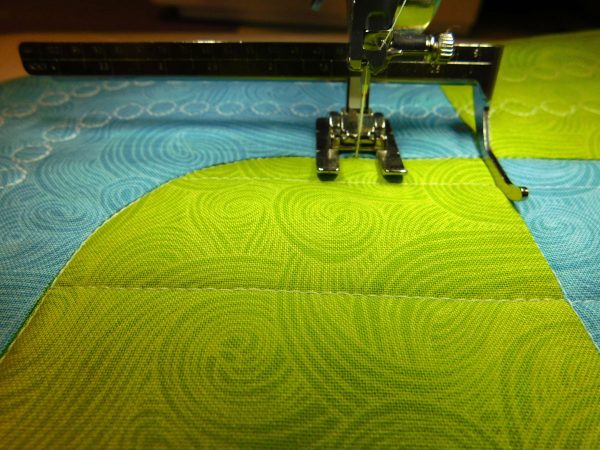
If I don’t have the guides with the built in scale I can use a ruler to place the guide. If I need 1 ¼” spacing I can place the zero point of the ruler in the center of the needle hole and place the seam guide on the 1 ¼”. The next photo shows the longer left guide with the guide on the zero point and 3″ in the center of the needle hole.
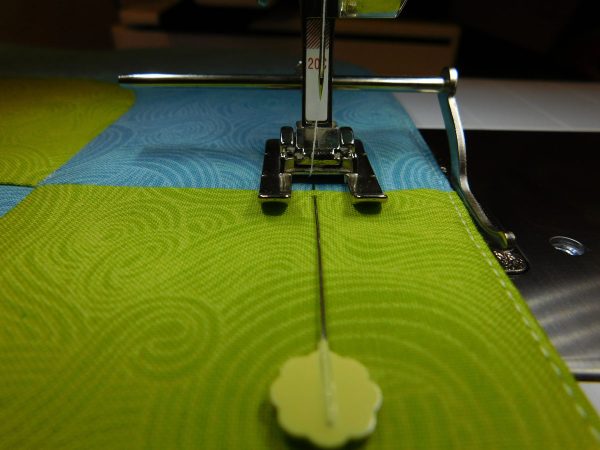
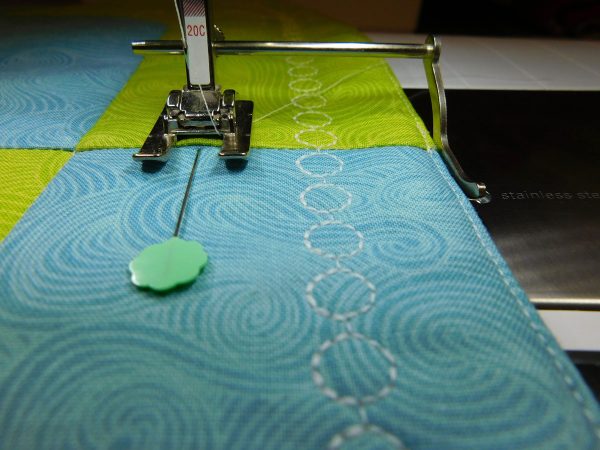
An alternative for setting the seam guide is to mark the desired depth needed on the project with a pin or fabric marking pen/pencil.
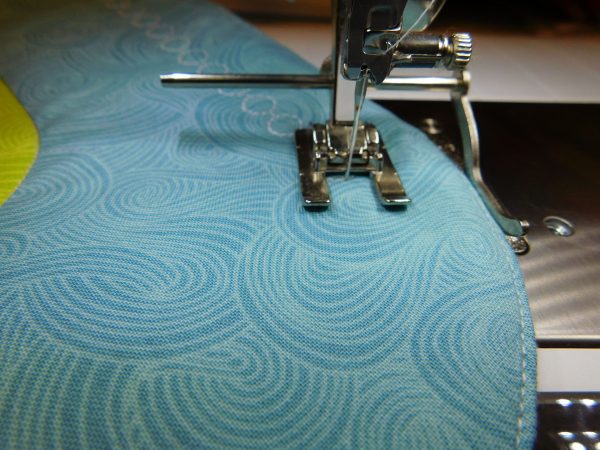
Place the center of the presser foot on the mark and bring the seam guide in to touch the edge. Now I can stitch around the whole placemat without marking a line. (I used decorative stitch #652 in this example.) I trust my seam guide is giving me the desired spacing, so I keep my eye on the guide most of the time to make sure the placemat edge is touching the guide.
When going around the curve I need to make sure the guide stays perpendicular to the edge; steering the work is necessary.
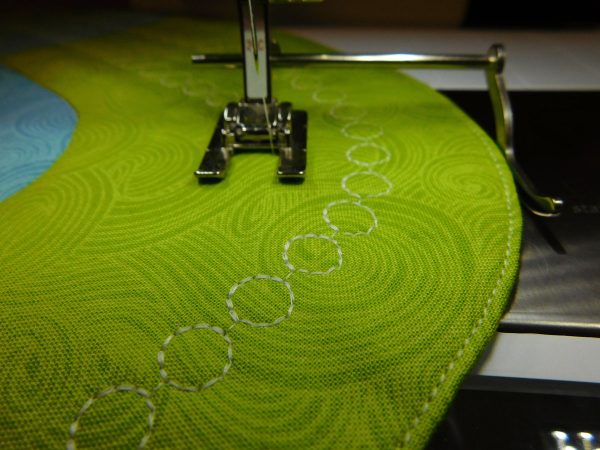
I can then stitch a second line in from the first. For the second round I mark the beginning and move the seam guide to correspond to the mark.
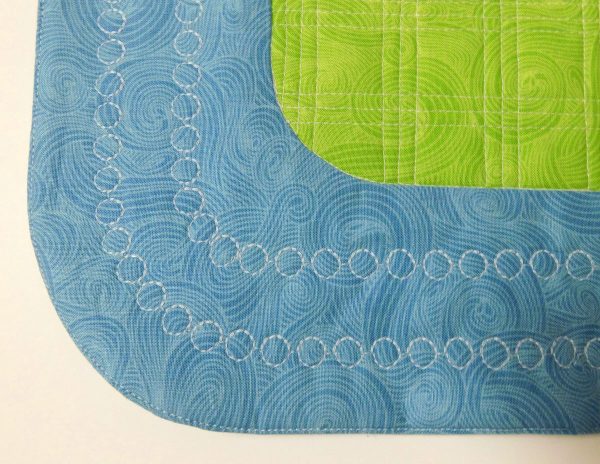
The curve on the second round is tighter so the guide will need to be lead around the curve more quickly. The next photo shows 2 rounds going around the curve.
The guide is great for spacing straight line stitches, too. I decide that I will do a plaid in the center four-patch oval that will be based on a 1 ¼” square grid; I set my seam guide at 1 ¼”.
I start by stitching the vertical seam lines. I turn at a right angle with needle down.
The placement of the next vertical line is marked at 1 ¼”. I stitch to the mark and right turn again. The next photo shows the presser foot and seam guide in place.
When I get to the opposite side of the oval, I right turn again and overstitch to 1 ¼” past on the other side of the seam line, and right turn again. (If you would rather not do overstitching you can knot at the beginning and end of every separate line.)
(Notice that I have switched to the seam guide with scale just to show it at work.) Continue stitching vertical lines spaced at 1 ¼” until oval is filled.
Stitch the horizontal seam line; then stitch the horizontal lines in the same manner.
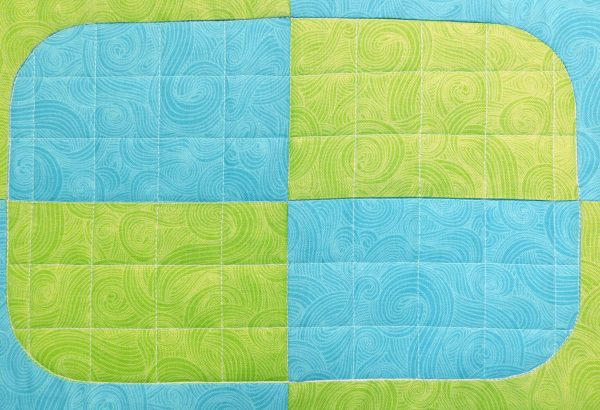
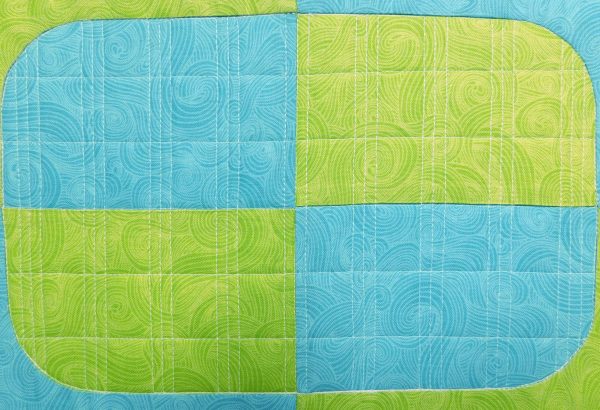
Now the center of the placemat is filled with a grid.
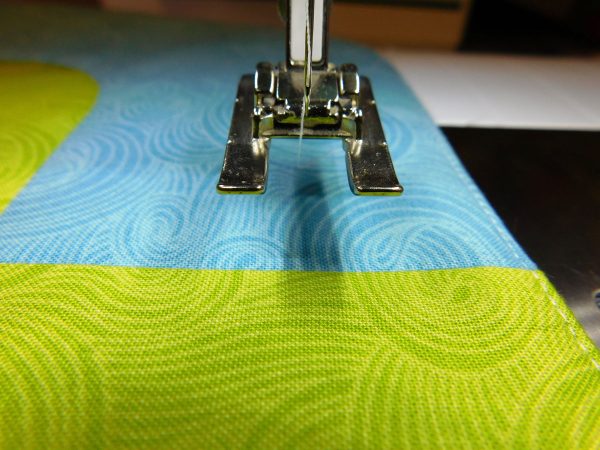
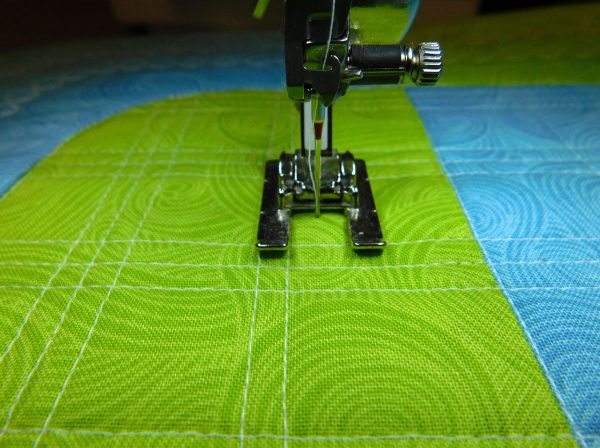
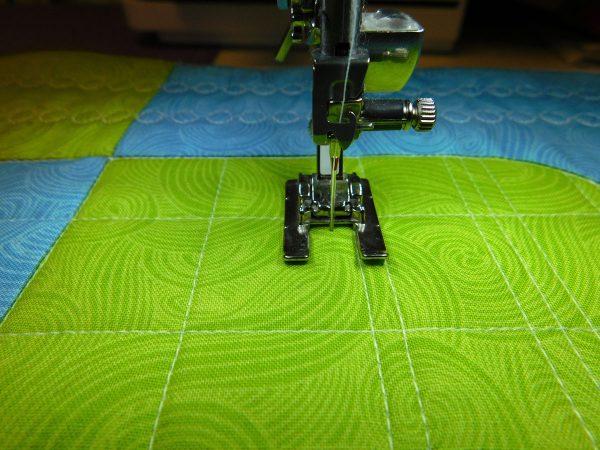
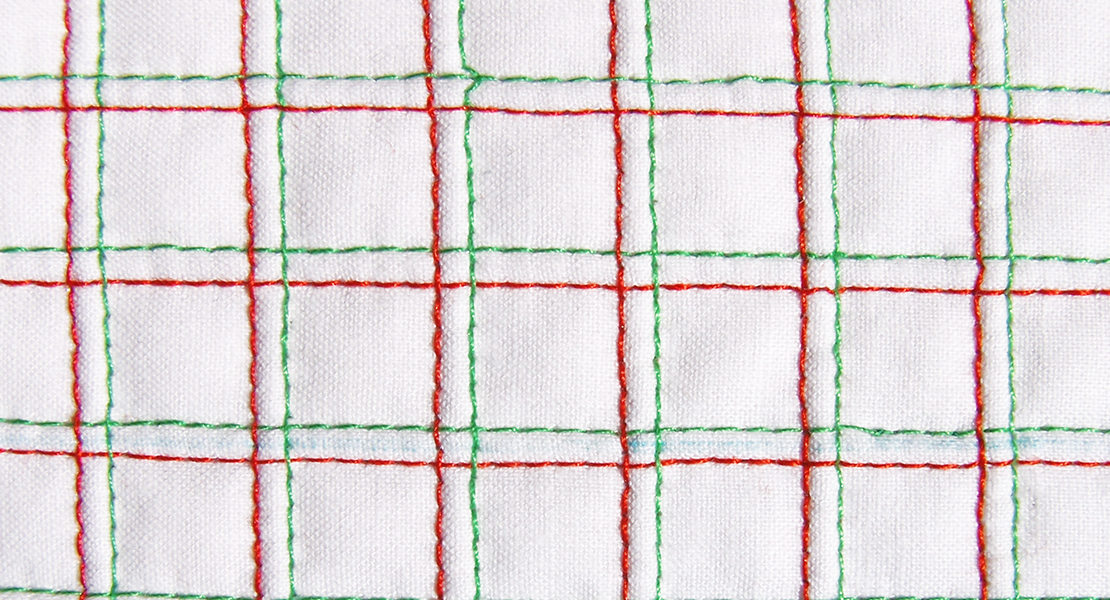
To turn this grid into a plaid I use the inside line of the toe of presser foot #20 as a sight line and stitch down one side of a vertical line, and then turn and stitch down the other side.
Repeat with all the vertical lines. Now I repeat for the horizontal lines and I have a pleasing symmetrical plaid.
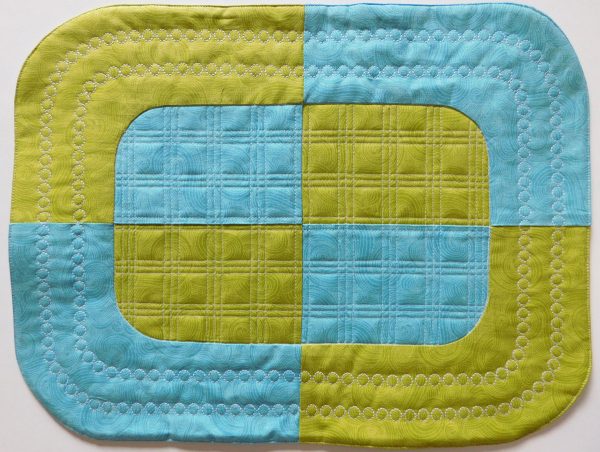
Here is the finished placemat.
You can go through the presser feet you presently own and see which have the screw for attaching the seam guide. Then go to the BERNINA website and look through the fantastic array of feet to see which can be used with seam guides. I think you’ll decide you need more presser feet and those longer seam guides if you don’t already have them.
