Upgrading Your Straight Line Quilting, Part One: Getting Started
Straight Line Quilting is one of the most approachable ways to quilt your projects. There is a good chance that the first time you machine quilted was straight lines going directly across your entire quilt. Starting straight line quilting is simple, and there is plenty of room to grow as your skills develop.
Quilting in straight lines is easy, but it doesn’t have to be boring. In this series, I’m excited to share how you can up your quilting game by creating new thread weight and spacing variables and incorporating decorative stitches into your repertoire. Then, we’ll look at how adding hand-quilting can add even more interest to your designs. The best part is that you can do all this while still quilting in a straight line!
Preparing Your Quilt for Straight Line Quilting
Basting Options
Whenever you are quilting with a stationary sewing machine, you need to baste the layers of fabric and batting together. This process prevents shifting and unwanted tucks in your materials. Several basting options include pin, spray, and thread basting.
Pin Basting
Pin basting is my go-to method for most small —to medium-size projects I quilt on my domestic machine. When pin basting, it is generally easiest to mark some, if not all, of your quilting lines before positioning the pins. It is frustrating when you place a line of tape only to realize that you need to move several pins out of the way to get an accurate line. Place pins approximately 4 inches apart. If the pins are much further apart, you risk getting tucks in the layers as you quilt.

Spray Basting
Spray basting gives you a smooth surface to mark your quilting lines and nothing to remove once your quilting is finished. Only spray baste in a well-ventilated area and on a surface that won’t be damaged by overspray. It is easy to mark your lines after the basting process when spray basting.
Thread Basting – Using Water-Soluble Thread
Thread basting can be done by hand or with a longarm machine. Both versions hold the layers together well without allowing the layers to shift, and you can mark your quilting lines after the basting process. If you baste your quilt on a longarm or hire someone to baste it, you can use water-soluble thread that will wash out once you complete the final quilting.

Marking Tools for Straight Line Quilting
Marking options abound for preparing your projects for straight-line quilting. My favorite options include fabric pens, pencils, Hera markers, and tape.
Marking Pens and Pencils
Light and medium tone fabrics mark well with water or air erase markers. My favorite tool is a two-part Duo pen- one pen makes the mark, and the second pen removes the mark. White marking pencils or chalk wheels work well on dark fabrics. Always check the package to see how to remove any residual marks. Avoid using heat-erasable pens since the marks can reappear if your quilt gets cold.
I strongly suggest testing any marking implements with your fabric scraps before marking the final project.
Hera Marker
The Hera Marker isn’t a type of pen but a plastic, or occasionally wooden, handle with a smooth, sharpened end that you press into your basted quilt to make a temporary crease. The most significant advantage of this marking method is that there is nothing to remove following the quilting process. How long the marks last may vary depending on the fabrics and batting you are using. I like this method best for small to medium size quilts.
Tape
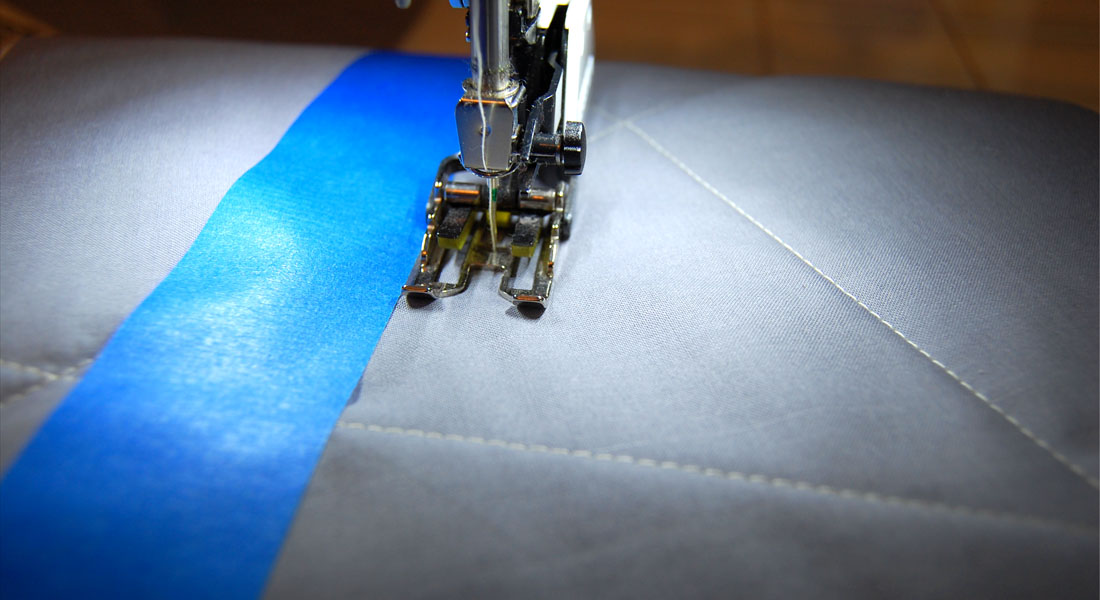
My favorite method for marking straight quilting lines is masking tape. It is simple to create a straight line by placing the tape along the edge of a ruler, and the tape is easy to remove when you are finished quilting. I suggest purchasing masking tape from an art supply store. This tape is high quality, so it is less likely to shred when pulled from the roll or stretch when you apply it. The level of stickiness is suitable for applying to fabric and is unlikely to peel up before you are ready, but not so sticky that it is difficult to remove. Masking tape from art supply stores also comes in various widths, making it easy to mark different intervals.

How Frequently Do You Mark a Line?
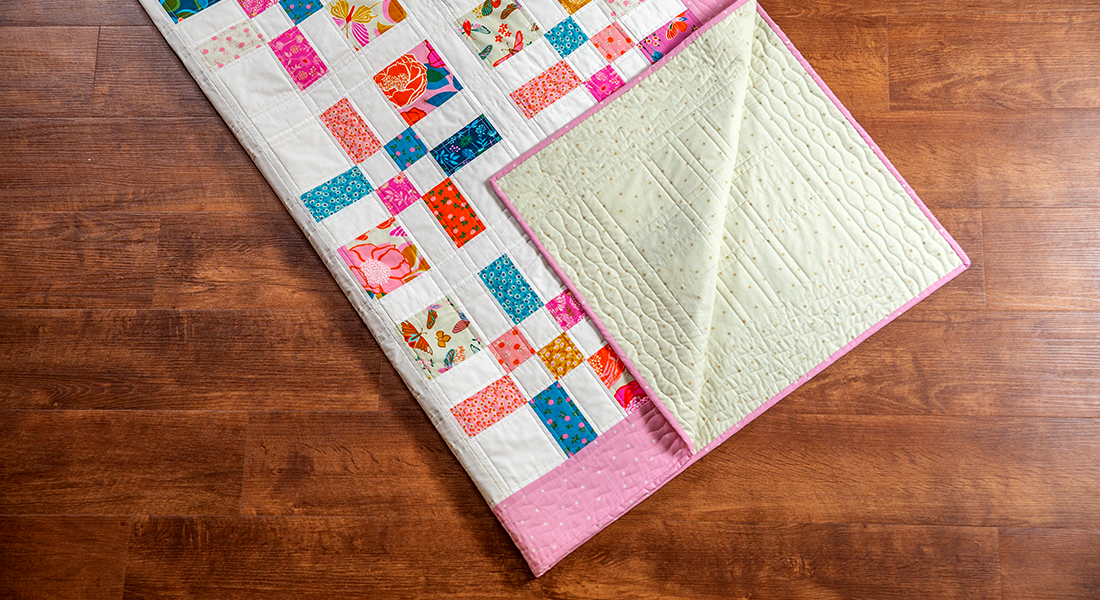
Have you ever started quilting lines one right next to the other? Have you noticed that sometimes those lines start tilting in one direction? I recommend marking lines every two to four inches across the quilt to avoid this situation and then subdividing those sections using the marks on your walking foot. (We’ll talk more about that technique in a minute.) For your first projects, I recommend sticking with 2″ spacing, and as you gain experience and confidence, you can expand your distance to 3-4 inches apart.

Choosing a Presser Foot for Straight Line Quilting
You can use many presser feet to do straight-line quilting, but some options yield better results. The #50 Walking Foot is the best choice, followed by presser feet that work with the dual feed feature on many BERNINA machines.
The Walking Foot
The best option for straight-line quilting is the #50 walking foot. The construction of this foot enables it to mimic the feed dogs built into the machine, causing the layers of fabric to get fed through the machine at the same rate from both the top and bottom of the quilt sandwich.
Selecting a Walking Foot Sole for Straight Line Quilting
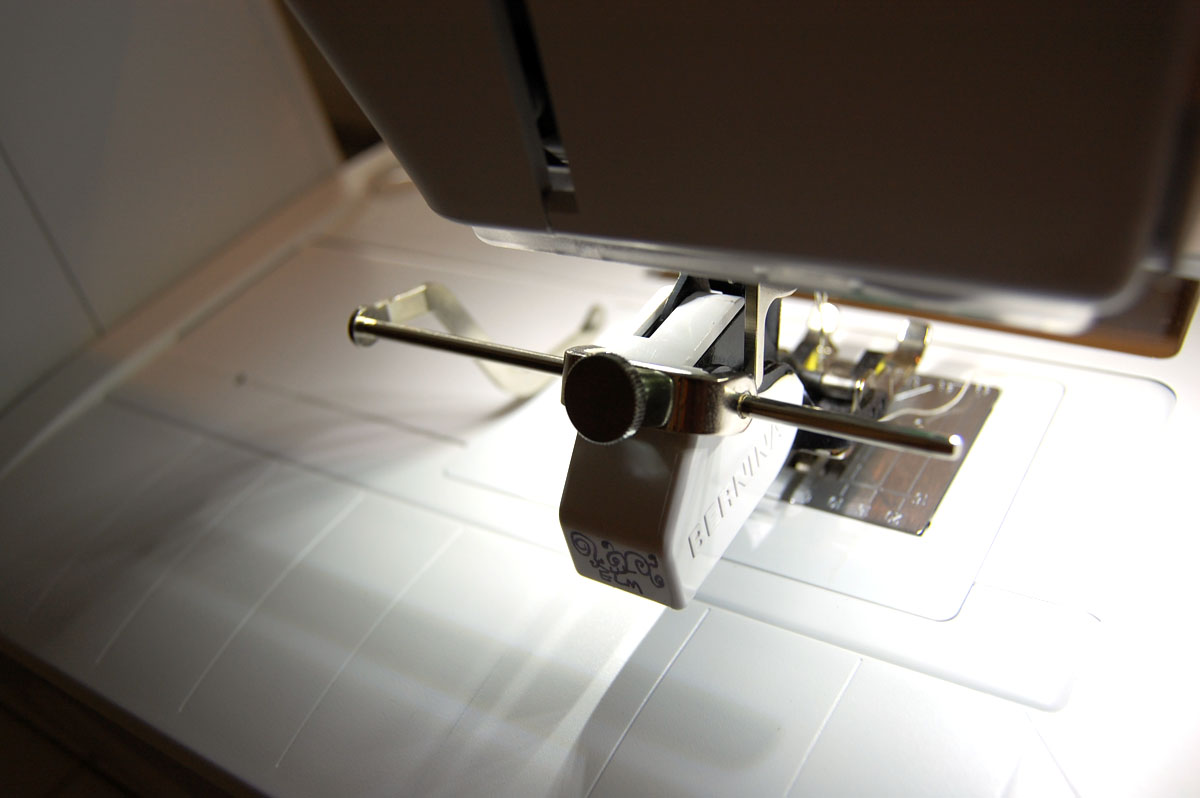
The BERNINA walking foot has three interchangeable sole options, each useful for different project types. I typically choose the open-toe sole for quilting, but occasionally, I’ll opt for the edge stitching sole plate.
The sole plate is changed by loosening and tightening a small screw on the side of the presser foot. Follow the instructions with the presser foot, or watch this short video to see the process.
Open Toe Quilting Sole
The open end of the Quilting Sole allows you to see exactly where you are heading as you quilt. This open area also makes it very easy to change threads and maneuver thread tails as you quilt. I keep this sole on my walking foot for almost all of my projects.
Edge Stitching
The Edge Stitching Sole is perfect for stitching in the ditch and stitching a narrow distance from the edge of a pieced or appliquéd line. The metal guide in the center front of the foot runs in the ditch of your piecing or appliqué, and if your needle is in the center position, it is easy to stitch in the ditch. By moving the needle position to either side, you can determine how far from the edge of your seam line you want the stitching line to sit.

I used the edge stitching sole on the walking foot to quilt this Modern appliqué project.

Using Other Presser Feet For Quilting
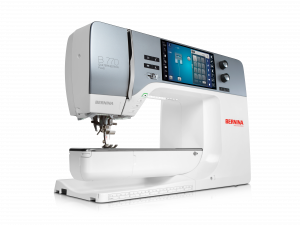
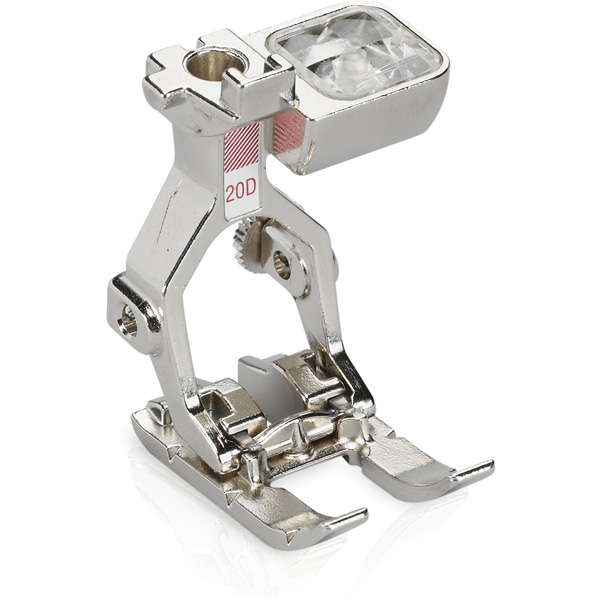
While the walking foot is the best choice for quilting, you can also use any dual-feed-friendly foot. Feet that work with the dual feed feature have a letter D following the number. I quilt on the 770 QE PLUS, which allows for decorative stitches up to 9mm wide. Since the walking foot cannot accommodate this stitch width, I switch to the Open Embroidery Foot #20D when using wider stitches.
Machine Adjustments
Are you ready to do some straight-line quilting?
Here are some steps to take before you get started:
- Attach the walking foot or other presser foot you are going to quilt with
- Change the needle to a 90/14 Topstitch, Microtex, or Quilting needle
- Switch to a quilting stitch if it is available on your machine. I like Stitch 1302 on the BERNINA 770 QE PLUS.
- If you do not have a specific quilting stitch setting, lengthen your stitch length and lower your upper thread tension.
- Slow down! If your machine has a speed adjustment, lower it so you aren’t tempted to go too fast.
Always test your stitching on a practice quilt sandwich before committing to stitching on your actual project. Adjust stitch length, tension, and other settings as needed and test as many times as necessary to find the best possible stitch quality.
Quilting the First Lines
Stitching the First Straight Line
If you use a removable pen or hera marker, the first straight line you stitch will be directly on the marked line. If you mark with tape, you will stitch along each side of the tape.
When starting each line of quilting, make sure you have thread tails a few inches long and that they are pulled back from the edge of the quilt sandwich. It is easier to keep the thread tails out of the way of your quilting stitches than to pull them out of your stitching later.
Stitch slowly along the marked line. You may go faster as you become more comfortable with the technique. When you reach the end of the line, move the project away from the machine and clip your threads by hand. The automatic thread-cutting function is excellent for many techniques, but I recommend avoiding it in machine quilting. Sometimes, the short thread tails can snarl at the beginning of the stitching row, which makes for an unattractive effect on the back of your quilt.

Using the Walking Foot for Spacing
The BERNINA Walking Foot is a fantastic tool, and one of the best features is that it is designed to have common measurements built into the design, reducing the need to mark most increments as you quilt.
Creating Half-inch Increments in Straight-Line Quilting
The overall width of the walking foot sole is one inch. When your needle is in the center position, you can align either side of the presser foot to a marked or previously stitched line to achieve a half-inch increment.
Creating Quarter-inch Increments in Straight-Line Quilting
The first inward step at the front of the presser foot sole is a quarter inch from the edge of the presser foot. An indented line in the metal indicates this increment further into the foot.
Creating Eighth-inch Increments in Straight-Line Quilting
The indent in the walking foot sole closest to the needle is 1/8″ from the needle position.
Using the Presser Foot to Create Evenly-Spaced Lines
One primary goal when stitching straight lines is to keep the lines straight across the quilt without any significant overall tilt. The best way to accomplish this goal is to quilt across the quilt’s surface in larger increments and gradually work down to smaller spacing.
For all increments, first stitch on all of the marked lines. Stitch directly on lines marked in pen or creased with a Hera marker. If you used tape to mark, stitch on both sides of it.
If you use the presser foot as your primary guide, start with 1/2″ wide increments. Line up the edge of the presser foot with each previously stitched line and stitch on either side of it.

If you marked some increments 2″ apart or wider, continue stitching new lines in the space between the marks until you are left with 1/2″ wide increments.
Once you have half-inch-wide sections, you can create denser quilting by dividing each of these spaces in half to make 1/4″ wide spacing. Align the foot with two consecutive stitching lines sitting so they are directly under the 1/4″ indentation on the presser foot sole and stitch the line. Continue stitching on your project until all stitching is 1/4″ apart.

Matchstick quilting is typically 1/8″; you can achieve it by dividing the 1/4″ wide increments in half. Align the walking foot with two consecutive stitching lines sitting so they are directly under the 1/8″ indentation on the presser foot sole and stitch the line. Continue stitching on your quilt until all lines are 1/8″ apart.

Note: If you want increments greater than 1/2″ apart, I suggest using the seam guides included with the walking foot or marking all your lines before quilting.
Varying Line Spacing to Create Different Designs
Once you have mastered creating regularly spaced lines, you can use irregular spacing to create motifs in a design. Let’s examine a few ideas.
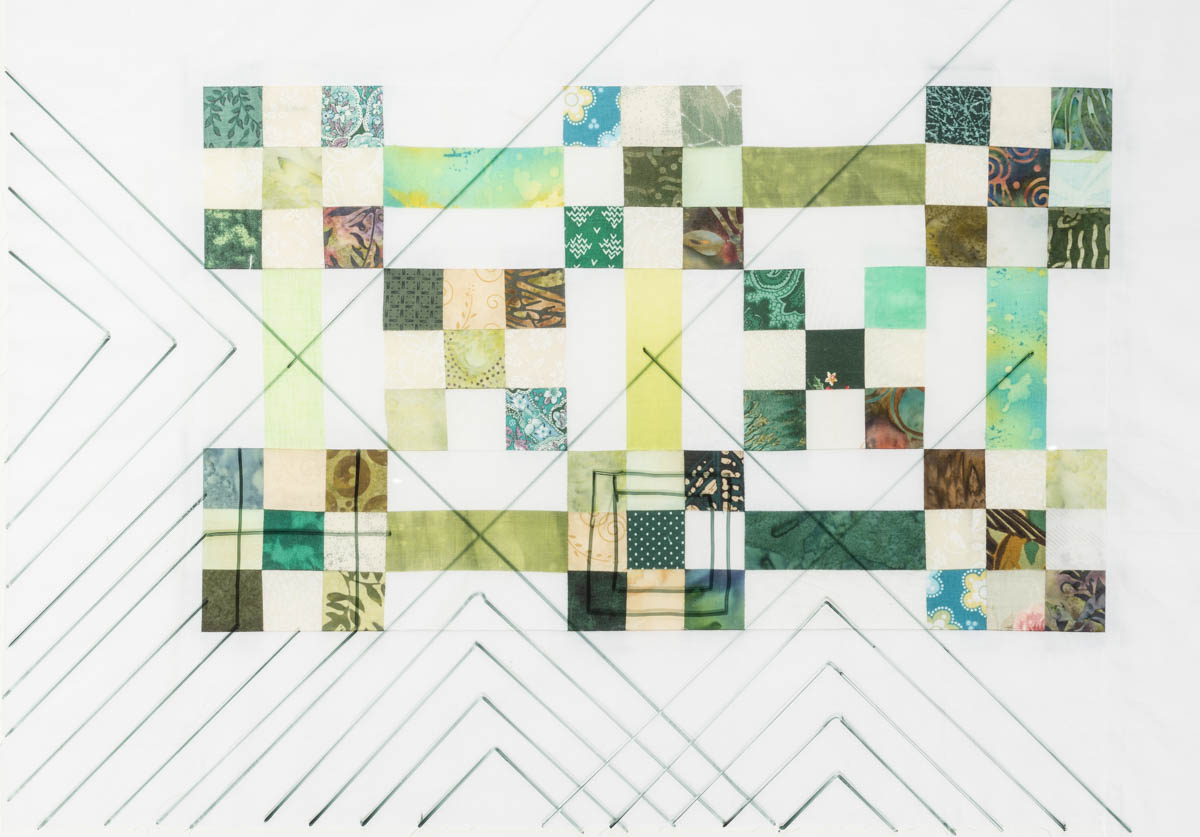
A simple grid can work as a unifying motif on a quilt where the piecing or appliqué is the star. For instance, a simple 1/2″ grid quilted over this quilt featuring botanical appliqué creates the effect of looking at nature through a subtle screen while allowing the viewer to appreciate the overall design of the quilt.

This grid motif is created by quilting 1/2″ regularly spaced lines in one direction and quilting with 1/4″ spacing in the other direction.

If you like the grid motif, remember that you don’t have to stick to 90-degree angles. Selecting a different angle creates a dynamic and unexpected look.

Thread Color as a Design Motif in Straight Line Quilting
Thread color is an exciting tool in straight line quilting. Some quilt designs work well with blending threads and neutral colors, but many quilts benefit from punchy and varied colors.
Changing thread colors has the most impact when lines of quilting stitches are close together.
In the quilt below, I grouped sections of matchstick quilting in the same color as the piecing to extend the motif of the pieced circle out the edges of the quilt. The colorful quilting thread is the same weight as the white thread, but it carries an impact due to the sharp color and value shift between it and the background fabric.

Mixing thread colors in straight-line quilting can also create a filter-like effect. Have you ever used a filter to alter a photograph? The filter treats the photograph similarly across the surface, creating a unified effect. When doing dense quilting, try changing the thread color periodically. This subtle shift in color across the piecing of your quilt can further unify the overall design.

Adding Decorative Stitches in Straight Line Quilting
Remember one of the most potent tools most contemporary sewing machines possess when straight line quilting: decorative stitches!
With hundreds of decorative stitches at your fingertips, this is a great place to start if you want to add punch to a quilt quickly.
Choosing Stitches to Work with the Aesthetic of Your Quilt
Decorative stitches are available for almost any quilting aesthetic, and quilts that are the most simply pieced often benefit the most from their addition.
I’m quilting on the BERNINA 770QE PLUS, and by turning the knobs for stitch length and width, I can adjust the overall look of the stitches already available on the machine. Significant changes to these settings may not work well for all stitches, so always sew a line on your practice quilt sandwich to ensure that you like the look of each stitch and that the tension settings look good.
Serpentine Stitch
The first decorative stitch many quilters try first is the serpentine stitch. This stitch is easily adjusted to have a gentle wave or a tight curve, and it is a very forgiving stitch to do if you use it for some or all of your straight line quilting. There is no need to stitch in the ditch or worry about areas where your piecing isn’t perfectly straight.

Geometric Decorative Stitches
As a primarily modern quilter, I use mostly geometrically based stitch designs. Decorative stitches that still create an overall linear effect work nicely with surrounding straight stitches and add a heavier weight to that area of the design.
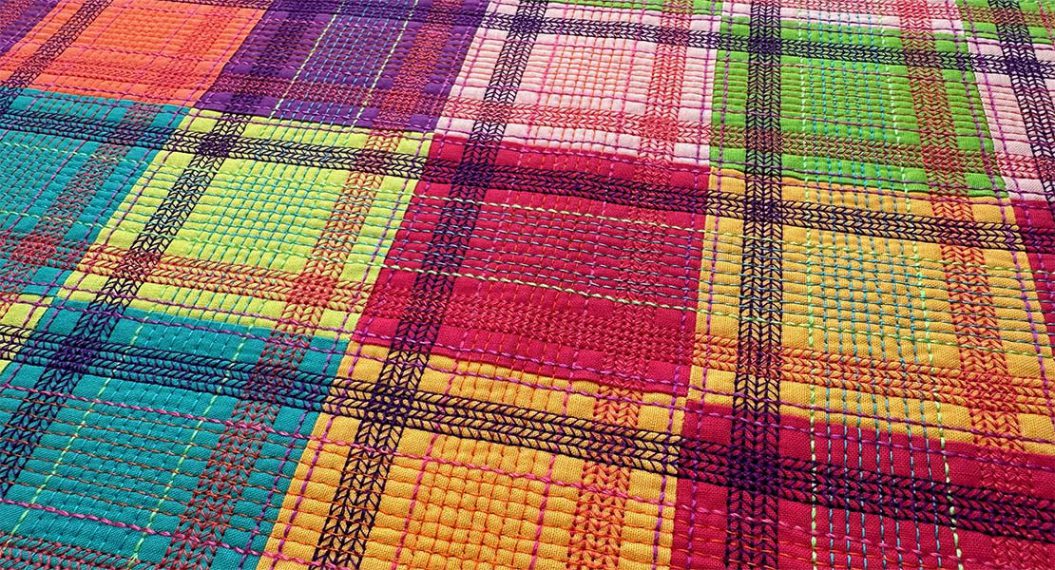
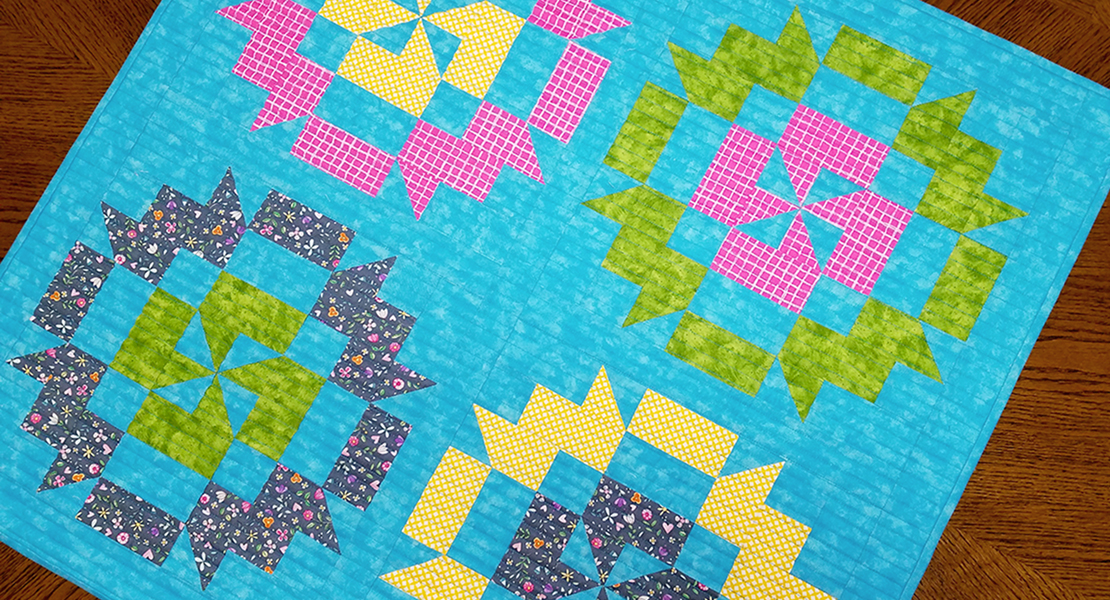
I used stitch 640 in this mini quilt, surrounded primarily by straight stitching. These rows of decorative stitching stand out due to their visual weight but also blend in with the strong plaid effect of the straight stitches around them.

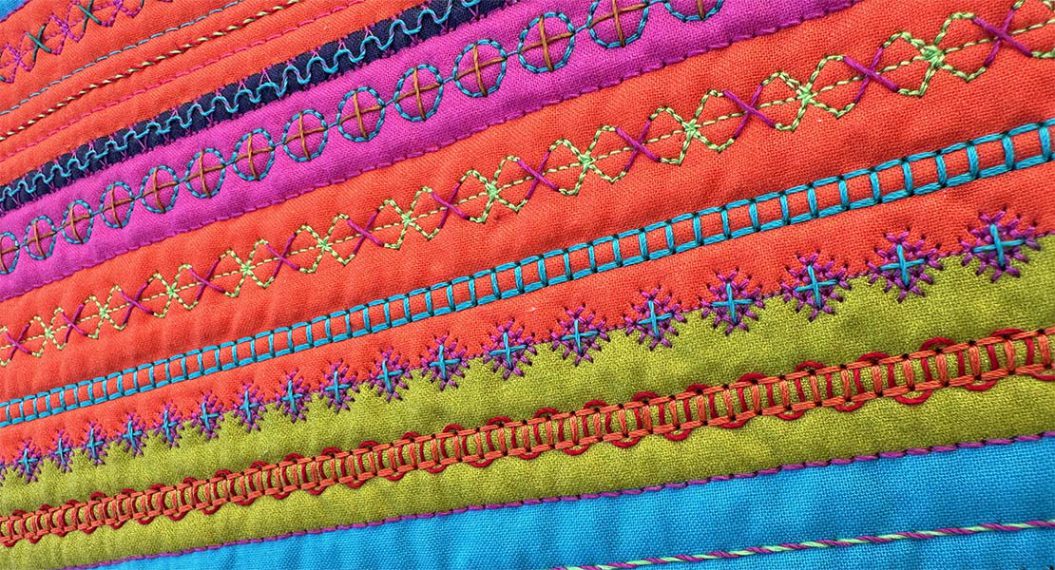
If you like a highly decorative effect on simply pieced quilts, go with a range of bold decorative stitches. I enjoy combining these stitches with some hand-quilted accents to take them over the top! These highly decorative stitches can provide moments of detail or quickly give you the look of an over-the-top crazy quilt with minimal effort.
This mini is a wholecloth quilt brought to life by a mix of straight lines and decorative stitches.

In the second post in this series, we will discuss in more depth how thread weight can combine with spacing and stitch selection to create highly impactful straight-line quilting designs.
What you might also like
One comment on “Upgrading Your Straight Line Quilting, Part One: Getting Started”
Leave a Reply
You must be logged in to post a comment.




Thank you for this article full of information on how to up my straight line quilting skills! I can’t wait to try the combination of ditch stitching and edge stitching on the same quilt! Could you please provide the thickness of the thread you’re using, specifically in the multicolor quilt with the chunky purple stitching? I’m trying to achieve a similar look, but only have 40 and 50 weight on hand (& really thick embroidery floss weight) but don’t know what to buy to get this look. Thanks!