How to Make a Quilted Holiday Stocking
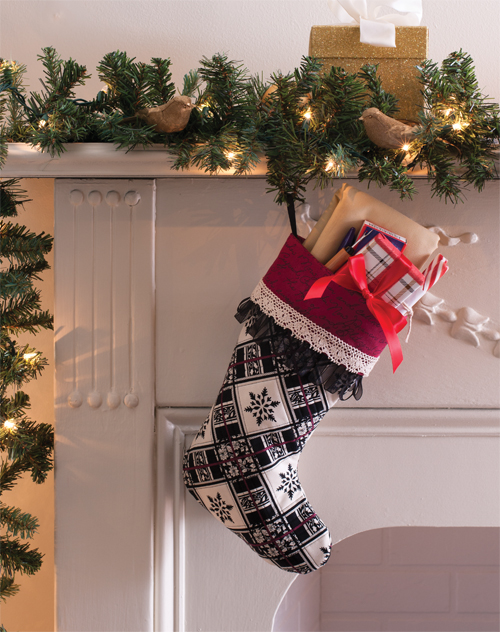
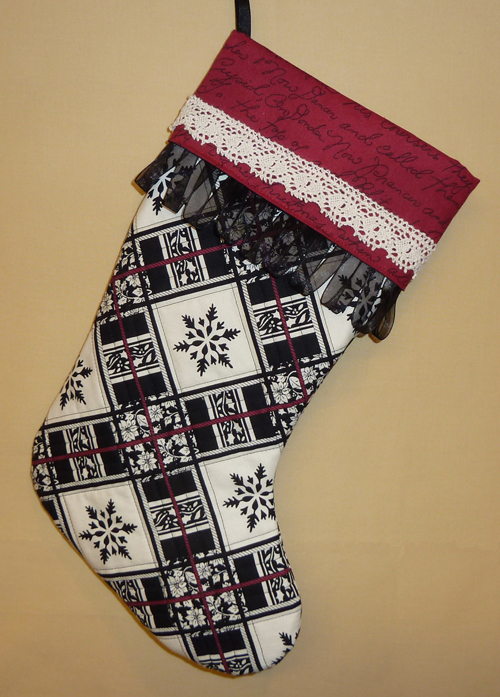
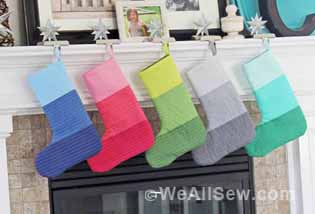
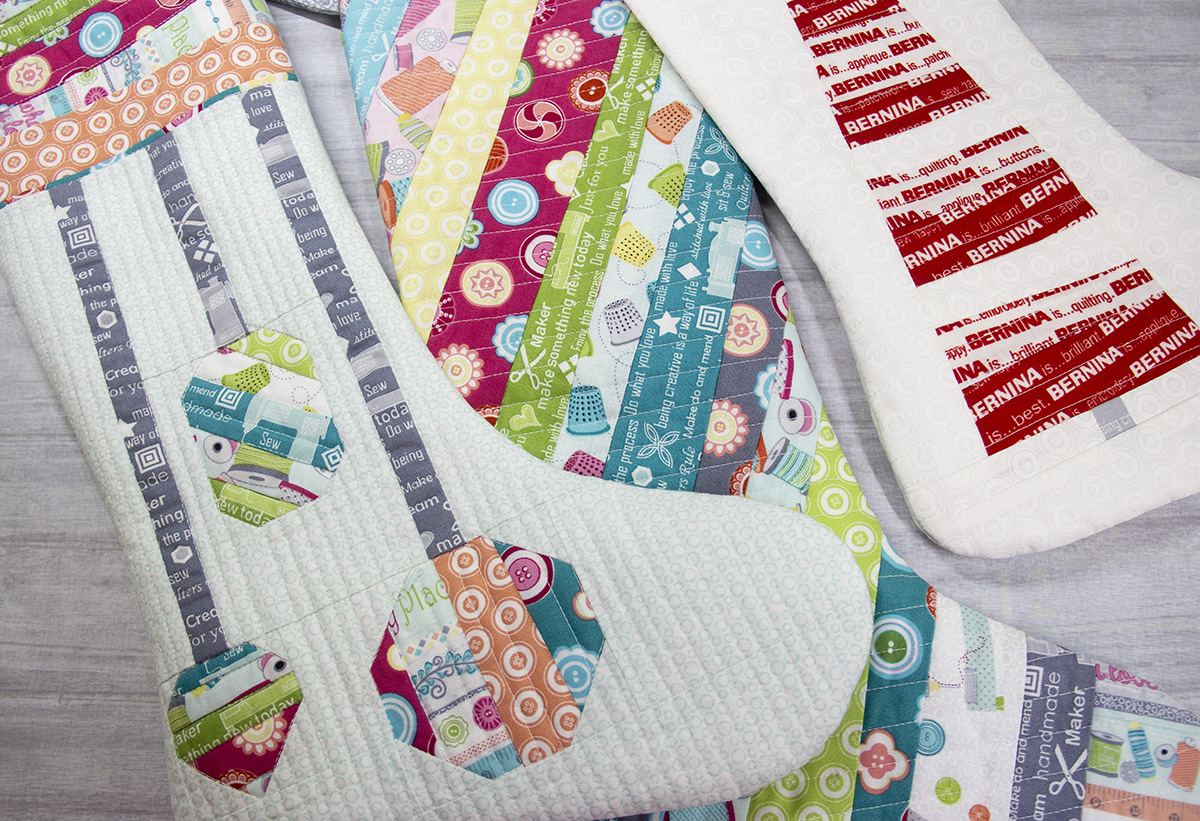
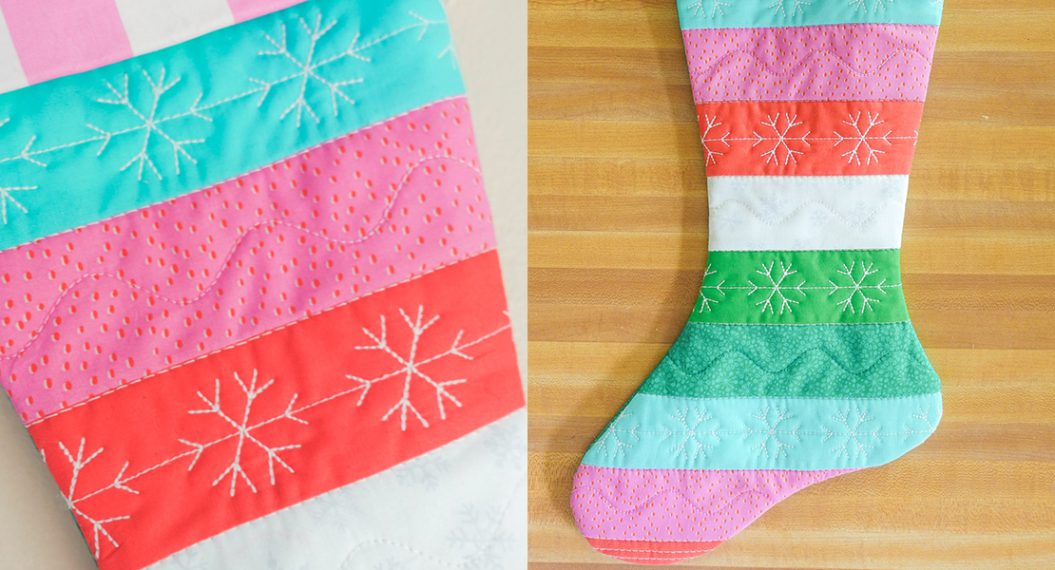
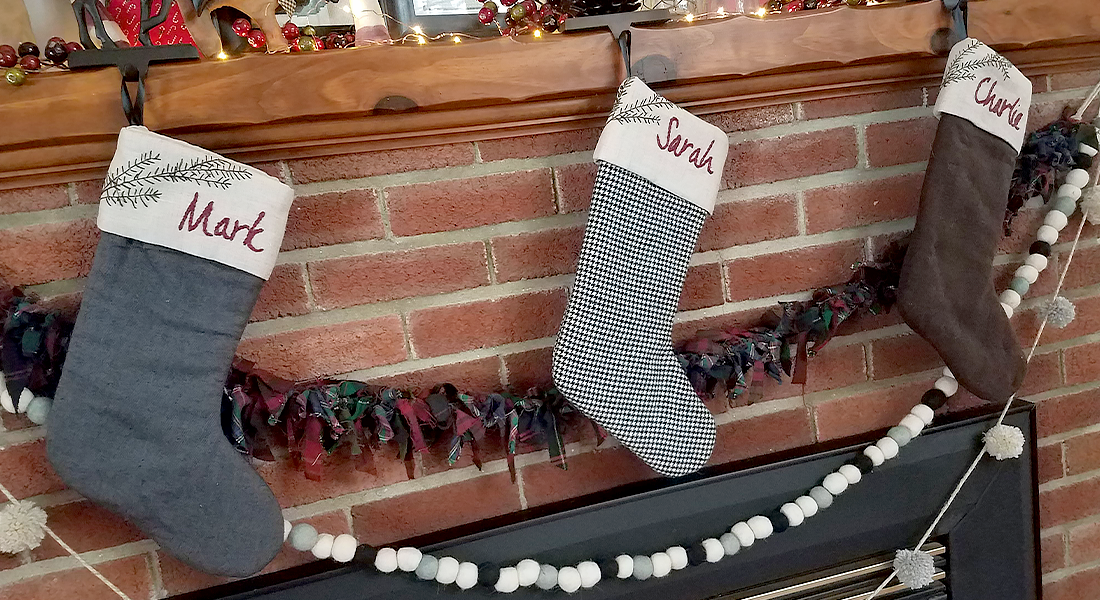
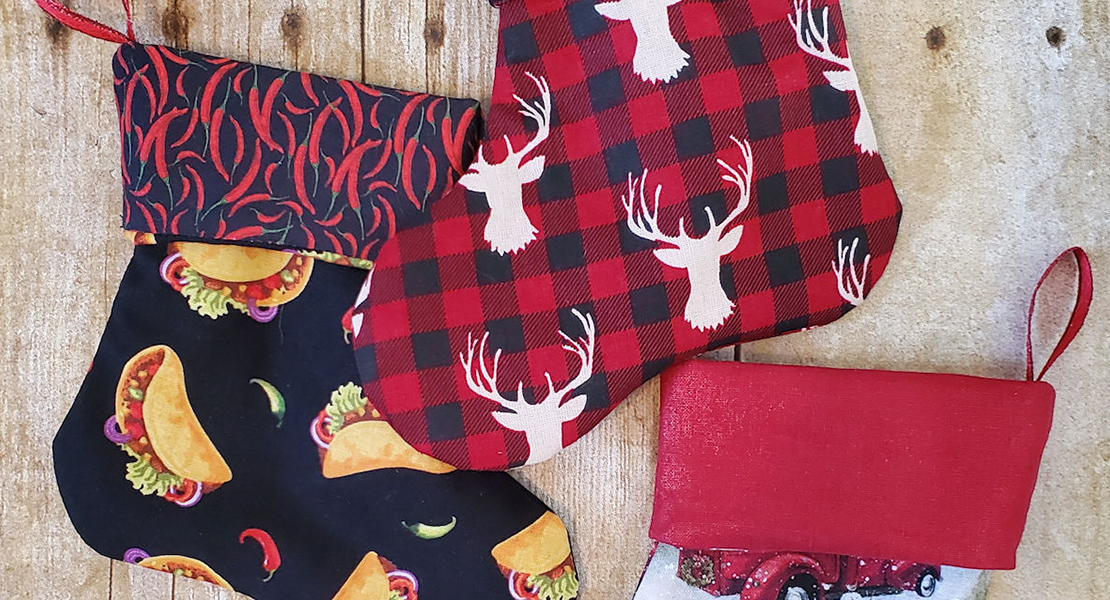
Decorate your home with this super-simple quilted stocking; add interesting ribbons and trims to create your own unique look. This easy project uses just three fabrics and two stitches.
Fabrics featured are from the Benartex “Yuletide Magic” collection.
Finished size = 12″ x 12″
Supplies
- Two 14″ x 18″ rectangles (outer stocking)
- Two 14″ x 18″ rectangles (stocking lining)
- One 8″ x 15-1/4″ rectangle (cuff)
- Two 14″ x 1 8″ pieces of low-loft batting
- 5″ of grosgrain ribbon (hanging loop)
- 1/2 yard each of assorted trims such as jumbo rickrack, ribbon, and beaded trim
- Fabric marker or pencil
- Quilt basting spray, such as 505 Temporary Spray Adhesive
- Sewing machine
- All-purpose foot (BERNINA Reverse Pattern Foot #1/1C/1D)
- 1/4″ foot (BERNINA Patchwork Foot #37/37D or Patchwork Foot with Guide #57/57D)
- Walking foot (BERNINA Walking Foot #50)
Print the stocking pattern pieces: quilted_holiday_stocking_-_pattern_piece_121814.pdf
Step 1) Create the quilted fabric.
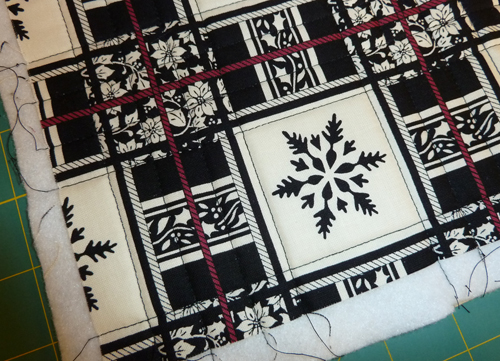
Make two “quilt sandwiches” – lining fabric face down, batting in the middle, and stocking fabric right side up on top. Bond the layers together with temporary adhesive spray.
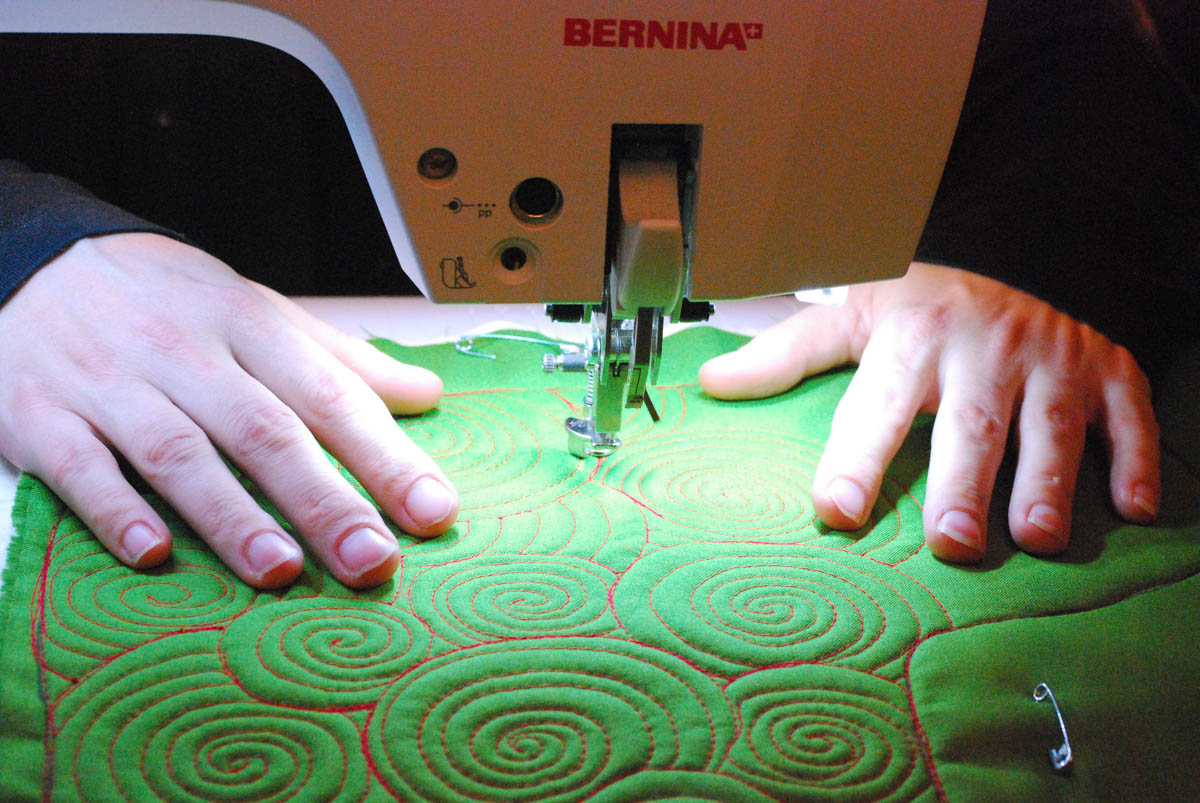
Attach the walking foot to your sewing machine. Sew a series of straight lines across the length and width of your “sandwich.”
Tip: If you are using a plaid fabric, use the lines of the plaid as guides when quilting.
Step 2) Create the stocking body.
Print the pattern pieces; tape them together, matching the markings. Cut out the paper pattern.
Trace the pattern onto one of the quilted rectangles. Flip the pattern over and trace the reversed shape on the second quilted rectangle. (You should have one stocking with the toe pointing left and one with the toe pointing right.) Cut out both stocking pieces.
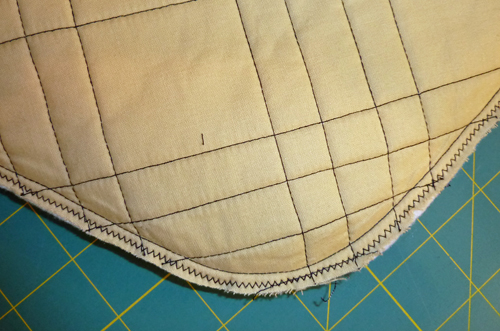
Attach the 1/4″ foot to your sewing machine. Place the quilted stocking pieces right sides together. Using a 1/4″-wide seam allowance, stitch around the outside of the stocking, leaving the top open.
Attach the all-purpose foot to the machine and select a zigzag stitch; adjust the width to about 2.5 mm. Stitch just outside the previous stitching to give extra stability to the seam.
Turn the stocking right side out.
Step 3) Make the cuff.
Fold the cuff fabric in half, right sides together, and stitch the 8″ ends together. Press the seam allowances open. Turn the cuff right side out.
Fold the cut in half, wrong sides together. Press.
Place the cuff inside the stocking, aligning the raw edges at the top of the stocking.
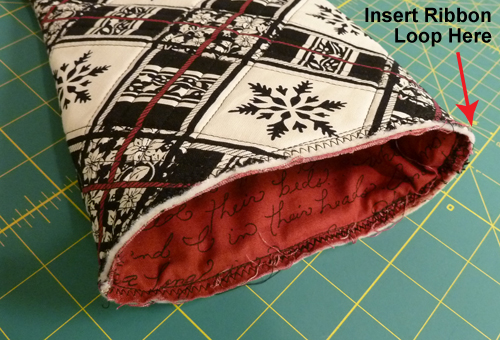
Fold the ribbon in half and insert the ends between the cuff and the stocking body on the heel side of the stocking, aligning the raw edges.
Stitch the layers together with a 1/4″ seam allowance using the 1/4″ foot and a straight stitch. Change to the all-purpose foot and zigzag the edges together.
Pull the cuff out of the stocking.
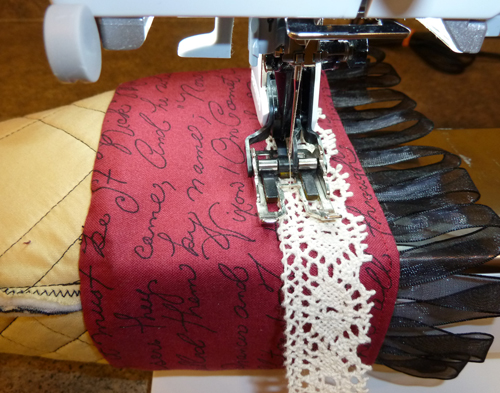
Embellish the cuff with decorative trims, ribbon, or rickrack as desired.
Fold the embellished cuff over the top edge of the stocking.
What you might also like
9 comments on “How to Make a Quilted Holiday Stocking”
-
-
Hi — Make sure you’re clicking on the right link. Just under the text and photo you should see the name of the project, in red and underlined. Click on that link and it should take you directly to the PDF file.
-
click on the part where it says “WAS quilted by Lisa …. , then the pattern/directions came up.
-
-
I didn’t have any trouble finding the pattern. Just click on the name of the project. good luck!
-
Well, I came to this site to download the free Christmas Stocking and, no where, do I see, “Click On For Free Download.” What do I win if I find the correct “click on” button? Guess I won’t be downloading the freebie! (What’s the point of typing those silly letter below? I can’t read them half the time?)
-
I win! I found it. It’s soooo obvious! Yah, right. Click on “WAS Quilted Holiday Stocking by Lisa Klingbel.” What’s the matter with you all? Can’t you see it? Plain as day::)
-
Rebecca, your computer is better then mine. “Was Quilted Holiday Stocking by Lisa Klingbel.” isn’t even on the screen!
-
masterseamripper,
Try switching your browser to Foxfire. I have found that Internet Explorer does not open some PDF files and is not that great with certain graphics.
HTH -
Pingback: WeAllSew « https://weallsew.com
Leave a Reply
You must be logged in to post a comment.









This is NUTS… I’ve been on this site for half an hour and haven’t been able to find the pattern for this….. or anything else for that matter.