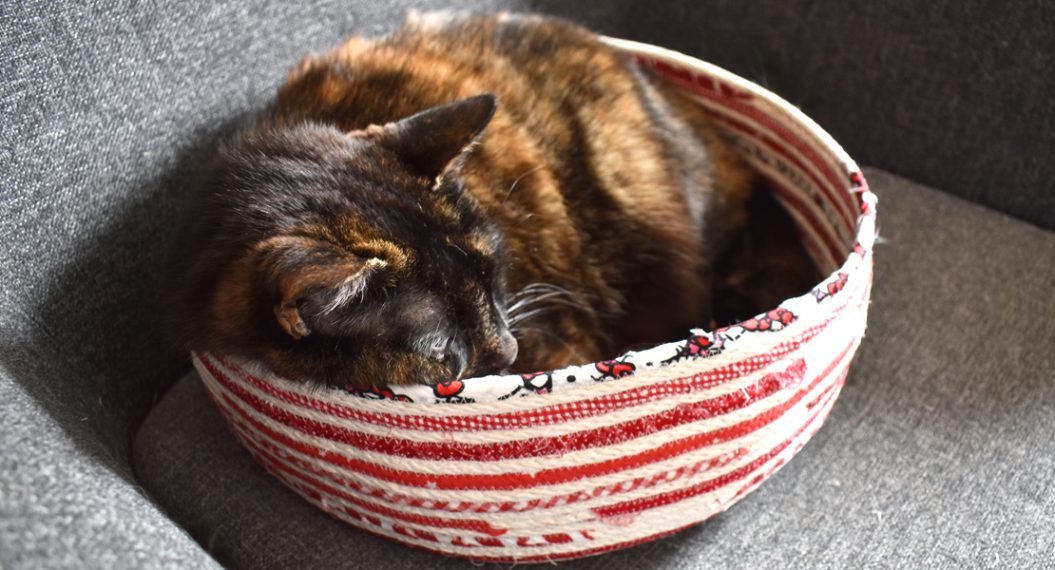
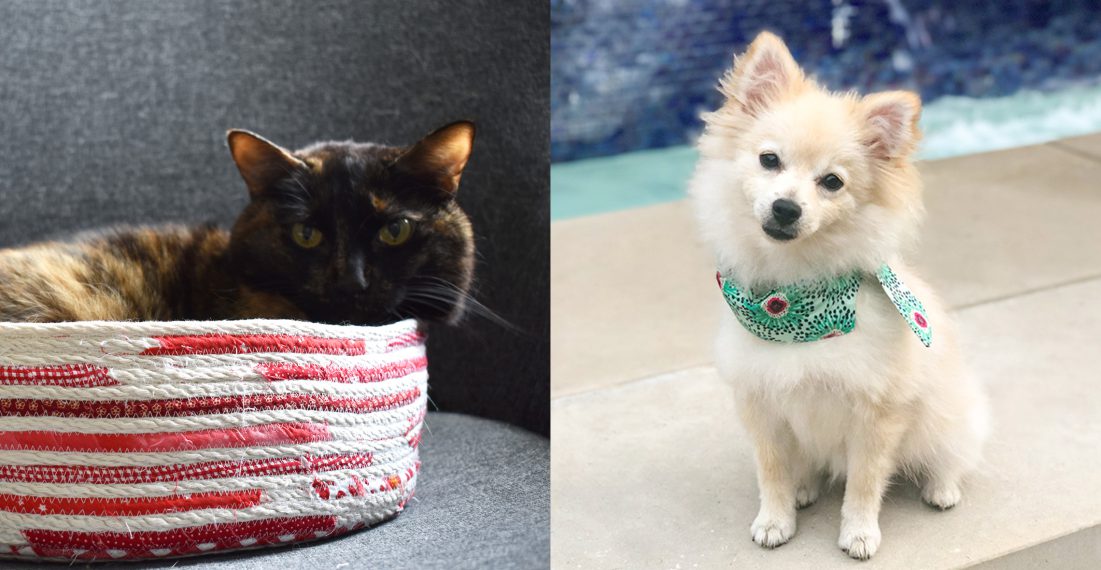
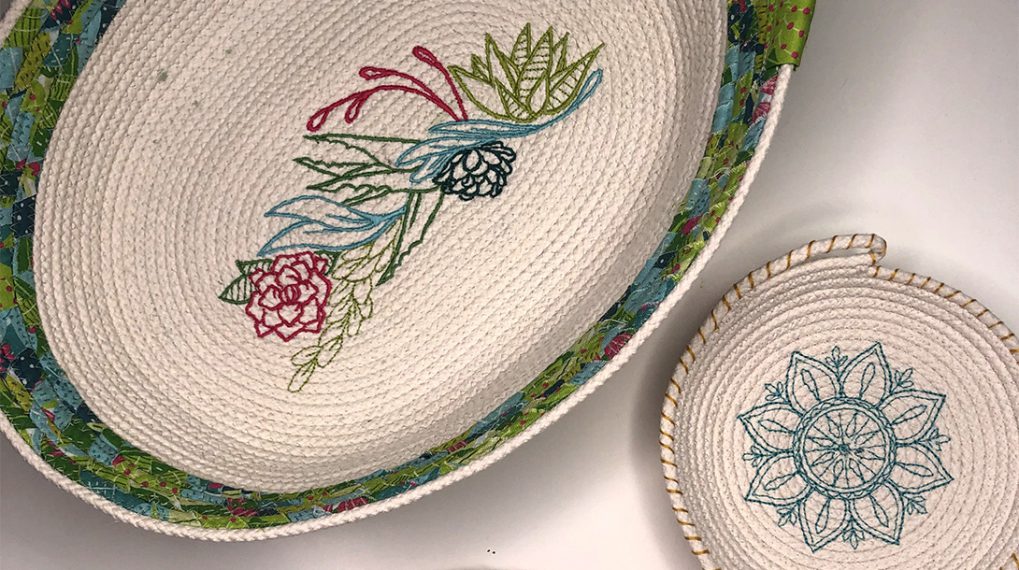
How to Make a Coiled Rope Basket
Beauty is really simple when you think about it. A humble spool of cotton clothesline turns into a beautiful bowl or basket with the simplest of sewing techniques. A zigzag stitch is all you need as you go round and round until you produce the shape you desire. Then add some color to create the perfect home dec accent.

Supplies
- One spool of cotton clothesline
- One large spool of cotton thread
- Size 90/14 Universal needles
- All-purpose foot with marked center (BERNINA Reverse Pattern Foot #1/1C)

Step 1) Make the basket base.
Set up your sewing machine for a zigzag stitch with a width of 5.5 mm and length of 3 mm. Engage the Needle Stop Down function if available. This is very helpful, as you will stop to pivot very often in the beginning.

Tip: When stitching the rope together with a zigzag stitch, pay attention to the mark in the middle of the presser foot. If you keep the mark right in the center between the two rows of rope you will always catch each side in the stitching.

Coil the rope in your hand until you have a flat circle measuring between ½” and 1″ in diameter. With the cord coming out of the left side of the circle (very important detail!), place the circle under the presser foot and start stitching around as far from the center as possible.

The first 1″ to 2″ can be challenging, as you need to stop and pivot almost constantly. But rest assured that once your circle reaches 2″ to 3″ in diameter it will become a breeze to sew.

Continue stitching to create the base of your basket.


Depending on the size of the bowl or basket you are making, you will need a smaller or larger base. You can check the minimum size of your base by pressing it along the left side of your sewing machine. It must almost reach the top for a small basket…

or come over the top for a large bowl or basket.

It is possible to create smaller bowls as long as you don’t mind tapered sides instead of straight or inward-curving sides.
Step 2) Shape the basket sides.
When you are ready to create the sides, wedge your hand under the base circle as close to the foot as you can and press the circle against the left side of the sewing machine.

Continue stitching. It is important to keep the cord under tension at this point to prevent the sides from flaring outward; if enough tension is applied the side of the bowl will curve inward.

When working on the sides, always keep your work vertical.

Tip: It is helpful to unreel your rope bundle regularly and let the loose rope lay at your feet while you sew.
Step 3) Finish the top of the basket.
When you are satisfied with the size of your basket cut the rope, leaving a 1½” to 2″ tail. (This will become the tassel.)
Stitch back and forth for about ½” and cut the thread.
Set up your sewing machine for a close zigzag (stitch length of 1.5 mm and stitch width of 5.2 mm).

Fold the tail over the edge of the basket and stitch halfway down each side.

Fray the remaining length to create a tassel.
Your basket is now ready. You can mold it slightly with your hands to appear either round and smooth or bumpy and original all over.


Ombre Variation
If you wish to add color to your basket, it is possible to dye it in a tub with Dylon or Rit dye.
- Before dyeing, completely wet the basket or bowl in water.
- For an all-0ver color, simply place the basket or bowl in the dissolved dye, making sure you have used enough water to submerge the entire basket.
- For an ombre look, start with only about an inch of water and place the basket in the dye. Start adding water every few minutes, raising the level of the dye bath to cover more of the basket each time. As water is added, the color will become diluted, creating a lighter color.

Visit Juliette at ChickpeaStudio.typepad.com.


What you might also like


15 comments on “How to Make a Coiled Rope Basket”
-
-
Look for the little PDF icon just below the project description; the Rope_Basket_by_Juliette_Lanvers_for_WeAllSew.pdf should be right next to it or underneath it.
-
-
Great instructions. I love the “ombre” option. Thanks.
-
Pingback: DIY: Canastos de cordón - Depto51
-
Pingback: WeAllSew « https://weallsew.com
-
I’ve made some of these wrapping them with fabric strips and alternating for a stripped effect, I love the idea of dying them!!!
-
PLEASE …. the pdf for this rope basket. It isn’t anywhere to be found.
-
You can easily print your tutorials from the WeAllSew blog. If you attempt to print directly from the screen a pdf will be generated for your convenience. Please give it a try.
-
If you cut and paste Rope_Basket_by_Juliette_Lanvers_for_WeAllSew.pdf in your web browser search, the .pdf file will show on the list of the search. Here is the direct link to cut and paste to get to the .pdf file.
https://weallsew.com/wp-content/uploads/sites/4/Rope_Basket_by_Juliette_Lanvers_for_WeAllSew.pdf
-
-
What size thread should I use? Didn’t say what size thread.. I know there is different sizes! Thanks ?
-
What width cord do you recommend buying?
-
Want to make one using 1/2 cord. Am I asking for trouble? I have the B790
Leave a Reply
You must be logged in to post a comment.

Where can I find instructions for the coiled rope basket?