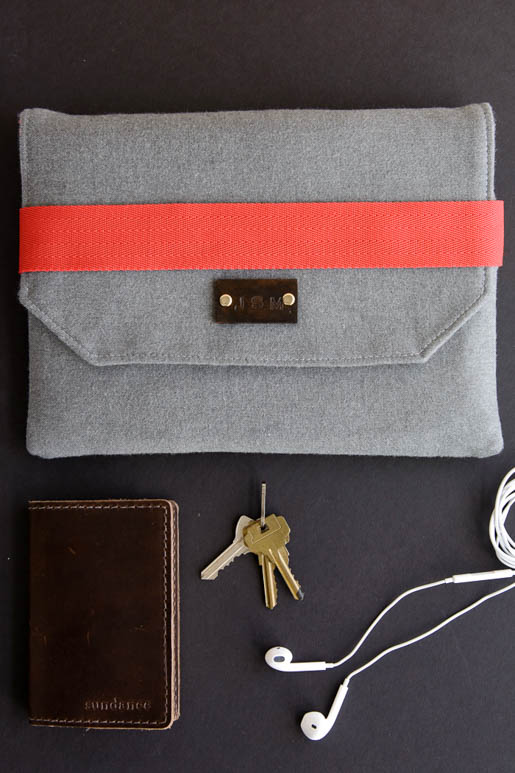
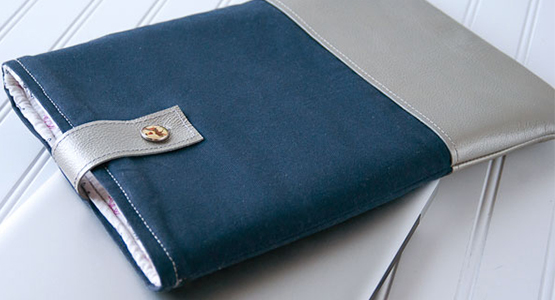
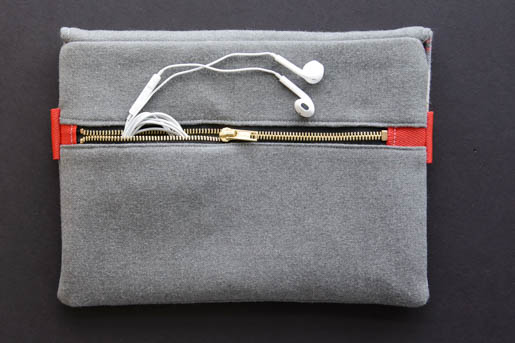
How To Sew a Wool iPad Case
Father’s Day is almost here. Perfect timing for a handmade gift for Dad that is practical and cool. Final touches such as an embroidered monogram or a leather name plate are optional.
Materials for I Pad Holder:
- Gray Wool: 1 yard
- Fusible Fleece: 1/2 yard
- 9” metal zipper
- Flannel or other soft fabric: 1/2 yard
- Shape Flex Interfacing: 1/2 yard
- 1/2 yard 1 1/2″—2″ wide Trim (I used a nylon webbing with a tight weave)
- 1″ x 2″ leather piece (you can purchase a 1″ leather belt blank very inexpensively at a leather store and use a rotary cutter to cut it down to 2″ long)
- Leather Dye (if desired)
- Awl or Heavy Duty 1/8″ Punch
- 1/8″ Grommets
- Walking foot or Dual Feed Foot
- Zipper Foot
- Thread
Cutting Instructions:
From the Wool Cut:
- 1 piece 9” x 12” for front
- 1 piece 9” x 12” for zippered pocket lining
- 1 piece 8” x 12” for front flap
- 1 piece 4” x 12” for zipper panel
- 1 piece 6” x 12” for zipper panel
From the Flannel Cut:
- 2 pieces 9”x12”
- 1 piece 8”x12” for flap lining
- 1 piece 4”x12” for zipper panel lining
- 1 piece 6”x12” for zipper panel lining
From Shape Flex Interfacing Cut:
- 2 piece 9″ x 12″
- 2 pieces 8″ x 12″
- 1 piece 4″ x 12″
- 1 piece 6″ x 12″
From the Fusible Fleece Cut:
- 2 pieces 9′” x 12″
A few notes:
If you are using nylon trim, be aware that if it touches your iron it will melt. So take care when pressing to ensure that the iron does not touch the trim.
Many types of wool will get what is called “iron shine” when pressing. Test a scrap of your wool first. If you get iron shine, make sure that you use a pressing cloth any time the iron touches the right side of the wool.
Assembly Instructions:
All seams are 1/2″ unless otherwise noted.
Interfacing:
Press the Shape Flex interfacing onto the wrong side of the corresponding pieces:
- Two 9″ x 12″ wool pieces
- 8″ x 12″ wool piece
- 8″ x 12″ flannel piece
- 4″ x 12″ flannel piece
- 6″ x 12″ flannel piece
Press the Fusible fleece interfacing onto the corresponding pieces:
- Two 9″ x 12″ flannel pieces
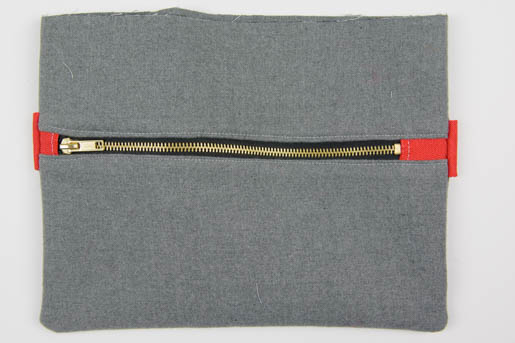
Make the case outside
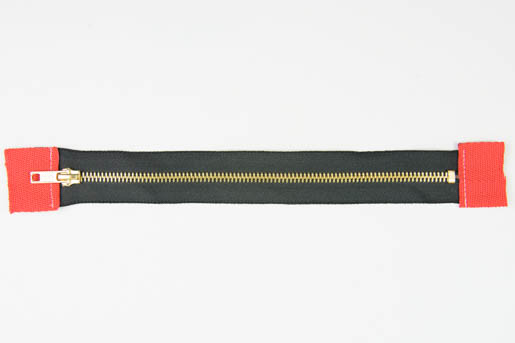
Cut two pieces of trim to 2″ long each. If they are nylon, finish the edges off by briefly melting them with a match.
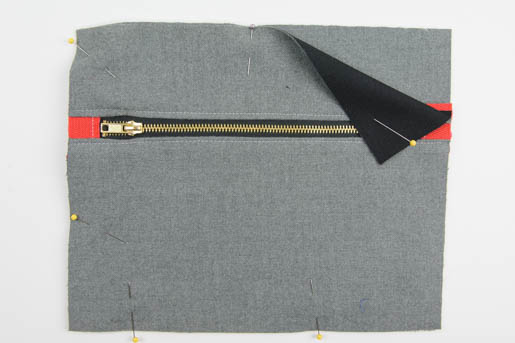
Pin one piece of trim to each end of the zipper so that the edge of the trim is close to the edge of the metal part of the zipper.
Move your needle as far as you can to the left and stitch the trim in place, close to the metal part of the zipper.
With the start of the zipper on the left, pin the right side of the zipper to the right side of the 12″‘ side of 4″ x 12″ zipper panel piece. Pin the wrong side of the zipper to the right side of the 4″ x 12″ flannel piece. Stitch using the zipper foot.
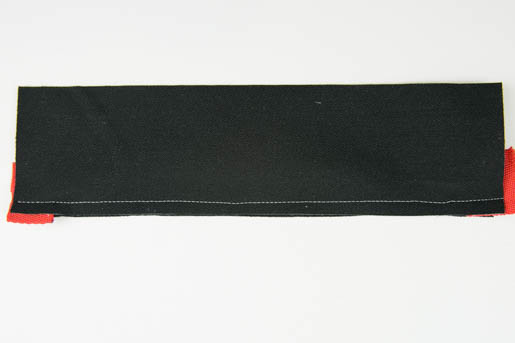
Pin the right side of the other side of the zipper to the right side of the 12″ side of the 6″ x 12″ zipper panel piece. Pin the wrong side of the zipper to the right side of the 6″ x 12″ flannel piece. Stitch using a zipper foot, or BERNINA Zipper foot #4.

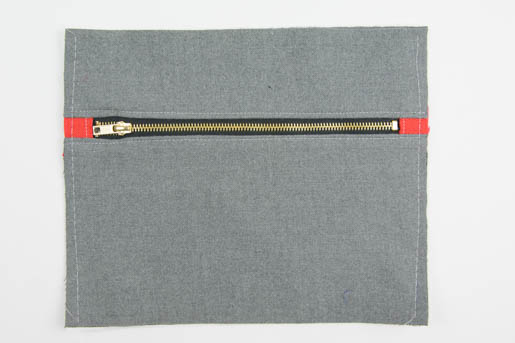
With the zipper closed, press the sewn piece and top stitch close to the edge of the zipper.
With the zipper closed, trim the entire piece to 9” x 12” (don’t worry that you cut off a lot of fabric, extra was added to the measurements to give your flexibility when sewing in your zipper).

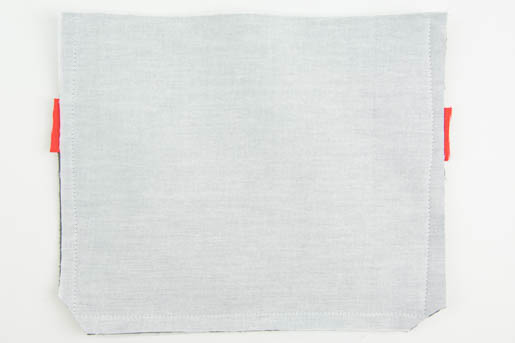
Pin the wrong side of the sewn zipper piece on top of the right side of the pocket lining piece. Baste along the two 9″ edges.
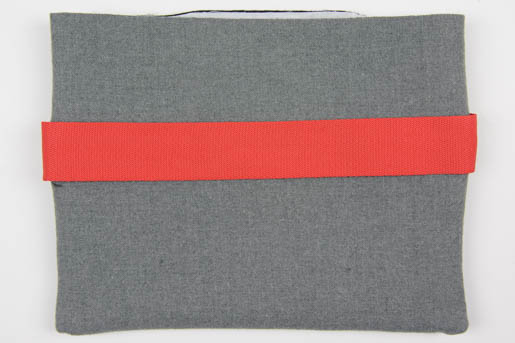
Cut a piece of your trim to 13″. If it is nylon, finish the edges off by briefly melting them with a match.
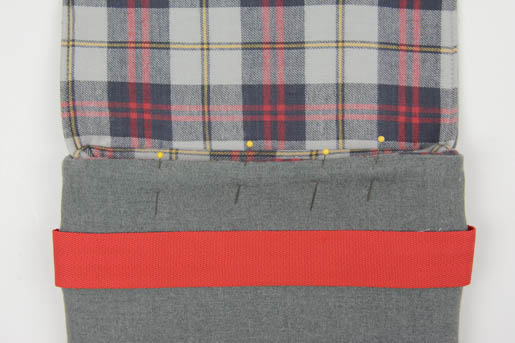
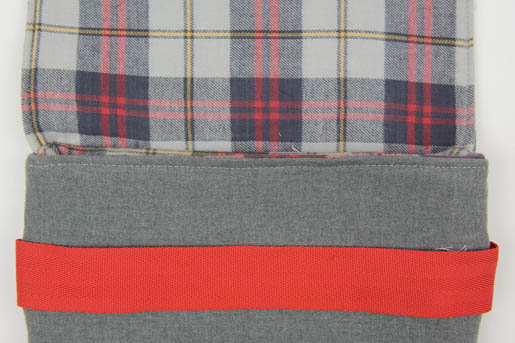
The trim piece is 1″ longer than the zipper panel piece. Pin the trim piece to the right side of sewn zipper panel piece on top of the zipper with the raw edges even. The trim piece will bubble up a little bit in the middle since it is longer, this is correct.
Pin the zipper panel piece (this is now the case back piece) to the case front piece (the other 9″ x 12″ wool piece) right sides facing. Stitch around 3 sides leaving the top 12″ side open.
Clip corners and turn right side out, so that the trim piece is on top of the case front piece.
Make the case lining
Stitch the two 9″ x 12″ flannel pieces together along 3 sides, leaving one 12″ side open. Clip corners. Trim seam allowance down to 1/8″.

Make the outside flap
Draw a 2″ x 2″ square on the wrong side of the two bottom corners of the 8″ x 12″ wool piece.
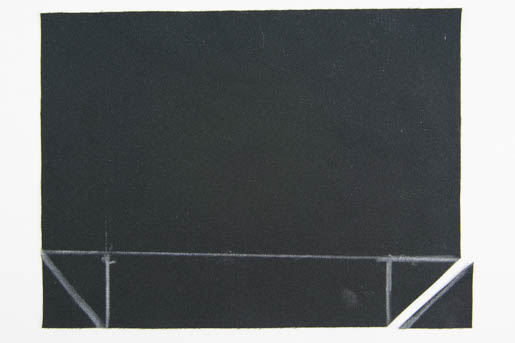
Along the diagonal of the 2″ square that you drew, cut off the corners of the piece. Fold the piece in half to ensure that it is still symmetrical. Use this piece to also cut the corners off of the 8″ x 12″ flannel piece.
Pin the flap outside piece and the flap lining piece right sides together. Stitch along 3 of the sides leaving the 12” side opposite the patch open.
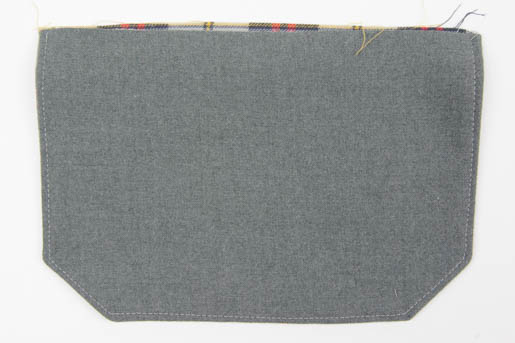
Cut the extra fabric off the corner seam allowances; turn right side out and press well.
Topstitch along the outer edge of the flap piece. Use contrasting thread if you like.
Finishing
Pin the right side of the flap piece to the right side of the case back. Baste in place.
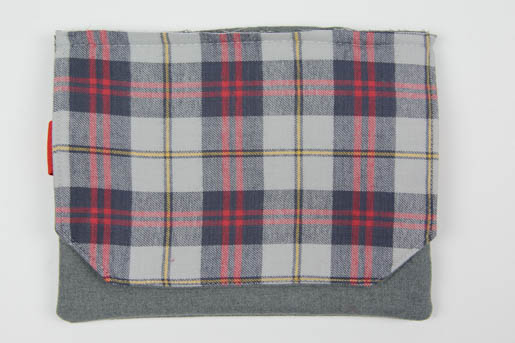
Slip the case outside piece into the case lining piece, right sides facing.
Match side seams and pin well.
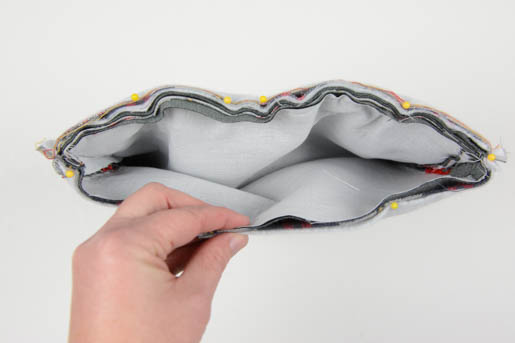
Remove the arm or sewing platform from your machine. Using a walking foot or BERNINA Walking Foot #50 or dual feed foot, stitch the two pieces together, leaving a 3″ opening in the center front of the case.
Turn right side out.
Turn under the raw edge of seam of the opening in the case so that it is lined up with the rest of the case. Pin in place.
Using a walking foot top stitch along the edge of the case catching the opening as you stitch.
Press well.
The case may seem a little bit misshapen after you get it turned right side out. Don’t worry this isn’t anything that a good steam pressing can’t fix.
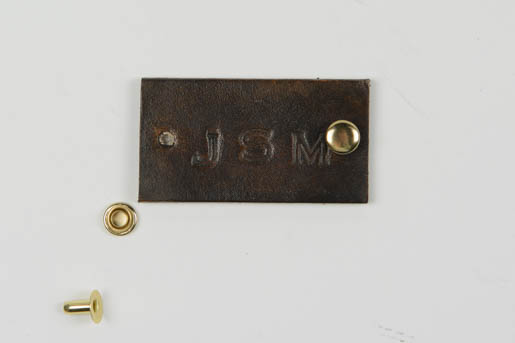
Optional Leather Name Plate:
TIP:
- If you have an embroidery machine Dad’s Monogram would look great on the front of the case!
- Take your cut 1″ x 2″ leather piece and punch two 1/8″ holes in the center close to the edges.
- Using a leather stamp kit, follow the instructions on the package to stamp 3 initials into the front of the leather piece.
- Dye the leather if desired (follow the directions on the package.)
- Place the leather piece on top of the flap piece so that it is centered and is 1″ up from the bottom. Mark the location of two holes are on the flap piece. Cut small holes in the flap.
- Feed the grommets through the flap piece and into the leather piece. Following the instructions on the package, set the grommets.