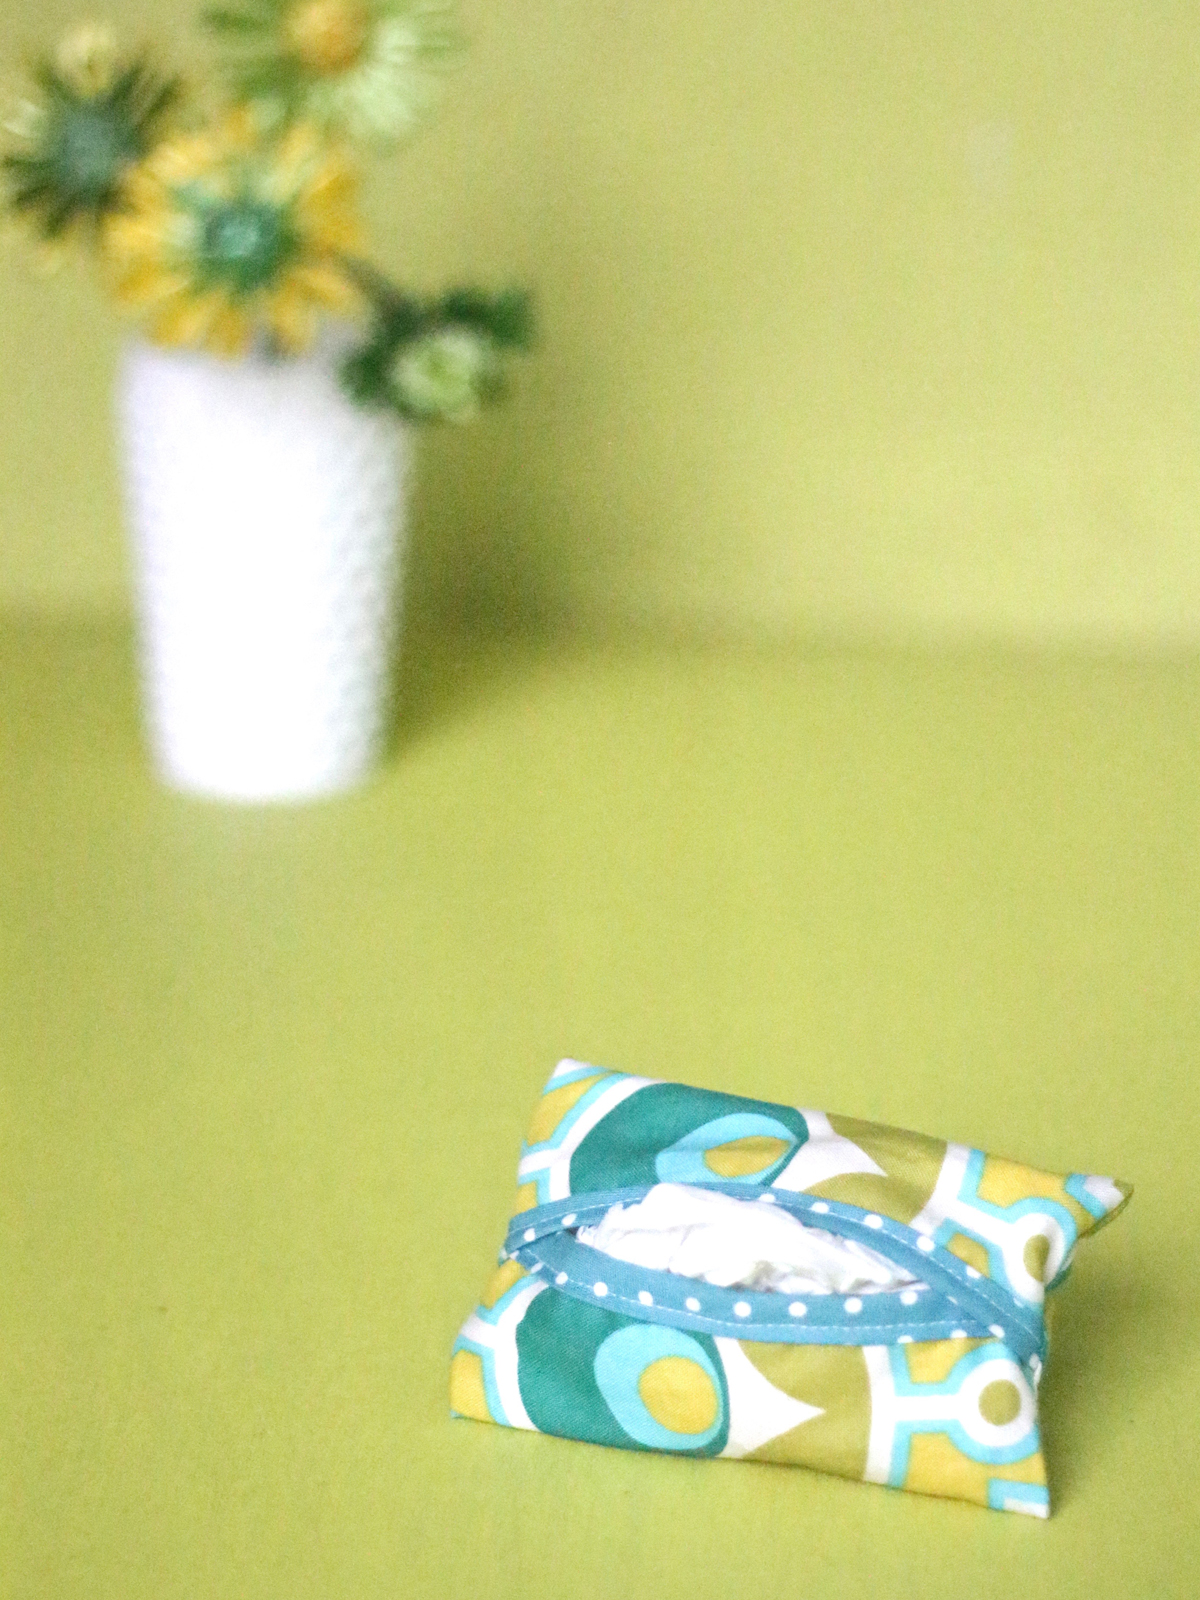
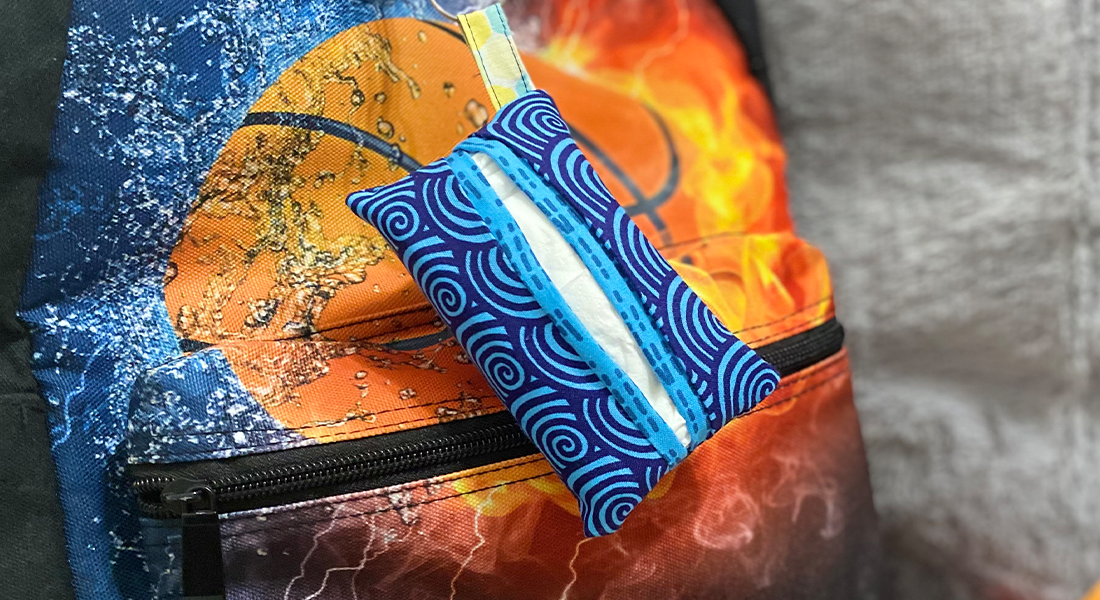
Pocket Tissue Holder Tutorial
It’s been downright dreary around here with the weather. Dark, cold and damp.
Emphasis on damp—I was up at 4 am last Saturday digging a trench in the pouring rain so water didn’t flood our back bedroom! To get to my sewing studio (which is in my backyard) I have to put on galoshes and make my way through the “lake” that is now my backyard. My efforts were worth it though—our little house stayed snug & dry and I have made good use of those waterproof boots that I thought I’d only wear once on a trip to Lake Tahoe last winter and I’m so grateful.
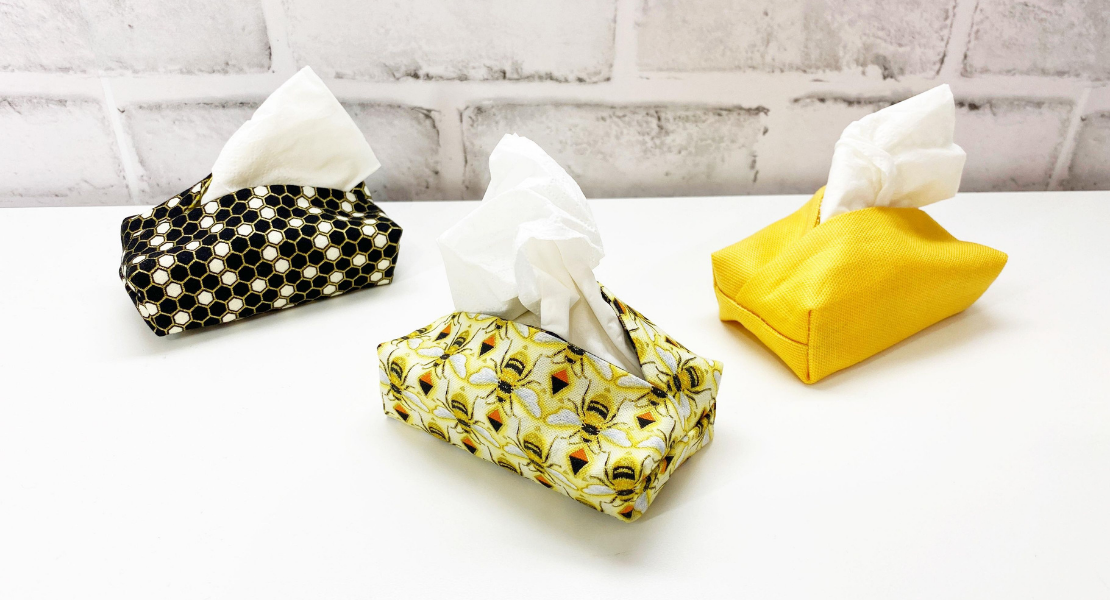
And yet, steel grey skies aren’t all that bad—considering they drive me toward quieter things like making chili or luxuriating in putting a log in our fire place in the middle of the day or making time for indoor activities like tackling my ever-growing basket of fabric scraps! It seems like a crime to throw away all that prettiness in the scrap basket—so I came up with this cute easy-to-sew tissue holder to use them up. Something little (yet bright) for a dark winter day!
Not only are these great because they give new life to scraps but they’re also quick to make. You can likely make one up in 15-30 minutes. It’s the perfect sewing project for a rainy day and you can whip up a batch of them so you have last-minute gifts on hand.
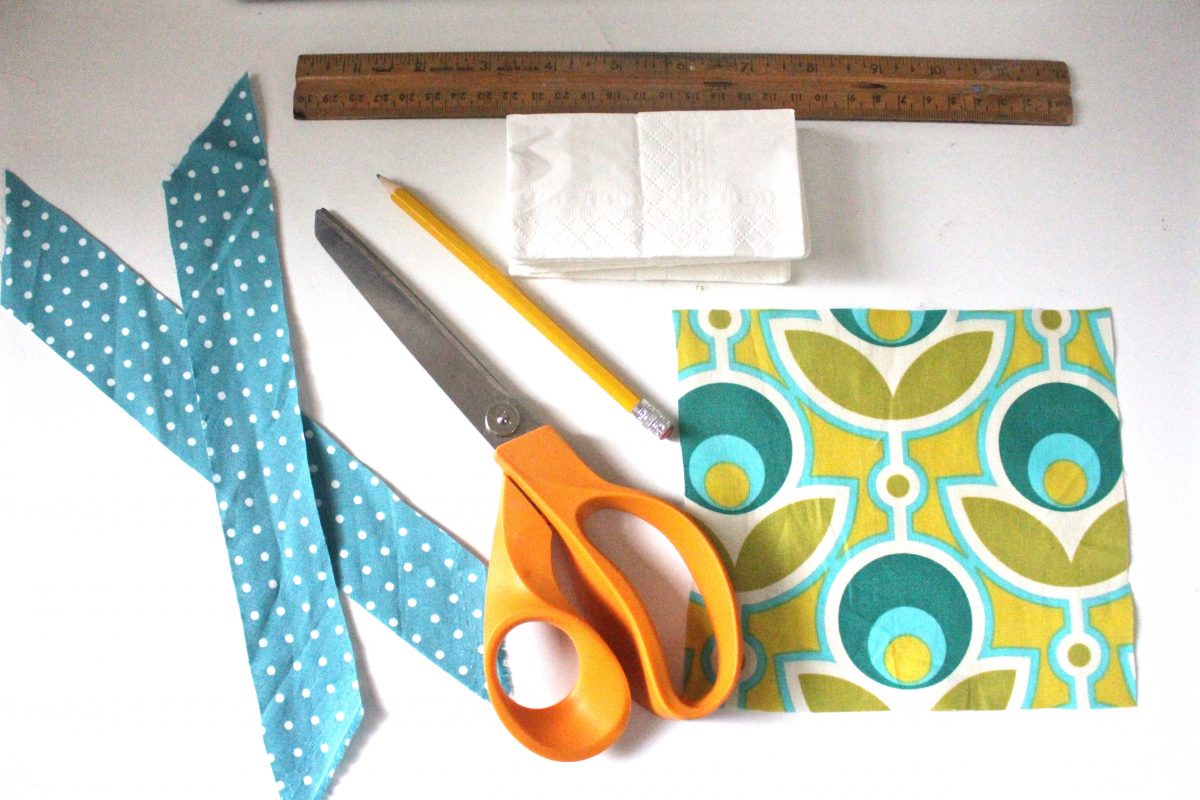
Materials to make a Pocket Tissue Holder:
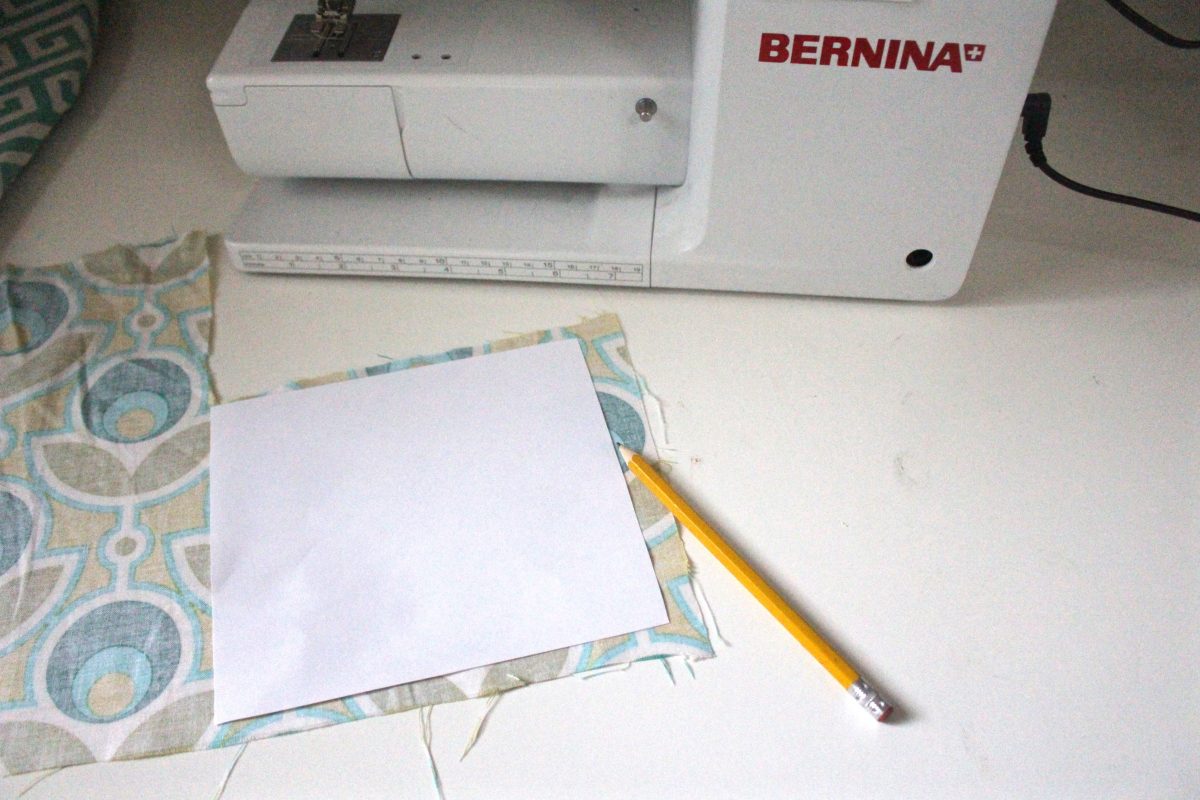
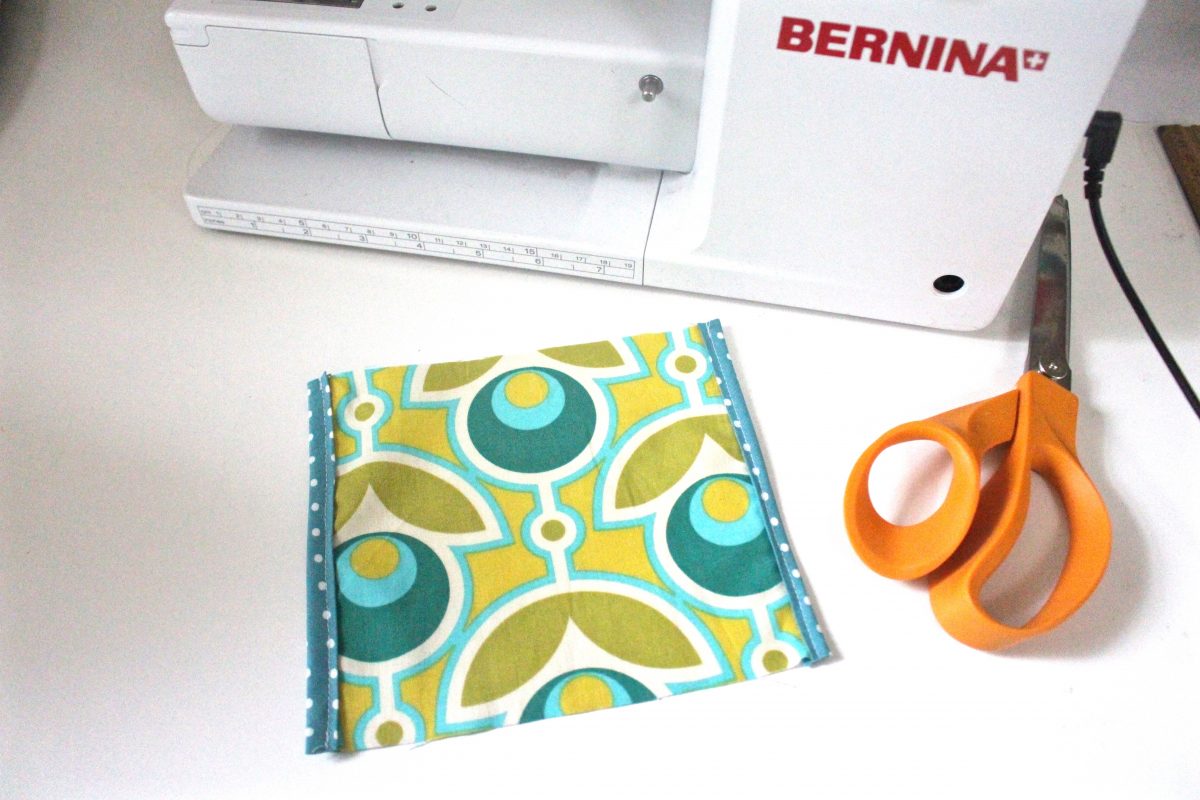
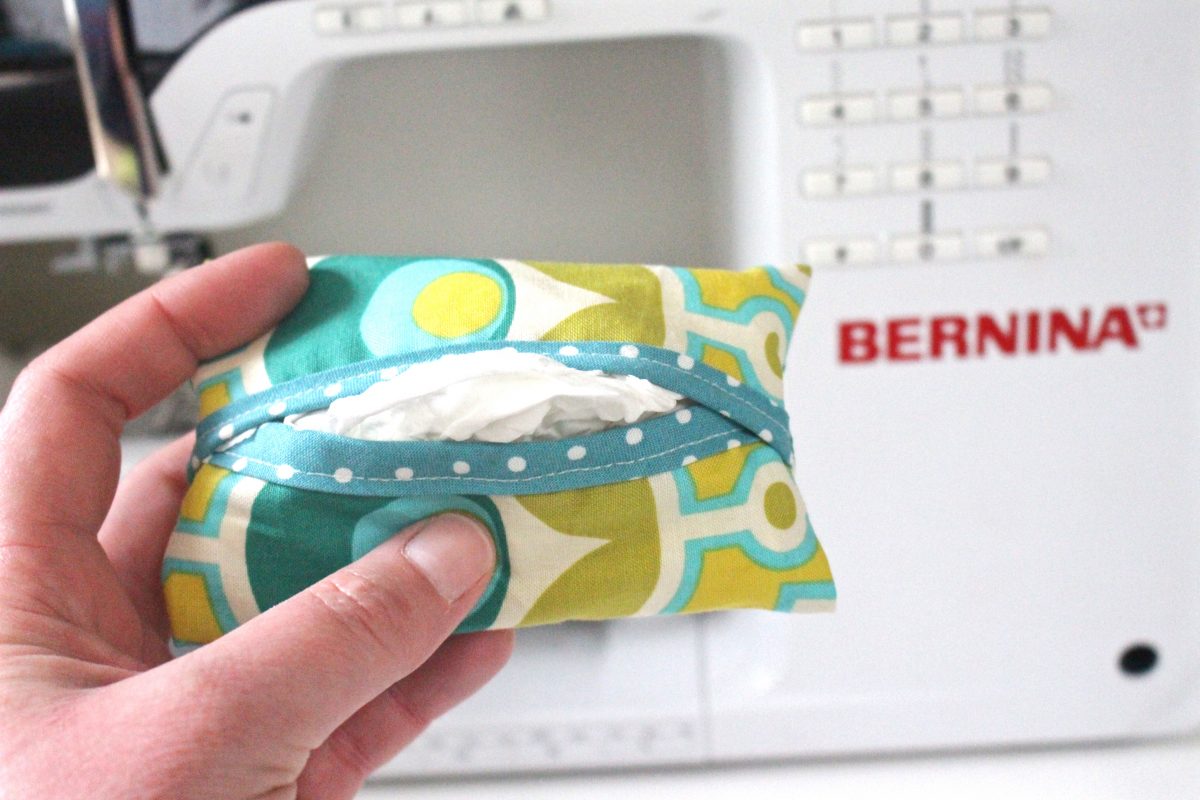
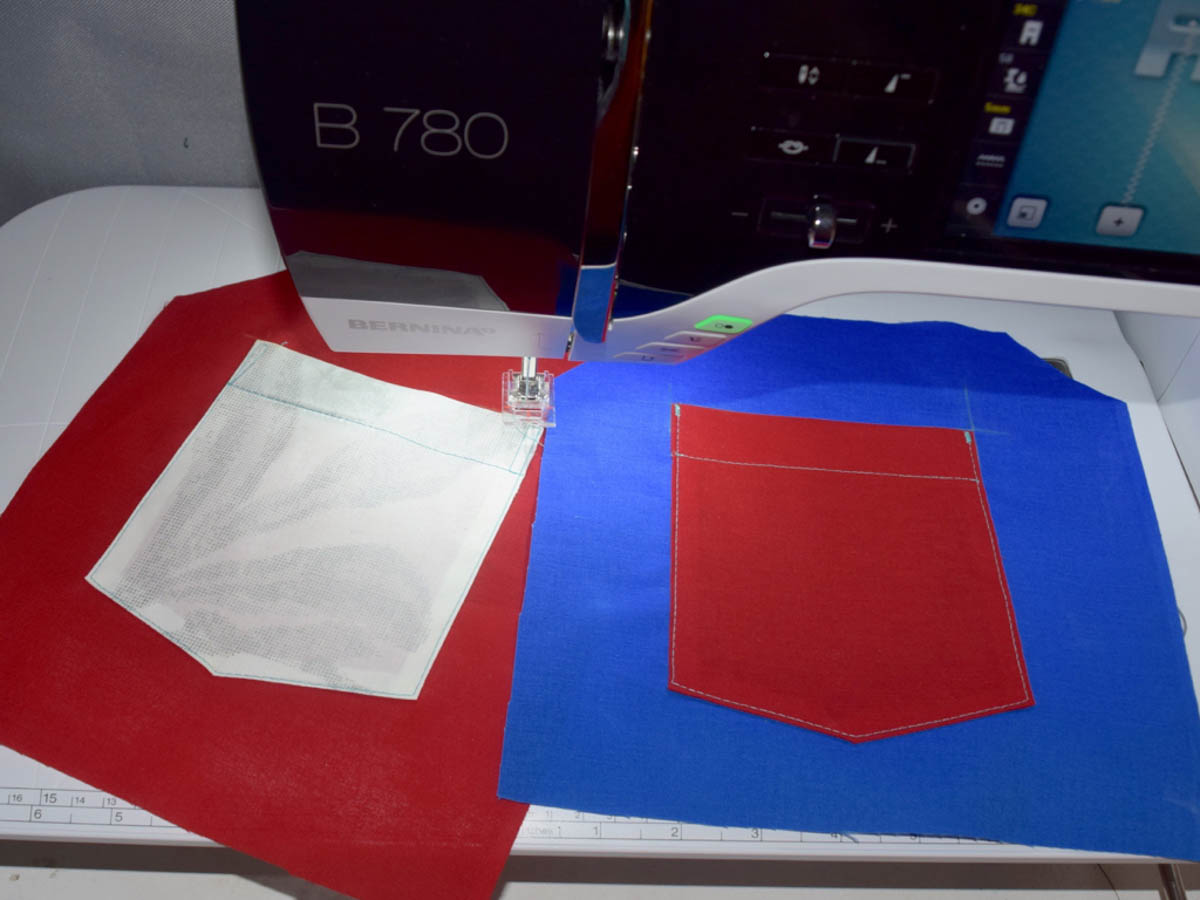
- Sewing machine (I used my BERNINA 380)
- Pins
- Pencil
- Scissors
- Thread
- Iron and ironing board
- Fabric – For a stack of folded pocket tissue that’s 4″ x 2.25″ x 1″
- Main outside fabric: 6″ x 7″
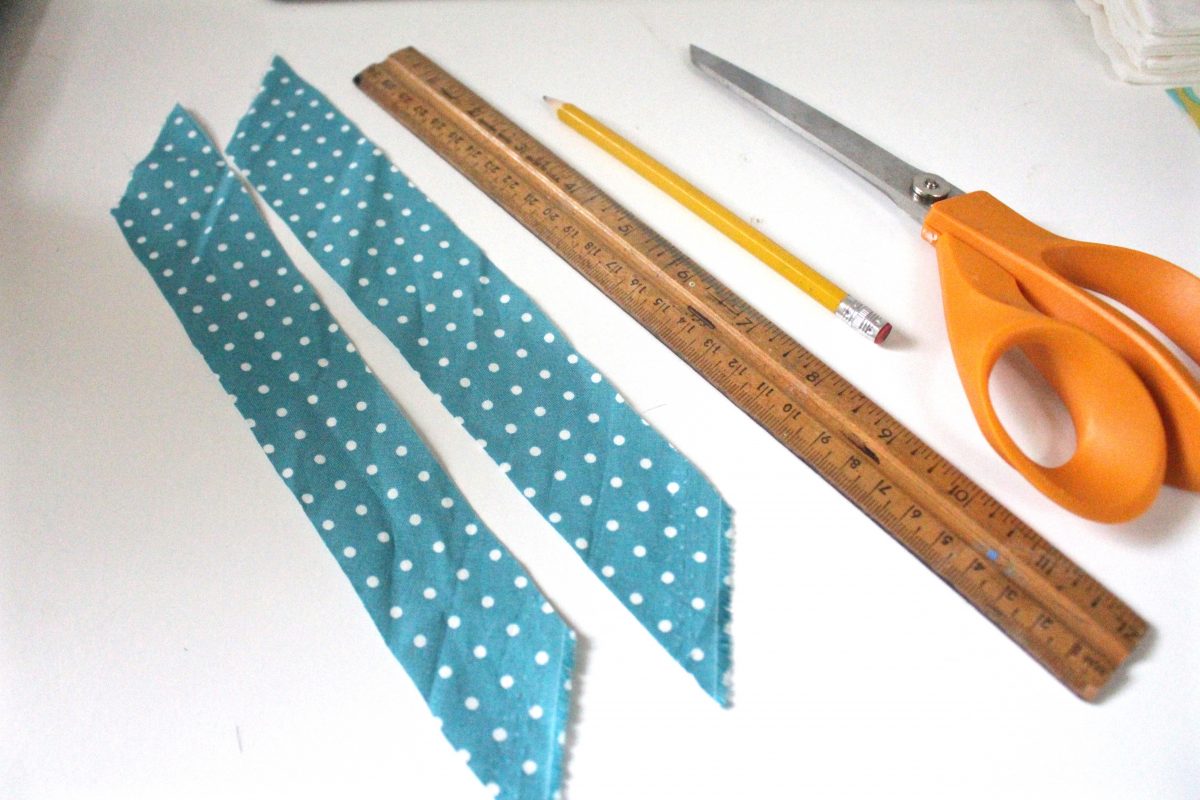
- Trim fabric (for opening): two pieces cut on the bias 7″ x .75″
Instructions to make a Pocket Tissue Holder:
*Note: all seam allowances are 3/8″.
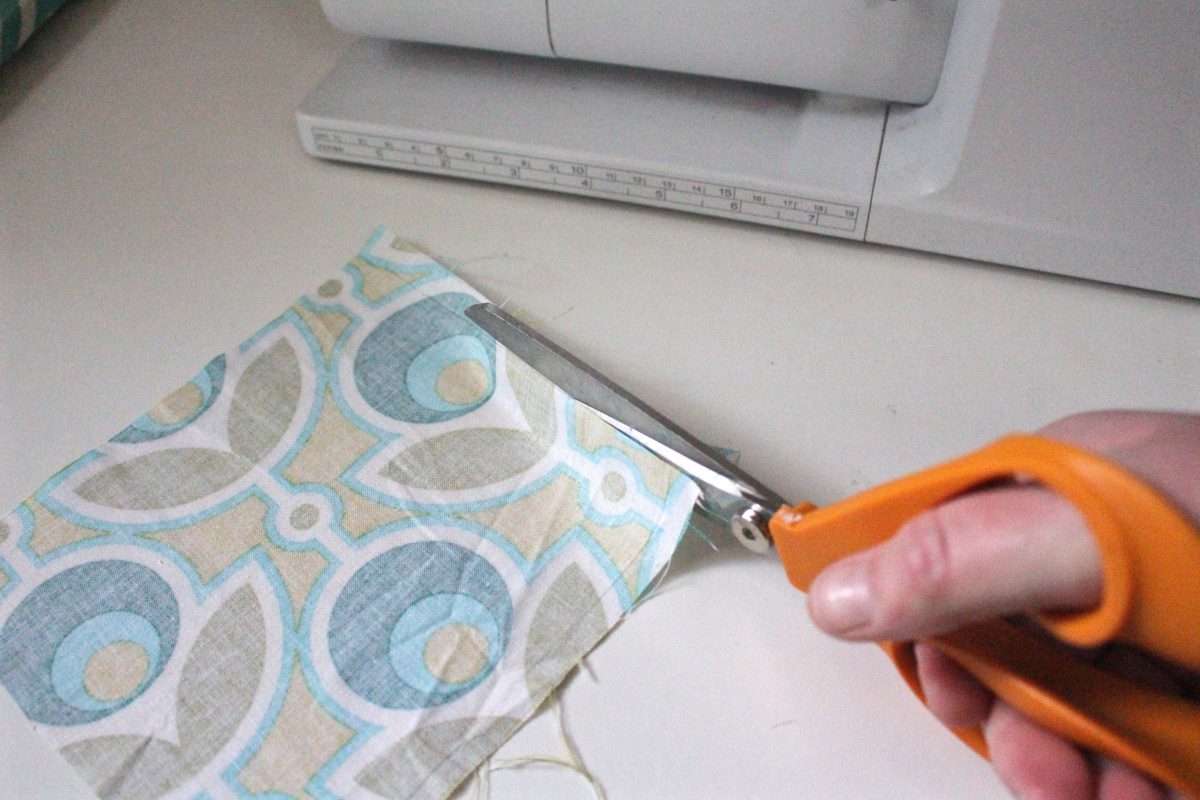
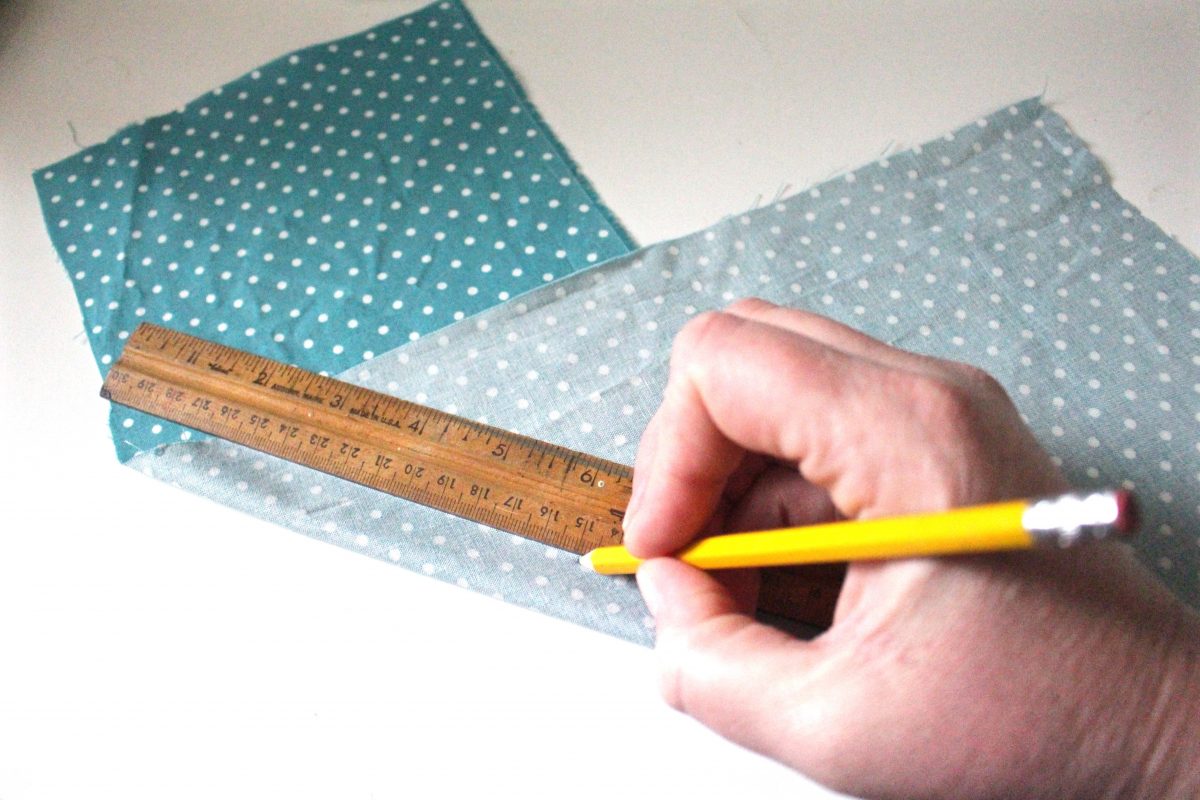
1. Cut your fabric. For the bias strips fold the fabric diagonally before you cut.
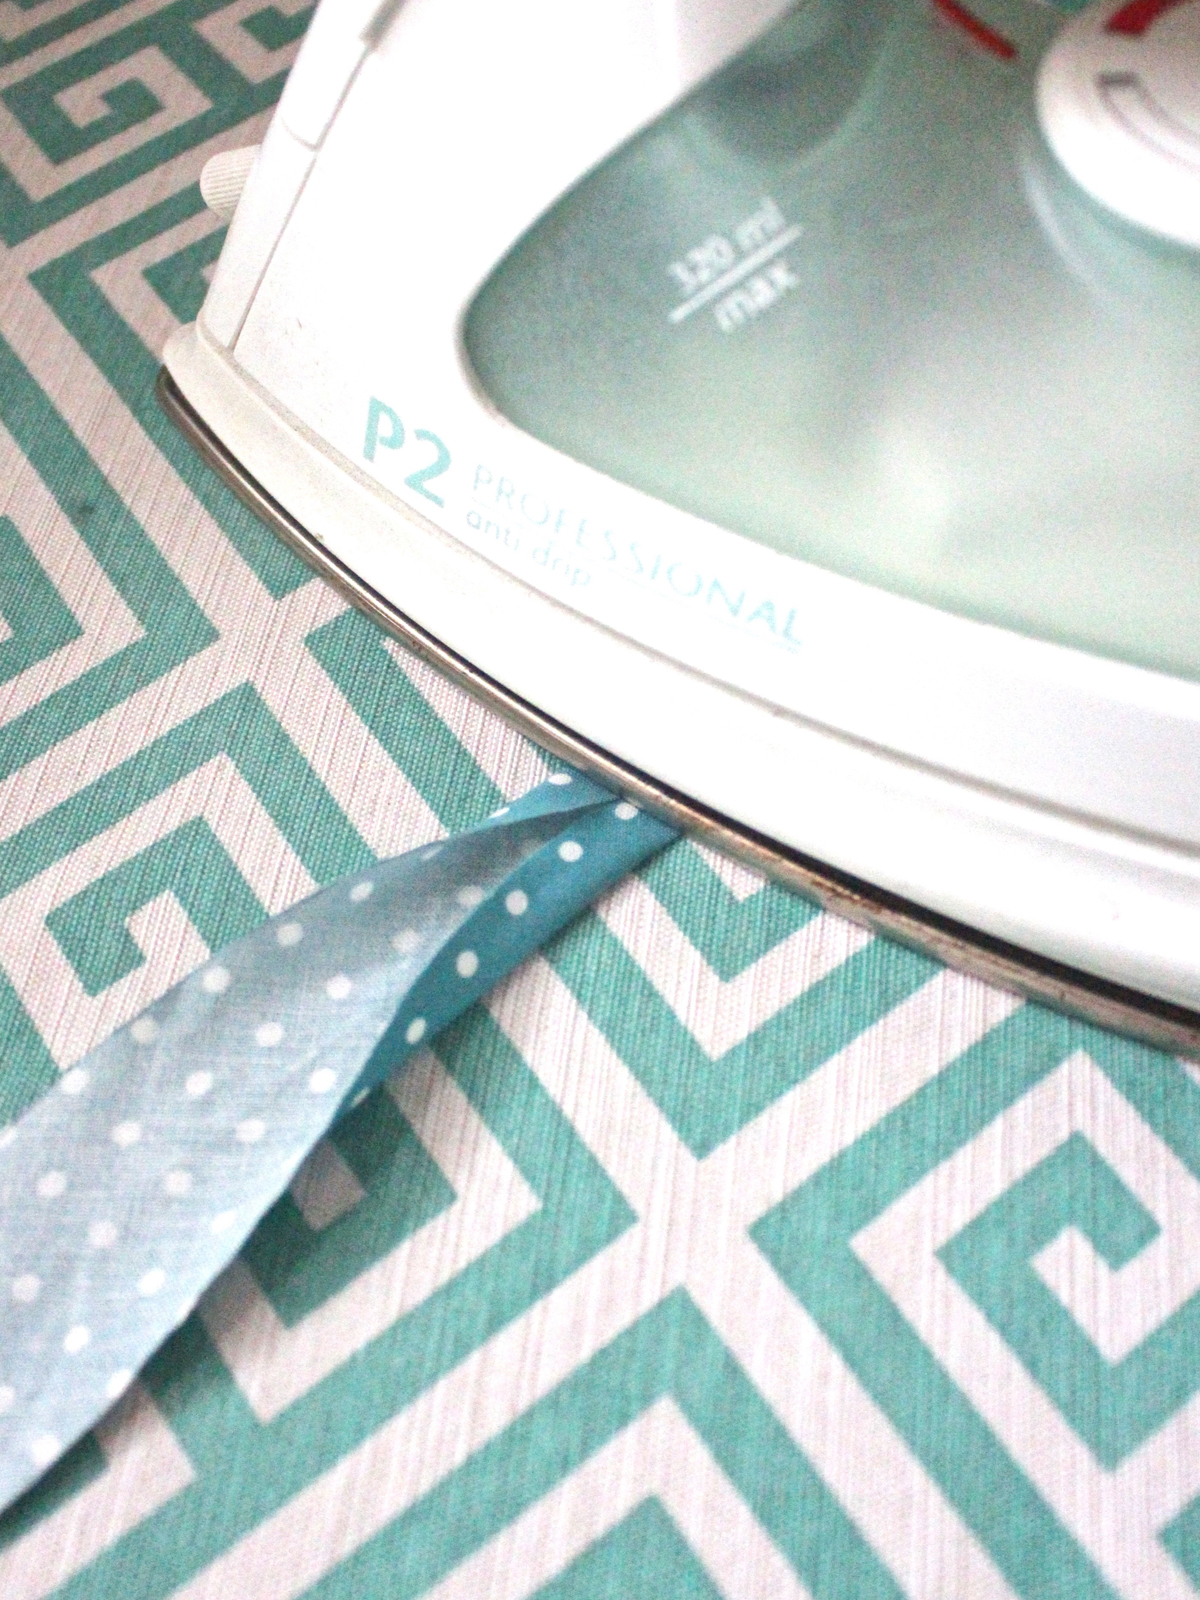
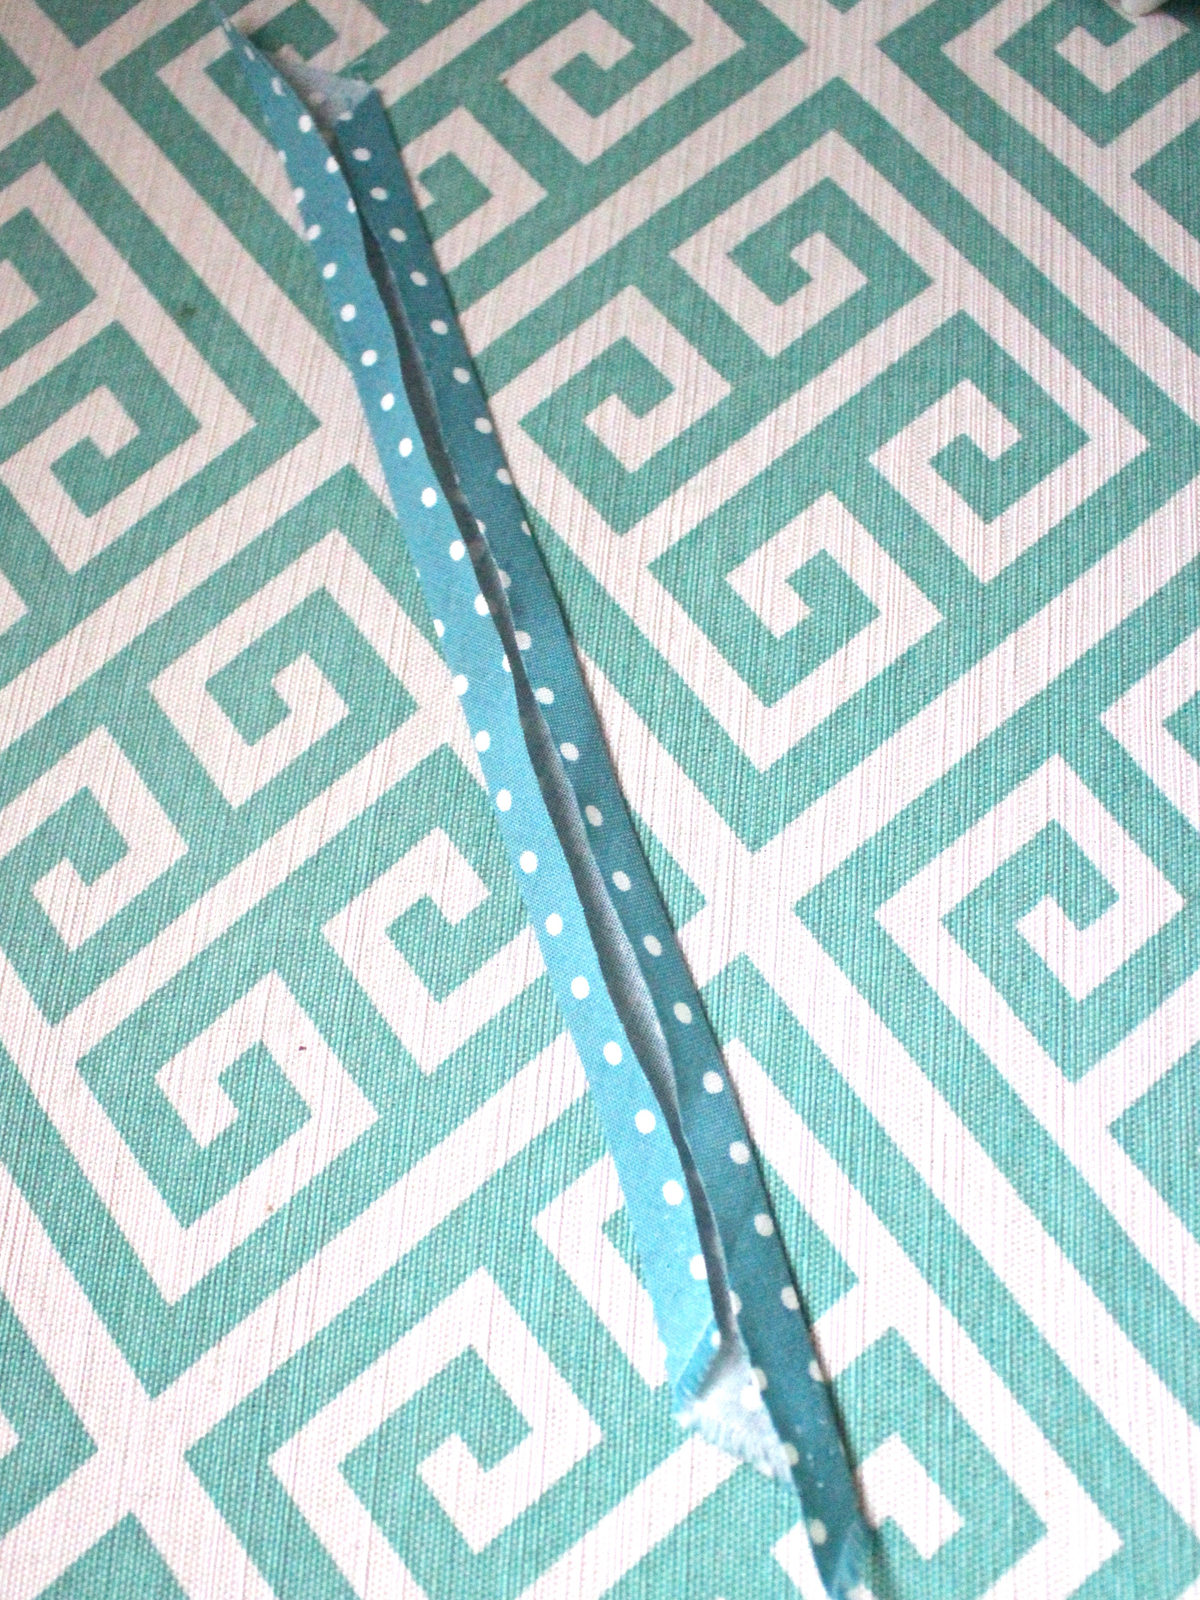
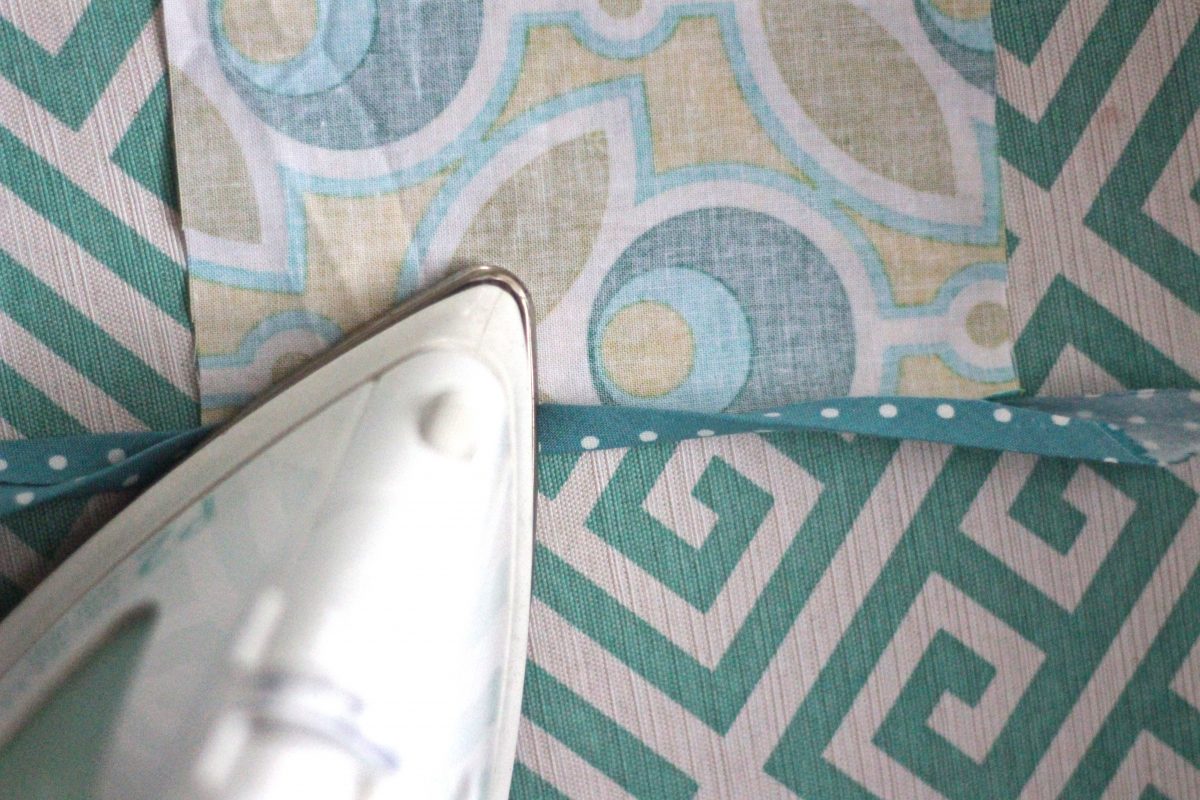
2. For each 7″ x .75″ piece (the trim) fold the sides over so they meet in the middle and then iron.
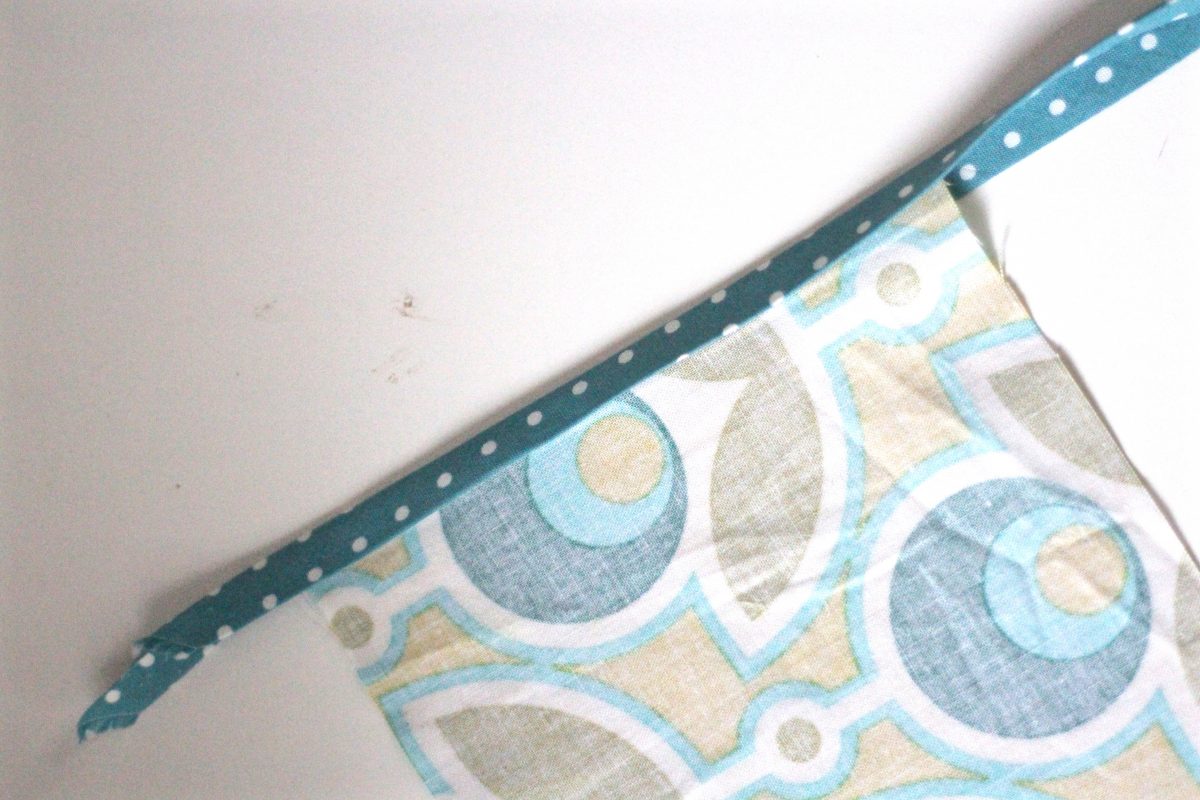
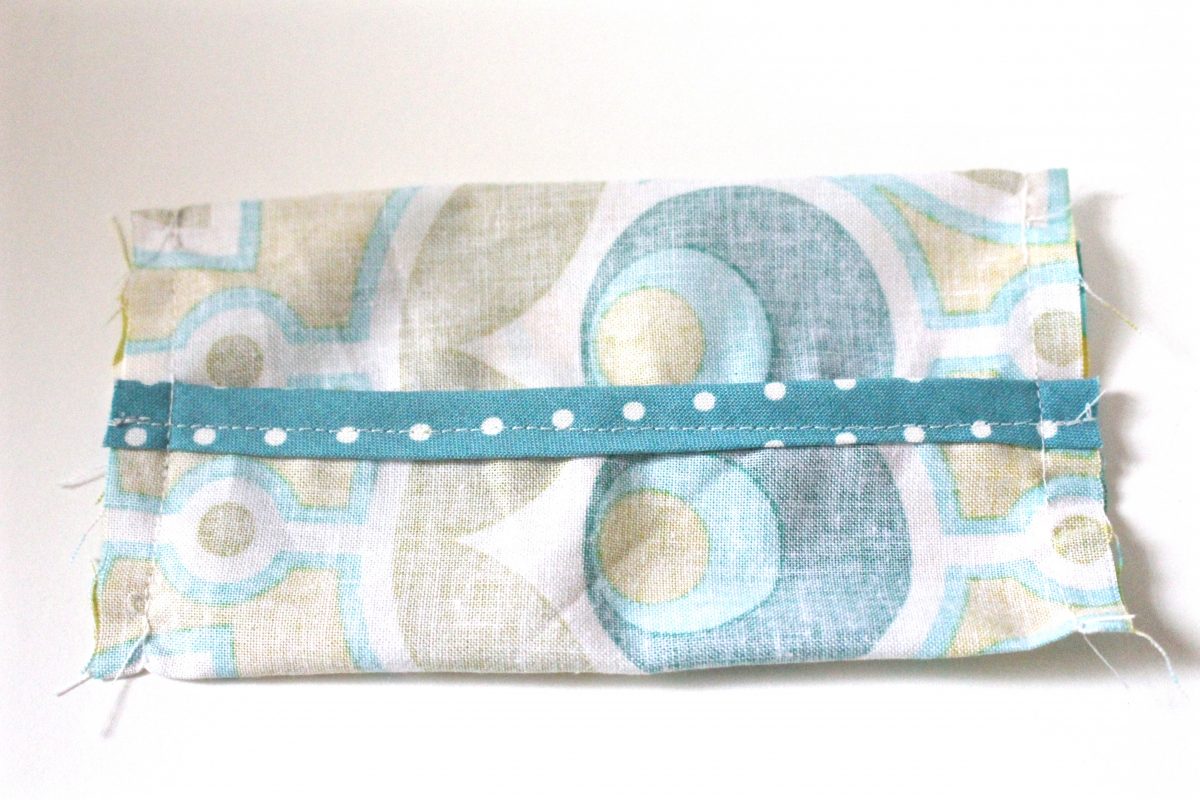
3. Place one of the short 6″ sides of the outside fabric in the center of one of the pieces of folded and ironed trim fabric. Then iron it.
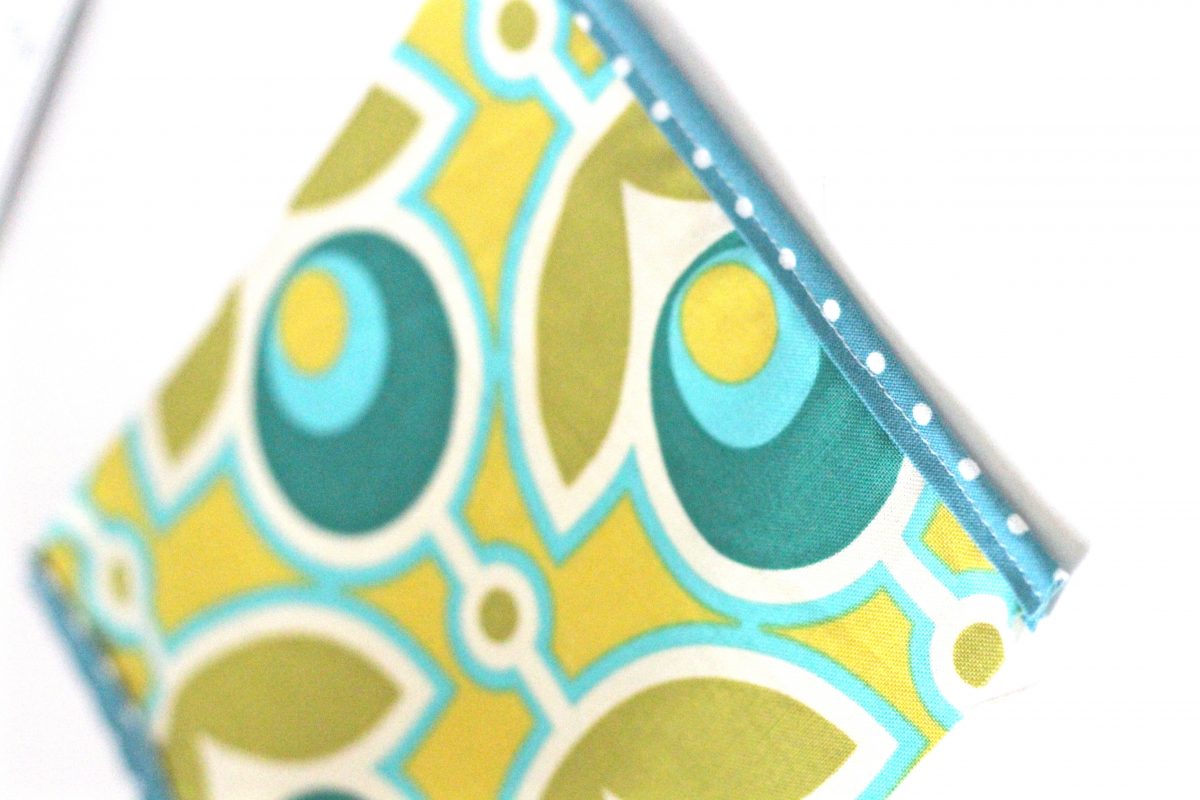
4. Sew the trim on by topstitching close to the edge of the folded trim.
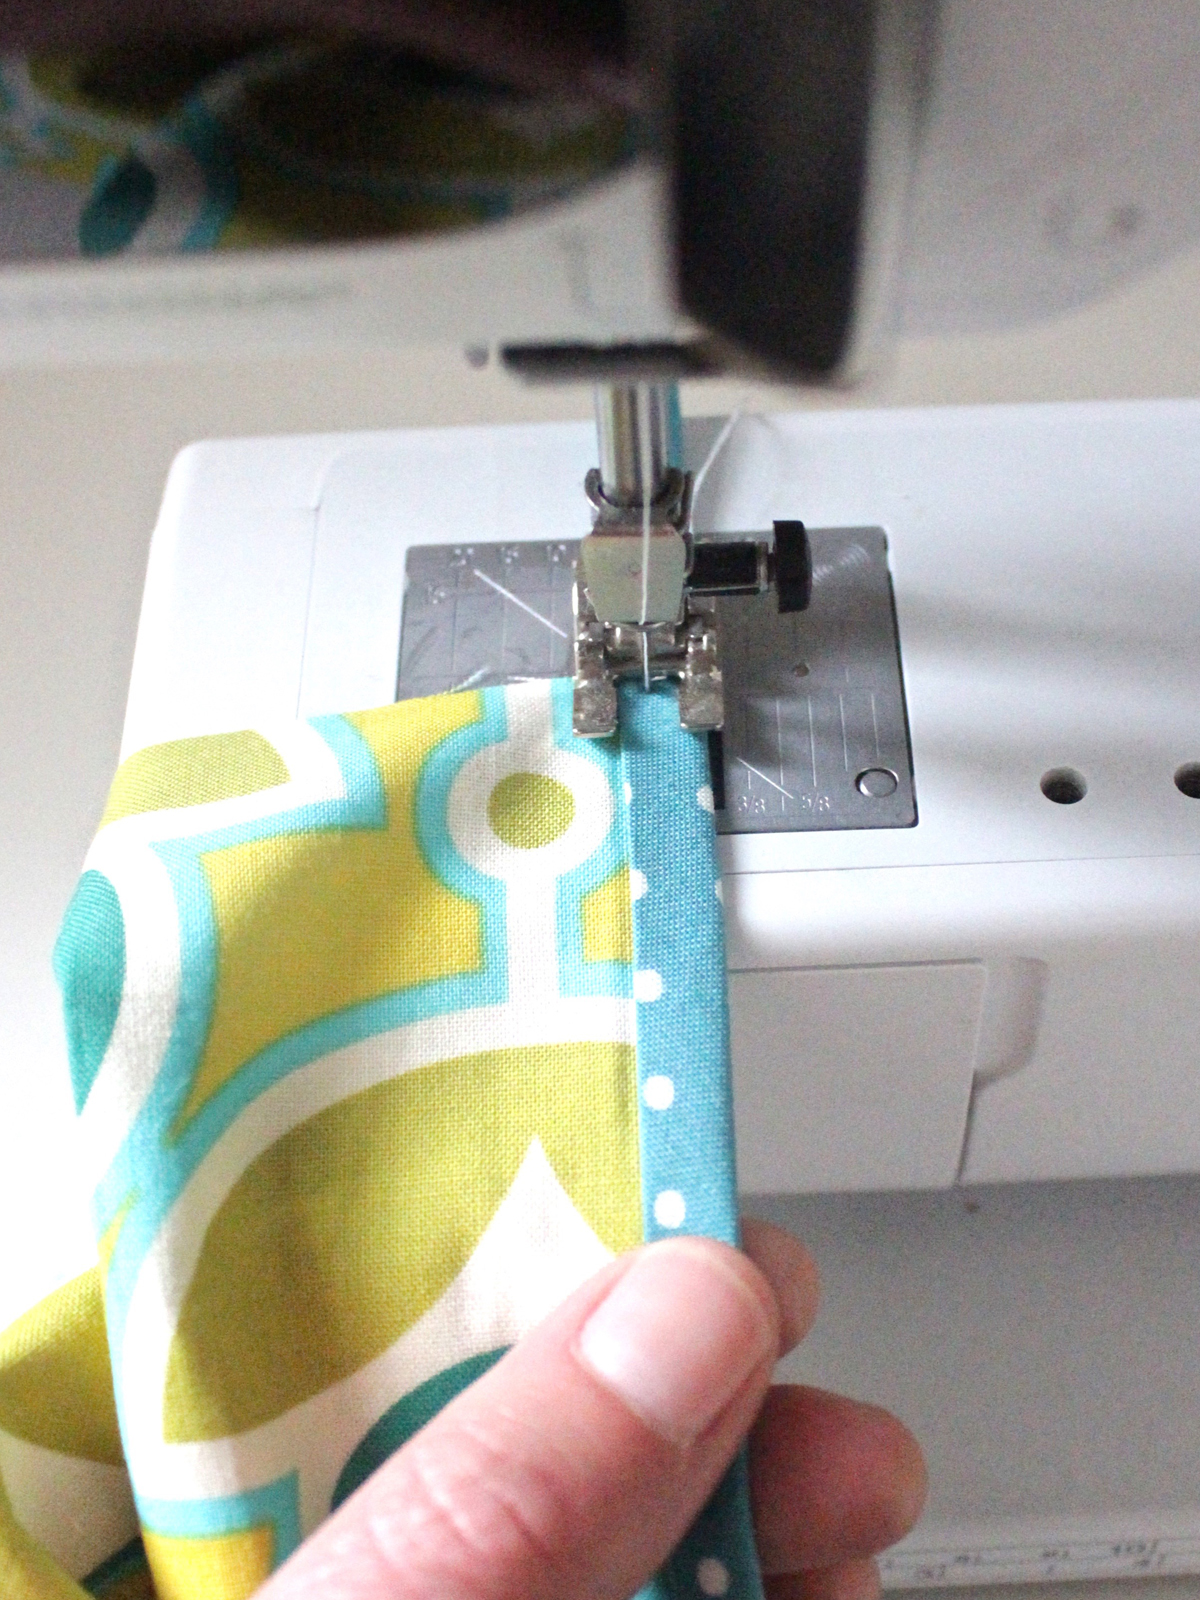
5. Repeat steps 3 and 4 for the second short side of the outside fabric.
6. Fold the short sides of the outside fabric in (right sides facing) so that one side of the trim overlaps into the other side.
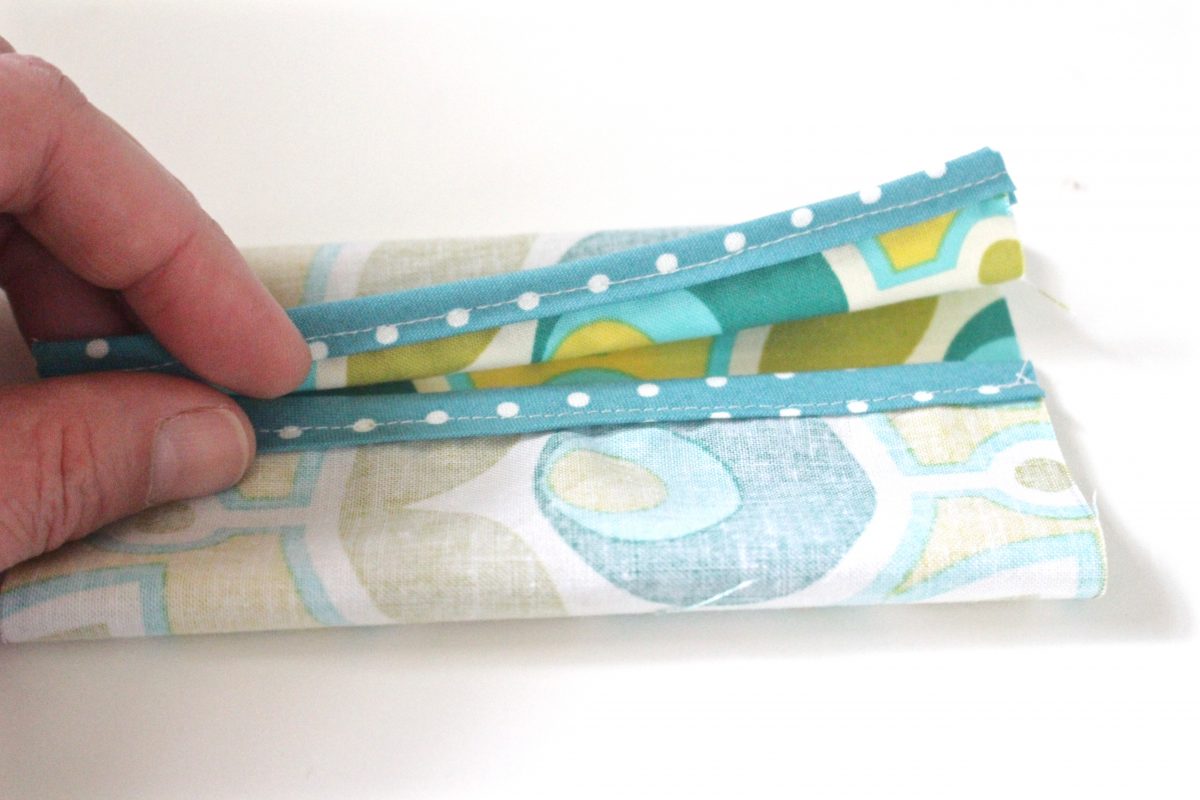
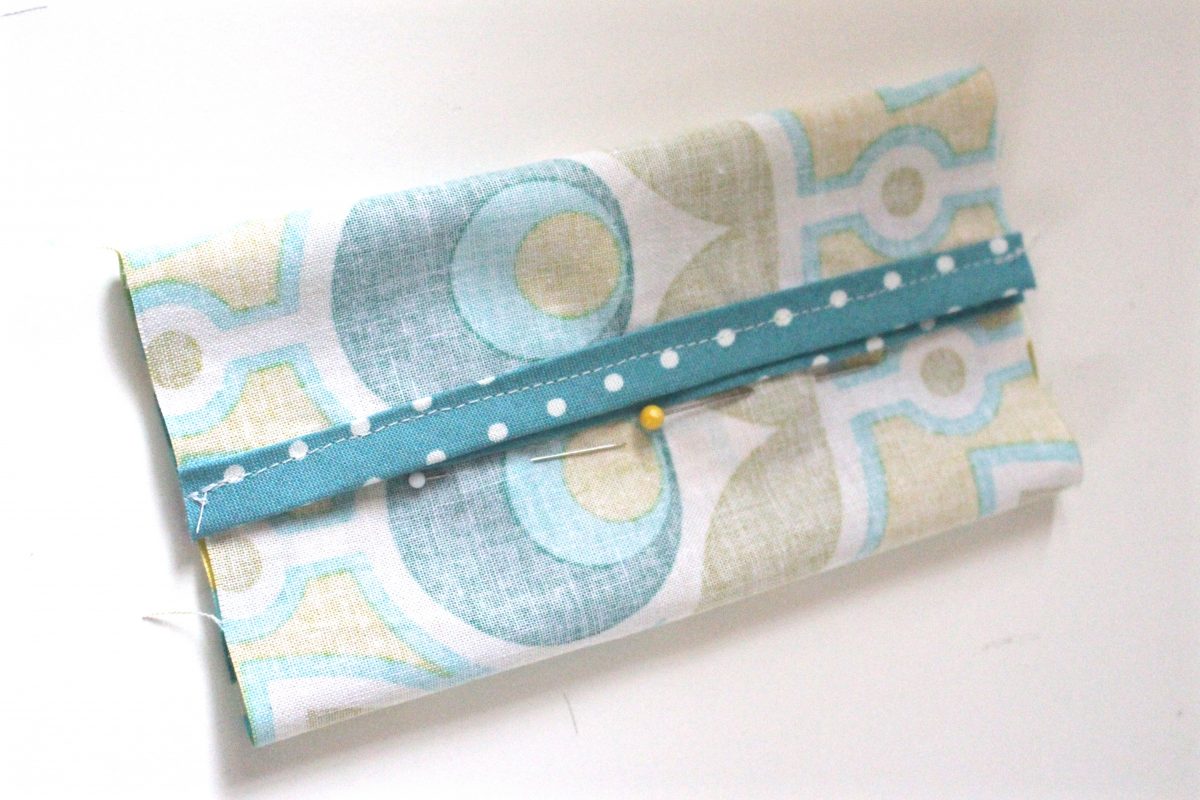
7. Pin the middle to hold the trimmed edges in place.
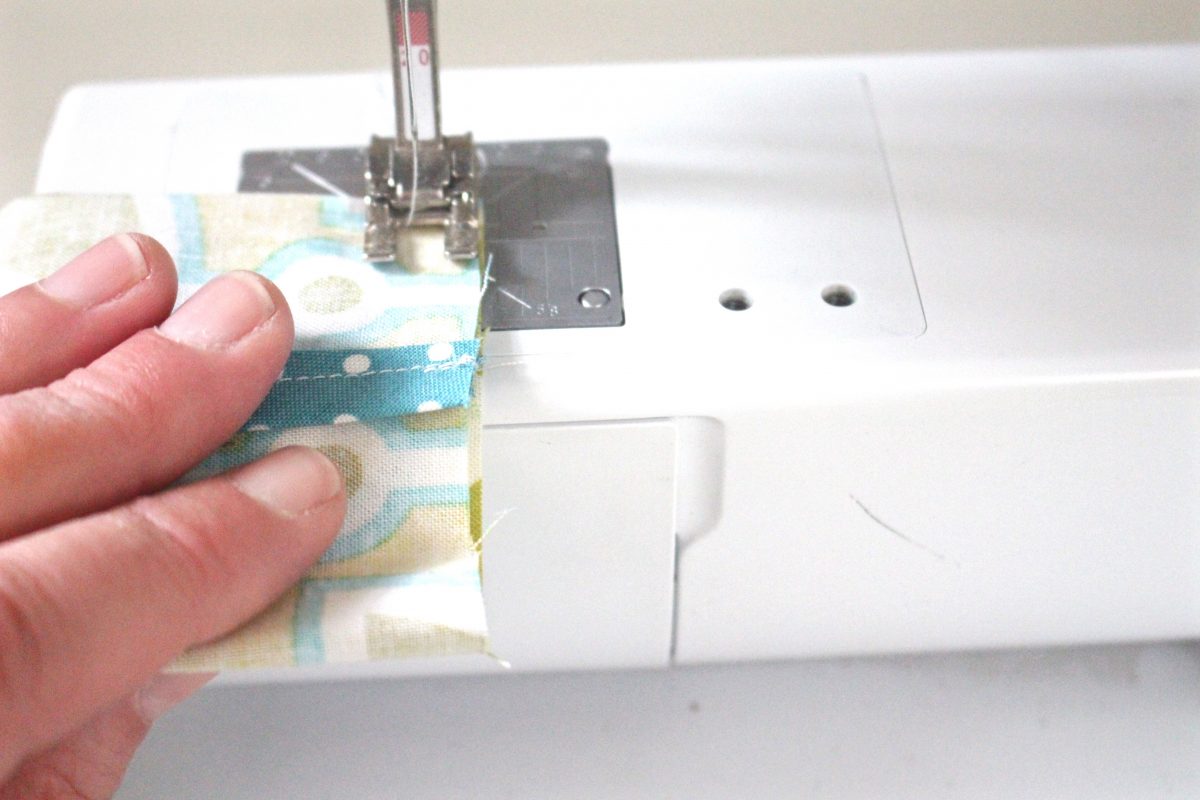
8. Sew the open sides of the tissue holder together.
9. Turn the tissue holder right way out and insert your stack of tissues.

Used Products


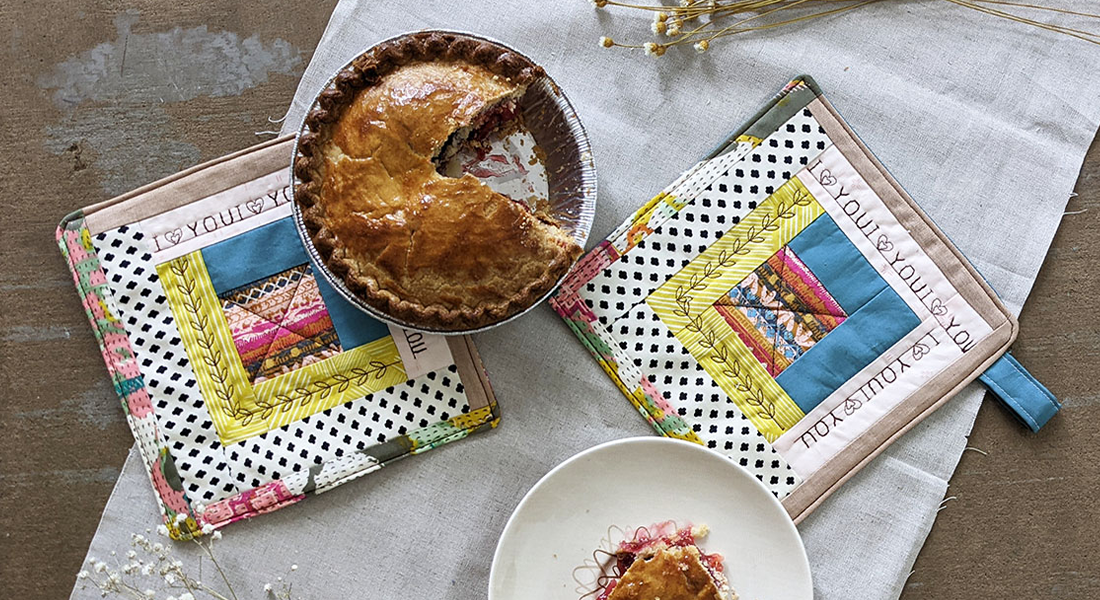
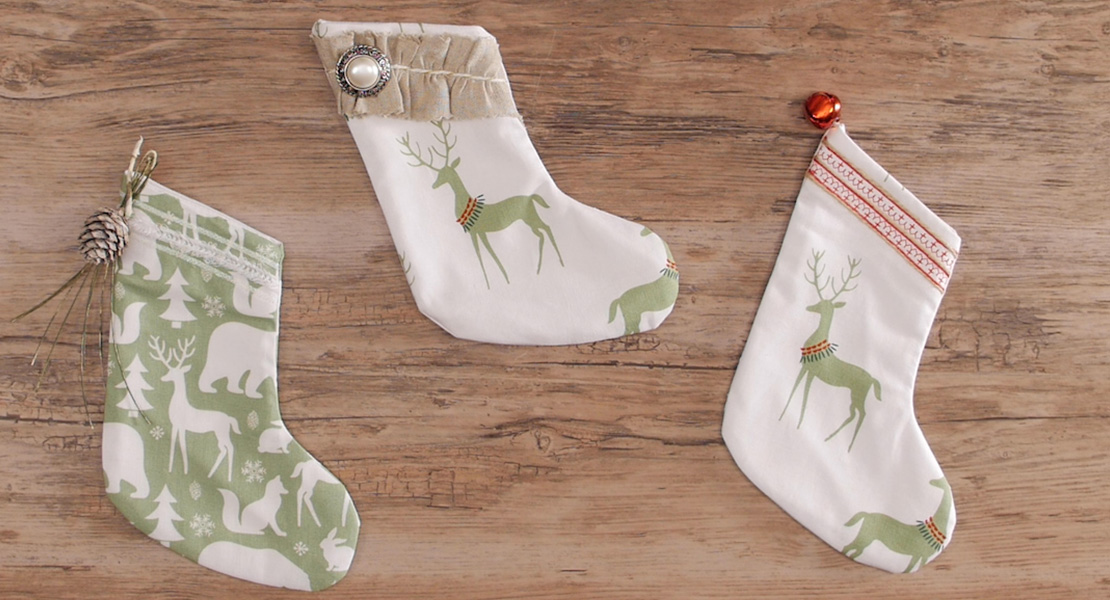
What you might also like


6 comments on “Pocket Tissue Holder Tutorial”
-
-
Thanks

-
-
My daughter just asked me to make a small holder for her boyfriend’s mouthguard. He wears the guard overnight to protect his teeth from grinding but doesn’t have a case in which to store or transport it.
I’m going to square up this pattern a little from its rectangular shape and make it in a quilted cotton to make the mouthguard holder. Thanks for the inspiration.
-
Awesome! So glad the project inspired you.
-
-
Great and quick project. I cut my bias strip 1.25 inches x 7.5 inches. It was much easier to work with.
-
I made a larger one of these to fit full size tissues to keep in my car. When I put a box of tissues in my car, the box gets stepped on or otherwise squashed and the tissues get dirty and spread all over. It will not hold an entire box but it is thin enough to fit in the “pocket” area on the door or in a back-of-the-seat pocket.
Leave a Reply
You must be logged in to post a comment.

What a fun project with scraps! I love something I can make quickly.