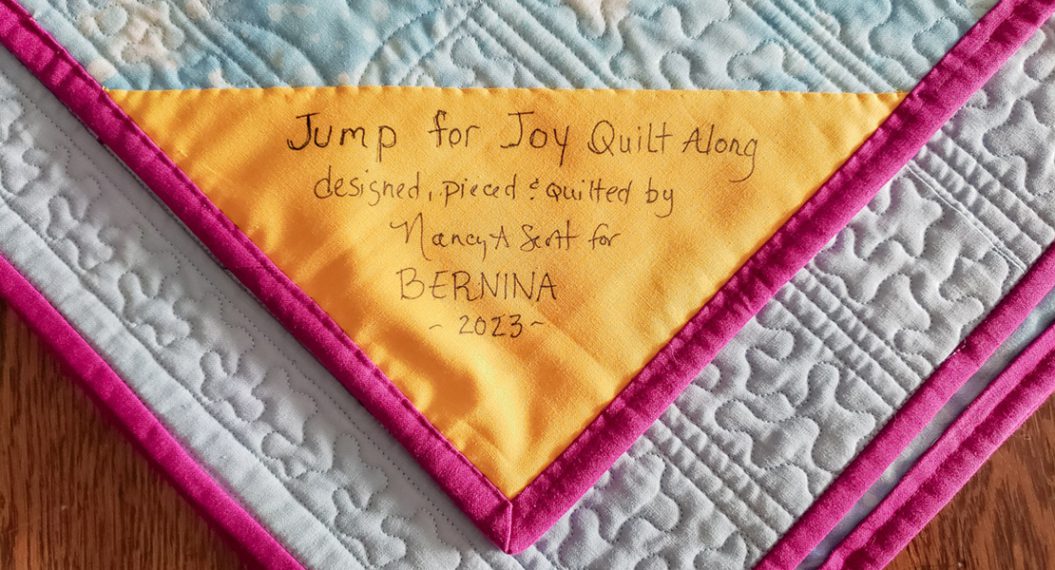
Circle Marks the Spot, Part 2: Binding
Last time we played with couching straight lines and circles to create a little quilted piece.
NOWWW its time to bind!
I will show you how I do it, but you don’t have to take my way. It’s just one that saves me any handwork and looks really clean at the end.
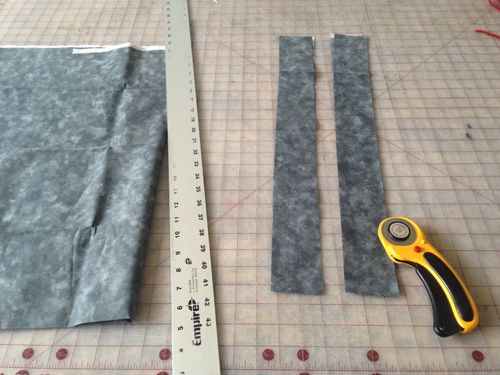
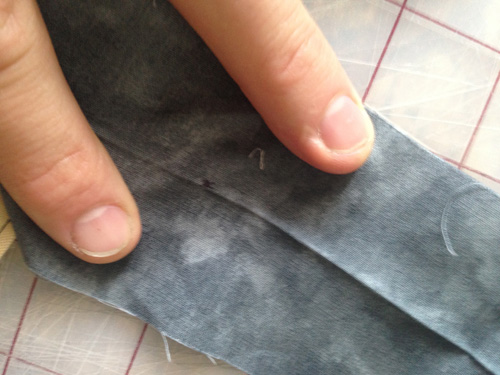
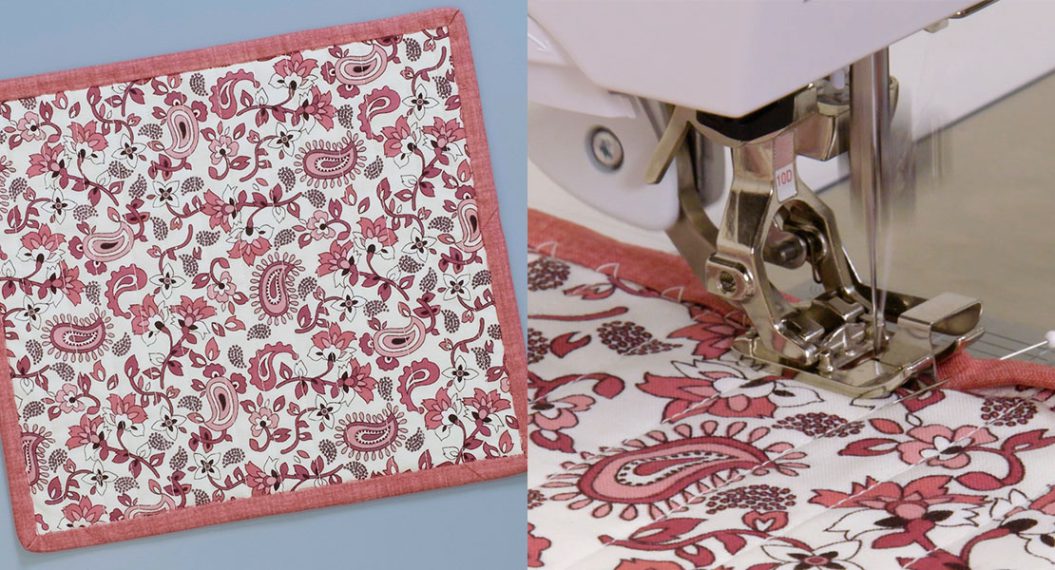
What you will need is a fabric that acts as a frame for your little small quilt.
I chose grey for mine since its neutral and I didn’t have overly bold colors in my piece.
Cut 2-1/2″-wide strips. Make sure you have about 5 times 16″ for your binding (around 80″). I used two strips widthwise from a bolt.
You can cut the strips on the bias if you like. I don’t because for a wall quilt we don’t need that durability and as long as we are careful in construction it will lay plenty flat.
Now we need to join your strips. Place them face to face at a 90° angle.
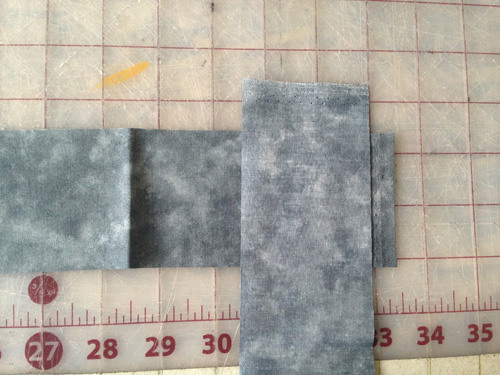
Take them to the machine and sew from the corner created at the top to the corner created at the bottom. We do this at an angle so the binding doesn’t get a huge lump of seam allowance as we fold it over itself.
Trim the seam down to a heavy 1/4″ wide. I border on 1/2″ sometimes just to be sure.
Iron that seam open.
Start from one side of the strip and fold it in half; press as you work to the other end.
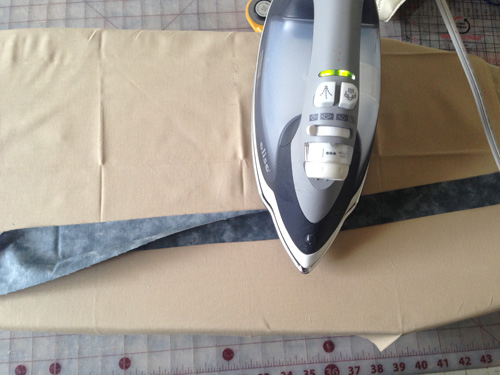
Now you have your binding tape!
We now need to attach this to the quilt to finish that outside edge.
Grab a tail of binding and leave it unsewn; you will see why later. 8″or a little more should do it.
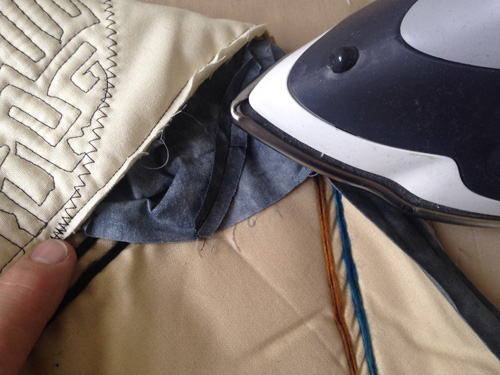
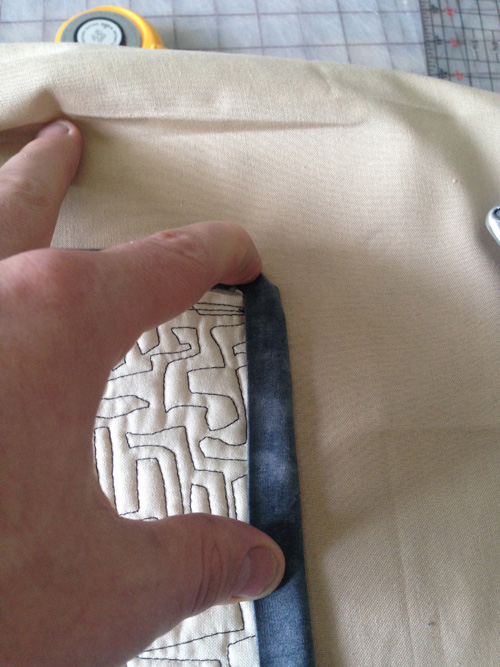
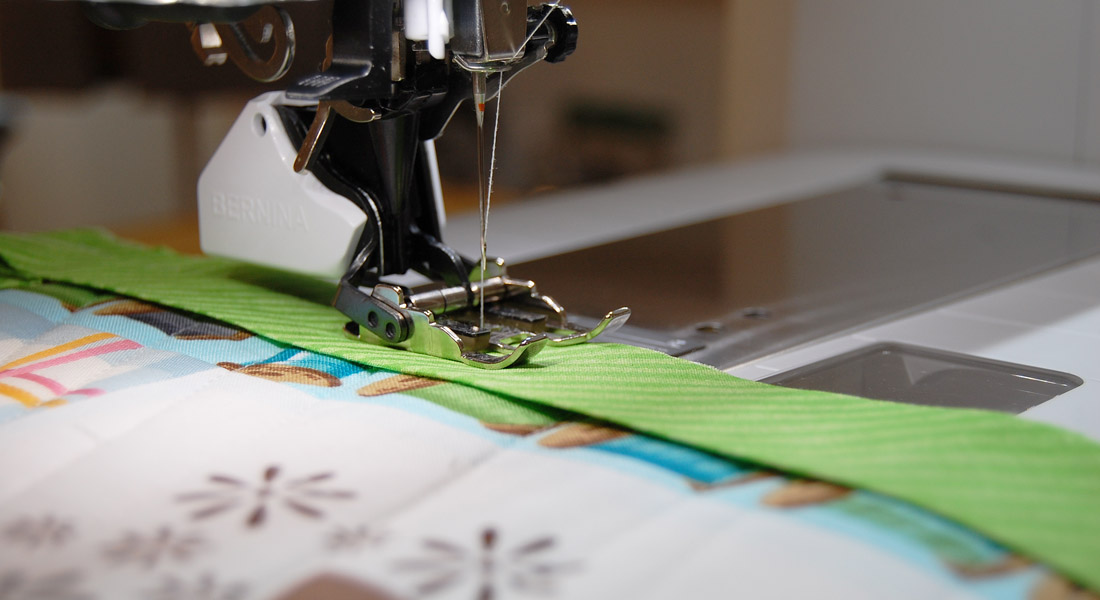
Place the open edge of the folded binding tape against the edge of the top of your quilt.
Start somewhere in the middle of one of the sides, NOT at a corner; that would make it difficult.
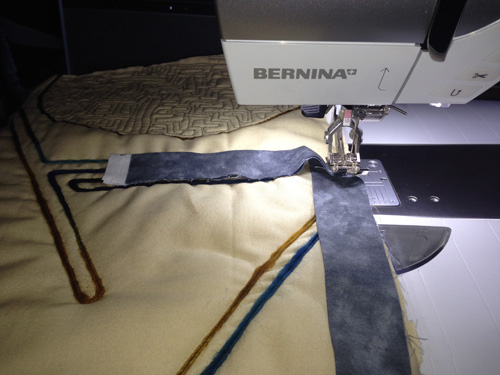
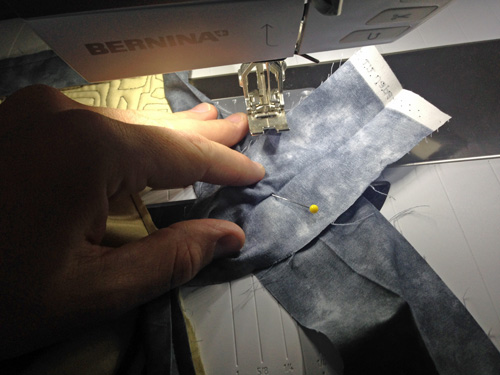
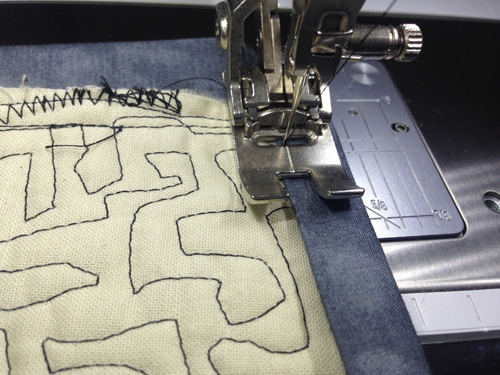
Then stitch at 1/4″ from the edge down to near the corner. Stop 1/4″ from the corner.
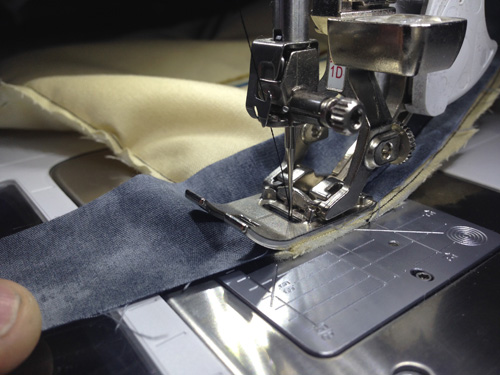
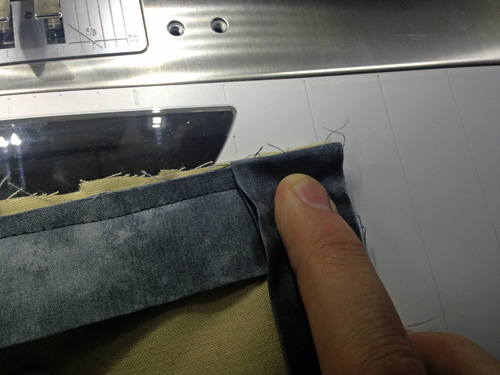
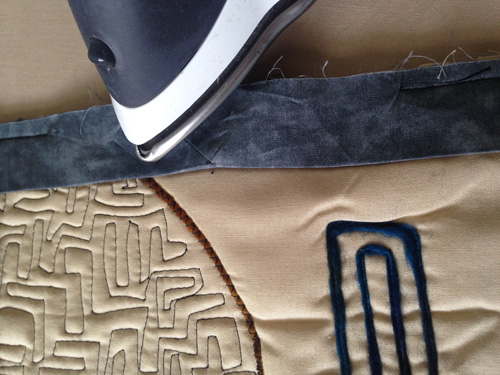
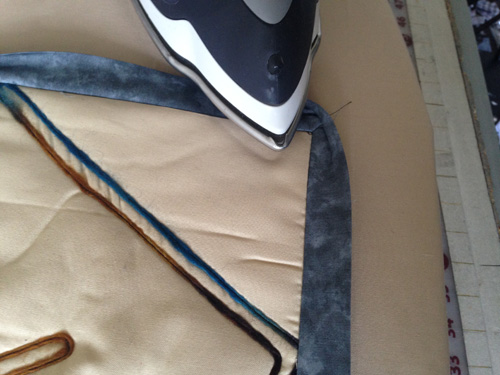
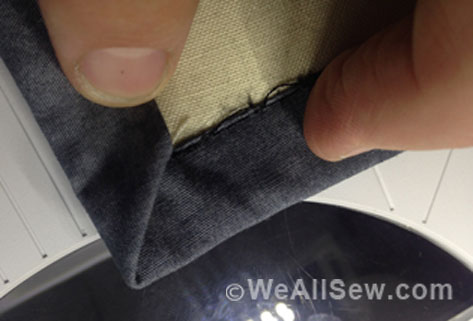
To get a really nice mitered corner we need to cut the thread and take the piece out from under the presser foot. Then take the corner and turn it towards yourself – along with the binding tape – then fold the tape over itself and into the corner.
Make sure the fold lines up really smoothly with the raw edge of the corner.
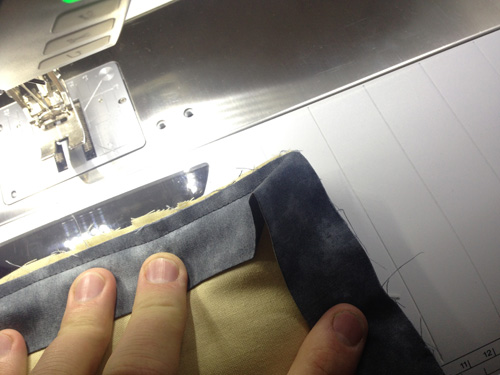
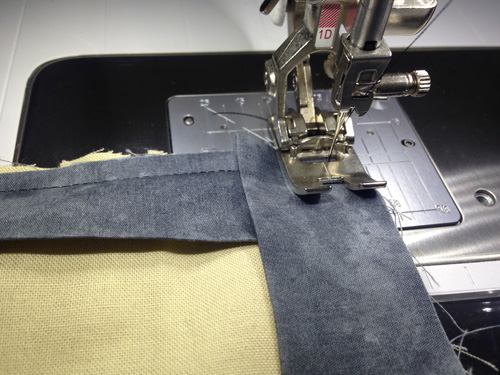
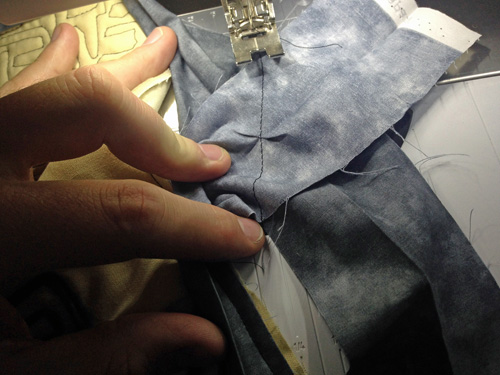
Then start stitching at the corner and sew down to the next corner and repeat (stop 1/4″ from the next corner and take it off and fold it).
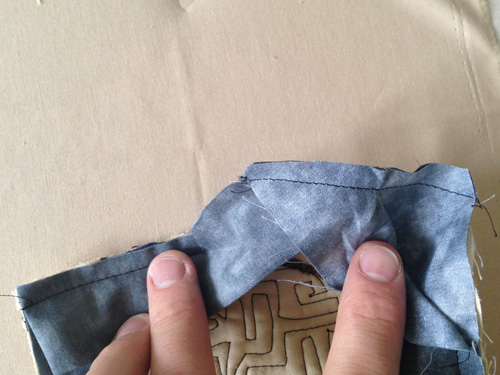
Stop once you have rounded all four corners and before you have sewn all the way back around to your first point, leaving around 6″ not finished.
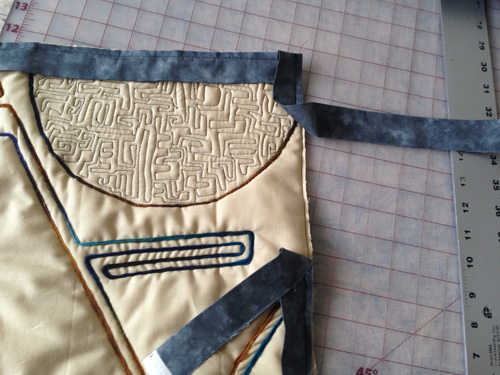
You could just sew it over itsself and skip a few steps, but stick with me on this and you will be pleased with your finished product. You can choose to never do it again, but at least you will have tried it once.
First, mark the point at which the two sides will match.
You can use a pin or a pen or chalk – it’s up to you.
I use a pen, because that is what I use for everything. Just know that it will leave a mark.
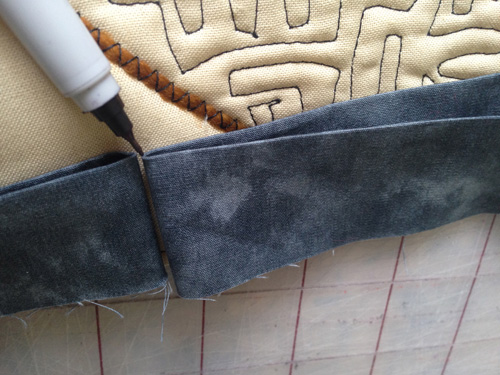
Here is the tricky part!! Watch closely.
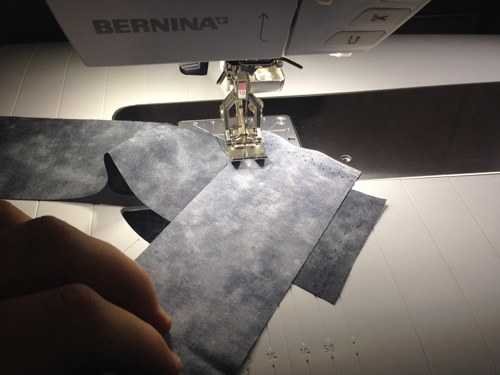
Take the two ends and open them, then place them face up on the table.

Note where your marks are.
Now place the right piece over on top of the left one like you are closing a book.

Pin where the two marks come together.
Take it to the machine and sew it across the diagonal like the other seams in the binding tape, from corner to corner.
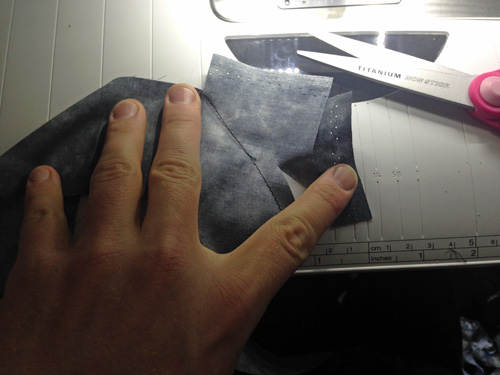
Check to make sure it worked!!
Pull the quilt flat; the binding should look good (except for all the extra binding bulging out). If it looks good, then trim the extra binding down to a heavy 1/4″ wide.
Then iron those seam allowances flat.
And iron the binding flat to the quilt.
Then sew that last bit of of the binding to the edge of the quilt.

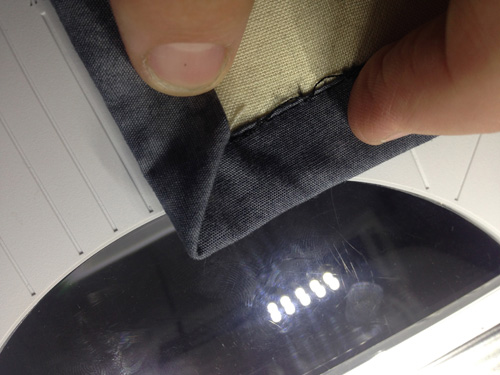
Take it to the ironing table and iron the binding over that seam you just made. This will give it a clean edge and a nice place to work from for the next step.
Now you are ready to flip the quilt.
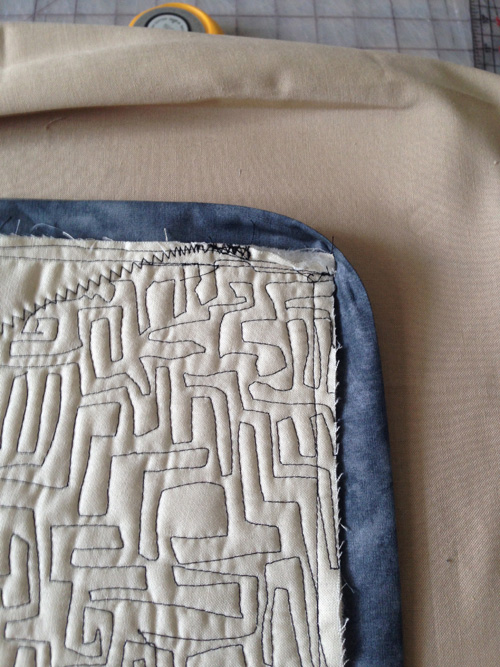
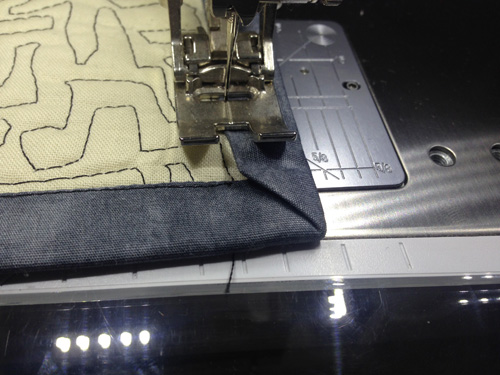
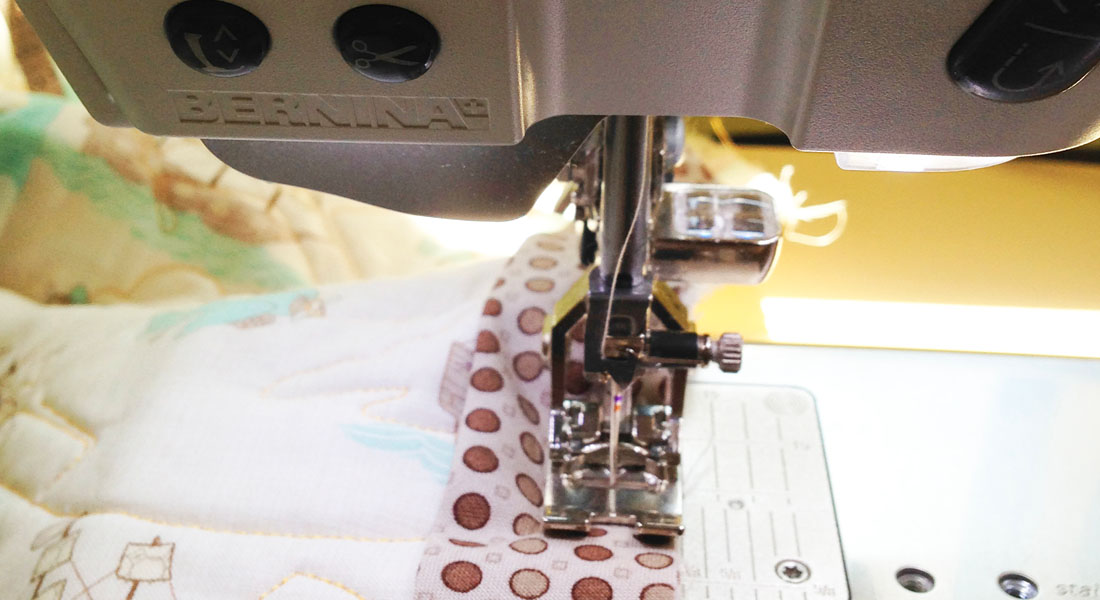
Fold the binding back over the rear of the quilt and topstitch it down with a straight stitch. I like using a walking foot or the built-in dual feed on my B 750 to make sure it all goes at the same rate at this point, since the layers start to get bulky.
Sew along the very edge of the binding.
When you get to the corner, stop about 3/4″ from the end and cut the threads before turning the quilt to the next side. Fold the corner over itself to form the nice miter we love so much.
Then sew the next side!
Continue all the way around till the last corner. Fold it the same way and finish there.
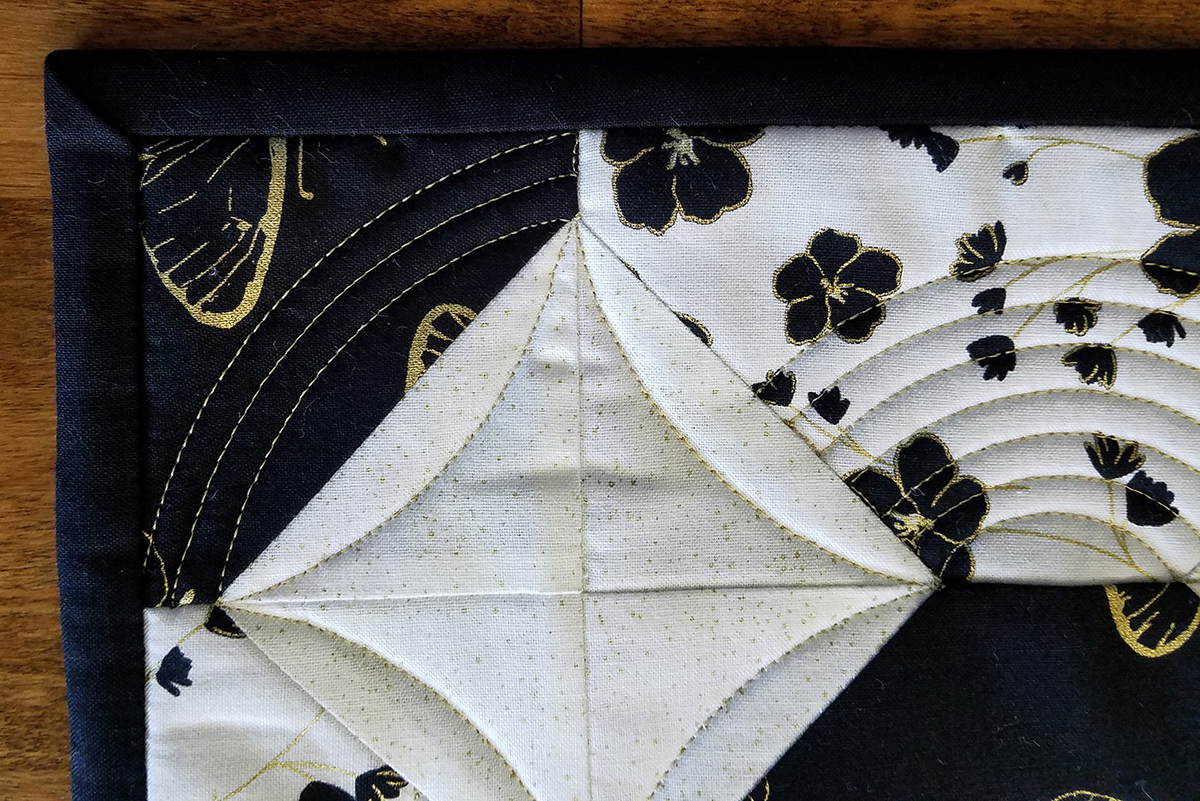
And we are done!!
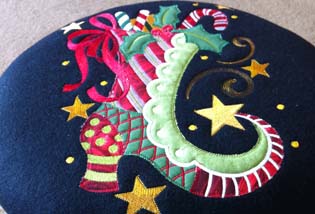
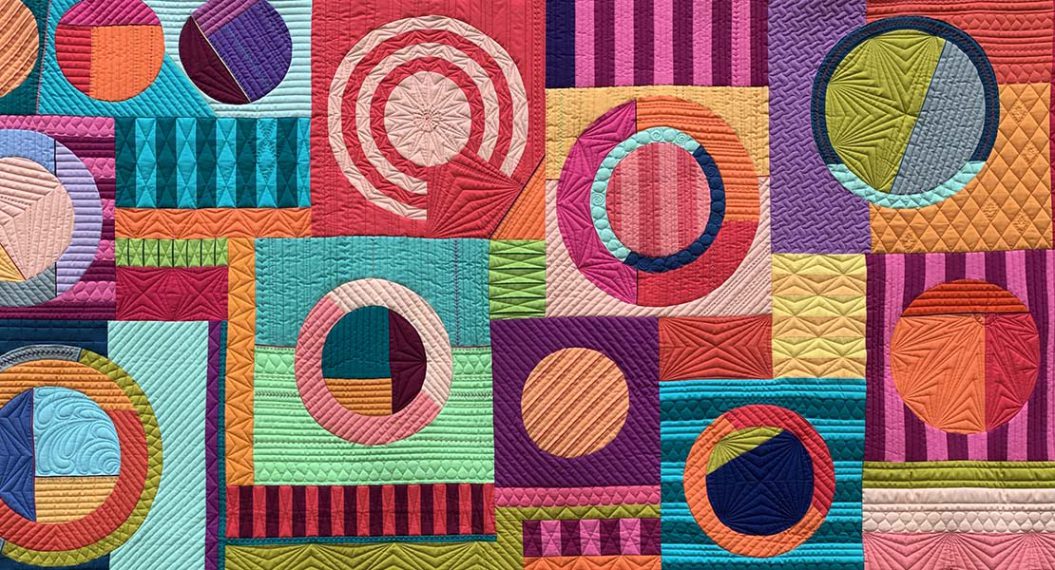
You can see the one I worked up for this trial:

But I expect all yours to be vastly different, and fun for you.
This is a good way to try a few new things that may have been daunting before.
Don’t forget to submit your piece to my contest!
Thanks!
LUKE


What you might also like


2 comments on “Circle Marks the Spot, Part 2: Binding”
Leave a Reply
You must be logged in to post a comment.

Great tutorial! You did an excellent job of explaining. I do my bindings this way with one exception – I apply the raw edge binding to the back of the quilt, then wrap folded edge to the front of the quilt and top stitch from that side. Then that “not-quite-stitch-in-the-ditch” seam is on the back and any minor imperfections are hidden there. I also cut my binding strips at 2 1/8, but just that’s because I like a more narrow binding. Again, you did an AMAZING job of detailing the process! Great job!!!