Holiday Machine Embroidery Design
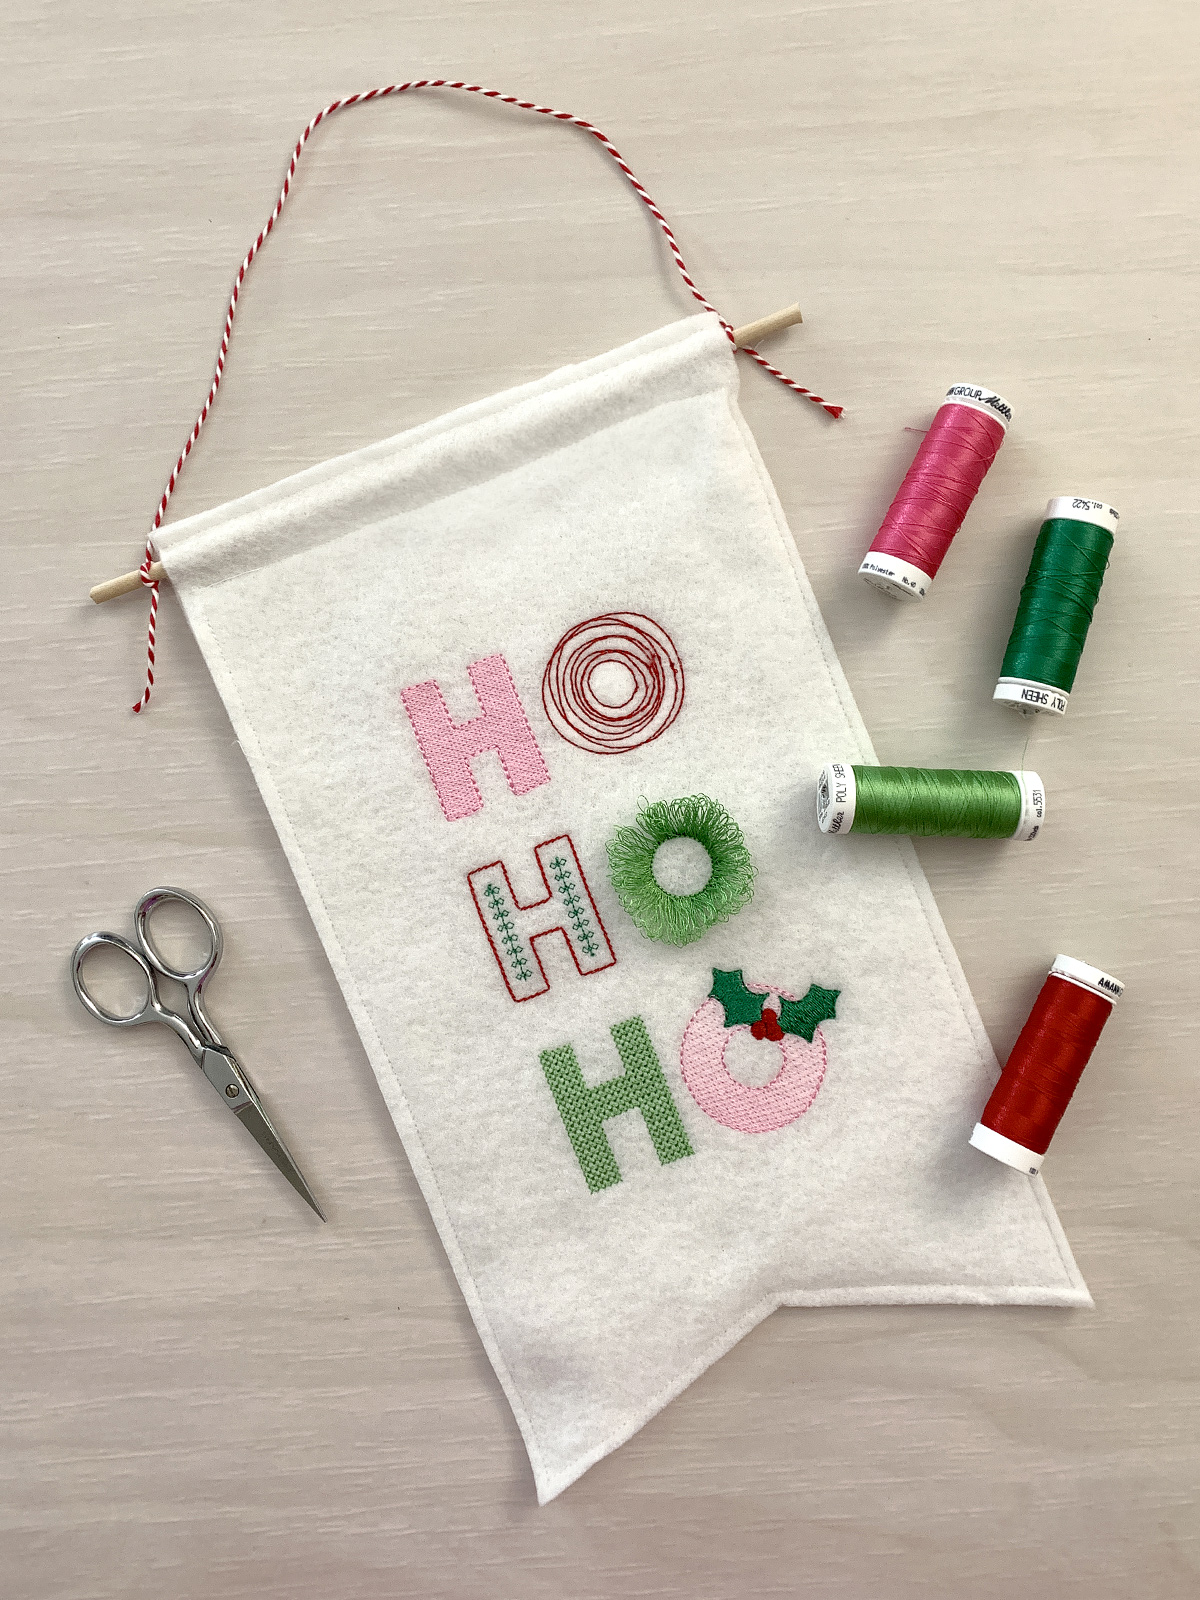
There’s still time for last minute holiday crafting! This super fun and festive machine embroidery design stitches up in about 20 minutes and is sure to add some cheer to your holidays. And did I mention the fringe? Add a festive touch to a gift bag, towel, wall hanging, stocking, or anything else you can manage to hoop. (You get the idea.)
Materials for the Holiday Machine Embroidery Design
- Fabric to stitch the design onto (I used felt)
- Stabilizer (I used tear away)
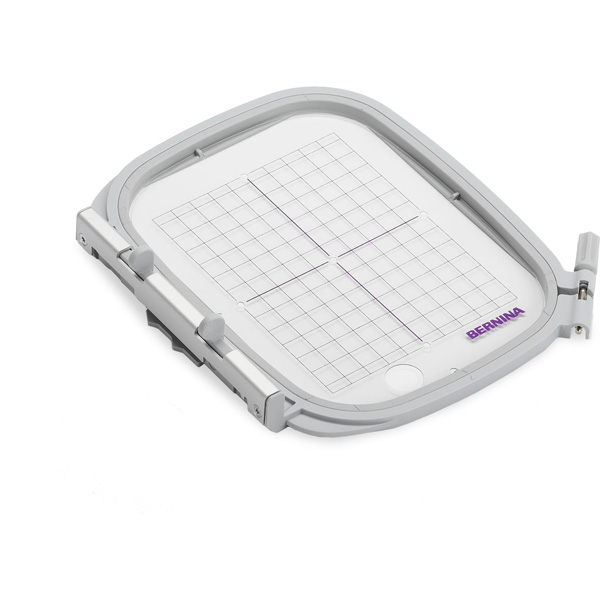
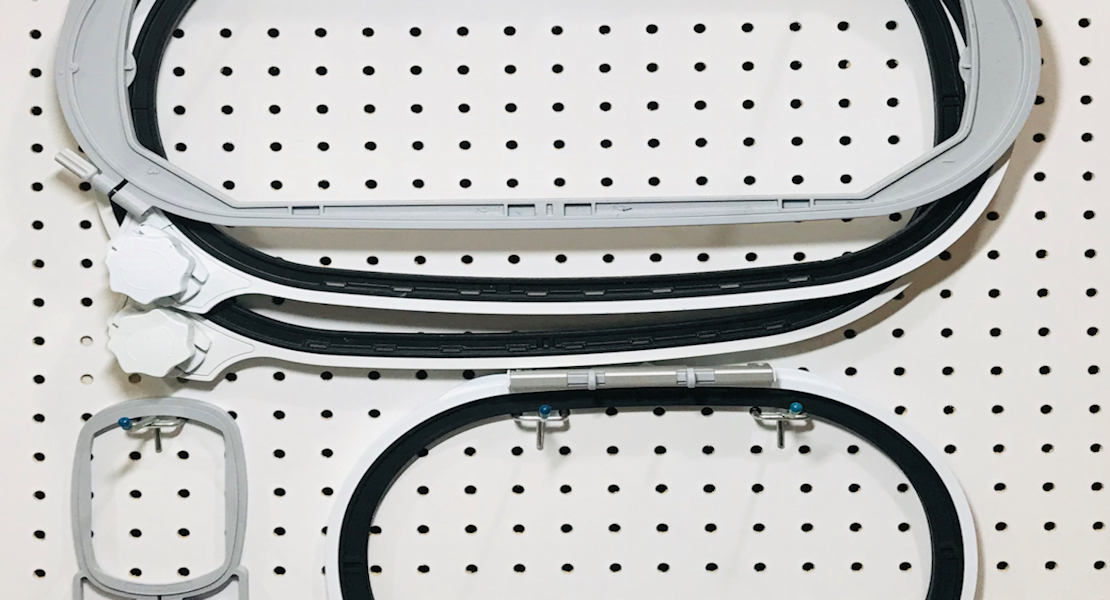
- Medium machine hoop (120mm x 180mm)
- Thread in five colors
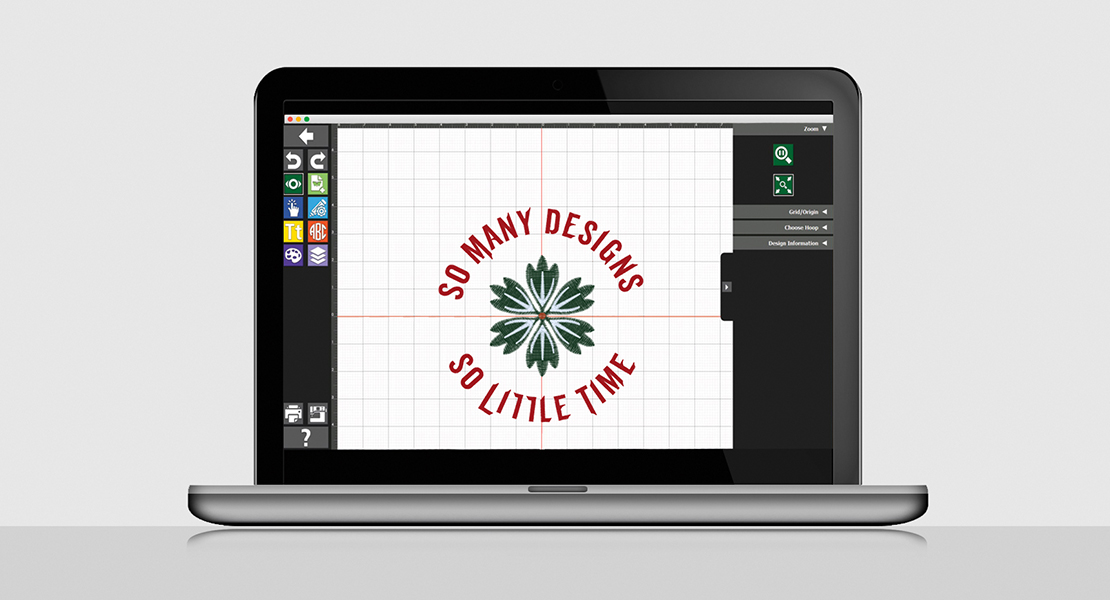
- This free stitch file

Steps For Machine Embroidering the Ho, Ho, Ho design
As this is a machine embroidery design, it stitches out quickly and you can sip hot cocoa while you watch the needle dance. Here’s a look at the stitch order / stitch map.
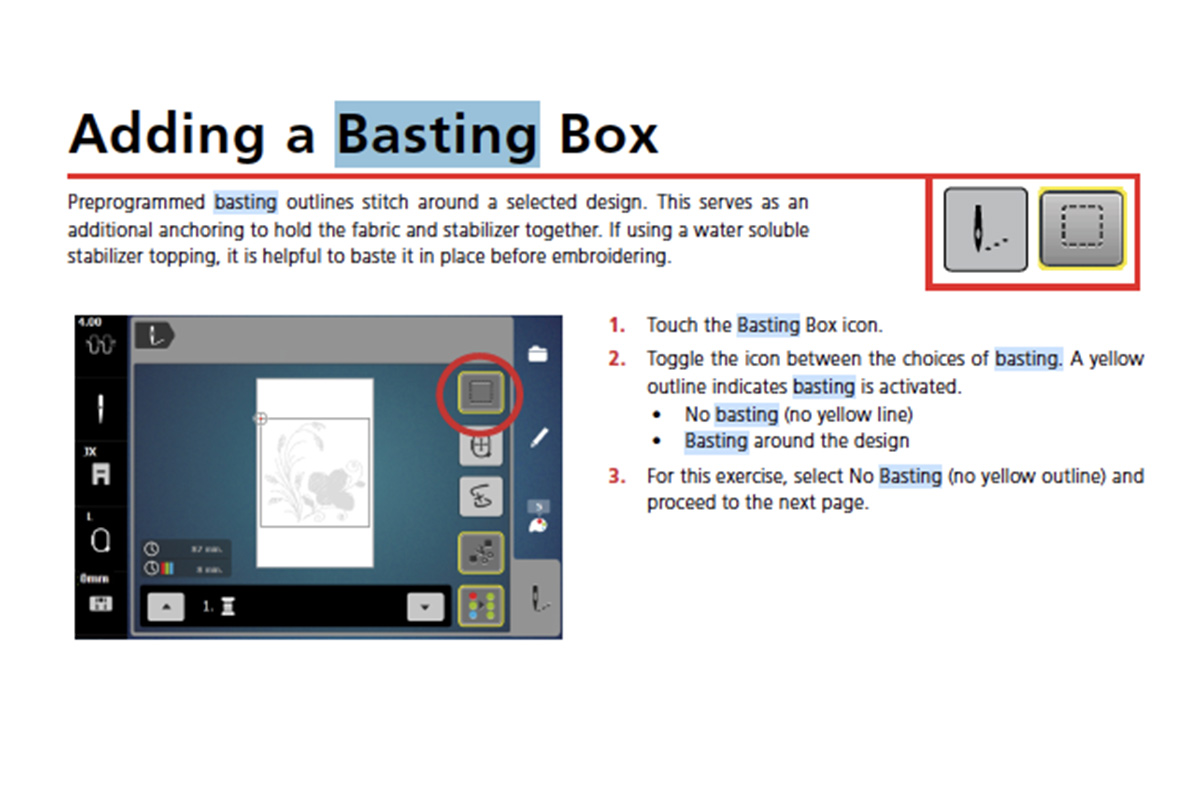
Step 1: Add a Basting Stitch (optional)
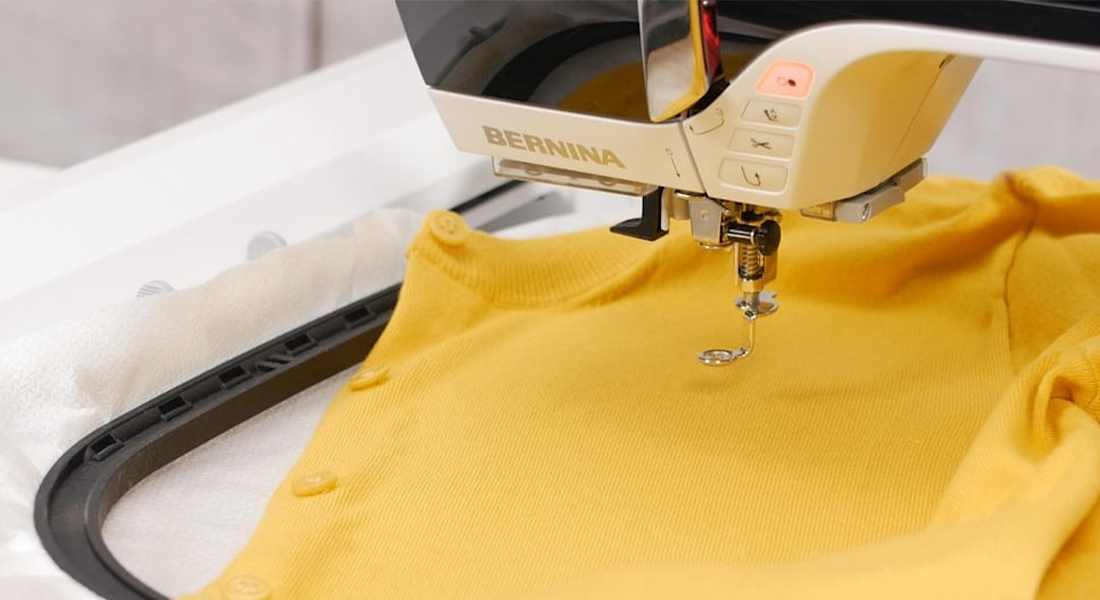
After you get your fabric hooped and in place, if your machine has the option, add a basting stitch to help hold the fabric in place. On my b79, I tapped the needle icon then the square icon to automatically generate a basting box.
Step 2: Run the First Holiday Color | Pink
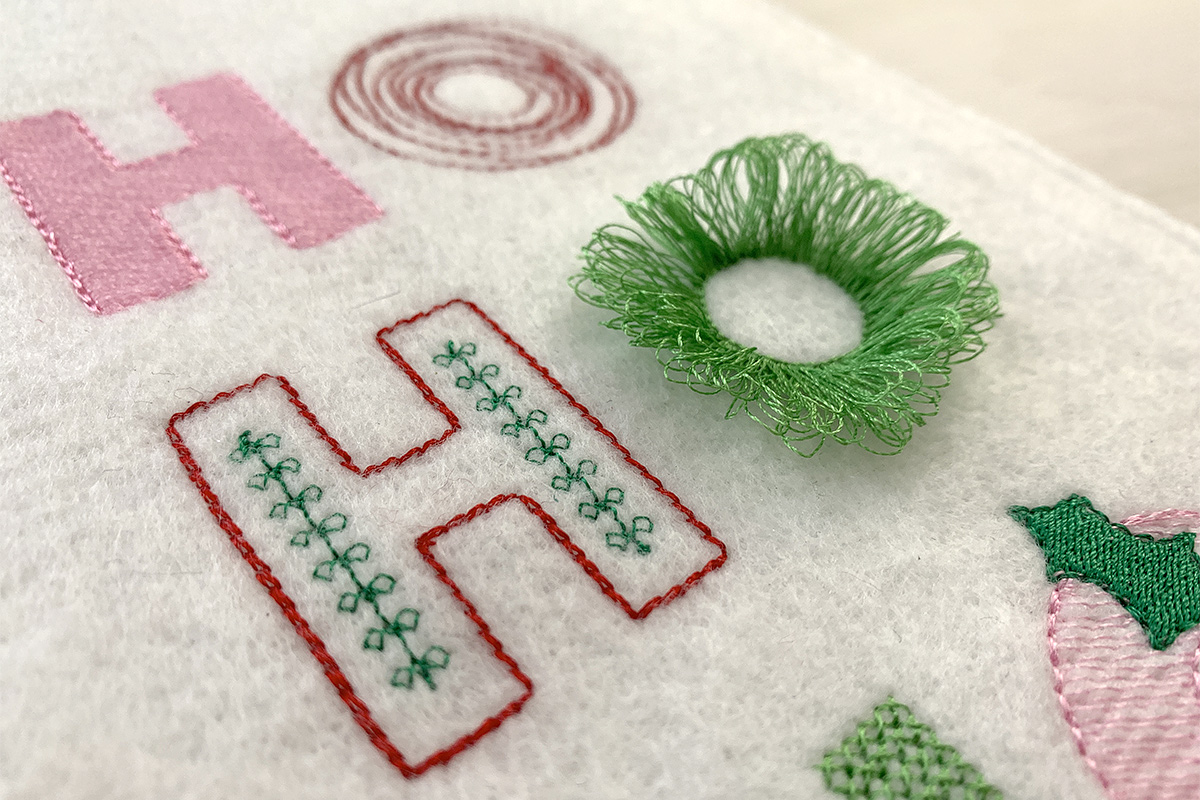
The first round stitches the first H and the last O, shown here in pink.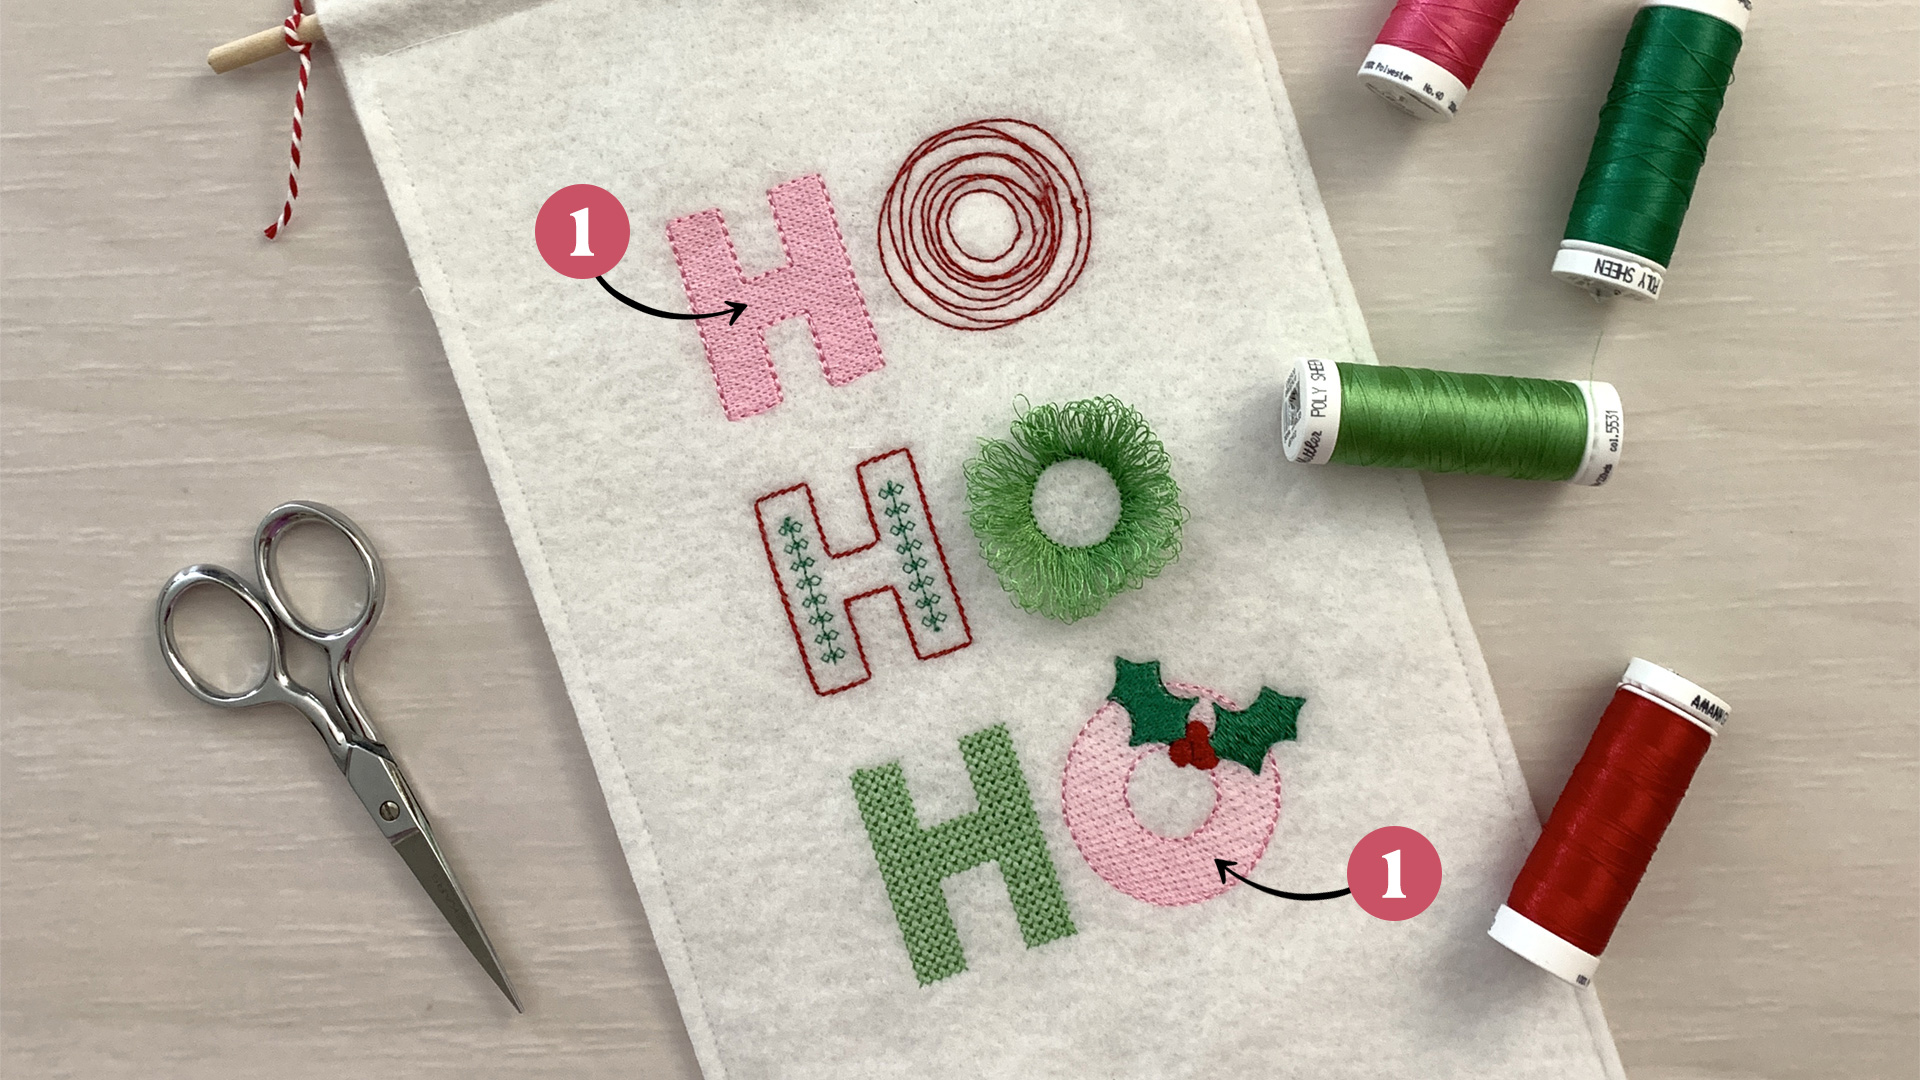
Step 3: Run the Second Holiday Color | Light Green
This run creates the middle O and last H. Because this is the run that creates the fringe, it can be helpful to use a highly noticeable bobbin color so it’s easy to identify the right threads to cut when finished.
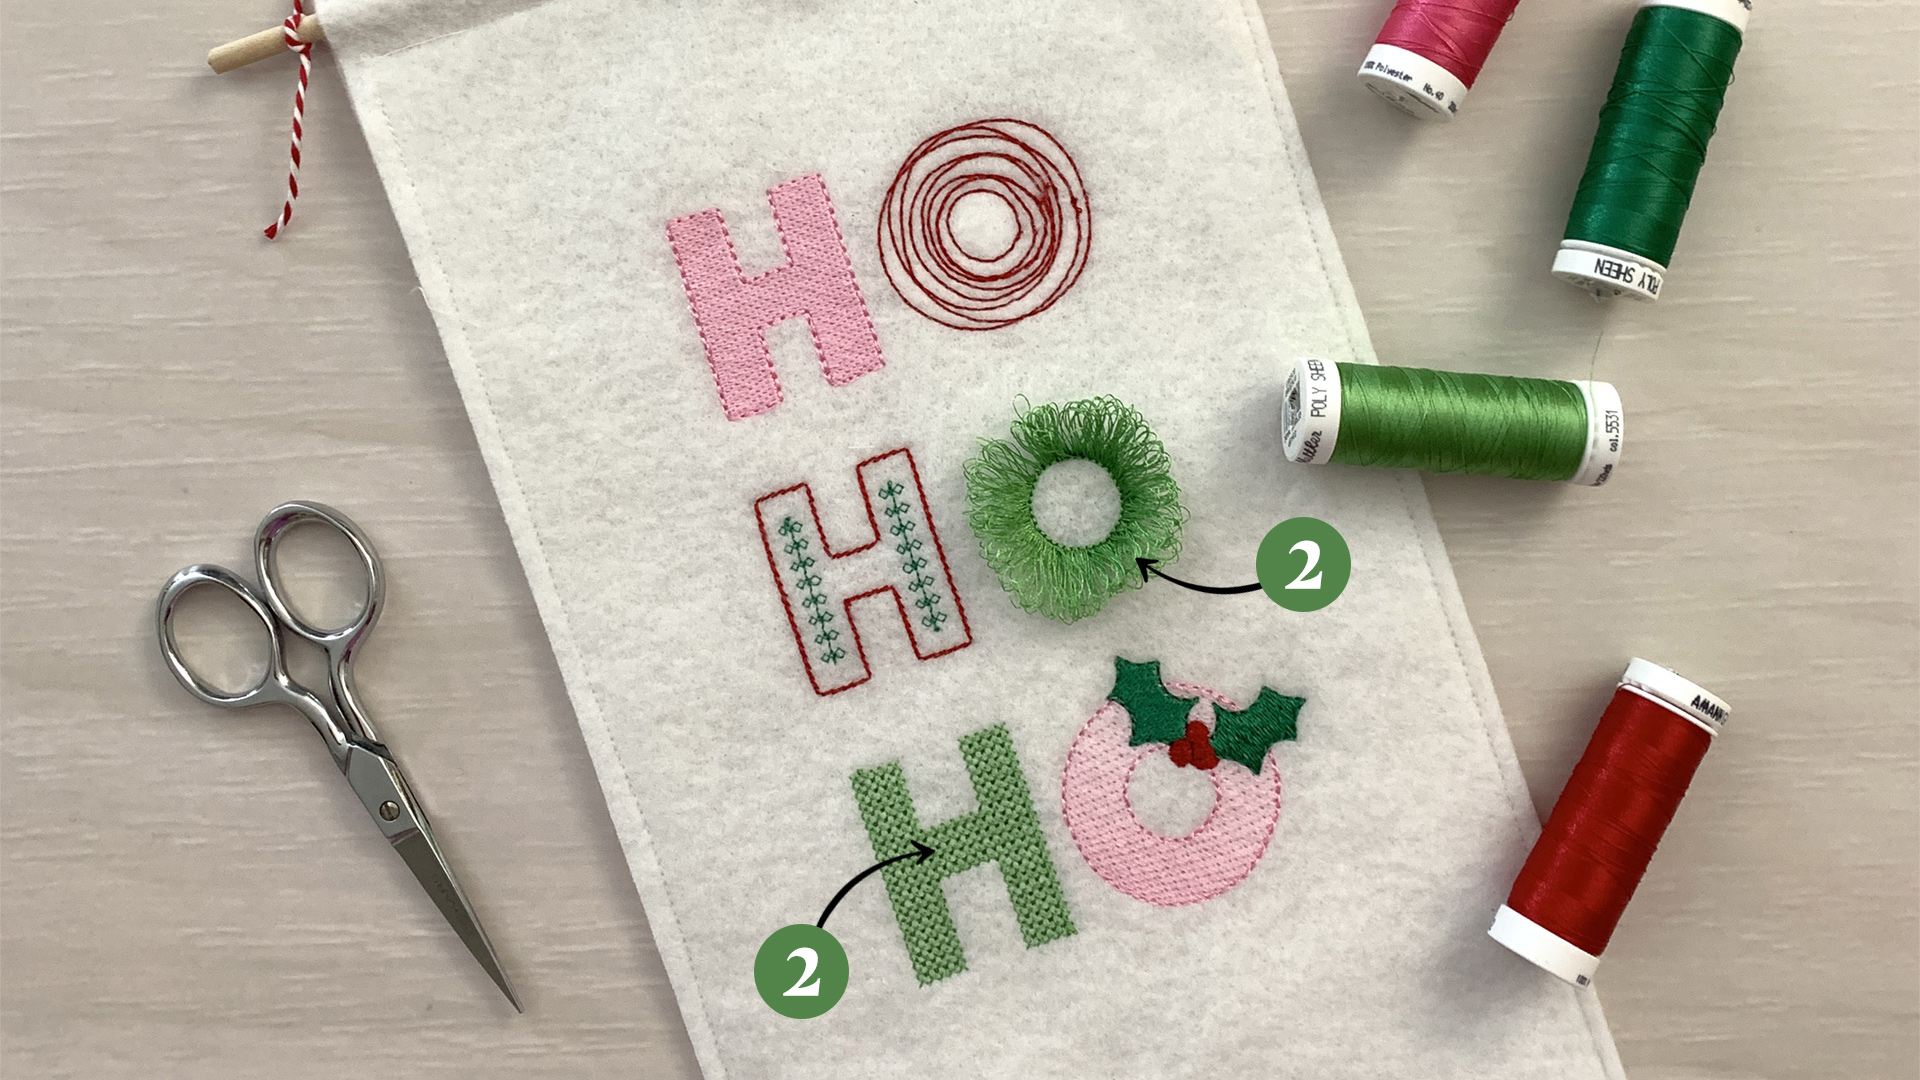
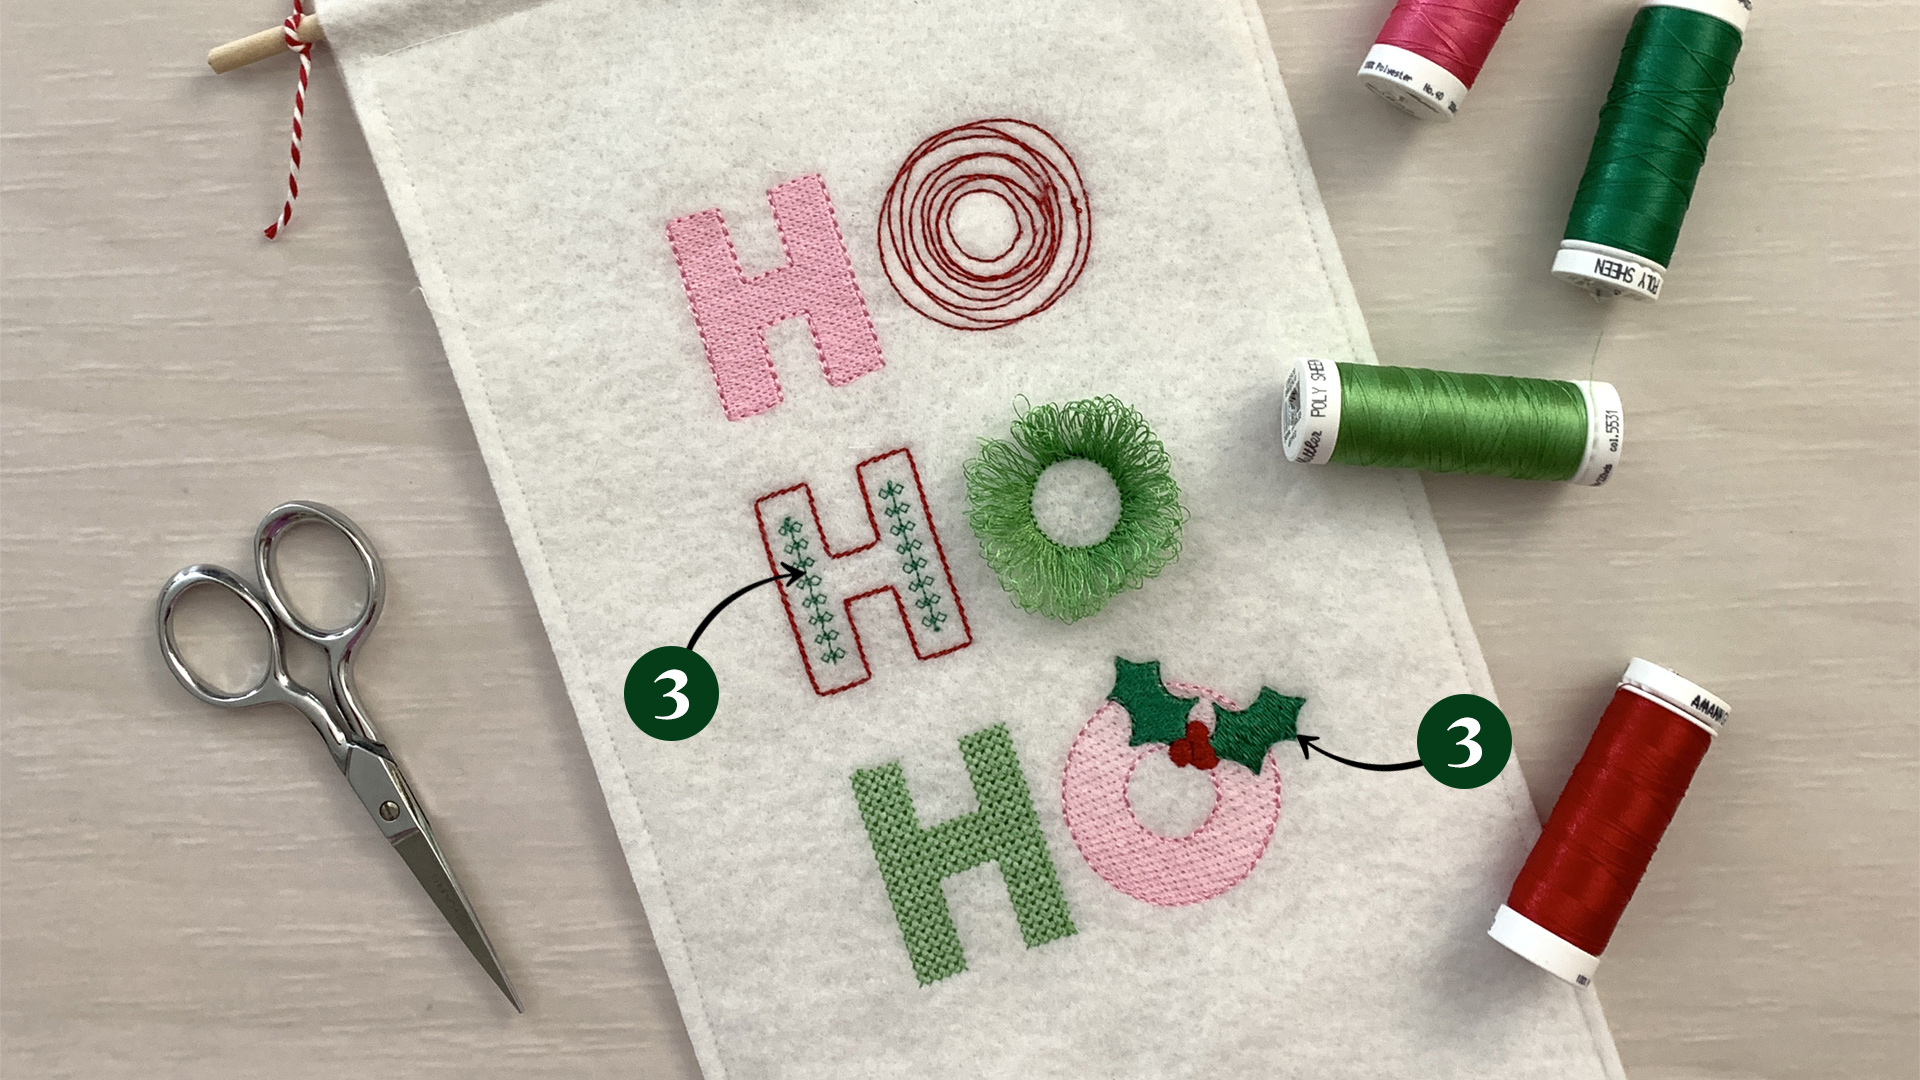
Step 4: Run the Third Holiday Color | Dark Green
This run creates the decorative pattern within the second H and the holly leaves on the last O. I feel like I can smell the holiday cheer already!
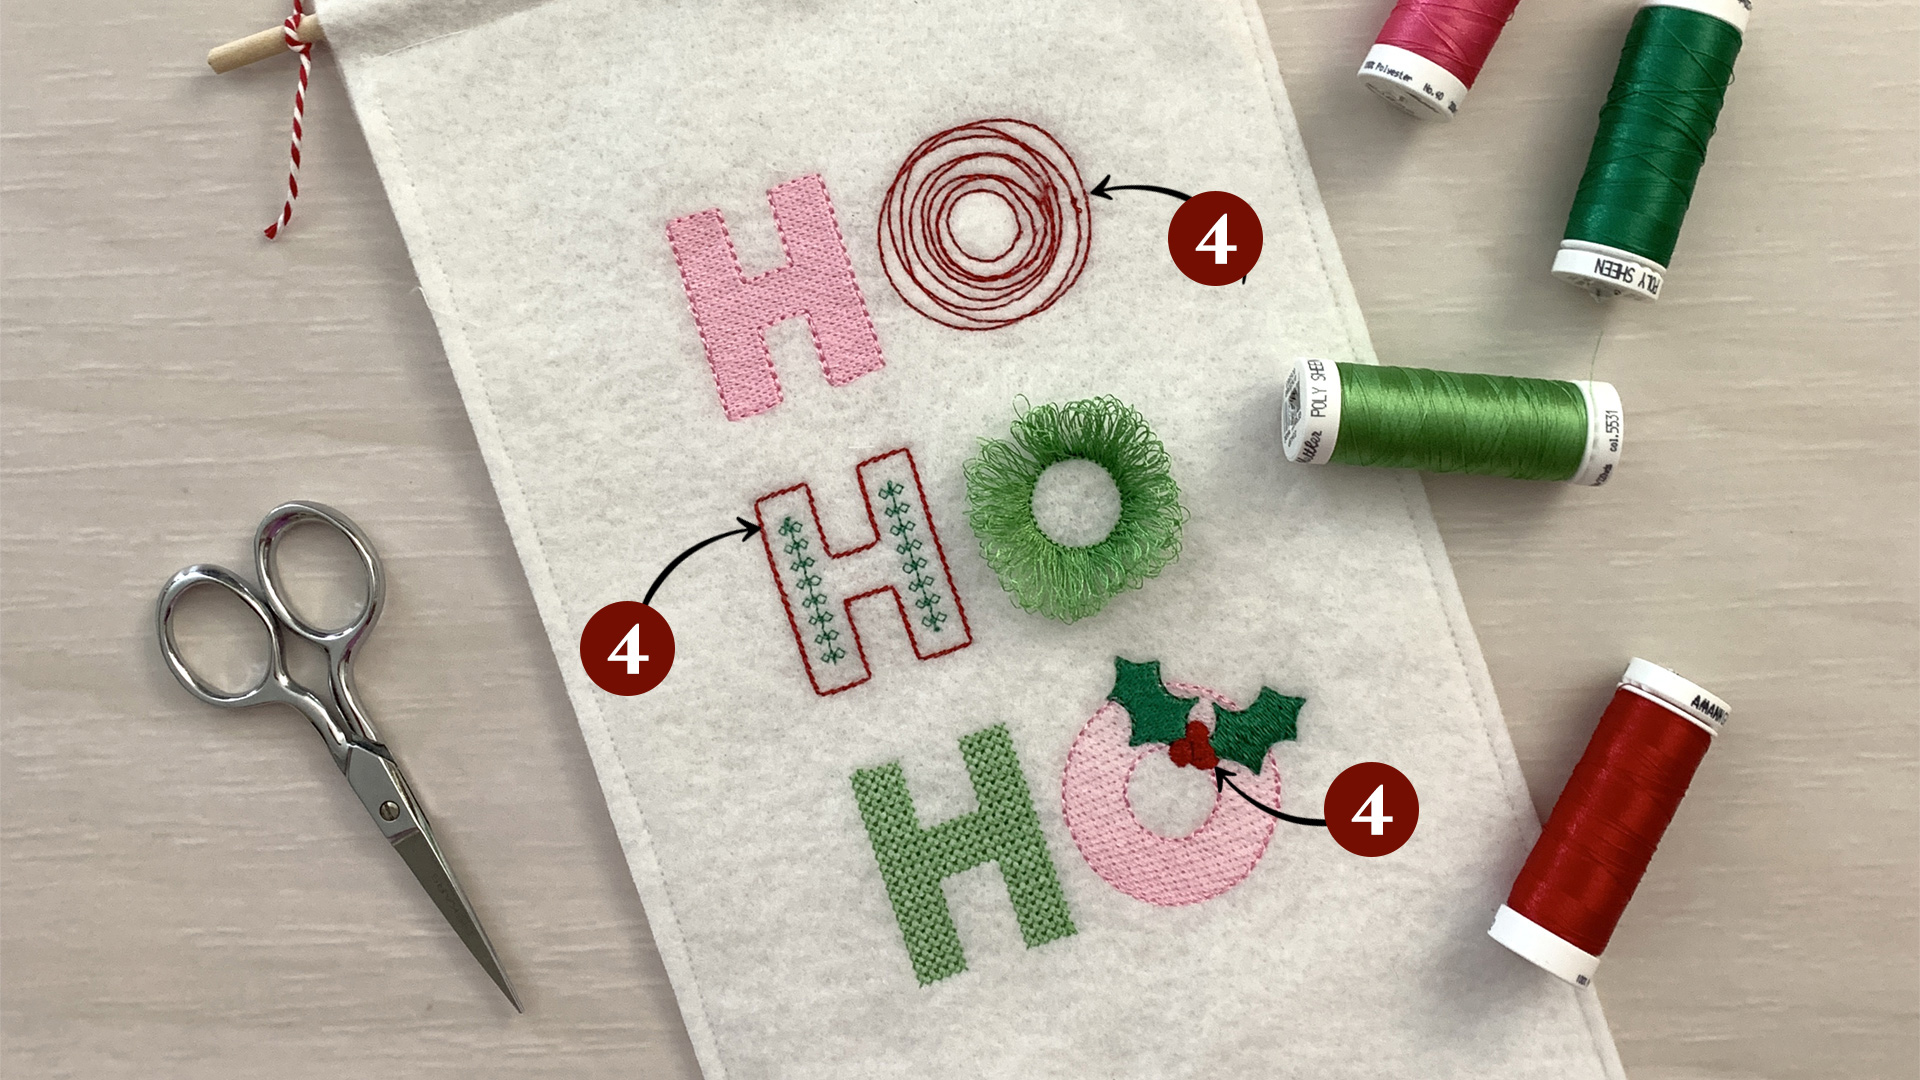
Step 4: Run the Fourth Holiday Color | Dark Red
Finally, the fourth run creates the first O in a scribbly style, the middle H, and the berries on the holly adorning the bottom O.
Step 5: Free the Fringe
This is the fun part! After you remove the work from the hoop, flip the finished design over to the back side and use a seam ripper or your favorite scissors to carefully cut the bobbin thread (shown here in black). Then, turn the work back to the front and use something that isn’t sharp to gently lift the stitches, creating the fringe. You just made a fun and festive holiday project!
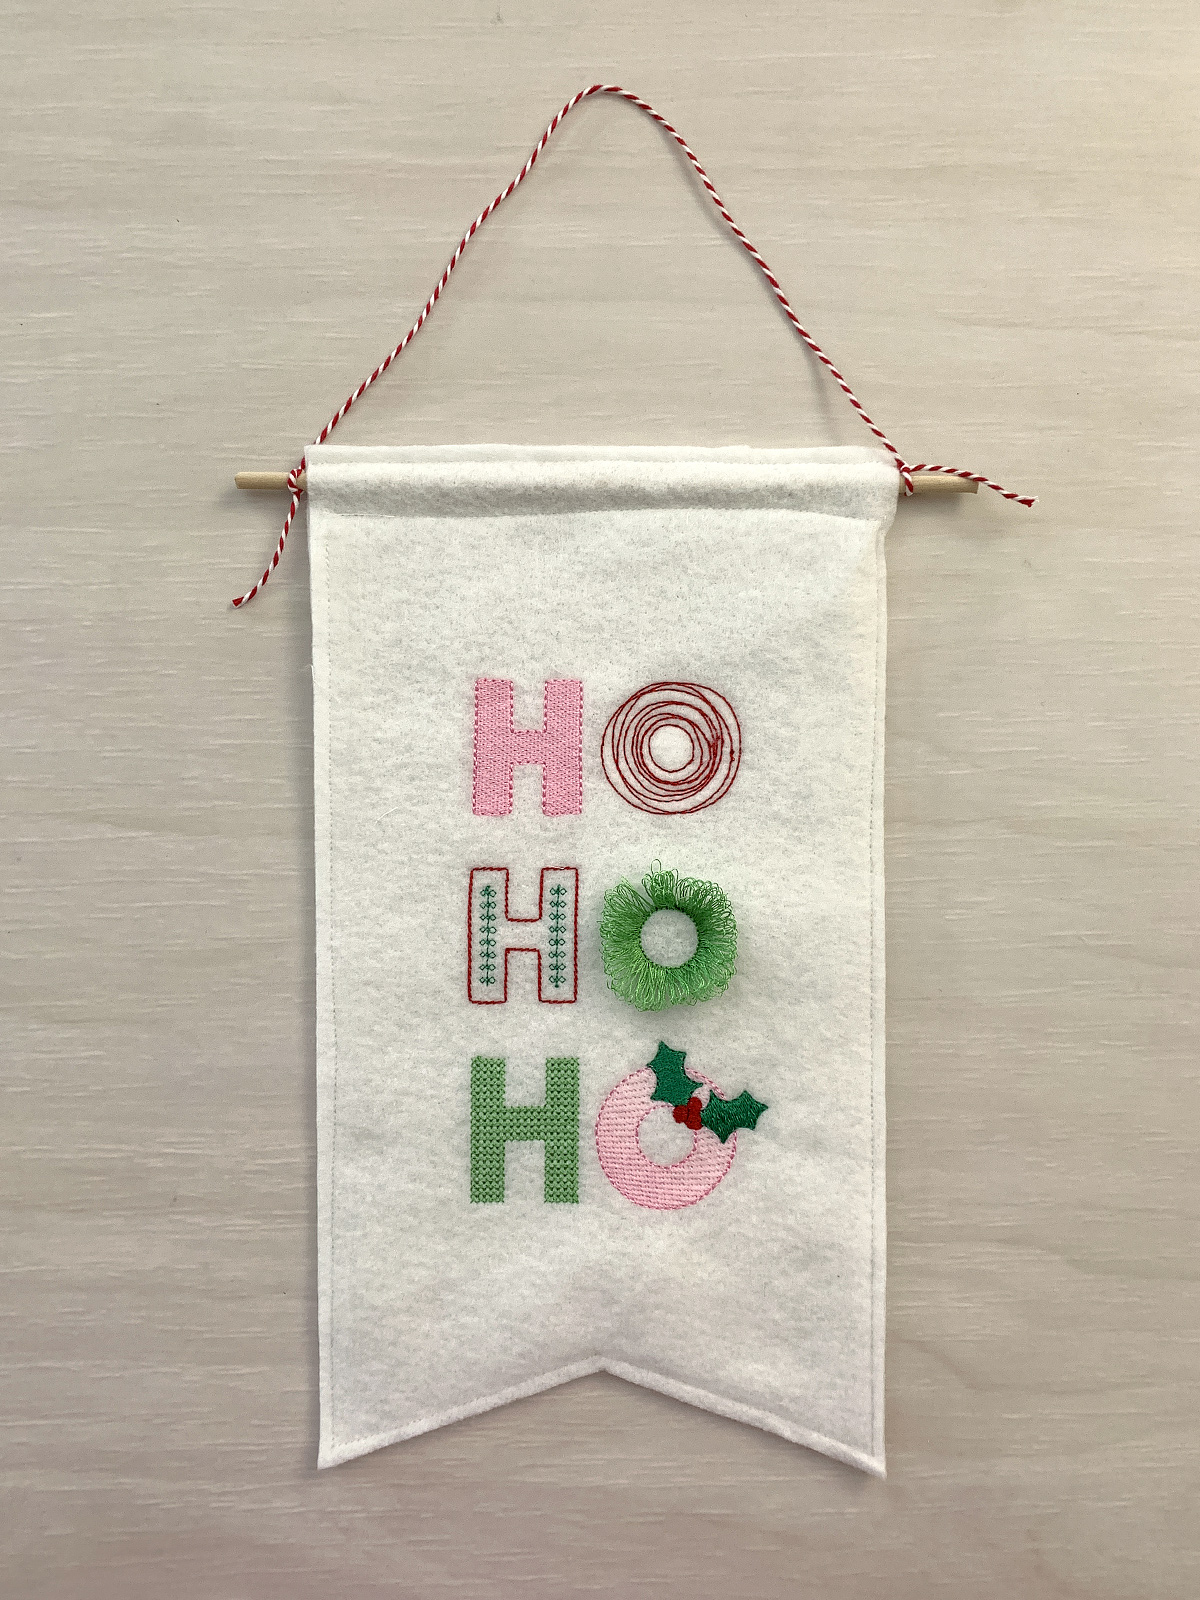
Step 6: You’re Done!
After snipping any tails, and removing any remaining basting stitches, your holiday-themed machine embroidery design is finished. Wasn’t that easy? Comment below to share your favorite ways (or wish list of ideas!) for using machine embroidered fringe and maybe they’ll lead to another inspired design!
Used Products

What you might also like

3 comments on “Holiday Machine Embroidery Design”
-
-
Very cute and I love these Christmas colors!!
-
What is size of Pennant? Any directions for that?
Leave a Reply
You must be logged in to post a comment.

OMG, this is so, so cute! Let’s try it!