That Old ’57 Chevrolet, Part Three
This is part three of a four-part Quilt Along which includes a free downloadable pattern for this ’57 Chevy art quilt and the free downloadable Dresden Daisies 82028 embroidery design from BERNINA. Finished size is approximately 16 inches by 25 inches.
If you missed the previous posts, you can find them here:
It’s time to get back to the sewing machine as step two didn’t include even turning the machine on. It’s rare day that my machine does not run for some project, big or small. Quilt Along Part Three covers edge finishing the appliqué and quilting the project.
Materials for Edge Finishing and Quilting
• Sewing Machine (I used the BERNINA B 790 PLUS)
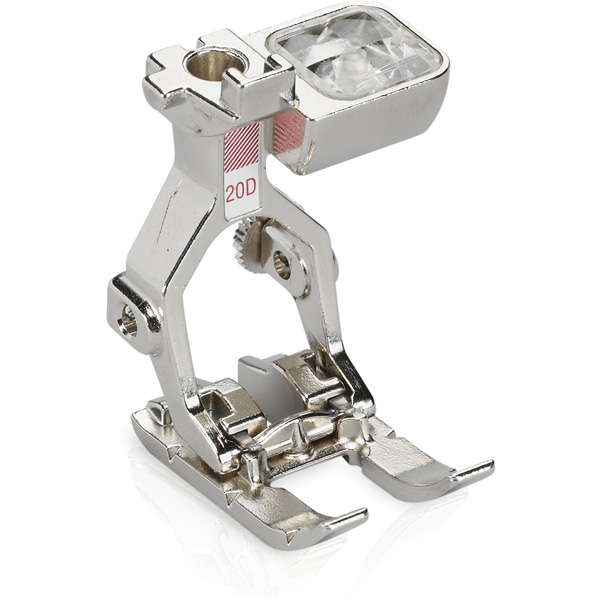
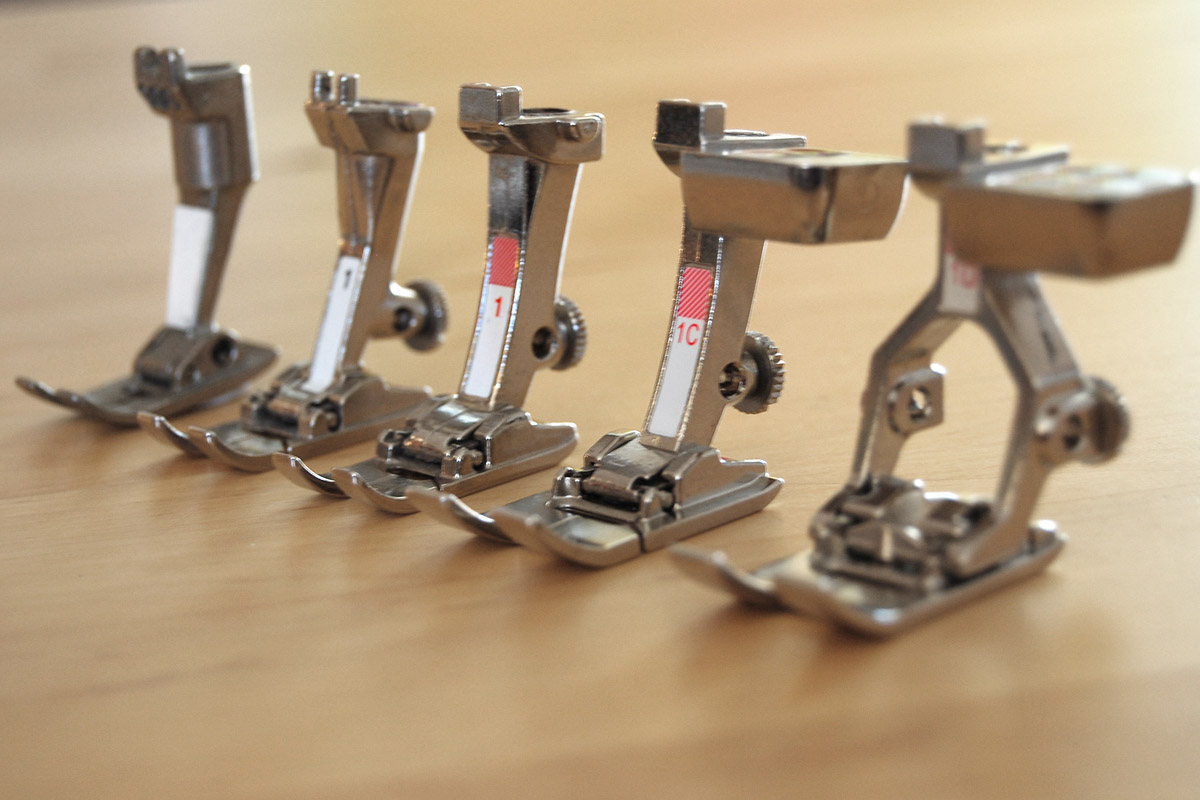
• Open Toe Presser Foot (I used Open Embroidery foot #20D)
• Assorted Thread
• Basic Sewing Supplies
Edge Finishing Techniques for Fused Appliqué
Raw edge appliqué can be finished with a variety of techniques depending on the size of appliquéd pieces, intended use of finished project, visual effect desired, method of quilting and type of fabric used.
• Fused Only – appropriate for some art quilts created with tightly woven fabrics or heavy quilting
• Straight Stitch – effective for tiny appliquéd pieces where other methods would look messy
• Blanket Stitch – created either by hand or machine, a stitch follows the edge of the appliqué while one stitch holds the fabric in place
• Zigzag Stitch – stabilizes the edge of fabric against wear and laundry while creating a visual edge on appliqué pieces
Zigzag Finish
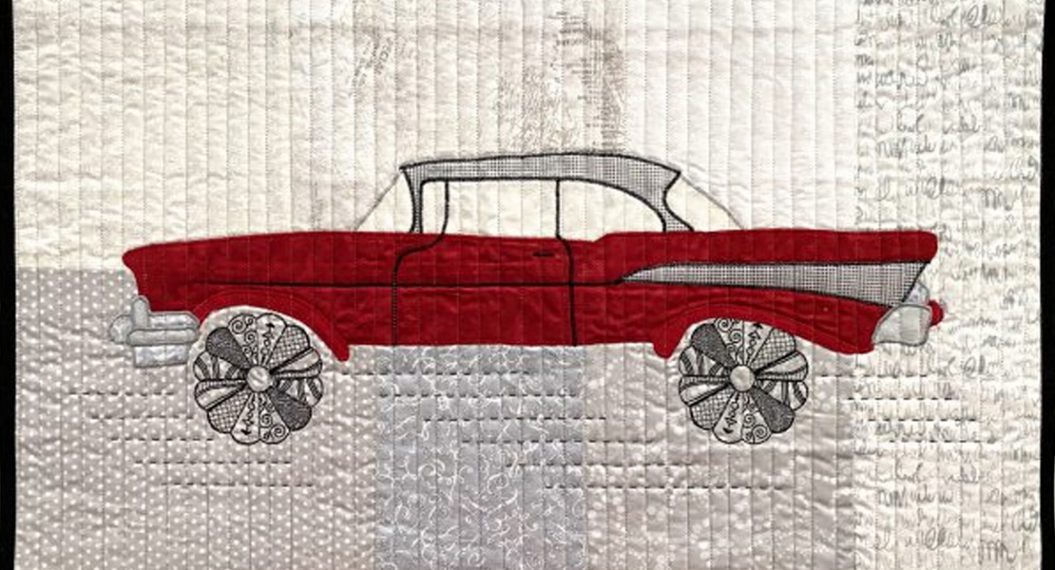
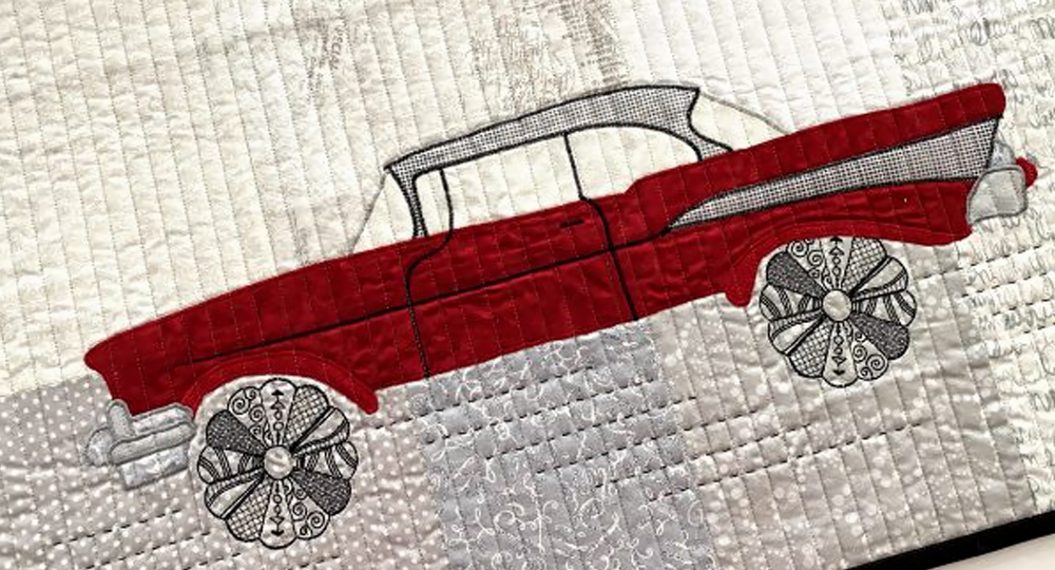
Edges on That Old ’57 Chevy Art Quilt will be finished with a zigzag stitch. Although the project is intended as a wall quilt, the visual impact will highlight the lines of the car and coordinate well with the machine embroidery.
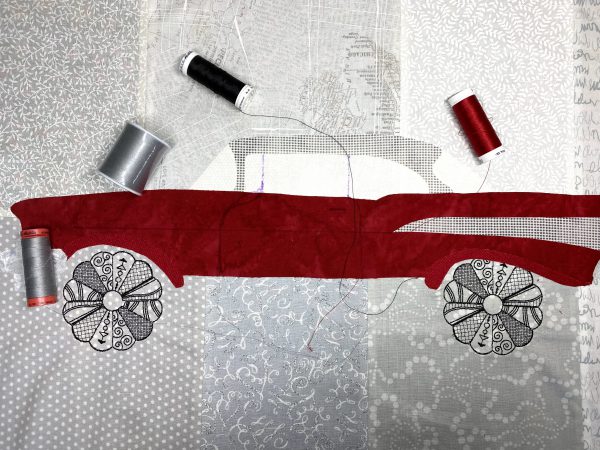
Step One – Thread Selection
Machine embroidery 40 weight polyester thread is audtioned fabrics. Medium weight thread will ‘fill’ the zigzag stitches without adding bulk from a heavier thread or appearing sparse with a thinner thread. Embroidery threads have a sheen to offer contrast on matte fabrics and coordinate well with machine embroidered Dresden wheels. 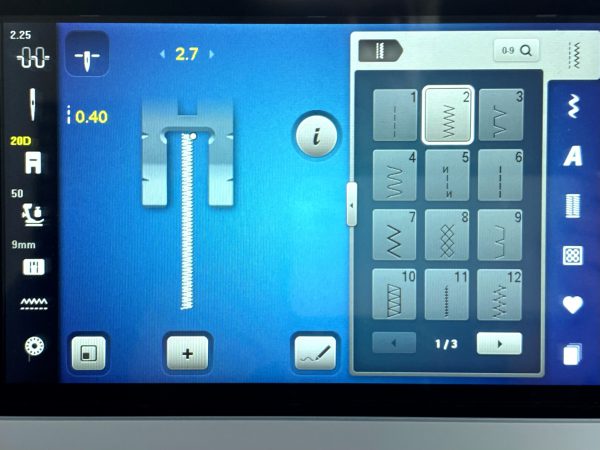
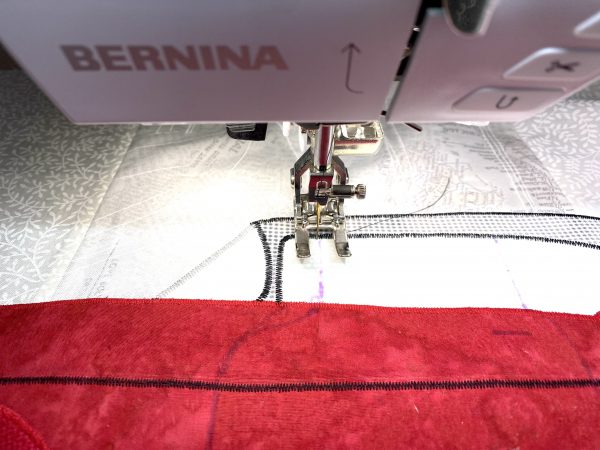
Machine set for zigzag stitch using .40 stitch width and 2.7 stitch length and an open toed presser foot. Use additional fabric to do a trial run before starting any project. This allows for any needed adjustments without the need to remove stitches from your project. My machine reminds me to use a stitch plate with a wide opening for zigzag stitching. To prevent a broken needle, check the stitch plate before the trial run stitching.
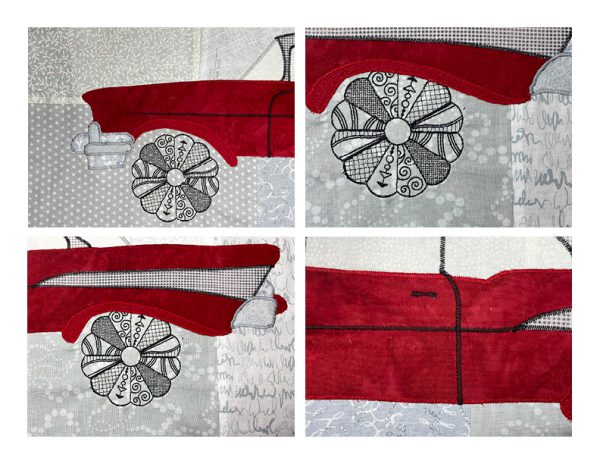
Details can be added with the same threads and zigzag stitching to define lines that add depth and definition to the project. Stitching path was drawn on with fabric marker that disappears with air so the purple won’t show even if stitching does not completely cover lines.
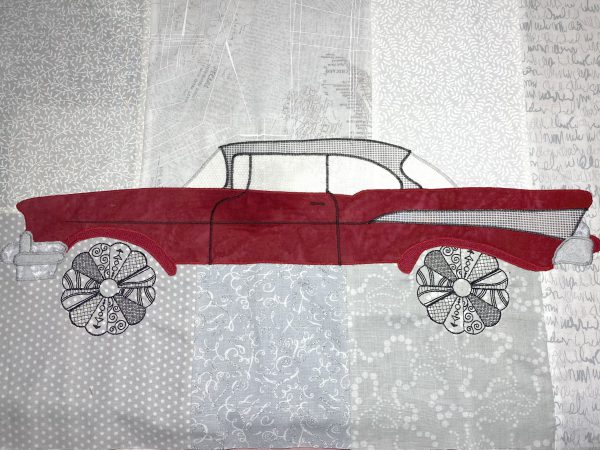
Edge finish appliqué and details such as door handle, window and door lines and horizontal trim line are complete. All pattern parts are completely secured to background fabric.
A few close-up photos of zigzag edge finishing and details.
Quilting
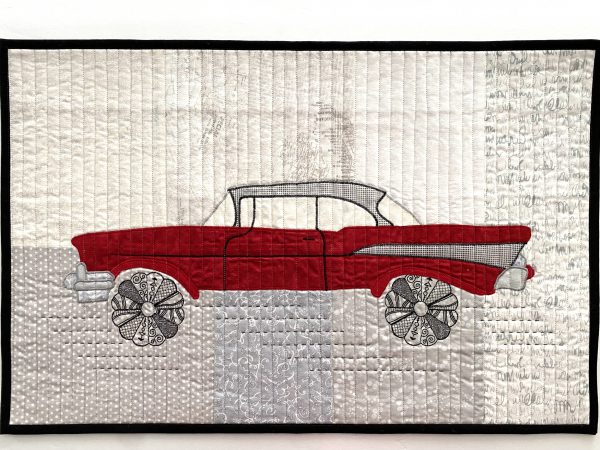
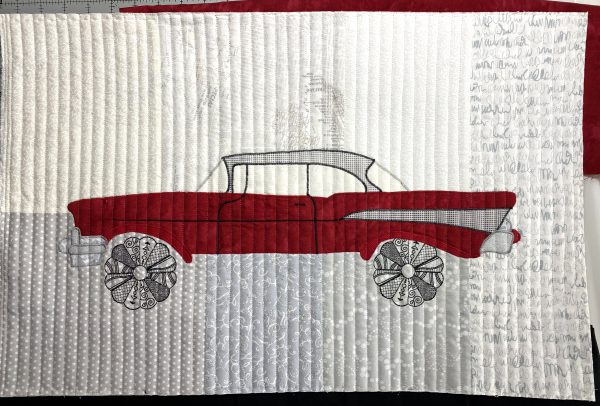
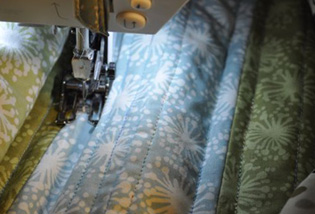
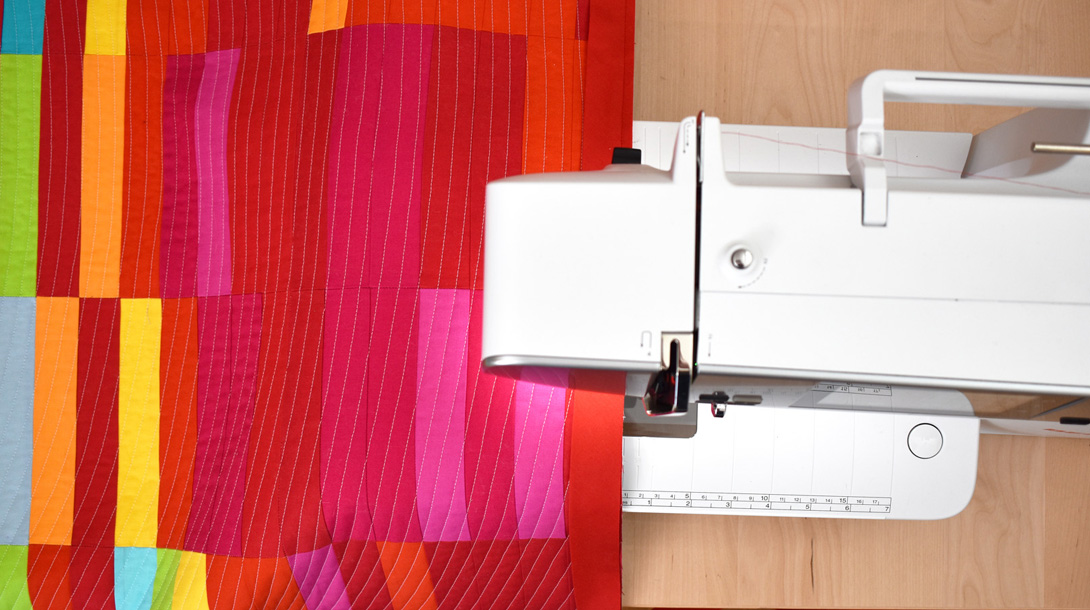
Straight line vertical quilting with Superior 100 weight Kimono silk thread spaced at 1/2 inch increments adds a modern touch to a vintage design. Backing fabric layered with Hobbs 80/20 batting could be quilted with a walking foot to prevent shifting. I used the BERNINA dual feed foot to move the top and bottom fabric through with no movement.
That Old ’57 Chevy Art Quilt is ready for binding. Watch for step four in the Quilt Along where binding, hanging sleeve and something extra will be covered.
