How to Sew a Wearable Statement Flower from Fabric


Farm Rio is one of my favorite brands! I love their use of print and color and their advocacy for sustainability. I always check out the latest offerings to get inspired in my own designs and clothing. And while I absolutely love the brand and the clothing, the price point is a bit high for me. But luckily, I have the ability to sew and make my own clothes! While browsing Pinterest and the Farm Rio website, I found this dress and immediately fell in love!
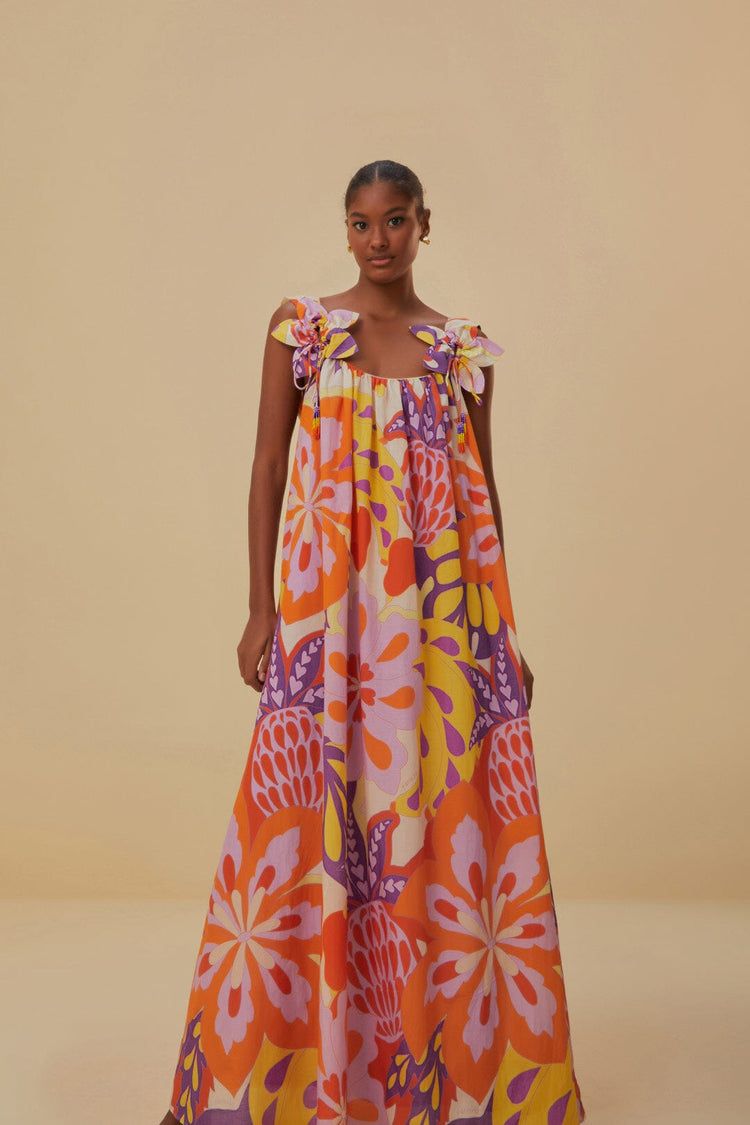
I knew that I could easily make a similar dress in my own style, but I wasn’t sure how I was going to make the floral appliqués at the shoulder.
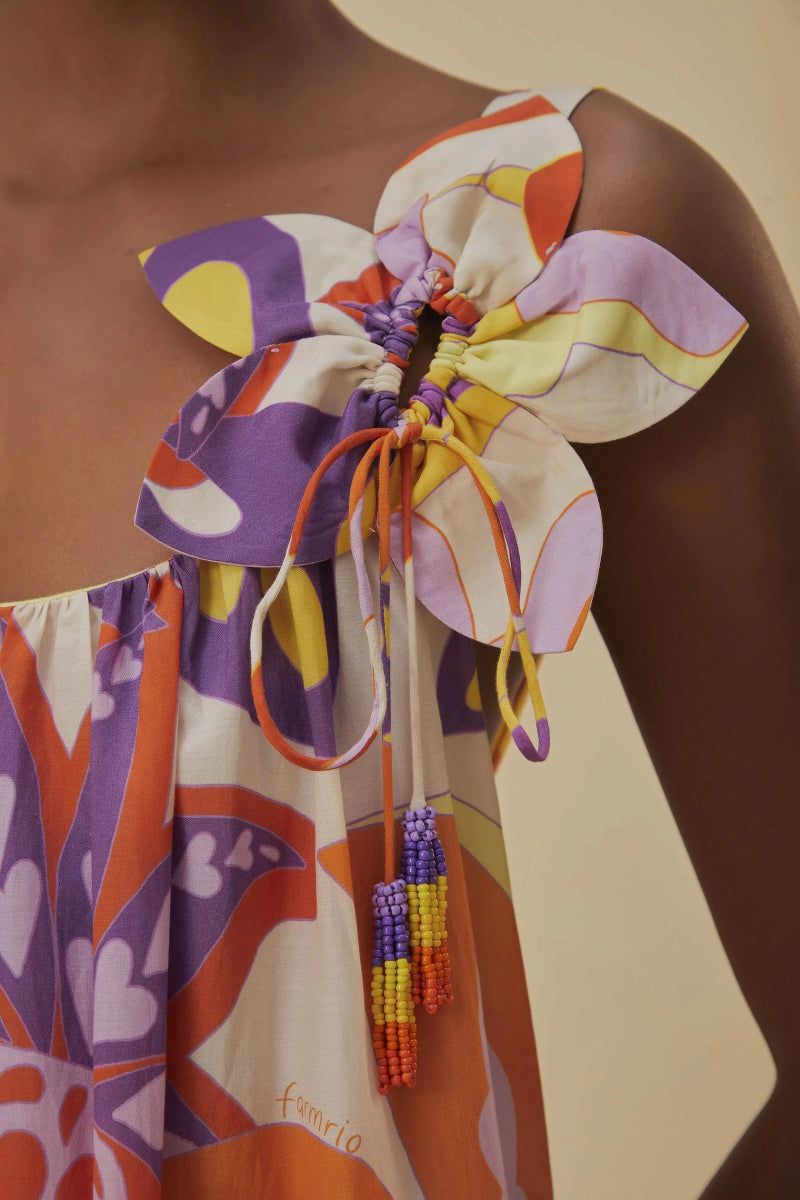
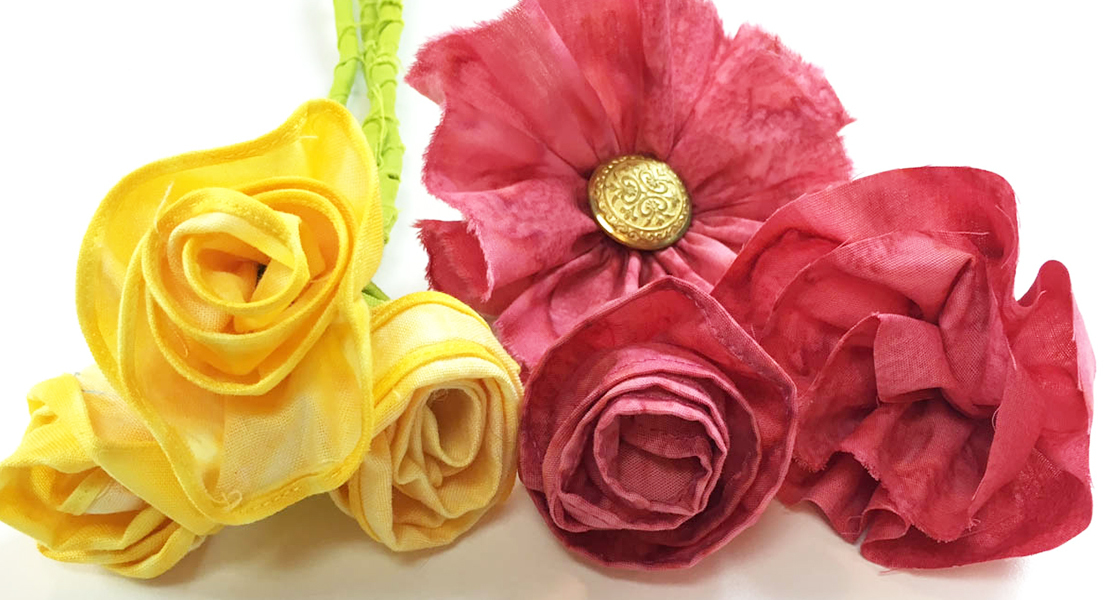
What I believe is that where there is a will, there is a way, and where there is a BERNINA, anything is possible! I did a little bit of research and, through trial and error, created the perfect tutorial on how to sew a fabric flower! The fabric that I’m using is from African Zesty Fabrics, a Texas-based business that sells the most stunning cotton Ankara fabric. I thought this floral print would be absolutely perfect to go with this dress. It’s bold and bright and colorful, and the cotton is so soft and comfortable. I love working with it because I can create so many different clothing items and accessories with the Ankara cotton, anything from shirts to wide-leg pants to dresses. It’s such a versatile fabric!
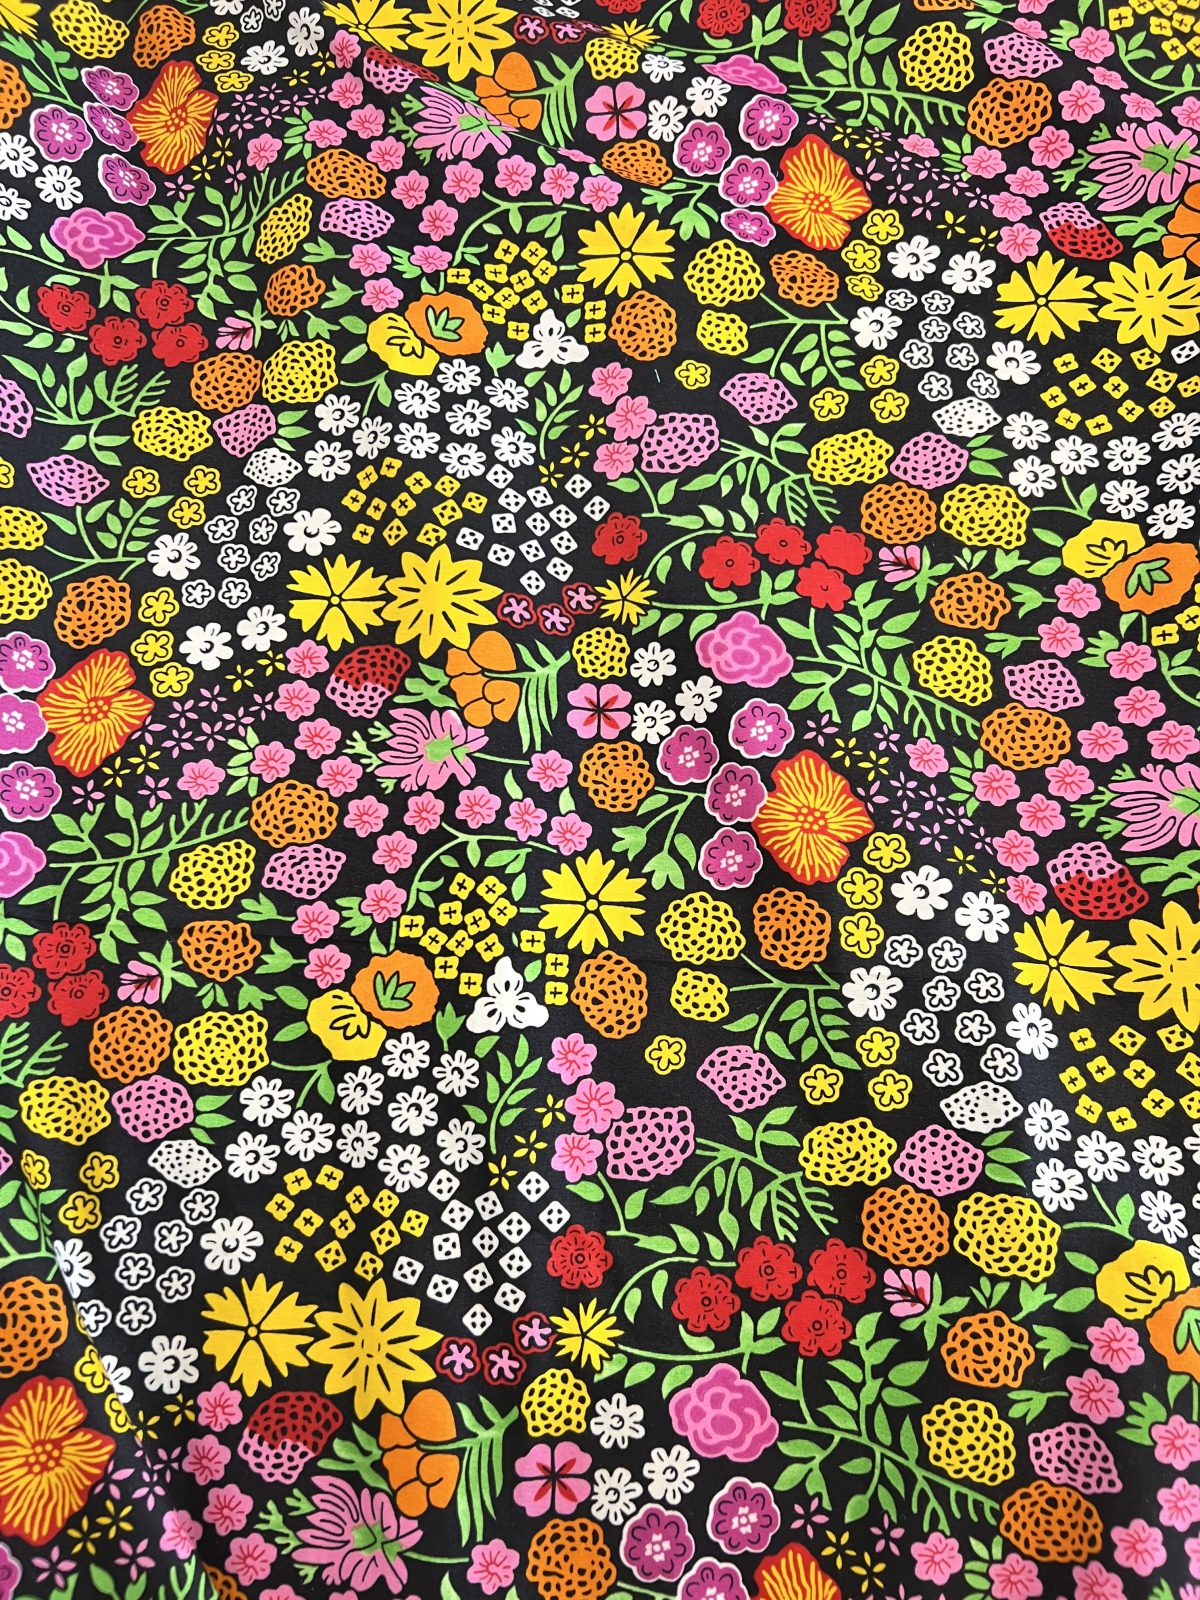
Materials To Sew A Fabric Appliqué Flower
- Fabric of choice (cotton, linen, viscose challis preferred)
- SF 101 interfacing
- Petal Line Drawing Shape
- Beads (optional)
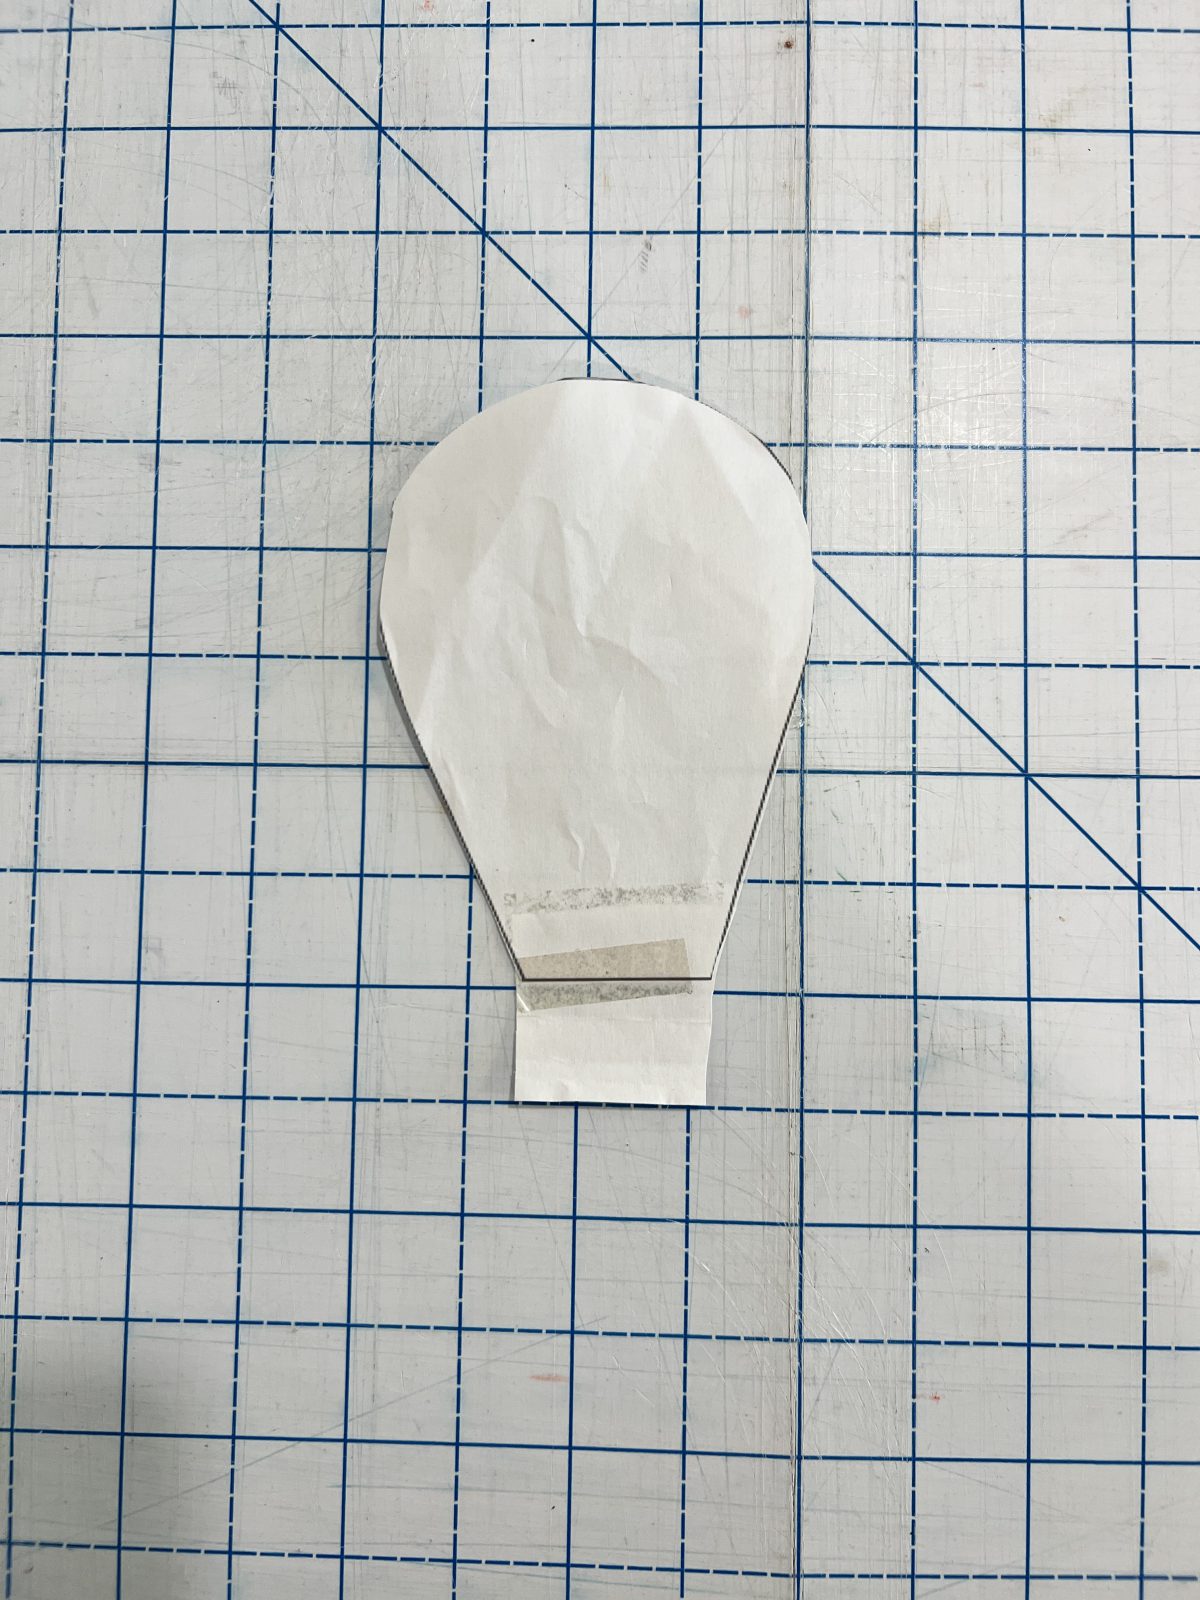
Sewing a fabric flower was a lot easier than I thought, and it doesn’t take that much material! Depending on the size you want to make, these would make the perfect scrap buster project as they don’t use a lot of fabric and only take a little interfacing to make them sturdy and give them shape. For the shape of the petals, you can draft your own petal shape, or you can easily find petal line drawing shapes on the internet. I just searched Google and found a petal shape that I liked. I enlarged it to get the size of the petal that I wanted because I wanted mine a little bigger, so I enlarged the file, and then I printed it and cut it out.
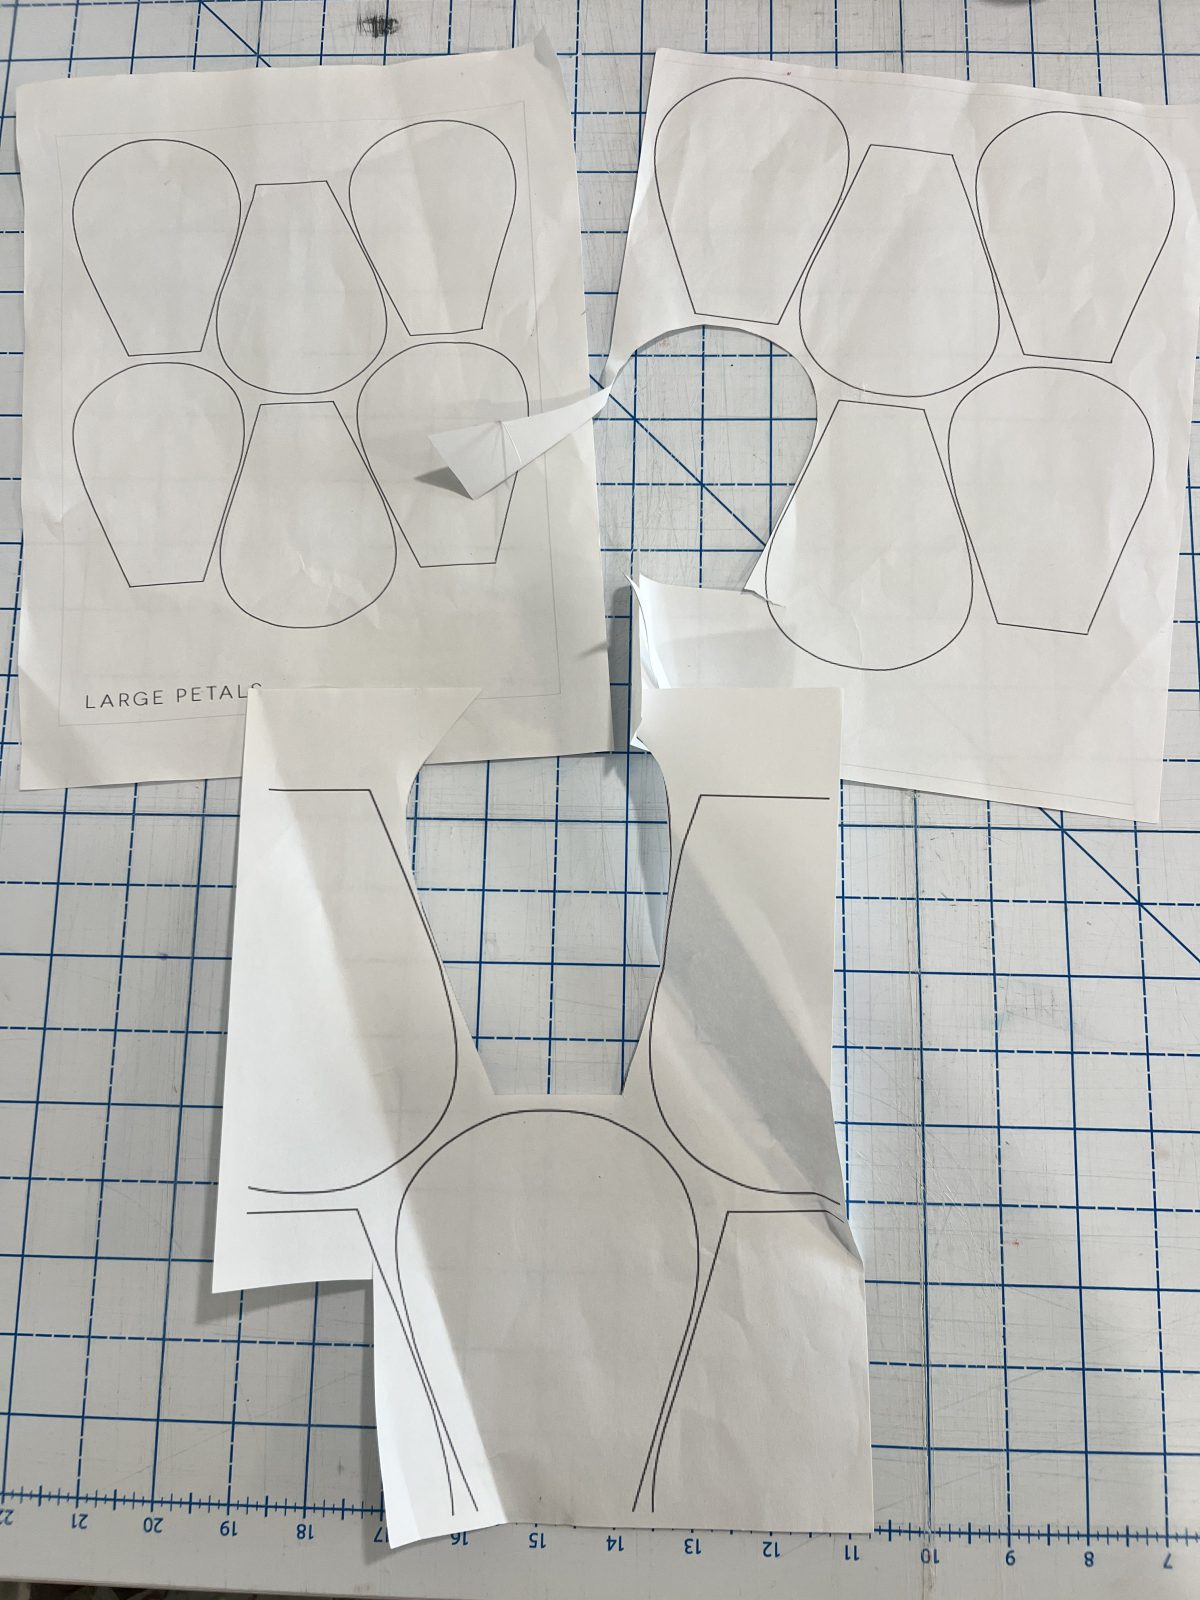
One thing I did learn during the trial and error was to extend the bottom edge of the petal so you have enough to fold over at a later step of the instructions. This is what my final petal piece ended up looking like.
For the string or tie, you can either make a long, skinny tie from the matching fabric or you can use string. I preferred to make a matching tie from the fabric. If you want to add beads like in the Farm Rio dress, you can, but its completely optional!
Instructions To Sew A Fabric Applique Flower
Step 1: Cut Out Your Petal Shape
You only need to cut out one petal shape
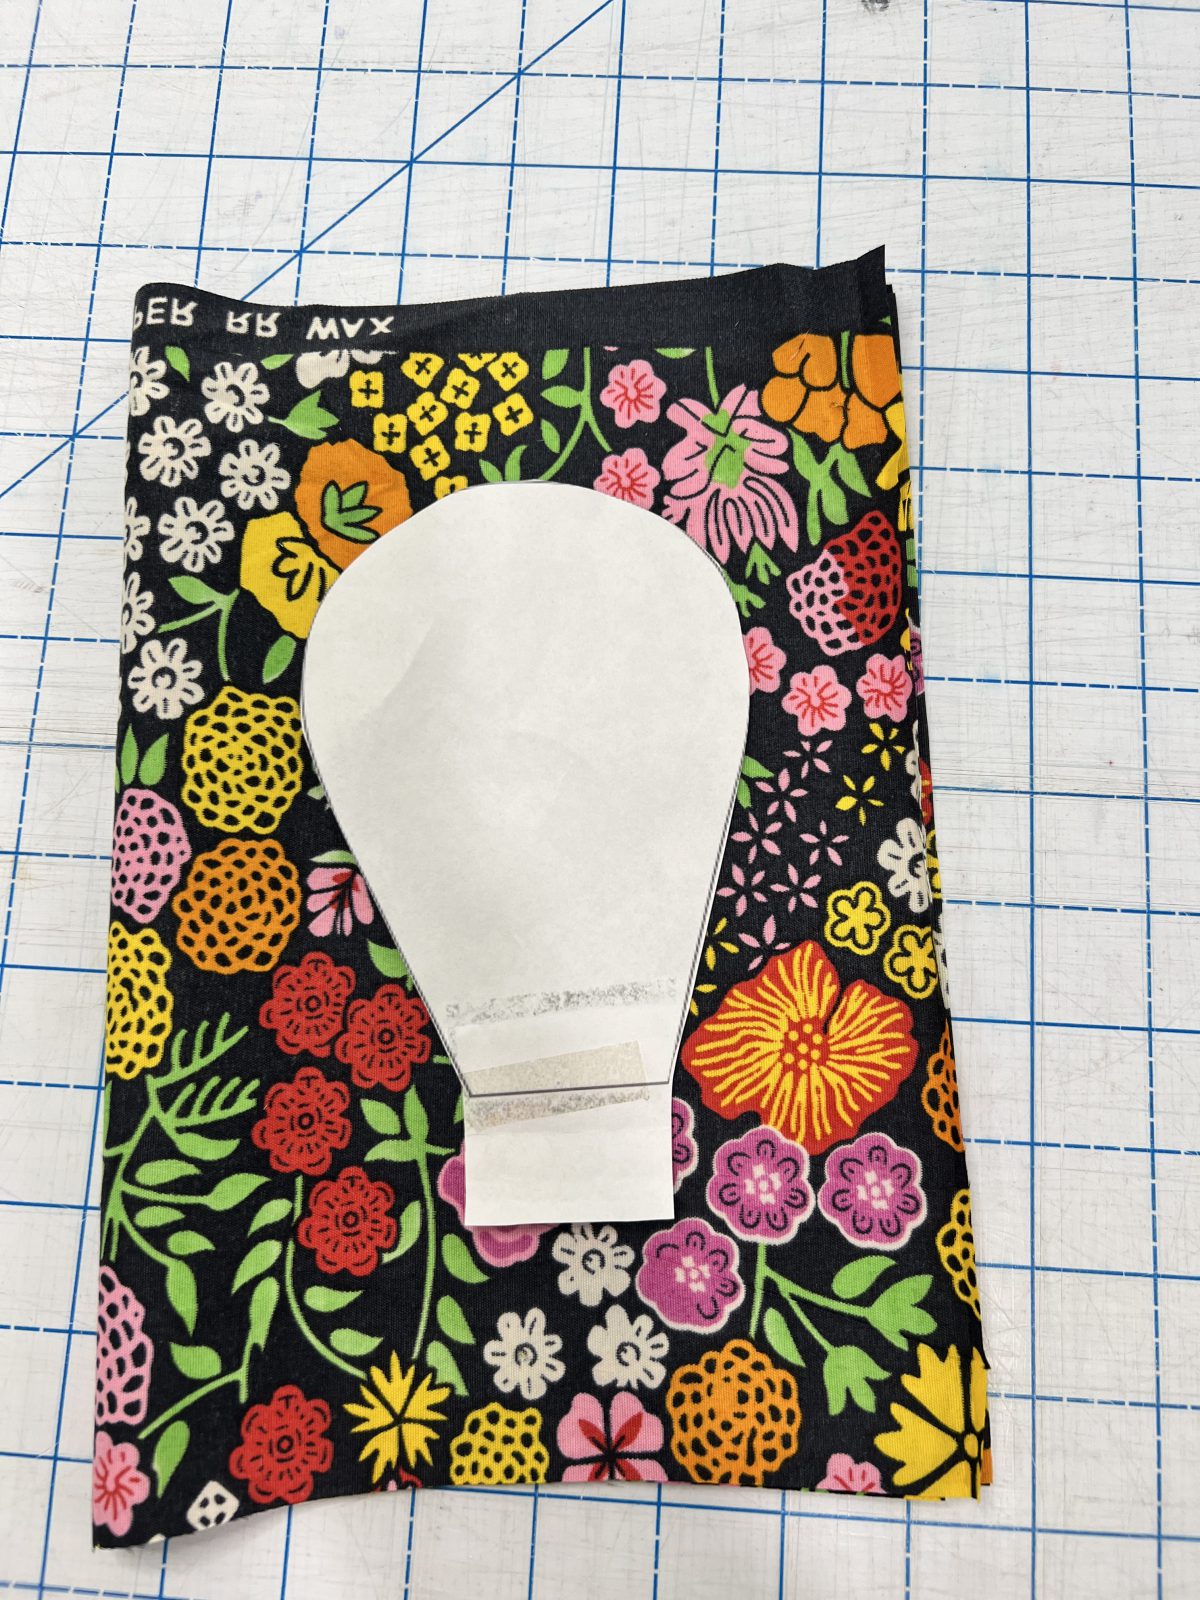
Step 2: Cut Your Petals Out of the Fabric
You’ll want 10 petals total to make the front and the back. I find it easiest to fold the fabric right sides together and then cut out five sets of two petals.
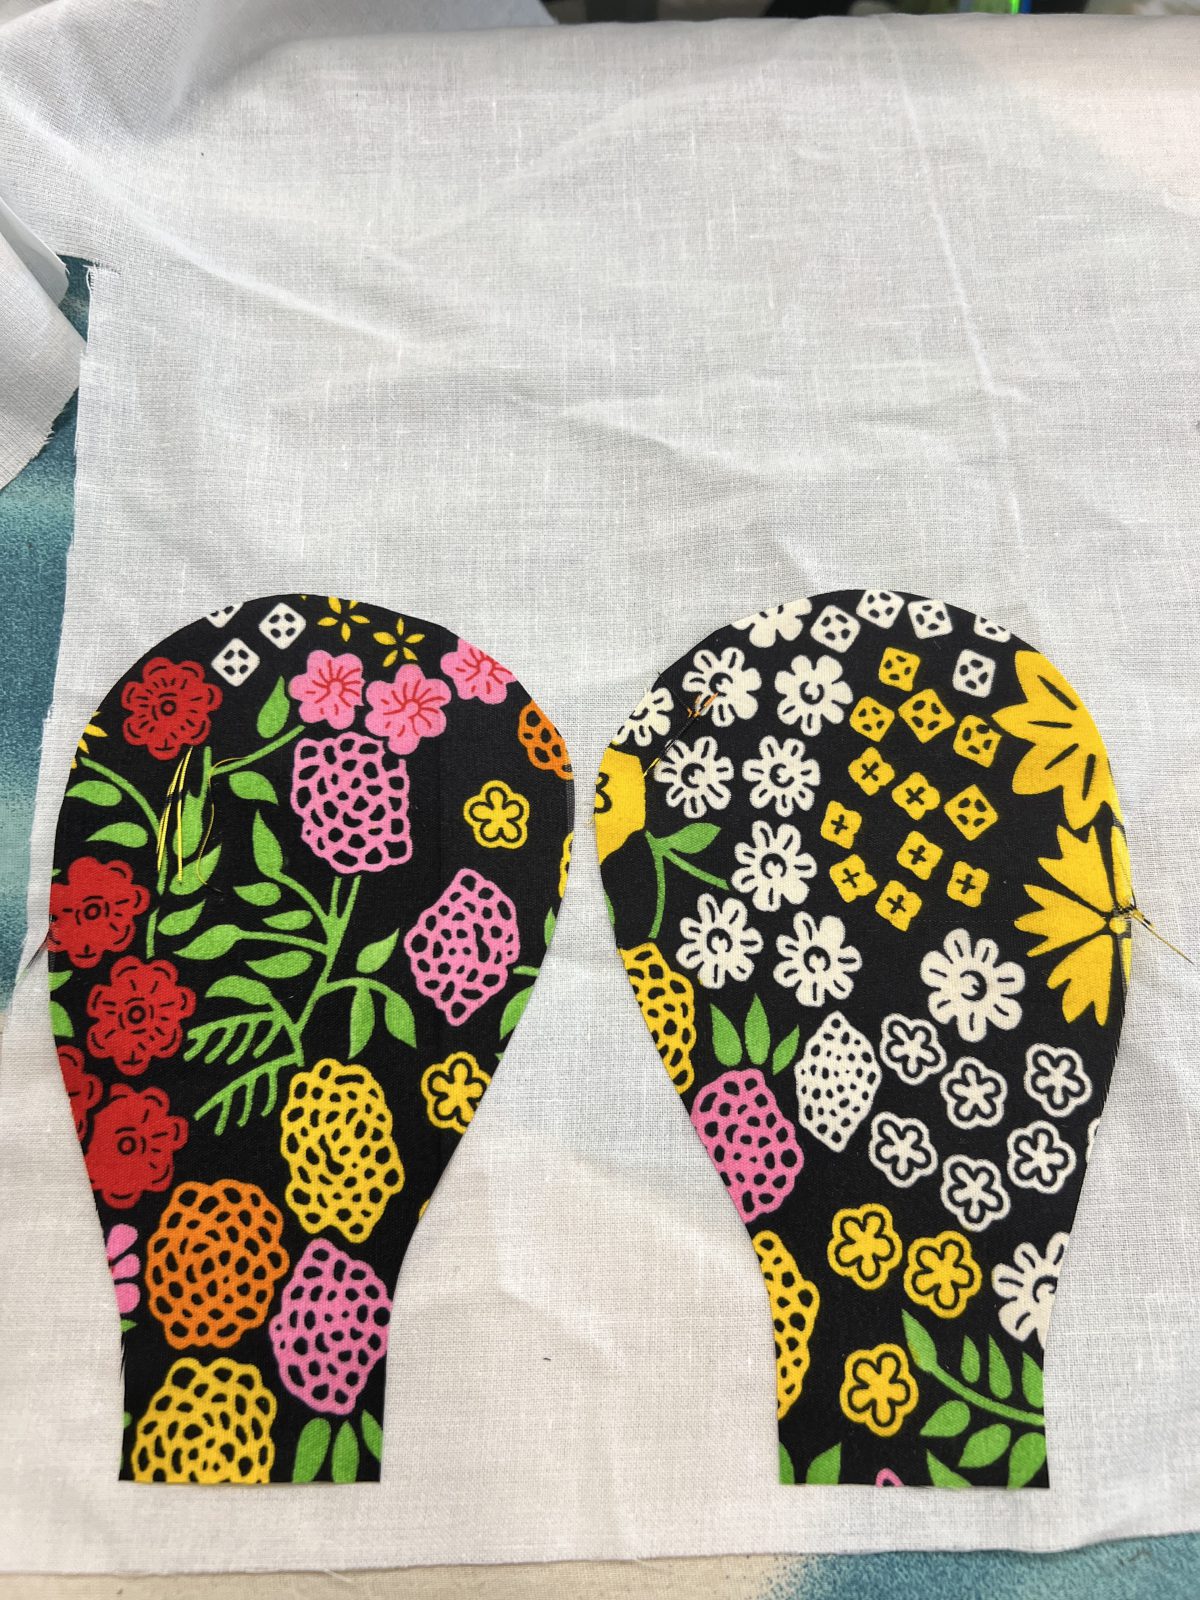
Step 3: Repeat the Same Process for the Interfacing
You’ll want to cut 10 pieces of interfacing to go on each petal piece
Step 4: Apply the Interfacing
With your iron, apply the interfacing to the wrong side of the fabric
Step 5: Sew the Edge of the Petal
With right sides together, sew around the edge of the petal almost all the way around, leaving the bottom edge open
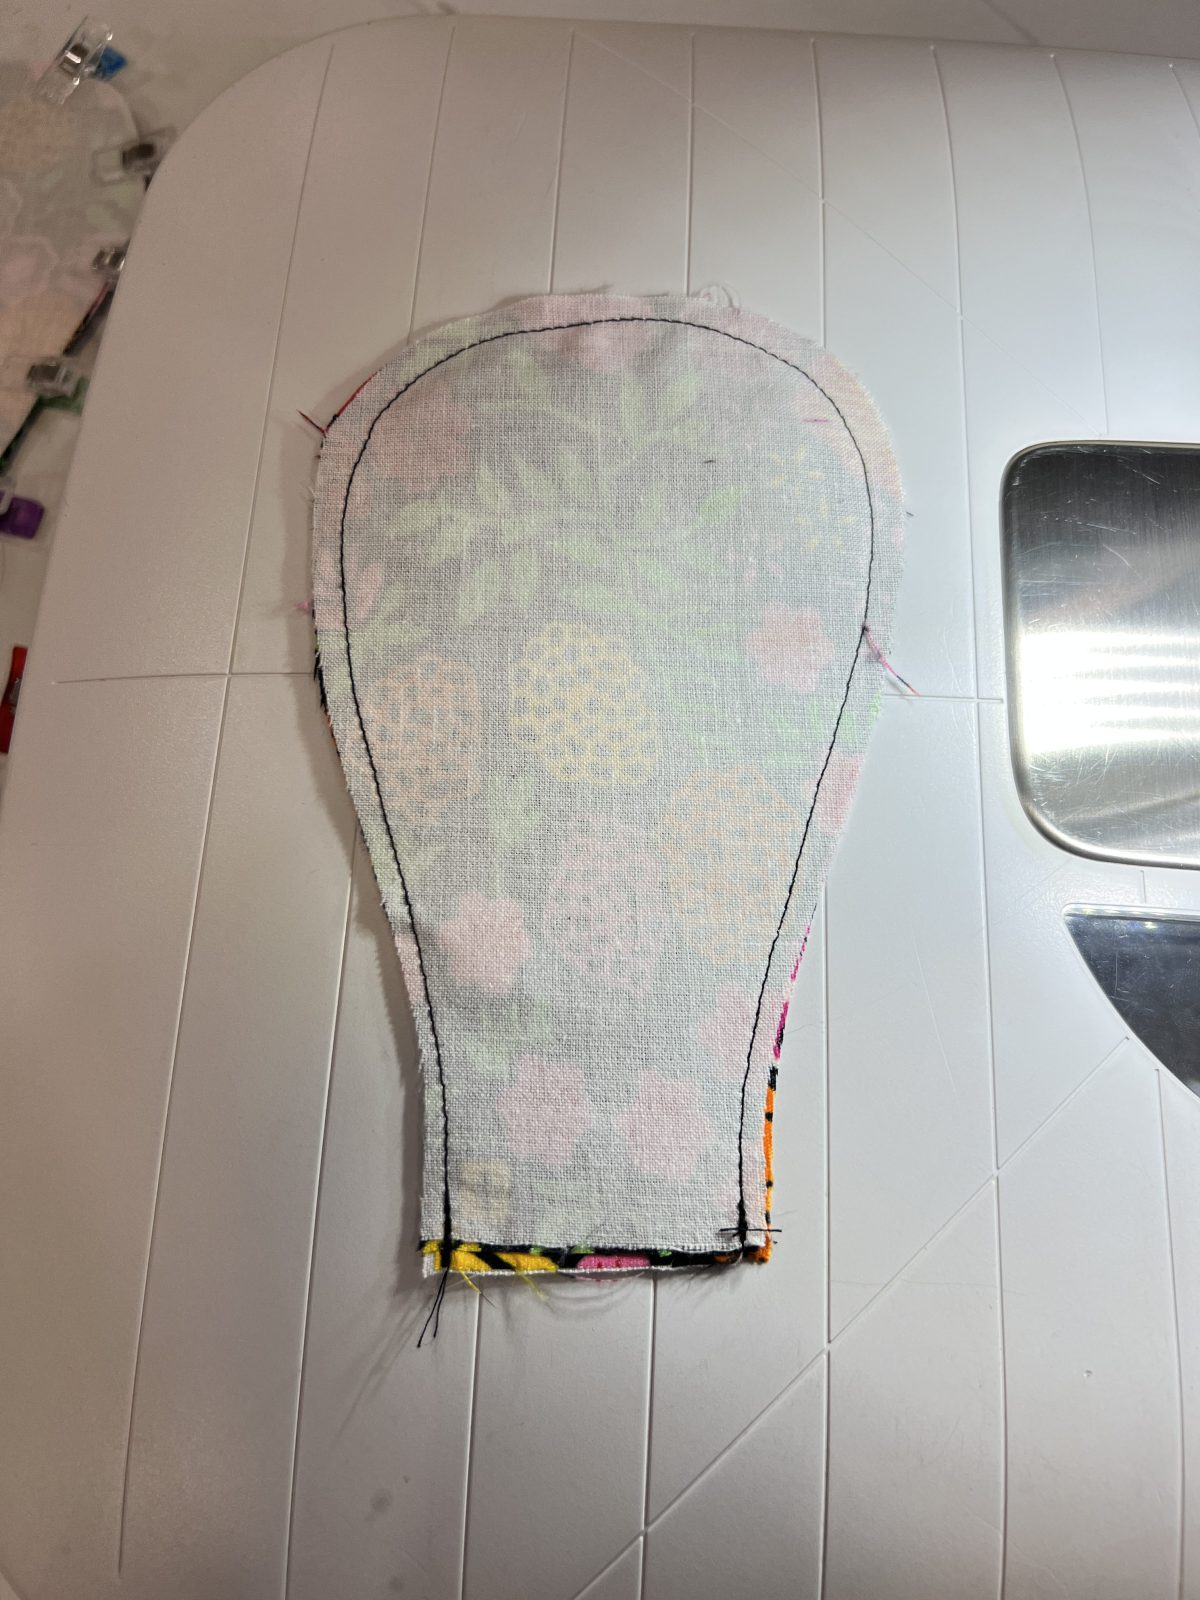
Step 6: Clip Around the Edges
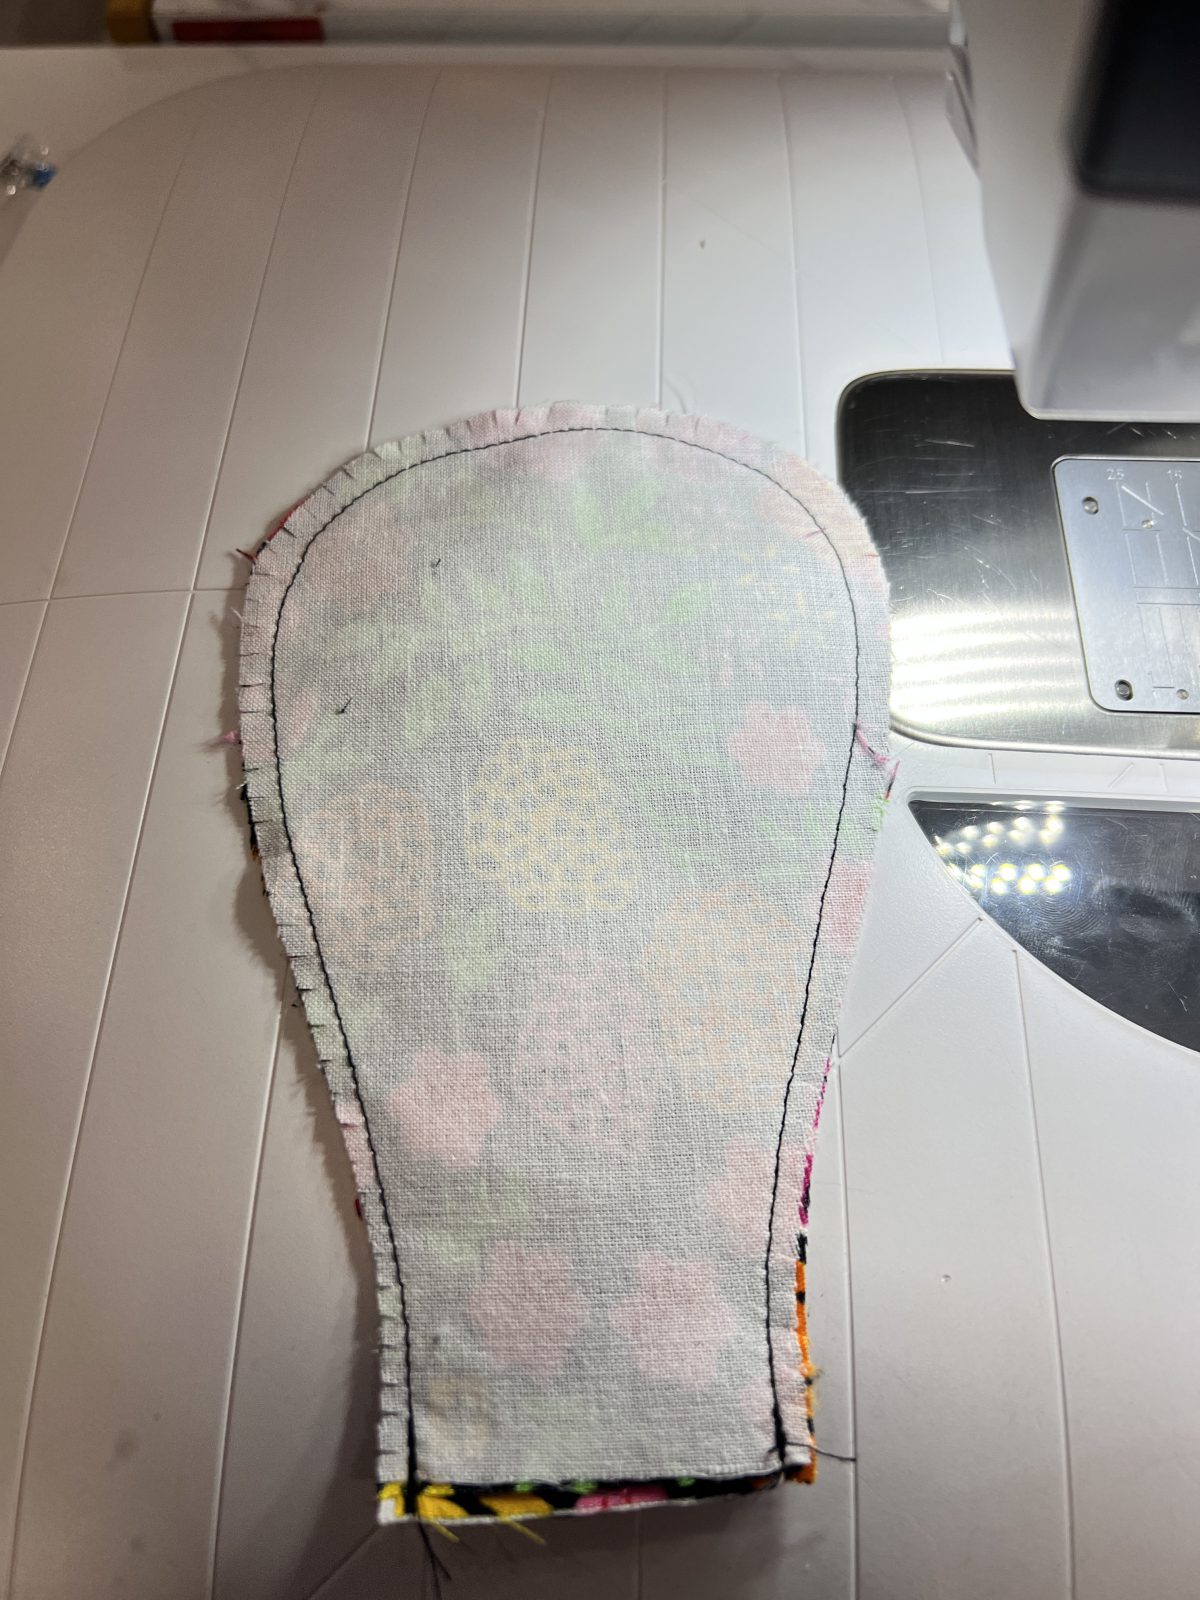
Step 7: Turn Right Sides Out on All the Petals
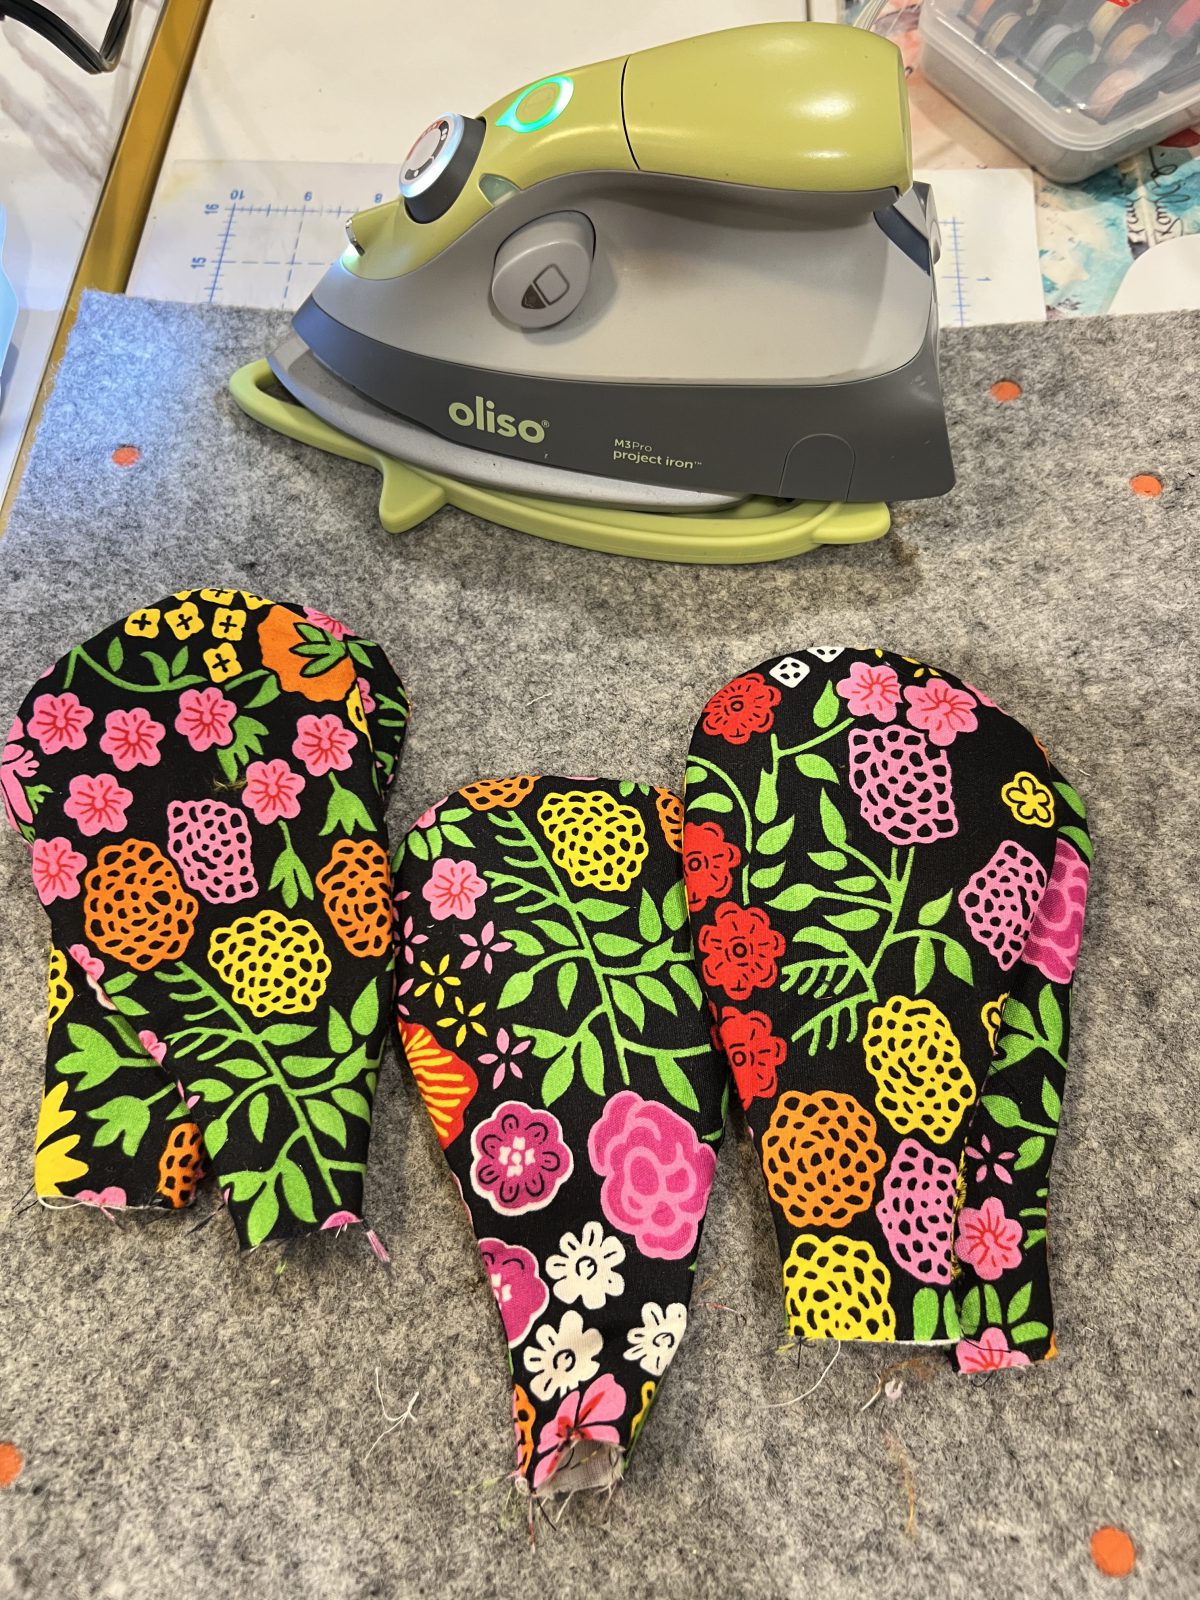
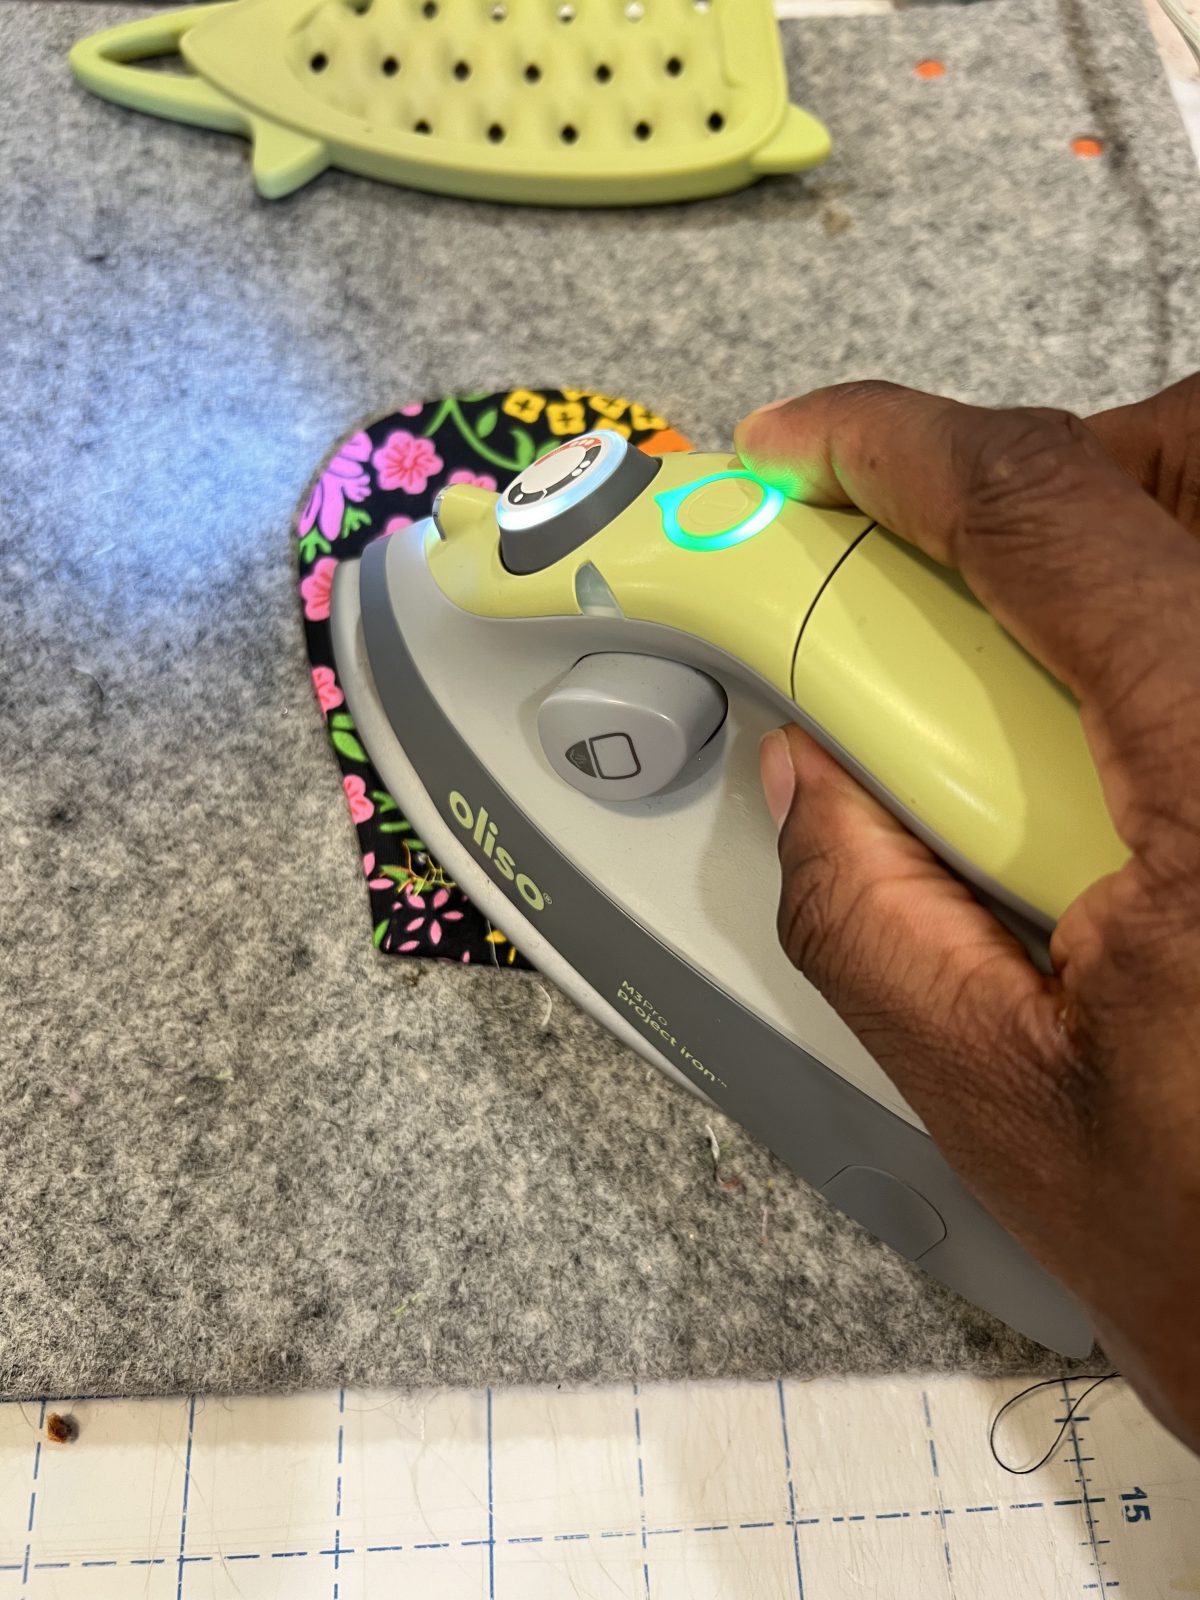
Step 8: Press
Press each petal to give it a smooth shape.
Step 9: Straight Stitch to Close the Petal
Fold raw edges of the bottom petal in and do a straight stitch to close the petal. Press.
Step 10: Place Your Tie or String at the Bottom of the Petal
Place your tie or string piece at the bottom of the petal and fold it up to encase the tie or string.
Step 11: Sew a Straight Stitch
Sew a straight stitch, careful not to sew over the tie
Step 12: Repeat
Place the next petal on the tie and repeat the process.
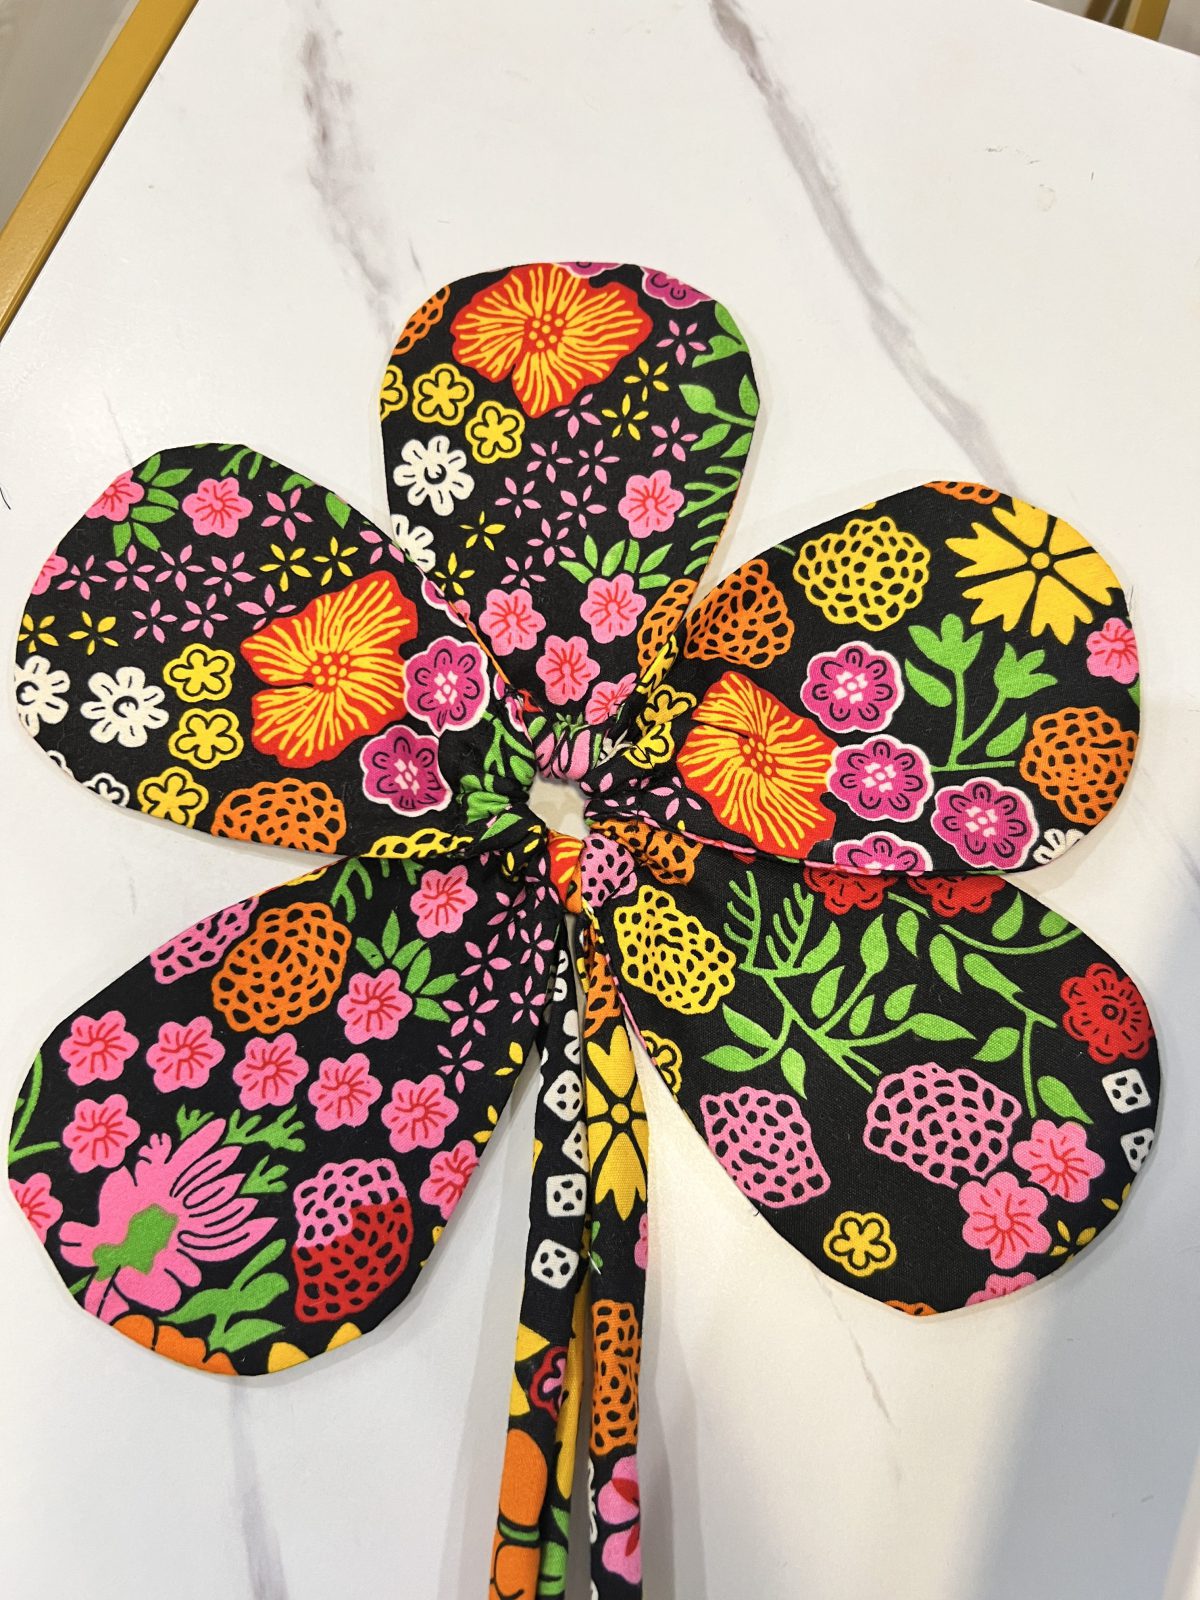
Step 13: Shape the Flower
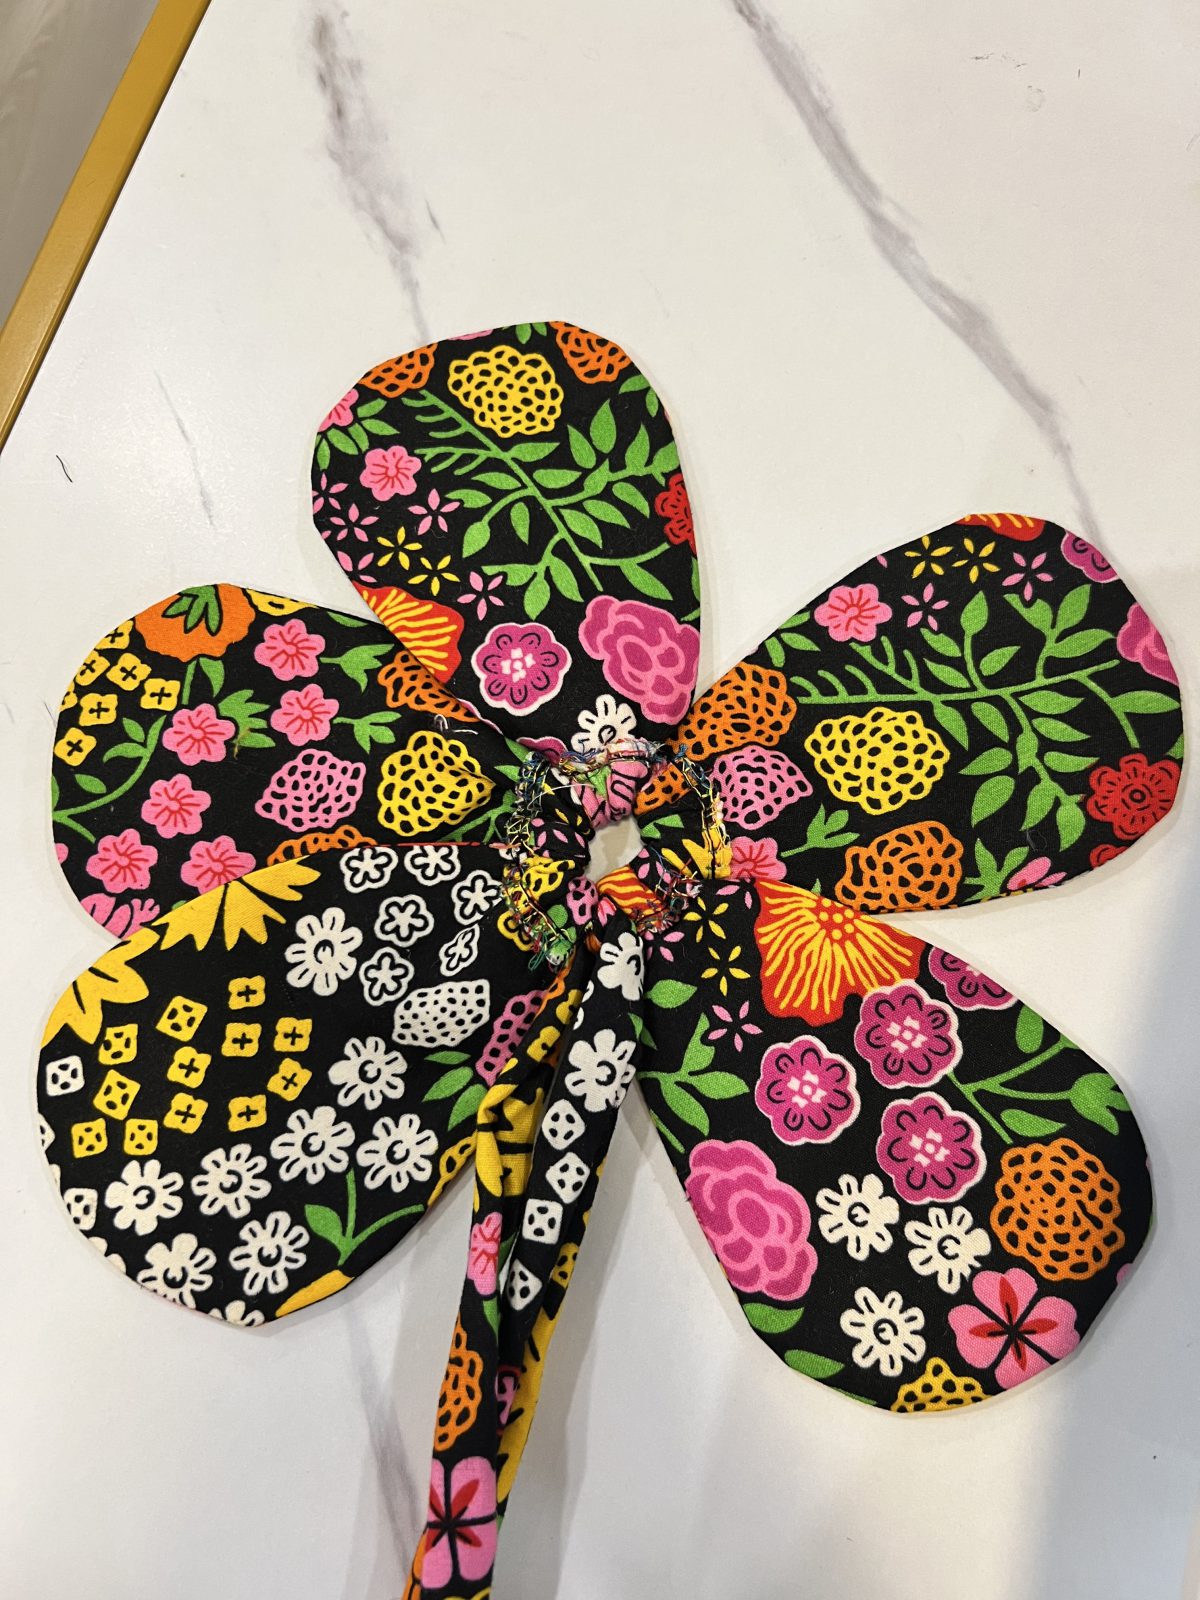
Finally, pull the tie or string until the flower takes shape
Step 14: Tie off the Bottom
Tie off the bottom of the tie or add your optional beads, and you’re done!
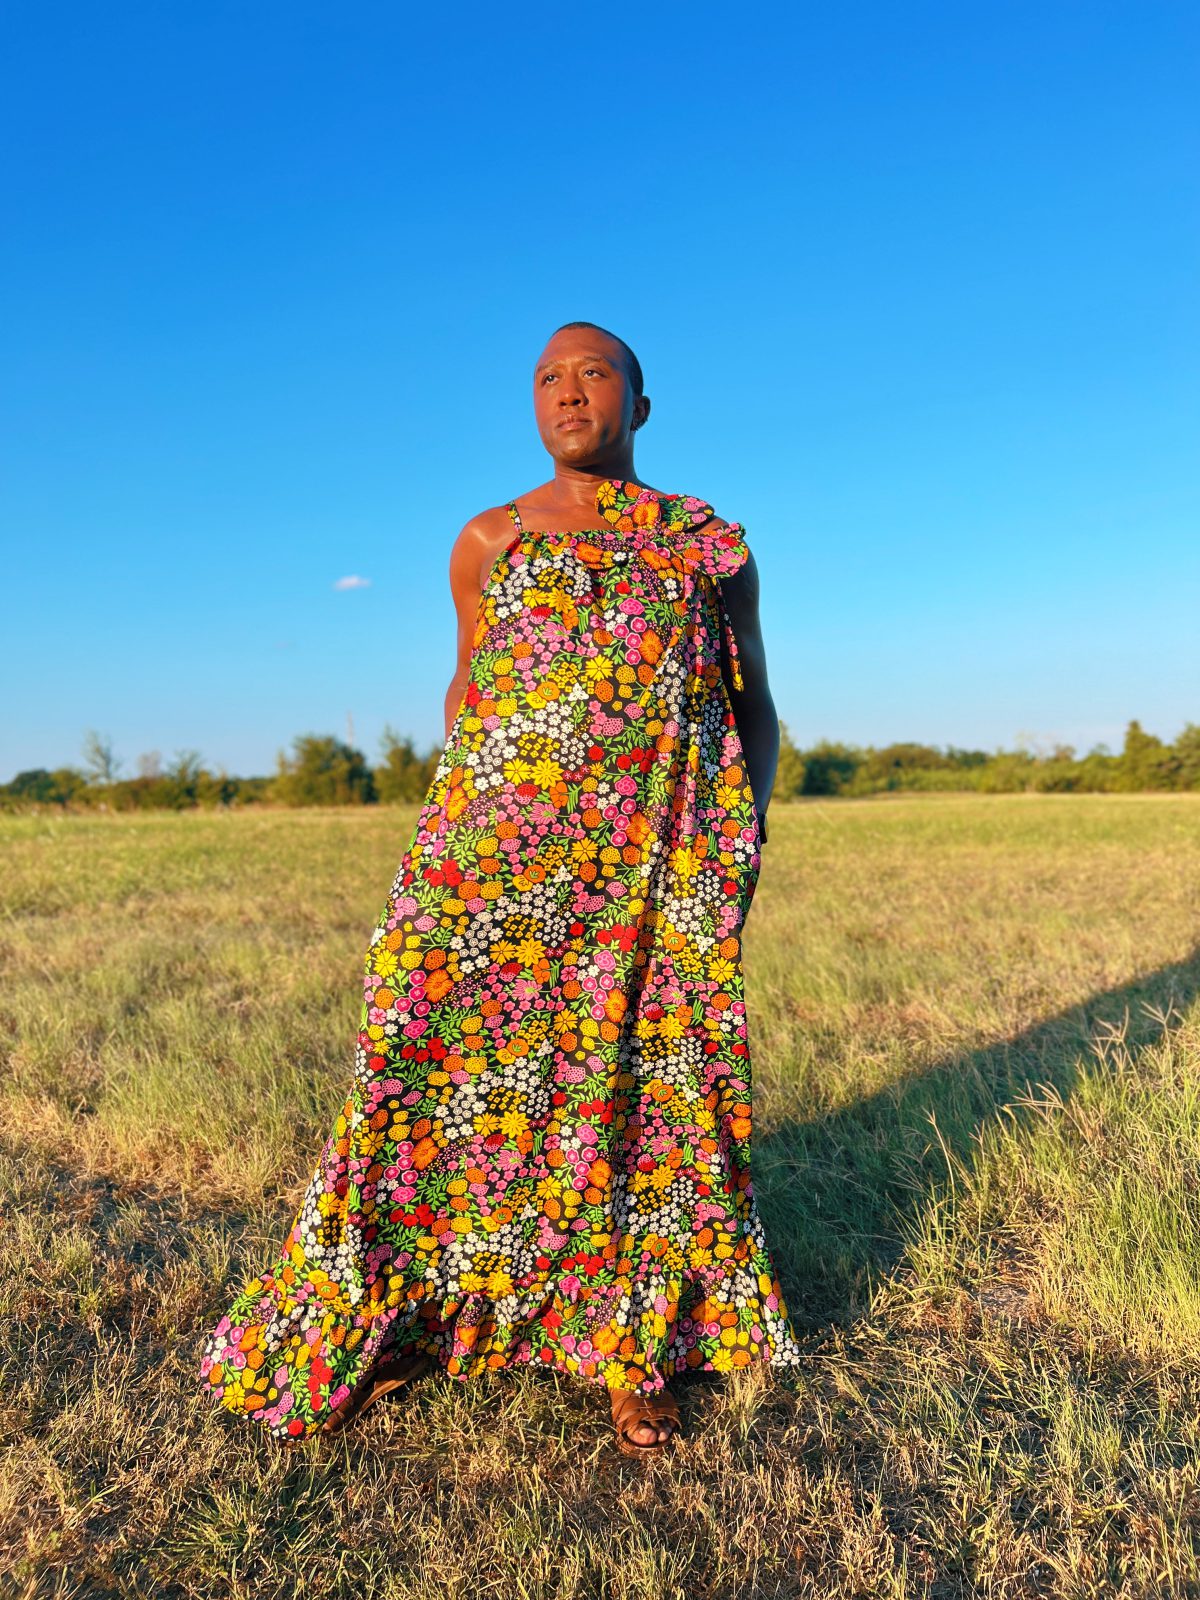
Sewing the Dress
For the rest of the dress, I actually hacked one of my favorite sewing patterns, Butterick 6566. This pattern is originally a jumpsuit, but I was able to hack it into a dress with pockets! All I did was extend the top portion of the jumpsuit pattern down to make the dress. So instead of cutting out the pants portion of the pattern, I omitted those pieces altogether and just worked with the top front and back pieces. It’s actually a very simple hack as long as you know your height and how short or long you want the dress to be. The pockets are also optional, but I love a dress with pockets, so I added them about 18 inches down from the top of the dress. I then followed the pattern instructions as I normally would to make the top of the jumpsuit, but skipped over the parts of the instructions that included the pants. I used my BERNINA L 890 on the inside of the dress, and I used my BERNINA 790 PRO to sew it all together. I really like the way the serged and pressed seams look on the inside of the dress. For the bottom of the dress, I decided to do a gather at the bottom to give it a little more flair and to make it more my own!

And just like that, I have a finished dress and a finished appliqué flower! This pattern has definitely been my go-to summer pattern! It’s super quick and easy and only a few pattern pieces! I love the finishing details and absolutely love how the flower turned out! I’ll definitely be using this tutorial for other projects!

Used Products
What you might also like


3 comments on “How to Sew a Wearable Statement Flower from Fabric”
-
-
Unclear what step#10 means. So steps 11 and 12 also confusing.
-
This is sew cute! I’ll have to try that flower!
Leave a Reply
You must be logged in to post a comment.
Love it! Thanks for the clear directions & great photography.
Would never have thought to use the drawstring to “gather” the petals.
Thanks again for sharing your project.