Travel Jewelry Bag

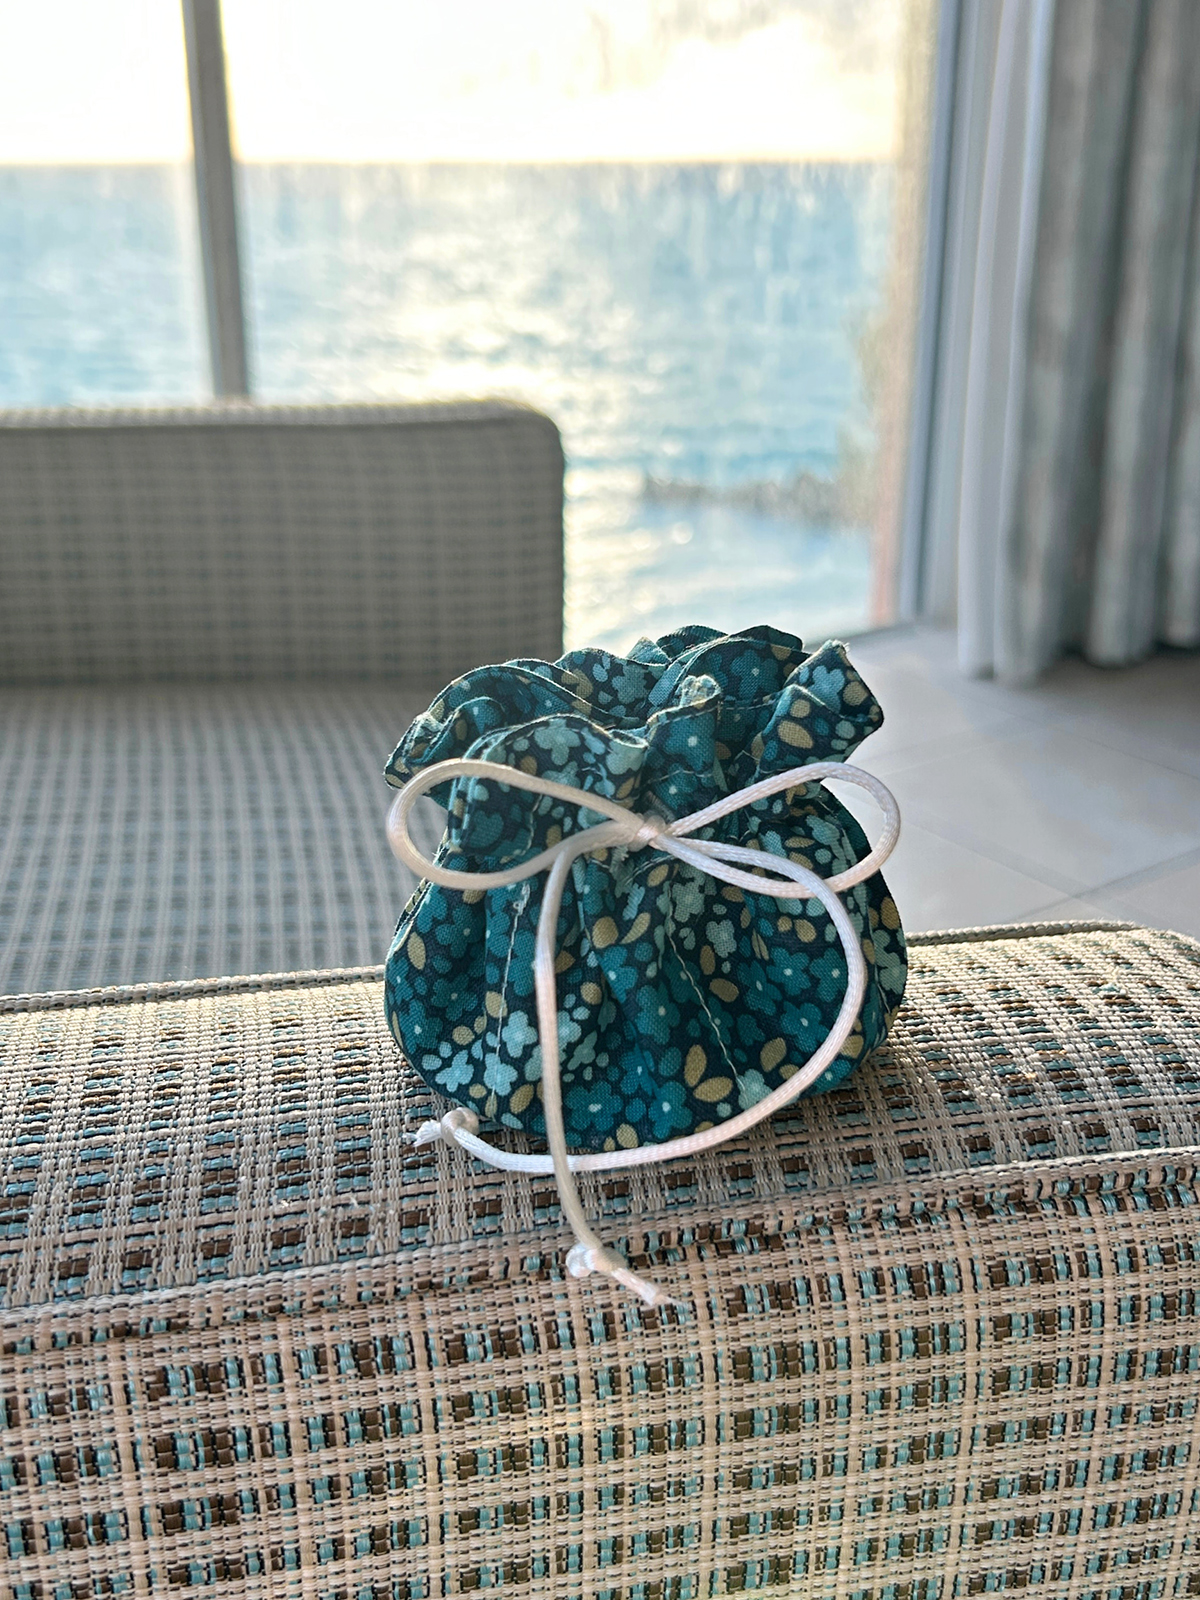
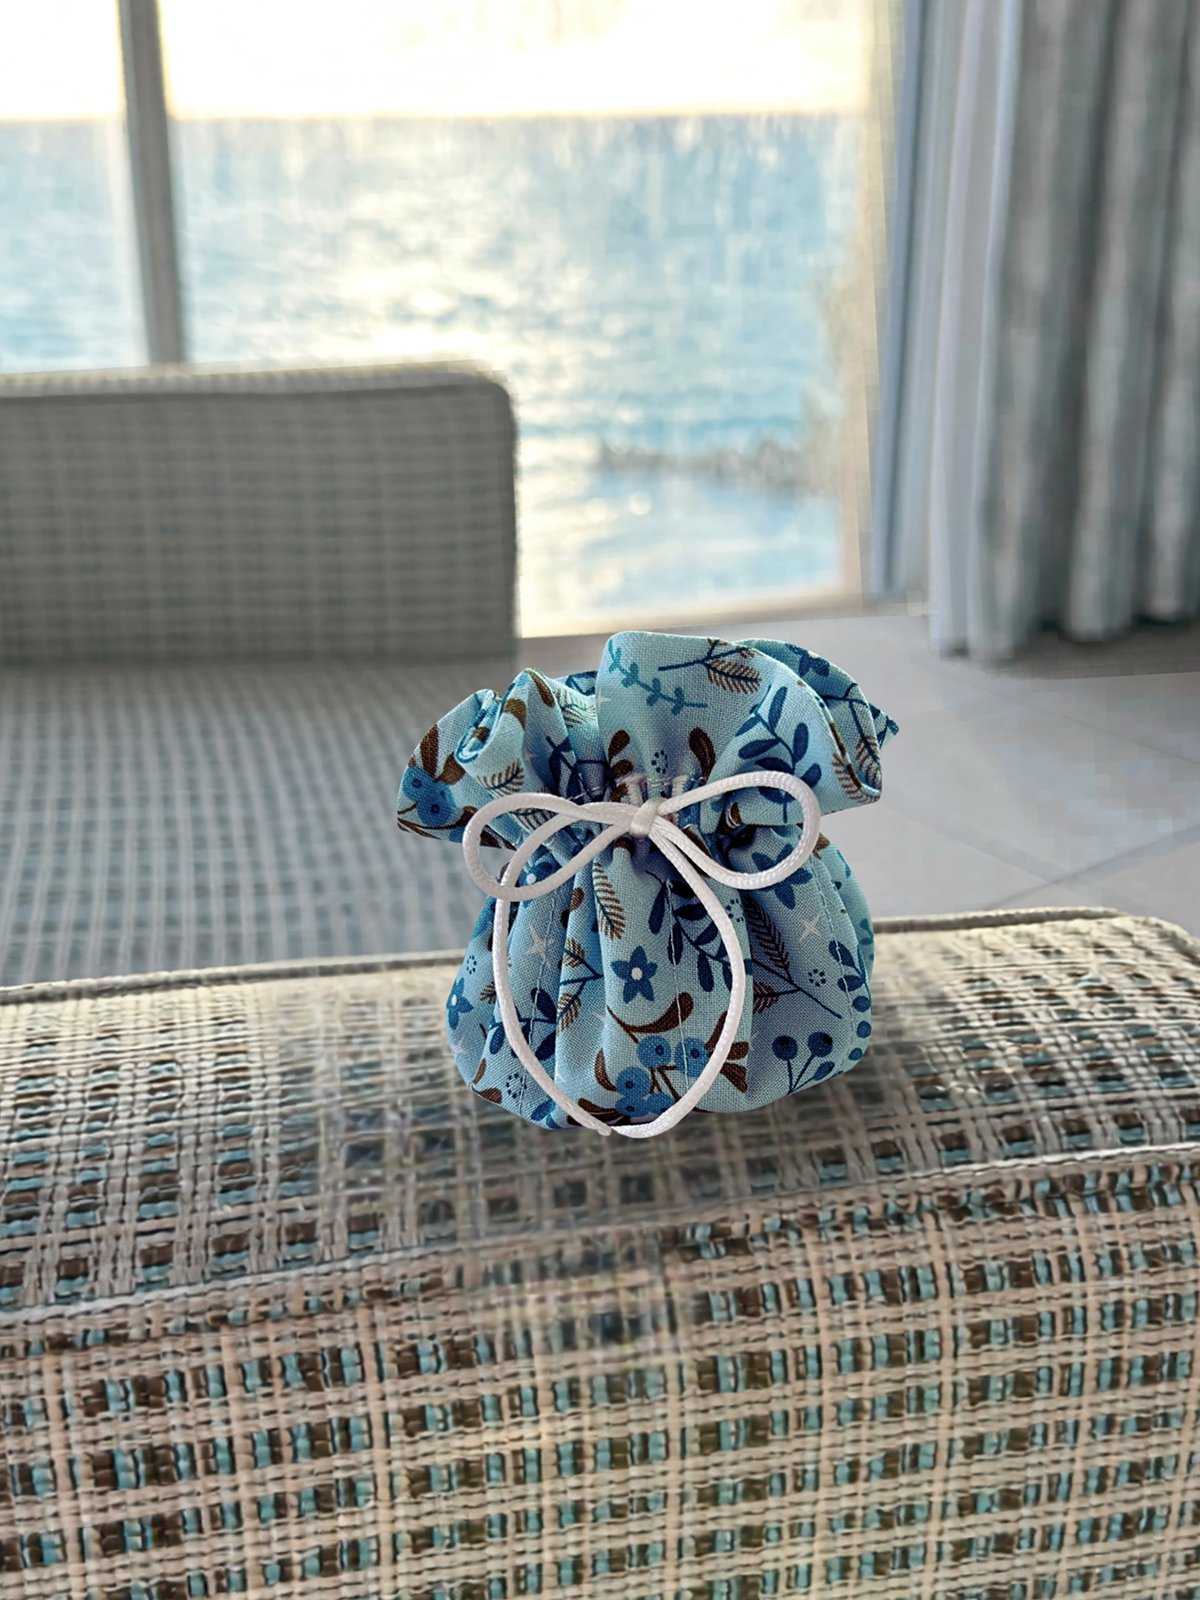
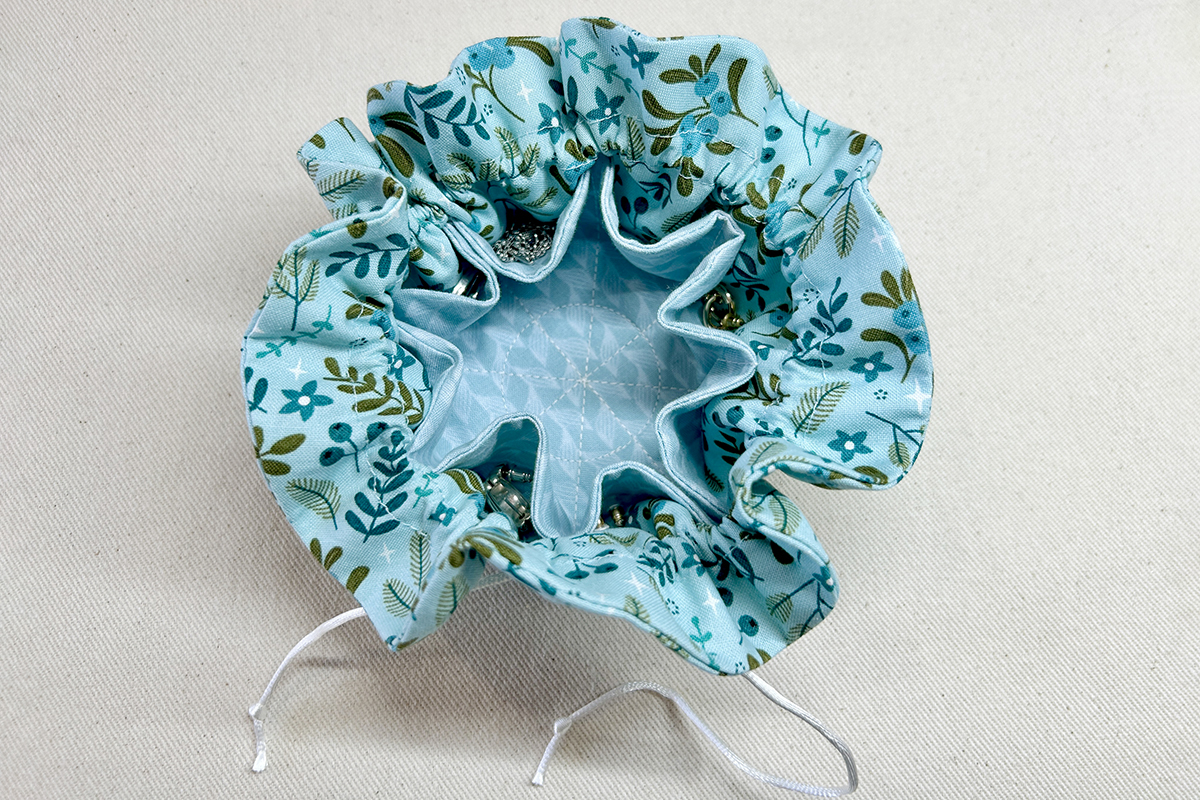
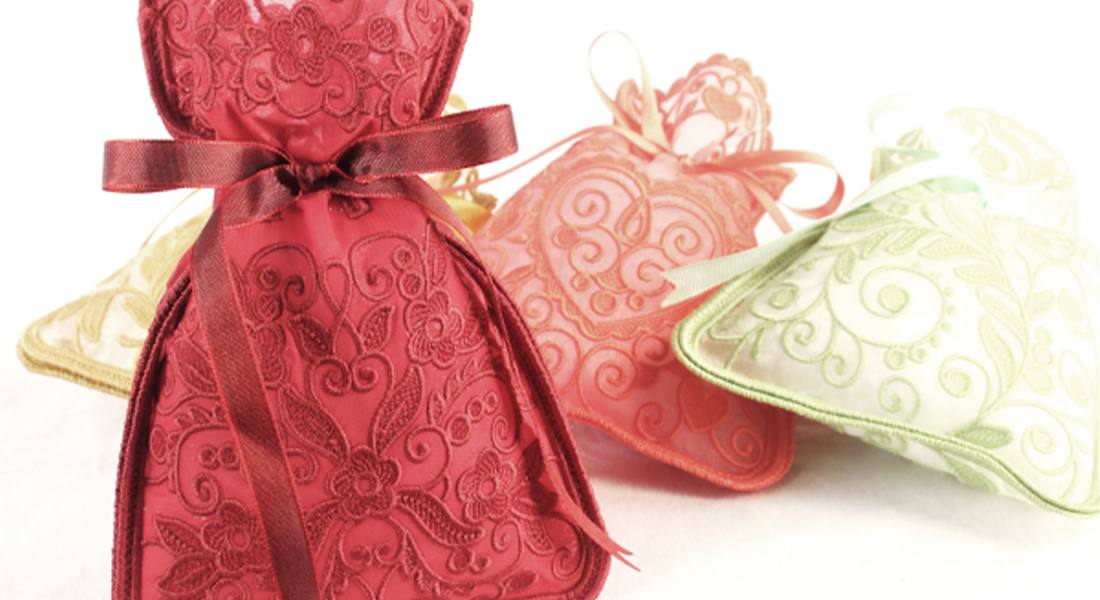
When travelling near or far, it’s nice to bring along a few favorite pieces of jewelry for a little extra sparkle. But if you’re like me, there’s always that worry – small earrings and rings can get lost, and necklaces can tangle and turn into a mess. Follow along for a special tutorial on how to create a travel jewelry bag using the BERNINA Circular Embroidery Attachment #83. You don’t have to use this attachment, but it’s so much easier and faster if you do, especially if you want to make several as gifts. There’s something special about receiving a handmade gift with custom fabric. And it’s even better with a piece of jewelry tucked inside!
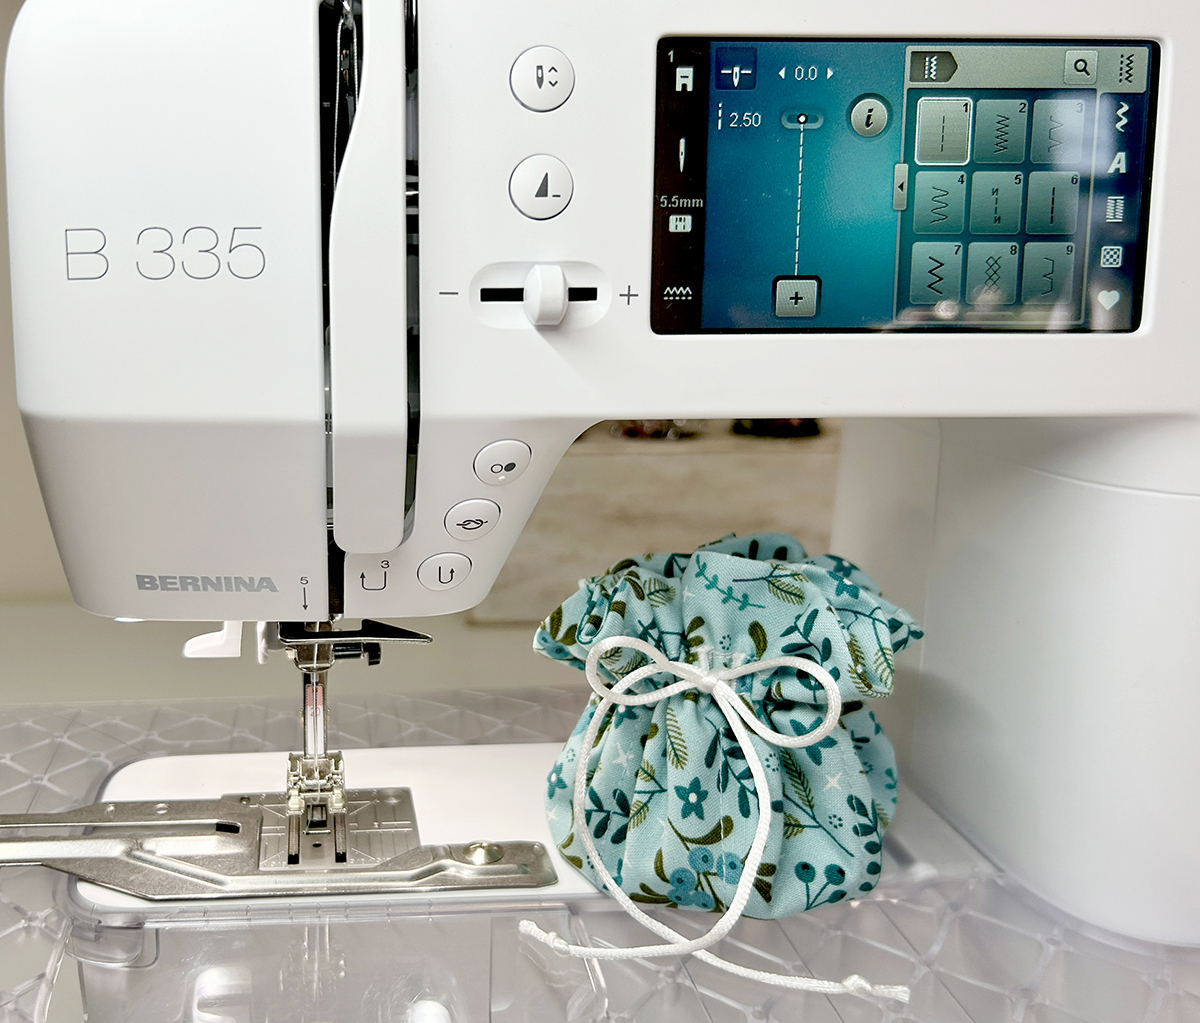
Materials for Sewing the Jewelry Travel Bag
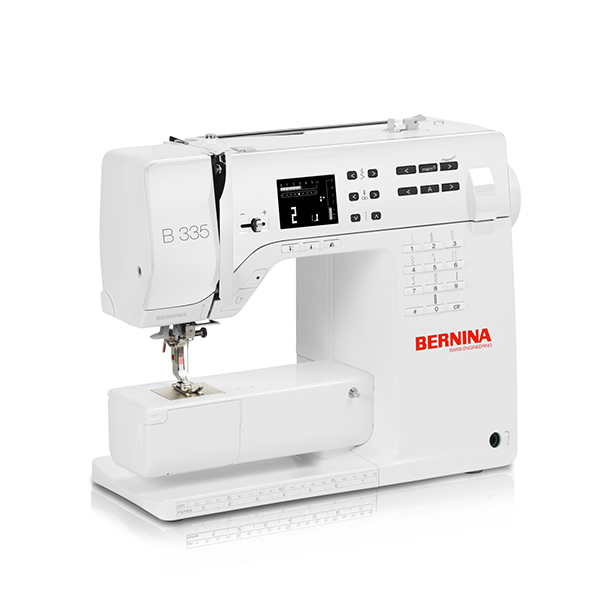
- BERNINA 335
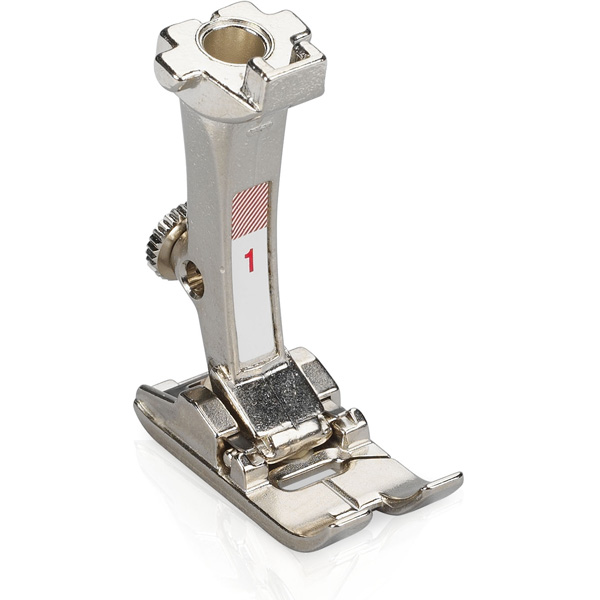
- Reverse Pattern Foot #1
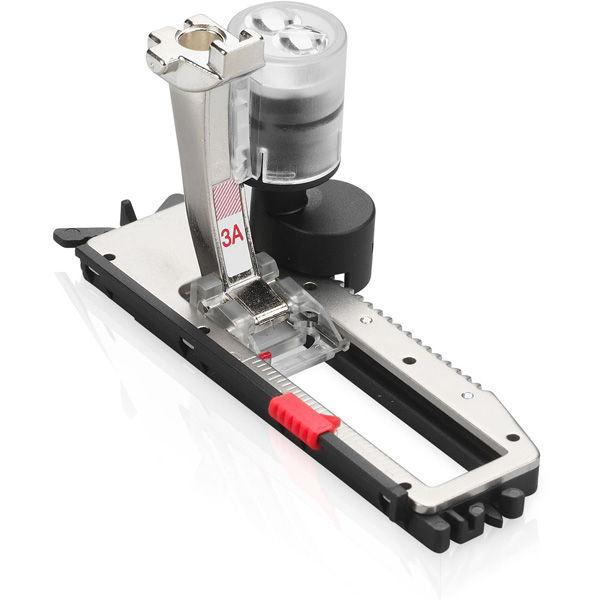
- Buttonhole Foot with Slide #3A
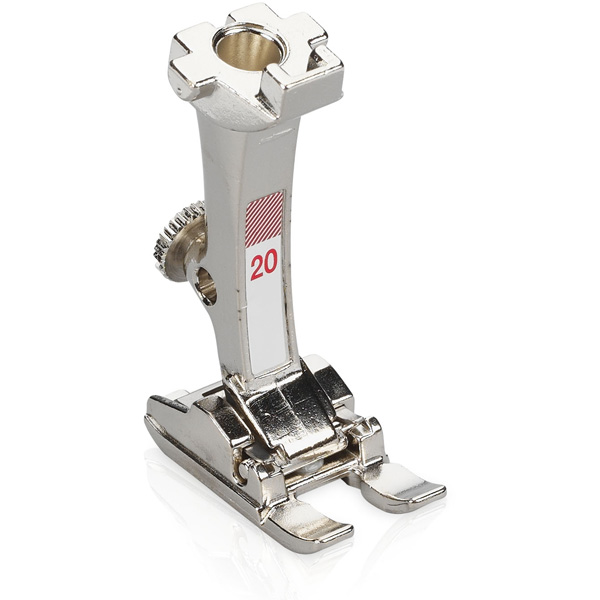
- Open Embroidery Foot #20
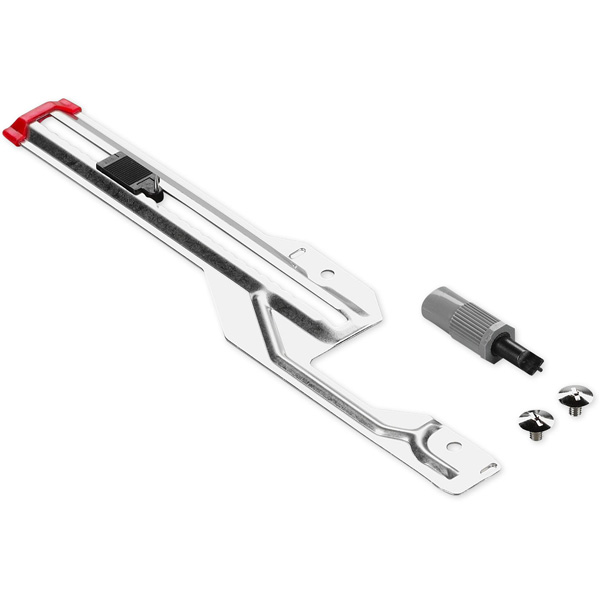
- Circular Embroidery Attachment #83
- Mediumweight woven fabric, such as quilting cotton:
- Main Fabric: (2) 10” x 10” (Holly & Hearth by Shelly Cavanna)
- Accent Fabric: (2) 7 1/4” x 7 1/4″ (Wander Lane 2 by Nancy Halvorsen)
- OESD Ultra Clean & Tear Stabilizer; from a 10″ roll subcut the following pieces:
- (1) 2” x 2”
- (1) 7 1/4″ x 7 1/4″
- (1) 10” x 10”
- Lightweight fusible interfacing
- (2) 10” x 10”
- (2) 1” x 3”
- 30” drawstring or silky cord
- Mettler Cotton Thread, 50 weight
- Schmetz 80/12 Microtex Needle
- Temporary fabric marker
- OESD Expert Point & Press Tool
- Bodkin
Sew Buttonholes
Attach Buttonhole Foot with Slide #3A to your machine. Select Buttonhole Stitches and tap #51.
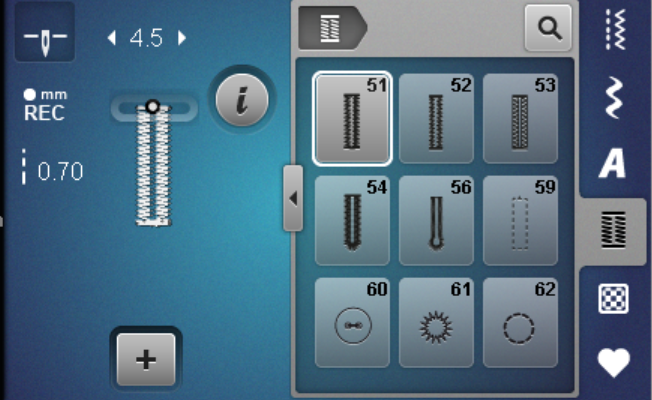
Select the Information Menu and tap the Buttonhole Length icon.
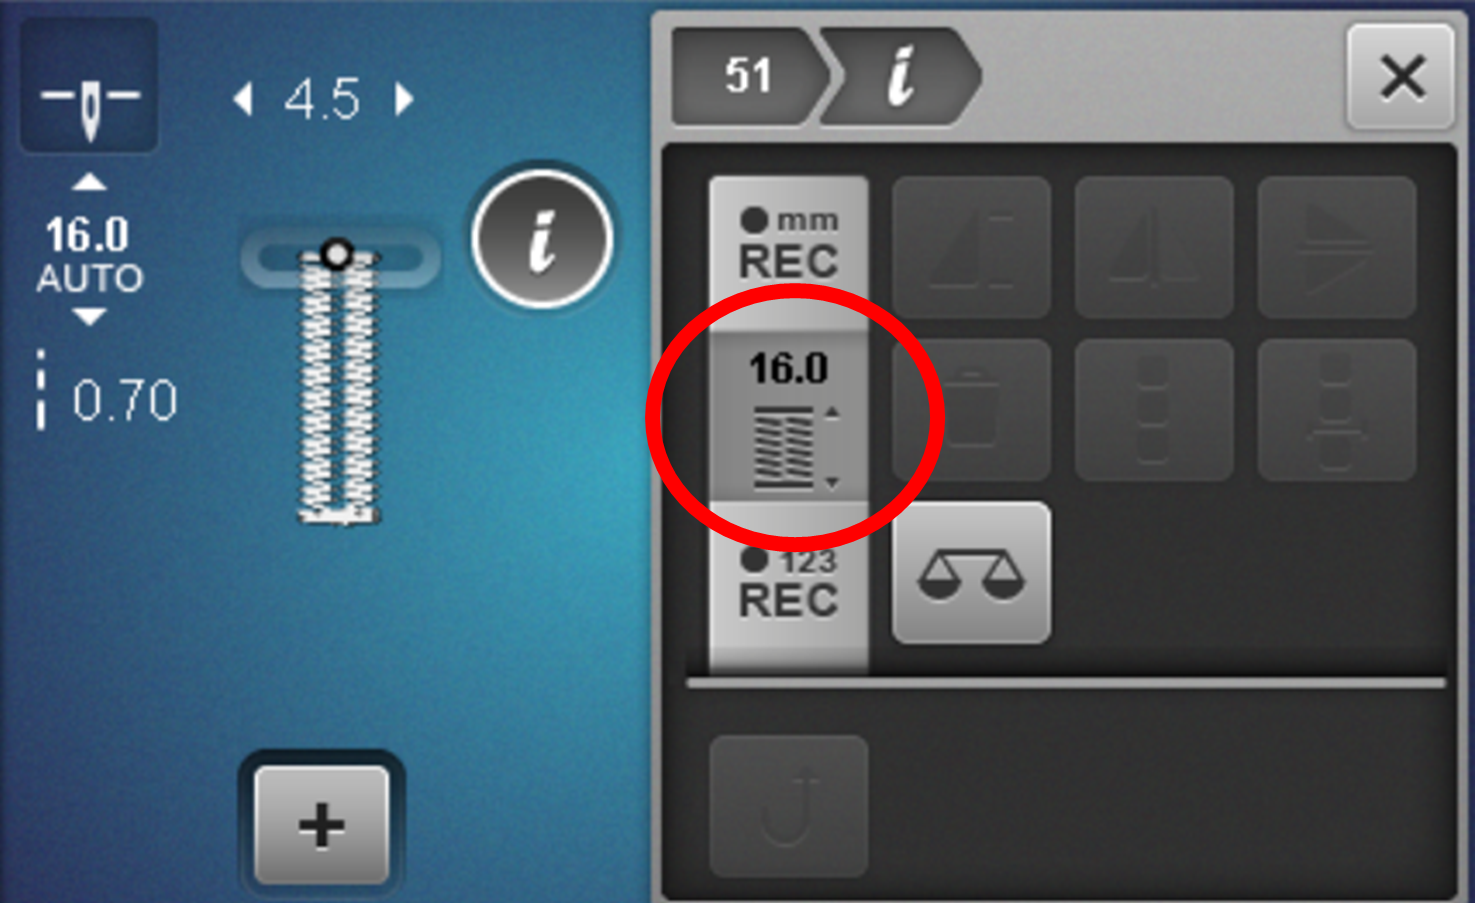
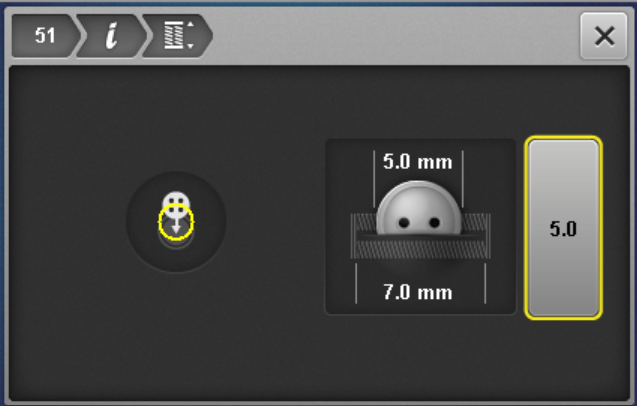
The Buttonhole Length function is the fastest way to measure a buttonhole. Simply place a button on the screen and press the Stitch Width or Length buttons until the yellow circle outlines the button. That’s it! This project doesn’t require an actual button, but we can use this feature to make buttonholes to accommodate the drawstring. Decrease the length to 5 mm and close the menu.
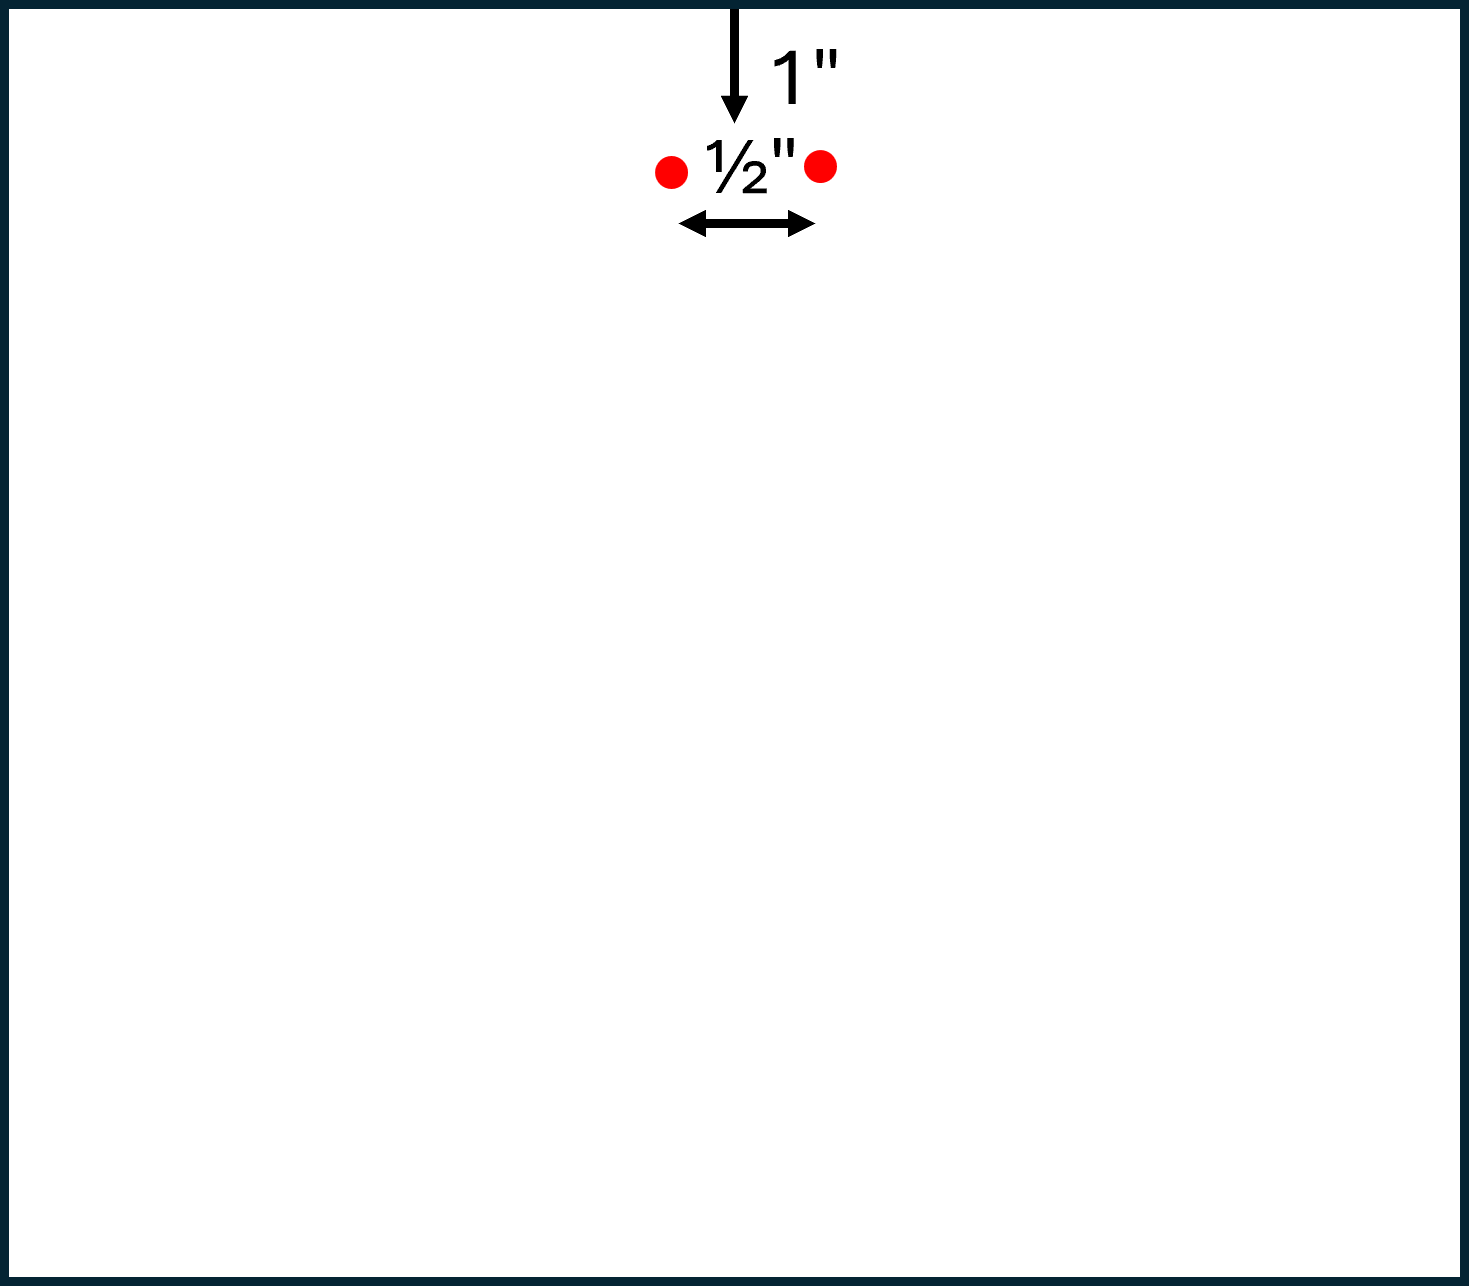
Following the manufacturer’s directions, fuse the interfacing to the Main Fabric squares. On the right side of one fused fabric, mark a point roughly centered and 1” down from the fabric top edge. This will be the top of the first buttonhole.
Mark a second point 1/2” to one side of the first point – this will be the top of the second buttonhole. The buttonholes will be positioned within a circular shape, so exact centering isn’t necessary, as long as the marks are 1” from the edge and 1/2” apart.
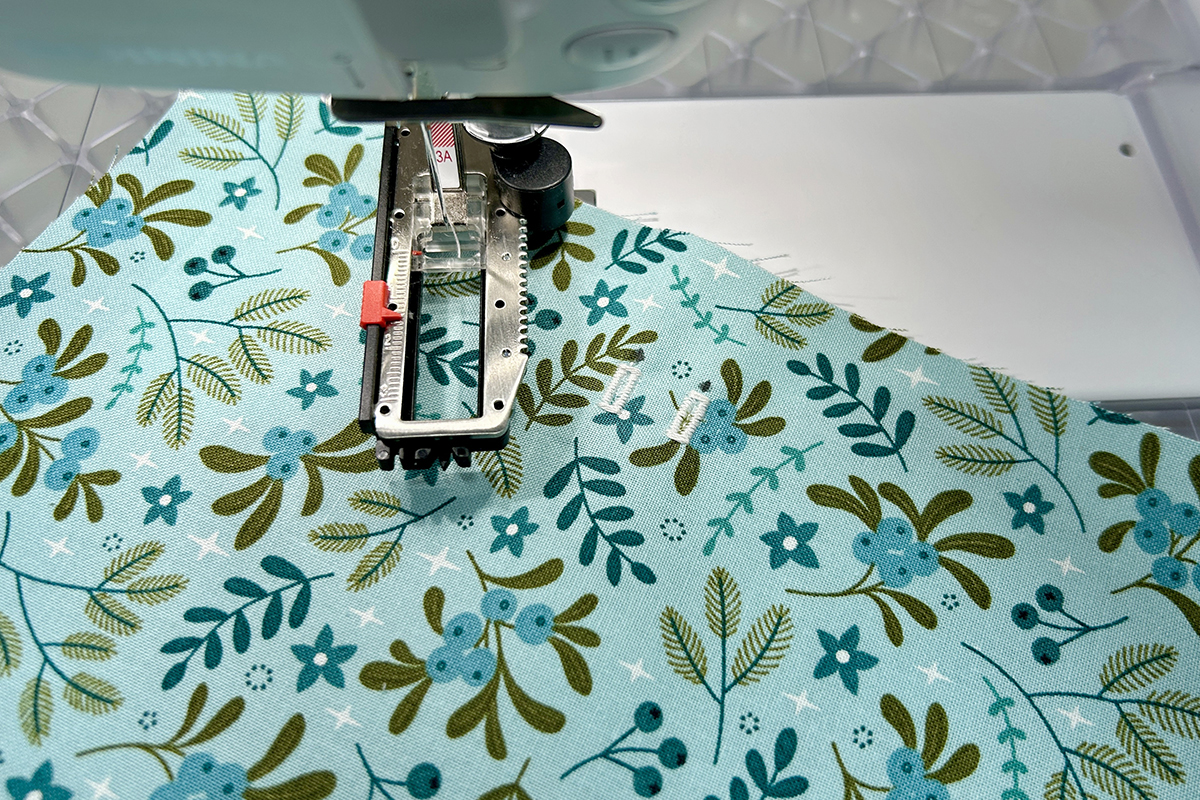
Place the 2” x 2” piece of stabilizer behind the marked points on the fabric. Position under the foot with the needle directly above the first point. Lower the foot.
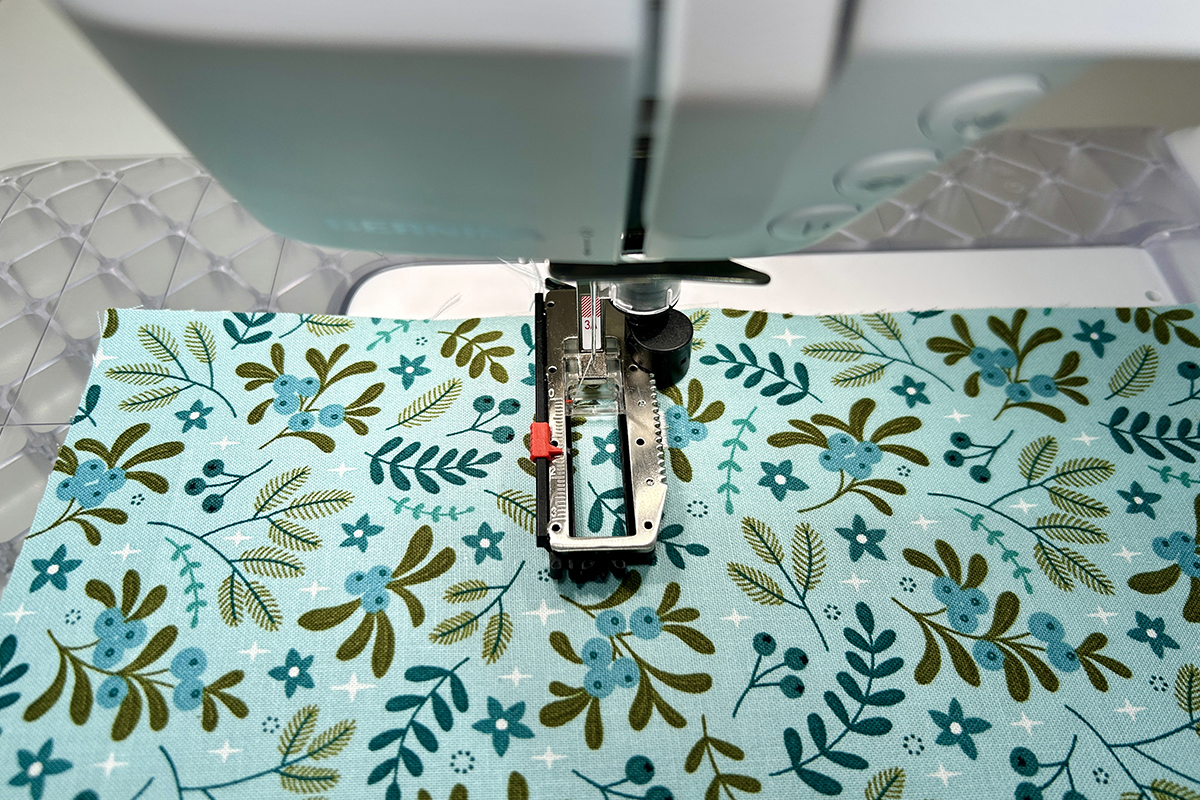
Holding the thread tails, sew the first buttonhole using the foot control or the Start/Stop button. The machine will automatically stop sewing at the end of the stitch program. Sew the second buttonhole in the same manner. What beautiful buttonholes! Carefully open the buttonhole slits.
Sew Main and Accent Pieces
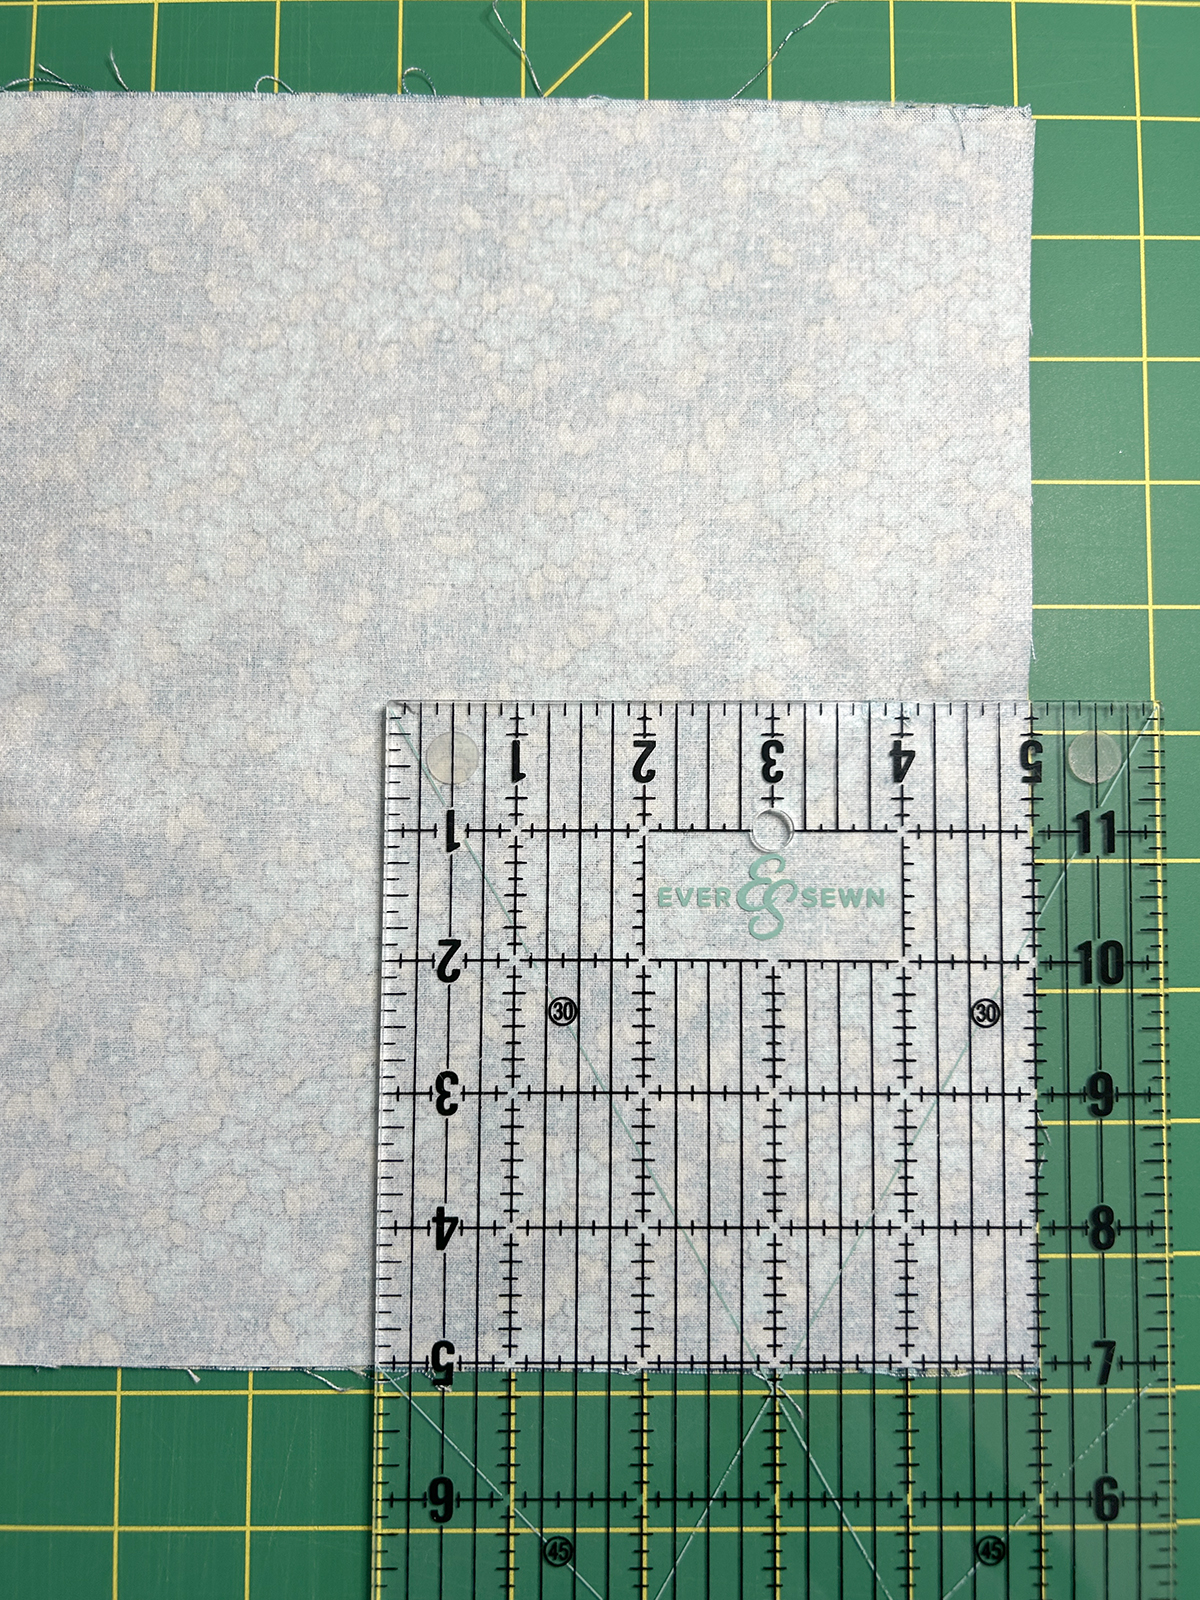
Place the Main Fabric pieces right sides together. Mark a point at the center.
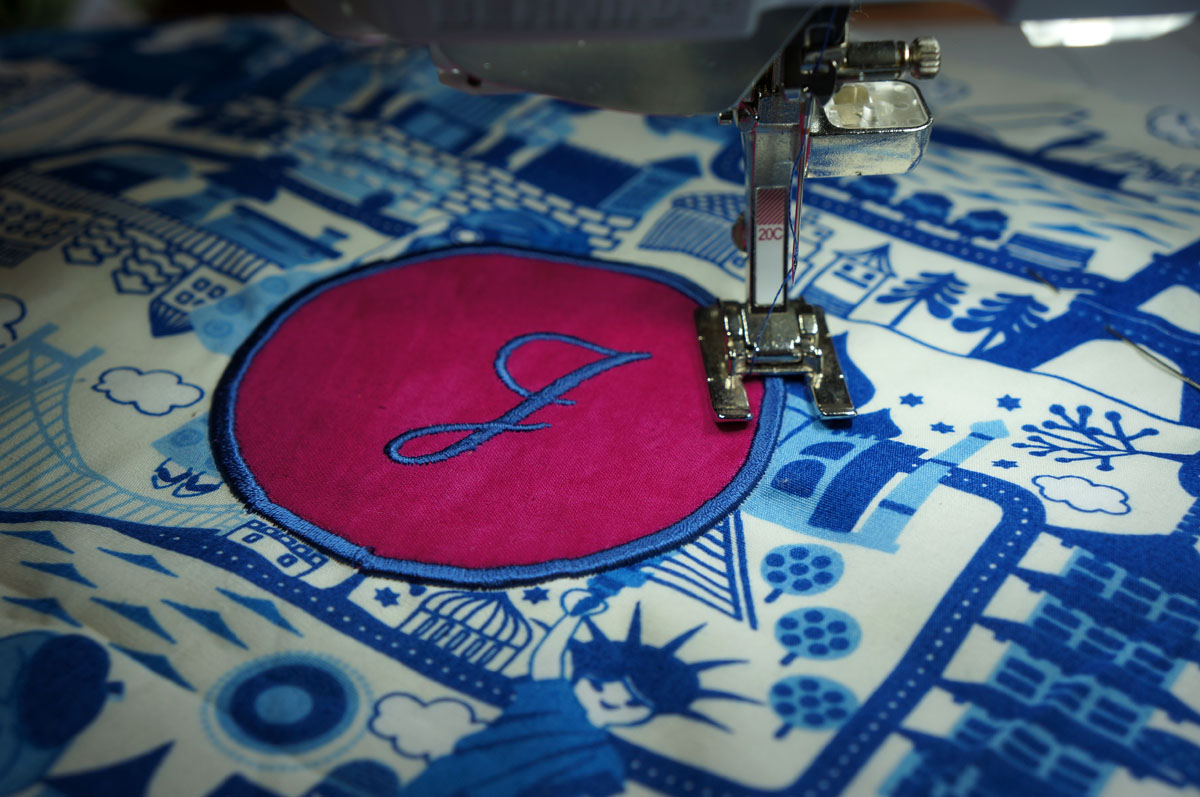
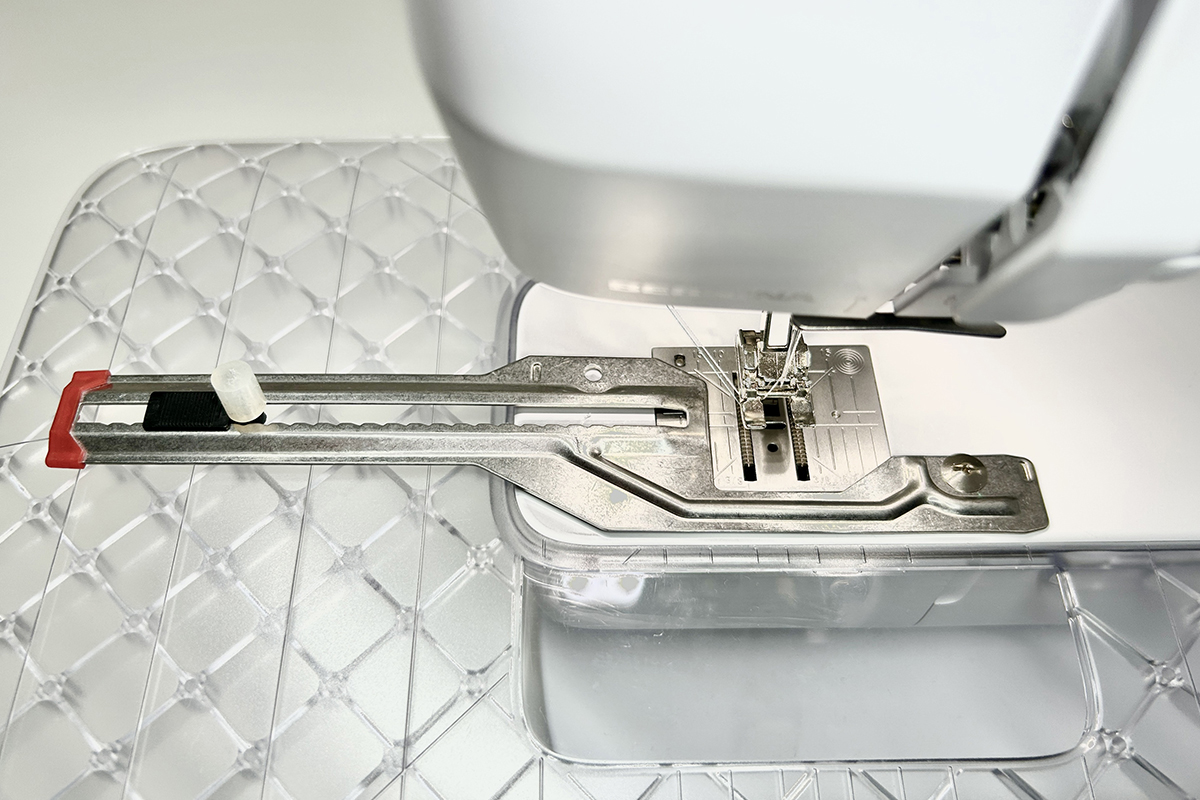
Attach Open Embroidery Foot #20 to the machine. Select stitch #1. Secure the Circular Embroidery Attachment #83 to the machine and slide the pin all the way to the left. The rubber cover is on the pin for a reason. It’s sharp!
Place the stabilizer under the fabric and position the center point on the pin. Slide the pin to the right until the fabric is just under the foot. Rotate the fabric, making sure the fabric is under the foot on all sides.
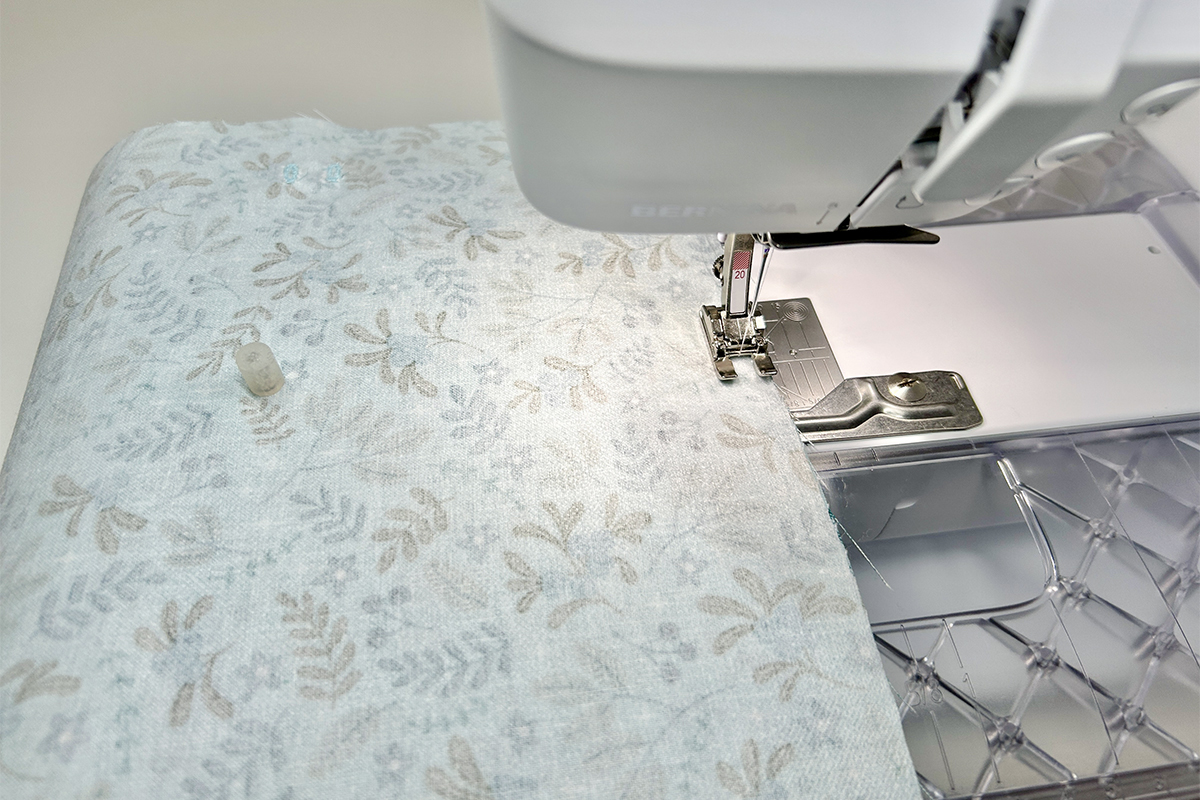
Sew a complete circle. When you reach your starting point, use the Secure or Quick Reverse buttons to end the stitch. The Secure button makes four tiny stitches to create a knot, and the Quick Reverse button sews backwards.
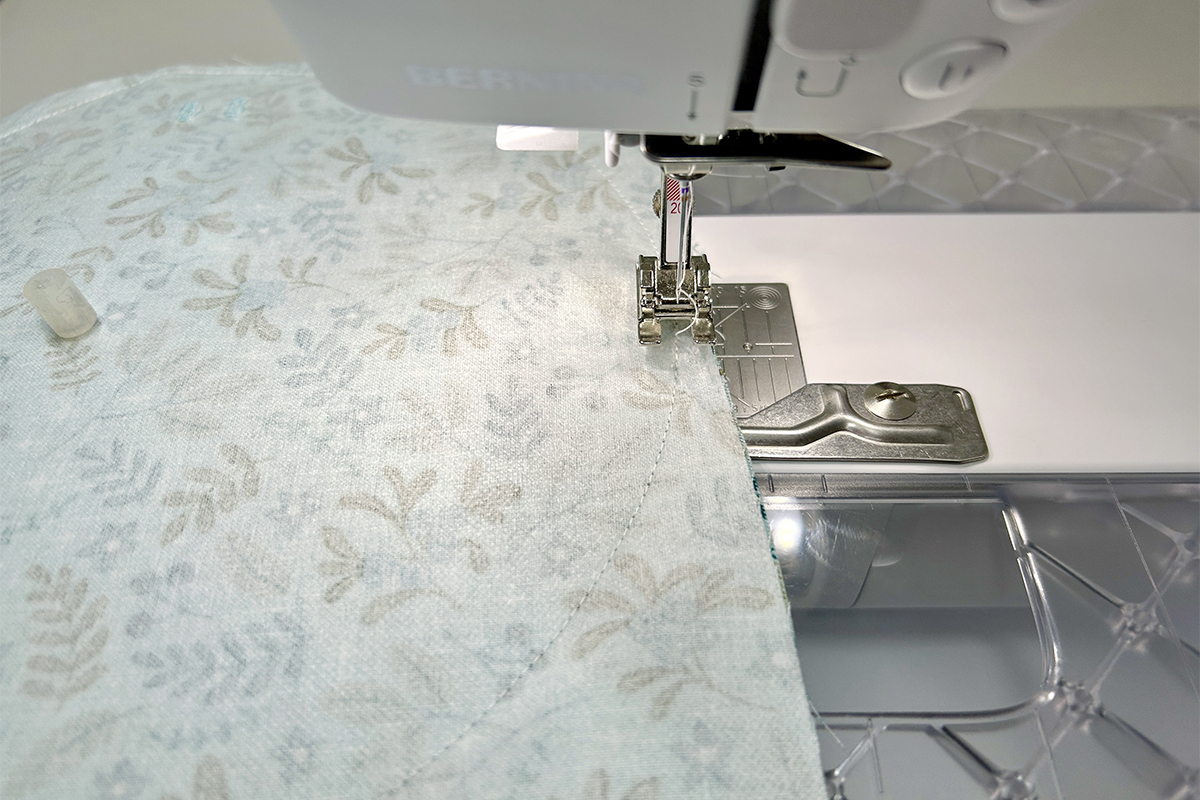
Do the same with Accent Fabric, but without the interfacing. Make sure to place the stabilizer under the fabric before sewing the circle.
When sewing with the Circular Embroidery Attachment #83, be sure to sew slowly and keep the fabric flat from the center out as it goes under the foot. If you are inadvertently moving the pin, tape the slider with repositionable tape.
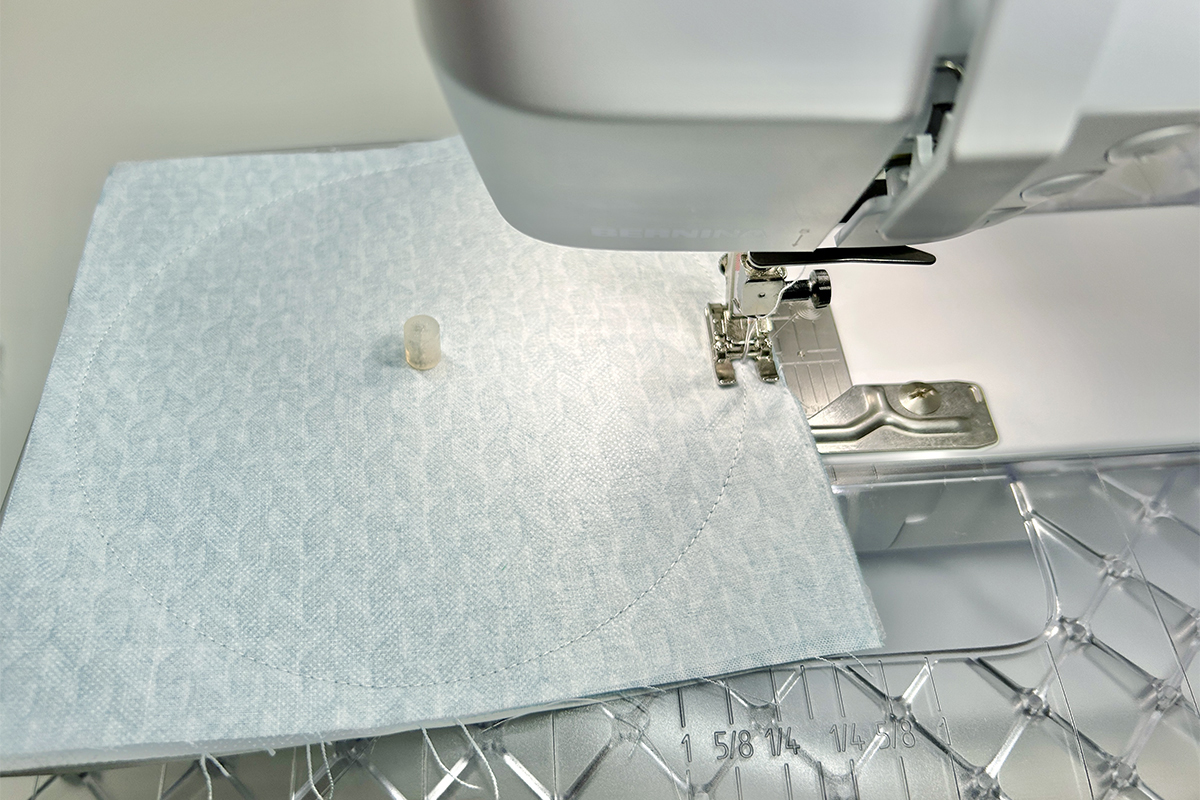
Trim around the stitched circles, leaving a 1/4” seam allowance. Remove the stabilizer, leaving it in the seam allowance if it’s too fiddly.
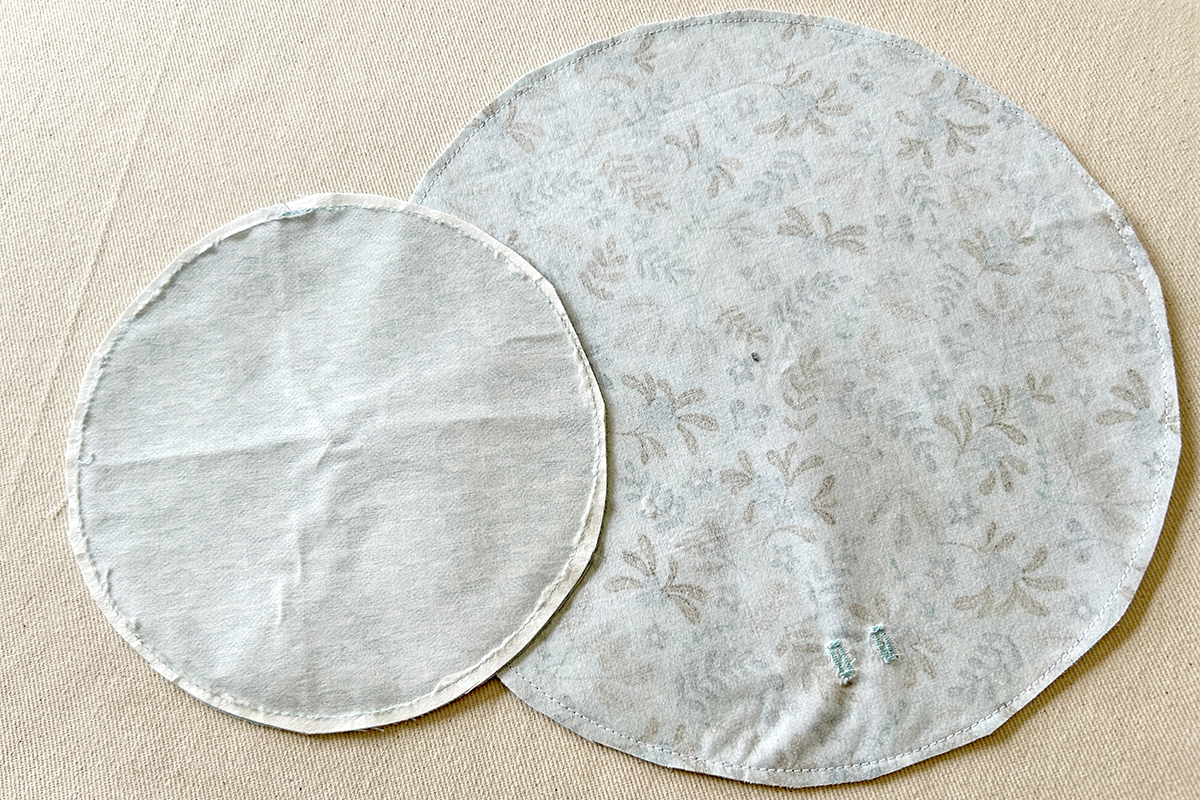
Carefully cut a 2″ slit in the center of the large circle on the side without the buttonholes, cutting through only one layer of fabric. Turn right side out through the slit. Repeat for the small circle. On this piece, it doesn’t matter which side you slit. Use the Point & Press tool to help push out the seams and press the fabric. Fuse the small pieces of interfacing over the slits for added security.
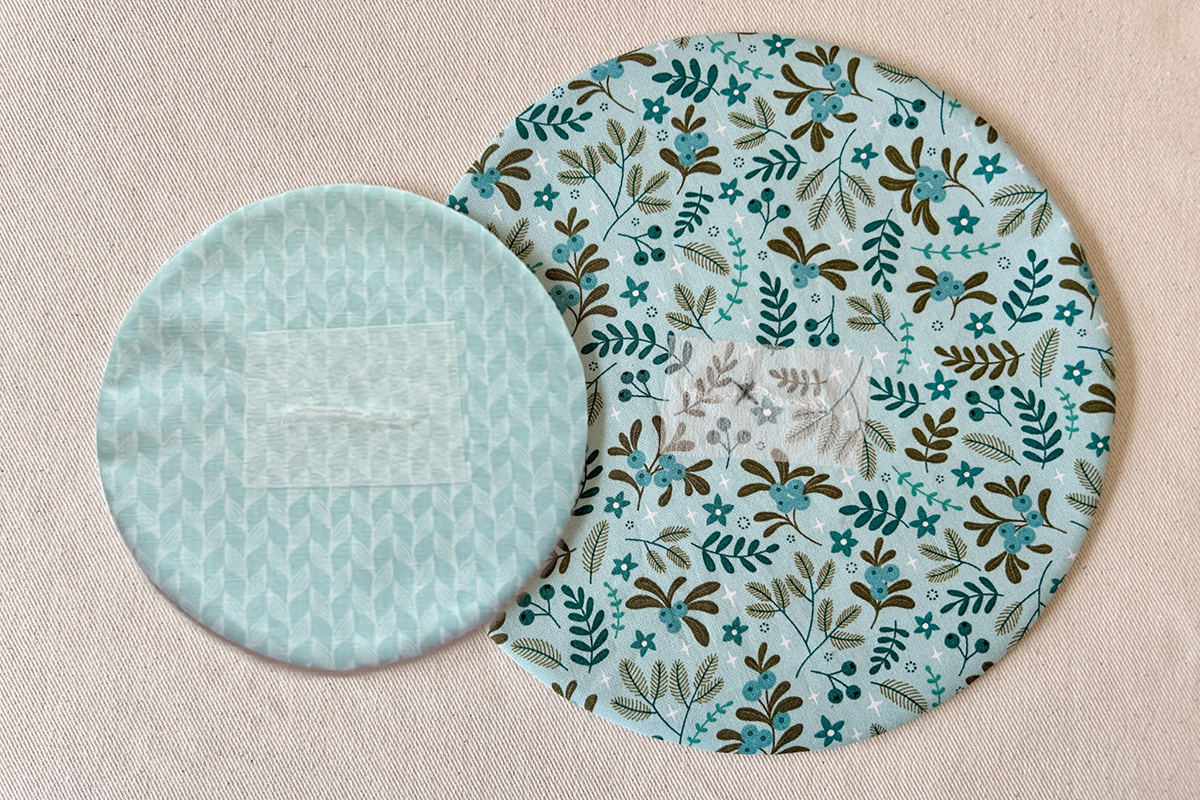
This is my go-to method when the center of a circle will be covered. It’s much easier and faster than stitching along the curve of the 3” opening.
Sew Drawstring Casing
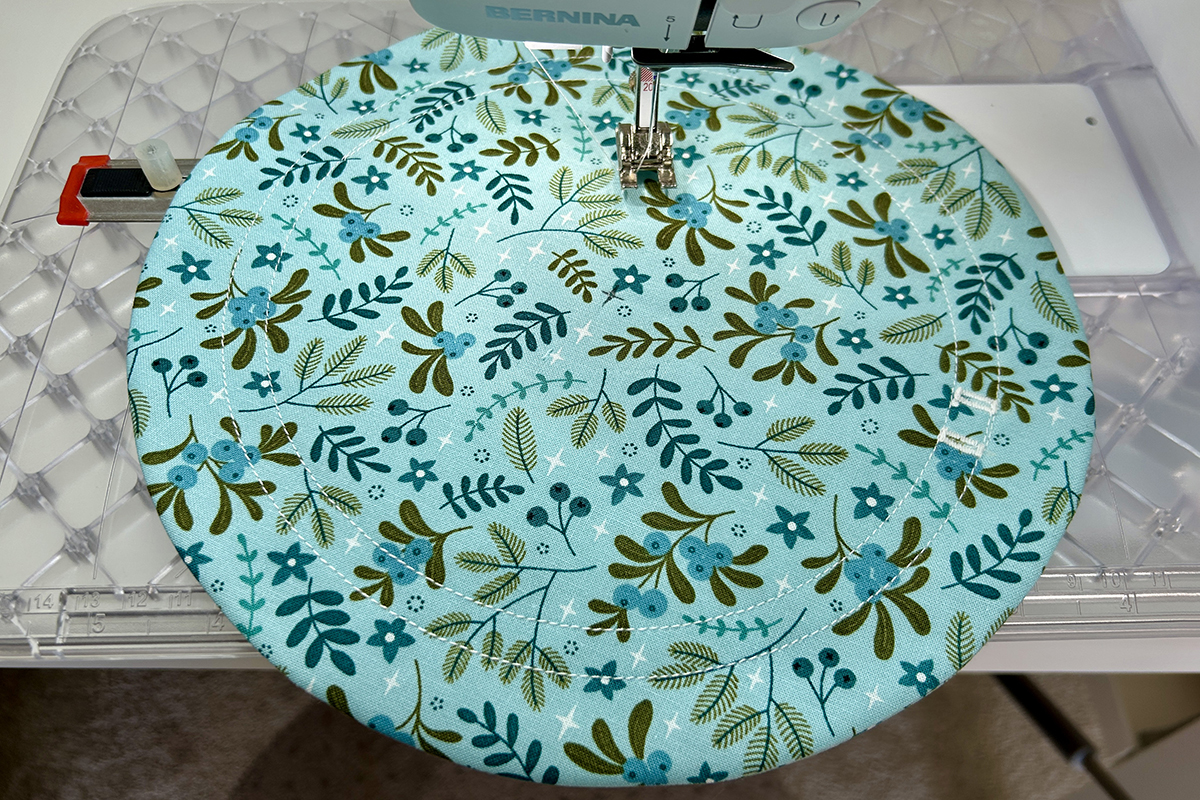
Place the large circle with the buttonholes face up and mark the center. Place the center of the large circle on the pin and secure with the rubber stopper. Slide the pin until the needle is positioned just to the left of the buttonholes. Sew a complete circle, securing the stitches with the Secure or Quick Reverse button.
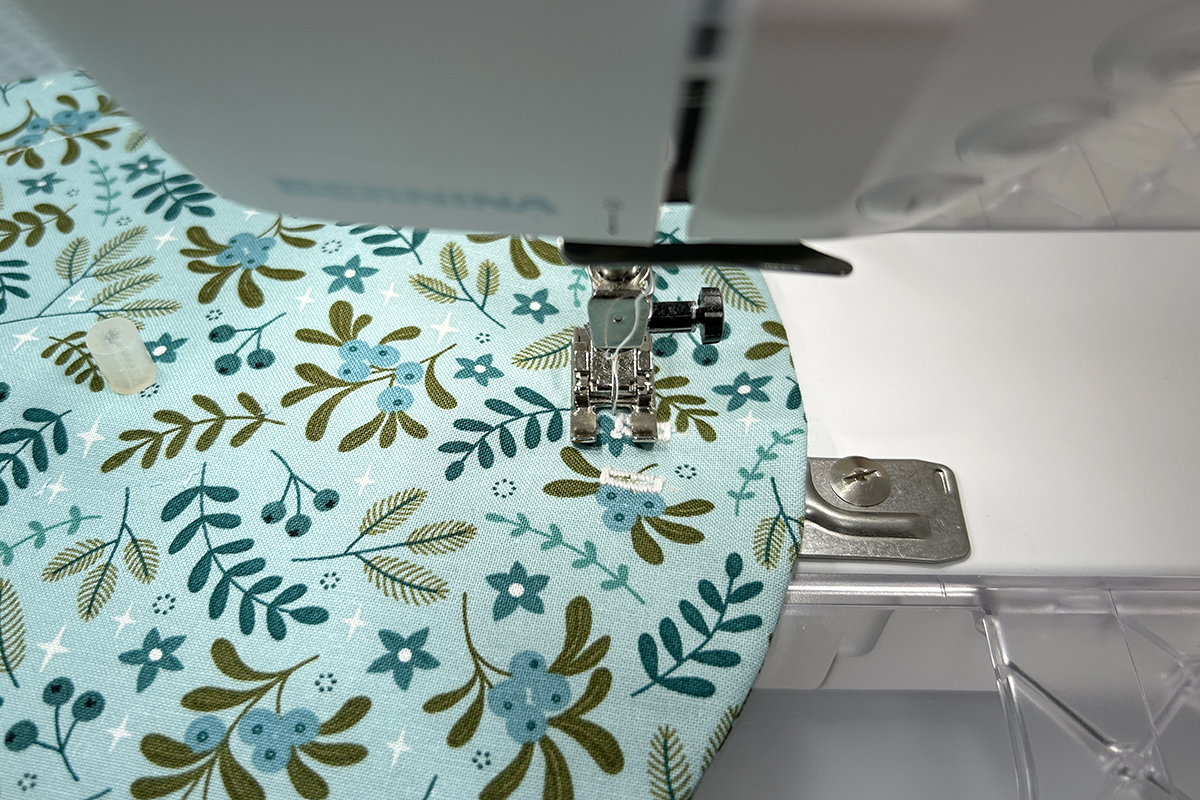
Move the pin two clicks to the left so the needle is positioned just to the right of the buttonholes. This will make sense at the machine! Sew another complete circle, securing at the end.
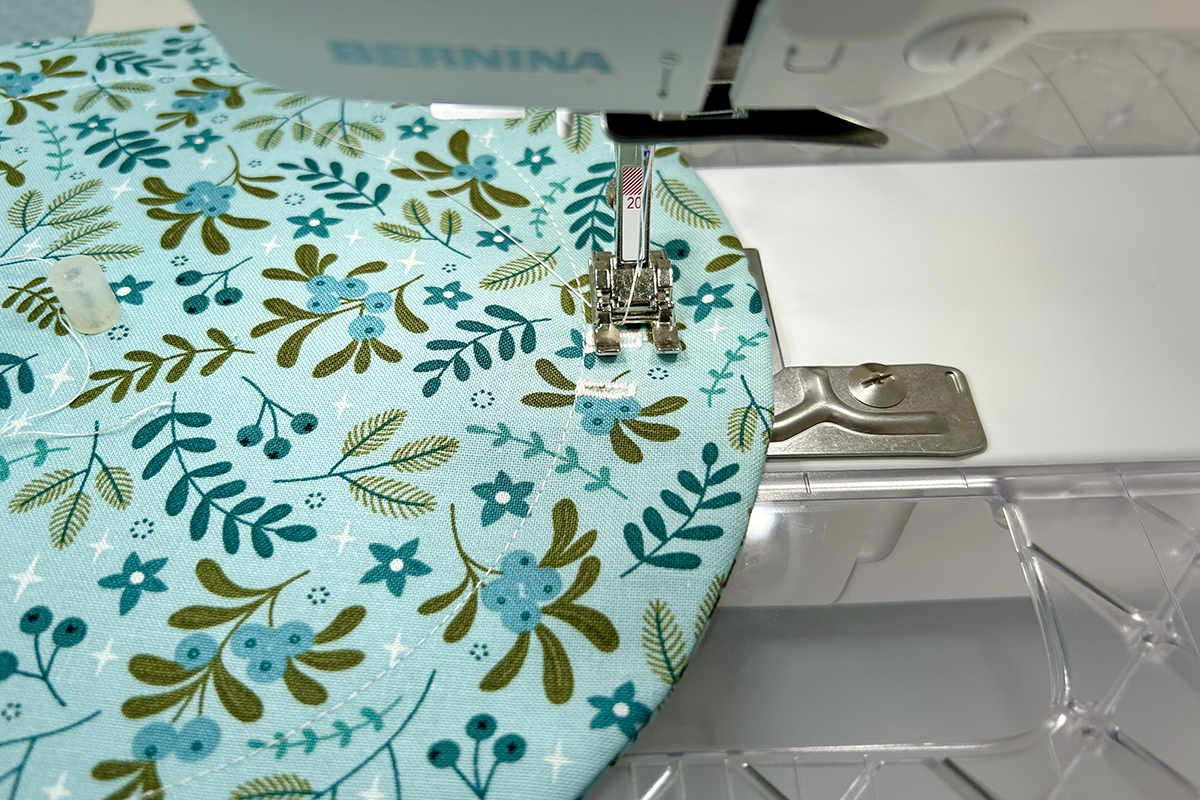
Now, your drawstring casing is complete!
Mark the center of the large circle on the side with the fused slit. Then, mark the center of the small circle on the side without the fused slit. Place both circles with marks facing up.
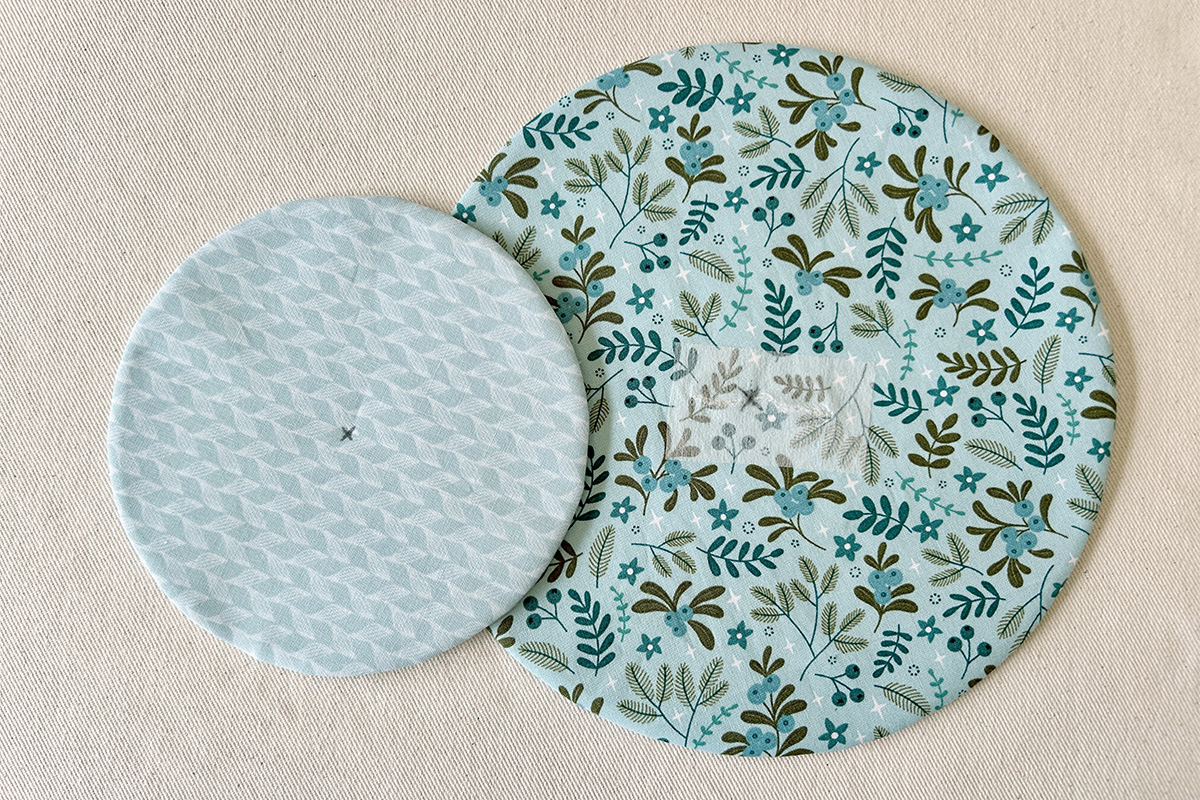
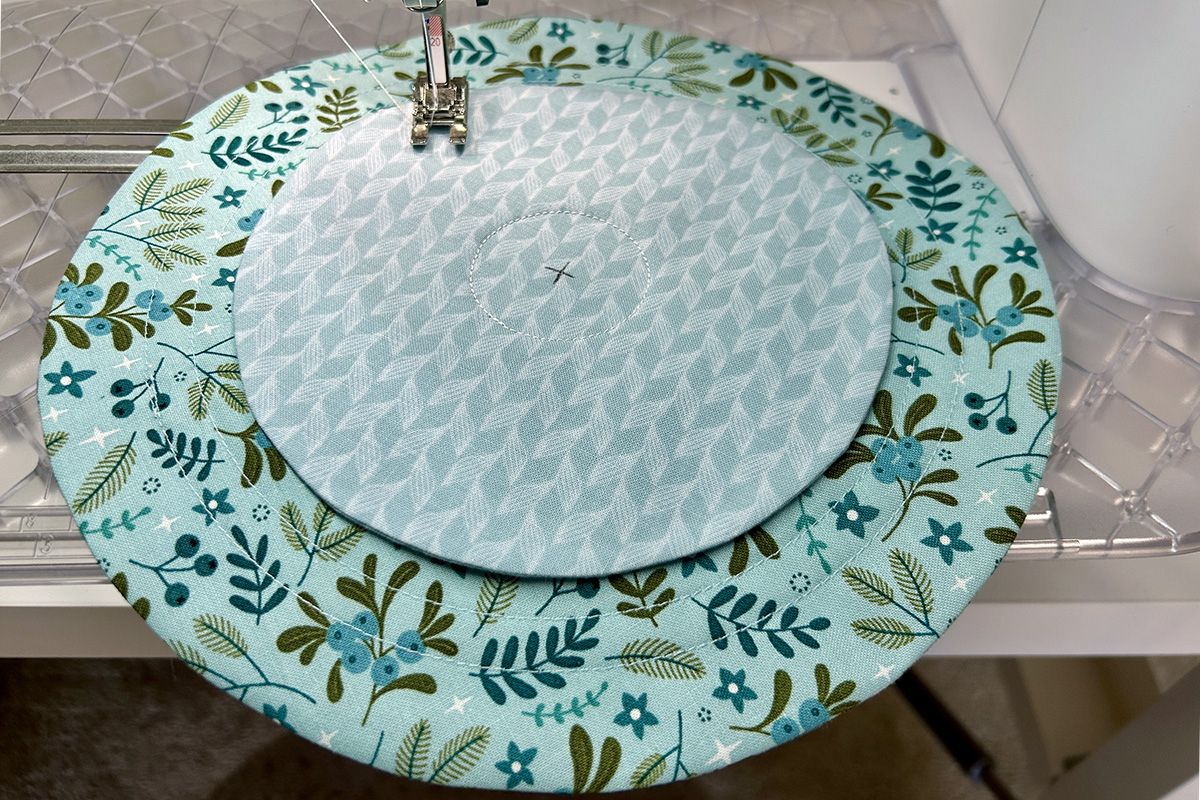
Place the large circle on the pin, pinning through the center of the circle. The buttonholes will be face down. Then, position the small circle on the pin, also pinning through the center. The fused slits should be sandwiched together. Secure both pieces on the pin with the rubber stopper, then slide the pin all the way to the right. Sew a circle through all layers, securing at the end.
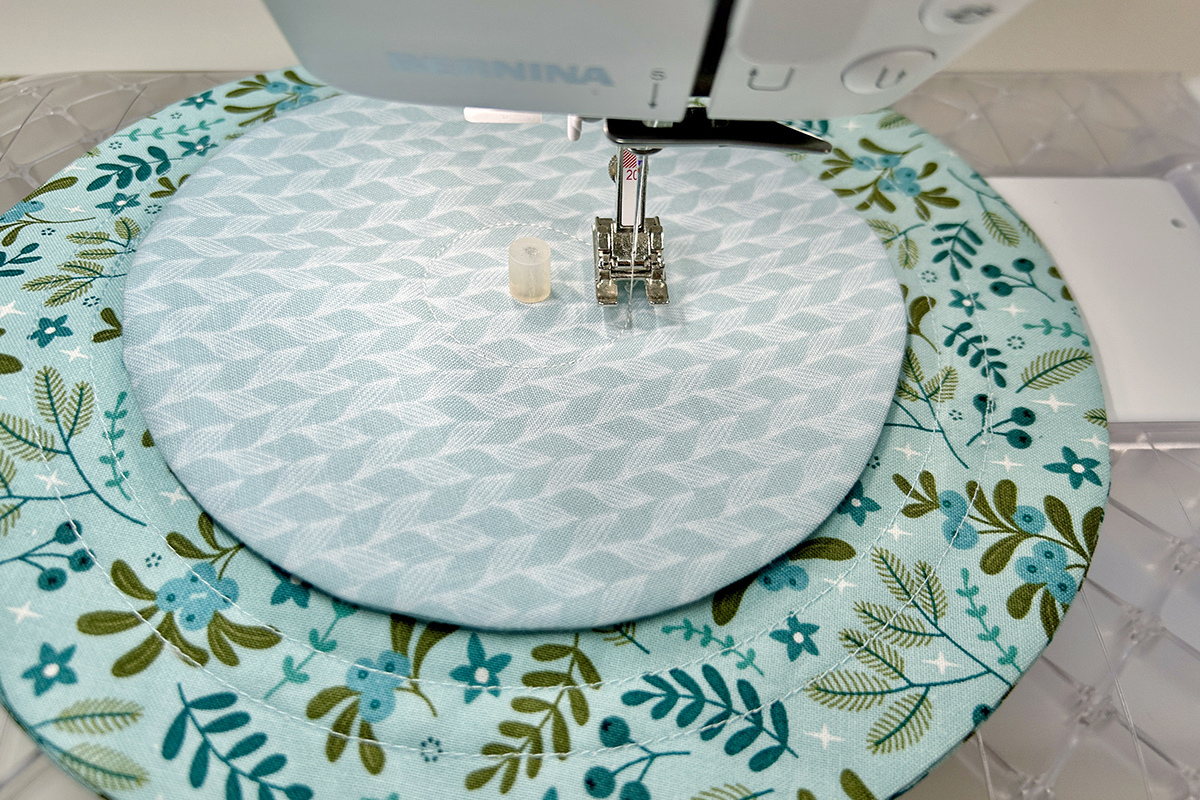
This is the smallest circle with the attachment and will help prevent tiny earrings and such from getting stuck at the bottom of the wedge pockets.
Sew Wedge Pockets
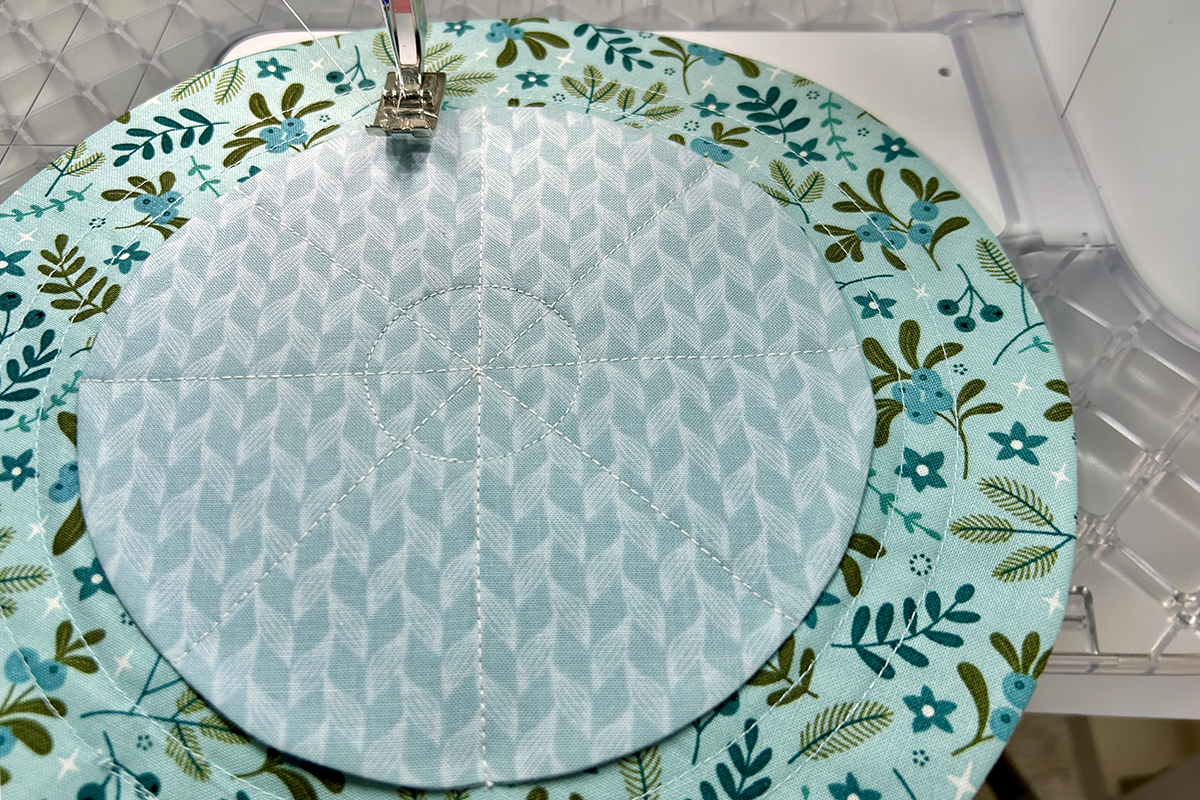
Mark temporary lines to show placement of eight wedge pockets.
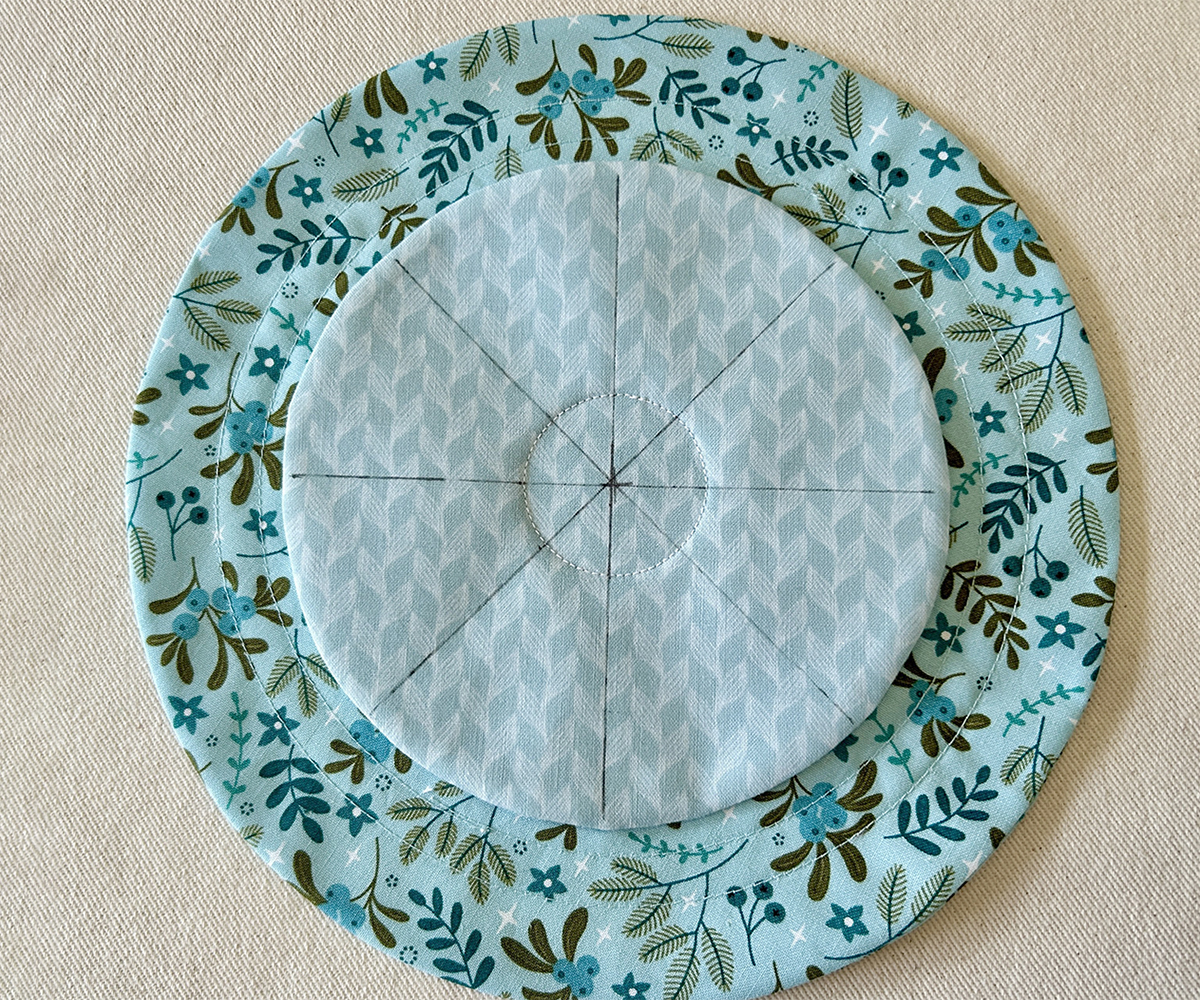
Remove Open Embroidery Foot #20 and the Circular Embroidery Attachment. Attach Reverse Pattern Foot #1 and select stitch #1. Sew directly on the marked lines, securing at the start and end with the Secure button. Since the stitches will be noticeable, use the Secure button rather than the Quick Reverse to create nearly invisible securing stitches.
Alternatively, you could sew the marked lines with stitch #6, the triple straight stitch, for a bolder look.
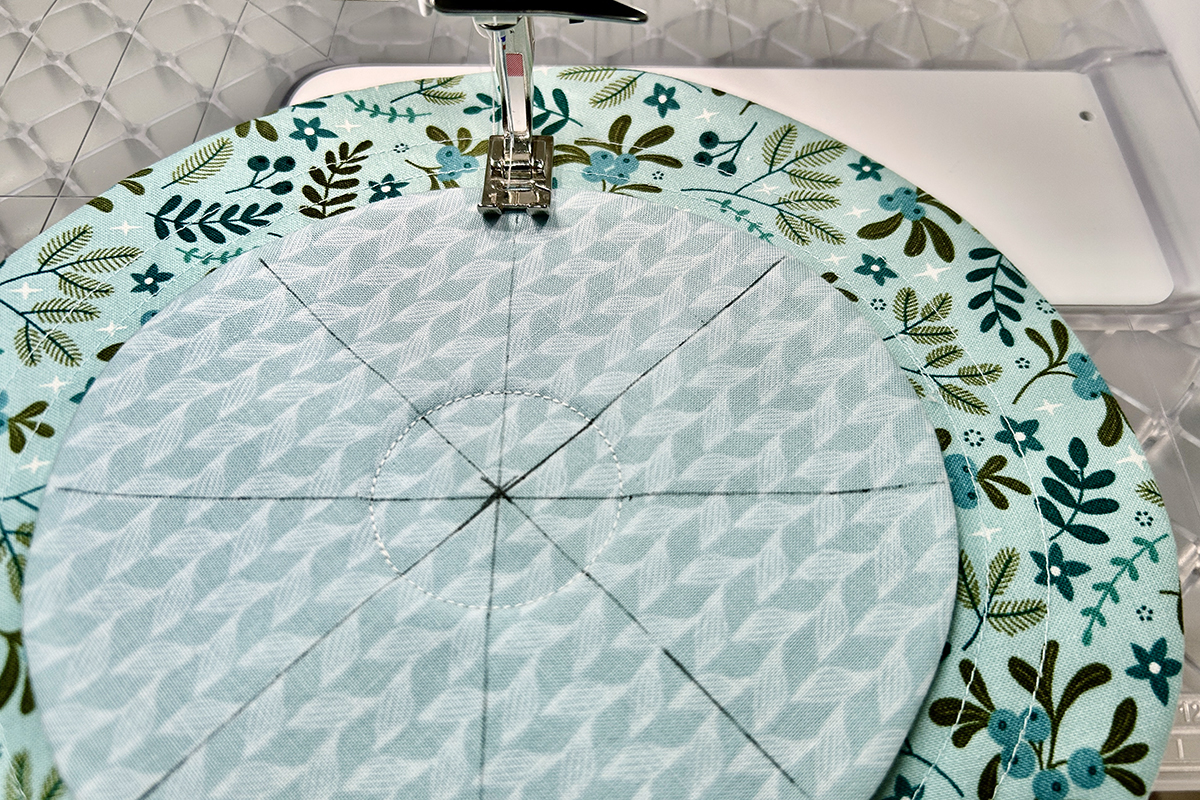
The wedge pockets are formed. Now it’s time for the last step–adding the drawstring!
Add Drawstring and Jewelry
Thread the 30” drawstring into the bodkin and insert into one buttonhole.
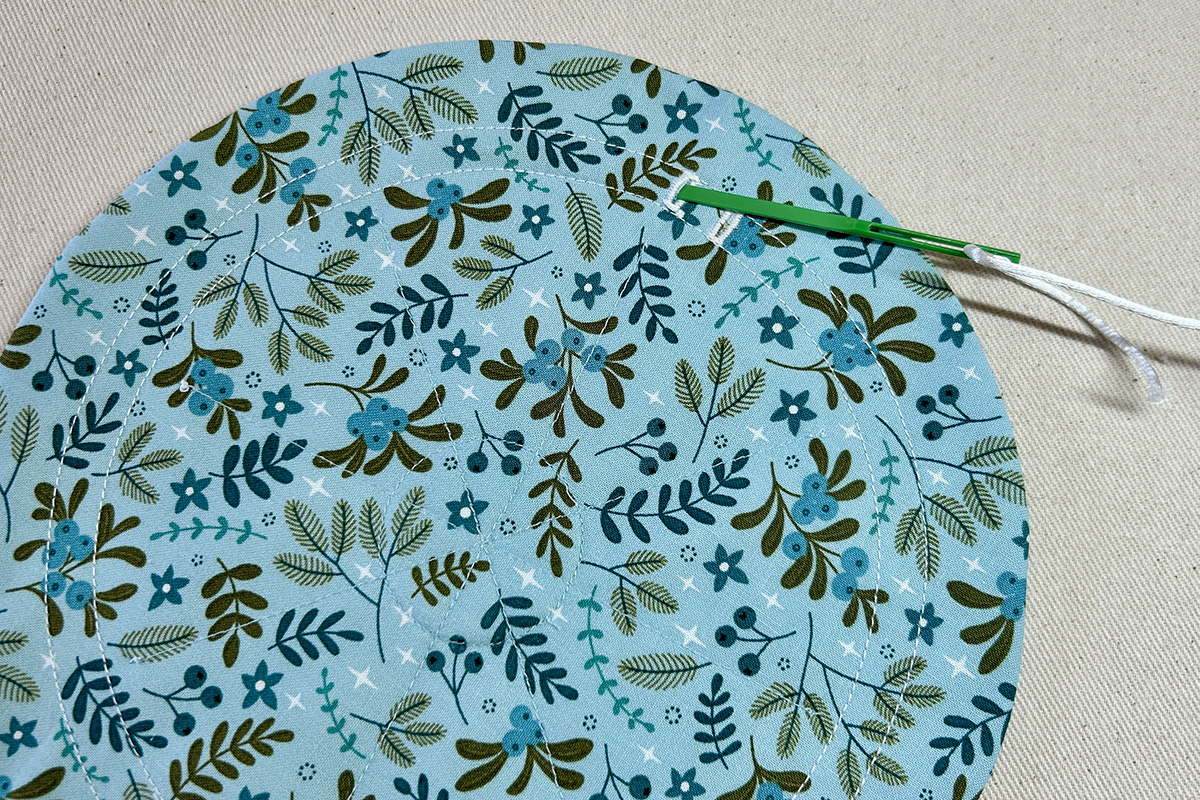
Push the bodkin through the casing until you reach the other buttonhole. Push out of the casing and remove the bodkin from the drawstring.
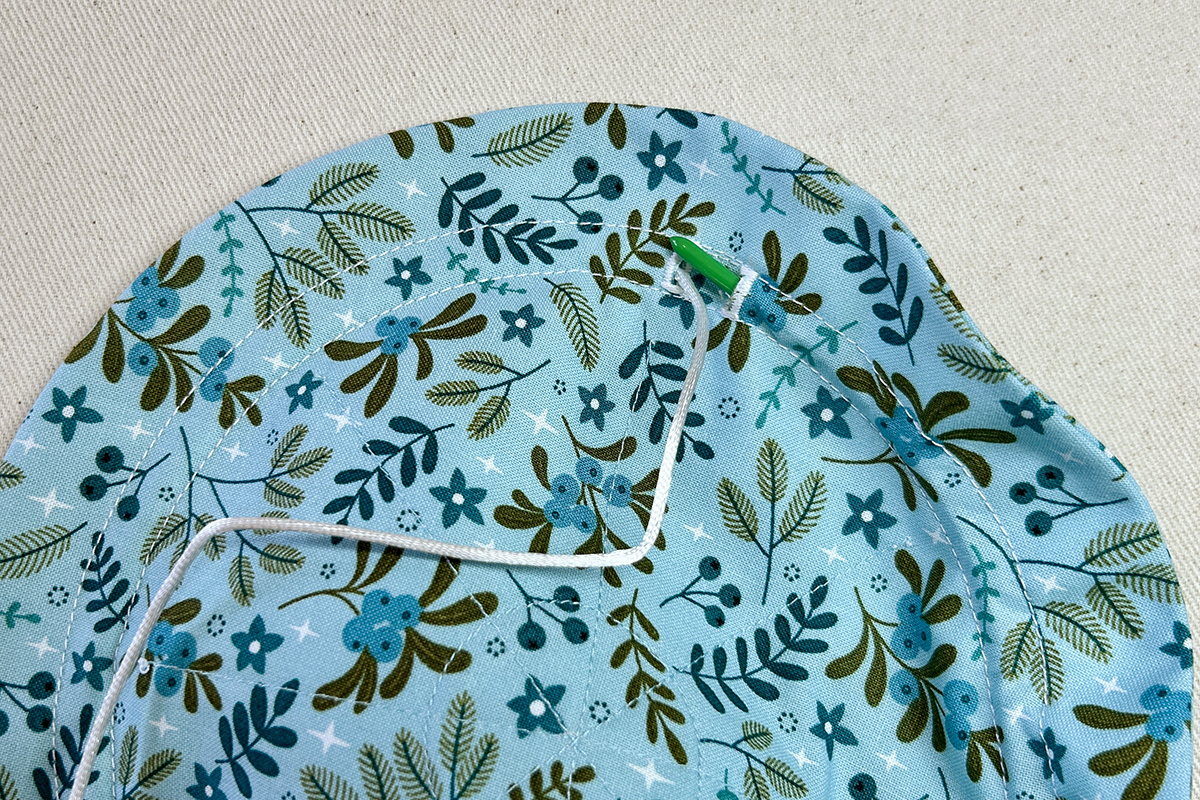
Cinch up the drawstring to form a lovely pouch, then let this sit for 24 hours. This helps the fabric develop a “memory,” making it easier to open and close during use. You can trim the drawstring shorter but leave enough length so the pouch can still lay flat without losing either end inside the casing.
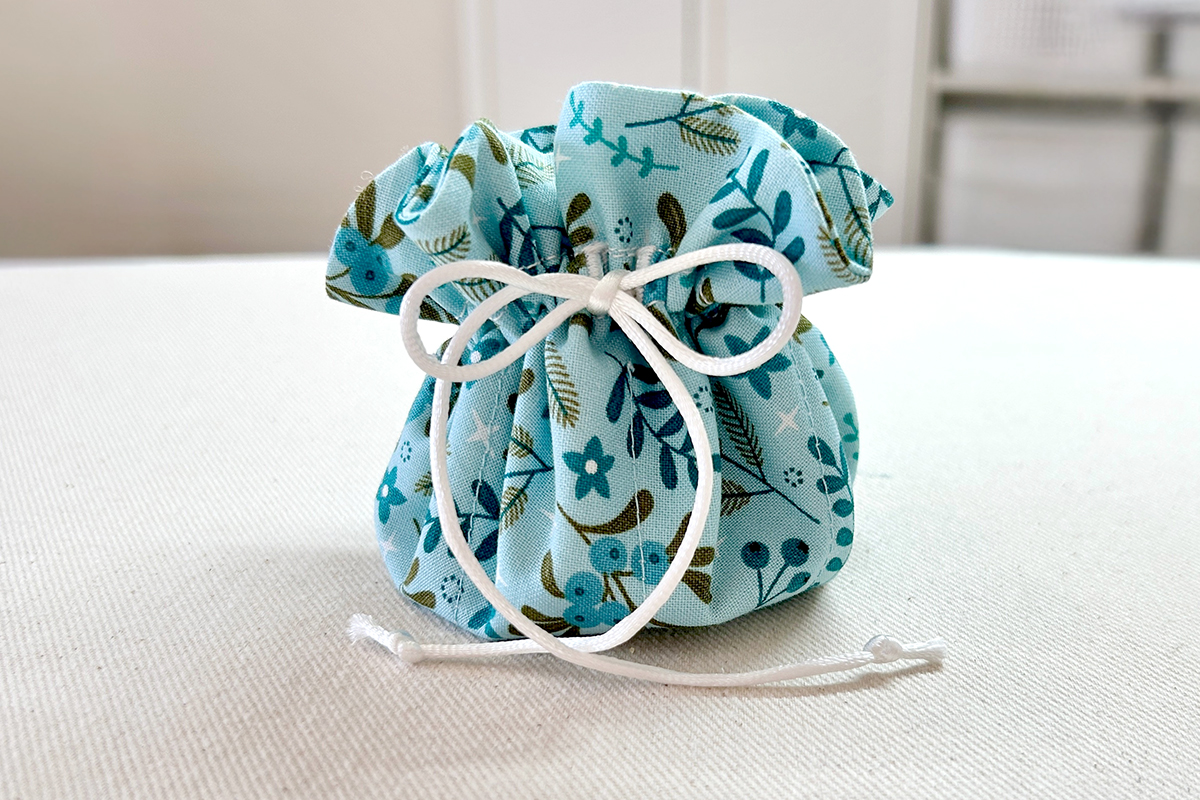
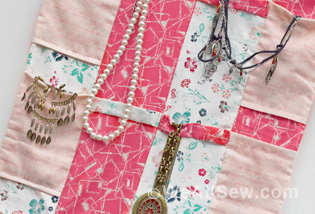
For the next trip, you’ll be ready to go with your jewelry secure. Notice you have eight pockets for the smaller items and a center pocket for larger items.