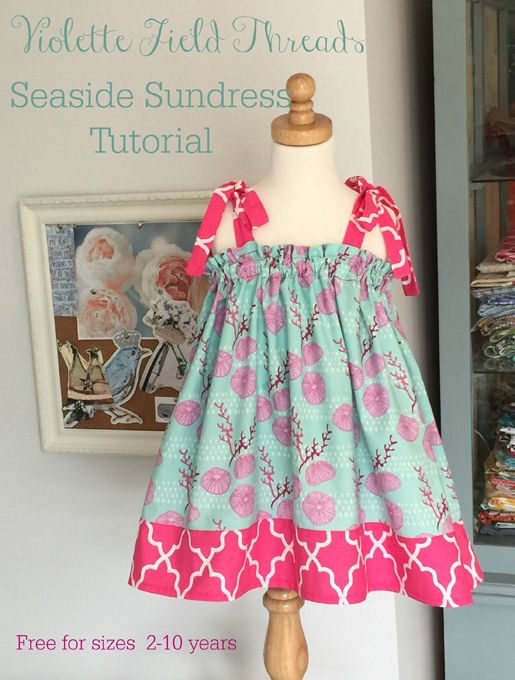
How to Sew a Girl’s Seaside Sundress
Our favorite time of year is upon us! Living in the south, there is no time of year more beautiful than spring. The trees and flowers are blooming, days are getting longer and temperatures are on the rise. One great thing about warmer temperatures is that it is time to break out the sundresses! Our girls live in sundresses this time of year. We love sewing sundresses because they can be completed so quickly compared to a winter garment. They are also perfect for showing off all those bright cheerful fabrics that you have been hoarding all winter.
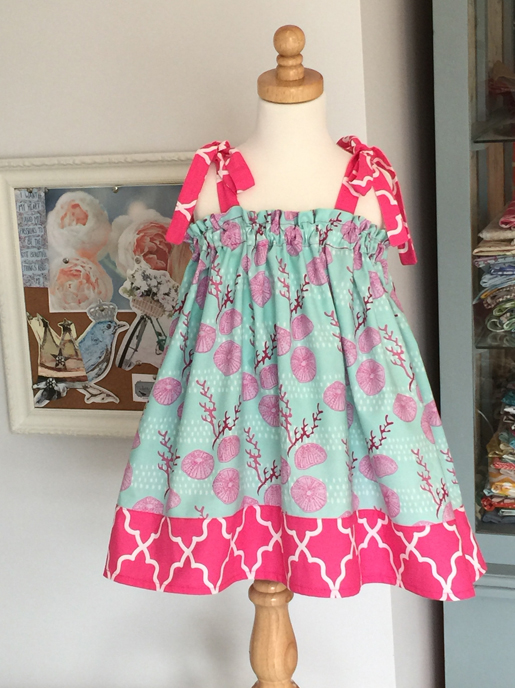
So today we are bringing you a free tutorial for a very simple yet sweet sundress, The Seaside Sundress. This dress is perfect for hot days or for layering over swimsuits at the pool or beach.
Let’s get started! First, our supply list along with fabric recommendations and requirements.
|
Fabric Requirements 44/45″ wide Fabric Bolts |
|||||||
| Size: | 2T | 3T | 4T | 5 | 6 | 7,8 | 9,10 |
| Dress—Front & Back | 1 1/8 yd. | 1 1/4 yd. | 1 1/2 yd. | 1 1/2 yd. | 1 1/2 yd. | 1 1/2 yd. | 1 3/4 yd. |
| Bottom—Panel Front & Back | 1/3 yd. | 1/3 yd. | 1/3 yd. | 1/3 yd. | 1/3 yd. | 1/3 yd. | 1/3 yd |
| Straps | ¼ yd. | ¼ yd. | ¼ yd. | ¼ yd. | ¼ yd. | ¼ yd. | ¼ yd. |
Materials:
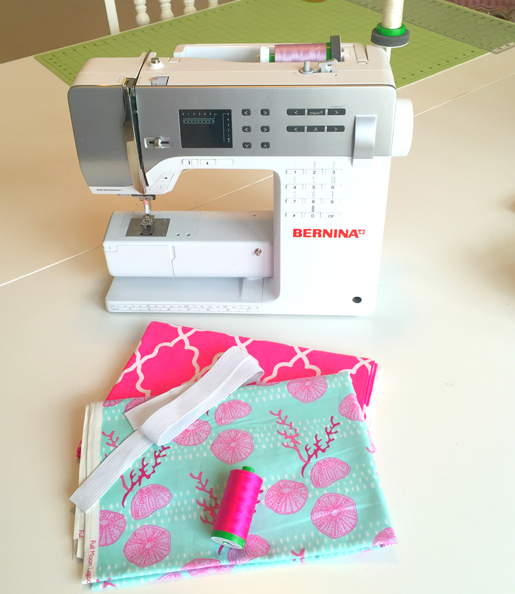
- Sewing Machine – We used our BERNINA PE350 along with the Reverse pattern foot #1.
- Scissors
- Sewing Pins
- Ruler or Measuring Tape
- Sewing Chalk or Pen
- 1″ Elastic
- Thread−we recommend Aurifil Brand thread.
Fabric Recommendations:
Cotton, cotton blends, chambray, linen, gauze, seersucker.
(We chose Full Moon Lagoon by Andover as our main print and Moroccan Lattice by Michael Miller as our coordinate. These fabrics pair perfectly with Aurifil Color # 4020 Hot Pink Thread.)
Cutting Information:
The Seaside Dress is sized in RTW sizing. Below are the finished lengths for each size:
|
Finished Length |
||||||
| 2T | 3T | 4T | 5 | 6 | 7,8 | 9,10 |
| 20″ | 22″ | 23″ | 24″ | 25″ | 27″ | 30″ |
Choose the size you normally purchase in stores and cut your fabric according to the chart below:
| Cutting Chart (width x length) | |||||||
| Size: | 2T | 3T | 4T | 5 | 6 | 7,8 | 9,10 |
| Dress Front & Back(CUT 2) | 31″ x 20″ | 32″ x 22″ | 33″ x 23″ | 34″ x 24″ | 35″ x 25″ | 36″ x 27″ | 37″ x 30″ |
| Bottom Panel Front & Back(CUT 2) | 31″ x 3 ½” | 32″ x 3 ½” | 33″ x 3 ½” | 34″ x 3 ½” | 35″ x 3 ½” | 36″ x 3 ½” | 37″ x 3 ½” |
| Straps(CUT 8) | 2″ x 18″ | 2″ x 18″ | 2″ x 18″ | 2″ x 20″ | 2″ x 20″ | 2″ x 20″ | 2″ x 20″ |
Now it is time to sew! This dress can be cut and sewn in about an hour, so it is perfect for a naptime sew or to stock your craft market booth.
Sewing Instructions:
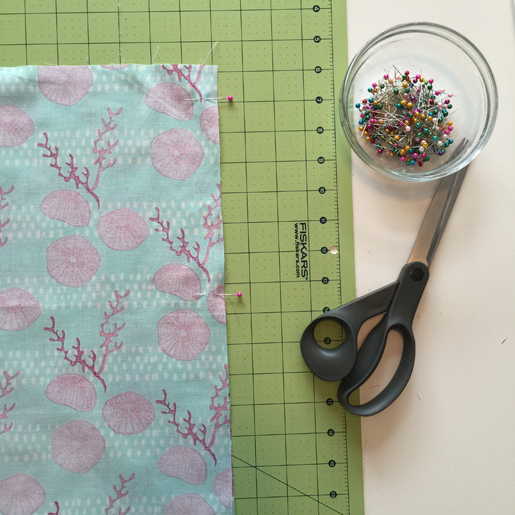
1. Place the front and back dress pieces together with the right sides touching and raw edges lining up. Pin together along both short side edges. Sew together along the pinned seams. For a professional look finish the seams with a serger or trim off ½ of the seam allowance and finish with a zig zag stitch. Iron the seams flat and set aside.
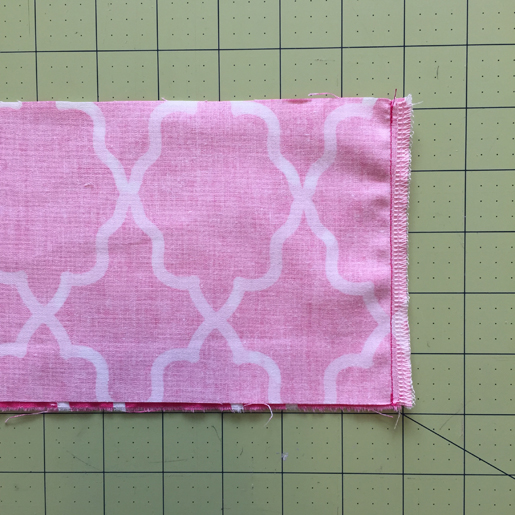
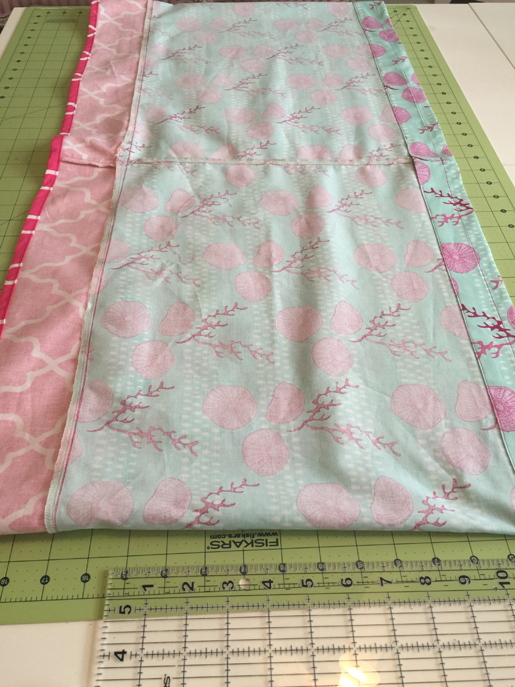
2. Place the front and back bottom panel pieces together with the right sides touching and raw edges lining up. Pin together along both short side edges. Sew together along the pinned seams. For a professional look finish the seams with a serger or trim off ½ of the seam allowance and finish with a zig zag stitch. Iron the seams flat.
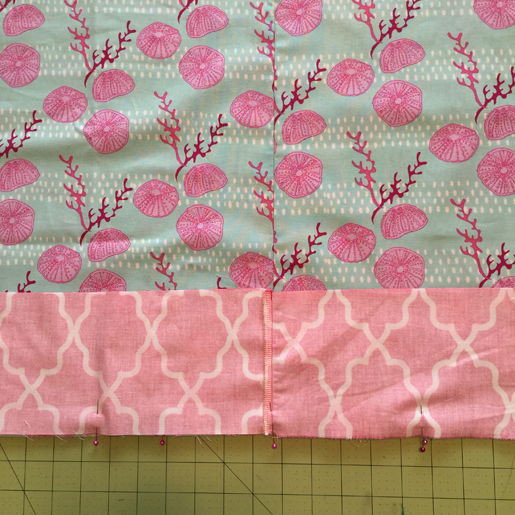
3. Place the front and back bottom panel on top of the front and back dress with the right sides touching and raw edges lining up. The top raw edge of the panel should be lining up with the raw bottom edge of the dress. Line up the side seams and pin to secure. Sew together along the pinned seam. For a professional look finish the raw edge with a serger or trim off ½ of the seam allowance and finish with a zig zag stitch.
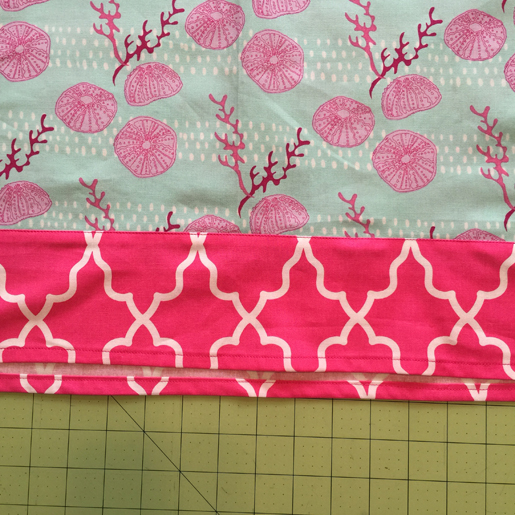
4. Flip the bottom panel down and iron the seam allowance down towards the bottom panel. Topstitch on the right side of the fabric right below the seam. Hem the bottom raw edge of the dress. Turn the bottom raw edge up ¼” and iron flat. Turn up another ½” and iron flat. Sew around the hem, right below the fold.
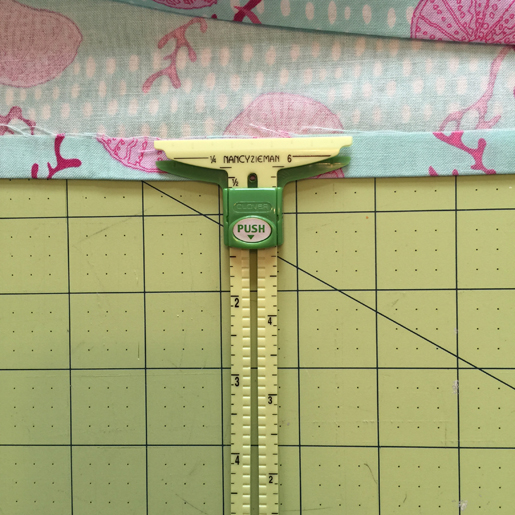
5. Creating the Elastic Casing: Turn the top raw edge of the dress down ½” and iron flat.
6. Turn the top raw edge of the dress down another 2″ and iron flat.
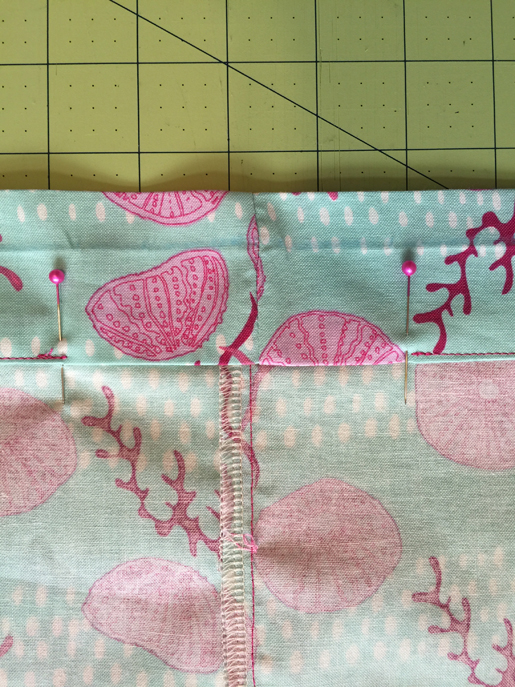
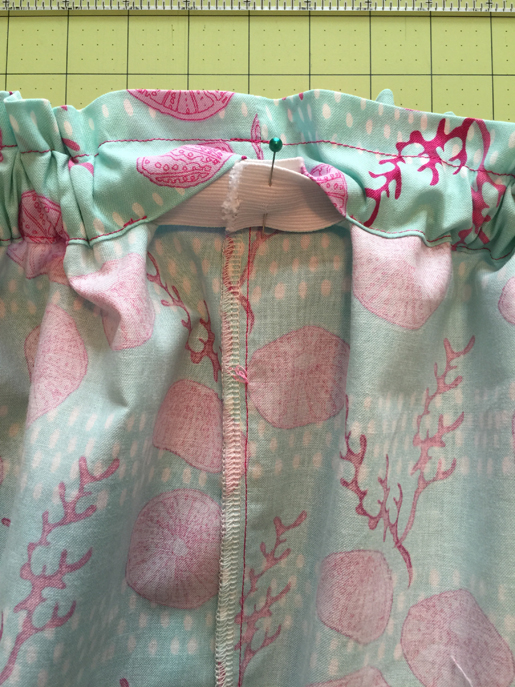
7. Sew right along the bottom folded edge of the casing. Leave a 2-3″ opening to insert the elastic.
8. Measure 1 ¼” up from the first sew line and mark with a chalk line. Sew right along the chalk line all the way around the dress. This has now created a casing for the elastic. Set aside.
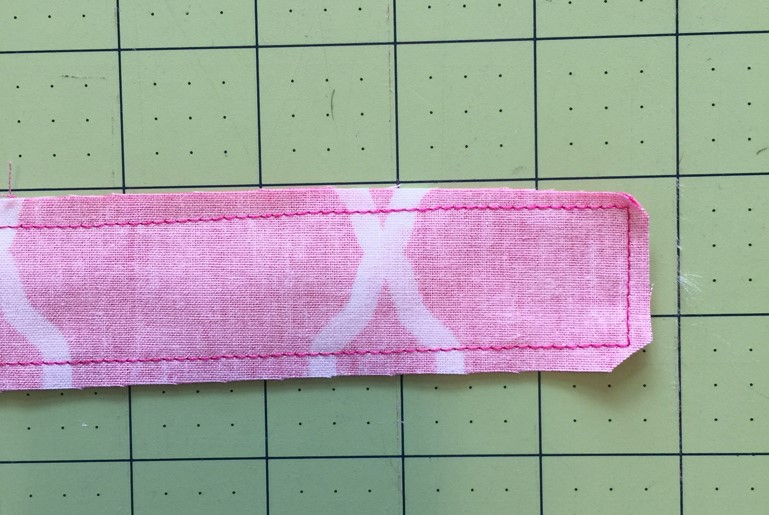
9. Place two strap pieces together with the right sides touching and the raw edges lining up. Sew together along three edges, leaving one short end open for turning. Turn right side out and iron flat. Topstitch right along the sewn edges. Serge or zig zag stitch the raw open end. Repeat for the remaining three straps.
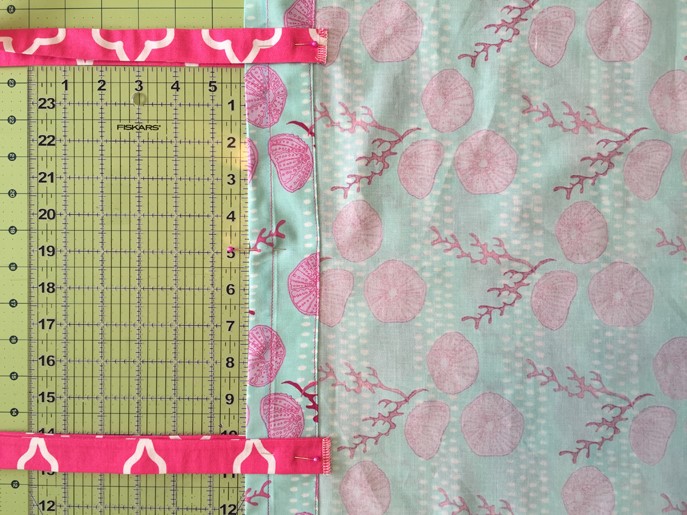
10. Pin the straps to the dress With the dress wrong side out, find the center point of the dress front and mark with a pin. Measure over 5″ in each direction from the center point and pin the straps to the dress. The straps should be place so the finished raw end of the strap extends ¼” past the bottom fold of the top elastic casing on the dress. Repeat for the dress back and remaining two straps.
11. Sew the straps to the dress. Sew over each strap along the top and bottom casing line to secure the straps. This will secure the straps, while still leaving the elastic casing open.
12. Cut elastic out according to the chart below:
| 2T | 3T | 4T | 5 | 6 | 7,8 | 9,10 |
| 19” | 20” | 20 ½” | 21” | 21 ½” | 23” | 24” |
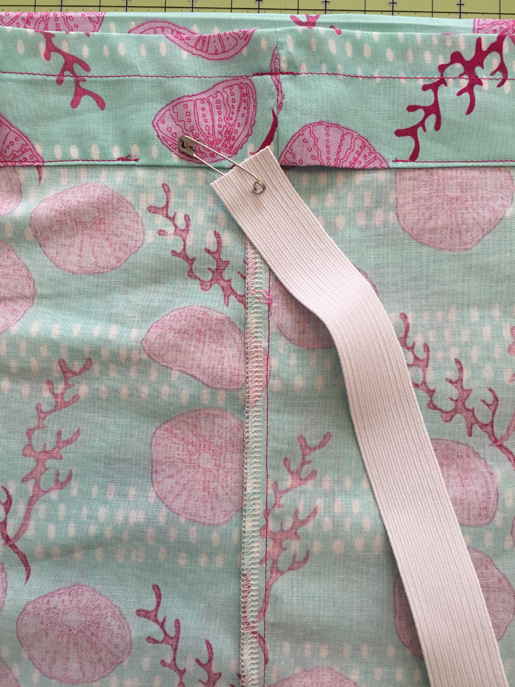
13. Place a large safety pin onto one end of the elastic. Insert the elastic into one side of the elastic casing and guide it around to the opposite side.
14. Pin the elastic end together and sew to secure. Sew the 2-3 opening in the casing closed.
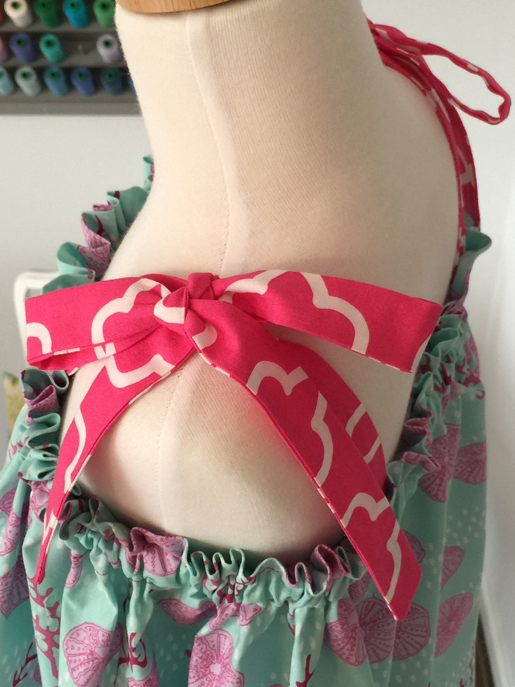
15. Adjust the elastic gathers and tie the straps into a bow! You have now created the Seaside Sundress. Enjoy!
What you might also like
6 comments on “How to Sew a Girl’s Seaside Sundress”
-
-
Glad to see that you fixed the fabric measurements for the larger top. This should be called a top because it is not long enough for a dress. The finished product is very cute!
-
Such a cute dress! Are the seams 5/8″? Is a 5/8″ seam also used on the straps?
-
I used a 5/8″ seam for the body of the dress and the hemmed border attachment. I used a 1/4″ seam for the straps. If I make the dress again, I might change the hemmed border seam to 1/4″ so that I have more of the border showing.
-
Where did you get the child’s dress form? I’m looking for one for my granddaughter. Thank You!
-
-
-
-
I love this dress. It is so cute and looks so easy to make. I’d love to follow along. Is there a link I’m missing somewhere to download the pattern?
Thanks for sharing.
Leave a Reply
You must be logged in to post a comment.





This is such a cute dress!! 🙂