How to Make a Sleep Mask
Early sunrise and you’re still in snoozing mode? Looking to get a few more hours of shuteye? No problem. Whip up one of these sleep masks and snooze in style!
Supplies
- 1/4 yard of fabric
- 1/4 yard of satin for backing (optional)
- 1 yard of fusible fleece
- 1 package of ¼ʺ-wide elastic
- Thread to match fabric
- Scissors
- Water-soluble marker or tailor’s chalk
- 1/4″ presser foot (BERNINA Patchwork Foot #37) (optional)
- Embroidery machine (optional)
- Tear-away stabilizer (for optional embroidery)
- Embroidery thread (for optional embroidery)
Tip: Fusible fleece can typically be found in the notion/interfacing aisle of the fabric department. Polyester batting can be substituted if necessary.
Download and print the Sleep Mask Template file. Sleep_Mask_Template_-_121814.pdf
Step 1) Embroider the pillow fabric (optional).
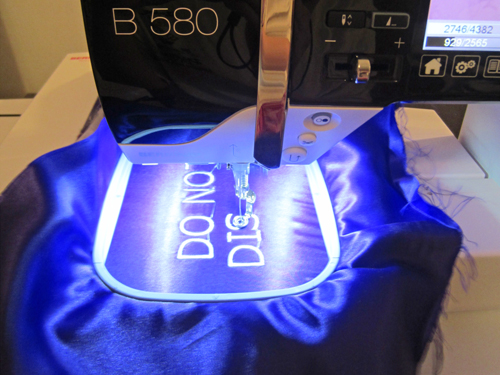
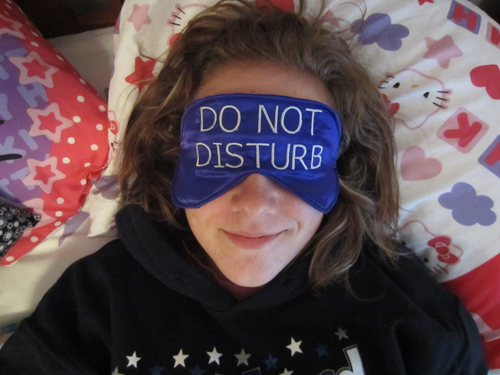
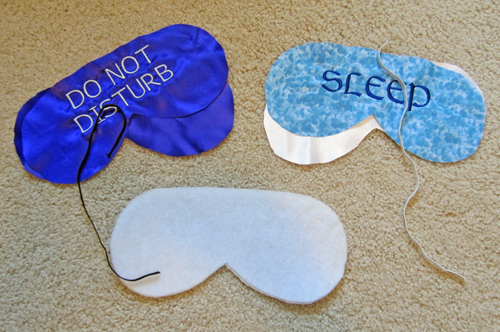
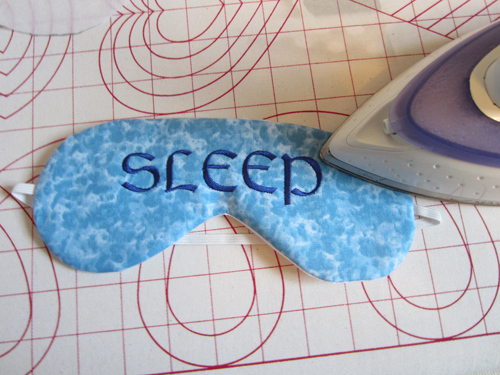
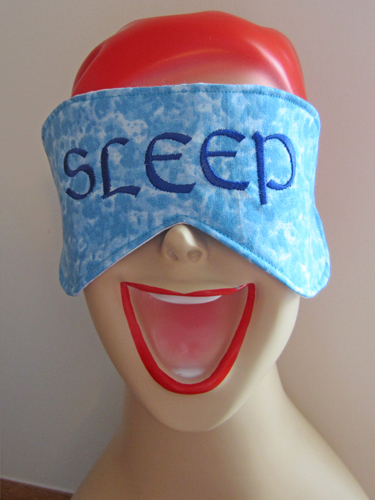
Prior to cutting your fabric, use an embroidery machine to stitch sayings such as “Dream,” “Sleep,” “Do Not Disturb,” “Bride/Groom,” or “His/Hers” on the sleep mask fabric.
Follow the instructions included with your embroidery machine to stitch lettering as desired.
Step 2) Cut the fabric pieces.
Print and cut out the sleep mask pattern/template.
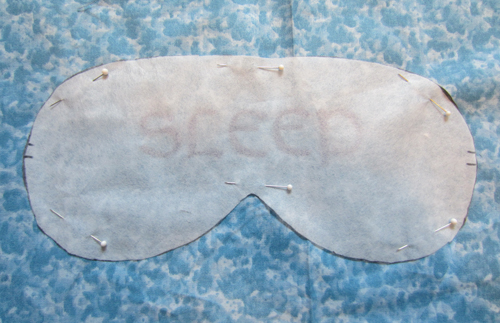
Cut one sleep mask piece from the main fabric. If the fabric is embroidered, center the lettering within the outline of the mask. Be sure to transfer the markings from the template to the fabric.
Cut one sleep mask piece from the lining fabric (same as the front, or satin). Again, be sure to transfer the markings from the template to the fabric.
Cut one sleep mask piece from fusible fleece.
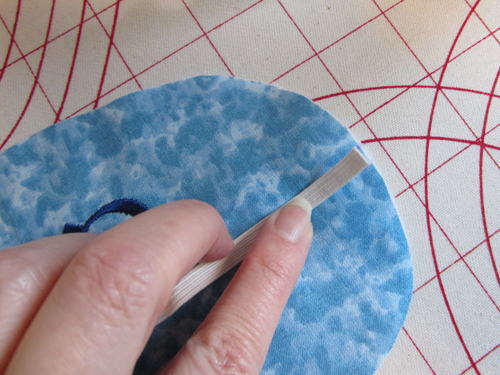
Cut a 12ʺ-long piece of 1/4ʺ-wide elastic.
Step 3) Assemble the sleep mask.
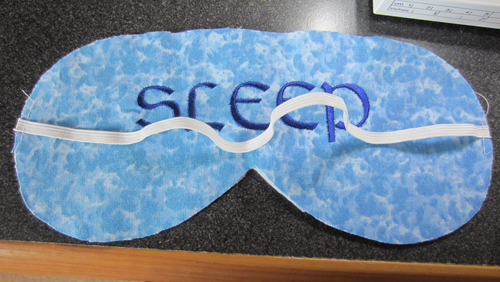
Position the elastic at the places marked on the template, aligning the raw edges. Baste.
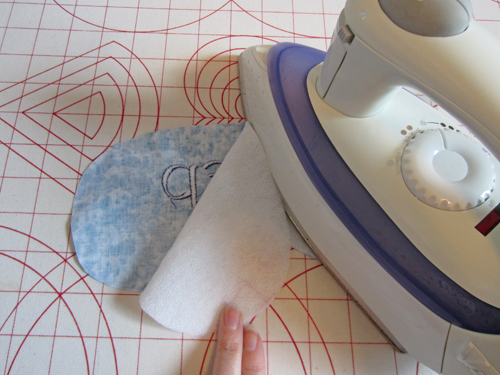
Fuse the fleece to the wrong side of the mask front piece, following the manufacturer’s instructions.
Tip: If using batting instead of fleece, baste it to the wrong side of the mask front piece.
With right sides together, pin the mask pieces together.
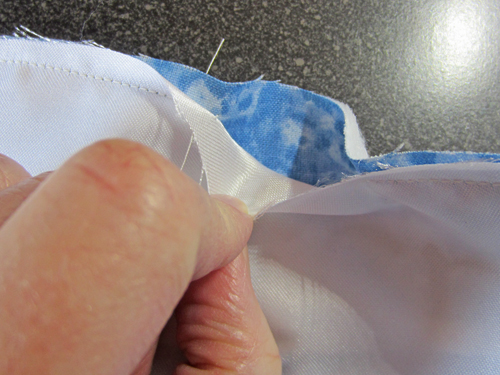
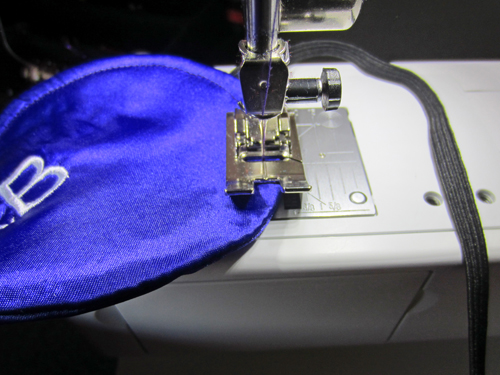
Tip: Make sure the elastic is out of the way and doesn‘t get caught in the stitching!
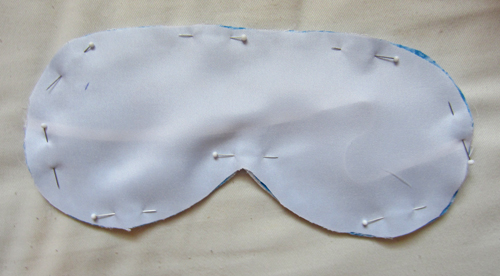
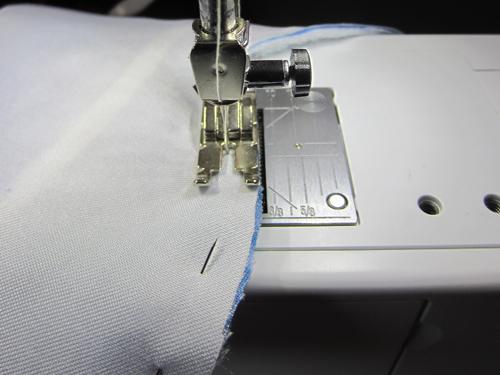
Stitch around the outer edges with a ¼ʺ-wide seam allowance, leaving a 3ʺ opening along one edge for turning.
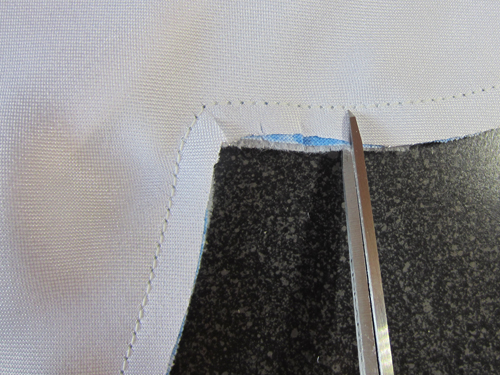
Clip the curves, being careful not to cut into the stitches.
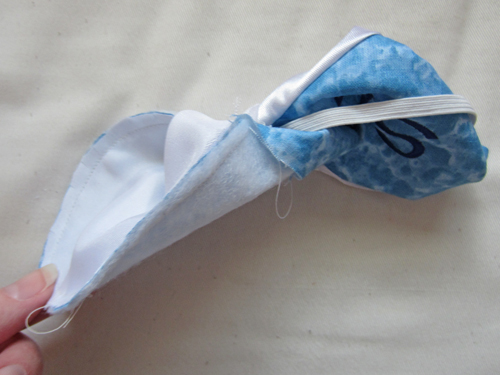
Turn the mask right side out through the opening.
Press.
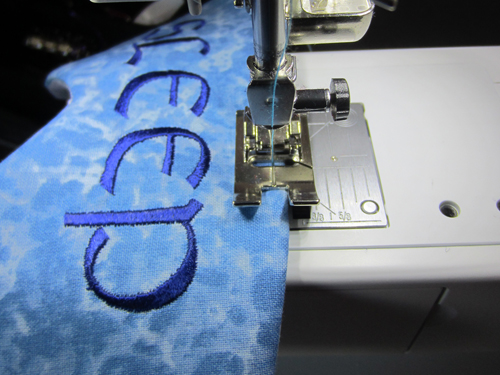
Topstitch around the entire mask, close the edge, taking care not to catch the elastic in the stitching.










2 comments on “How to Make a Sleep Mask”